How to Design Your Own Event Invitations for Free

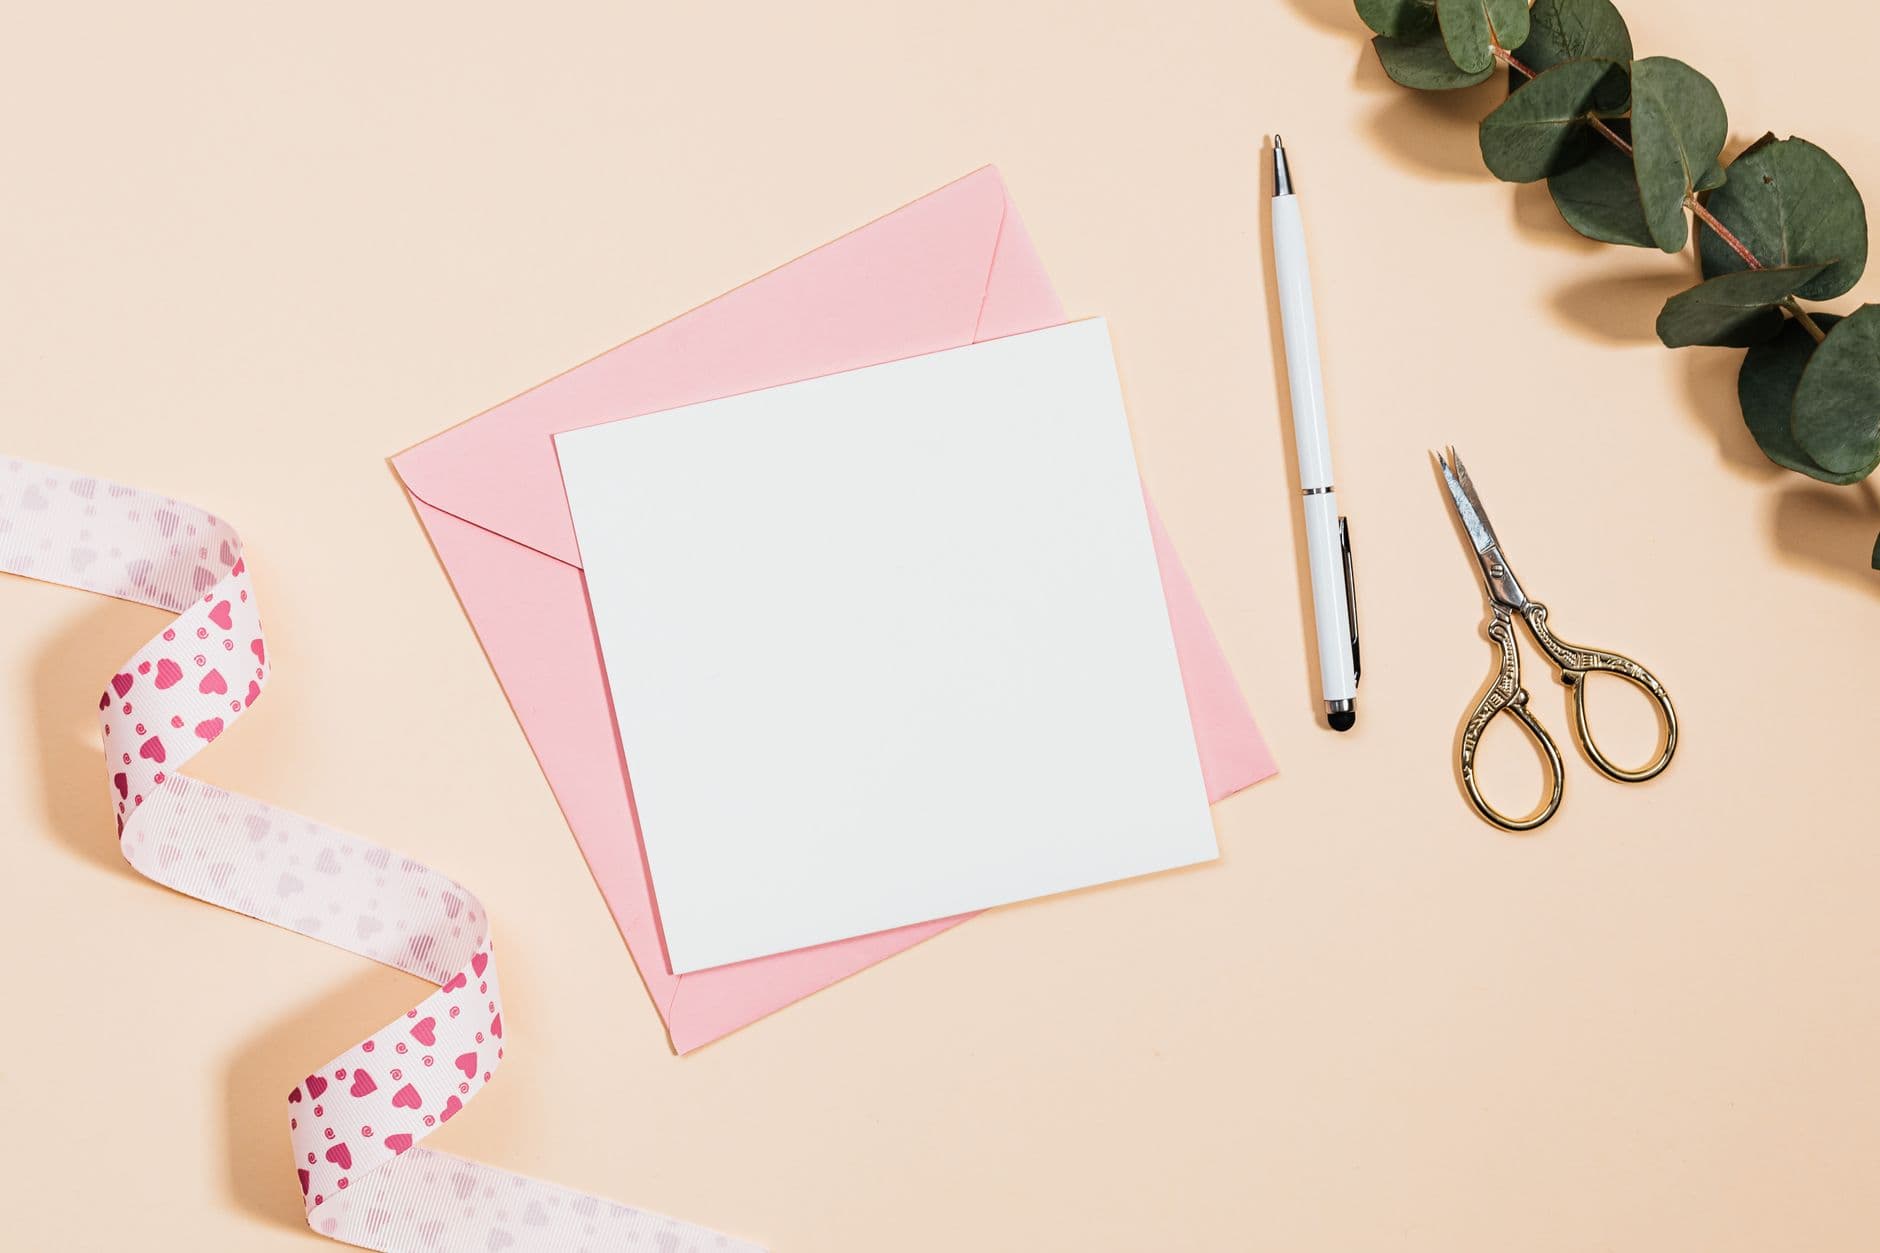
The invitation sets the tone for everything that follows. A bland email with a date and address? Guests show up expecting bland. A beautifully designed card with your event's colors, a personal photo, and a clear vibe? Now they're excited before they even RSVP.
Here's the thing: you don't need to pay a designer. You don't even need Photoshop. Free tools have gotten genuinely good, and with 30 minutes of focused work, you can create invitations that look like they cost money. I'll walk you through the process, the best free tools, and a trick that turns your invitation into a guest photo magnet.
Why Your Invitation Design Actually Matters
According to event planning best practices from LetterIn, invitations should go out 4-6 weeks before the event to maximize attendance. That means your invitation is the first impression guests have of your event for over a month. It sits in their inbox or on their fridge, subtly reminding them what kind of experience to expect.
A well-designed invitation does three things: it communicates essential details clearly, it builds anticipation for the event, and it makes RSVP'ing effortless. The design part handles the second job. When your cousin sees a watercolor floral border and elegant typography, she's already picturing a garden party. When your colleague sees bold geometric shapes and a dark background, they know the company event will be modern and energetic.
This matters for photo sharing too. If you're planning to collect guest photos at your event using a QR code upload system, the invitation is the perfect place to introduce that concept. A small QR code on the invite, a line that says "Scan to share your photos live" primes guests before they even arrive.
The Best Free Tools (Tested and Ranked)
Not all free invitation makers are equal. Some drown you in watermarks. Others lock the good templates behind a paywall. Here's what actually works in 2026:
Canva: The All-Rounder
Canva remains the default choice for a reason. Their free tier includes hundreds of invitation templates, millions of stock photos and graphics, and a drag-and-drop editor that doesn't require any design experience. The Magic Studio AI tools can generate content and suggest layouts. You can export as PDF for printing or share a direct link for digital invites.
The limitation: some premium templates and elements are locked behind Canva Pro. But honestly, the free selection is massive enough that you won't feel constrained unless you want a very specific stock photo.
Adobe Express: The Polished Option
Adobe Express offers free templates in bold, minimal, vintage, and corporate styles. You can upload your own photos or pull from Adobe Stock. The export options include PDF, JPG, and PNG. It feels slightly more "professional" than Canva, with cleaner typography defaults and less visual clutter in the editor.
Microsoft Word Templates: The Surprising Underdog
If you already have a Microsoft account, Word's free invitation templates are surprisingly solid. They cover birthdays, weddings, graduations, baby showers, and corporate events. The customization options are limited compared to Canva, but if you want something clean and fast without learning a new tool, it works.
Photogala's Invitation Card Designer
Worth mentioning here: Photogala offers a free Invitation Card Designer that's built specifically for event invitations. It generates cards with your event's QR code already baked in, so you skip the step of downloading and placing the QR manually. It's more limited in general design flexibility than Canva, but if your main goal is a clean invitation with built-in photo-sharing access, it gets you there faster.
Invitation Designer
Design beautiful event invitations with elegant templates and custom styling.
Time-saver: Don't start from a blank canvas. Pick a template that's 70% right, then customize colors, fonts, and photos. Starting from scratch takes 3x longer and usually looks worse unless you have design training.
The 5-Step Process for a Great Invitation
From blank screen to finished invitation
Pick your format
Digital (email/WhatsApp) or printable? This determines your dimensions. Digital: 1080×1080px for social, 1200×628px for email. Print: A6 or 5×7 inches.
Choose a template that matches your vibe
Search by event type AND mood. 'Birthday elegant' gets different results than 'birthday fun'. Try 3-4 before committing.
Customize with your details
Swap in your event name, date, time, venue. Replace stock photos with your own. Adjust colors to match your event theme.
Add a QR code
Include a QR code that links to your event photo gallery. Guests scan it at the event to upload photos instantly, no app needed.
Export and distribute
Save as PDF for printing, PNG for WhatsApp/text, or grab a shareable link for email. Send 4-6 weeks before the event.
Step 4 is where most invitation guides stop short. They focus on the design but ignore what happens at the actual event. If you're planning to collect guest photos, building that into the invitation means guests arrive already knowing the plan.
Ready to create your gallery?
Design Principles That Make Free Look Expensive
The gap between "free tool" and "expensive designer" is smaller than you think. It mostly comes down to restraint. Here's what separates polished invitations from amateur ones:
Two fonts maximum. One for headings, one for body text. Three fonts and it looks like a ransom note. If you're unsure, pair a serif with a sans-serif. Playfair Display + Inter. Cormorant + Lato. Keep it simple.
White space is your friend. Beginners cram every corner with text and decoration. Professional designers leave room to breathe. If your invitation feels crowded, remove something. It almost always looks better with less.
Stick to 2-3 colors. Pull them from your event theme or your venue photos. Use one dominant color, one accent, and white/cream as a base. Tools like Canva can auto-extract a color palette from any photo you upload.
High-quality images only. A blurry photo ruins even the best layout. If you don't have good event photos yet, use the free stock libraries built into these tools. A generic but sharp image beats a personal but pixelated one every time.
These same principles apply to your event branding and photo gallery design. When your invitation colors match your gallery theme, guests notice the consistency.
The QR Code Trick That Turns Invitations Into Photo Collectors
Here's where invitation design connects to something bigger. Picture a wedding invitation: elegant typography, the couple's photo, date and venue. Standard stuff. Now add a small QR code in the bottom corner with the text: "Scan to share your photos on the night."
When guests arrive, they already know what to do. They've seen the QR code. They scan it, the browser-based gallery opens, and they start uploading without anyone explaining it. No app download. No group chat chaos. No "I'll send them to you later" that never happens.
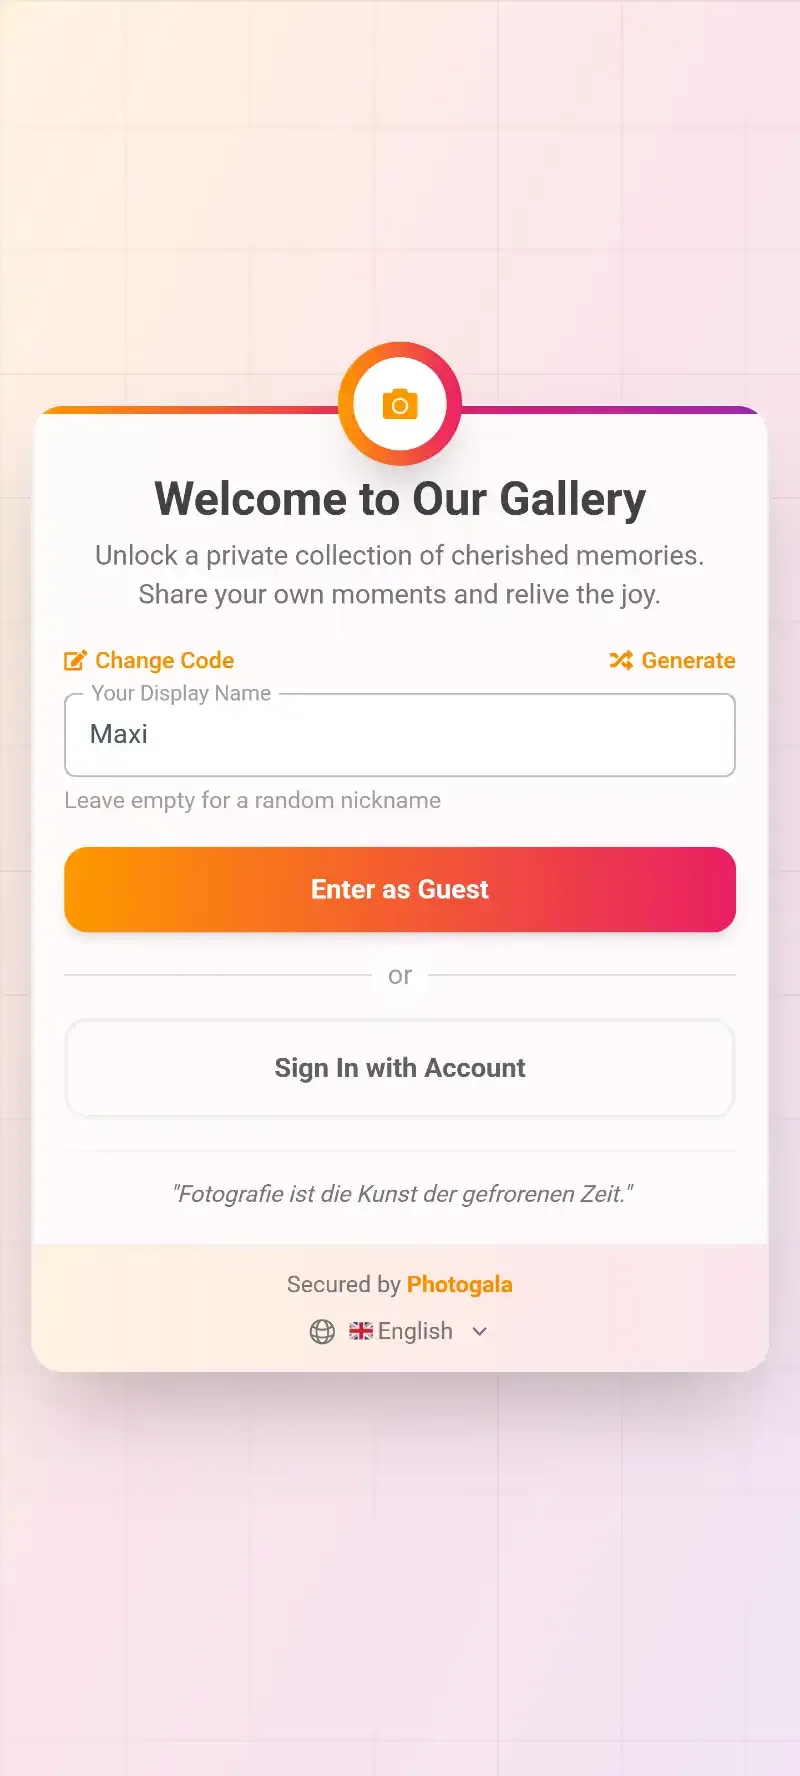
Quick name entry, then straight to uploading
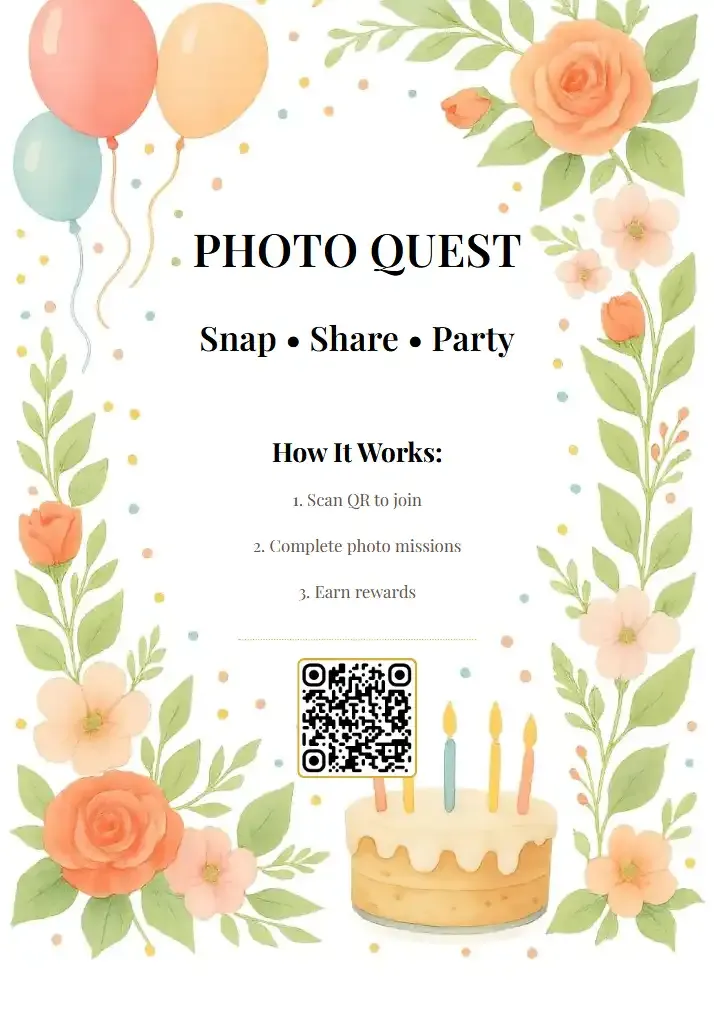
Photogala's free QR code generator creates a scannable code linked to your event gallery. You can customize the design to match your invitation colors. Download it as PNG, drop it into your Canva or Adobe Express template, and export. Done. Or skip that step entirely and use the Invitation Card Designer to get a ready-made card with the QR code already placed.
This works for every event type. Corporate team events where you want candid photos from the team. Birthday parties where everyone's taking photos but nobody shares them afterward. Even baby showers where distant family wants to see the photos but couldn't attend.
Digital vs. Print: When to Use Which
Digital invitations win on speed, cost, and RSVP tracking. You send a link, guests tap to respond, done. Platforms like Paperless Post create elegant digital cards that feel more personal than a plain email, while services like Evite handle RSVP tracking well for casual gatherings.
Print invitations win on perceived effort and keepsake value. A physical card on the fridge reminds guests daily. For weddings especially, a printed invite signals "this is a serious event." You can design in Canva, export as PDF, and print at home or use a local print shop.
The smart move for weddings: send a digital save-the-date early, then follow up with a printed invitation that includes the event QR code. Guests get the best of both. Your wedding day timeline can even reference when guests should start uploading photos.
Print tip: Export at 300 DPI minimum for crisp prints. Canva's PDF Print option handles this automatically. If your QR code is too small (under 2×2cm), it won't scan reliably. Test it before printing 150 copies.
Templates by Event Type
Different events call for different design approaches. Here's what works:
Weddings: Soft colors, elegant serif fonts, floral or botanical accents. Include the couple's names prominently, venue address with a small map, and the photo-sharing QR code. Keep it timeless rather than trendy. If you're building a wedding budget, free invitation tools can save you €200-400 compared to custom stationery.
Corporate events: Clean lines, company brand colors, sans-serif fonts. Include agenda highlights, dress code if relevant, and a professional tone without being stiff. The photo wall feature works particularly well at corporate events, and mentioning it on the invite builds excitement.
Birthday parties: More personality. Bold colors, playful fonts, themed graphics. The invitation can be fun and informal. Include practical details (parking, what to bring) and your photo gallery QR code so guests know to bring their camera game.
Holiday parties: Christmas party invitations should match the event energy. Ugly sweater party? Go maximalist. Elegant dinner? Keep it refined. New Year's Eve celebrations can use metallic accents and dark backgrounds for that midnight mood.
Common Mistakes That Make Free Invitations Look Free
I see these constantly, and they're all fixable:
- Using the template's default stock photo instead of swapping in your own
- Leaving placeholder text visible ("Your Event Name Here" in tiny print somewhere)
- Choosing fonts that are hard to read on mobile screens
- Making the QR code so small it won't scan from a phone camera
- Forgetting to include essential info: date, time, location, RSVP method
- Using too many decorative elements that distract from the actual information
The biggest mistake? Sending a beautifully designed invitation with no plan for what happens with the photos at the event itself. If 80 guests are going to take photos at your wedding, where do those photos go? A shared iCloud album hits its limit. A WhatsApp group turns into chaos. Setting up a dedicated event gallery with customization that matches your invitation design creates a cohesive experience from start to finish. One caveat: Photogala's Free Demo plan caps you at 50 photos, so for a larger event you'll want the Plus plan (€39, one-time) or above to get unlimited uploads.
From Invitation to Event: The Photo-Sharing Bridge
Think of the invitation as the starting point of your guest experience, not just a logistics document. The design language you establish in your invitation can carry through to your event gallery. Same colors. Same fonts. Same mood.
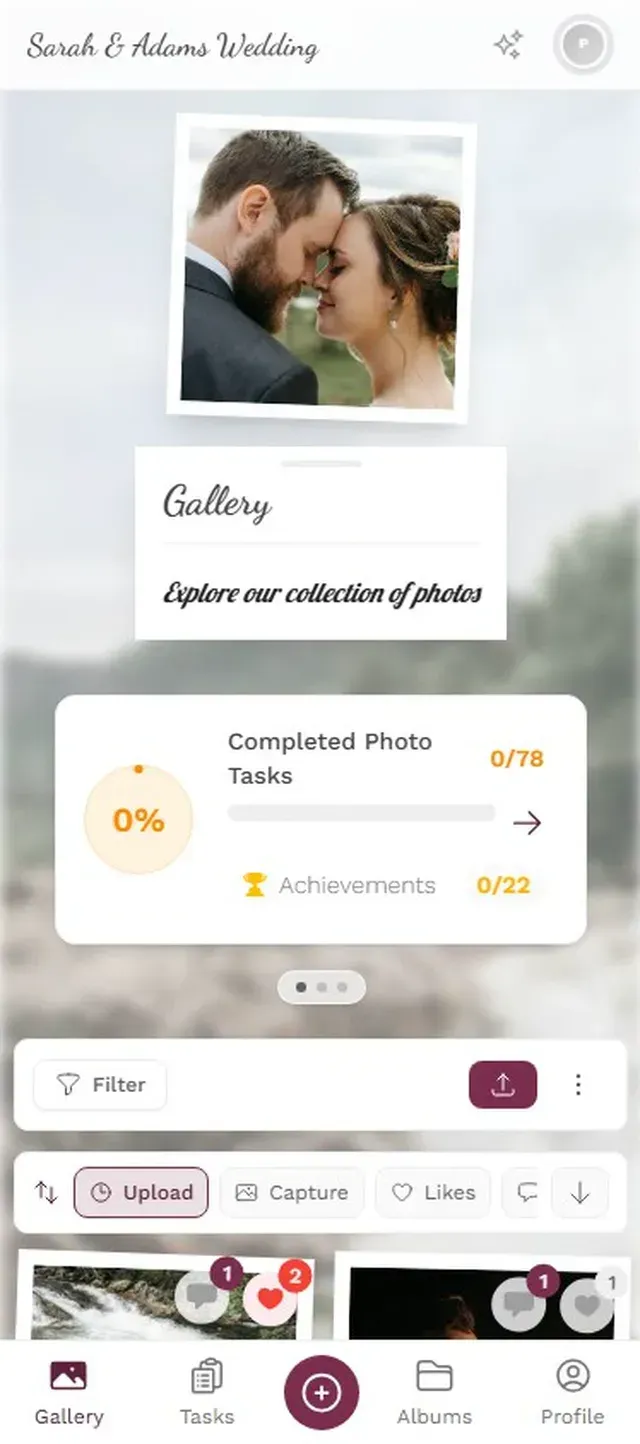
When guests scan the QR code at your event and see a gallery that matches the invitation they received weeks earlier, it feels intentional. Professional. Like someone actually thought this through. And that consistency encourages participation: guests feel like they're contributing to something curated, not dumping photos into a random folder.
Guests see a cohesive experience from invite to gallery
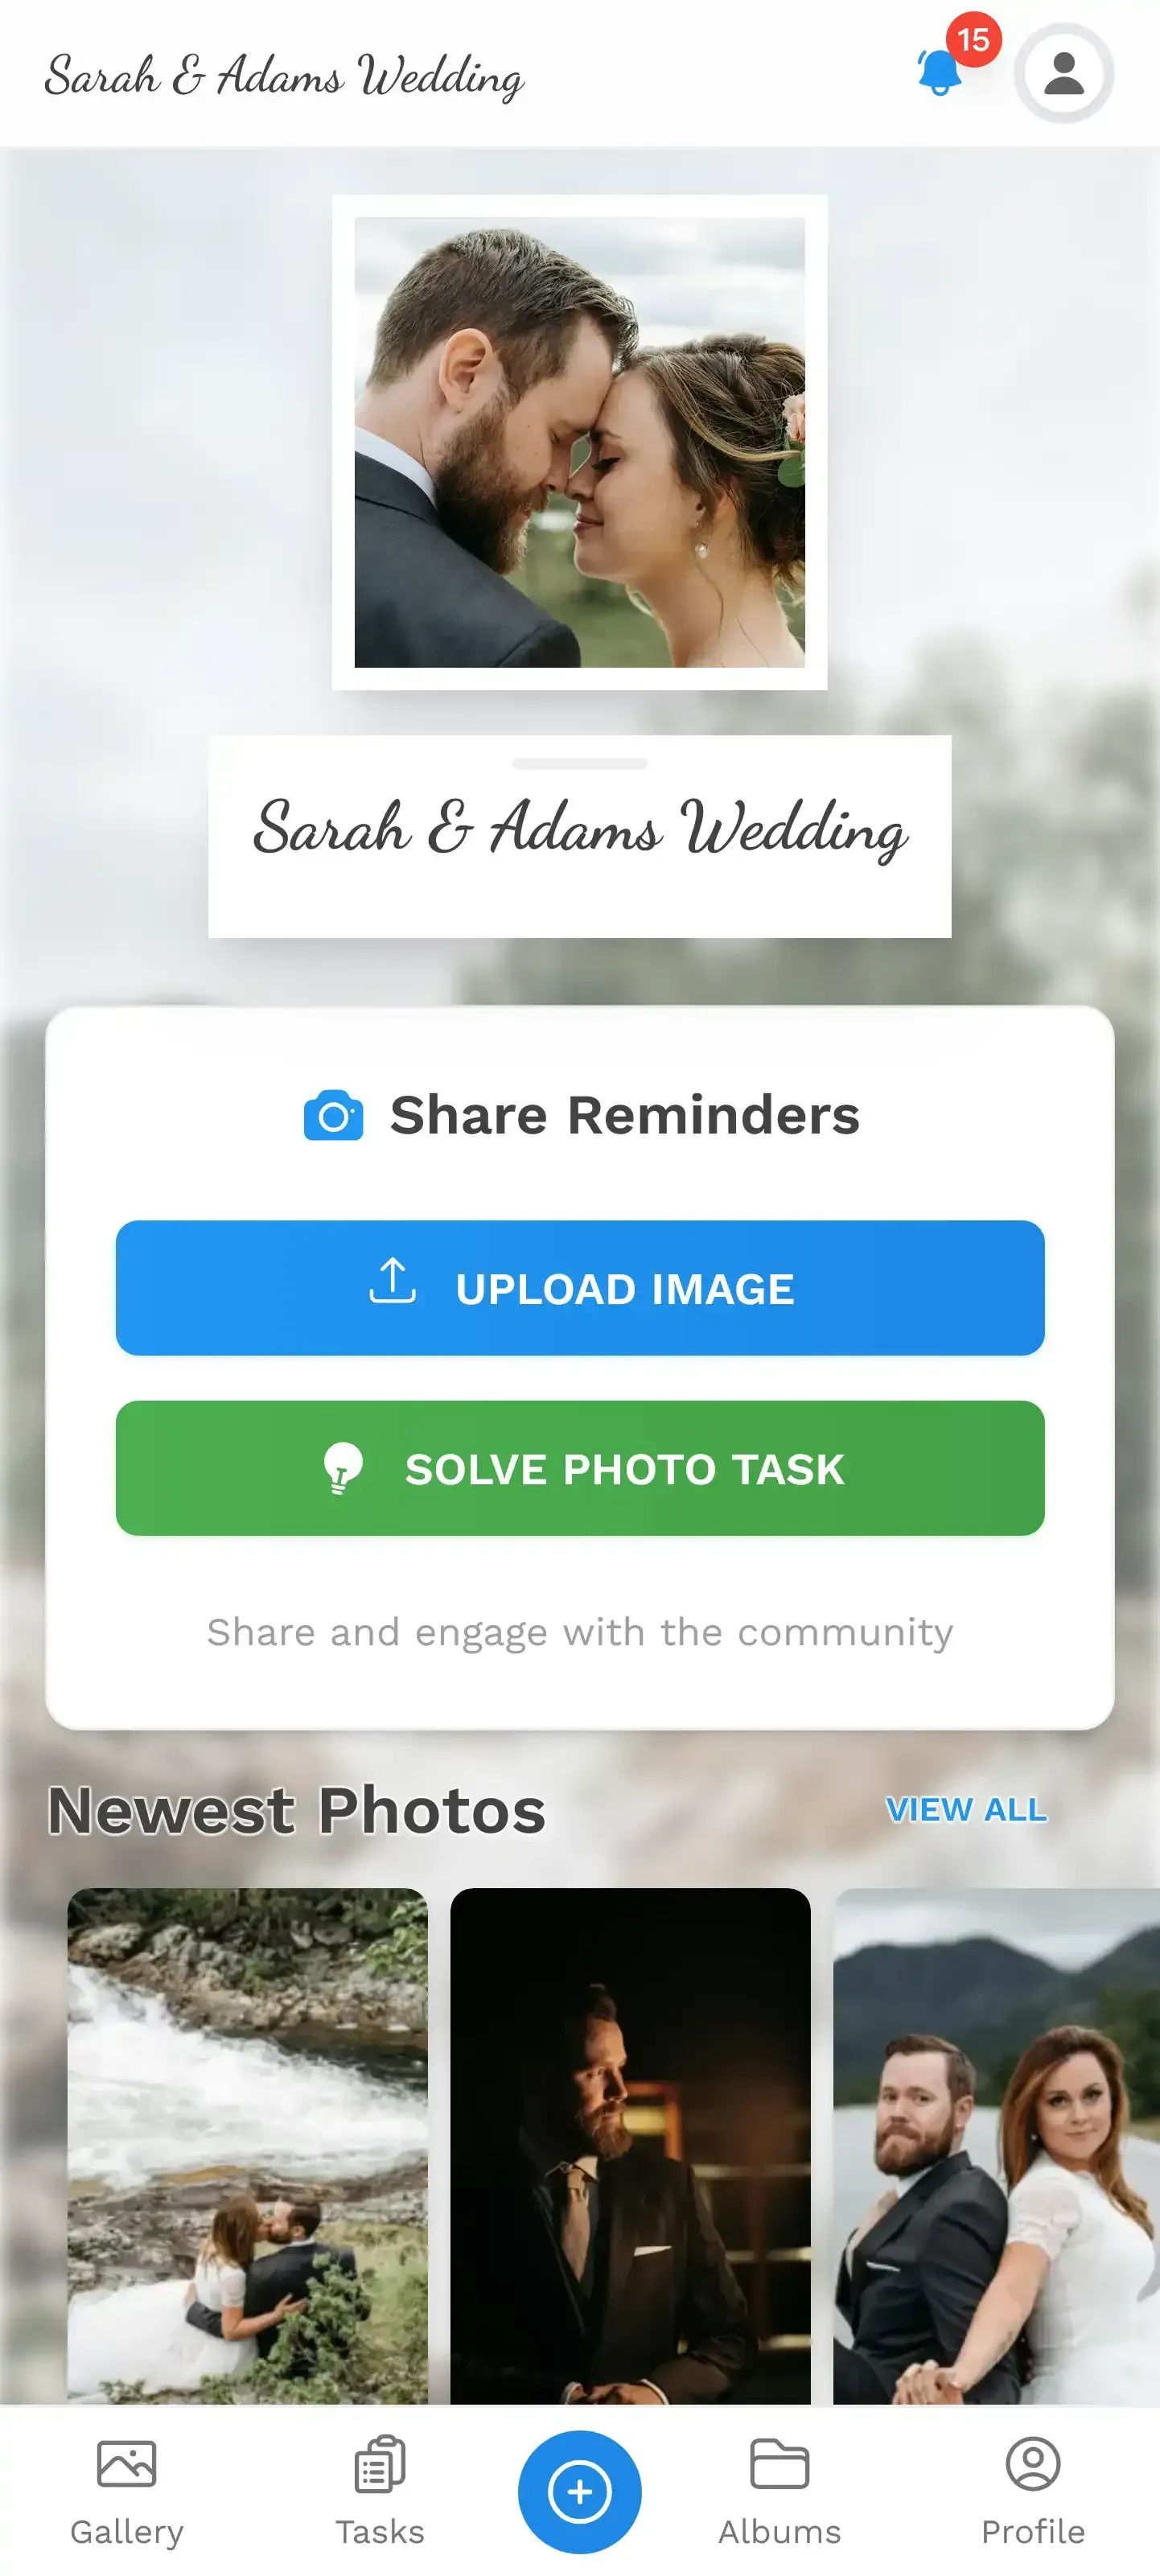
If you're adding photo challenges to your event, you can even tease them on the invitation. A line like "Photo challenges included. Top photographer wins a prize" gives guests something to look forward to and primes them to participate actively.
Ready to create your gallery?
Start sharing your event photos with guests in minutes.
Create GalleryWritten by

I believe event photos should be more than static galleries. They should be live, playful, and unforgettable.
Categories
Related Posts
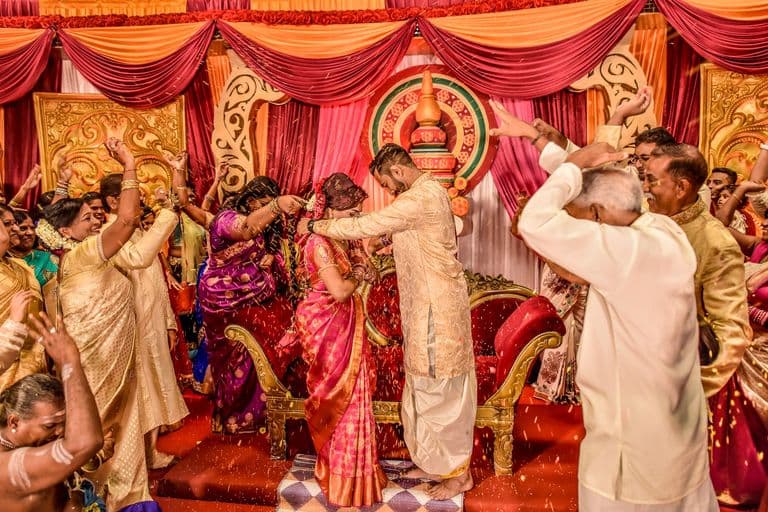
Multicultural Wedding Photo Sharing: Honoring Every Tradition in One Gallery
When your wedding blends two (or more) cultures, collecting guest photos gets complicated fast. Here's how to make it work without losing a single moment.
Free Event Planning Tools Every Organizer Should Bookmark
The best free tools for budgets, guest lists, timelines, photo sharing, and more. No subscriptions, no bloated software suites.

Milestone Birthday Photo Sharing: 30th, 40th, 50th and Beyond
At milestone birthdays, decades of relationships converge in one room. Here's how to collect every guest's photos before they vanish into 40 separate camera rolls.