Wedding Seating Chart Planning: A Step-by-Step Guide That Prevents Drama

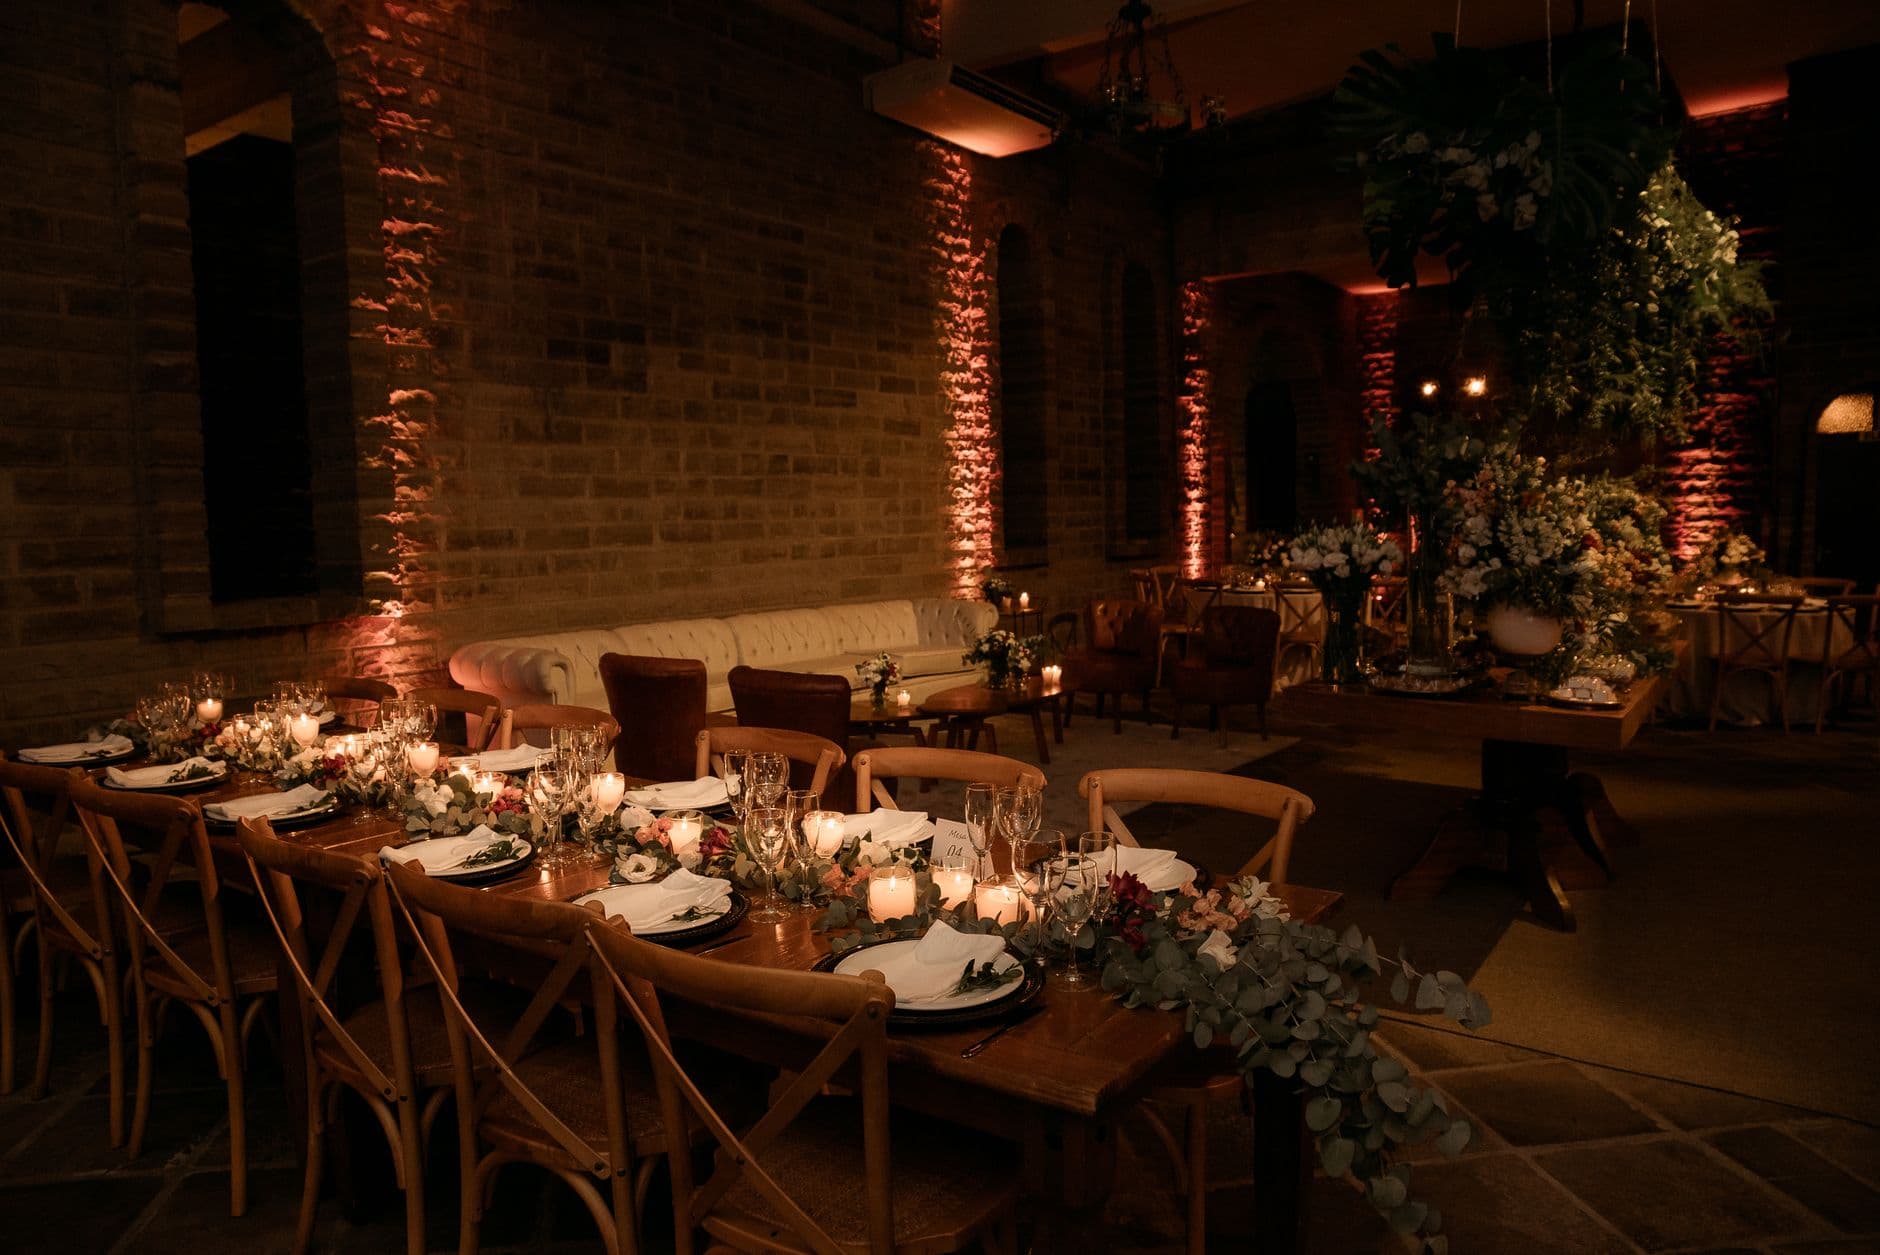
Imagine this: it's a Tuesday night, three weeks before the wedding. You and your partner are hunched over a laptop with sticky notes spread across the kitchen table, each one bearing a guest's name. Your mum just called to say your aunt absolutely cannot sit near your dad's new girlfriend. Your best man has a new plus-one nobody's met. And the venue just informed you that they can only fit nine round tables, not ten.
Welcome to the seating chart. It's the task every couple dreads, delays, and eventually spends far too long on. According to research by Eventifia, 71% of couples said creating the seating chart was more stressful than expected, and 42% changed it at least three times before landing on a final version. Planners generally estimate that a couple with 150 guests will spend somewhere between 8 and 12 hours on seating arrangements alone.
This guide breaks the process into manageable steps. No vague advice about "just grouping people who get along." Concrete decisions, a clear sequence, and a few tricks that make the whole thing less painful.
Step 1: Lock Down Your Numbers First
You cannot start a seating chart without a final guest count. That sounds obvious, but couples try to start planning tables before RSVPs close all the time. Set a firm RSVP deadline (usually 3 to 4 weeks before the wedding), chase the non-responders, and only then open up your seating planner. Photogala offers a free seating planner tool that lets you drag and drop guests onto table layouts, which is handy once you have confirmed numbers.
Seating plan for your event
Arrange tables, catch conflicts early, and let guests find their seat by scanning a QR code.
While waiting for RSVPs, use the time to gather intel. Who's coming alone? Which cousins haven't spoken in years? Does anyone need wheelchair access or a highchair? A simple shared spreadsheet with columns for dietary needs, mobility notes, and "do not seat with" flags saves headaches later. Photogala also has a free guest list manager that handles exactly this.
Step 2: Choose Your Table Layout
The shape and size of your tables affect everything: conversation quality, how the room flows, and how many guests you can actually fit. Here's what the main options look like in practice.
Round tables (60-inch) seat 8 comfortably, 10 if you squeeze. They're the most popular choice for a reason: everyone can see everyone else, cross-table conversation happens naturally, and they look elegant. According to WeddingCalcs' layout guide, each round table needs about a 12-foot diameter circle including chairs and service access. If your venue is tight on space, round tables eat up square footage fast.
Rectangular or banquet tables seat 8 to 12 guests, create a family-dinner vibe, and use space more efficiently in narrow or long rooms. The trade-off: guests at opposite ends won't talk to each other. At a table of 12, you're really hosting two groups of 6 who happen to share a tablecloth.
Mixed layouts (a few rounds plus a long head table, for example) give you the best of both worlds. The head table keeps the bridal party visible, while round guest tables encourage conversation. Some couples skip the head table entirely and sit at a small sweetheart table for two. No wrong answer here, but decide the layout before assigning seats, not after.
Pro tip: Before committing to a layout, ask your venue for a floor plan with exact dimensions. Then use a free seating planner to test different configurations digitally. Moving circles on a screen is much faster than rearranging furniture in your head.
Step 3: Group Before You Place
Here's where most couples go wrong. They jump straight to assigning individual seats when they should be thinking in groups first.
Start by sorting your guest list into natural clusters: university friends, work colleagues, the groom's family, the bride's family, childhood friends, and so on. Some clusters are obvious. Others take more thought. Your college roommate who's now close friends with your cousin? She bridges two groups, which makes her a valuable "connector" at a mixed table.
Once you have clusters, estimate how many tables each group needs. If you have 14 of the groom's extended family and tables seat 8, that's two tables. Now you're solving a simpler puzzle: fitting groups onto tables, not 150 individual humans into 150 individual chairs. If you're building a digital guest book for your wedding, these same groupings come in handy for organizing messages and photos later.
A common approach (and what The Perfect Wedding recommends): 70% of couples assign tables rather than specific seats. This means you decide who sits at Table 5, but you don't dictate which exact chair. It's less work for you and gives guests a small sense of freedom.
Step 4: Handle the Tricky Placements
Every wedding has them. Divorced parents. The ex who's still in the friend group. The uncle who gets loud after two drinks. The colleague you invited out of obligation who won't know anyone else.
Divorced parents who are civil: seat them at separate tables near the head table, both with people they're comfortable with. If one parent has a new partner, make sure they have their own seat and aren't an afterthought squeezed in at the end. If relations are genuinely tense, put a buffer table between them and brief your wedding planner.
Solo guests and plus-ones nobody knows need a table of friendly, outgoing people. Don't put three strangers together at a table of established friend groups and hope for the best. Pair each solo guest with at least one naturally social person. This is where those "connector" guests earn their keep.
The loud uncle or the friend who always starts political debates? Seat them with people who can handle it. Your most unflappable, humor-loving friends are the right table companions. Not your shy cousin's table.
If you're also thinking about how guests will share photos during the reception, seating decisions play a bigger role than you'd expect. People photograph their tablemates. The more natural the table chemistry, the more candid and fun the photos.
See it in action
A guest switches tables? Everyone sees it instantly.
Step 5: Think About Flow, Not Just Seats
A seating chart isn't just about who sits where. It's about how 150 people move through a room for 4 to 6 hours. The best seating plans consider the path from entrance to table, the distance between the bar and the dance floor, and sightlines to the stage or DJ.
A few practical rules:
- Elderly guests and anyone with mobility needs sit closest to the entrance and restrooms, away from speakers.
- Parents with young kids get a table near the exit so they can slip out without crossing the entire room.
- The bridal party table faces the dance floor, not the wall.
- Tables closest to the bar fill last and empty first. Plan accordingly.
- Leave enough aisle space for servers. A common mistake: packing tables too tight and creating a bottleneck when the main course arrives.
If you're planning a live photo slideshow or photo wall at the reception, screen placement matters too. Position it where most tables can see it without turning around. Near the bar or the dance floor works well. A screen hidden behind a column is a screen nobody watches. For more ideas on making the most of your wedding reception setup, the table layout and screen placement really go hand in hand.
1.A live photo wall near the dance floor keeps energy high all evening
Step 6: The Table Experience Goes Beyond Chairs
Most seating chart guides stop at "assign the seats and you're done." But your table setup shapes the entire guest experience for the evening. Once people sit down, the table is their home base. The conversations that happen there, the activities, the small details: that's what guests remember.
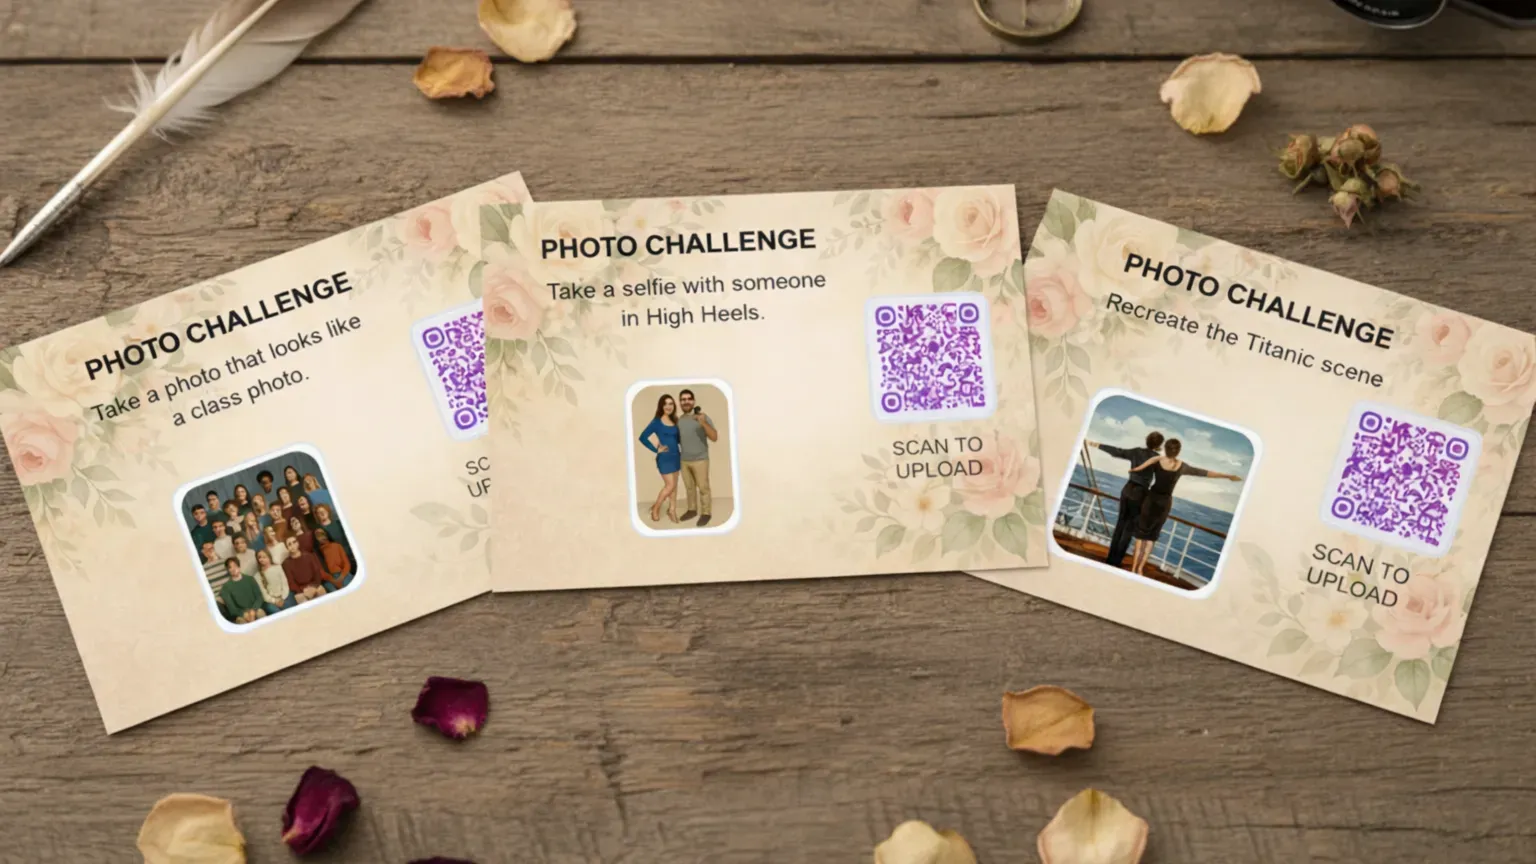
This is why more couples are adding interactive elements to each table. A printed photo challenge card, for example, gives guests something to do during the awkward gap between the starter and the main course. Something like "photograph the worst dancer at your table" or "capture the moment someone tells the best toast." It works as a conversation starter and produces candid guest photos that a professional photographer would never get.
With Photogala, you can place a QR code on each table that guests scan to upload photos directly from their phone. No app install. No WhatsApp group. No "I'll send them to you later" promises that never materialize. The photos appear in a shared gallery in real time, and if you have a screen set up, they show on the live photo wall within seconds. Challenges can even include example preview photos showing guests exactly what kind of shot to recreate.
Picture a table of eight: halfway through dinner, someone scans the QR code, sees the challenge "recreate the couple's first date photo," and the whole table spends five minutes laughing and staging a ridiculous recreation. That's the kind of moment that turns a nice wedding into one people talk about for years. If you want more ideas for getting guests involved beyond the photo booth, we wrote an entire guide on guest engagement that actually works.
Common Mistakes to Avoid
After looking at dozens of seating chart threads and planner guides, the same mistakes come up again and again:
- Starting too early. Planning tables before RSVPs close means redoing everything when numbers change. Wait until 3 to 4 weeks out.
- Over-optimizing. Trying to make every single table perfect leads to paralysis. Aim for "no disasters" rather than "every table is a perfect dinner party."
- Forgetting the venue constraints. Pillar blocking the view? Power outlet needed for the photo wall? Emergency exit that can't be blocked? Walk the venue with your floor plan in hand.
- Ignoring the +1 problem. A plus-one who doesn't know anyone needs a welcoming table, not a seat squeezed in at the end of the bridal party table.
- No backup plan. Someone always cancels last minute. Have a plan for collapsing a table of 6 down to 5 without it looking sad and empty.
One more thing couples overlook: the seating chart display itself. A beautiful calligraphy board is lovely, but if 150 guests are trying to read it at the same time, you'll have a traffic jam at the entrance. Consider a digital display, multiple printed copies, or escort cards that guests grab individually. For couples also collecting guest photos, placing a QR code right next to the seating chart display catches people at the perfect moment. They've just arrived, phones are out, energy is high.
Tools That Make It Easier
You don't need to do this with sticky notes and graph paper (though some couples swear by the analog approach). Several free tools can save hours:
- Photogala's Seating Planner: Free drag-and-drop tool. No login required. Add tables, assign guests, rearrange until it works.
- Photogala's Guest List Manager: Track RSVPs, dietary needs, and notes in one place.
- Photogala's Budget Calculator: Because table choices affect catering costs, which affects the budget.
- A simple spreadsheet: Sometimes low-tech wins. Columns for name, group, table number, dietary requirements, and a "notes" field for the tricky cases.
If your wedding has more than 200 guests, the process gets exponentially harder. We covered strategies for collecting photos from large guest lists that also apply to seating logistics: group by connection, assign a point person per table, and accept that perfection is impossible.
The Quick Version: 6 Steps to Your Seating Chart
Finalize guest count
Wait for RSVPs to close. Chase non-responders. Know your exact numbers before touching a table layout.
Pick your table layout
Round, rectangular, or mixed. Match it to your venue dimensions and the vibe you want.
Group guests into clusters
Sort by natural connections: family, friends, colleagues. Then fit groups onto tables.
Handle tricky placements
Divorced parents, solo guests, the loud uncle. Address these deliberately, not as an afterthought.
Plan for flow
Consider entrances, exits, bar proximity, sightlines, and screen placement for photo walls.
Add table experiences
QR codes, photo challenges, conversation cards. Give guests something to do and share.
Frequently Asked Questions
The seating chart is one of those wedding tasks that feels impossible until it's done. Then you look at it and think: that actually makes sense. The trick is starting with groups, not individuals, and accepting that "good enough" is genuinely good enough. Nobody has ever left a wedding thinking "the seating chart was a 6 out of 10." They remember the conversations, the laughter, and the photos. Make those great, and the exact seat assignments fade into the background.
All of this comes with your own event.
Setting it up takes five minutes. You can build and view everything before you decide.
Starting from €39 one-timeOne-time payment — No subscription
- No App Required
- Setup in 5 Minutes
- 30-Day Money Back
“We used the software at my mum's birthday party. It went down really well 😊”
Written by

I believe event photos should be more than static galleries. They should be live, playful, and unforgettable.
Categories
Related Posts
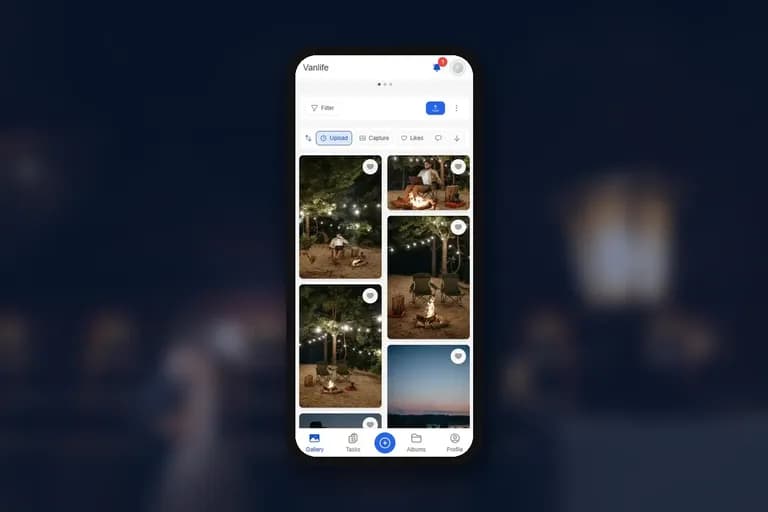
How to Collect Guest Videos at Your Event (Not Just Photos)
Photos freeze a moment. Videos bring back the sound of it. Here's how to collect both from your guests' phones with one QR code, and what to know about plans, the photo wall and downloads.
Kids' Birthday Party Photo Sharing: One Gallery Every Parent Will Love
Stop chasing parents for photos after your kid's party. One QR code, one shared gallery, zero hassle.

Proposal and Engagement Photo Sharing: How to Capture the Moment They Said Yes
The proposal lasts seconds. The photos live forever. Here's how to collect every angle from the people who were there.