How to Create a Digital Memory Book from Event Photos

Picture a wedding from six months ago. The photographer's album is sitting on a shelf, beautifully bound. But the 400 candid shots your guests took? Scattered across 47 different phones. Three cousins promised to share theirs. One actually did. The rest are trapped in camera rolls nobody will scroll through again.
That's the gap a digital memory book fills. Not the polished professional album (you already have that). The other collection: the blurry dance floor shots, the kids sneaking cake, the grandmother's expression during the toast. The photos that actually make you laugh when you stumble across them years later.
The hard part was never building the book. Tools for that are everywhere. The hard part is getting all those photos into one place first. Once you solve that, the rest is surprisingly straightforward.
What Makes a Memory Book Different from a Photo Dump
A shared Google Drive folder with 600 unsorted JPEGs is not a memory book. It's digital clutter. Memory books combine representative photos with context: captions, chronology, and a sense of narrative. According to Dreamina's guide on memory book creation, the difference lies in curation and layout. Selecting your best images and arranging them with intention turns a random pile of photos into something people revisit on anniversaries.
Think of it like the difference between a playlist and having 10,000 songs on shuffle. Both contain music. Only one tells a story.
The best memory books share three qualities: they're curated (50-80 photos, not 500), captioned (who, when, what was happening), and shareable (a link or file you can send to anyone who was there). If you're putting together photos from a wedding, a family reunion, or a corporate milestone, these three principles hold.
Step 1: Collect Every Photo Into One Place
This is where most memory book projects die. Not in the design phase. In the gathering phase.
Imagine a 150-guest wedding. The photographer delivers 300 edited shots. Beautiful. But the guests collectively took another 400+ photos on their phones. Getting those photos means texting everyone individually, hoping they remember to send them, dealing with compressed WhatsApp images, and eventually giving up after 20% of people respond.
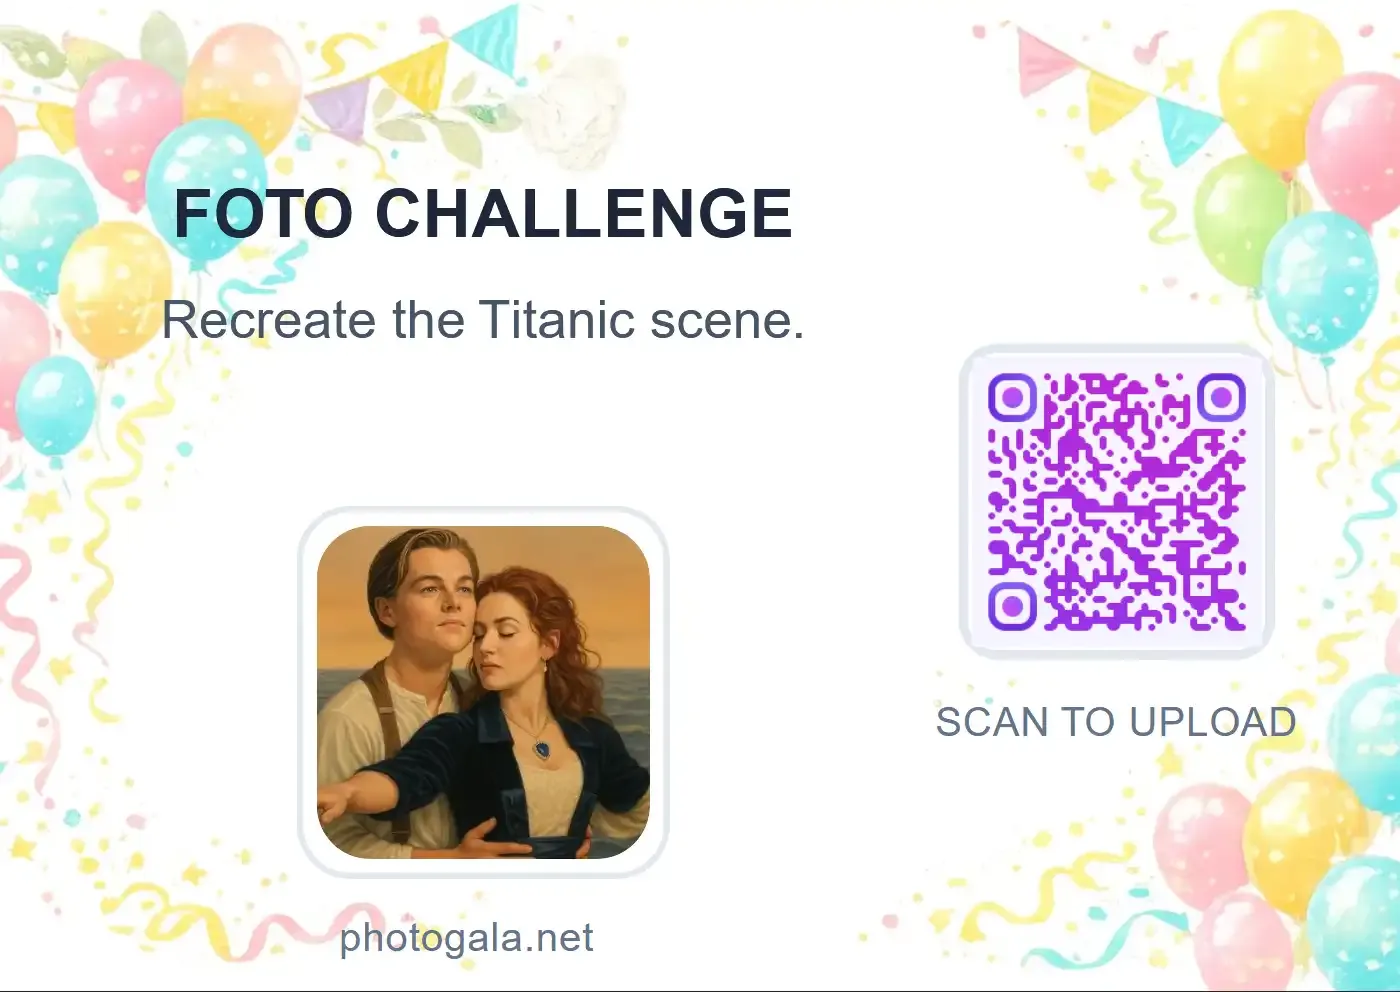
A QR code photo gallery sidesteps all of that. Guests scan a code at the event, upload directly from their phones (no app needed), and every photo lands in one shared gallery in original quality. If you've ever tried to create a shared photo album for a wedding, you know how much friction the "send me your photos" approach creates.
1.Guests upload directly from their phone browser. No app, no account.
The reason this matters for memory books: you can't curate what you don't have. The difference between a mediocre memory book and a great one is often that one candid shot from the guest you forgot to ask. When everyone uploads to the same place during the event, you start with the complete collection instead of fragments.
Pro tip: Set up your event gallery before the event, not after. Print QR codes on table cards, napkins, or near the entrance. The more guests upload in the moment, the more material you'll have for your memory book later. Here's a guide on how to collect photos from event guests that covers placement ideas.
See it in action
Every guest photo in one album – no app.
Step 2: Curate Ruthlessly
Say you end up with 500 photos from a corporate team-building weekend. Your memory book needs 50-80 of them. Maybe fewer.
Cutting 80% of your photos feels painful, but it's what separates a memory book from a backup folder. Here's a framework that works:
- Delete duplicates first. Five nearly identical group shots? Keep the one where everyone's eyes are open. If someone has a great expression in a different frame, keep that one too. Two max.
- Pick moments over poses. The staged group photo in front of the company banner is fine. The unplanned shot of the CEO losing at the egg-and-spoon race is the one people will actually laugh at in two years.
- Include at least one photo per person or group. Especially for events like family reunions or baby showers. Nobody wants to flip through a memory book and not find themselves.
- Save 5-10 slots for "context" shots. The venue, the decorations, the food, the invitation. These set the scene for someone looking back years later.
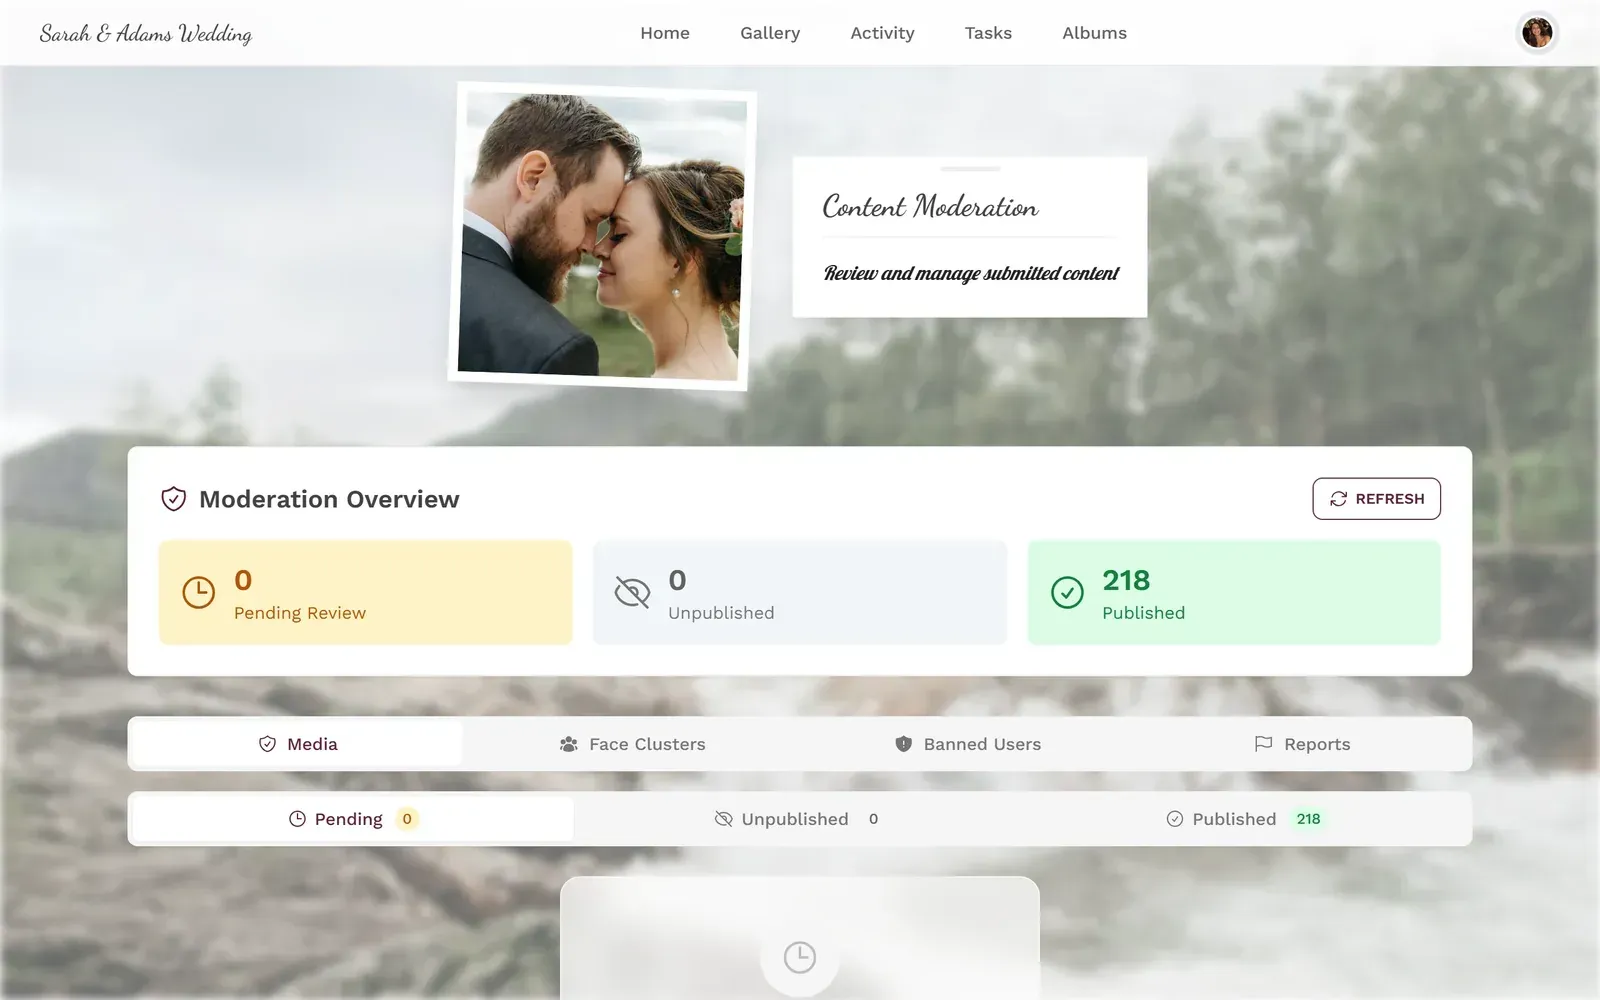
If your gallery platform has a moderation dashboard, use it for curation too. You can approve, reject, and sort uploads before you ever open a book-building tool. It's faster than dragging files around in a folder.
One thing that surprised me about the curation process: the photos guests rated highly (lots of likes in the gallery) weren't always the ones that worked best in a book. A beautiful sunset shot gets likes. But the slightly blurry photo of the bride's father tearing up during his speech? That's the one that belongs on page one.
Step 3: Build the Book
Once your photos are curated, you have options. The tool matters less than the effort you put into layout and captions.
1stFlip's memory book maker lets you import photos, pick a template, and add interactive elements like background music or embedded videos. Flip PDF Plus Pro creates digital books with page-turning effects that feel surprisingly satisfying on a tablet. Canva works too, especially if you're already familiar with it.
For physical books, services like MyPoster let you design layouts and order printed copies. Physical memory books make excellent gifts, particularly for milestone celebrations where older family members might prefer something they can hold.
Layout Tips That Actually Matter
Most people overthink design and underthink captions. Flip that.
- 2-4 photos per page is the sweet spot. More than that feels cluttered. One photo per page feels wasteful unless it's a showstopper.
- Captions are everything. "The moment right before the first dance" is infinitely better than no caption at all. You'll forget the context faster than you think.
- Chronological order works. Don't fight it. Start with arrival, end with departure. It creates a natural narrative arc without effort.
- Leave white space. A clean page with one great photo and a short caption has more impact than a collage of twelve.
If you're building a memory book from a wedding photo gallery, consider organizing by chapter: getting ready, ceremony, cocktail hour, reception, dance floor. Each section gets a title page with a single standout photo.
The 48-Hour Rule
Here's something most guides won't tell you: build the memory book within 48 hours of the event. Or at least start it.
Not because you'll forget (though you will forget some context). Because motivation evaporates. A week after the event, you'll think "I should really make that memory book." A month later, it's "I'll do it this weekend." Six months later, the photos are still sitting in a folder labeled "Sarah's Wedding - SORT LATER."
If all 500 photos are already in a shared gallery with downloads enabled, you can start curating on the train home. Download your top picks as a ZIP, open your book tool, and rough out the first 10 pages before the feeling of the event fades.
Worth noting: The collection and curation steps matter more than which book tool you pick. A simple PDF with 60 great photos and honest captions will outperform a fancy interactive book filled with 300 mediocre shots. Focus your energy on gathering everything first. If you need help organizing photos after an event, we've written about that too.
Memory Books for Different Event Types
Not every event calls for the same approach.
Weddings produce the most material and the highest emotional stakes. Expect 300-800 photos from a 150+ guest wedding. Your memory book might be 60-80 pages. Include the professional shots as anchors and fill around them with guest candids. A photo slideshow works well as a companion to the physical book.
Corporate events need a different tone. A team-building day for 30 people might produce 80-150 photos. Keep the book shorter (20-30 pages), focus on action shots over posed groups, and include the funny moments. Nobody revisits a corporate memory book for the group photo in matching lanyards. They revisit it for the marketing director falling into the lake during the kayak race. If you're running hybrid or remote events, consider including screenshots of remote participants alongside in-person shots.
Family reunions and milestone celebrations are somewhere in between. The audience skews multi-generational, so physical books (or at least printable PDFs) work better than purely digital formats. Make sure every generation is represented in the photos. A digital guest book with written messages can supplement the photo pages beautifully.
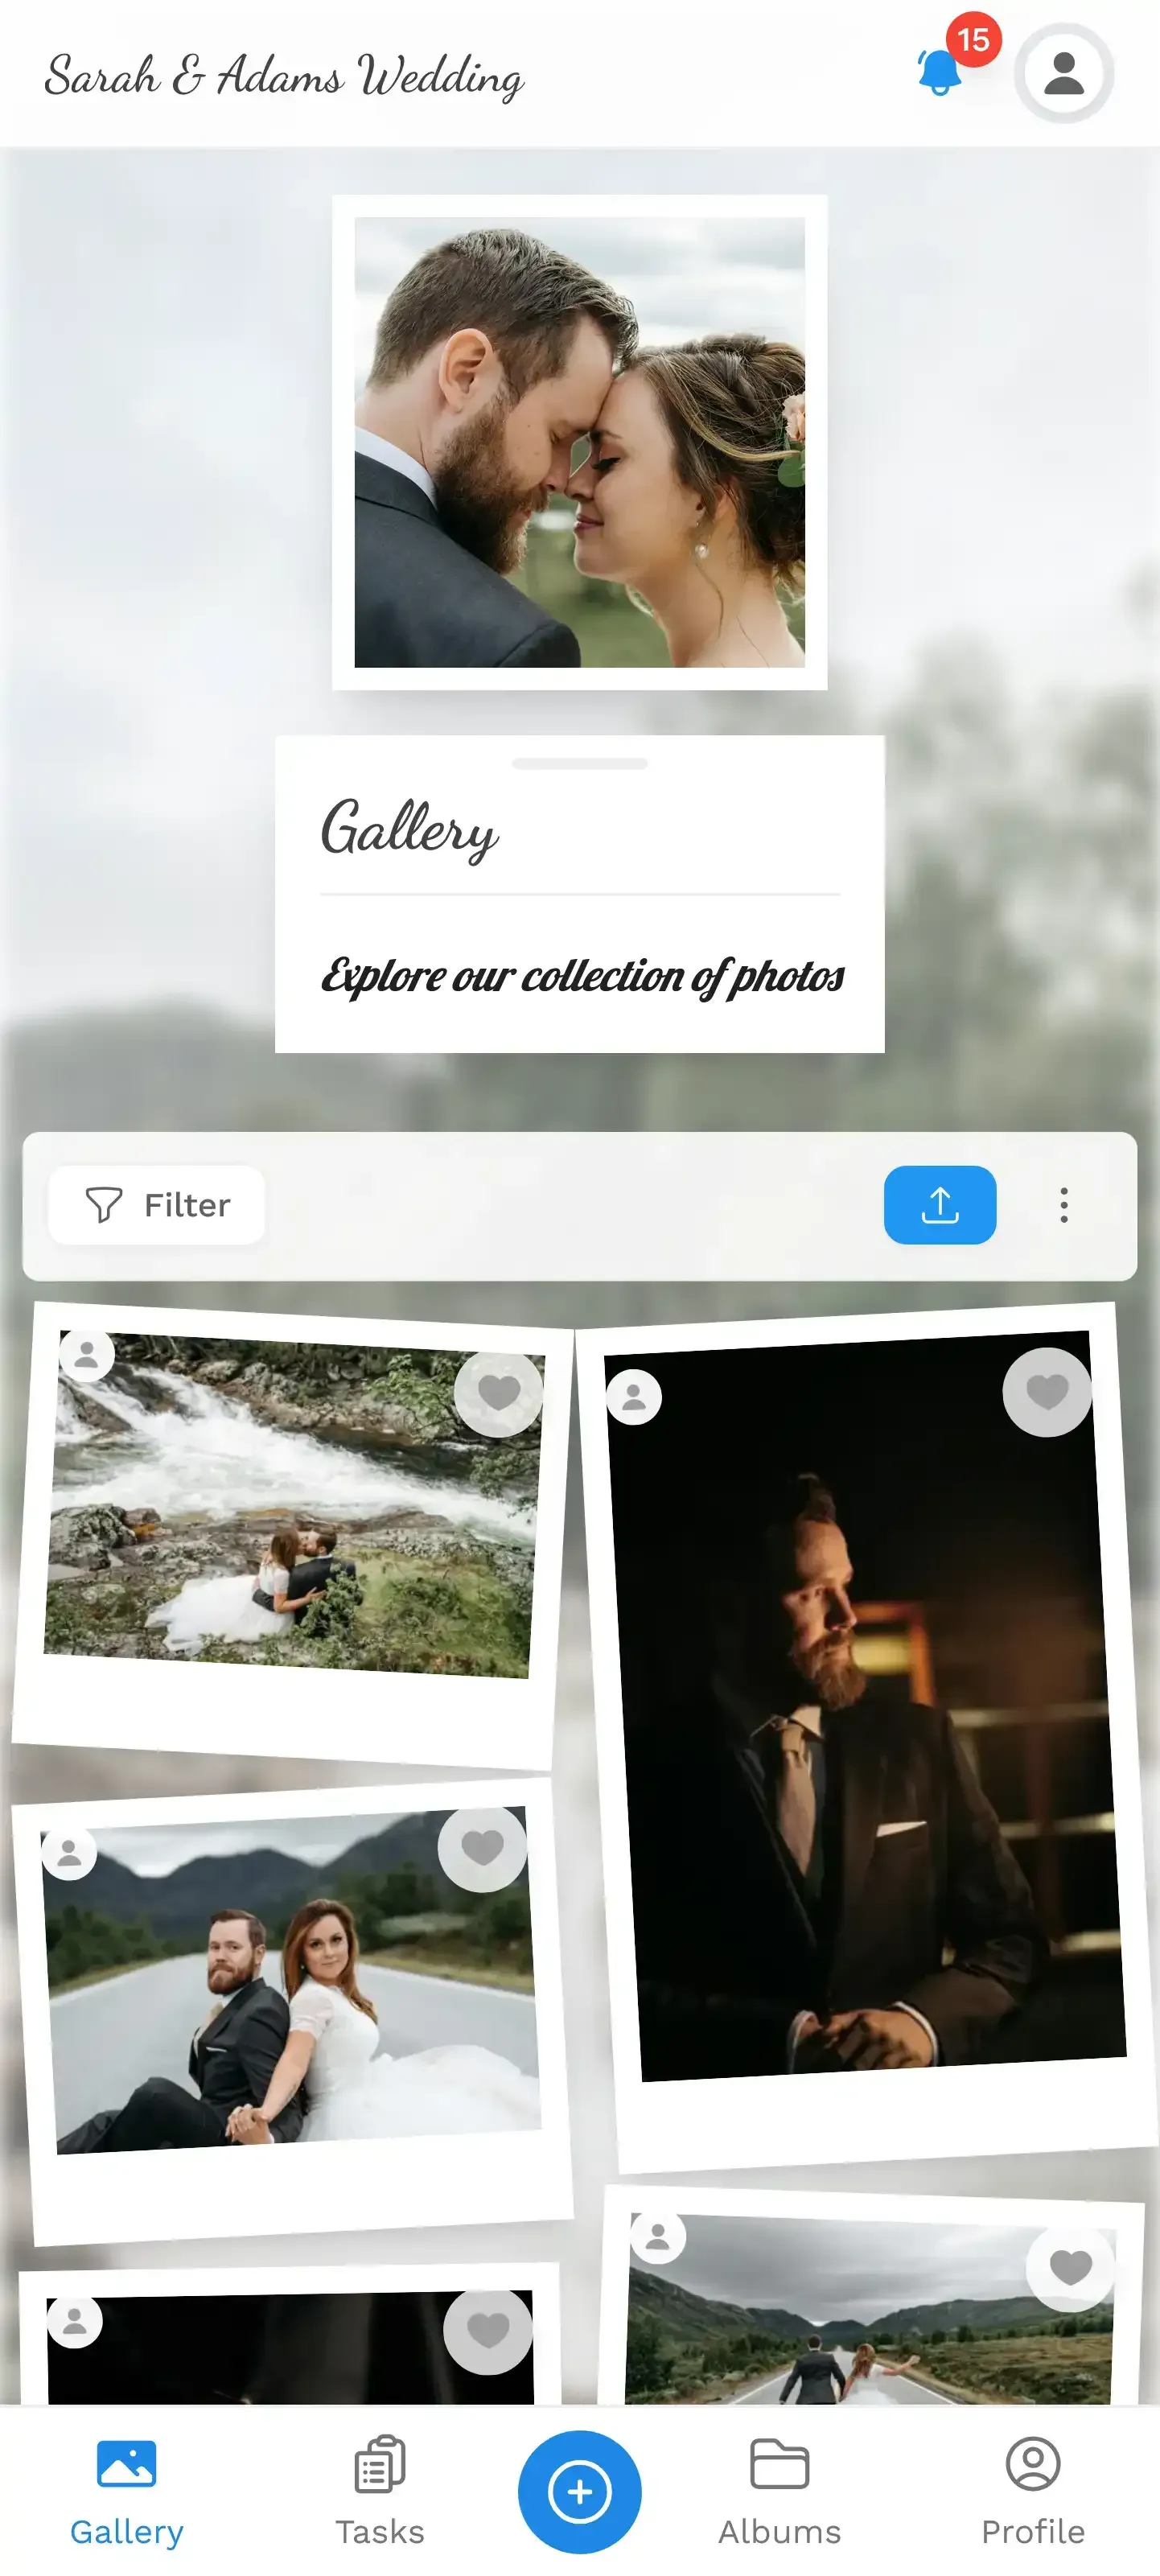
1.A wedding gallery ready for memory book curation
Making It Shareable
A memory book nobody sees is just a very organized folder. The point is sharing it.
Digital books have an advantage here: send a link. Most book-building tools export to PDF or generate a shareable URL. For weddings, send it with the thank-you cards. For corporate events, drop it in the team Slack. For family events, email it to everyone who was there (and the few who couldn't make it).
If you want to go further, Photogala's customization options let you brand the gallery itself with your event's colors, fonts, and logo. That branded gallery becomes a living memory book on its own, one that guests can revisit anytime, comment on photos through the social features, and download their favorites.
Memory Book in 4 Steps
Collect all photos
Set up a QR code gallery before the event. Every guest uploads to one place. No chasing people afterward.
Curate to 50-80 shots
Delete duplicates, pick moments over poses, ensure everyone is represented.
Build the book
Choose a tool, arrange chronologically, write honest captions. Start within 48 hours.
Share it
Send the link or PDF to everyone who was there. Bonus: print copies for the hosts.
All of this comes with your own event.
Setting it up takes five minutes. You can build and view everything before you decide.
Starting from €39 one-timeOne-time payment — No subscription
- No App Required
- Setup in 5 Minutes
- 30-Day Money Back
“I use PhotoGala Deluxe and I'm absolutely thrilled. It was the perfect solution for documenting a sports event. Uploading and downloading via the link is a breeze for every participant. What won me over most were the photo wall and the slideshow – both are quick to set up and look really professional. Big praise also to Peter from the PhotoGala team: he's very easy to reach by email, replies quickly and even took my suggestions on board and added new features that made my slideshow even better. You rarely get support this dedicated. A clear 5-star recommendation!”
Written by

I believe event photos should be more than static galleries. They should be live, playful, and unforgettable.
Categories
Related Posts
Bridal Shower Photo Sharing: Collect Every Sweet Moment in One Gallery
Bridal shower photos end up scattered across 15 phones. Here's how to get them all into one gallery before the mimosas wear off.

Maternity Photo Sharing: How to Keep Every Announcement, Bump Shot, and Memory in One Place
Pregnancy announcements land on 4 different apps. Maternity photos get lost in group chats. Here's how to keep every photo in one shared gallery your whole family can access.

Sales Kickoff Photo Sharing: How to Turn a Mandatory Meeting Into a Team Memory
Sales kickoffs are expensive. The photos from them usually disappear into 14 different camera rolls. Here's how to fix that.