Event Photography on a Phone: A Beginner's Guide for Hosts

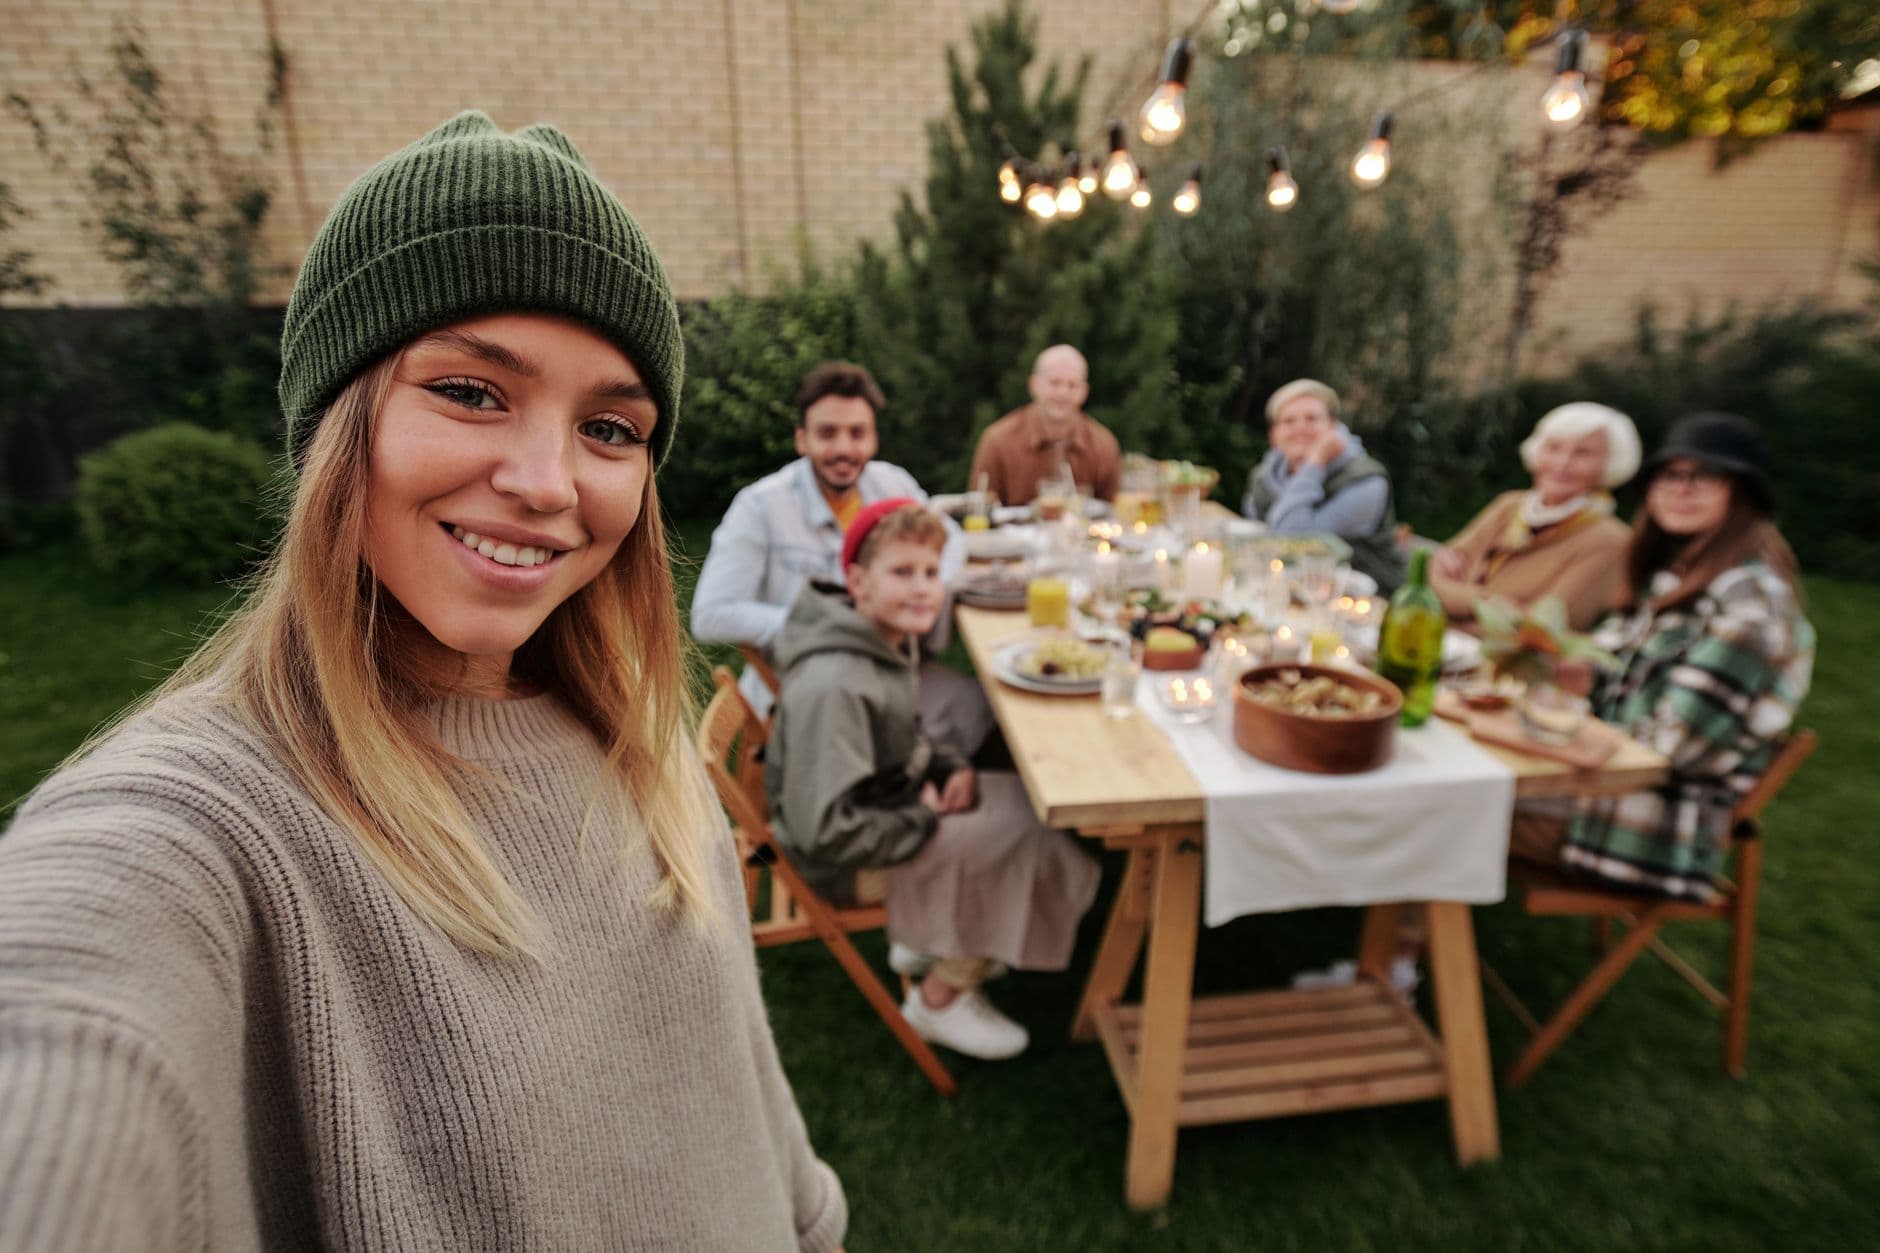
It's the morning after your birthday party. You grab your phone, scroll through the camera roll, and find 47 photos. Eleven of them are blurry. Eight are of the back of someone's head. Three are accidental screenshots. The one group shot where everyone's actually looking at the camera? Someone blinked.
You're not a photographer. You never claimed to be. But as the host, you wanted to remember this night, and the evidence on your phone is... underwhelming.
The gap between forgettable phone photos and genuinely good ones almost always comes down to three moments of intentional setup before you tap the shutter. Not expensive gear. Not editing apps. Three seconds of thought. This guide covers exactly what those three seconds should contain, plus how to make sure your guests' photos don't end up trapped on 40 different phones.
Light Is the Whole Game
Every event photography tip list starts with lighting for one reason: it matters more than anything else. Your phone's sensor is small. In good light, it performs miracles. In bad light, it guesses, and it guesses wrong a lot.
For outdoor events, the golden hour (roughly the hour before sunset) makes everything look warm and flattering. If your event runs past dark, string lights and candles create beautiful ambient light, but they're not enough for sharp photos on their own. Position people near the brightest light source available. A patio lamp, a well-lit doorway, even a car headlight in a pinch.
Indoor events are trickier. Overhead fluorescent lights create harsh shadows under eyes. The fix is simpler than you'd think: have people stand near windows during the day, or angle a bright table lamp toward the group at night. Natural or diffused light consistently produces better results than your phone's built-in flash, which flattens faces and creates that deer-in-headlights look.
The flash trick nobody mentions: If you absolutely need flash indoors, have a friend hold their phone flashlight behind you and slightly to the side. It mimics studio side-lighting and looks ten times better than the built-in flash.
One more thing about light: backlighting (where the light source is behind your subject) is the most common reason event photos turn into dark silhouettes. If the sunset looks gorgeous behind your friends, your phone will expose for the bright sky and turn your friends into shadows. Tap their faces on screen to force the exposure where it matters. This is the single most useful phone photography trick that most people skip over completely.
The 3-Second Setup for Every Shot
Before you tap that shutter button, run through this mental checklist. It takes three seconds and transforms the photo.
One: check the background. Is there a trash can behind the birthday girl? A stranger walking through the frame? A bright exit sign pulling attention away? Move two steps to the left or right. It costs nothing and fixes everything.
Two: get closer. Digital zoom is your enemy. It turns sharp photos into grainy mush. If you want a tighter shot, move your feet. Walk up. Fill the frame with the thing you actually care about. A photo of someone laughing from three feet away is infinitely better than a photo of someone laughing from across the room at 5x zoom.
Three: hold steady. Tuck your elbows against your body. Hold the phone with both hands. Breathe out before you tap. This sounds ridiculous, but camera shake at events (low light + one-handed holding + excitement) causes more blurry photos than anything else. If there's a table or wall nearby, lean against it.
That's it. Background, distance, stability. Three seconds. Your hit rate will double overnight. And if you're collecting photos from guests too (which you should), sharing these three tips with them makes a noticeable difference. We wrote a full guide on getting non-tech-savvy guests to participate that covers this in more detail.
Group Photos: The Hardest Easy Thing
Group photos at events look simple. Get everyone together, point the phone, done. In practice, group photography is one of the most technically demanding areas in event photography. Someone's always blinking, turning away, or hidden behind someone taller.
Here's what actually works for phone group shots:
Arrange by height, not by friendship. Tall people in the back, shorter in front. This sounds obvious, but at events people group by who they know, which means the 6'2" uncle stands in front of the 5'4" cousin every time. Take two seconds to rearrange. Nobody minds.
Hold the phone at chest height, not overhead. The classic "hold the phone way up high" angle works for selfies, but for groups of 8+, it distorts faces at the edges and makes everyone look up awkwardly. Chest height, arms extended, slight angle down. If you need height, stand on a chair.
Take five shots, not one. In a group of 10, the probability of everyone having their eyes open in a single photo is surprisingly low. Burst mode (hold down the shutter on most phones) captures 10+ frames in a second. Pick the best one later. This alone saves more group photos than any composition trick.
For larger groups, say 15+ people, consider using your phone's wide-angle lens (most modern phones have one). It captures a wider field without the distortion of standing too close. Just make sure the people at the edges aren't cut off at awkward angles.
If you're hosting a wedding or bigger celebration, check out our complete wedding photography shot list for a detailed breakdown of which group combinations to capture.
Ready to create your gallery?
The Real Problem Isn't Taking Photos
Most event photography guides focus entirely on how to take better photos. That's helpful, sure. But the actual problem most hosts face isn't quality. It's collection.
Imagine a birthday party with 30 guests. Everyone takes photos on their own phone. By the end of the night, there are maybe 200 photos scattered across 30 devices. The host has 47 of their own, and zero of the ones their cousin took of the surprise entrance, or the candid of grandma laughing at the gift table.
The old approach: a WhatsApp group where someone says "everyone send your photos!" and then three people actually do it, two weeks later, heavily compressed. We covered why this approach falls apart at scale in a separate article. The short version: friction kills sharing. Every extra step between "I took a nice photo" and "it's in the shared album" loses people.
The approach that works: a QR code on a table, a napkin holder, or printed on a small card. Guests scan it with their phone camera, the gallery opens in the browser (no app to download, no account to create), and they upload directly at full quality. Takes about 15 seconds from scan to uploaded photo. You can set one up with Photogala's Free Demo plan in about five minutes, no credit card needed.
Guests pick their best shots and upload in seconds.
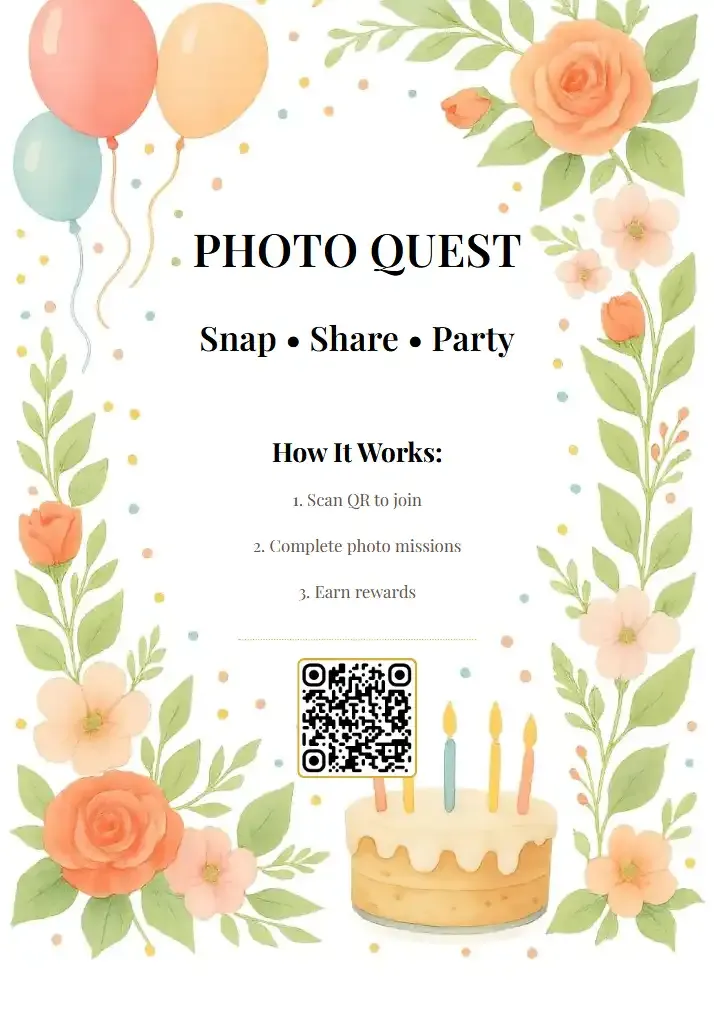
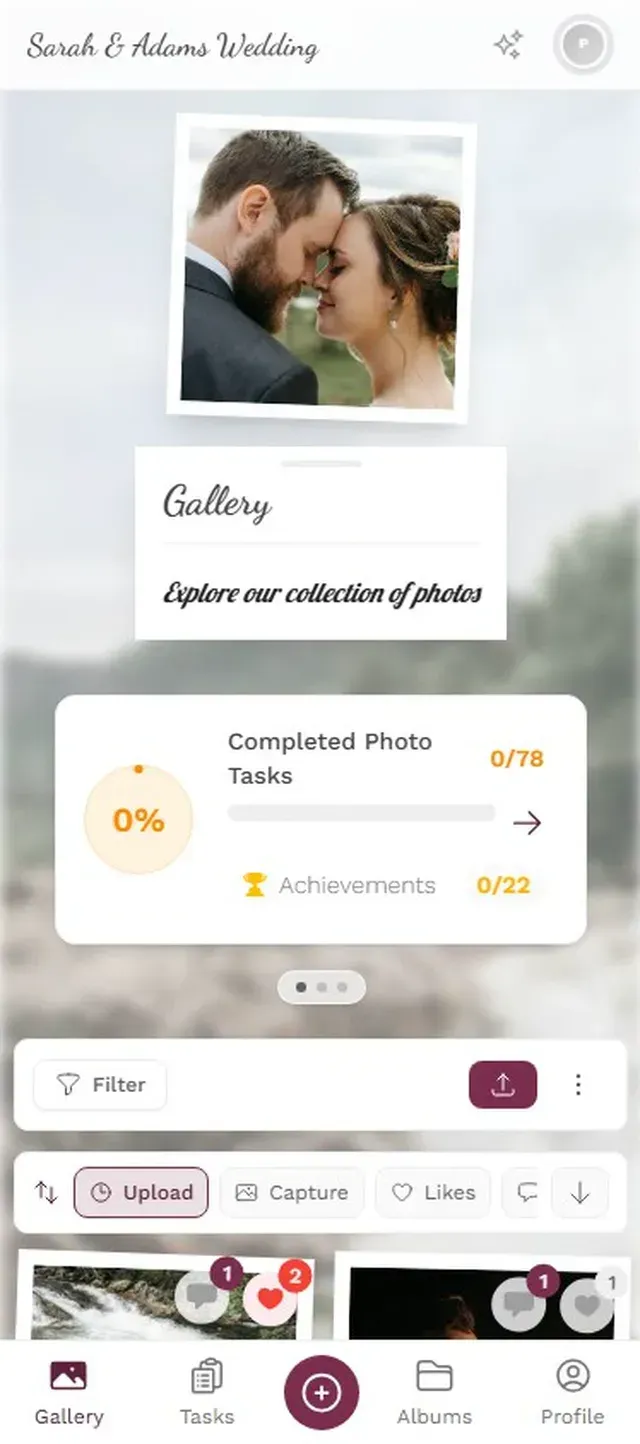
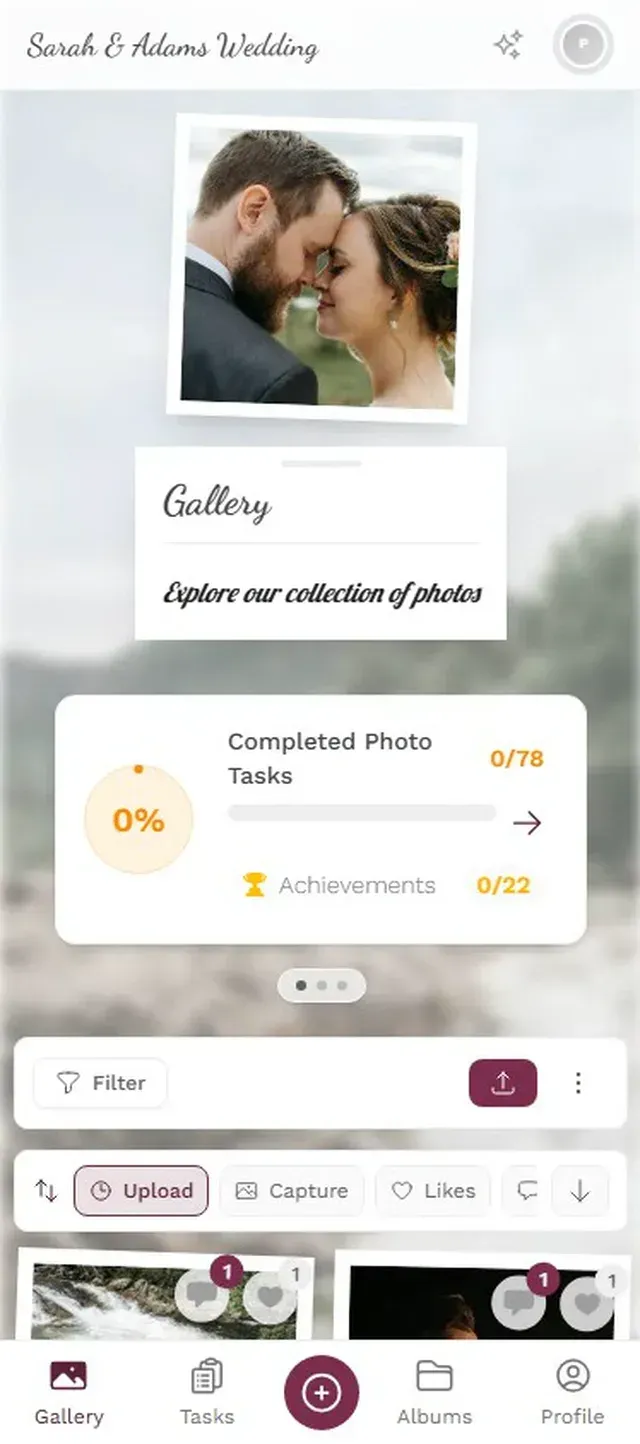
The difference is night and day. Instead of chasing people after the event, photos arrive while the party is still happening. And because there's no download or sign-up step, even the least tech-savvy uncle can do it. Our guide on collecting guest photos automatically walks through the full setup.
Turn Guests Into Active Photographers
Collecting photos is one thing. Getting guests to actually take good photos is another. Most people at events are passive photographers. They snap a few shots when something obviously photo-worthy happens (the cake, the toast, the group) and pocket their phone for the rest.
The trick that changes this: photo challenges. A printed card or an in-gallery prompt that says "Capture the funniest dance move" or "Find the oldest photo on your phone and recreate it." Suddenly guests are looking for photo opportunities instead of waiting for them.
Photogala lets you set up challenges with example preview photos that show guests what you're looking for. You can create formats like photo roulette (guests get a random reference image and have to mimic it) or themed challenges ("recreate this famous movie scene"). The challenges include a leaderboard and points system that adds a competitive edge. A milestone birthday where the guest who captures the most creative photo wins a small prize? Participation jumps noticeably.
This works especially well for events where people don't all know each other, like corporate team events or mixed friend groups. Challenges give people a reason to interact and photograph beyond their own circle. We covered the psychology behind why easy sharing increases participation if you want the deeper explanation.
What to Do With the Photos After
So the event is over. You've got your own shots plus everything guests uploaded. Now what?
First: don't try to sort everything the night of. You'll be tired and you'll delete things you'll regret. Wait a day or two, then go through the gallery with fresh eyes.
Second: share the collection back with guests. This is the part people forget. Guests contributed their photos because they want access to everyone else's too. With a QR code gallery, the same link that let them upload also lets them browse and download the full collection. No need for a second sharing step.
For events with a live photo wall (a TV or projector showing photos as they're uploaded), the after-event sharing feels natural. Guests saw the photos appear in real-time during the party. They already know the gallery exists. They'll check back the next day.
If you had content moderation enabled (useful for larger events or anything with a public screen), do a quick review of the queue before sharing the gallery link more broadly. Ten minutes of moderation saves potential awkwardness.
For more ideas on what to do with photos from specific event types, check out our guides on milestone birthday photo sharing, backyard wedding photos, and outdoor event photography.
A Quick-Start Checklist
Here's everything above, condensed into what you actually need to do before your next event:
Before the Event
Set up your gallery
Create a shared gallery and generate the QR code. Print a few copies for tables or the entrance.
Scout the light
Visit the venue beforehand (or arrive early). Find the spots with the best natural or ambient light for photos.
Add 3-5 photo challenges
Give guests creative prompts so they actively look for shots instead of passively snapping.
Brief one friend
Ask one photo-savvy guest to help wrangle group shots. You'll be too busy hosting.
One honest caveat: Photogala is browser-based, not a native app. This actually helps participation (no download barrier), but it means you don't get push notifications when someone uploads. That's a trade-off. The upside is that even your least technical guest can use it. We've found that matters more.
Also worth reading: our practical photo sharing etiquette guide covers what to communicate to guests about what's OK to share and what isn't. Useful for weddings and birthday parties alike.
Ready to create your gallery?
Start sharing your event photos with guests in minutes.
Create GalleryWritten by

I believe event photos should be more than static galleries. They should be live, playful, and unforgettable.
Categories
Related Posts
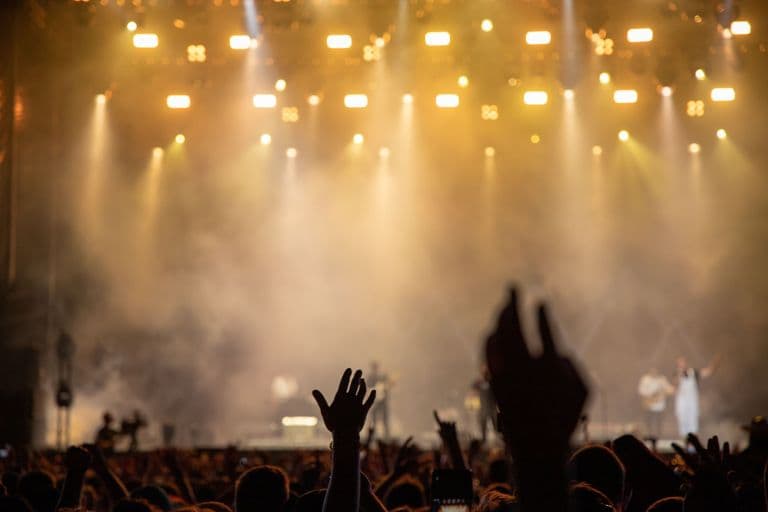
How to Send 1,000+ Event Photos Without Zip Files or Limits
Email caps at 25 MB. WhatsApp crushes quality. ZIP files confuse half your guests. Here's how to share massive photo collections from any event without the usual headaches.
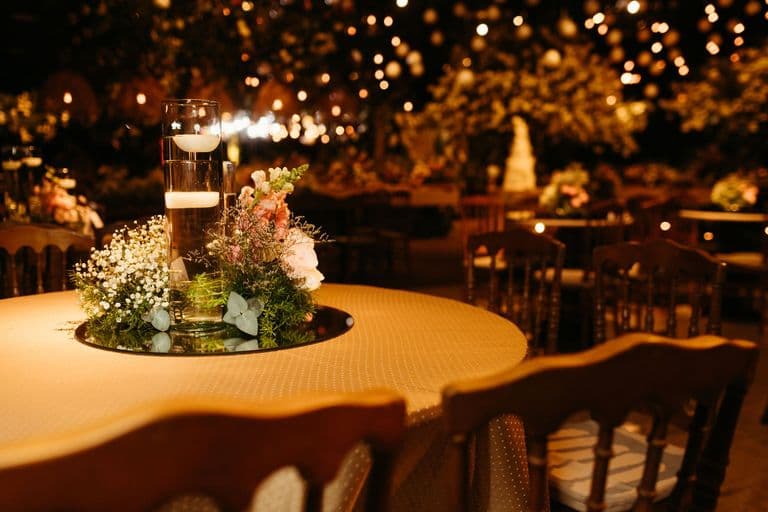
Backyard Wedding Photo Sharing: Big Memories, Small Venue
Small backyard weddings produce surprisingly rich photo collections when every guest becomes a photographer. Here's how to make it happen without a single WhatsApp group.
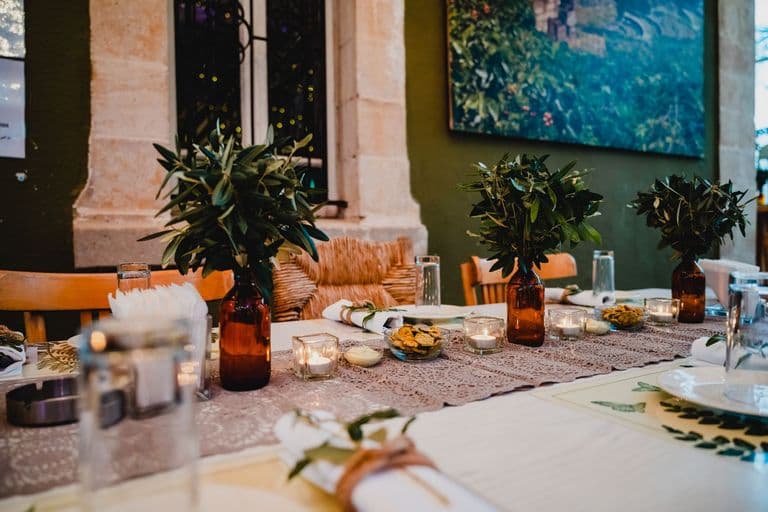
Rehearsal Dinner Photo Sharing: Start Collecting a Day Early
The rehearsal dinner sets the emotional tone for the whole wedding weekend. Here's how to make sure those photos don't vanish into 15 different camera rolls.