Email notifications
As a host you want to know what’s happening in your event – but without your inbox overflowing. In your Account settings you therefore decide, all in one place:
- whether PhotoGala sends you emails at all (a single global switch), and
- which notifications appear in the in-app bell (at the top of the gallery) – 12 types across 3 categories.
These two levels are deliberately separate: the email switch is a pure on/off. The in-app notifications, by contrast, can be tuned individually.
Who sees these settings
Section titled “Who sees these settings”The Notifications tab is meant for registered users – host, admins and moderators with their own account. Anonymous guests can’t access it: instead the dialog shows a Guest account banner with a button to register (see Troubleshooting).
Where to find the settings
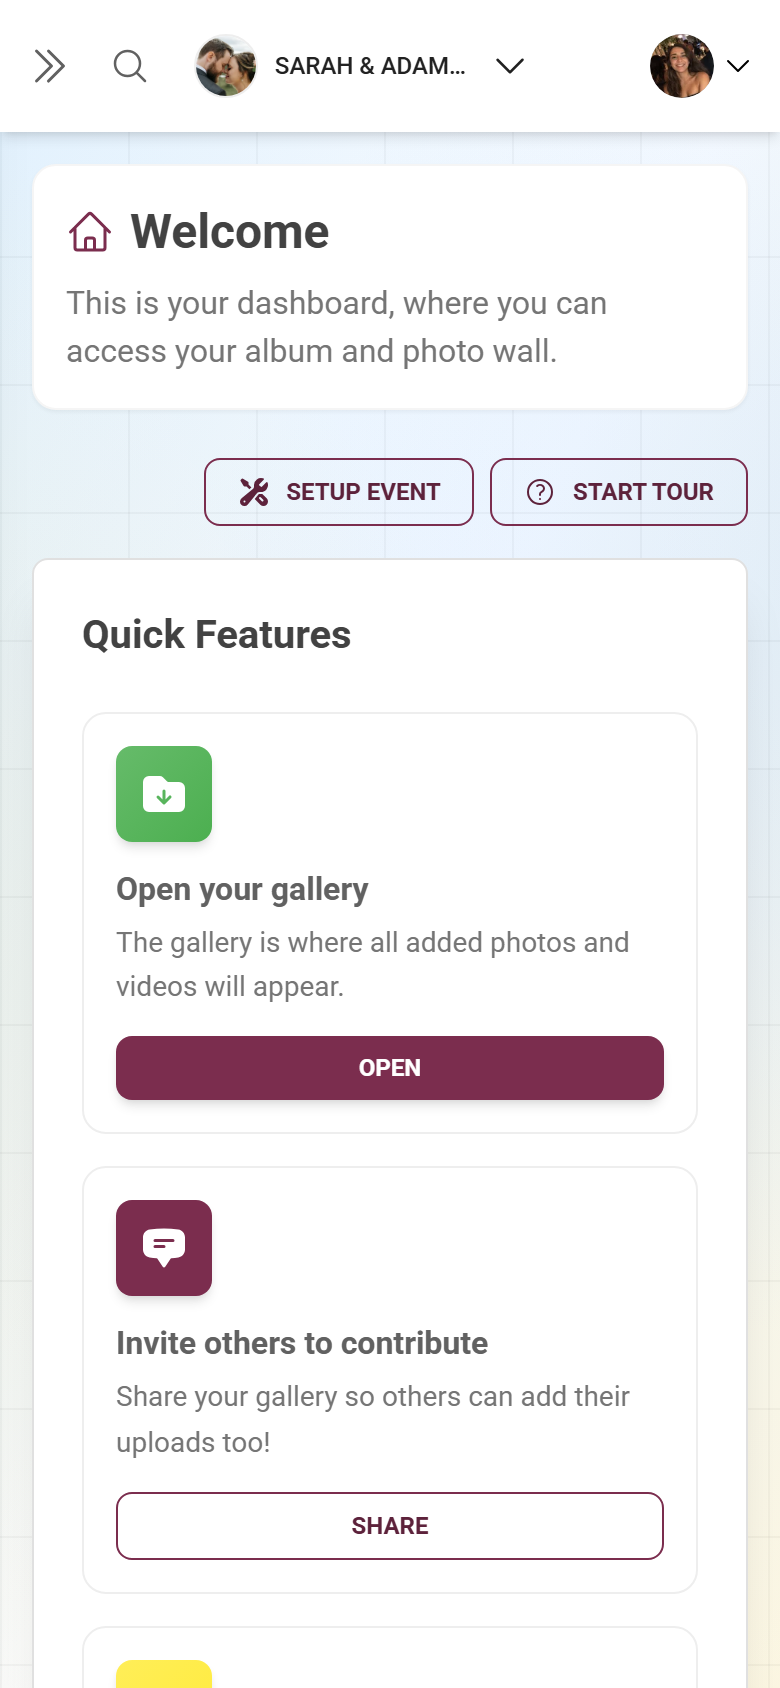
Section titled “Where to find the settings”Notifications live not in the event settings but in your personal Account settings. You reach them through the profile menu in the top right.
-
Open your event admin, e.g. the Dashboard.
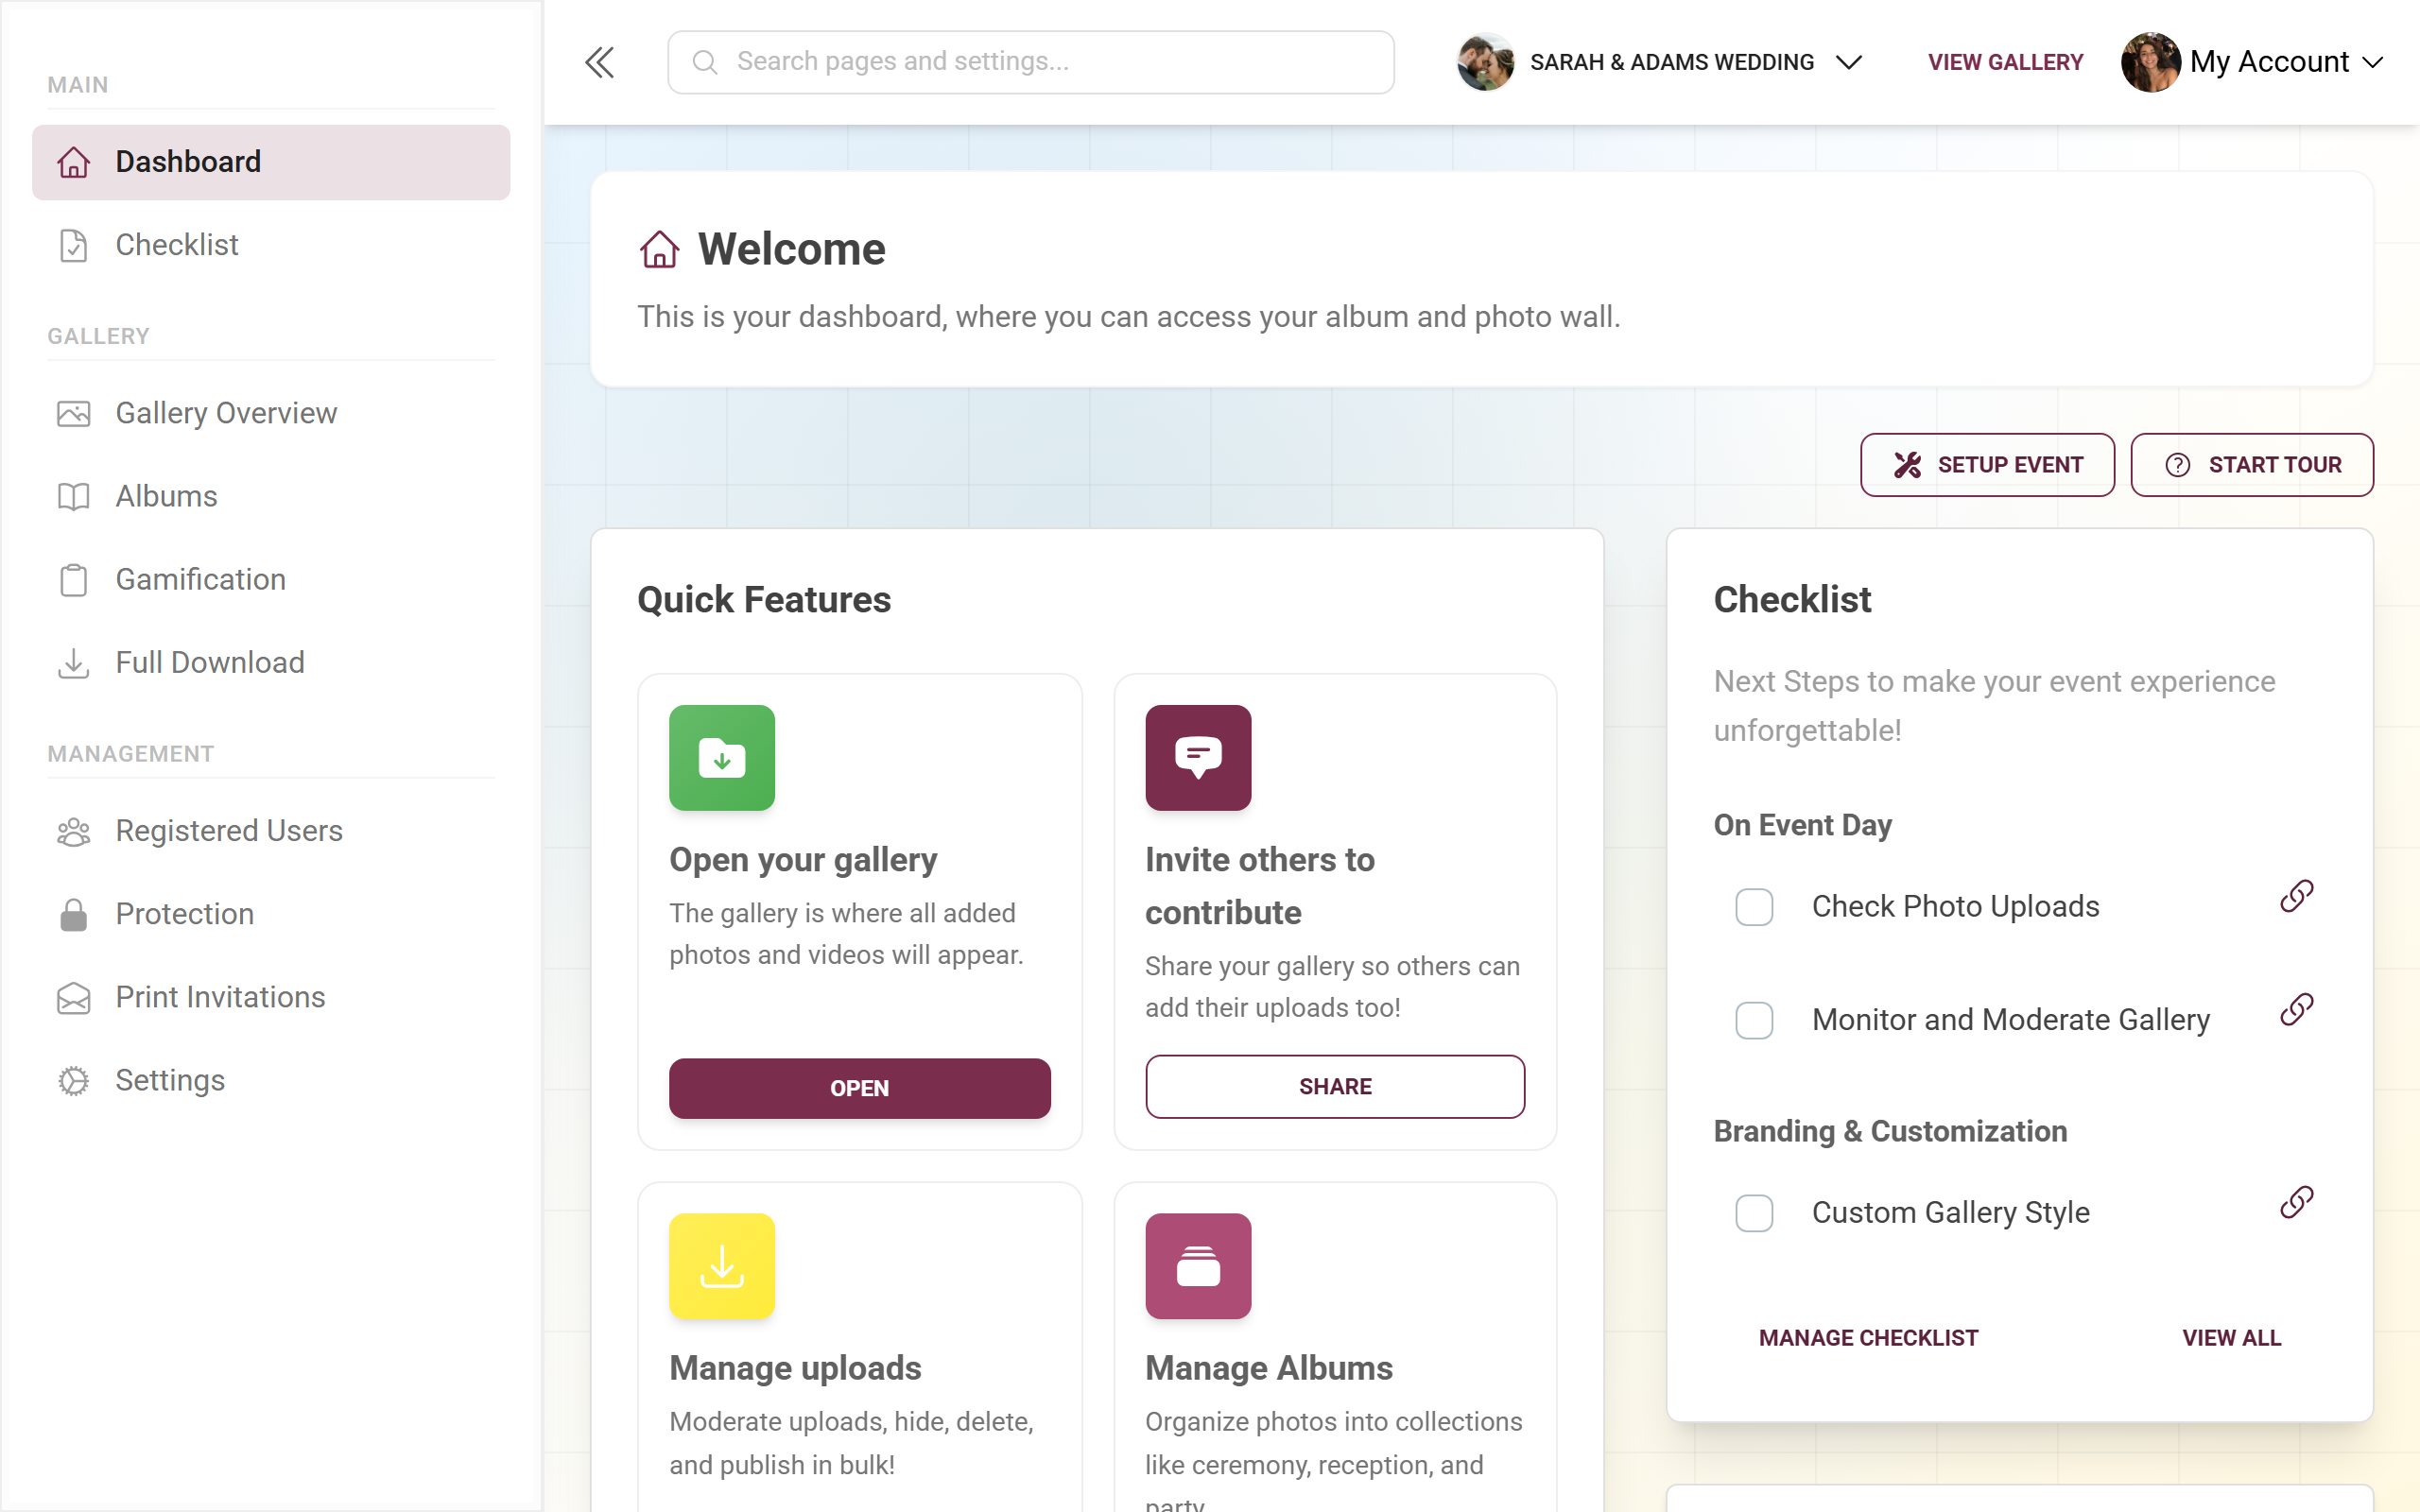
You reach the profile menu in the top right of every admin area. -
Click My account in the top right. The profile menu opens.
The profile menu in the top right takes you to the account settings. -
Choose Account settings. The Account settings dialog opens with the subtitle “Configure your account preferences and settings”.
-
Switch to the Notifications tab at the top of the dialog (bell icon). The address bar then shows
?account-tab=notifications.
The tabs in the Account settings dialog
Section titled “The tabs in the Account settings dialog”The dialog has several tabs, in this order:
- General – the default tab (name, email address, basic account data).
- Security – password and sign-in security.
- Billing – only visible if you have paid at least once. If you’ve never made a payment, this tab is missing entirely. That’s normal – don’t go looking for it.
- Notifications – the tab covered here, always last (for registered users).
The “Notifications” tab in detail
Section titled “The “Notifications” tab in detail”The tab has two sections and a save button at the bottom.
1. Email notifications (the global switch)
Section titled “1. Email notifications (the global switch)”At the very top is the Email notifications section with a single box:
- Title: Email notifications
- Description: “Receive important updates and notifications via email”
- On the right: a toggle
What the switch does:
- On – You receive the emails tied to events happening in your events.
- Off – You receive no system emails at all.
This is deliberately a pure on/off. There is no per-event fine control at the email level – the fine-grained control lives only in the in-app notifications below.
2. In-app notifications (12 types, 3 categories)
Section titled “2. In-app notifications (12 types, 3 categories)”The second section is called In-app notifications. The help text reads: “Choose which notifications you want to see while using the app. Click a category to expand or collapse it.”
These switches control the in-app bell (the notifications that appear at the top of the gallery) – not individual emails.
The 12 types are grouped into 3 collapsible categories. By default all categories are collapsed. Click a category header (arrow icon) to open it. Each header shows a counter “(x/y enabled)” so you can see at a glance how many types inside are active. Each entry has its own toggle – on = the notification appears in the bell, off = it is suppressed.
Category “Achievements” (trophy icon) – 2 types:
| Switch | What triggers it |
|---|---|
| Achievement unlocked | When you unlock a new achievement |
| Role changes | When your role in an event changes |
Category “Interactions” – 6 types:
| Switch | What triggers it |
|---|---|
| @mentions in comments | When someone @mentions you in a comment |
| Replies to your comments | When someone replies to your comment |
| Comments on your photos | When someone comments on your photo |
| Media rejected | When your media is rejected by a moderator |
| Media unpublished | When your media is unpublished by a moderator |
| Processing failures | When your media fails to process |
Category “Activity” (heart icon) – 4 types:
| Switch | What triggers it |
|---|---|
| Likes on your comments | When someone likes your comment |
| Likes on your photos | When someone likes your photo |
| Photos added to albums | When your photo is added to an album |
| Report resolved | When action is taken on your report |
3. Saving – no auto-save
Section titled “3. Saving – no auto-save”At the bottom right is the Save changes button. Click it after adjusting the email switch or individual in-app types:
-
Set the global email switch to On or Off.
-
Open the categories that interest you and turn individual types on or off.
-
Click Save changes at the bottom right. While saving, the button shows a loading state.
-
On success the confirmation “Notification settings saved” appears.
Recommendations for practice
Section titled “Recommendations for practice”- Inbox too full? Turn off the global email switch. The in-app bell is unaffected – you still see everything in the app.
- As a moderator you should keep Media rejected, Media unpublished, Processing failures and Report resolved enabled. That way you notice when moderation-relevant things happen. More on this under Moderation.
- Large events: Likes on your photos and Comments on your photos can fire very often. Turn them off in the app if needed to reduce the noise.
- Several events? Everything here applies account-wide. You set it once and don’t have to deal with it per event.
Edge cases & troubleshooting
Section titled “Edge cases & troubleshooting”“I don’t see the Notifications tab.” You’re probably signed in as a guest. The dialog then shows only a Guest account banner with a Register account button. Register or sign in – the tab appears afterwards. How to turn your guest account into a real account is described under Account & sign-in.
“The Billing tab is missing.” That’s normal if you’ve never made a payment. The tab appears only after your first payment.
“I flipped a switch but nothing happened.” You have to click Save changes. Without that click nothing is applied.
“I still don’t get any emails.” Check in order: (a) is the global email switch On? (b) is the message in the spam folder? (c) is your email address correct and confirmed (the General or Security tab in the same dialog)?
Loading error. On a network error the note “Failed to load notification settings. Please try again.” appears. Close the dialog and open it again.
Related topics
Section titled “Related topics”- Managing registered users
- Moderation – explains the “Media rejected”, “Media unpublished” and report events
- Setting up achievements – relates to “Achievement unlocked”
- Roles & permissions – relates to “Role changes”
- Account & sign-in