Scanning & using the QR code
The QR code is the fastest way in. Important: there isn’t just one. An event can have several QR codes in circulation, and they lead to different places.
How to scan
Section titled “How to scan”Open your phone’s camera app and point it at the code. A prompt appears — tap it, and the page opens in your browser. No account or app needed.
Which code leads where
Section titled “Which code leads where”- Event QR — takes you to the event’s home page or into the gallery. This is the code on the poster and in the share dialog (“Scan with a phone camera to open the gallery”).
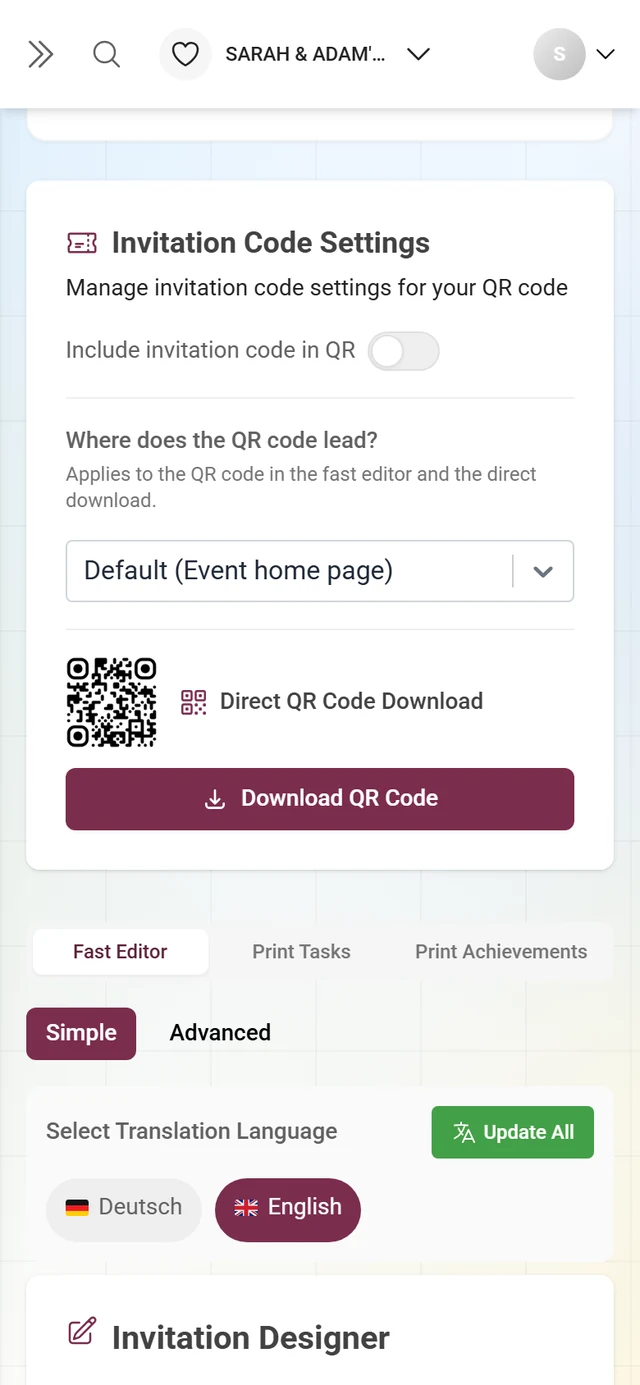
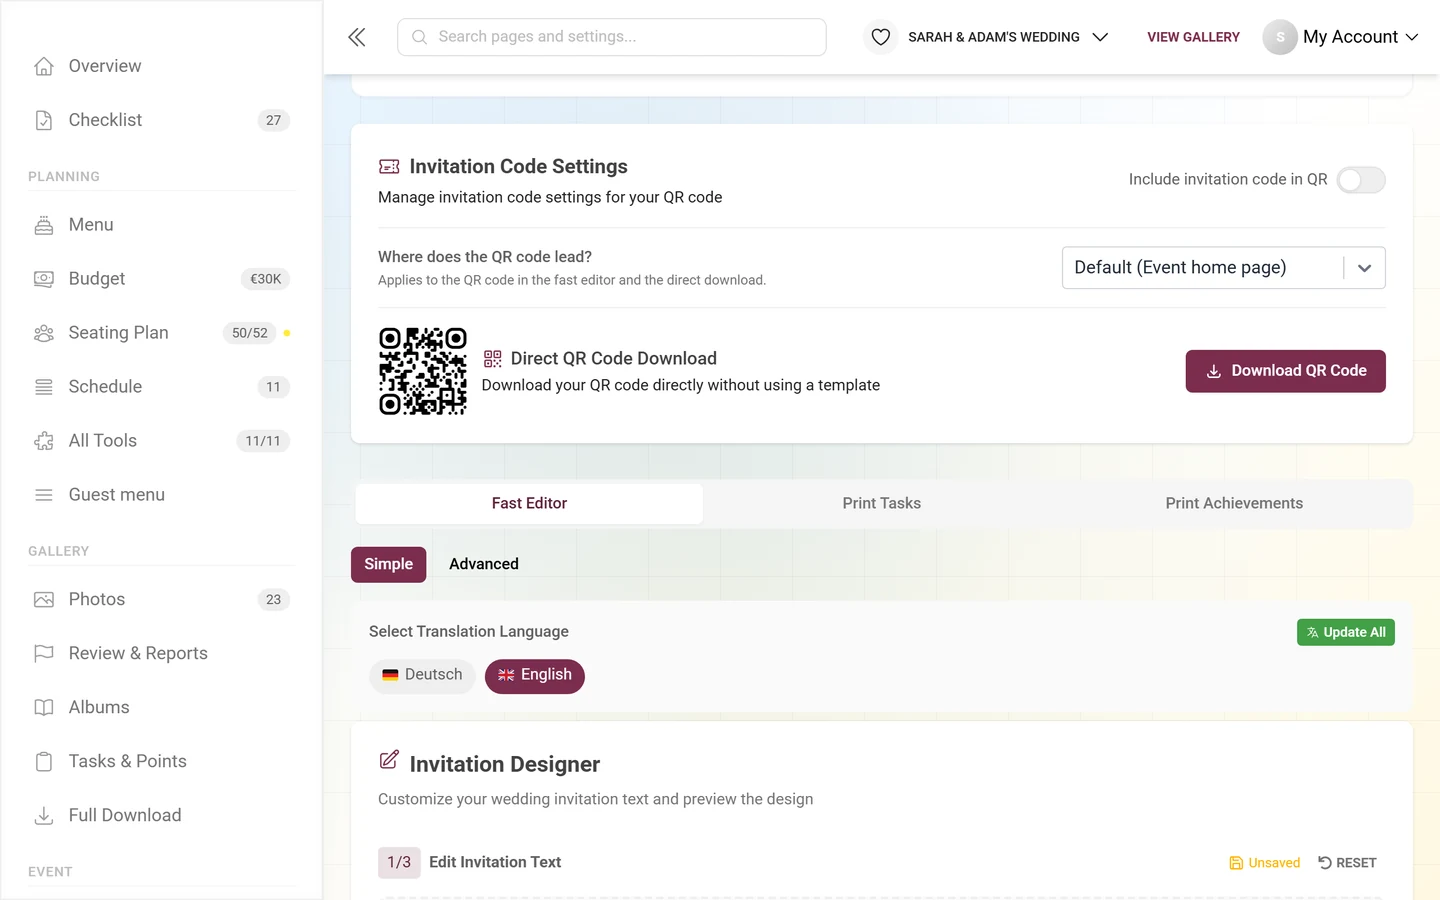
- Tool QR — goes straight to a single tool page: RSVP, Seating Plan, Menu, Schedule, DJ Wishes or the Digital Invitation. The host calls this the Direct link for guests: “Guests scan the QR code and land directly on this tool page — no sign-in required.”
- Printed cards and posters — for photo challenges and achievements the code opens the gallery already filtered to the matching task. In the Design Studio the host can pick the target freely (Link target: Event home page, Gallery or Custom link…).
- PhotoWall — the code in the corner of the screen is labeled Scan to view/upload.
- Share dialog — every guest can generate a code themselves: Scan to access.
A QR code can carry the access code
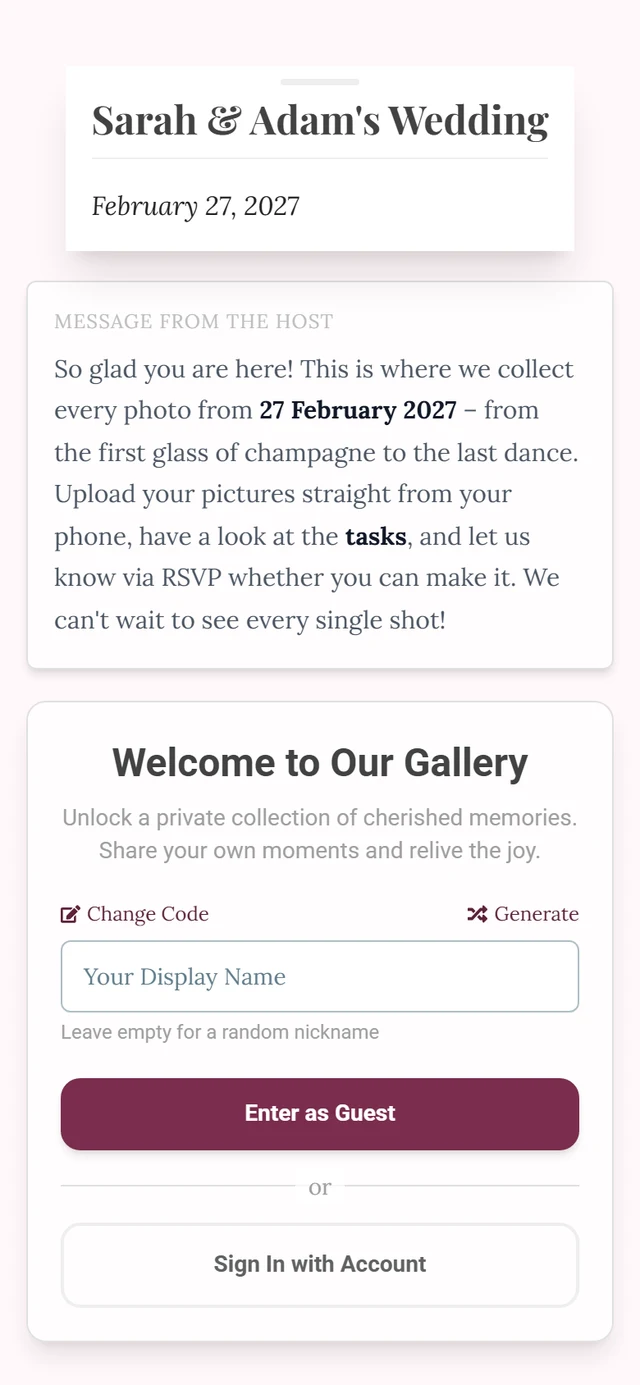
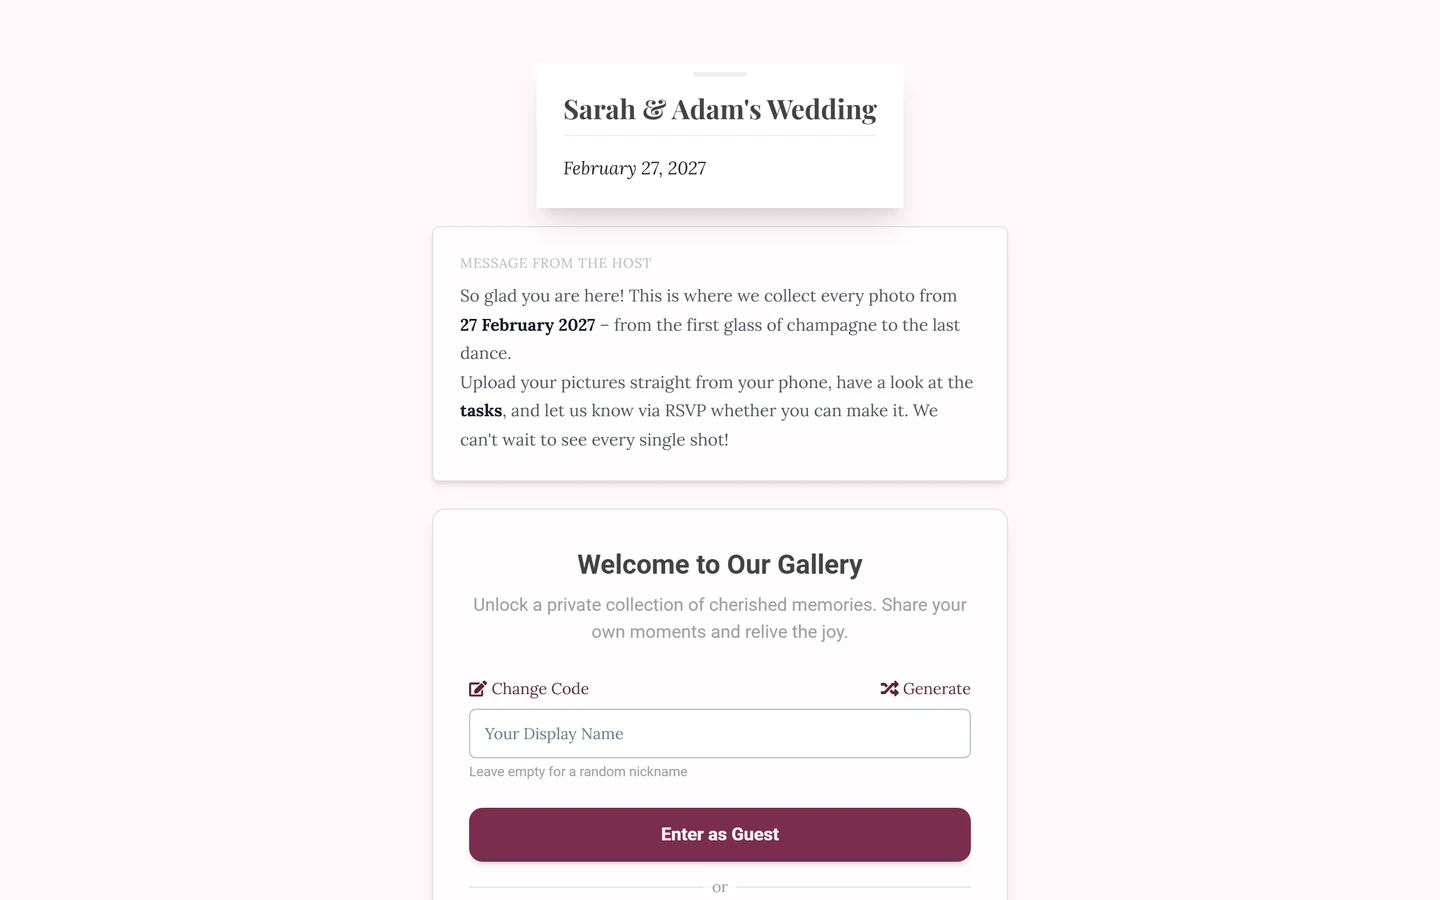
Section titled “A QR code can carry the access code”For password-protected events the host can build the access code into the link. Then you get in without typing anything. They decide this with the Embed password in link switch: “With the password embedded, guests land on the page without typing a password. Without it, they need to enter the gallery password.”
That is why one code may work instantly while another asks for a password.
Important: QR codes can grant different permissions
Section titled “Important: QR codes can grant different permissions”An embedded access code is at the same time an invitation code — and every invitation code carries a role. So which code you scanned also decides what you may do afterwards:
- Viewer — “Can view photos and like them”
- Contributor — “Can upload photos and complete photo challenges”
- Moderator — “Approve/reject content and manage basic event settings”
This explains why two guests at the same event can have different options: one came in via the poster, the other via a card with a different code.
If scanning doesn’t work
Section titled “If scanning doesn’t work”- Make sure there’s enough light and hold the phone steady; move closer until the code fills the frame.
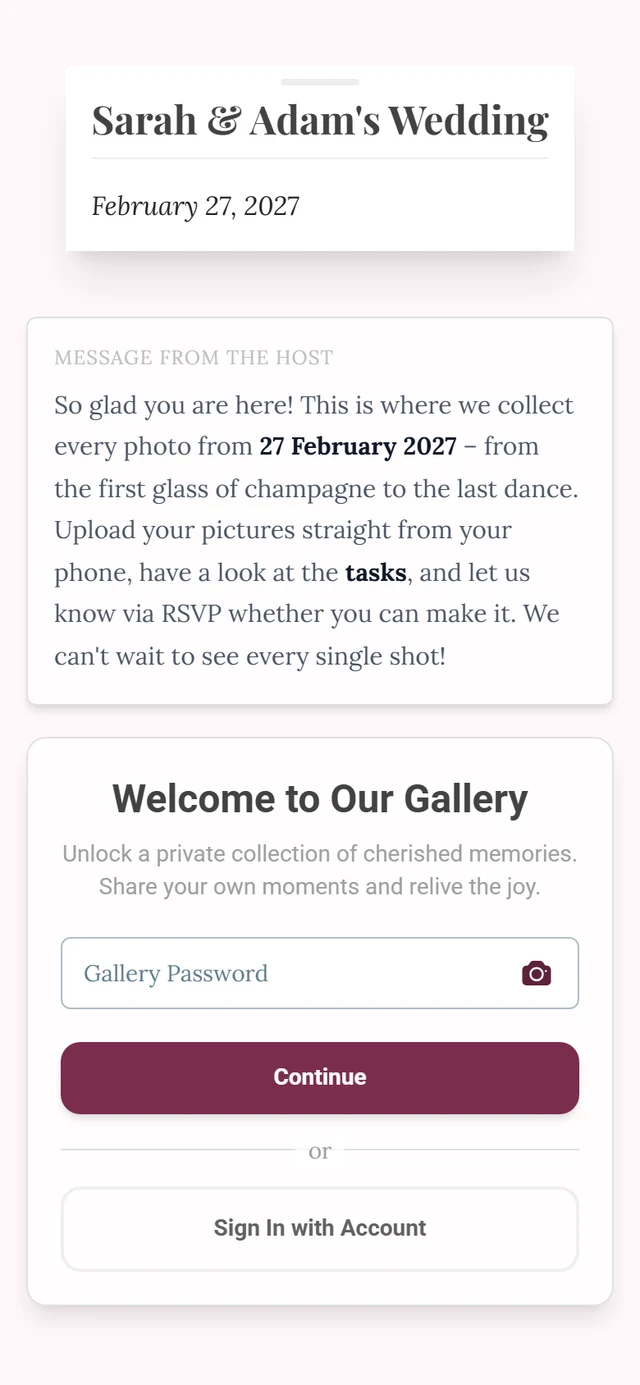
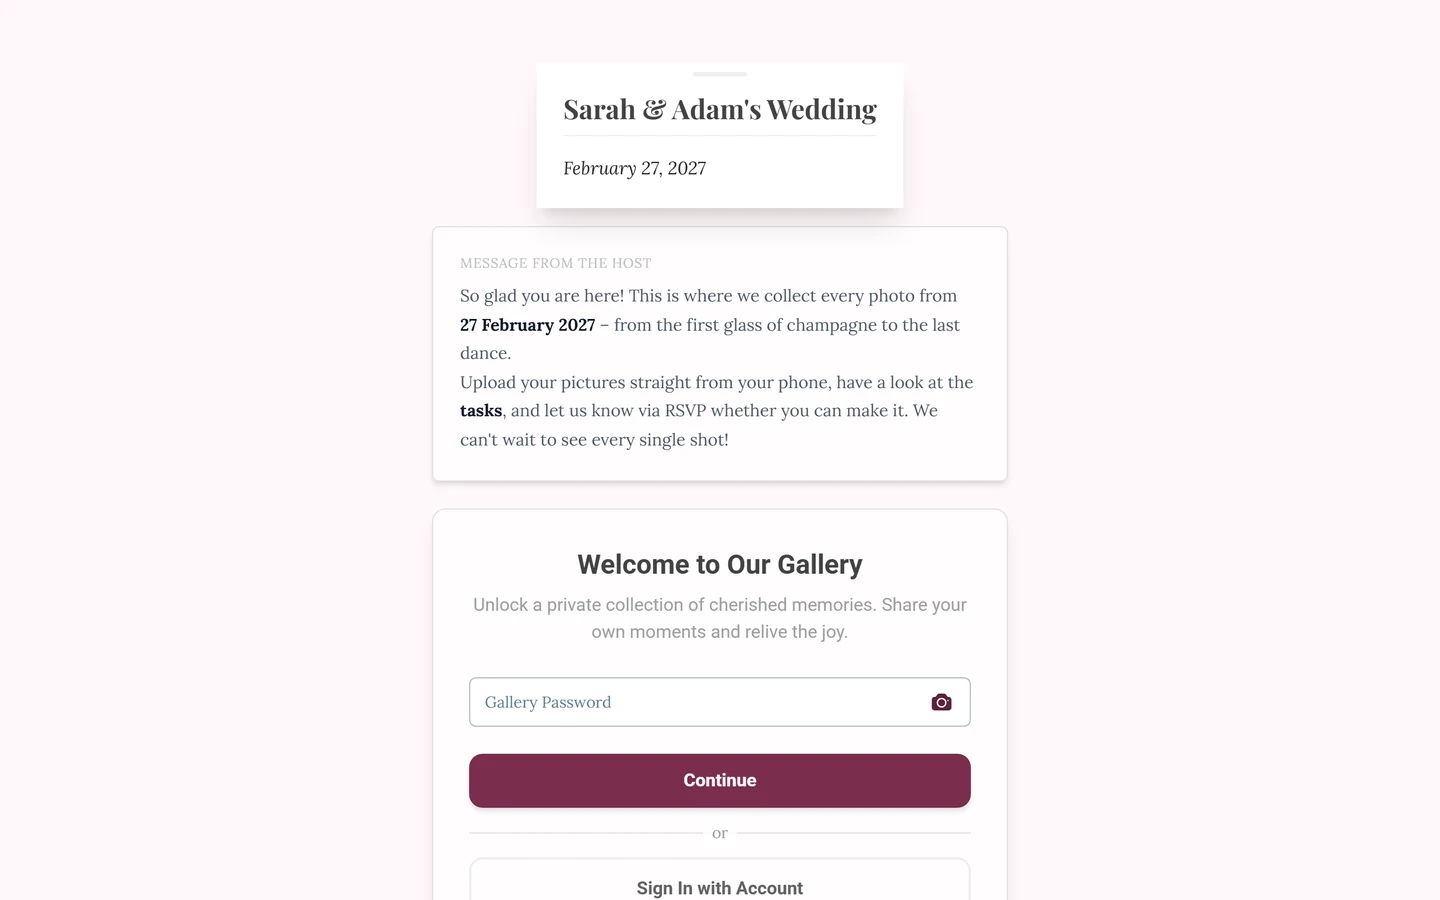
- If the camera app finds nothing, try the scanner inside Photogala: on the password screen there is a camera icon at the right of the field (Scan QR Code). It then says “Point your camera at a QR code to automatically fill the password field”.
- There is always the manual route: type the link printed under the code into your browser, or type the access code into the field.
- If you see This gallery is in the archive after scanning, the code isn’t broken: the host has moved the gallery to the archive, and new guests can no longer join. If you had already joined, open the gallery on the device you joined with, or sign in with your account.