The thank-you note is your closing word: a few lines and an image for your guests once the event is over. The nice part – you prepare it before the event, and afterwards it appears all by itself.
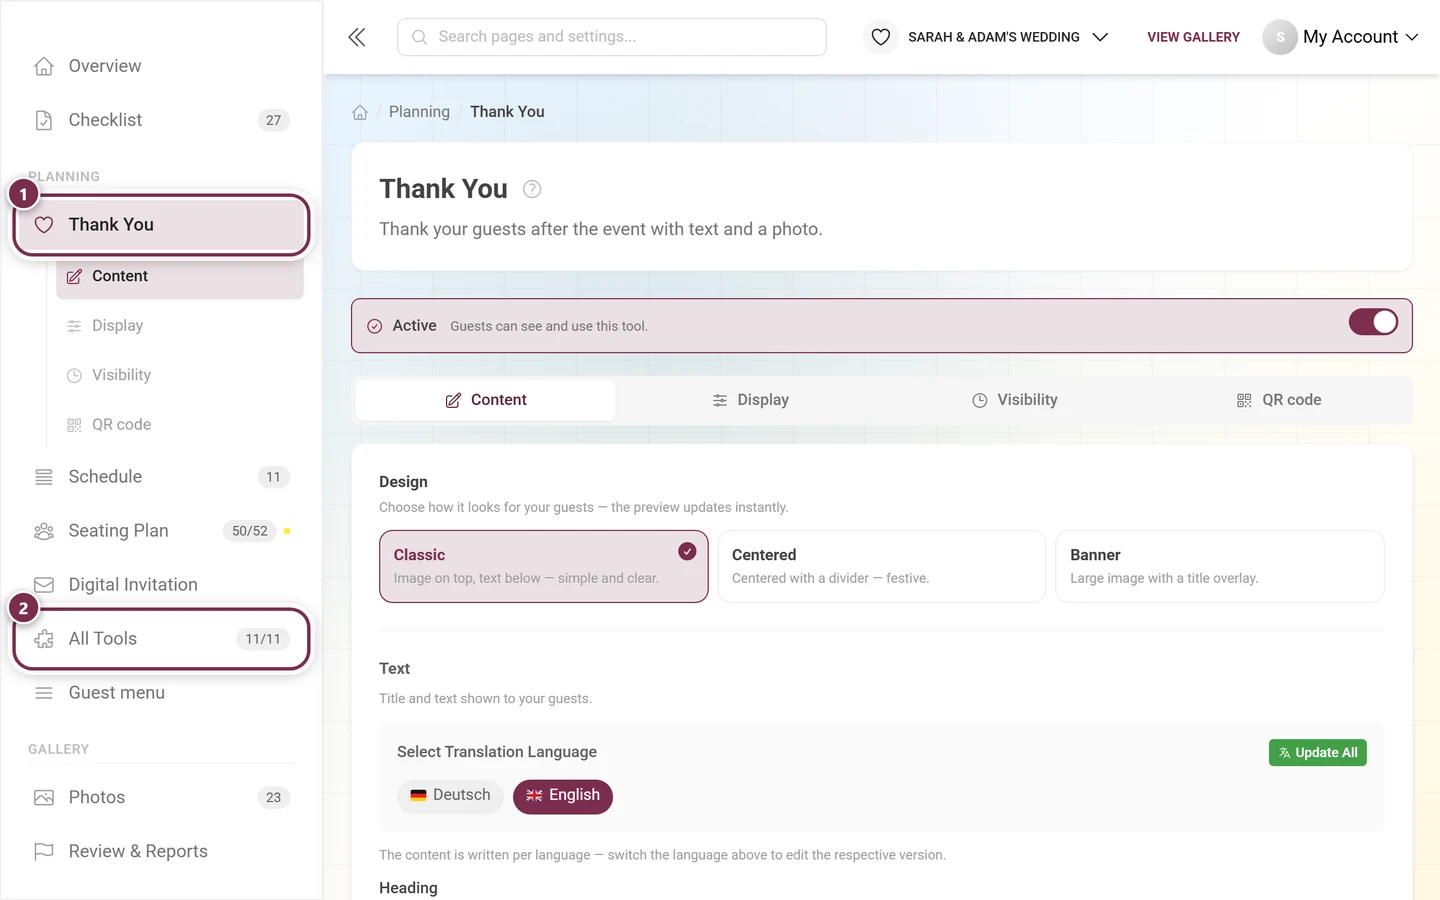
In your event administration: ① Thank You sits in the PLANNING group. While the entry is open, its four tabs are listed underneath. ② All Tools takes you to the overview of every tool – the counter shows how many are currently active.
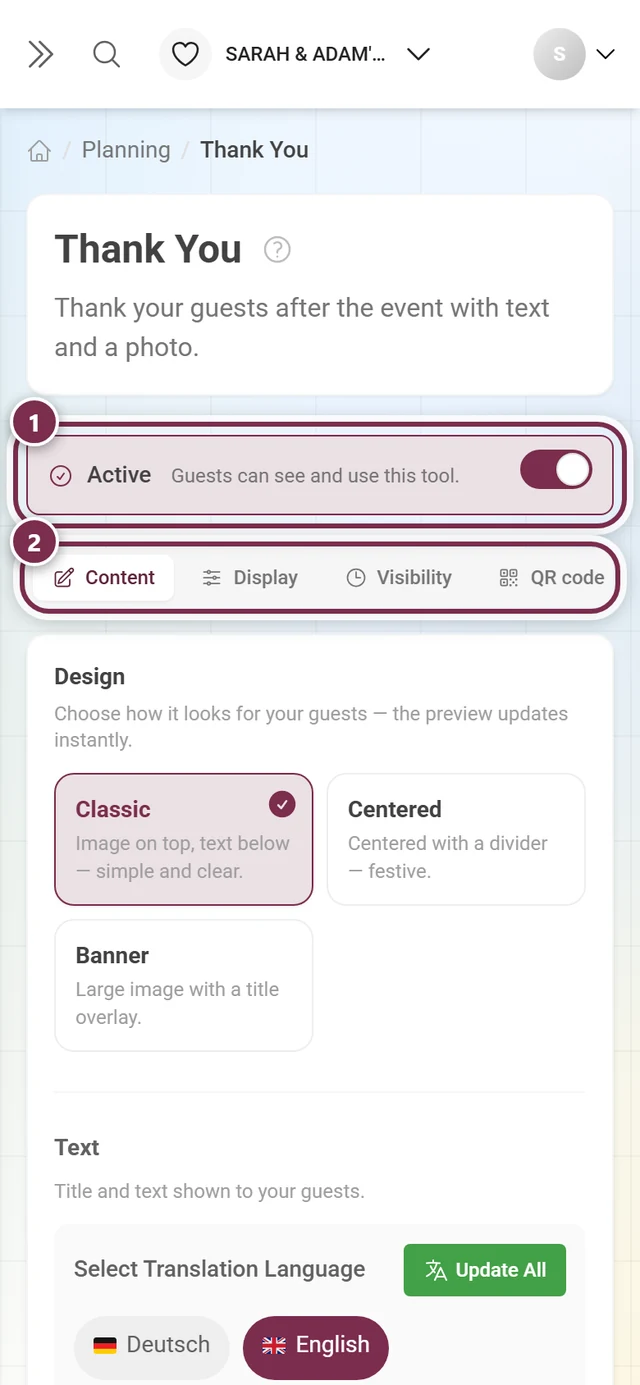
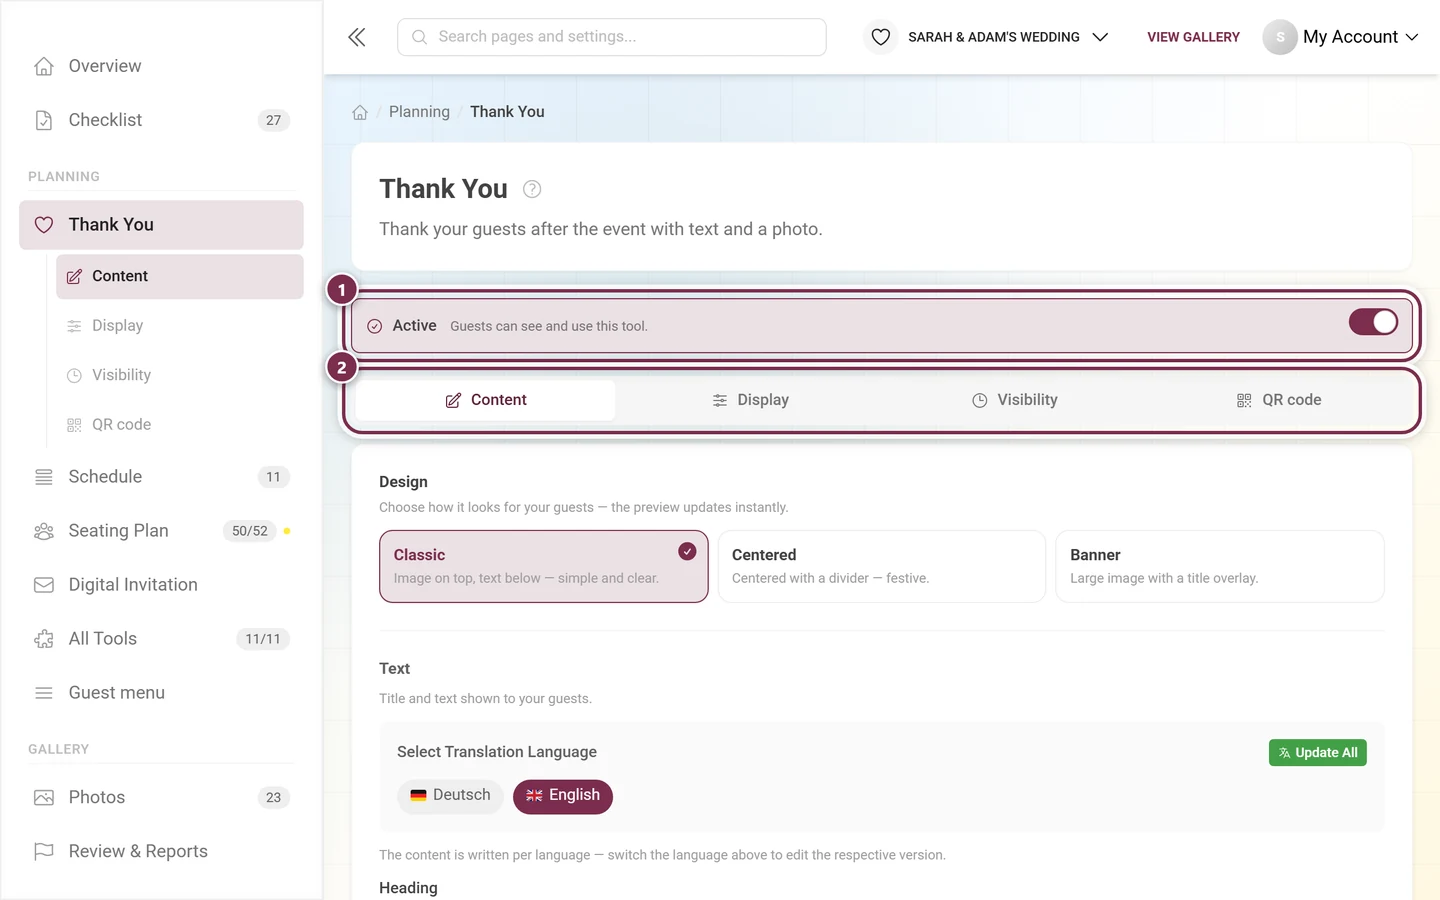
① The Active switch – “Guests can see and use this tool.” ② The four tabs: Content (text and image), Display (where it shows up for guests), Visibility (from when) and QR code (direct link to hand out).
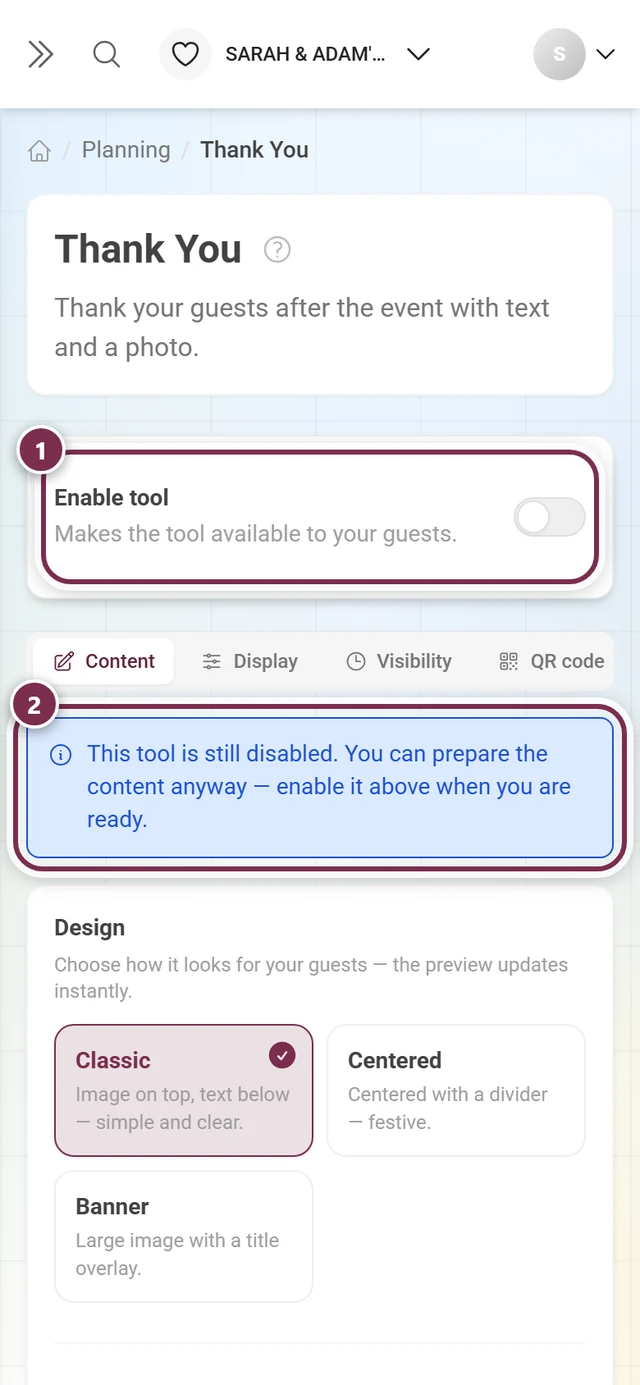
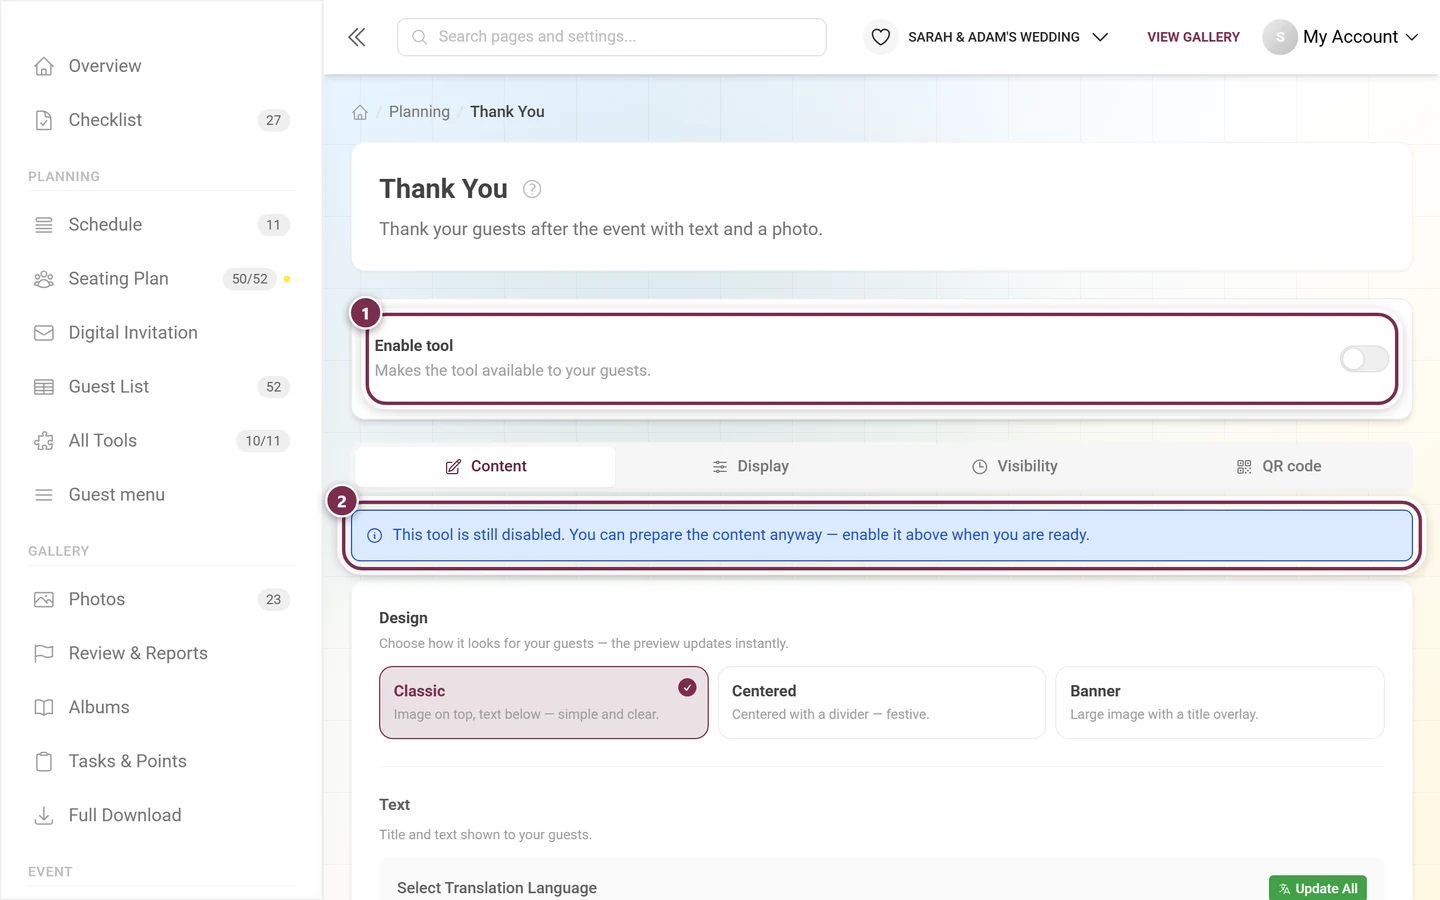
The same tool switched off: ① the header card now reads Enable tool – “Makes the tool available to your guests.” ② Below the tab bar a notice reminds you that you may prepare the content anyway. The entry then disappears from the sidebar and the All Tools counter reads 10/11.
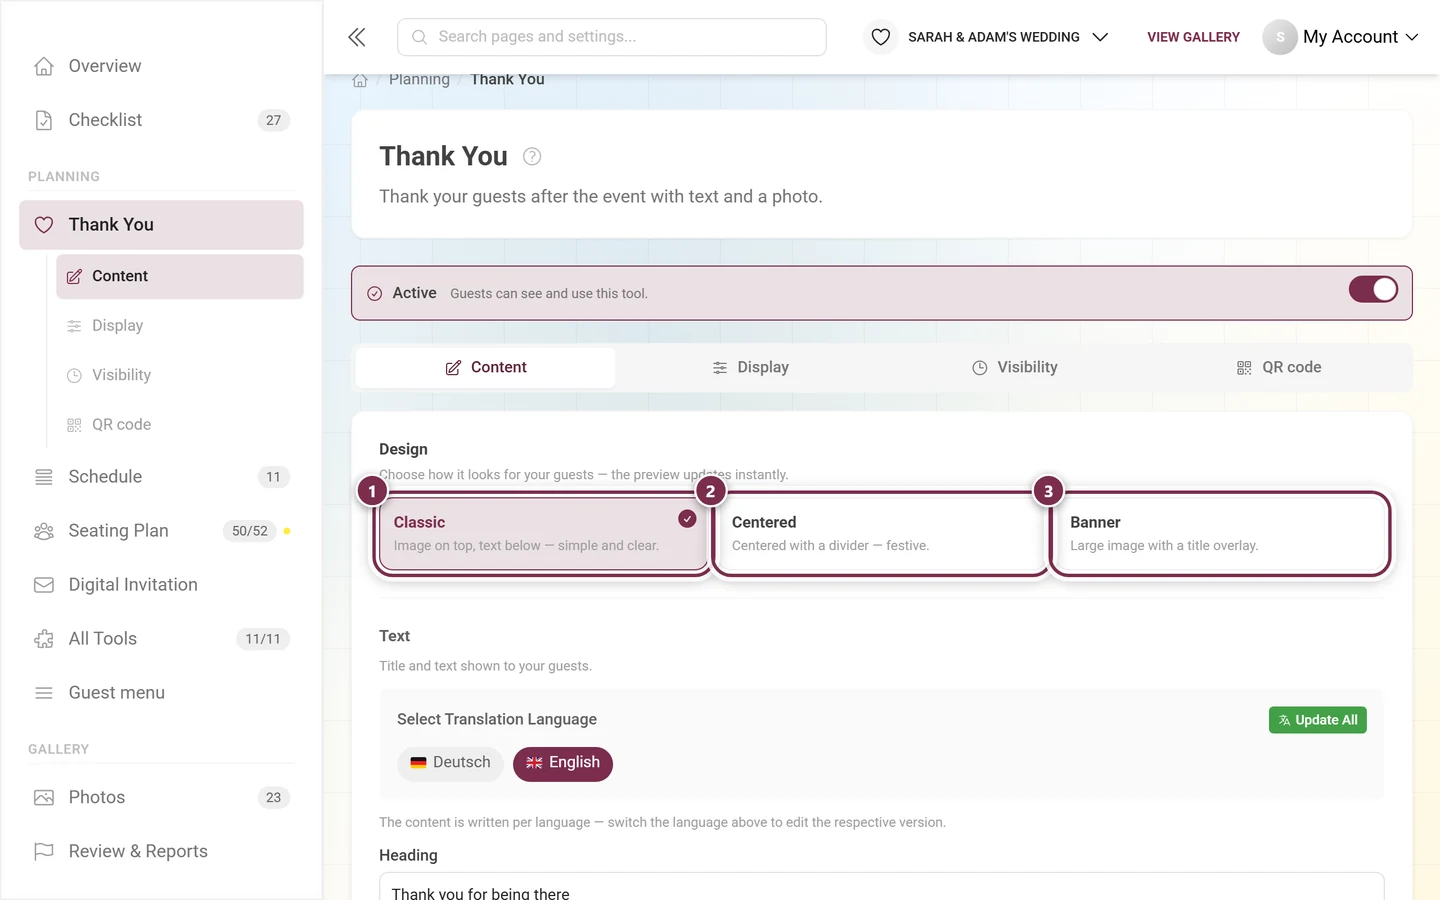
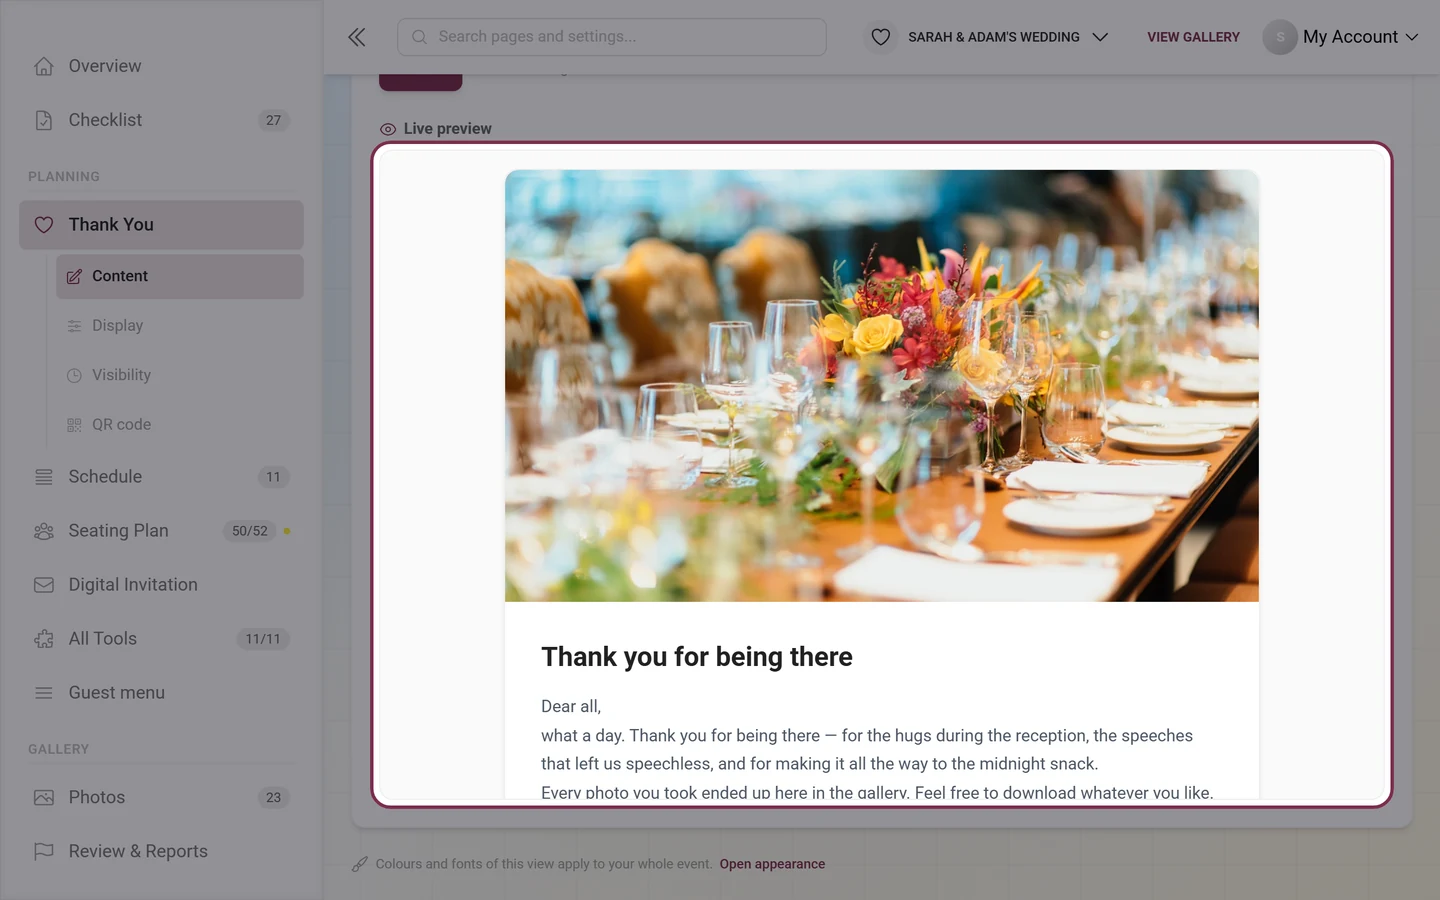
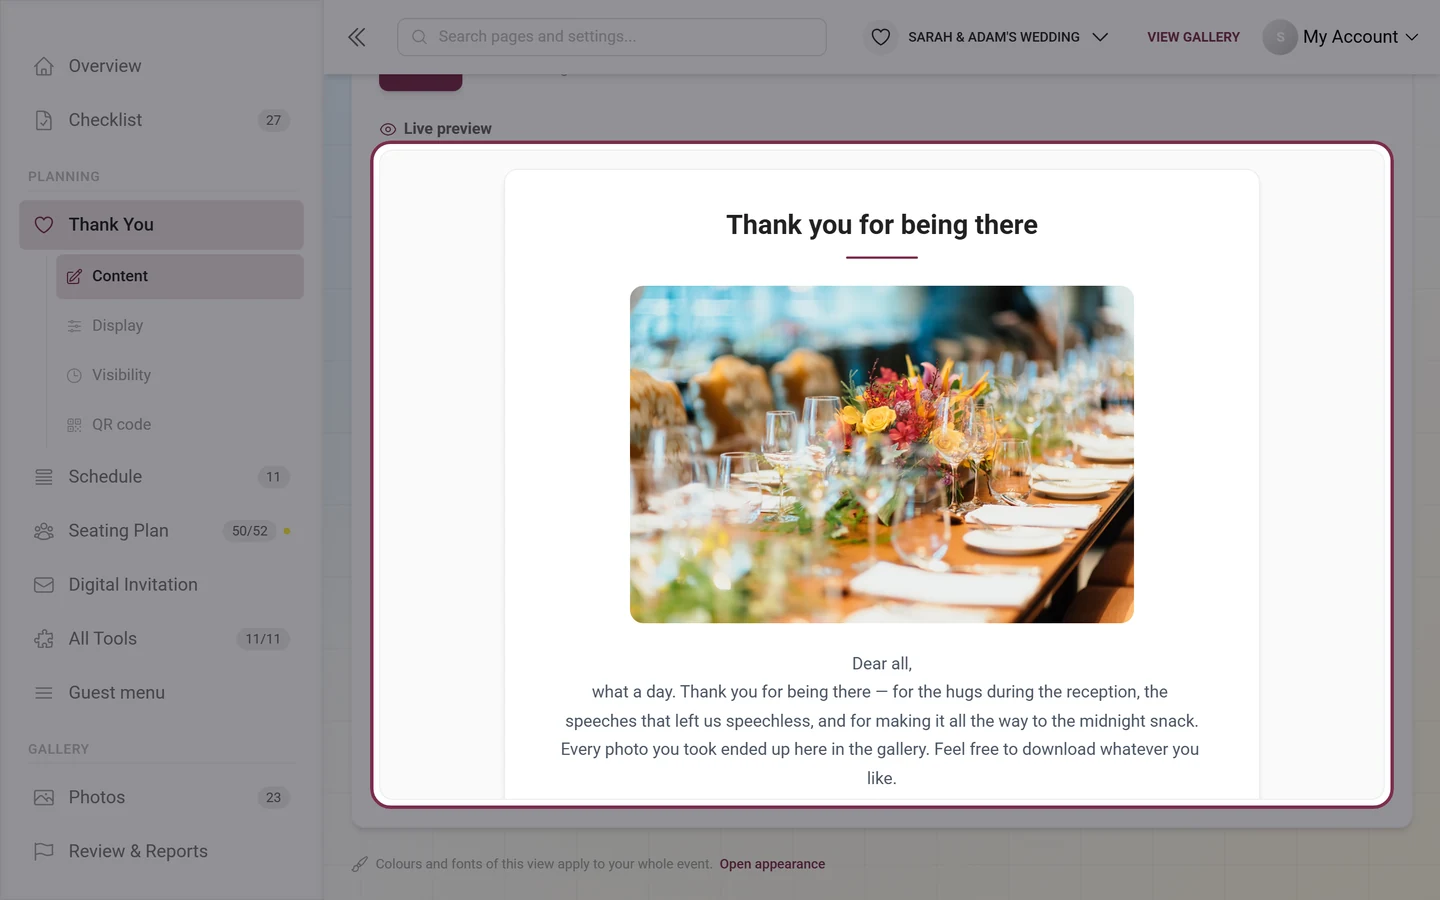
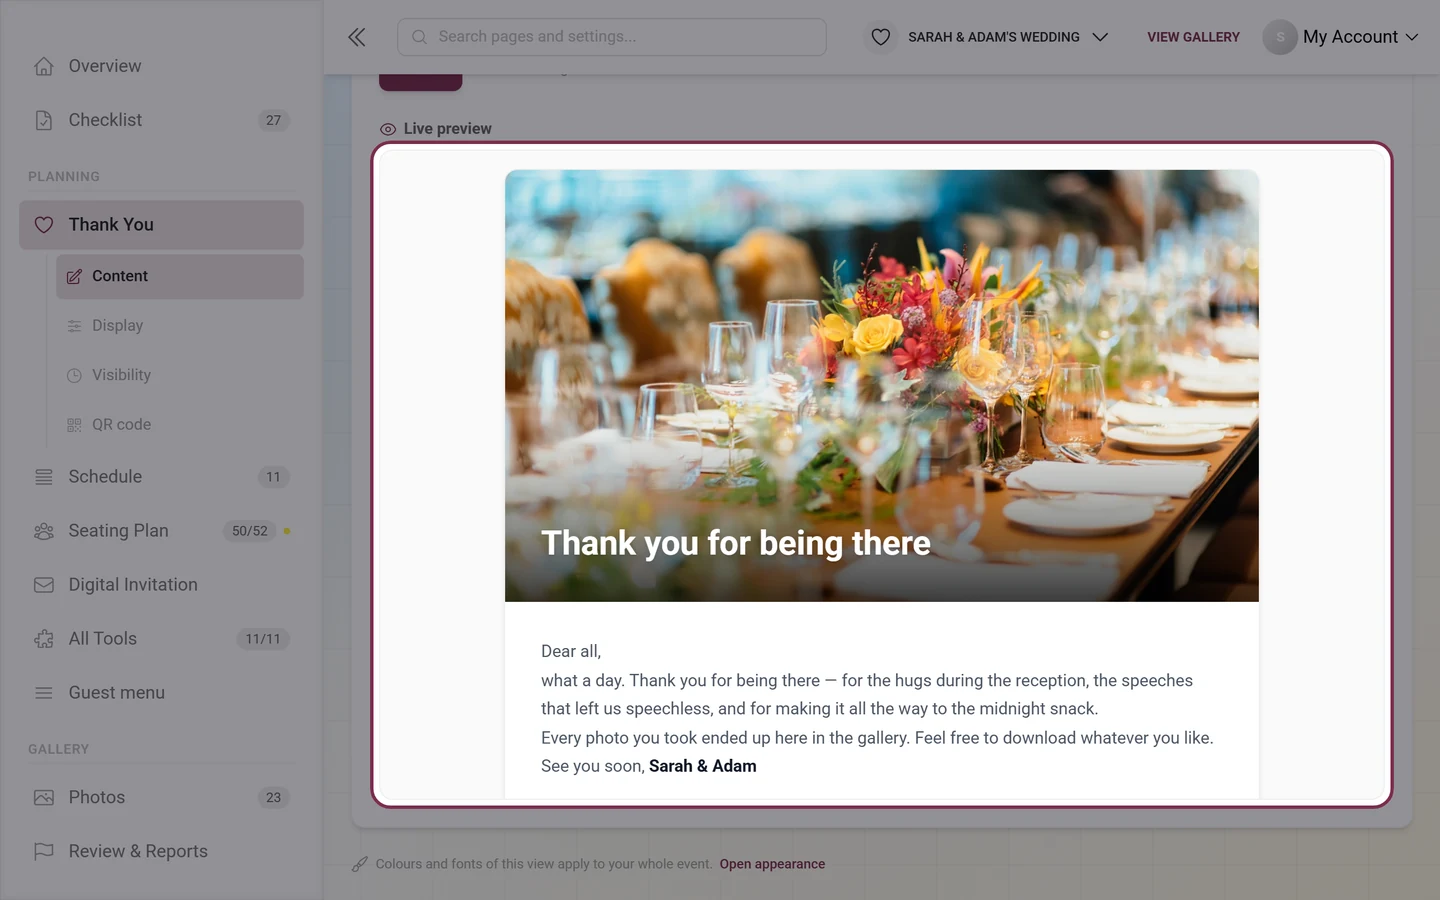
The three designs decide what the page looks like for your guests: ① Classic – “Image on top, text below — simple and clear.” (the default) ② Centered – “Centered with a divider — festive.” ③ Banner – “Large image with a title overlay.” The live preview below follows instantly.
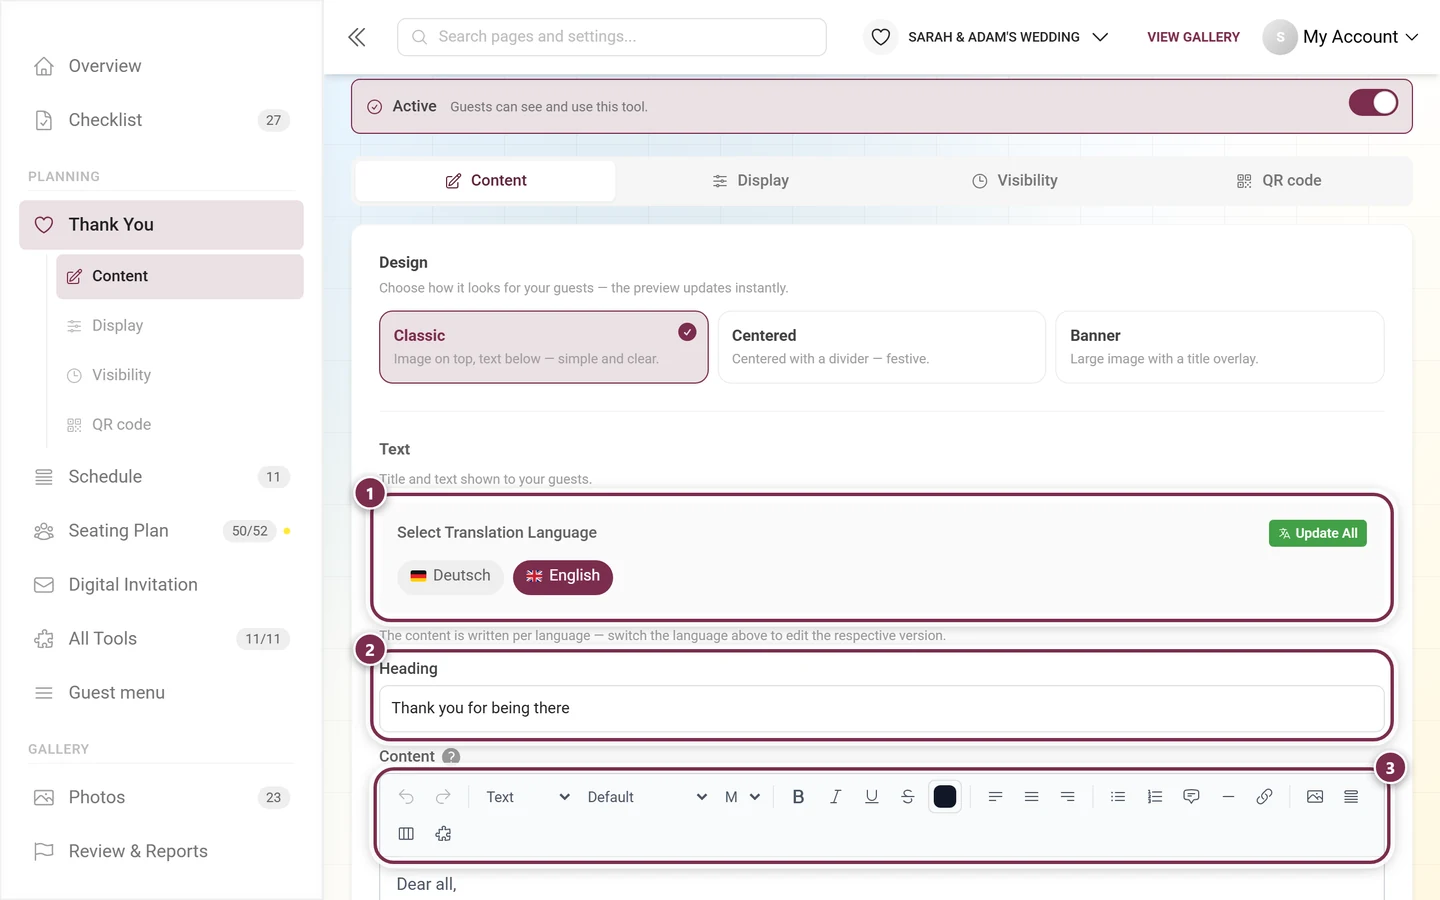
① The language bar: the content is written per language. Use the flags to switch versions; Update All translates the current state into the remaining languages. ② The Heading – here “Thank you for being there”. ③ The editor toolbar for the text itself.
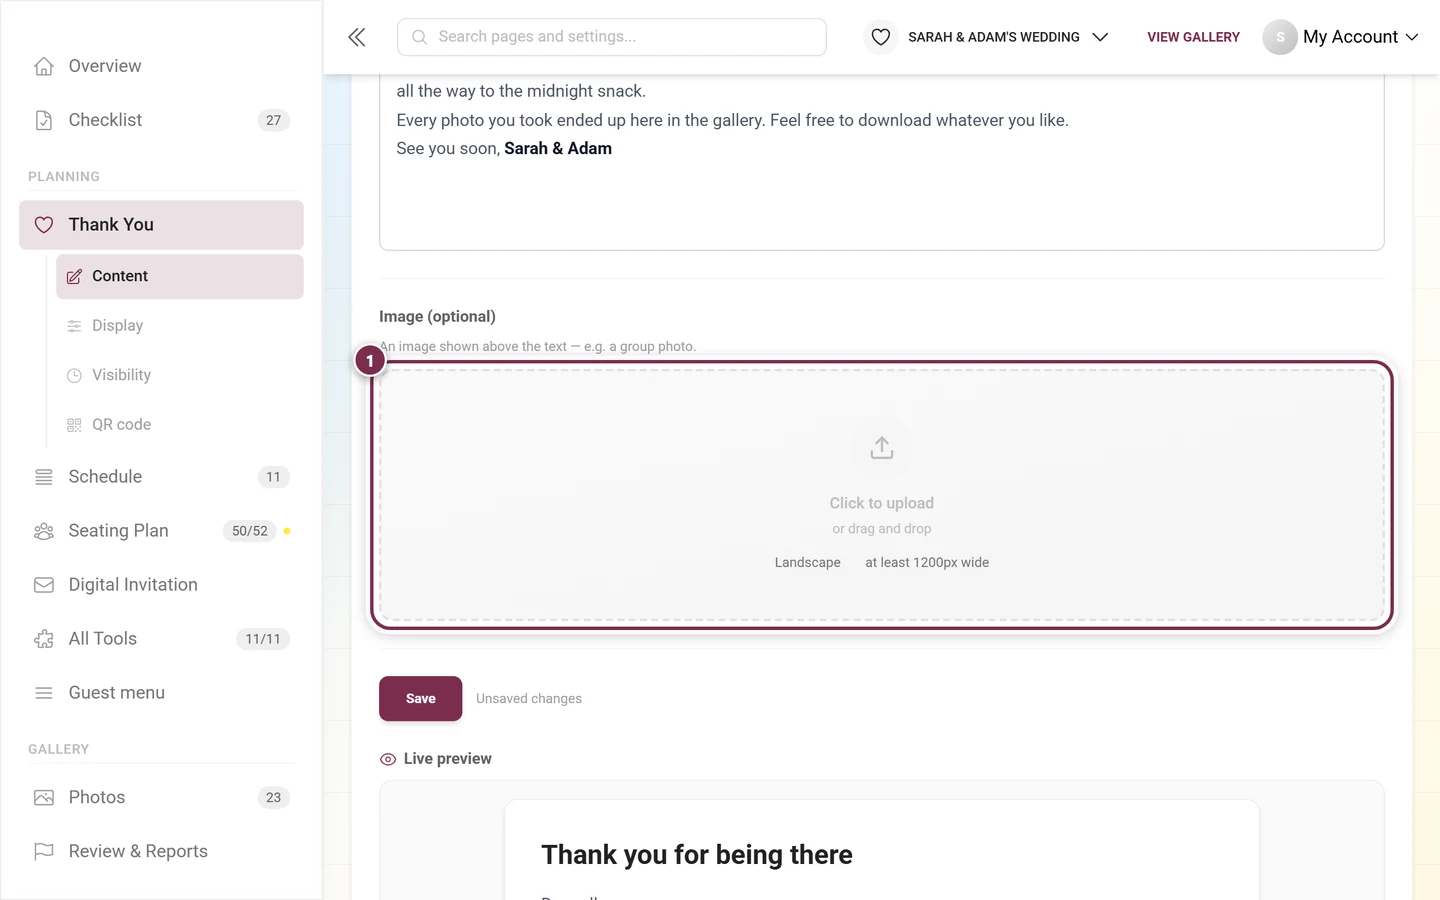
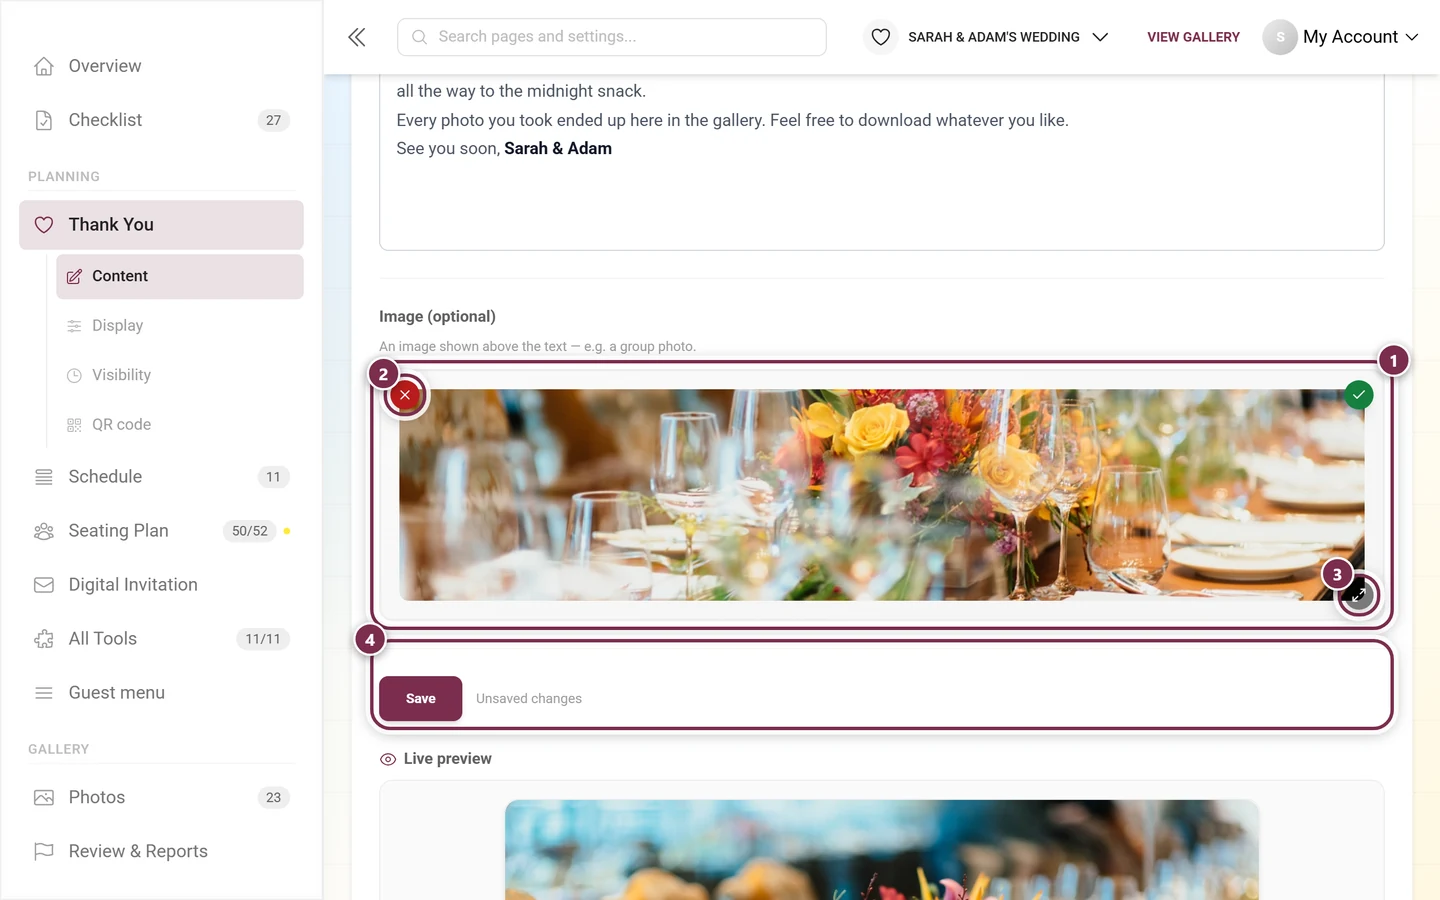
Image (optional) – “An image shown above the text — e.g. a group photo.” Click the area or drag a file into it. The two chips state the recommendation: Landscape and at least 1200px wide.Once an image is chosen: ① the drop zone shows the preview, ② the × at the top left throws it out again, ③ the button at the bottom right opens it large. The green check at the top right only means “file accepted” – ④ it is uploaded when you hit Save.
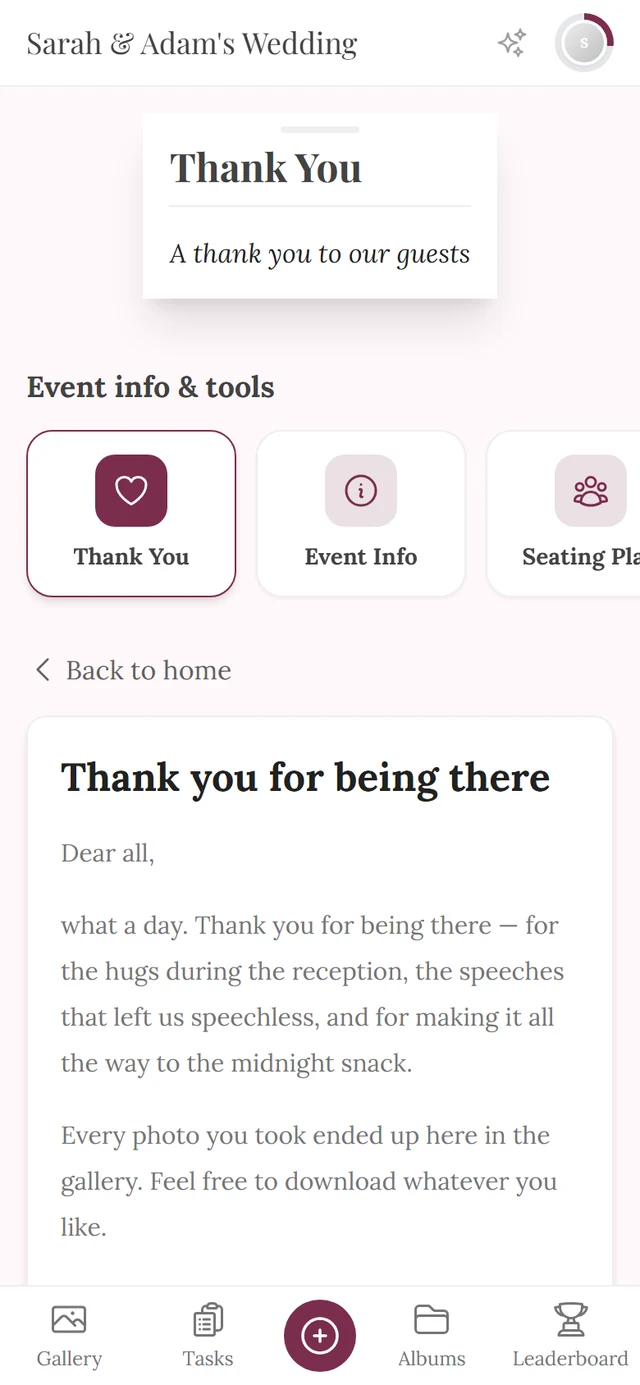
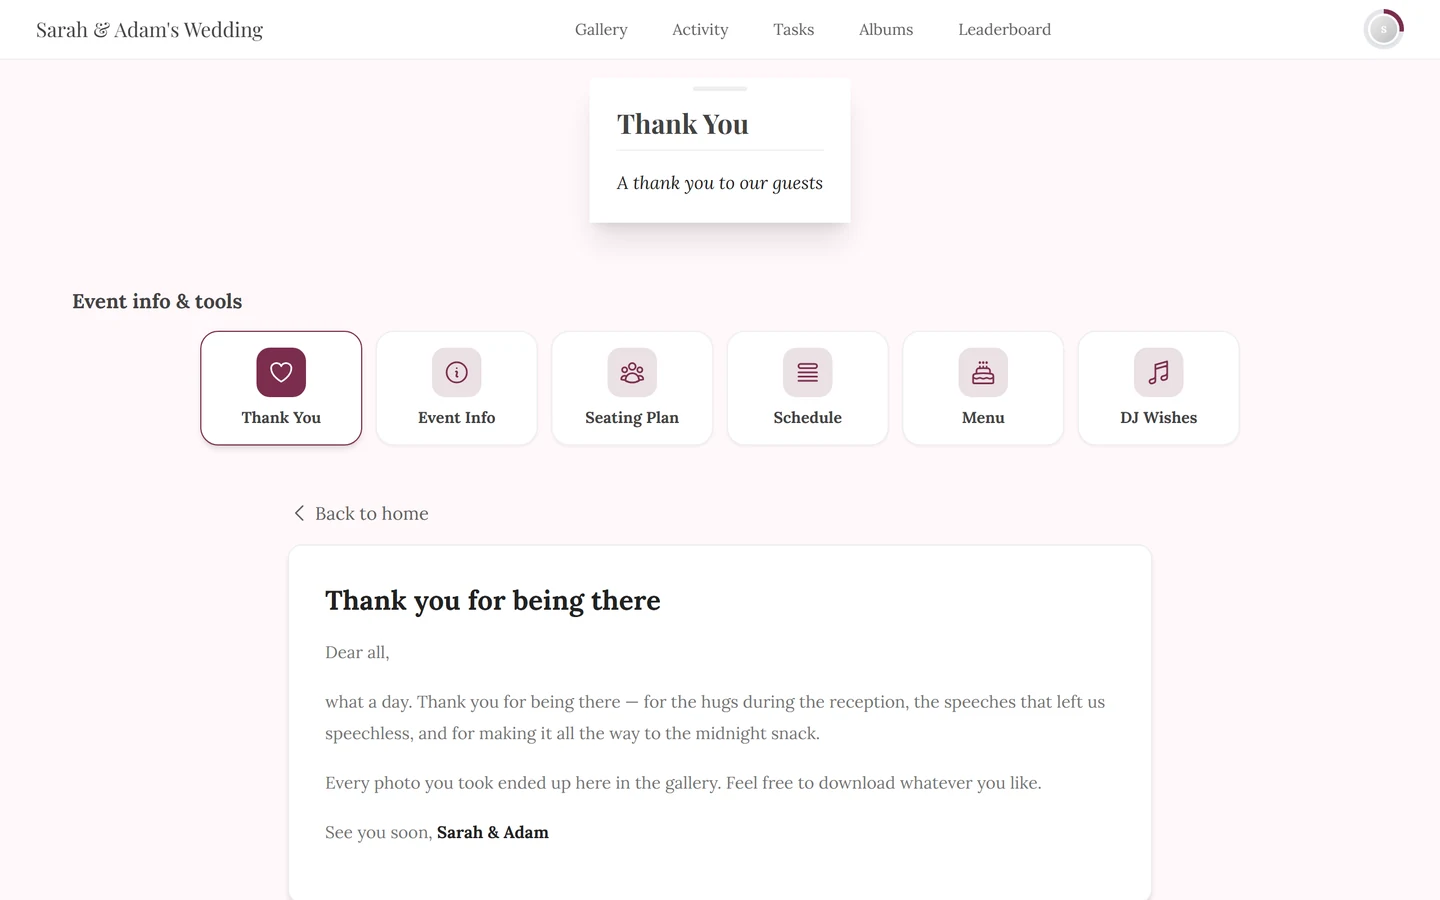
Below the form the live preview shows exactly what your guests will get – with your real text and your real image. While the Content tab is still empty, it fills itself with sample text.
Classic: the image on top, heading and text underneath – plain and unfussy.Centered: the heading sits on top, below it a short divider in your event color, then image and text – all centered.Banner: the image runs across the full width and the heading sits on top of it in light type. Without an image you get a colored title area in your event color instead.
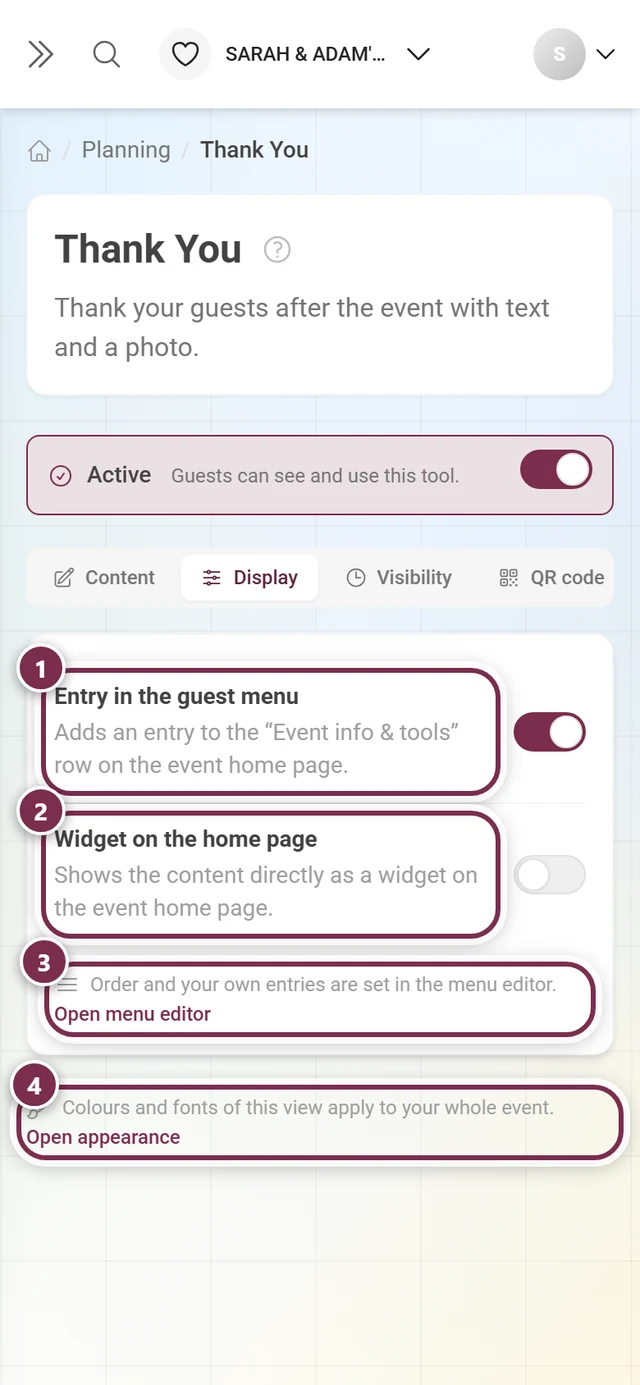
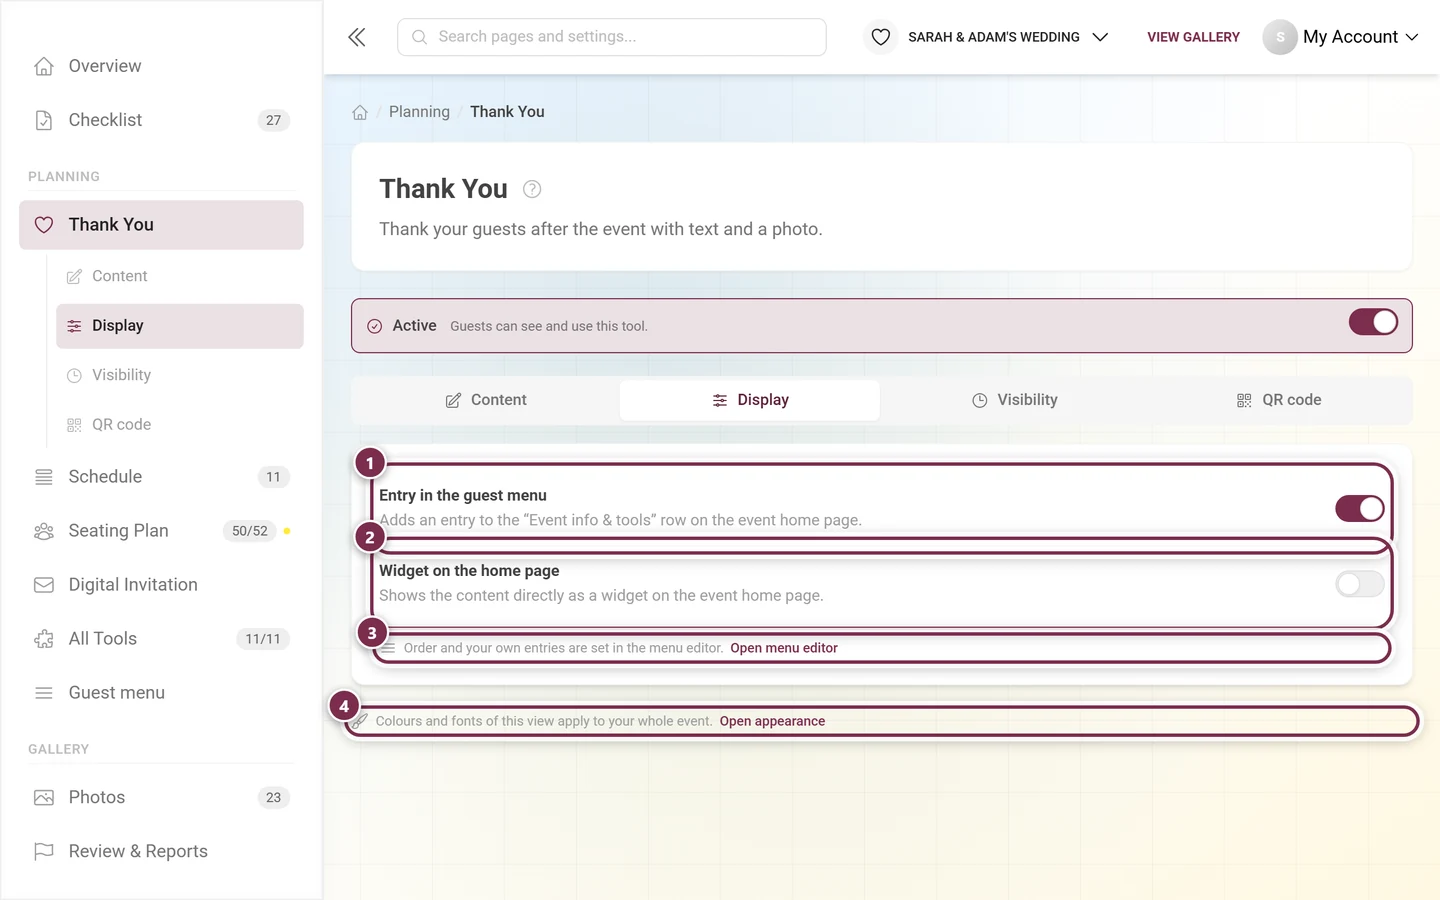
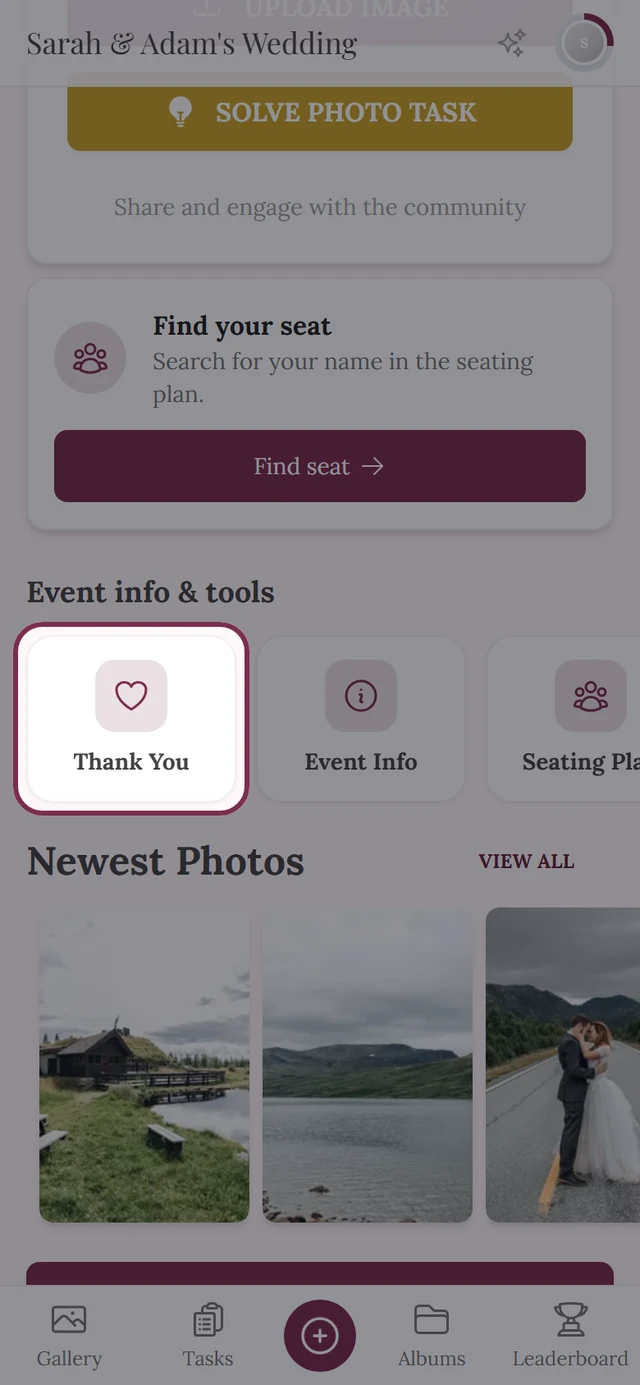
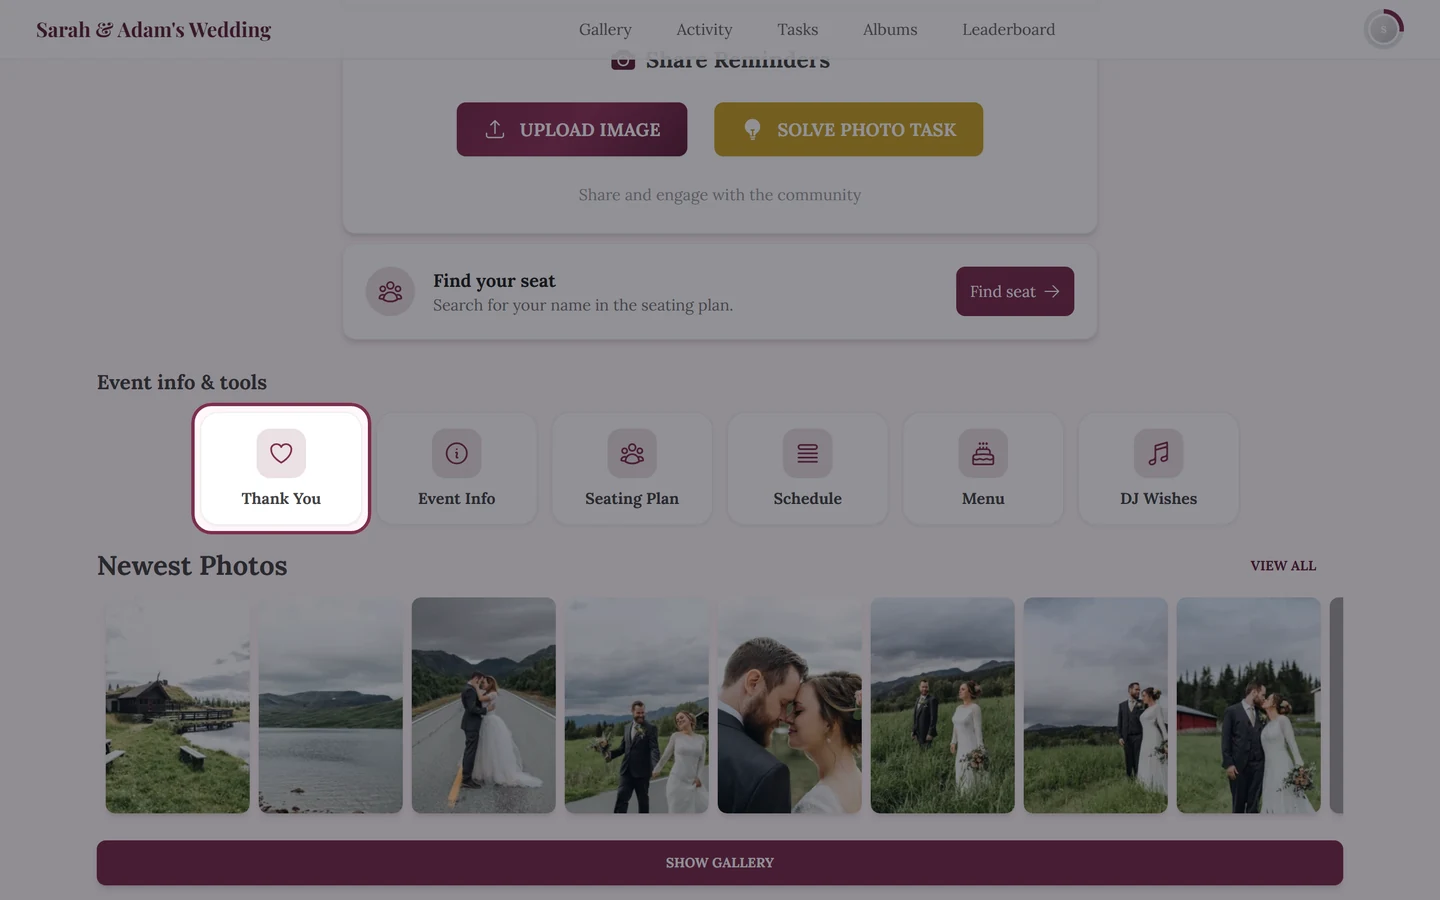
① Entry in the guest menu – “Adds an entry to the ‘Event info & tools’ row on the event home page.” ② Widget on the home page – “Shows the content directly as a widget on the event home page.” ③ Open menu editor leads to the order of that row, ④ Open appearance to colors and fonts – which apply to your entire event, not just this tool.
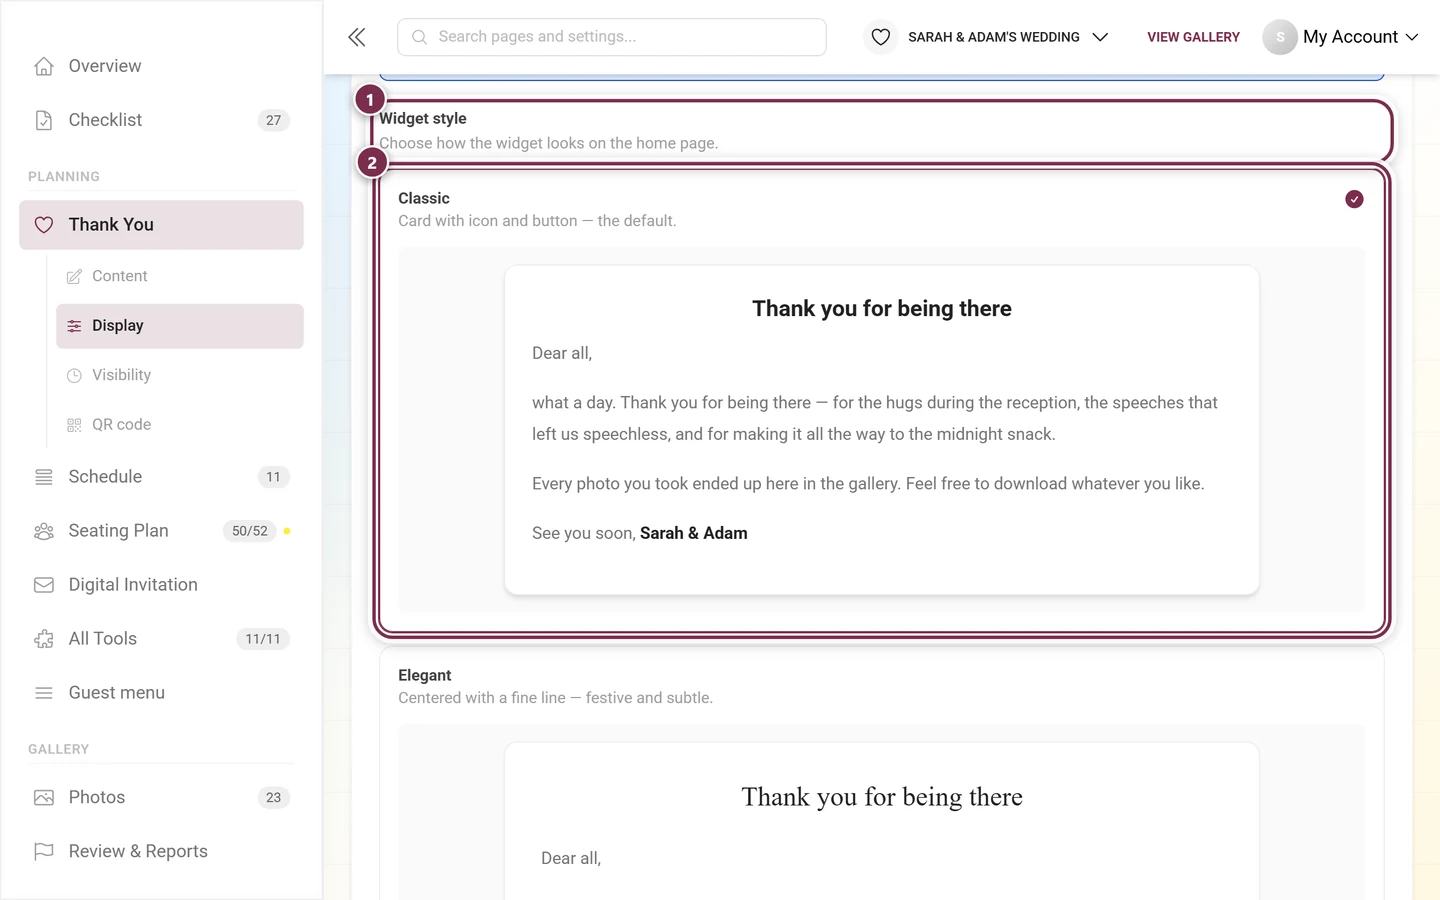
As soon as Widget on the home page is on, an extra choice appears below it: how the card looks. Every card shows a real preview using your saved text.
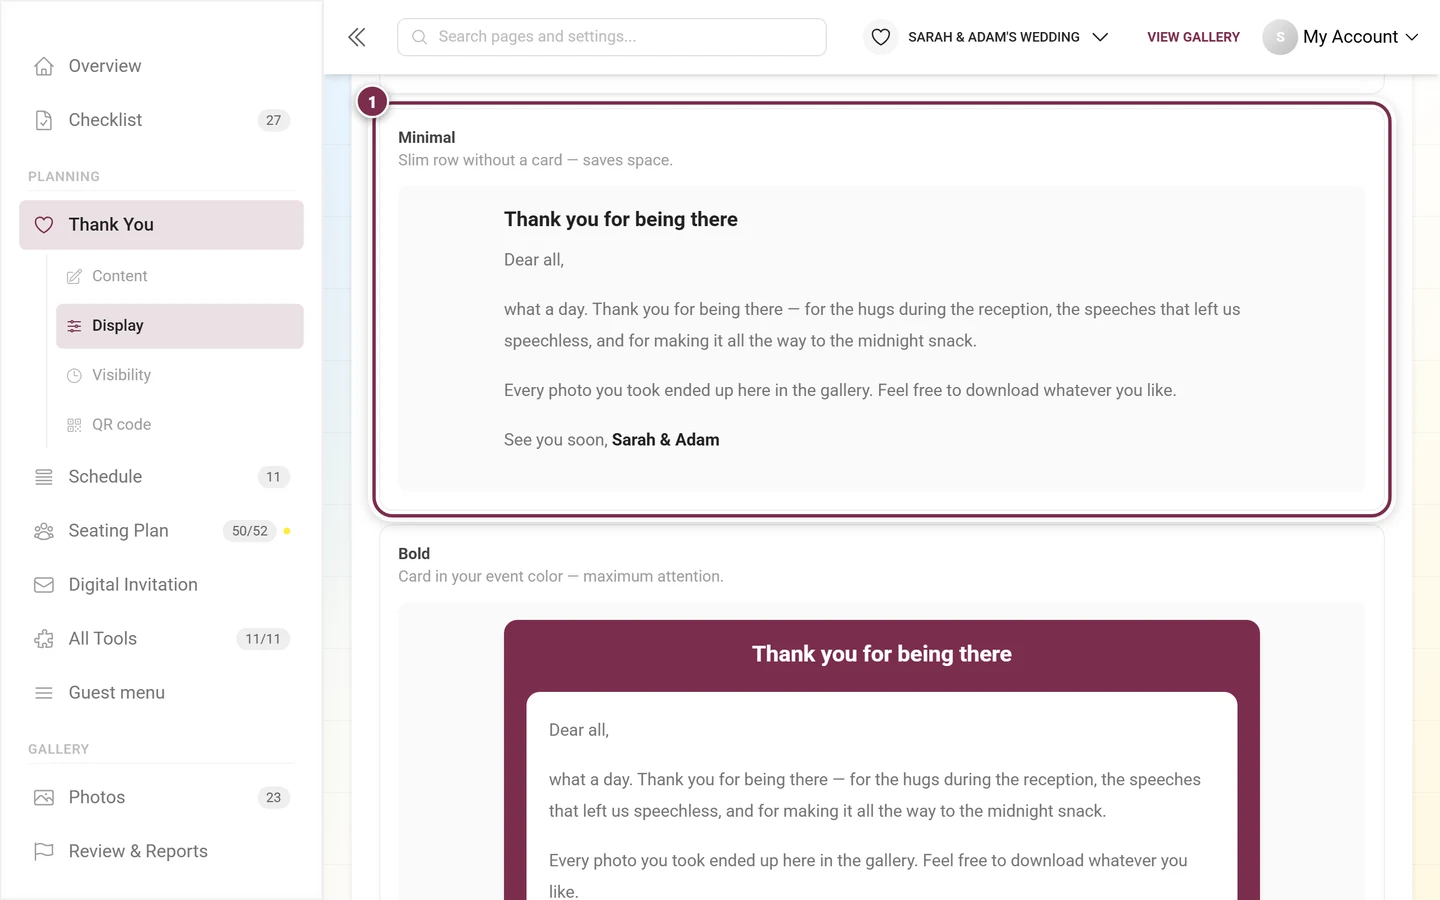
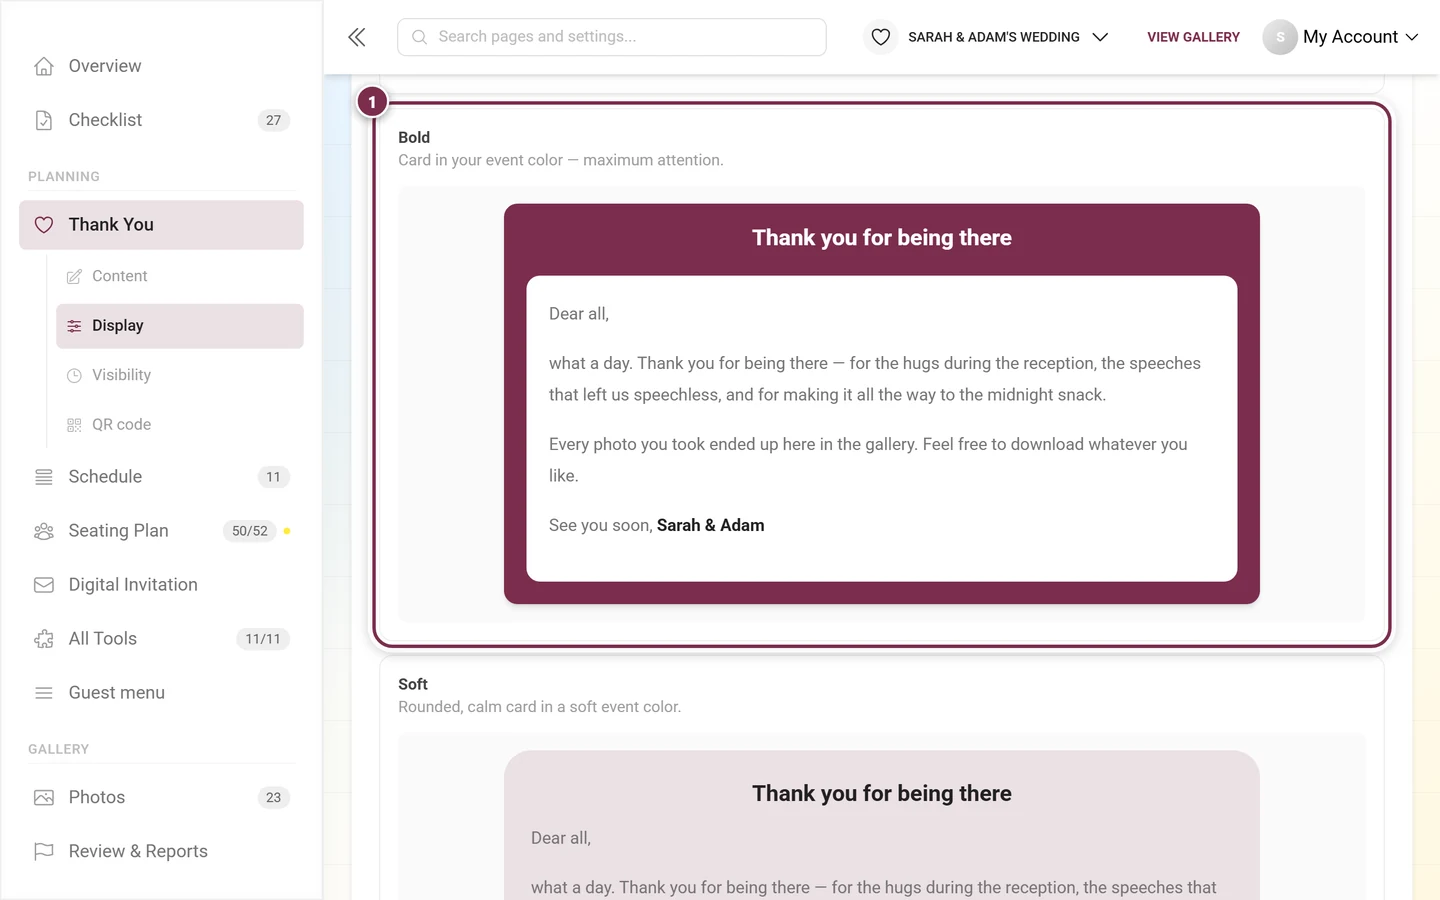
① Widget style – “Choose how the widget looks on the home page.” ② Classic is selected (check mark at the top right): “Card with icon and button — the default.” The next card, Elegant, already starts below it.Minimal – “Slim row without a card — saves space.” Handy when your home page already carries plenty of tiles.Bold – “Card in your event color — maximum attention.” Soft, the calmer take on the same idea, follows below.
The five styles at a glance:
Classic – card with icon and button; the default.
Elegant – centered with a fine line; festive and subtle.
Minimal – slim row without a card; saves space.
Bold – card in your event color; maximum attention.
This is what makes the tool special. The thank-you note can be scheduled relative to the event day – you set it once and it appears by itself while you are still unwrapping presents.
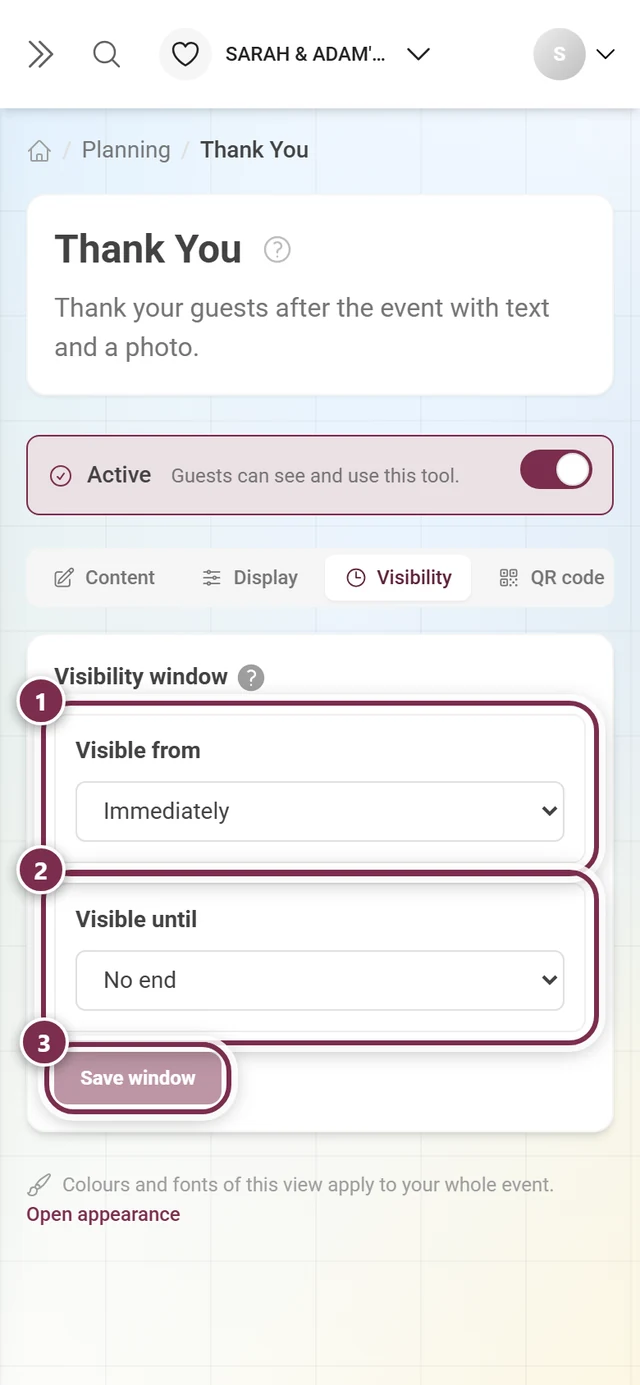
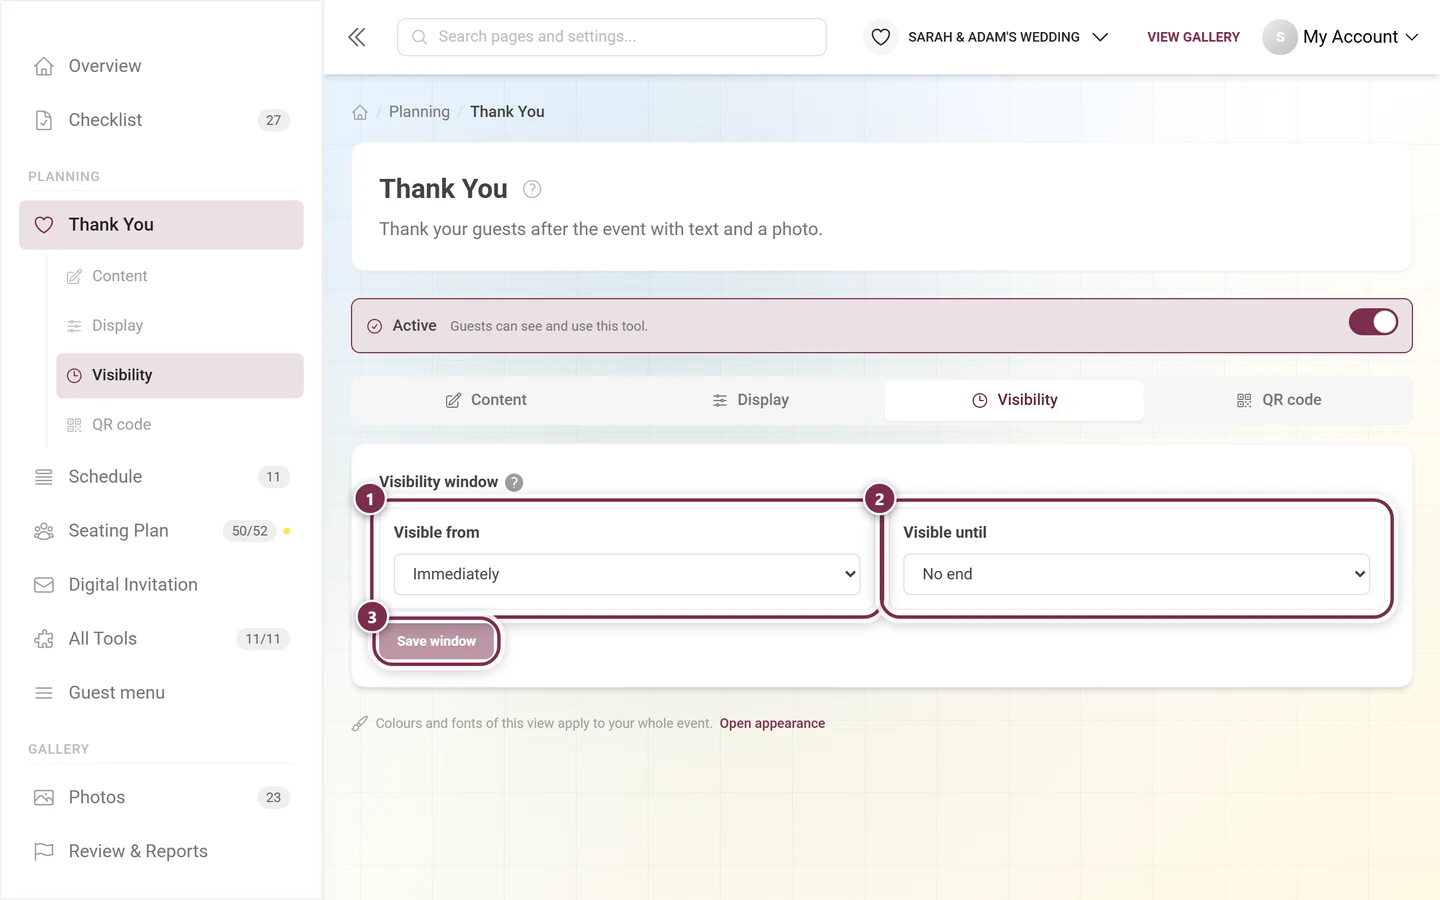
The default state: ① Visible from is set to Immediately, ② Visible until to No end – so the thank-you note is live as soon as the tool is active. ③ Save window stays grayed out until you change something.
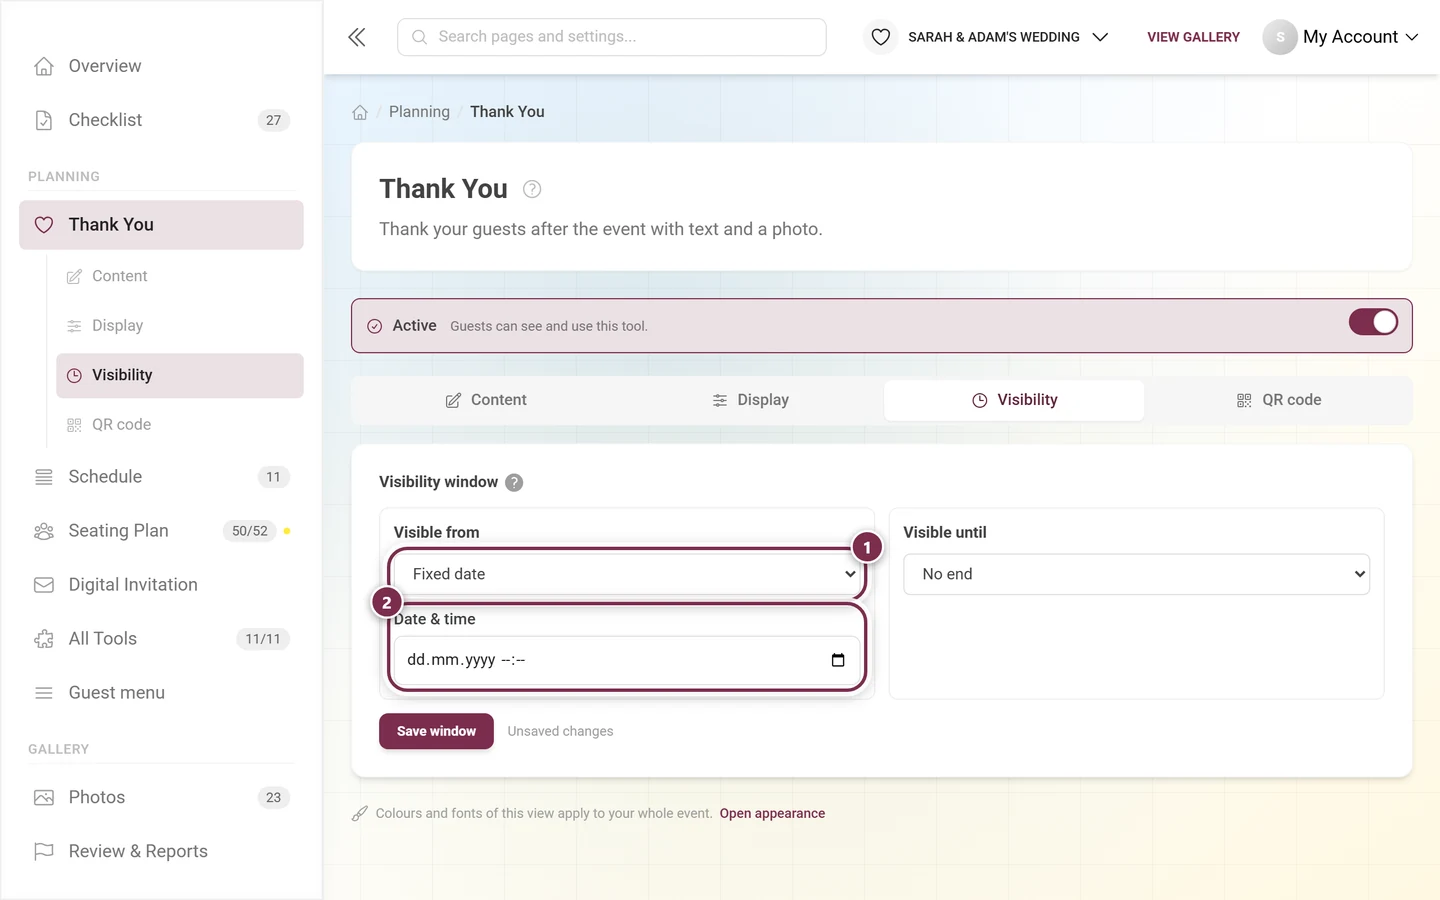
Both bounds offer the same three modes and are set independently of each other:
Immediately (for “Visible until”: No end) – no limit.
Event date – the bound is tied to your event date and moves with it.
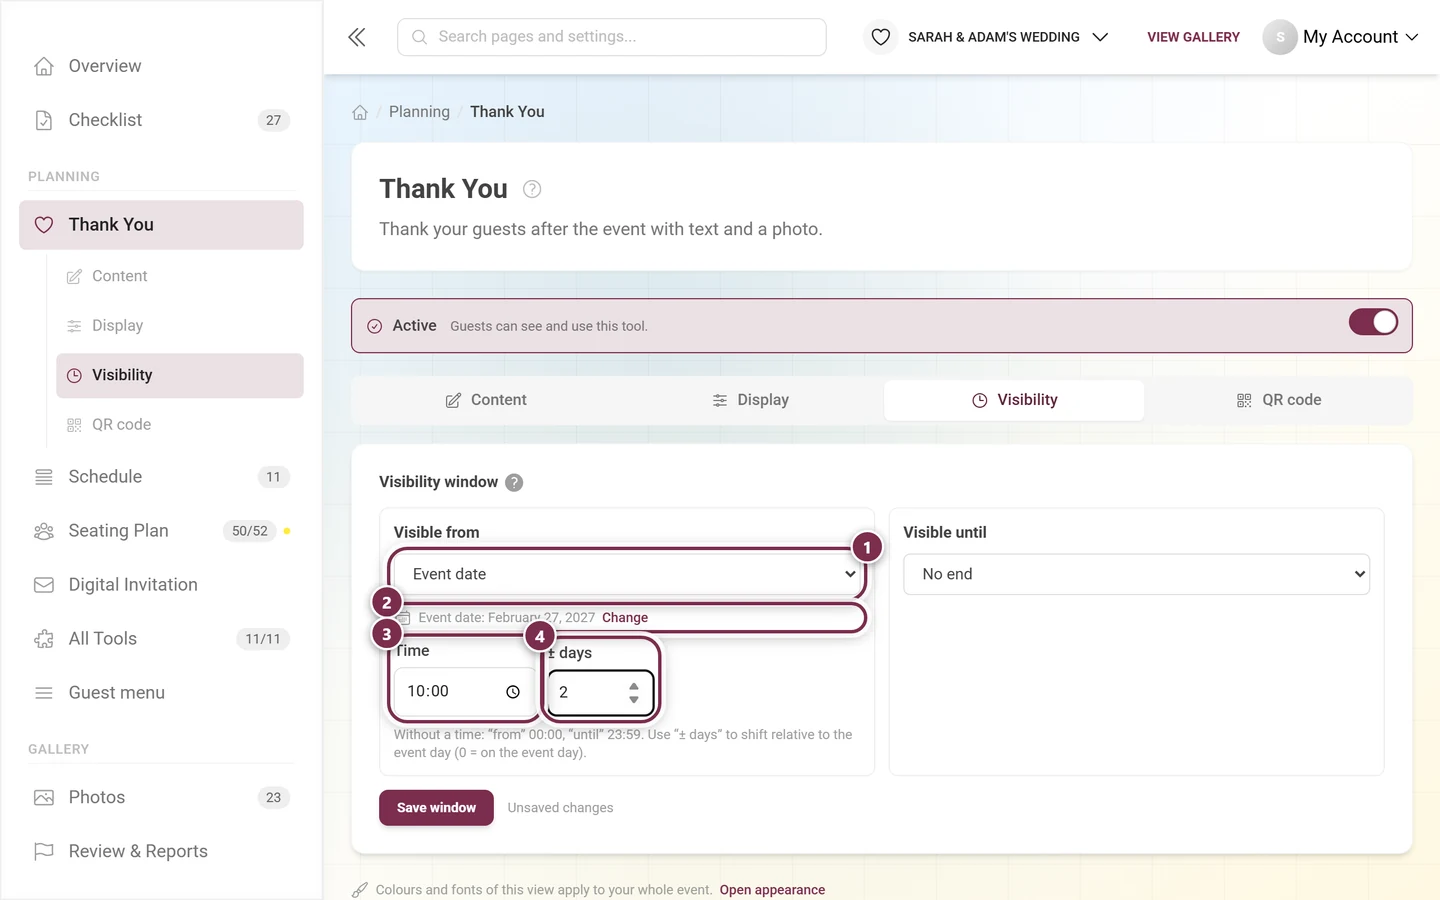
① The Event date mode. ② The editor immediately shows which date the bound hangs on – Change jumps to the settings. ③ The Time and ④ ± days: the offset from the event day. Here: two days after the party at 10:00.
Open the Visibility tab.
Under Visible from, pick Event date in the dropdown. The editor then shows which event date is currently stored and pre-fills the Time with the default value (00:00 for “from”, 23:59 for “until”).
In ± days, enter how many days after the event day the thank-you note should appear – for example 2. A value of 0 means: on the event day itself. Negative values move it earlier.
Adjust the Time, e.g. 10:00.
You can leave Visible until on No end – the thank-you note may well stay.
Click Save window.
The big advantage: the setting hangs on the event date, not on a fixed calendar day. If you move your event later on, the appearance date travels with it automatically.
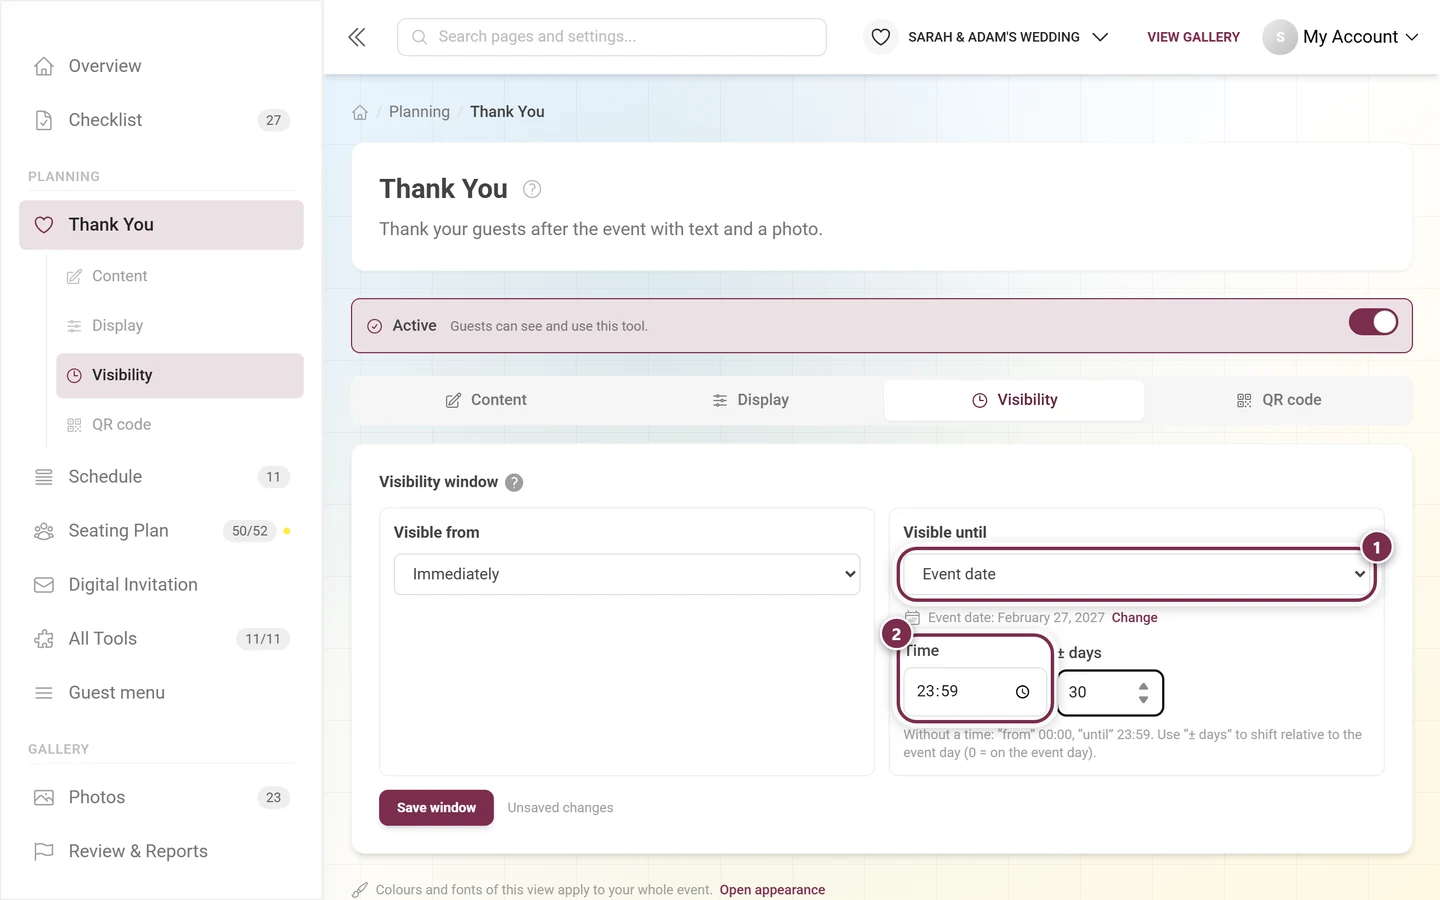
Visible until offers the same modes: ① Event date works here too, ② the Time is pre-filled with 23:59. With ± days 30 the thank-you note disappears again 30 days after the party.
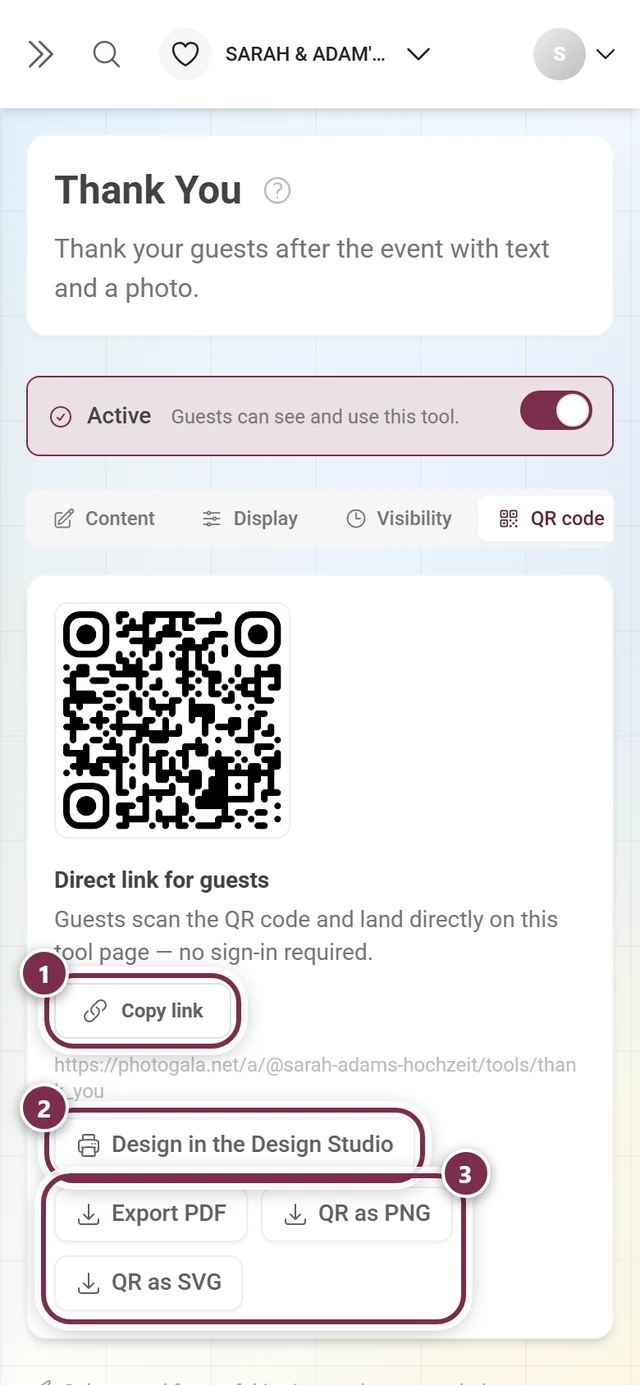
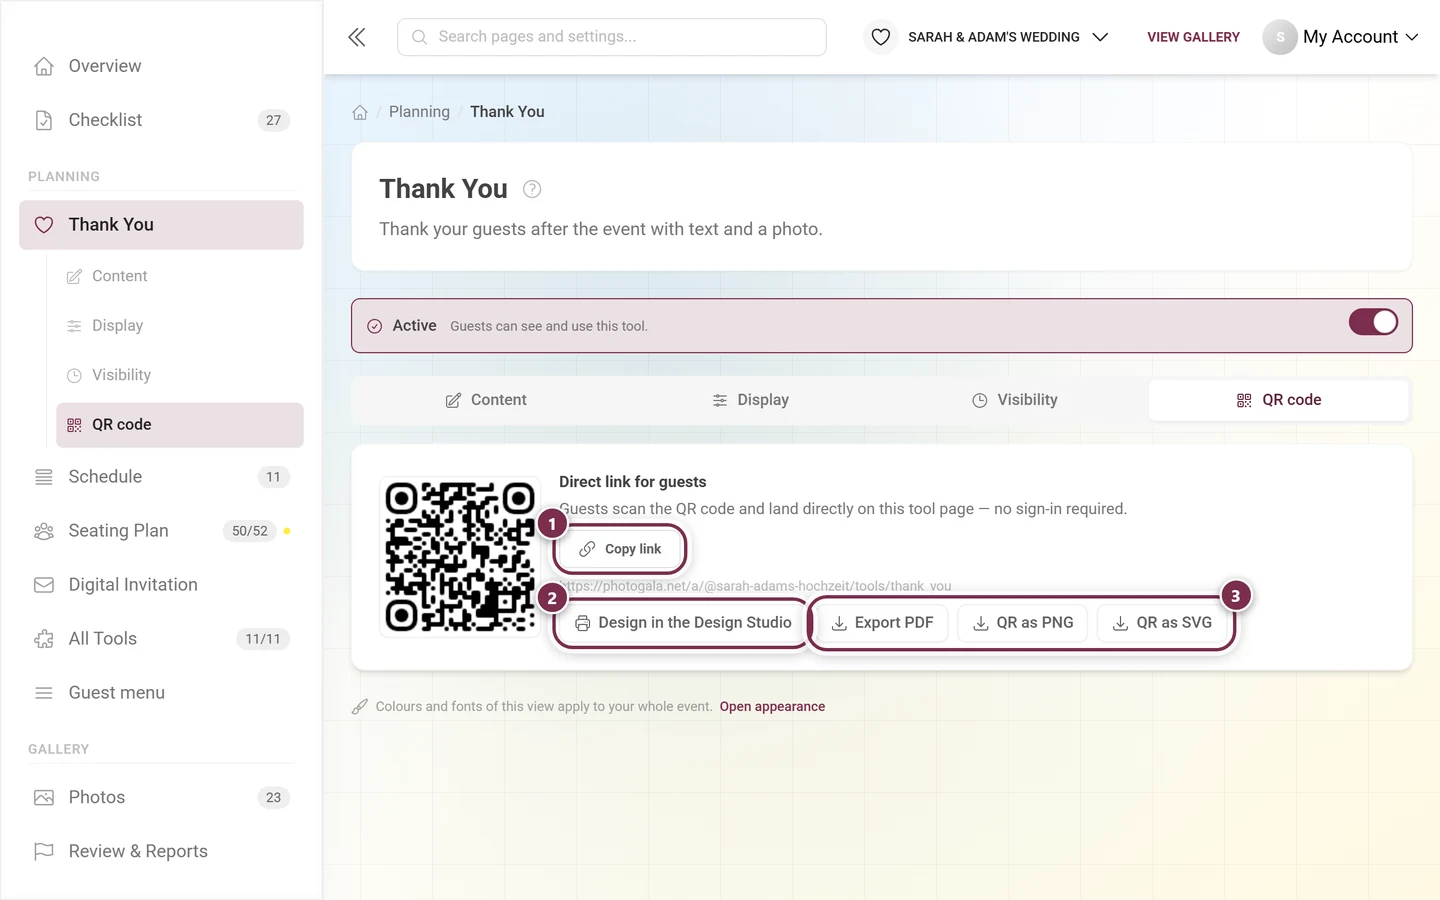
Direct link for guests – “Guests scan the QR code and land directly on this tool page — no sign-in required.” ① Copy link puts the address on your clipboard. ② Design in the Design Studio opens the templates for a printed card. ③ The three file formats: Export PDF, QR as PNG and QR as SVG – SVG scales without any loss, which makes it the right choice for a print shop.
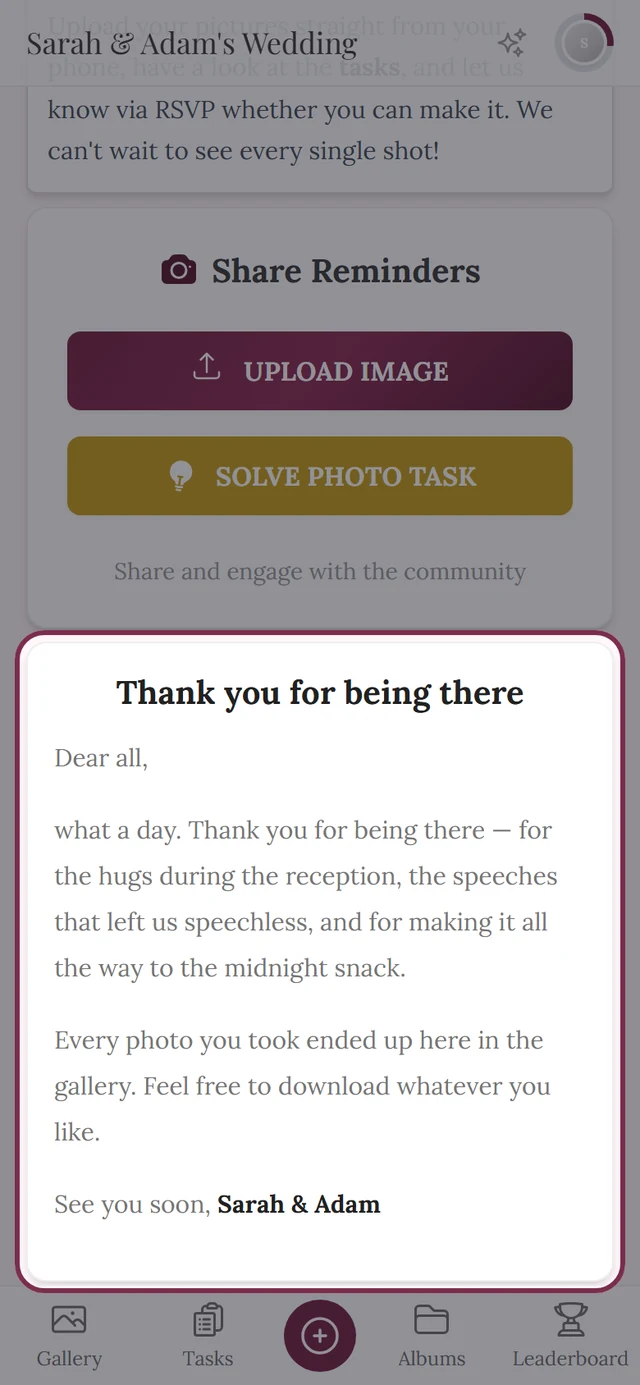
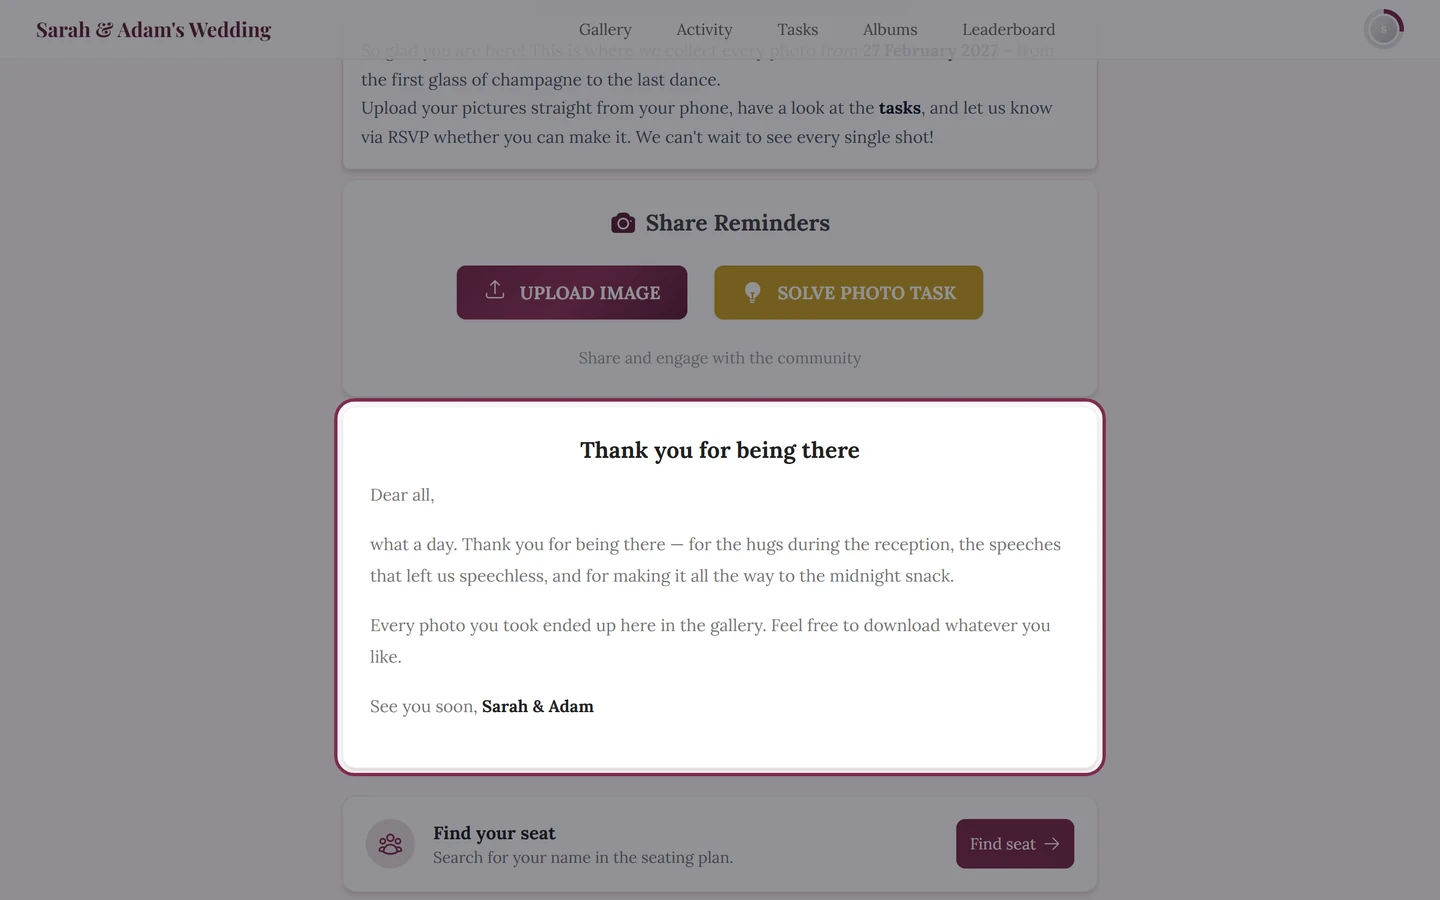
The thank-you note is the moment your guests take one more look at the gallery anyway. Use it: mention in the text that all photos are in, and explain in one sentence how to take them home.
A collapsible section titled How do I get the photos? keeps the text short while the answer stays within reach.
A link leads straight into the gallery or into an album.
If photos are still in moderation, mention briefly that more keep arriving.
One requirement: downloading has to be allowed for your event in the first place. How guests save individual photos or entire albums is covered on the guest page Downloading photos; what you set up as a host is on Backing up all photos.
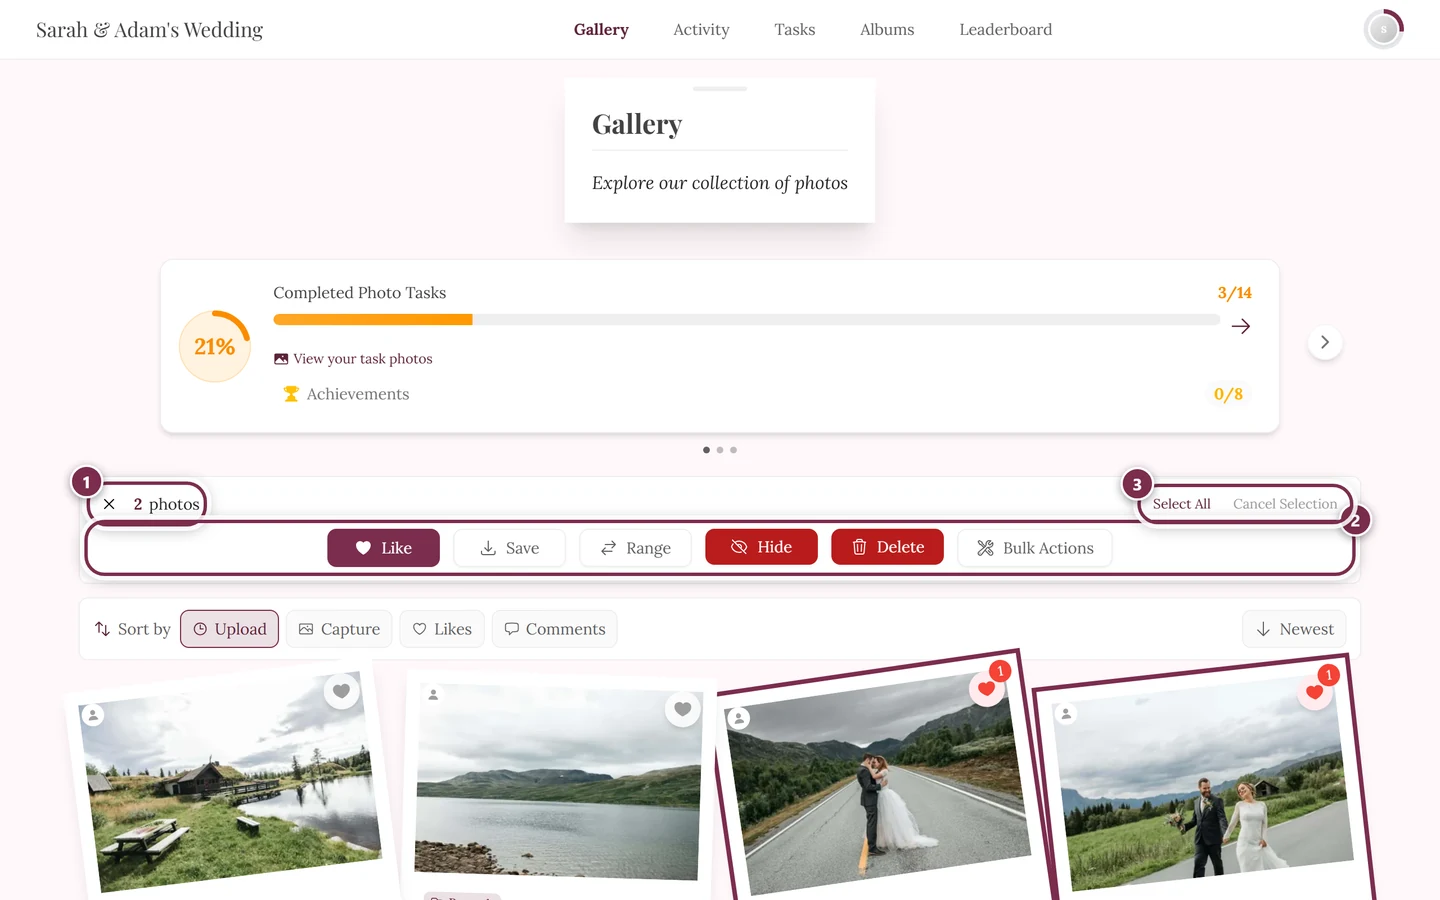
This is what you are aiming for: guests select photos and take them along using this bar. ① the counter: it tells you how many photos are currently marked; the × in front of it leaves selection mode. ② the action row. As a guest you get Like, Save and Range – Range marks everything between two taps. If you manage the event, Hide, Delete and Bulk actions are added (visible in the screenshot); guests never see those three. The button for taking photos along is called Save, not “Download”. ③ Select all marks the whole loaded gallery, Cancel selection clears it again.
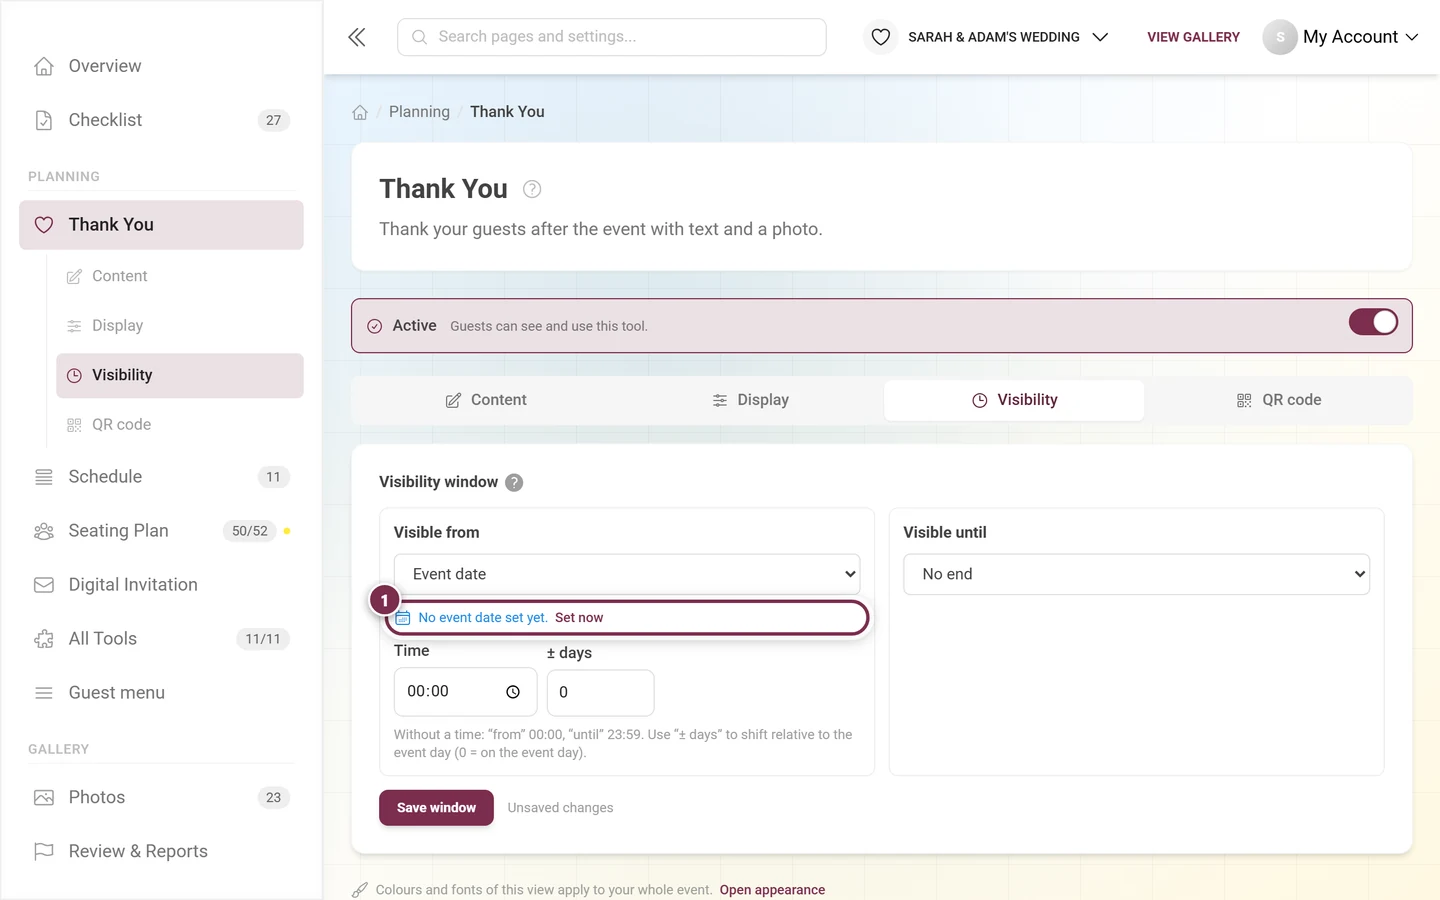
The thank-you note did not show up the next day. Check three things: is the switch at the top set to Active? Is an event date stored? And did you press Save window after setting things up?
It was visible too early.± days is probably still at 0 – that is the event day itself. Enter a positive number to push it back.
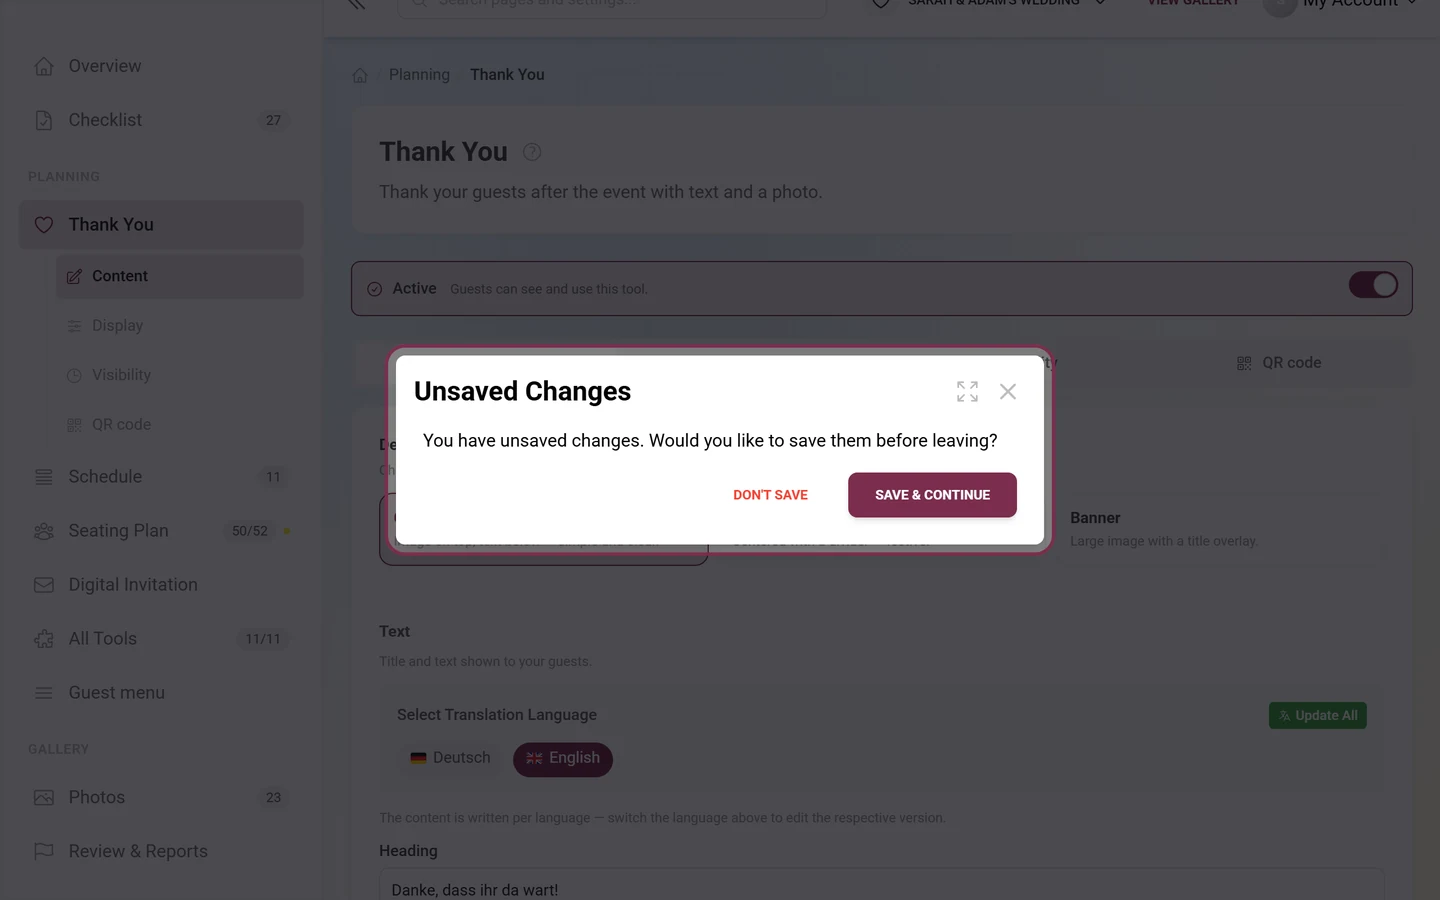
My changes are gone. The Save button in the Content tab was not pressed. Only the switches in the Display tab save instantly.
No widget appears on the home page. Either Widget on the home page is off, no content has been saved yet, or the visibility window has not started.
The tile is missing from the guest menu. The Entry in the guest menu switch is off – or the entry has been hidden in the menu editor.
Guests only see the heading, not my text. The content is written per language. Switch to the missing language in the language bar and add the text – or use Update All.