Sharing photos & the gallery
The more guests join in, the fuller and better the gallery gets – which makes sharing one of the most important ways to keep an event alive. This guide is written for guests and walks through every way in detail: passing on the whole gallery, sending a single photo, and what sharing an album really means.
The basic idea is simple: anyone who opens your link or QR code needs no account and no app and lands straight in the gallery. The share dialog says so too: “Anyone with this link can open the gallery.”
Share the whole gallery
Section titled “Share the whole gallery”The share button in the gallery header (main way)
Section titled “The share button in the gallery header (main way)”If the host has enabled it, you’ll find a round share icon in the top right of the gallery (labelled “Share gallery” for screen readers). It opens the full share dialog with a QR code, a link, and direct buttons.
-
Open the gallery (the event home page).
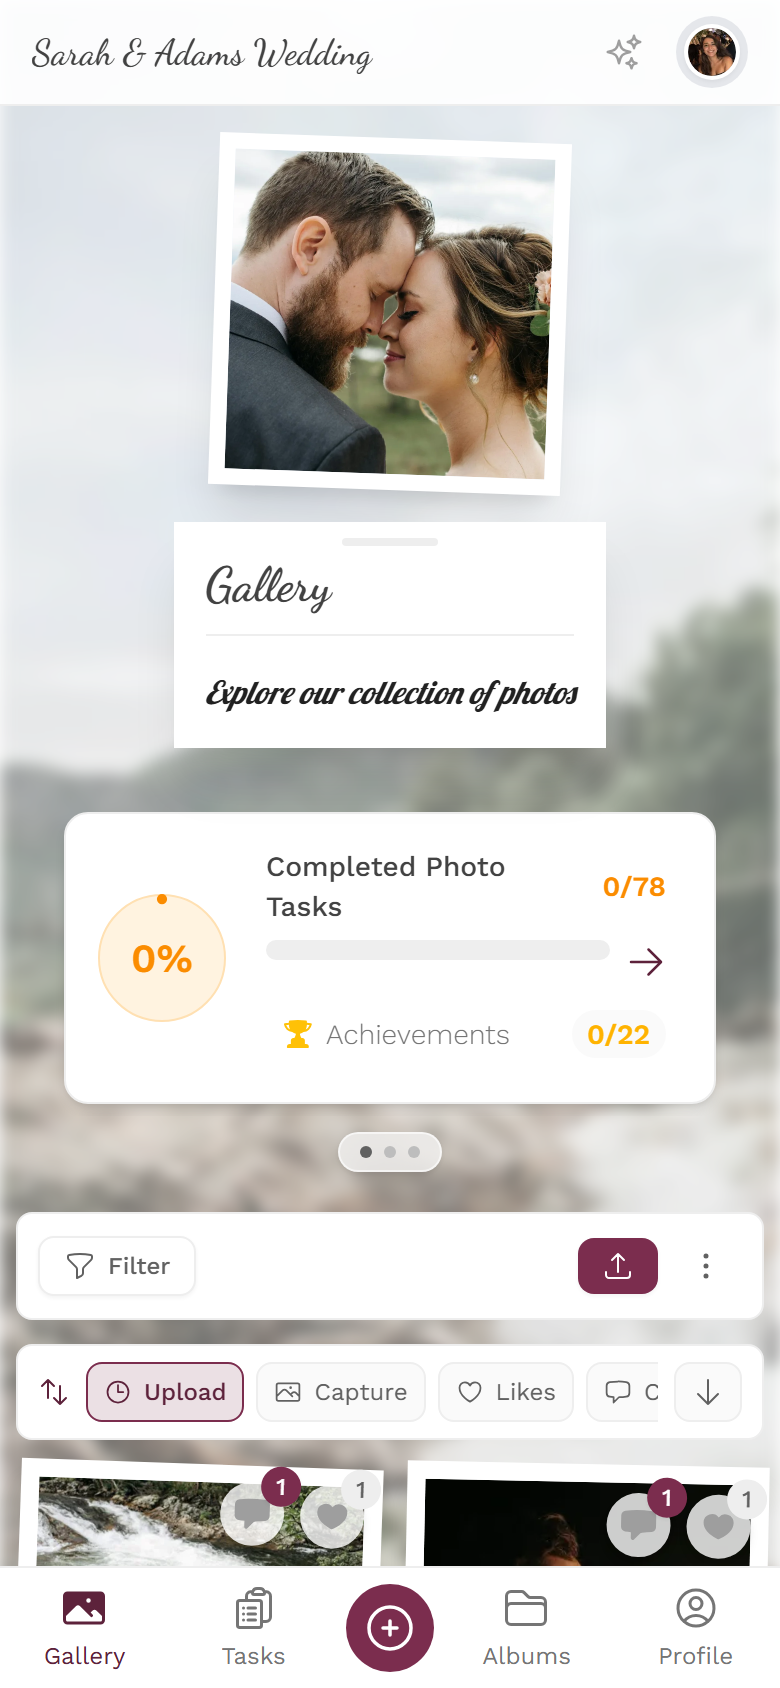
The gallery – the share button sits in the top right when it is enabled. -
Tap the round share icon in the top right.
-
The share dialog opens, titled Share with the subtitle “Invite others – they can view the photos and add their own.”
What’s in the share dialog
Section titled “What’s in the share dialog”The share dialog gathers every option in one place. From top to bottom:
- Share… – only on devices with native sharing, usually smartphones. Opens your familiar system share sheet to pass the gallery to WhatsApp, Signal, AirDrop, and so on. This is the fastest way on a phone.
- QR code with the hint “Scan with a phone camera to open the gallery”. Below it is a Download button that saves the QR code as a PNG (
gallery-qr-code.png, 512 px). Ideal when you’re together in person: print it, put it on a card, or show it on a TV. - Link field labelled Link with a Copy Link button. After you click, a brief Copied! with a checkmark appears. Tapping the field selects the link automatically. Use it to paste the link into a chat, email, or story.
- A Share via section with three direct buttons:
- WhatsApp – opens WhatsApp with the link pre-filled.
- Email – opens your mail app with the subject “Check out this album” and the link in the body.
- Facebook – opens the Facebook share dialog.
- At the bottom, the note “Anyone with this link can open the gallery.” – remember: the link is the access.
Other ways to get the gallery link
Section titled “Other ways to get the gallery link”If the header share button is missing (it’s off by default), you can still get a shareable link:
- The browser address bar. The current gallery URL is shareable – just copy it from the address bar and send it. Note: for protected events, a plain address-bar link may land the recipient at the invitation or password wall. In that case the host’s share dialog is better, because it can embed the access code.
- A QR code from the host, the photo booth, or a table card. Often the QR code is already displayed on site. See Scanning a QR code.
- Ask the host. The classic fallback: ask for the link or QR from the share dialog.
Share a single photo
Section titled “Share a single photo”You can share a single photo from three places. All three are only visible when sharing is enabled for the event. What happens next depends on your device (see Phone vs. computer).
From the gallery via right-click or long press
Section titled “From the gallery via right-click or long press”-
On a computer: right-click a photo in the gallery grid. On a phone: press and hold the photo.

Right-click opens the context menu – Share is here. -
Choose Share in the context menu.
-
On a phone, the system share sheet opens including the image file. On a computer, the share dialog opens instead with the direct photo link.
In full screen / the slideshow
Section titled “In full screen / the slideshow”-
Tap a photo to open it in full screen.
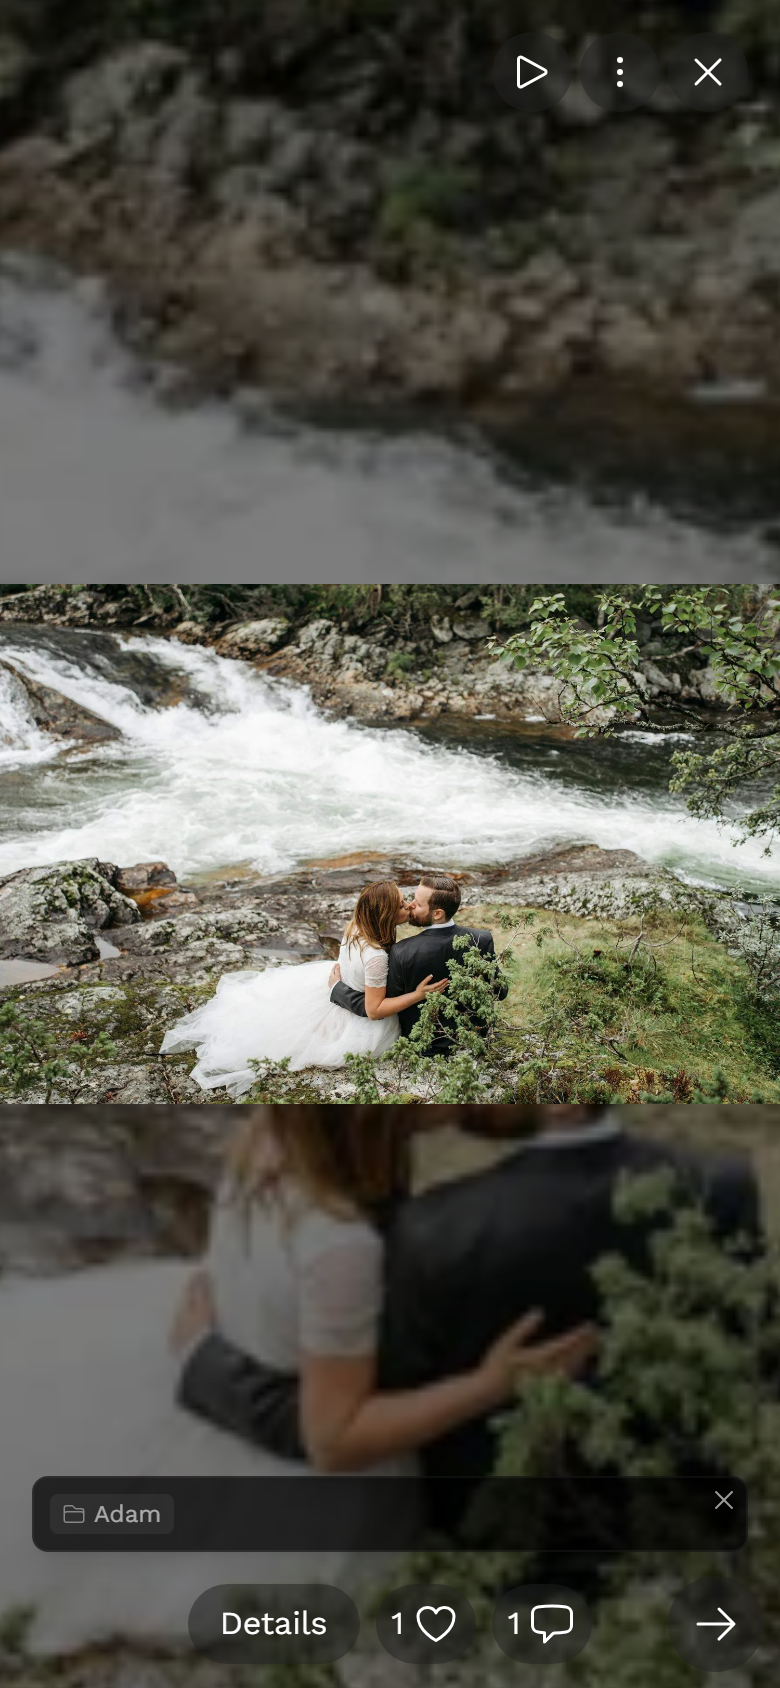
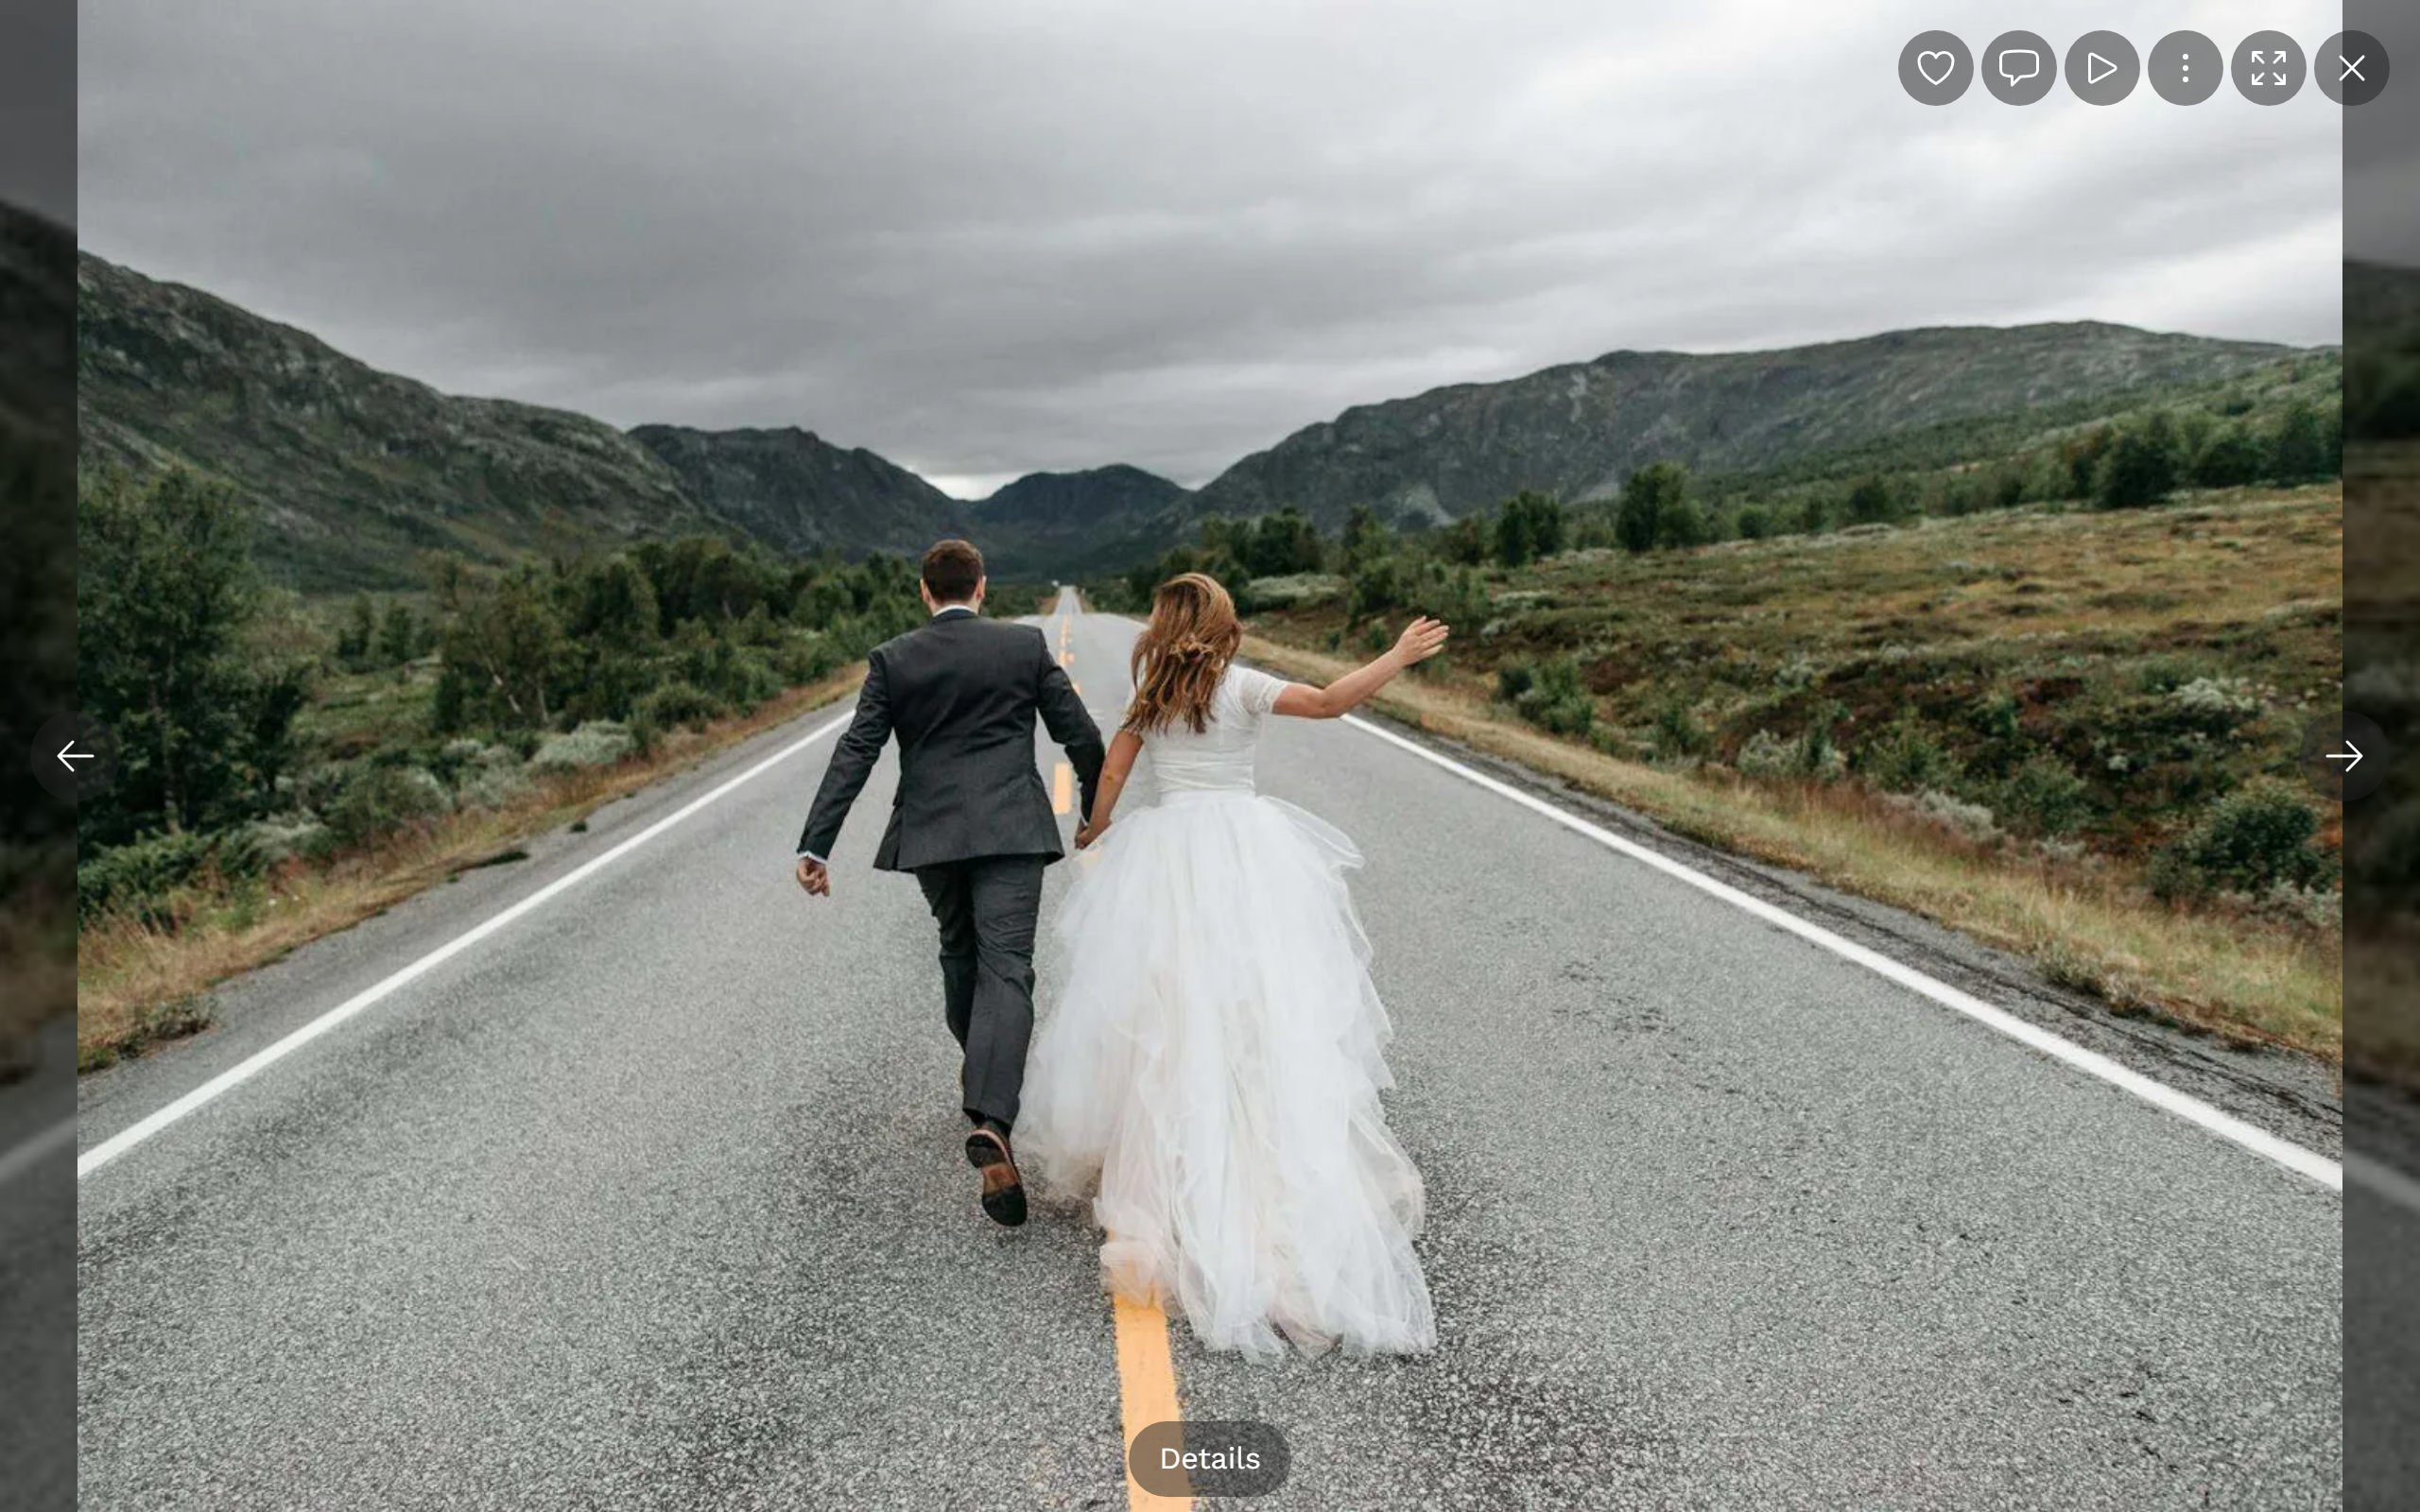
Full-screen view with the control bar and kebab menu. -
Open the ⋮ menu (kebab, three dots) and choose Share.
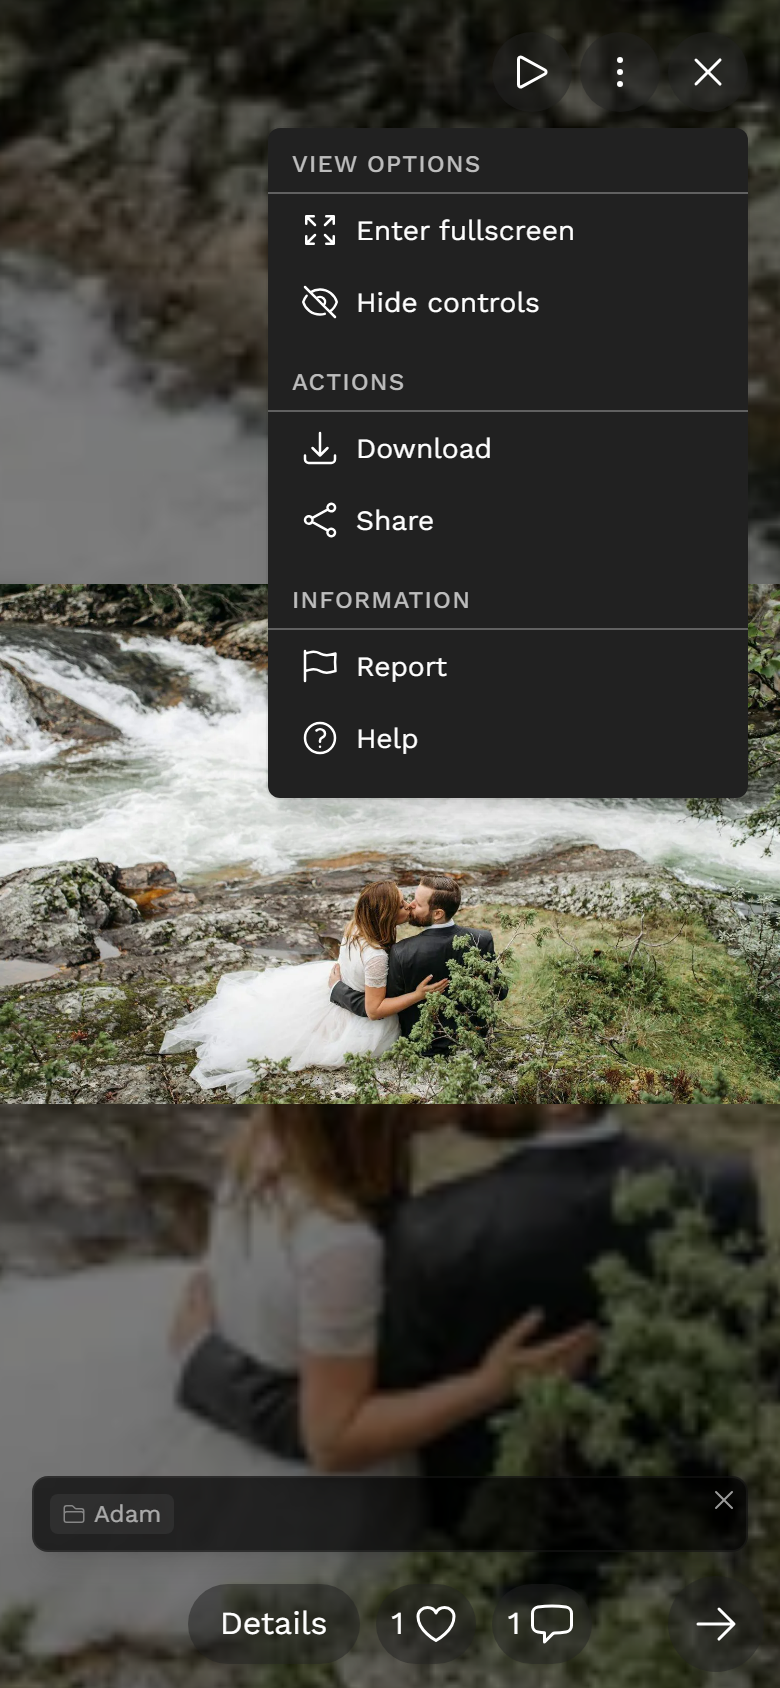
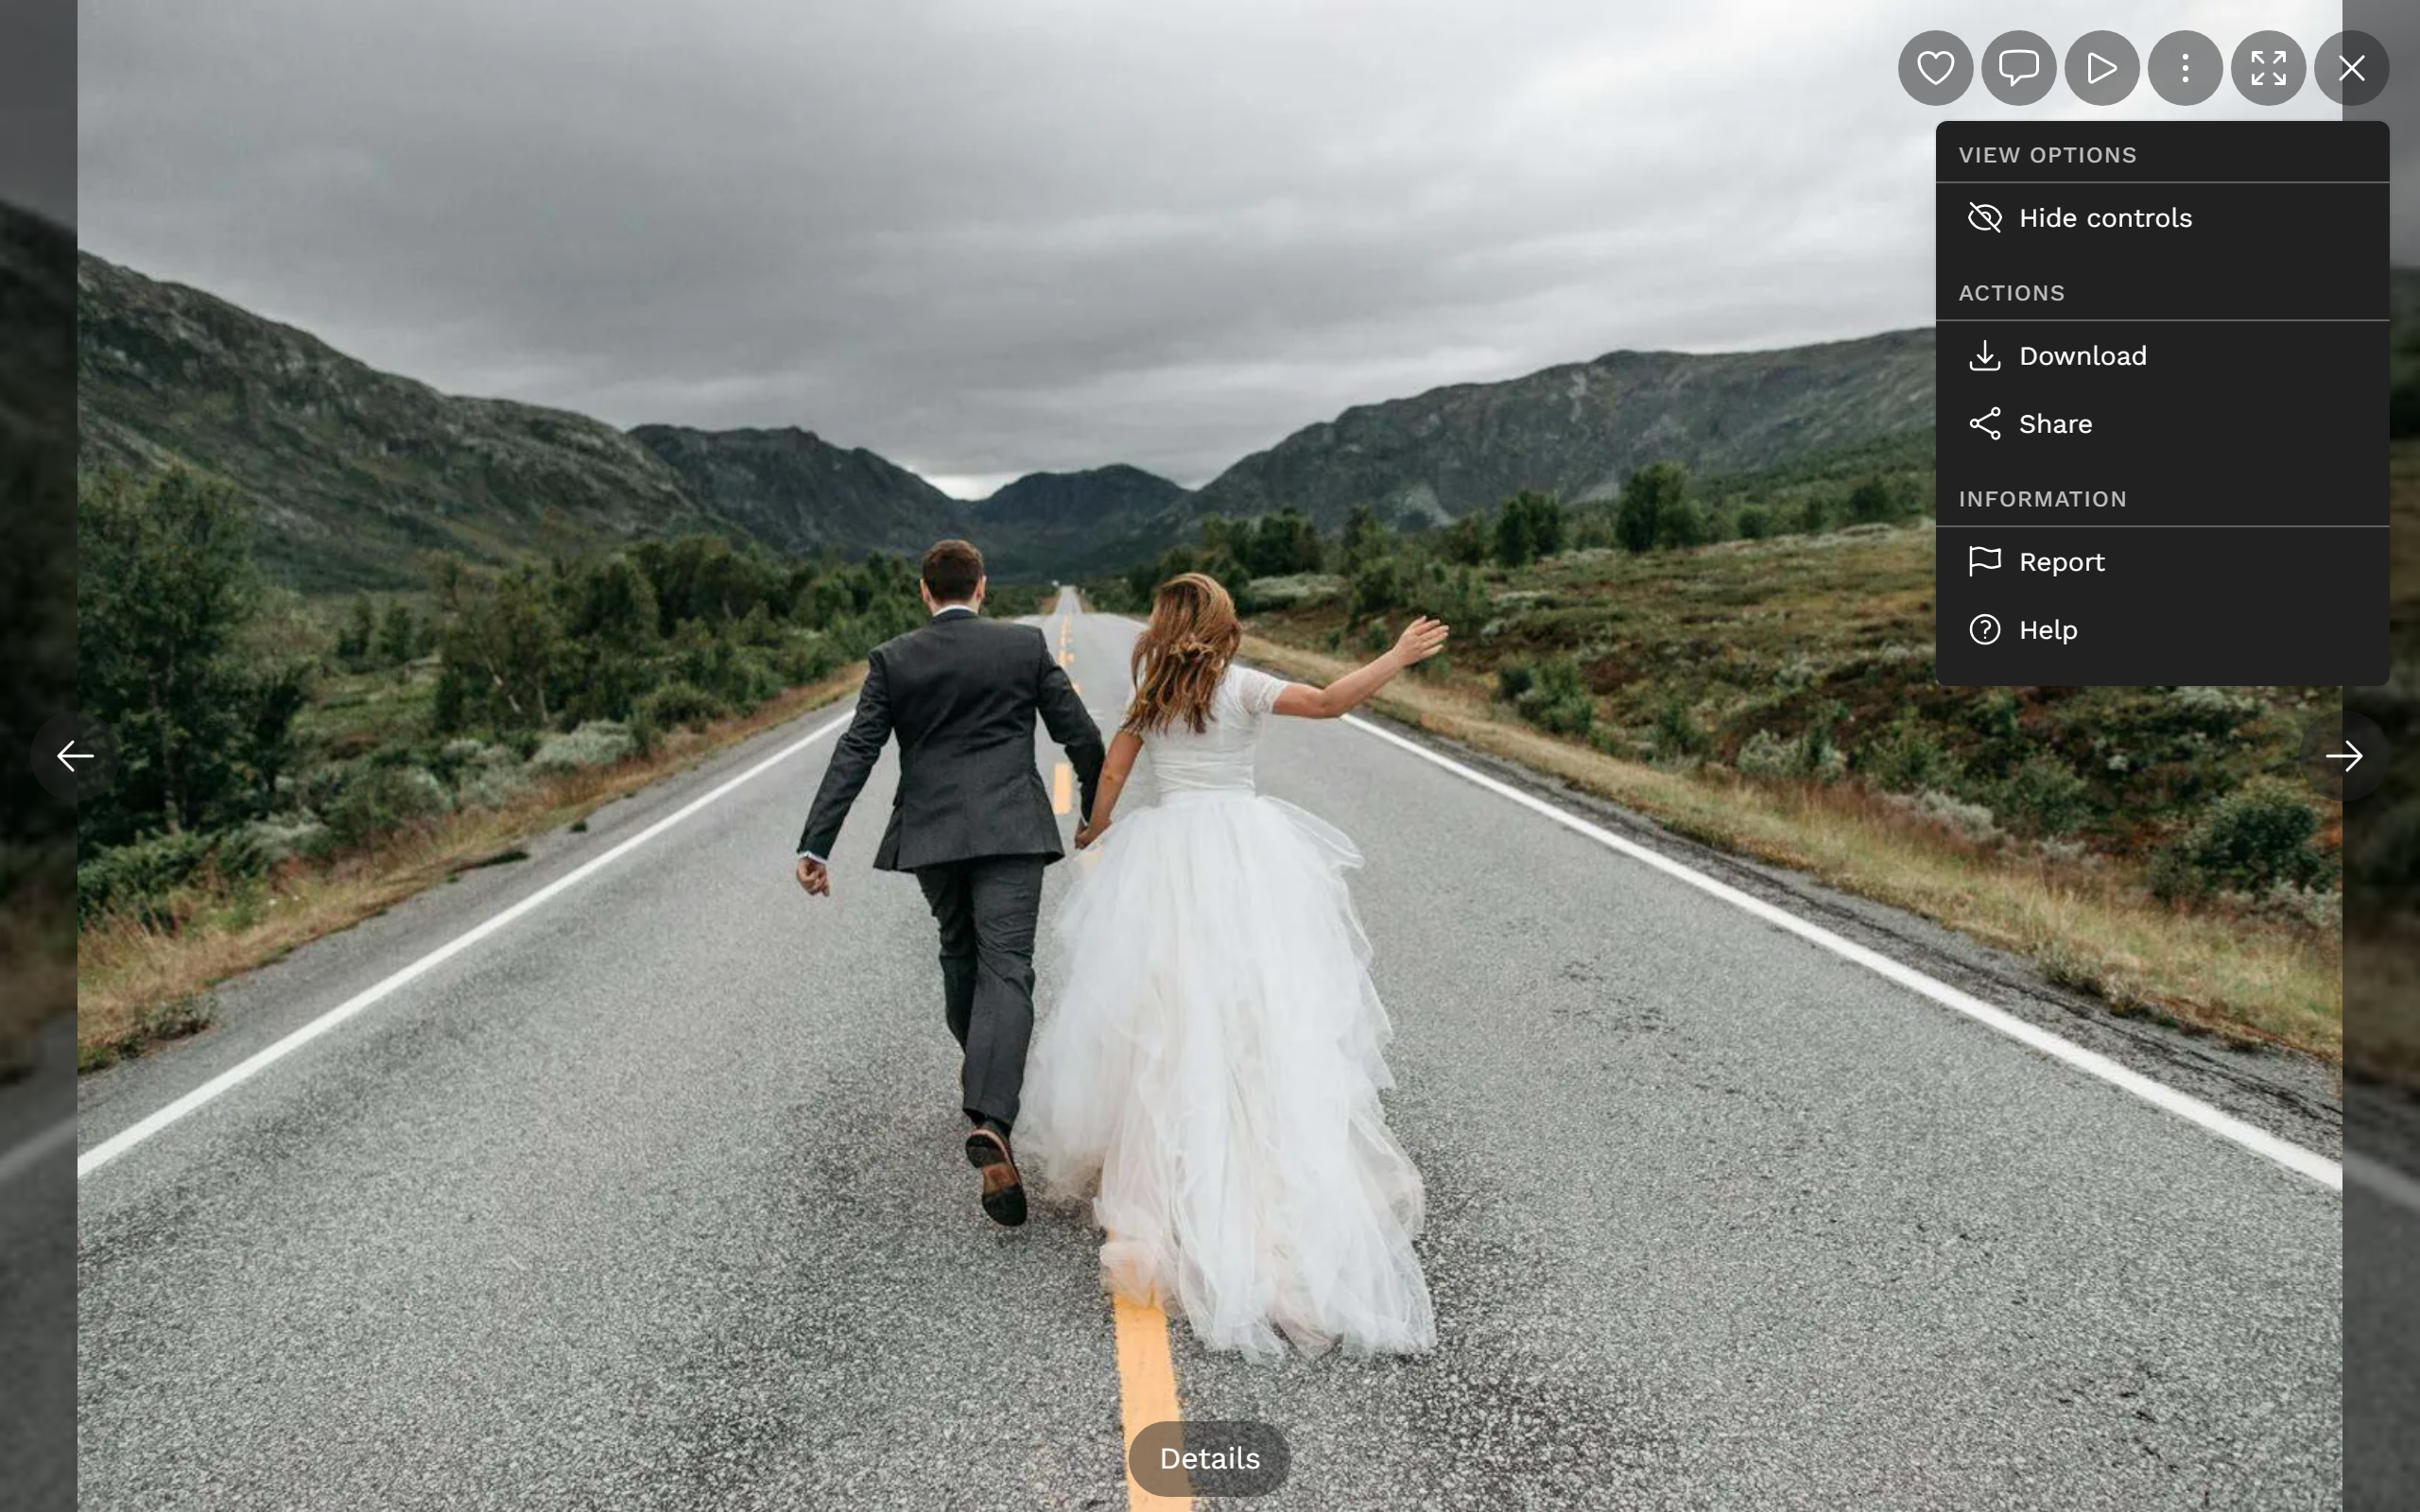
The kebab menu holds Download, Share, Report, and Details. -
On a phone, the system share sheet opens with the image file; on a computer, the share dialog opens.
From the image details
Section titled “From the image details”-
Open a photo’s details (the Details entry in the kebab menu).
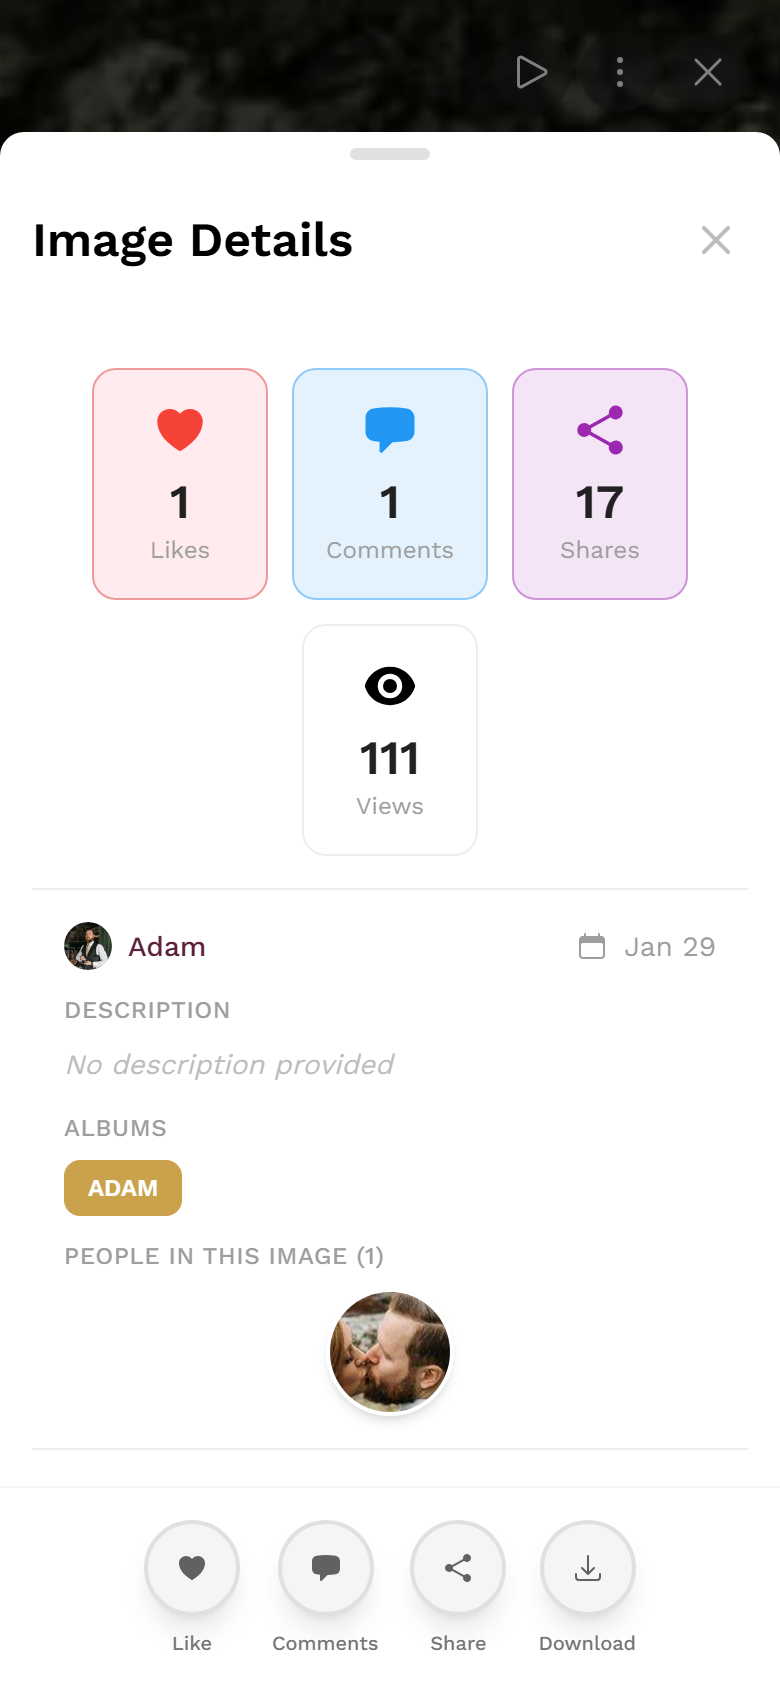
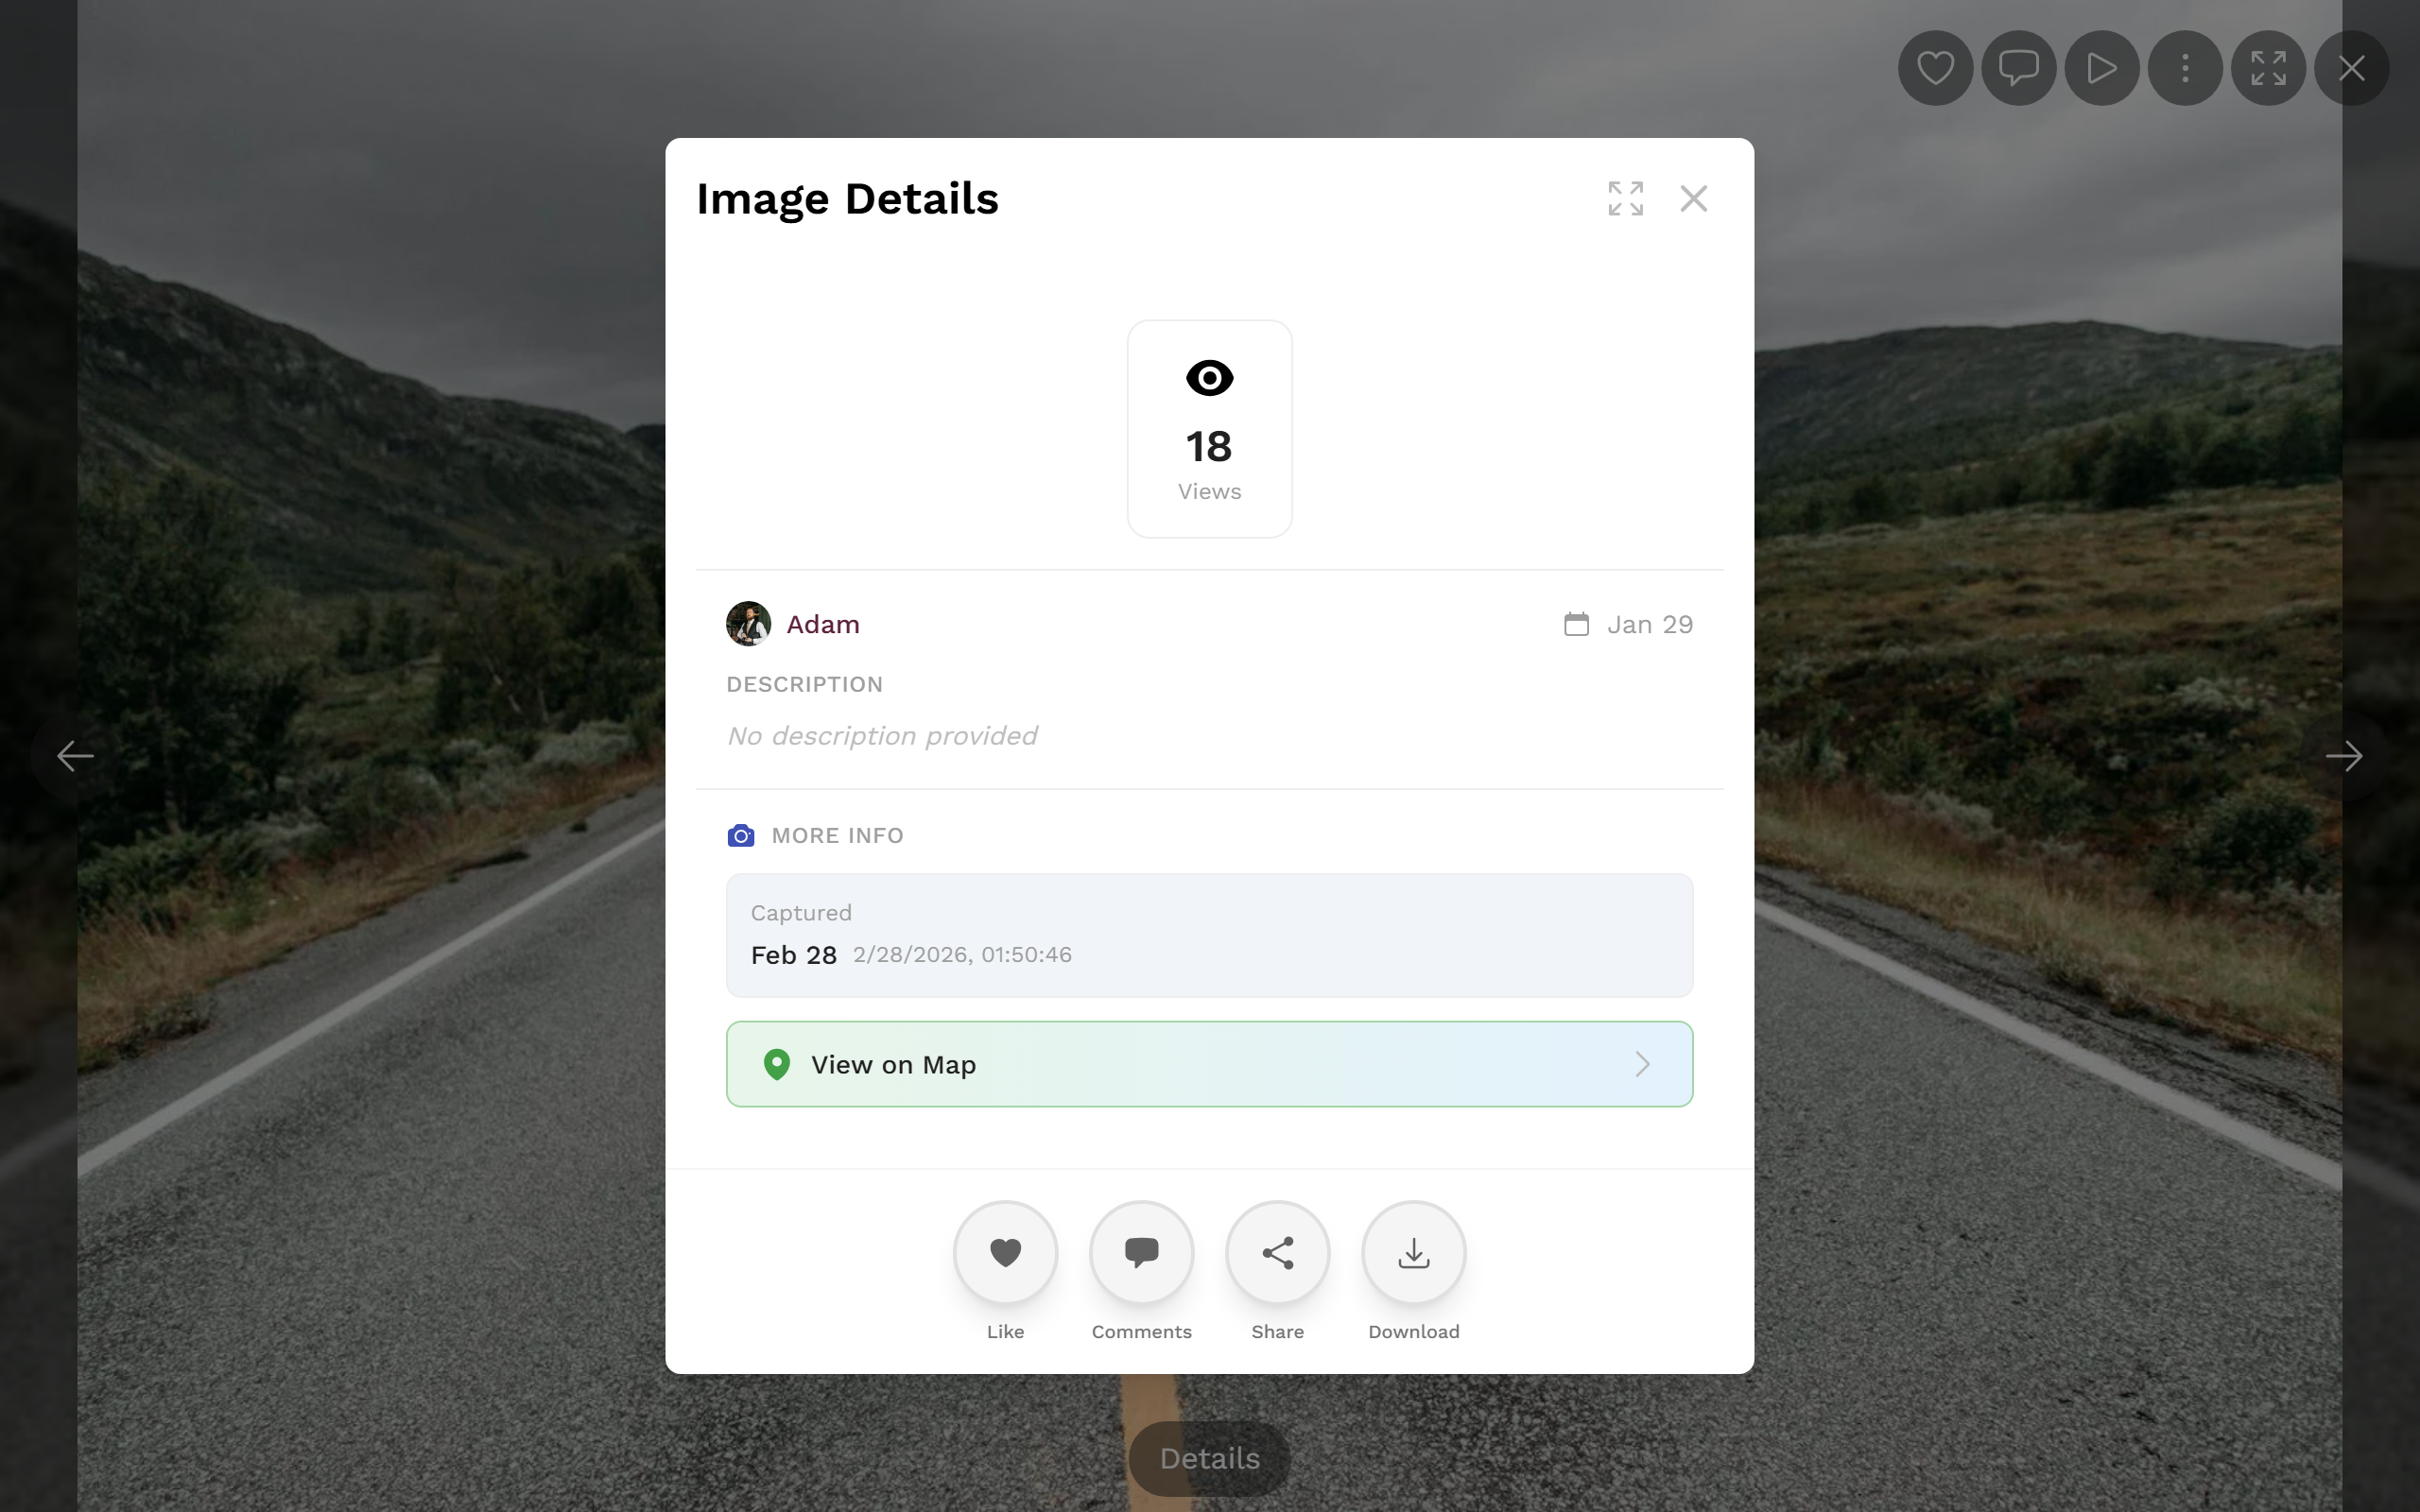
The image details gather stats and info – and the share button. -
Tap the round Share action button. When there are many actions, “Share” sits in the overflow submenu.
-
Depending on the device, the system share sheet or the share dialog opens.
What exactly gets shared: file or link
Section titled “What exactly gets shared: file or link”- On modern phones the actual image file is shared (JPEG; WebP is converted to JPEG automatically). The file name carries the gallery name, not “PhotoGala” – for example
annas-wedding-<id>.jpg. Videos and motion photos can be shared this way too. - If your device can’t share files, only the link to the photo is shared instead. That’s not an error.
- A shared photo link shows a nice preview with an image in WhatsApp, Facebook, and the like, so it’s clear what’s behind it.
- On a computer, the share dialog shows the same Copy Link field as for the gallery – except the link points straight to this one photo.
Share an album or a selection
Section titled “Share an album or a selection”PhotoGala has no dedicated “Share album” button. Here’s how you still share a sub-collection on purpose:
-
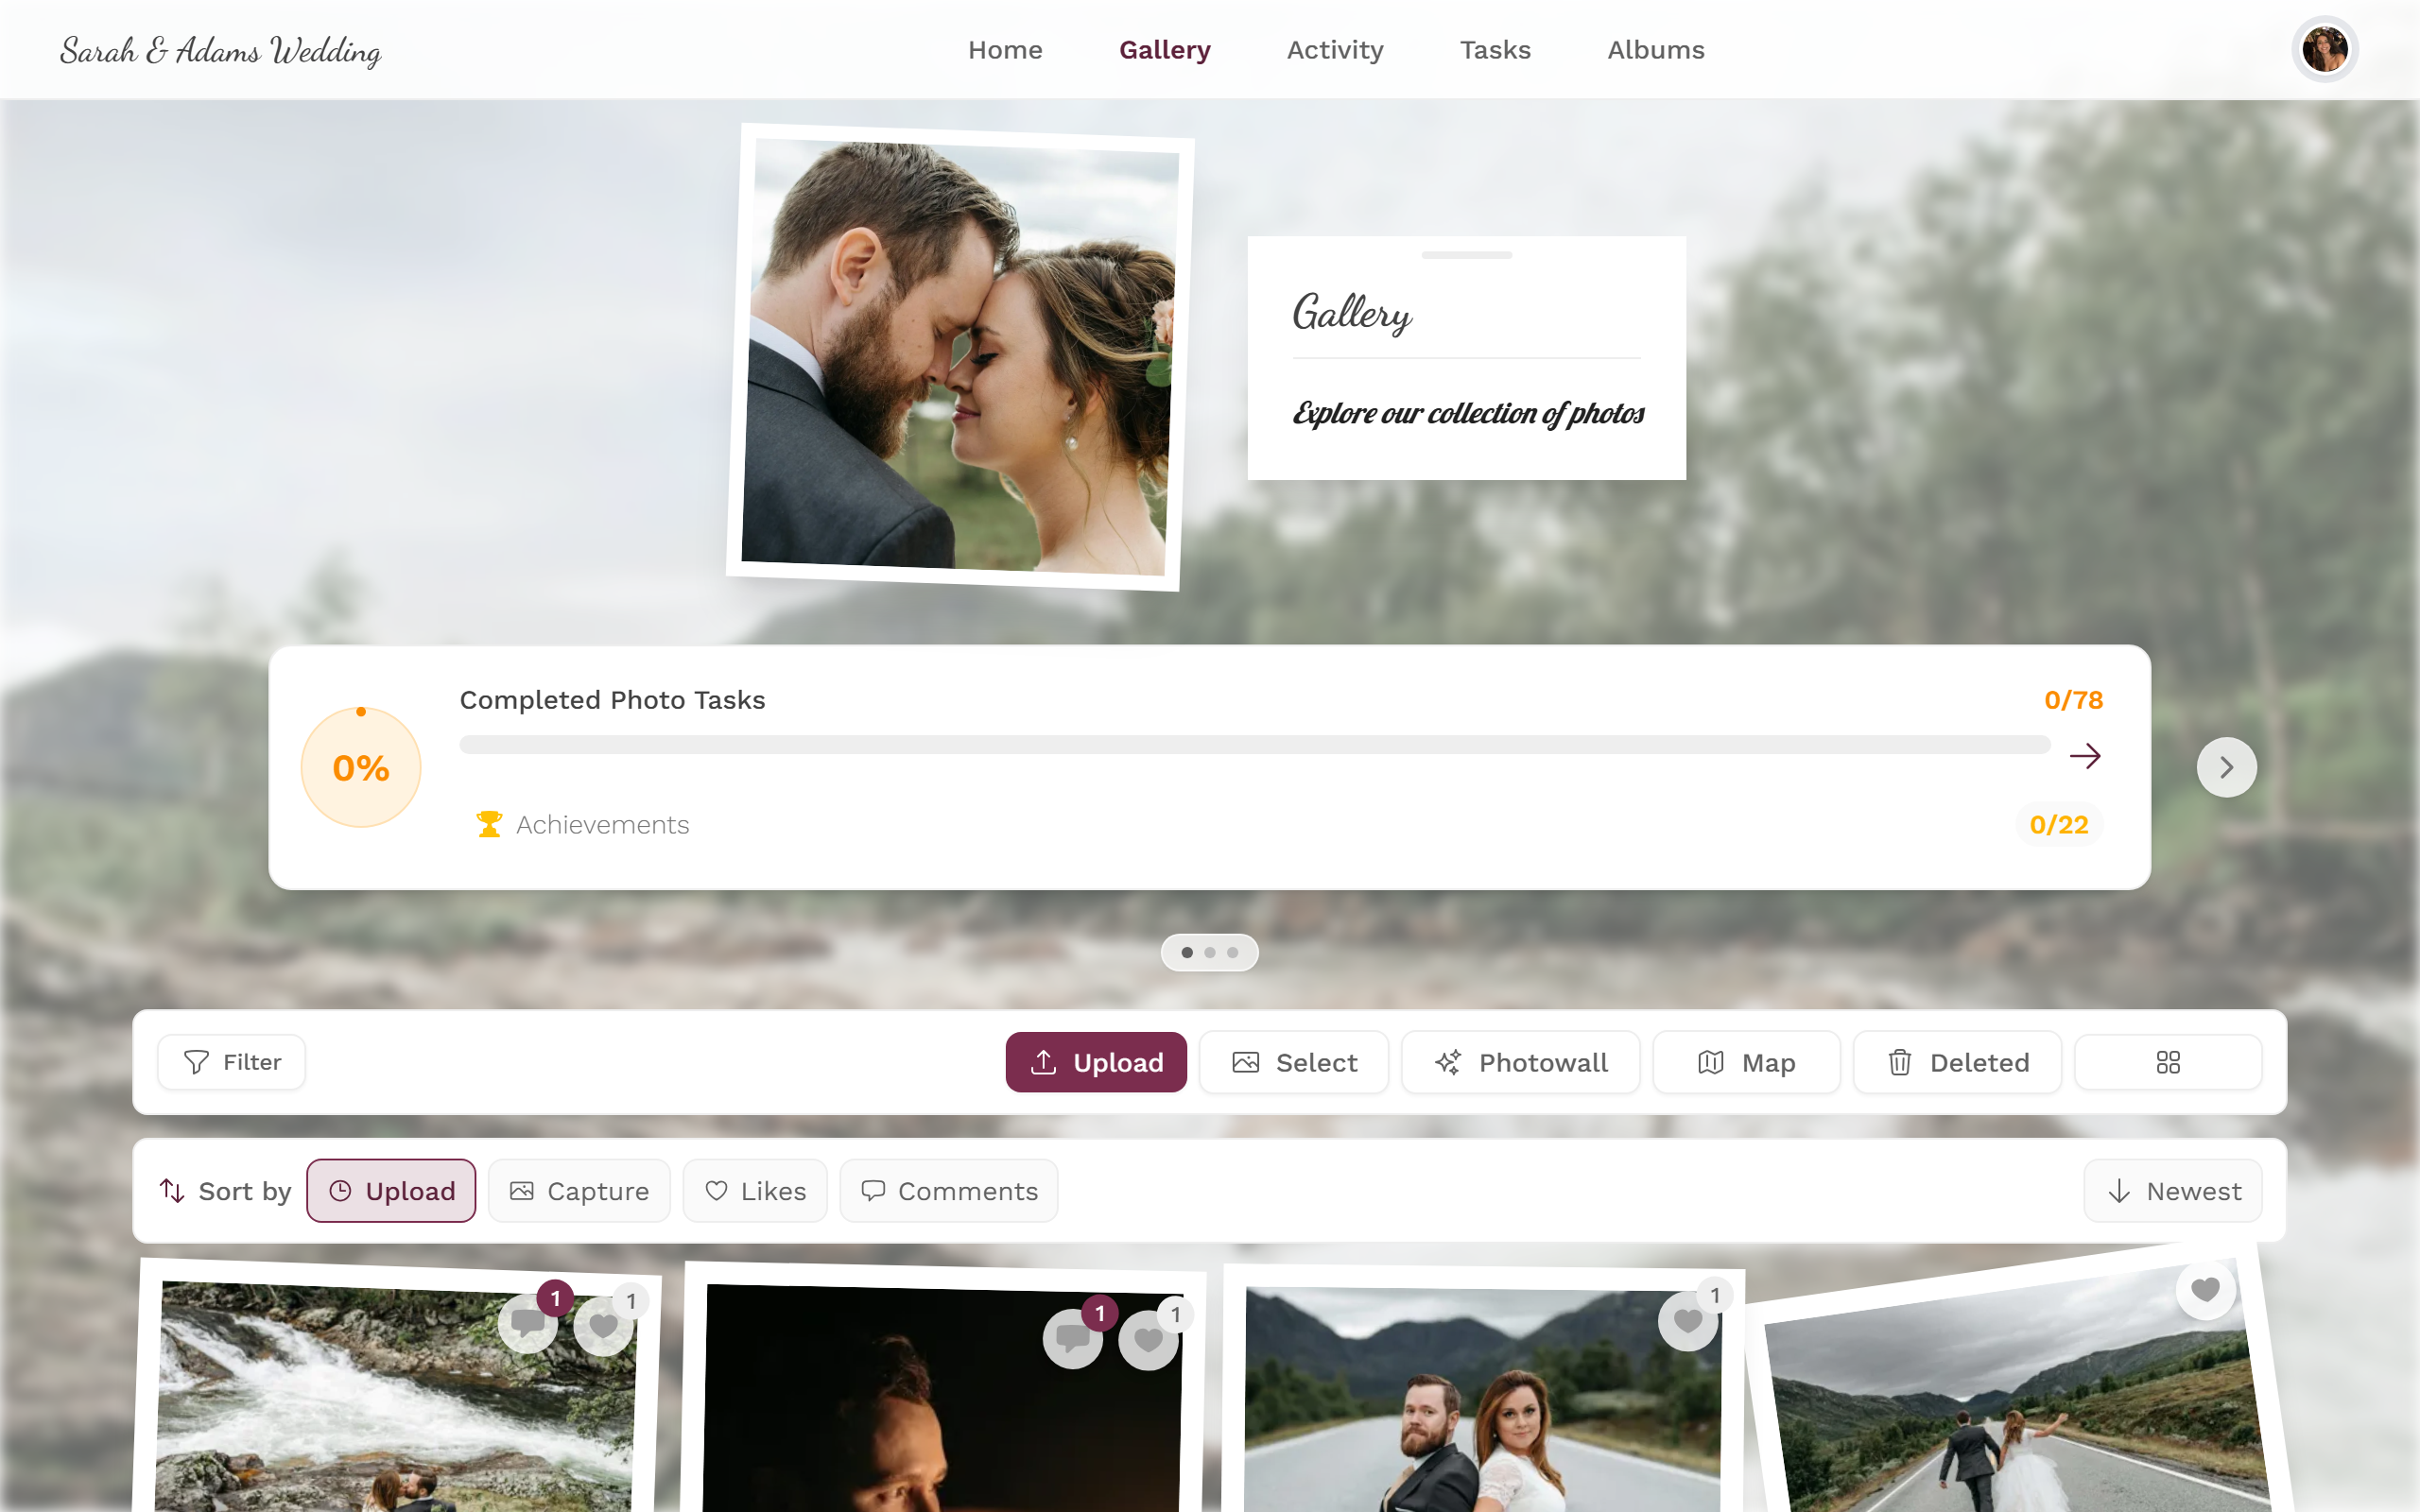
Filter the gallery to the album you want (e.g. “Ceremony” or “Party”).

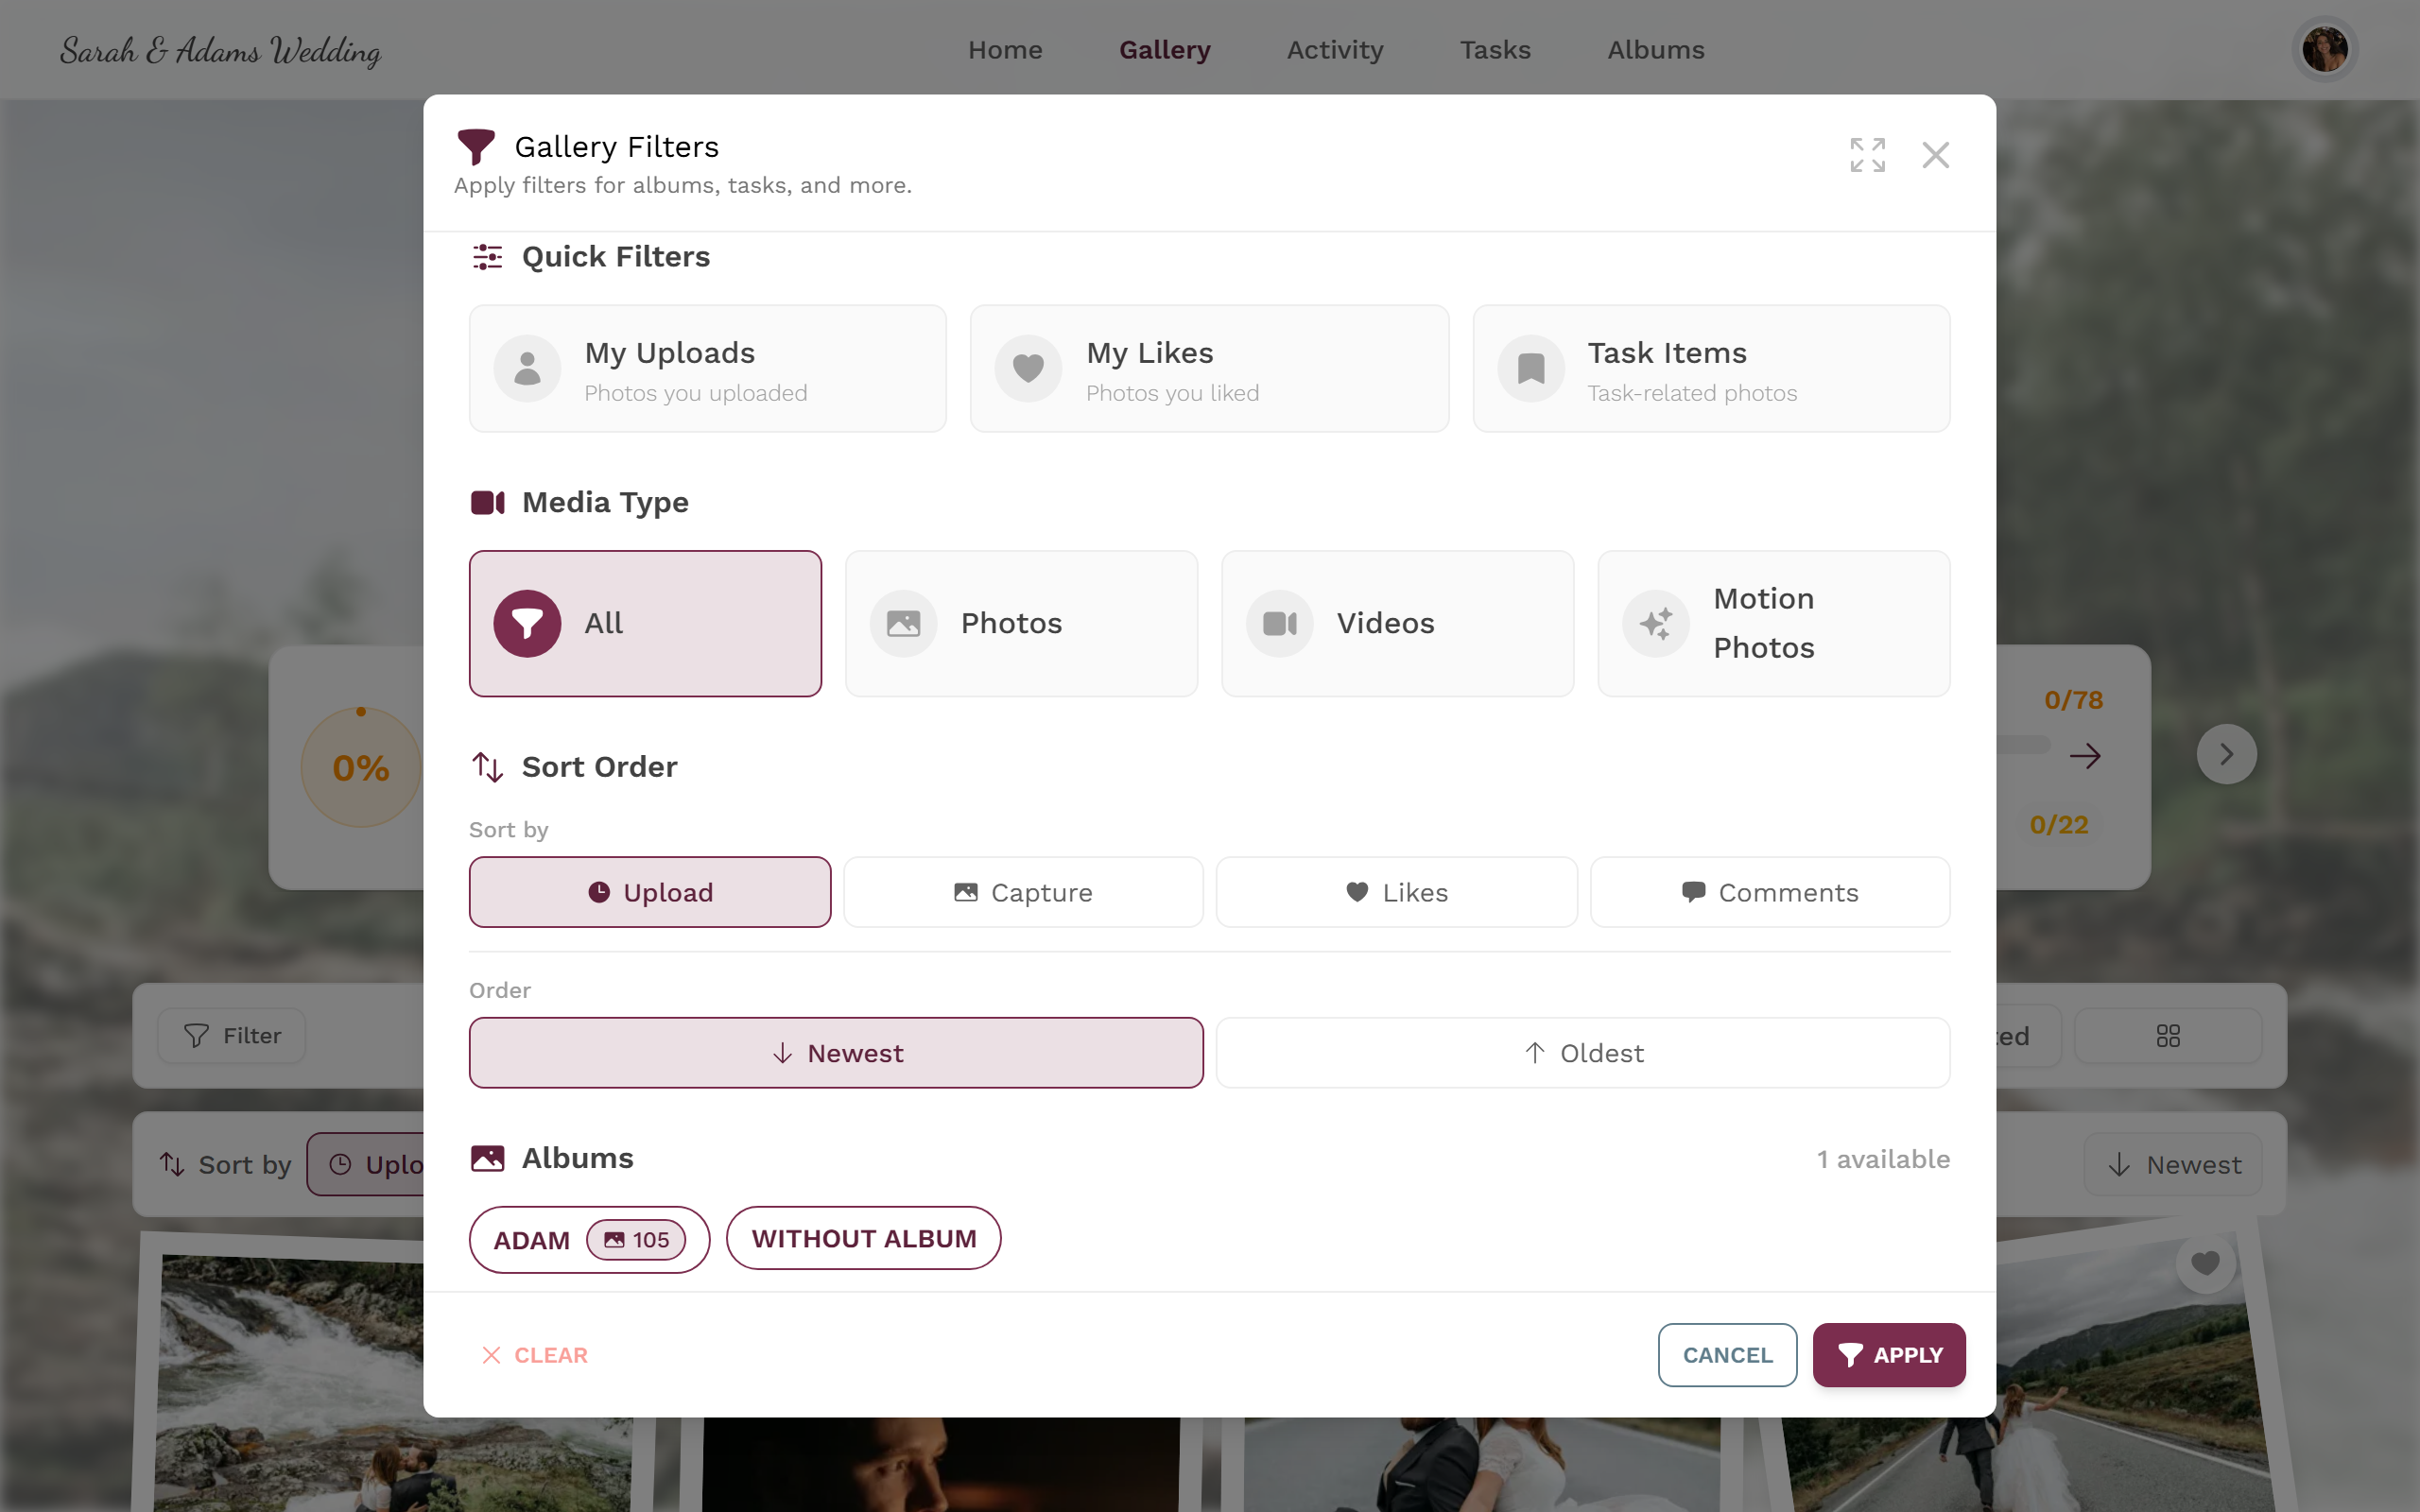
Use the filter to narrow the gallery to an album or a person. -
Now share the gallery link – via the header share button or the address bar. When the gallery is opened through the album entry, the link carries the album state.
-
Alternatively, just share a single, characteristic photo from the album (see above).
Phone vs. computer
Section titled “Phone vs. computer”Why sharing feels different on a phone and a computer:
- On a phone: the share button opens the system share sheet (WhatsApp, Messages, AirDrop …). For single photos, the image file comes along. Instead of right-click you use a long press.
- On a computer: the share button and right-click open the share dialog with a QR code, Copy Link, and the WhatsApp / email / Facebook buttons. There’s usually no system share sheet here, because desktop browsers rarely offer that feature.
When you can’t see a share button
Section titled “When you can’t see a share button”For moderators and hosts
Section titled “For moderators and hosts”The sharing options are the same for every role – guests, moderators, and admins see the same buttons, as long as the feature is on. To enable it, open the profile menu in the top right and switch to the admin area.
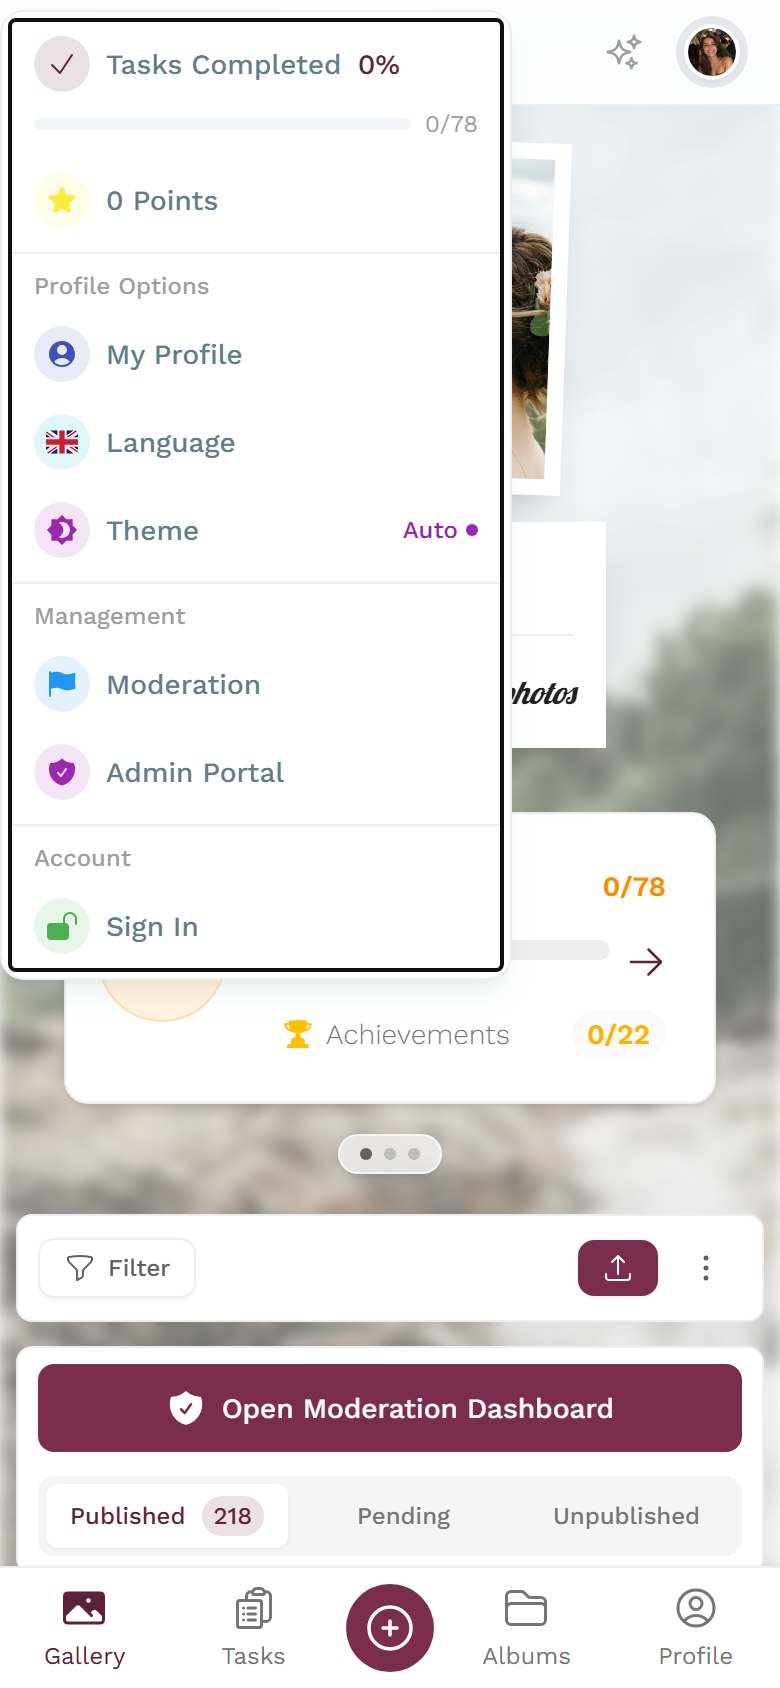
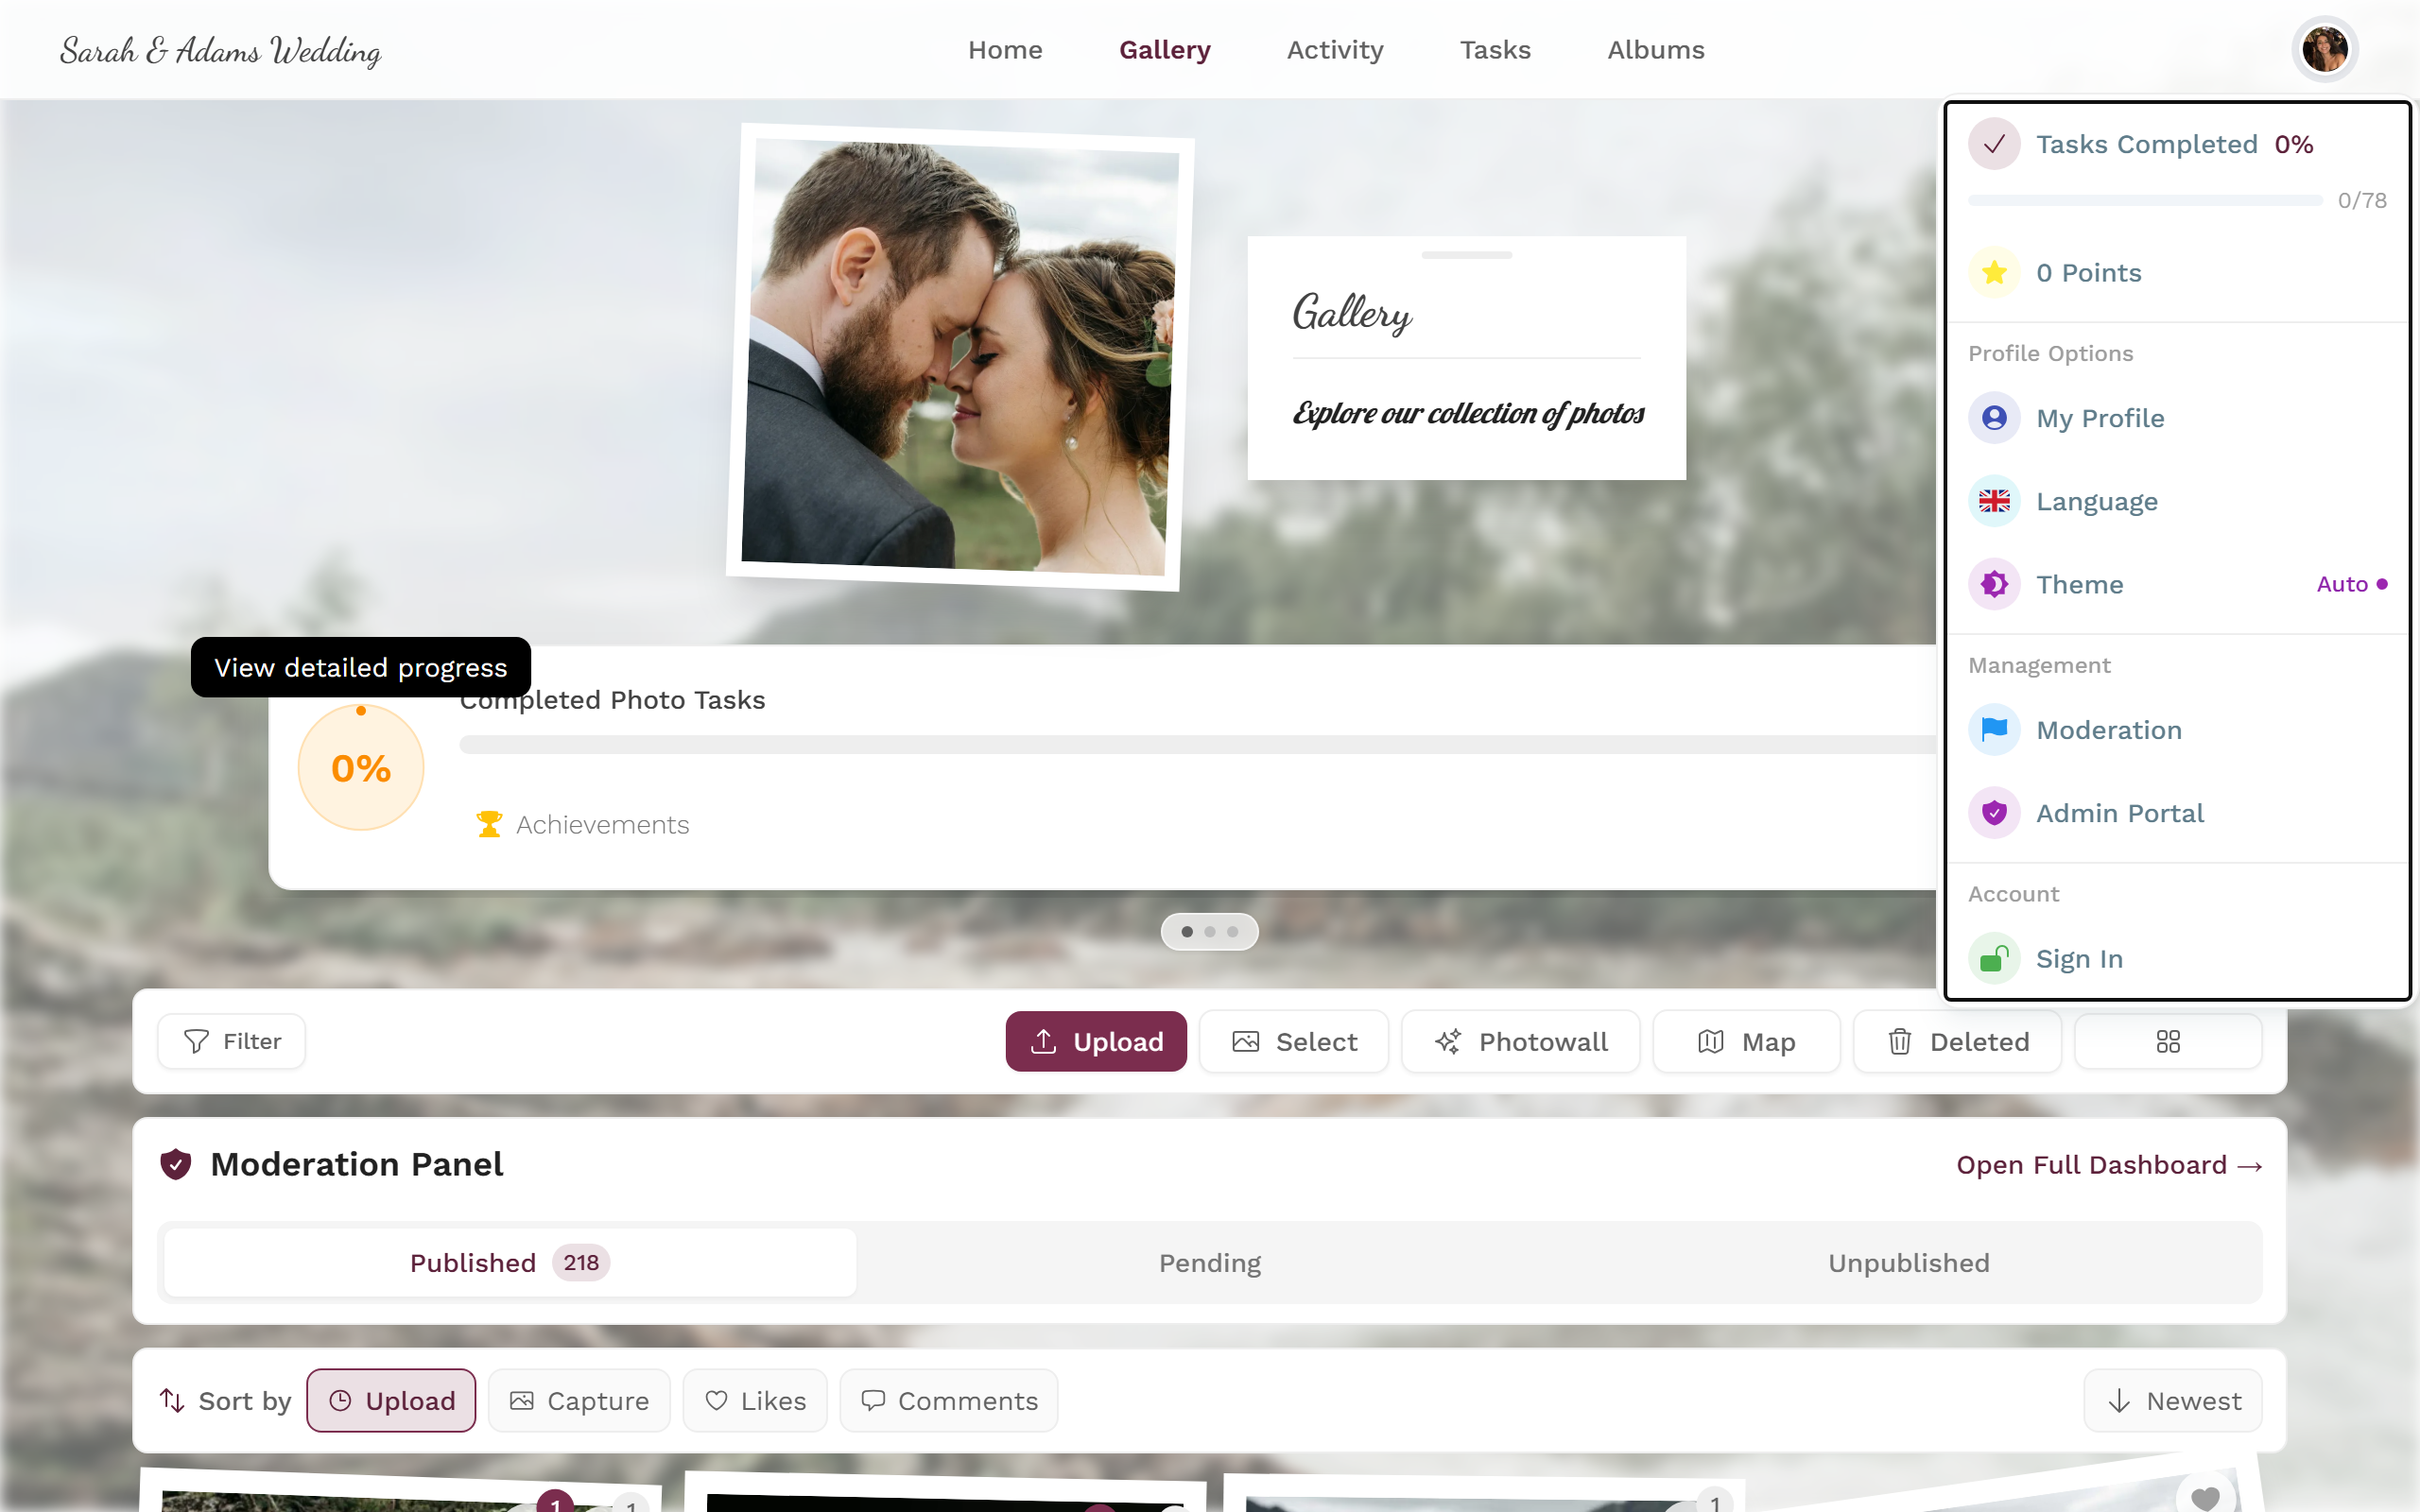
There, turn on Photo Sharing under Settings → Features. The round header share button is enabled separately in the header/design area. The automatically embedded invitation code is a host setting too (privacy & moderation).