Managing participants
The participant management page (“Registered Users”) is your central overview of everyone who has joined your event – both registered users with an account and plain guests without one. At a glance you can see who is most active, who has contributed the most and which role each person holds. From a user’s detail dialog you can also manage individuals: adjust their role, edit points and nickname, award achievements manually, add or remove invitation codes, and moderate them (ban, unban, remove profile image).
Opening the page
Section titled “Opening the page”-
Open your event’s admin area. If you are currently in the gallery, reach it via the profile menu at the top right under Management → Admin Portal.
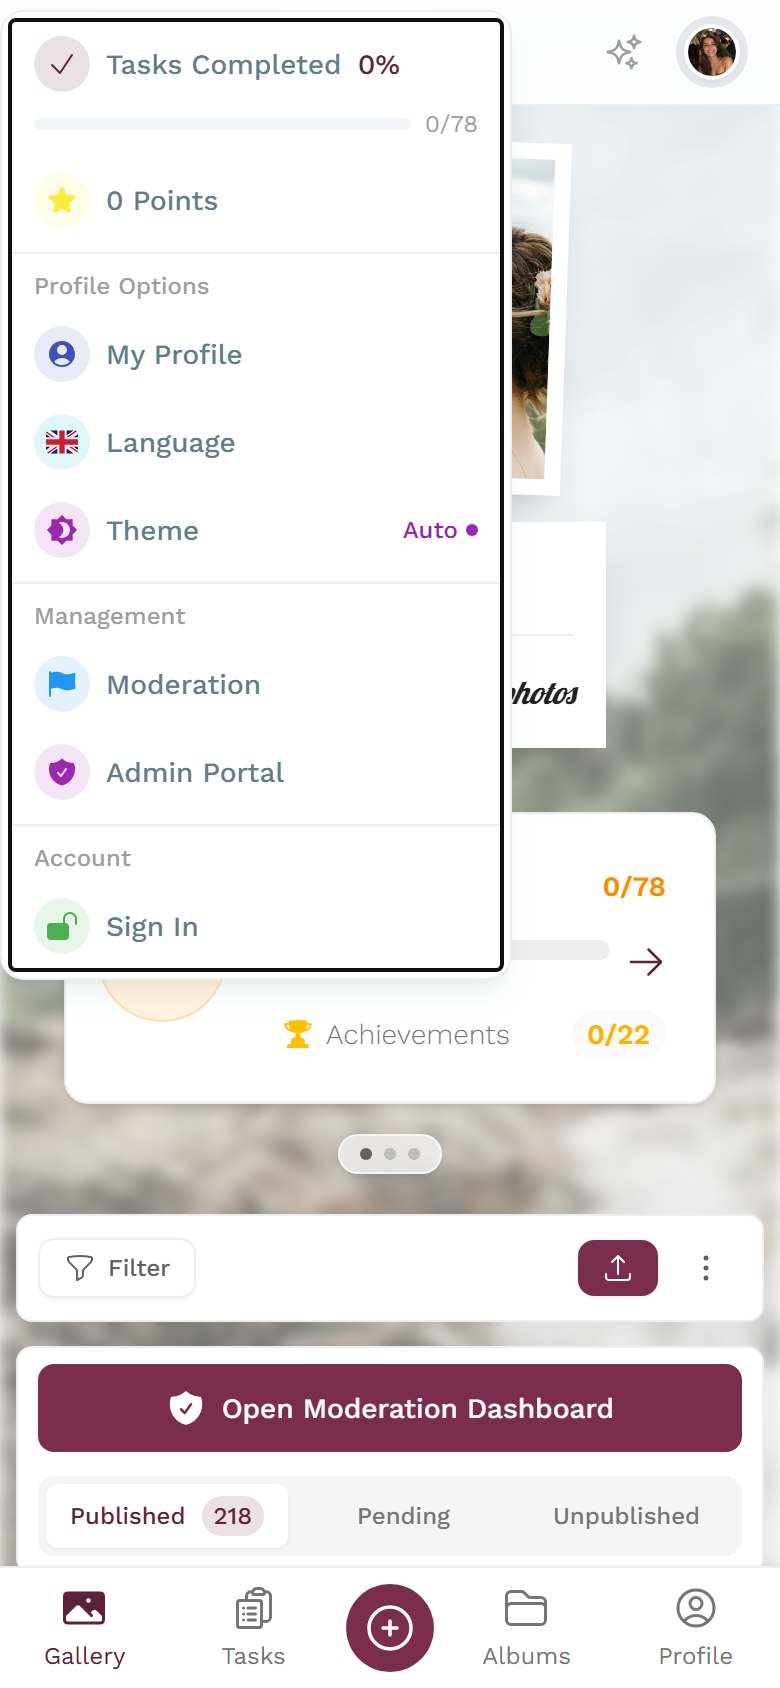
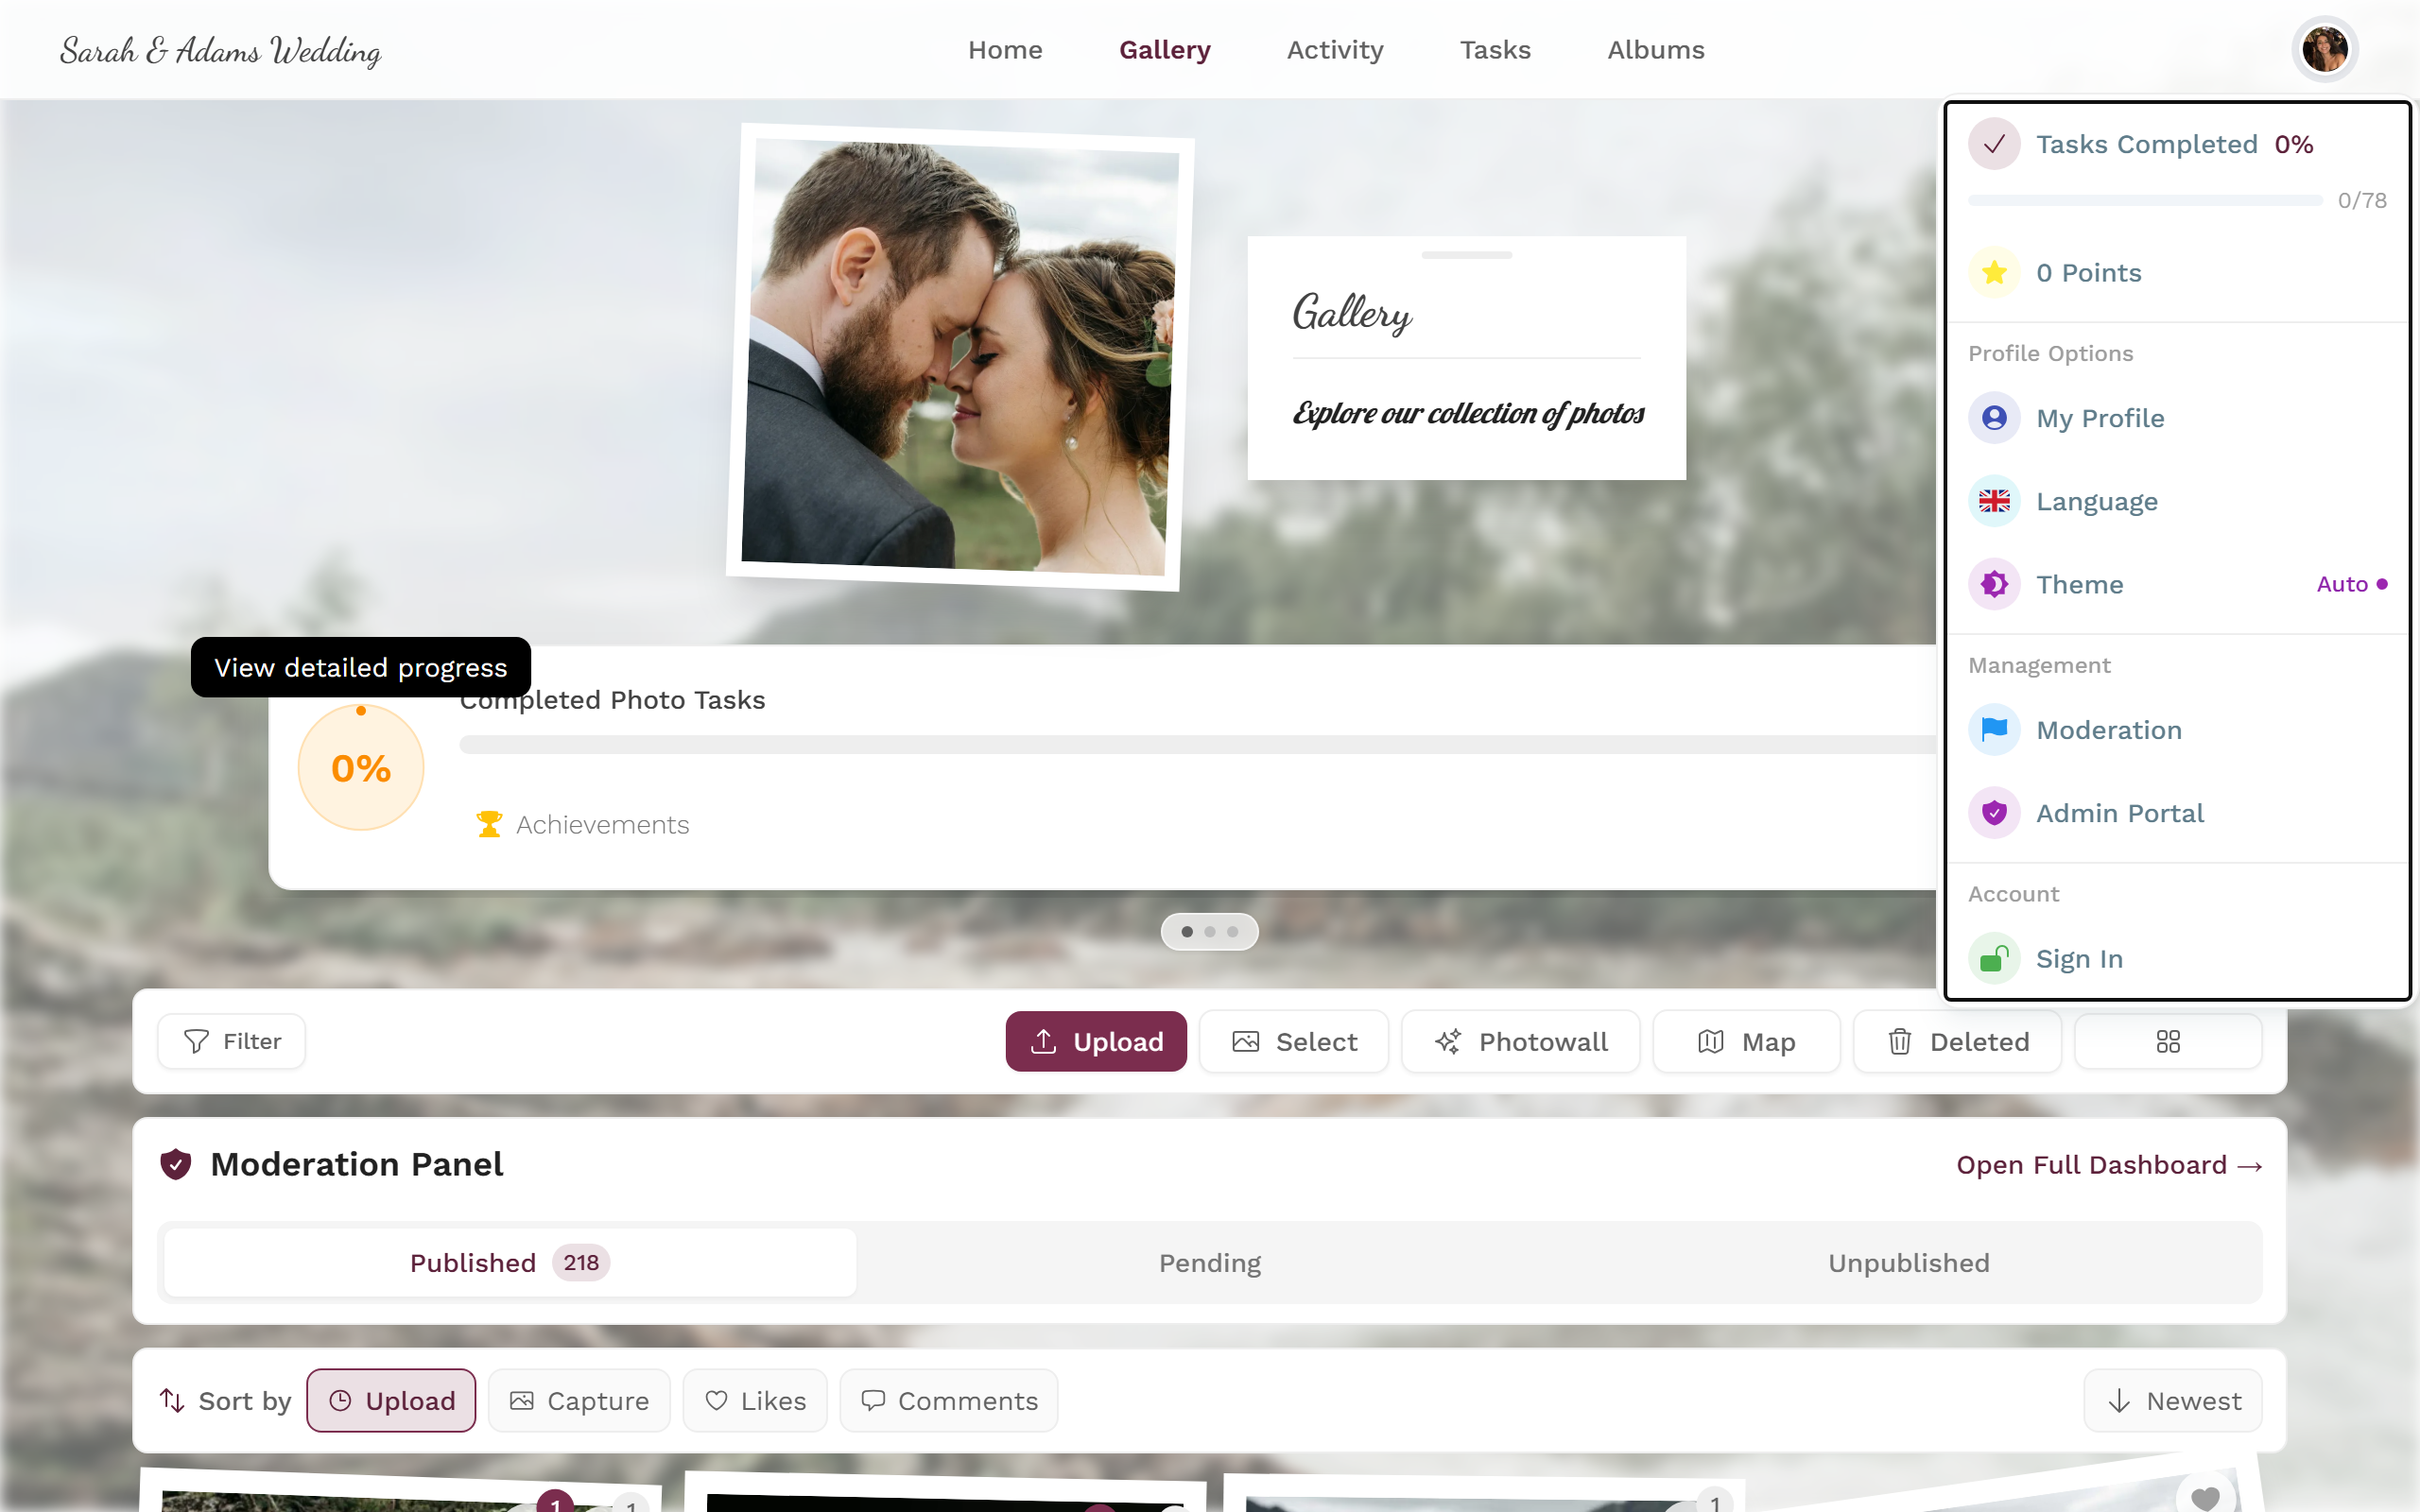
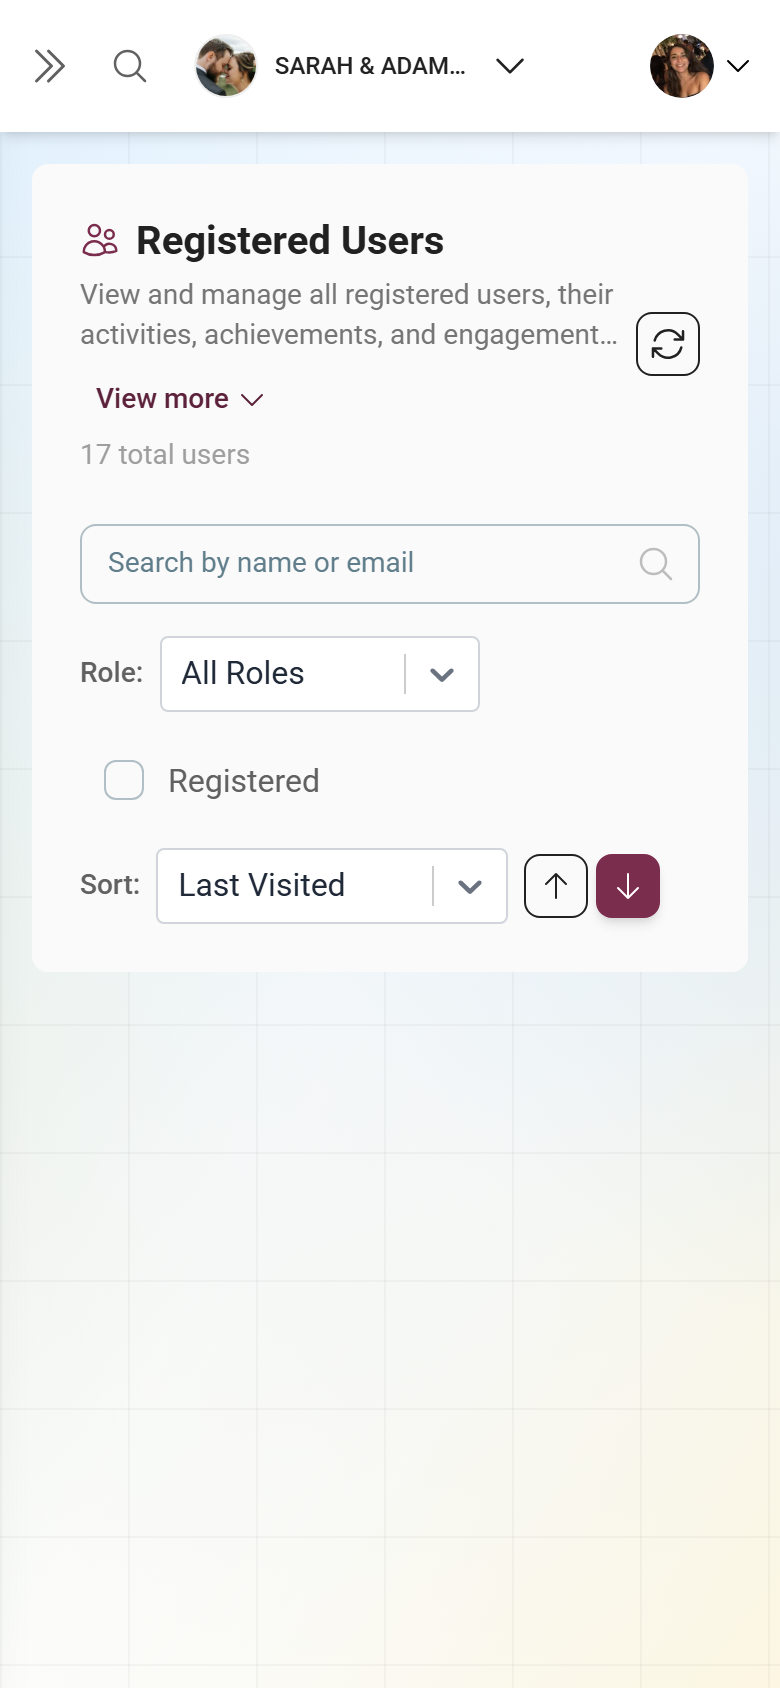
Use the profile menu at the top right to open the Admin Portal under “Management”. -
In the left sidebar, under the Management category, choose Registered Users. The route is
…/admin/registered-users.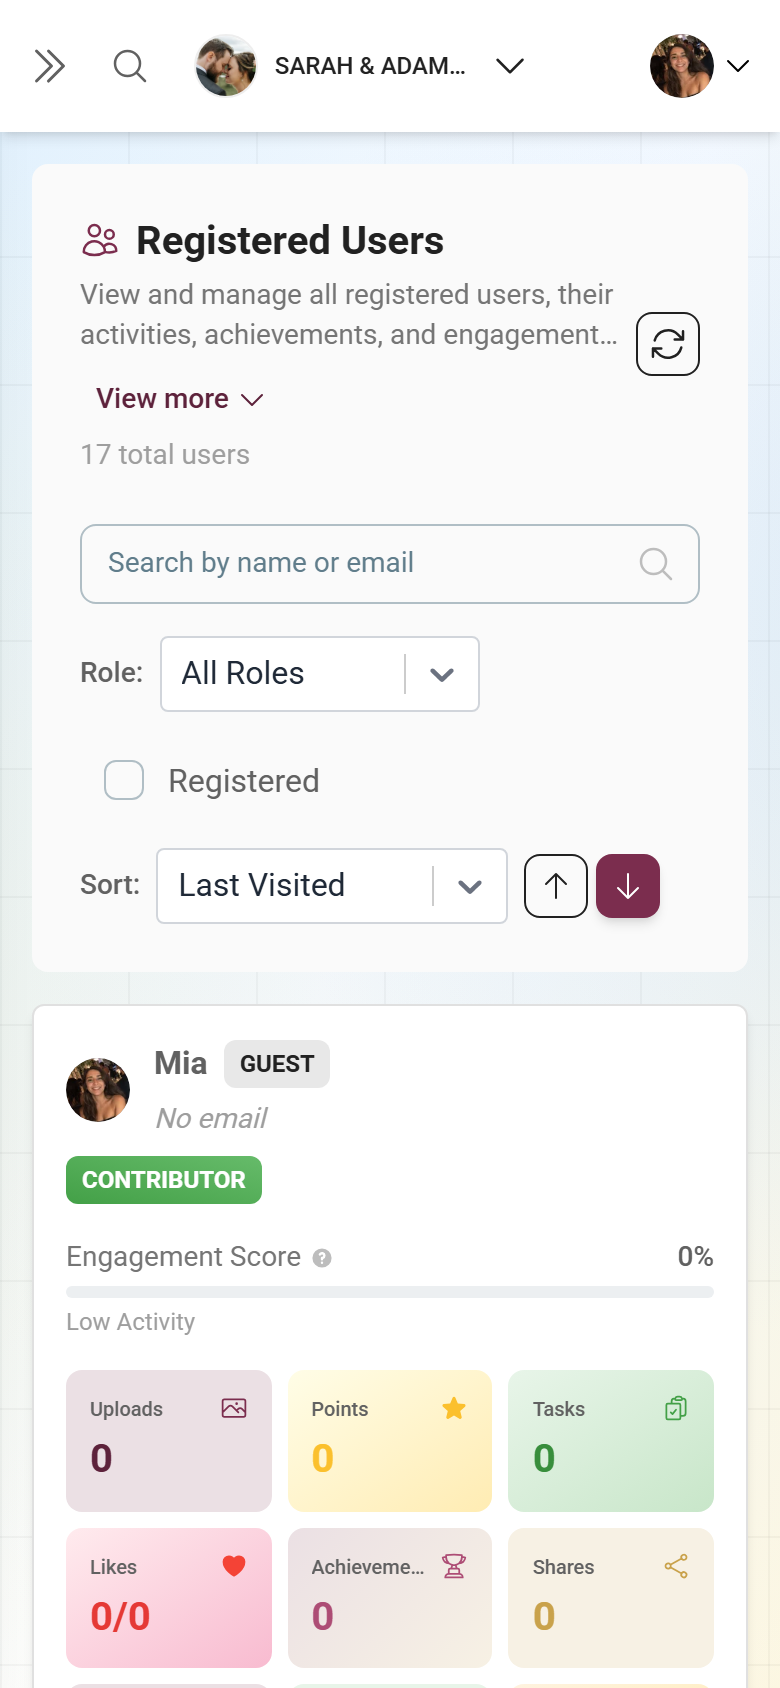
The participant management page shows all registered users and guests with their activity metrics. -
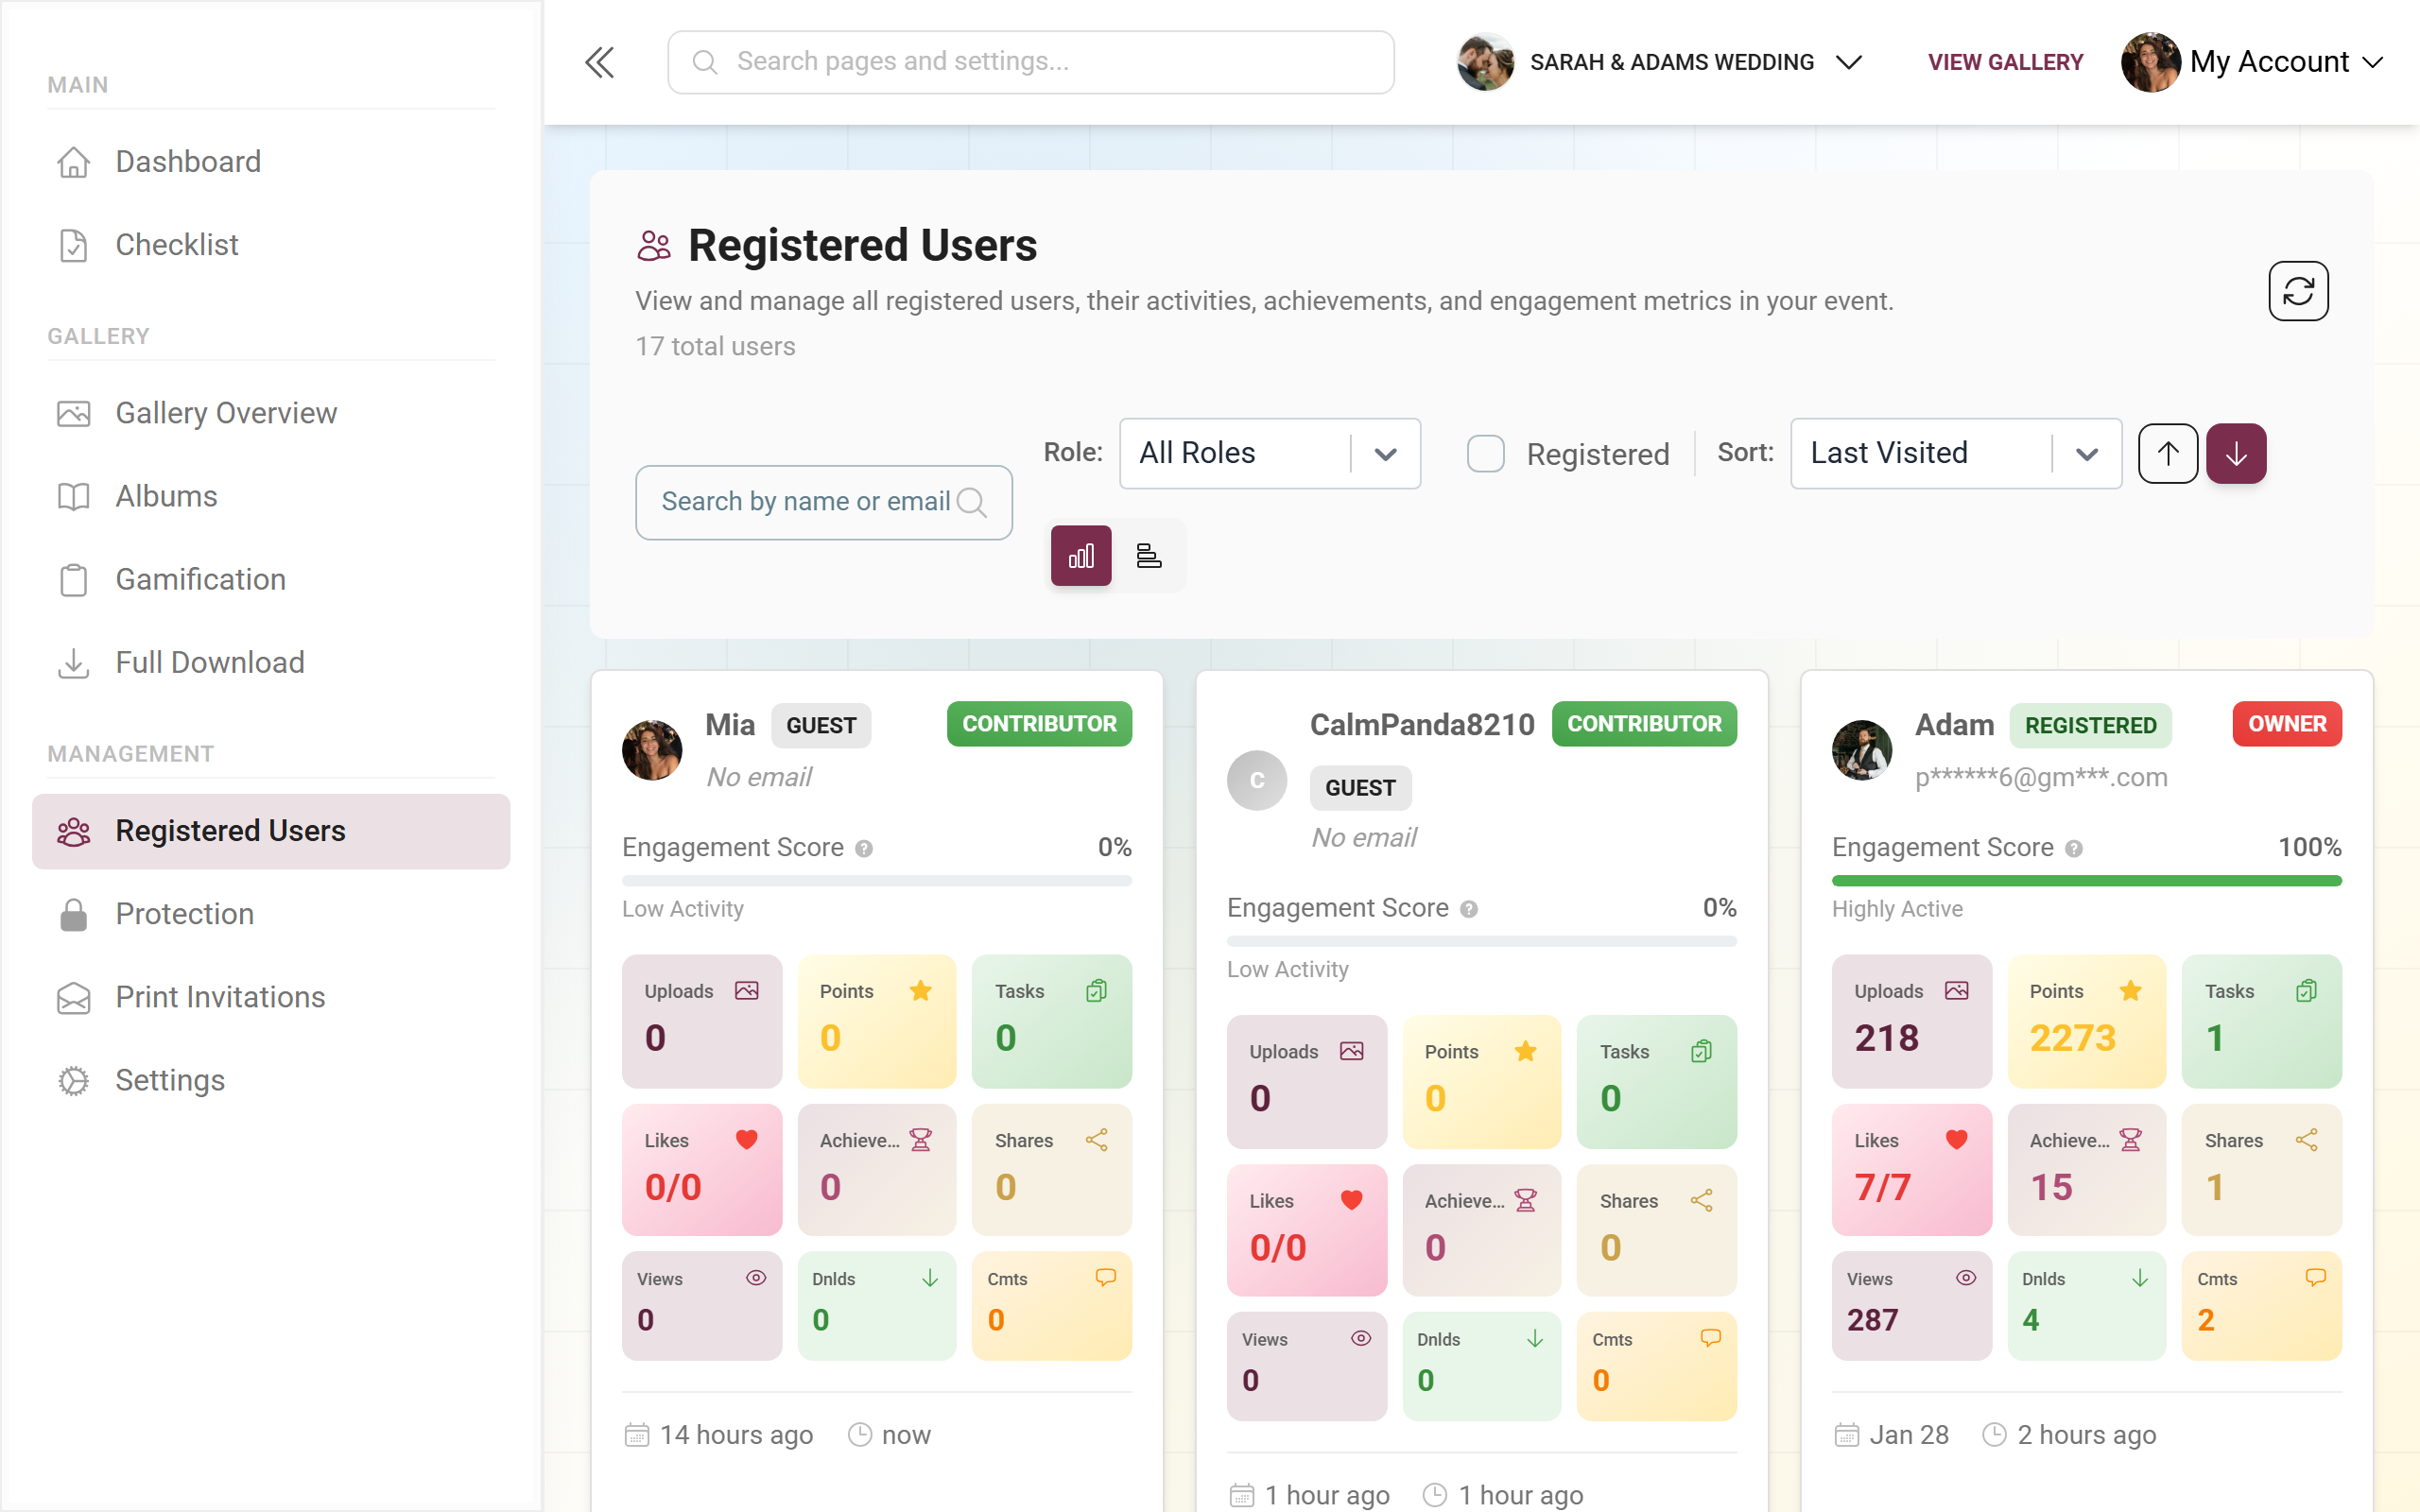
The header shows the total number of participants (“N total users”). At the top right sits the Refresh button (circular arrow): click it after making changes to reload the list.
Searching, filtering and sorting
Section titled “Searching, filtering and sorting”The toolbar above the list helps you find the right people quickly in large events.
-
Search: Type a name, nickname or email address in the “Search by name or email” field. The search runs automatically after a short delay; the X inside the field clears it.
-
Filter by role: In the dropdown next to “Role:” choose between All Roles, Owner, Admin, Moderator, Contributor, Viewer and Unauthorized. This lets you, for example, show only your moderators.
-
Registered only: Tick Registered to hide plain guests without an account, separating real accounts from one-time visitors.
-
Sort: Pick a criterion in the dropdown next to “Sort:” – Last Visited, Points, Uploads, Likes, Tasks, Achievements, Shares, Downloads, Views, Comments, Joined Date, Name or Role. The two arrow buttons beside it toggle between ascending and descending order.
-
Switch views (desktop only): On the right you can switch between the card view (9 cards per page) and the table view (20 rows per page). Your chosen view is kept on reload. In the table, the column headers User, Role, Joined and Last Active are clickable and sort the list directly.
-
Active filters: When search, a role filter or the Registered checkbox is active, an “Active filters:” row appears below with removable chips and a Clear All button that resets everything at once.
-
Paging: At the bottom, navigate with First / Previous / Next / Last. The “Showing X to Y of Z users” line tells you which slice you are viewing.
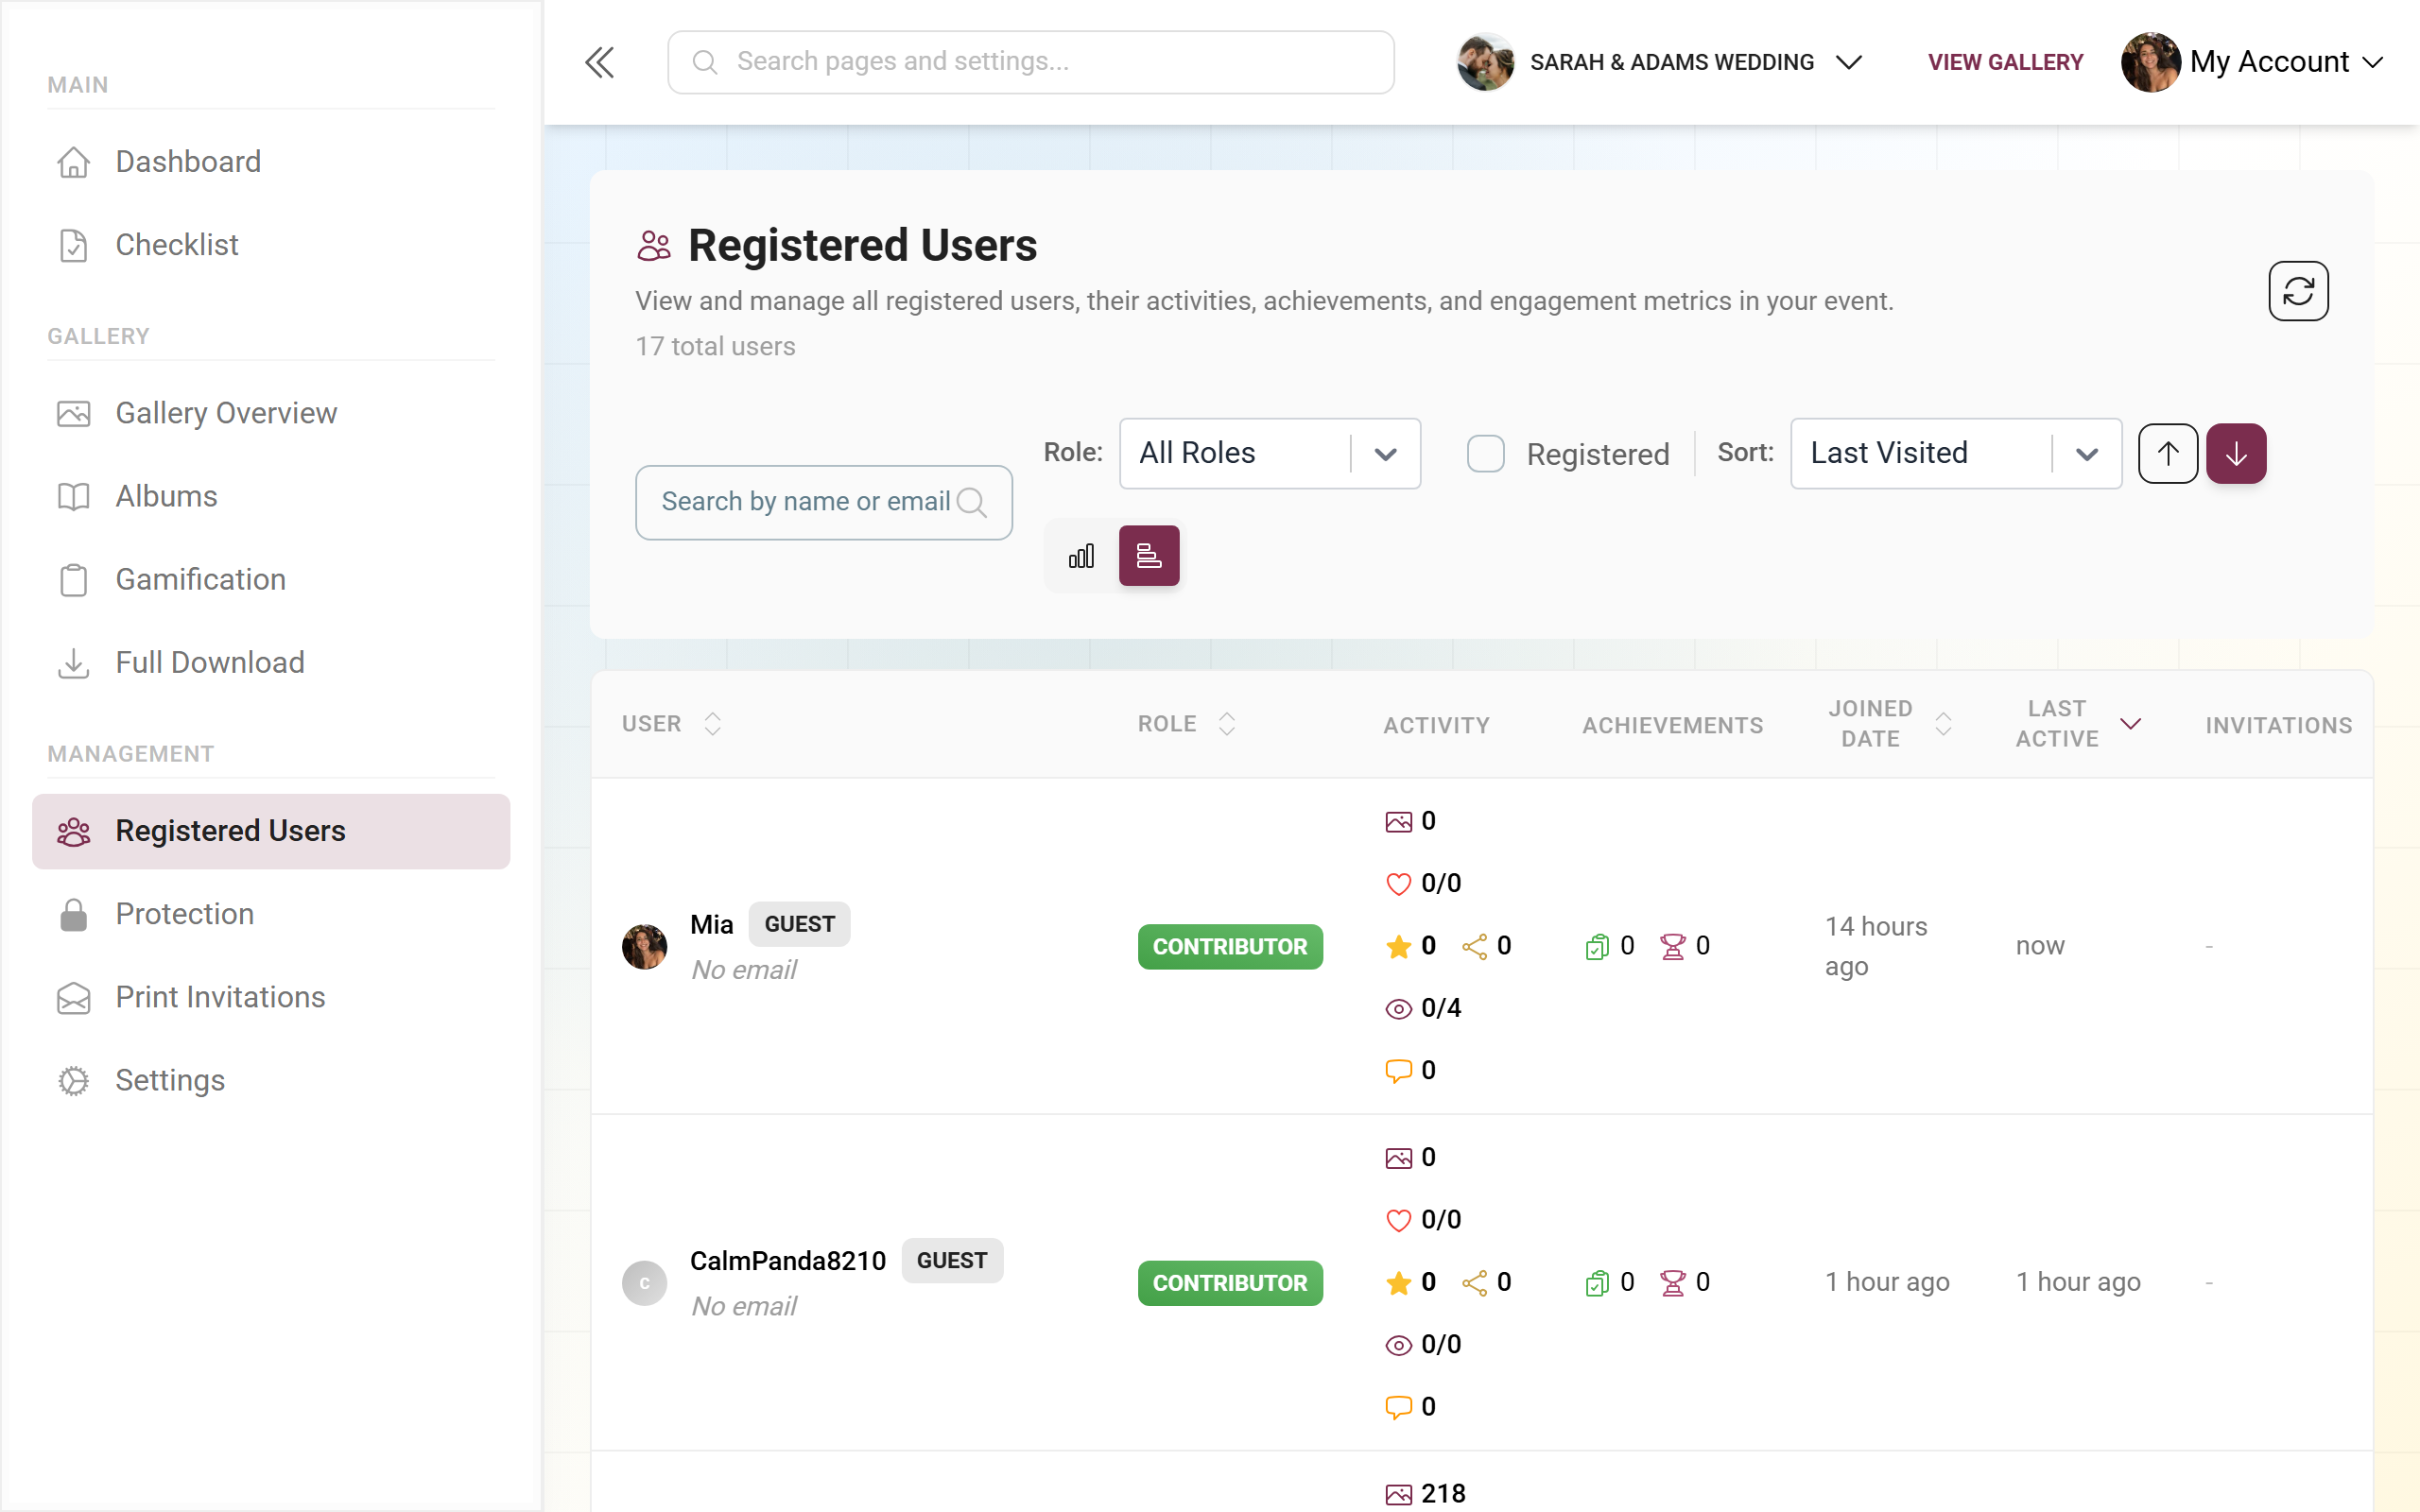
What the user card shows
Section titled “What the user card shows”Each card summarises one person compactly. Clicking a card opens the detail dialog.
- Badges: a
GuestorRegisteredchip at the top, the role chip (e.g. Contributor) and – if present – ban hints such asUpload BanorComment Ban. - Engagement score (0–100 %): a measure of activity. It is made up of: each upload counts +2, each like given +1, each like received +2, each solved task +5 and each achievement +10 (capped at 100 %). Depending on the value, a level appears: Highly Active, Active User, Moderate Activity or Low Activity.
- Stat tiles: Uploads, Points, Tasks, likes received and given, Achievements, Shares, Views, Downloads and Comments.
- Footer: join date, last visit and the user’s active invitation codes shown as chips.
Quick actions via the context menu
Section titled “Quick actions via the context menu”A right-click on a card or row (on desktop) or a long press (on mobile) opens a small menu with:
- View details – opens the detail dialog.
- Copy email – copies the email address to the clipboard (only if the user has one on file).
A user’s detail dialog
Section titled “A user’s detail dialog”Clicking a card or row (or “View details”) opens the full detail dialog. It is your tool for managing a single person completely.
Header: avatar, name, Guest/Registered chip, email address (or a note that none is on file), the role chip and a View Profile chip that opens the user’s public profile.
Body: below follow the Statistics, User Info, Achievements, Tasks and Moderation sections (see below).
Footer: the Edit User button switches to edit mode; Cancel (discard) and Save then appear.
Reading the statistics
Section titled “Reading the statistics”The statistics section shows two rows of tiles:
- Uploads – total count; the tooltip breaks it down into Published / Unpublished / Pending. Clicking opens the gallery filtered to this user’s uploads.
- Likes Received and Likes Given – likes received and given; clicking “Likes Given” shows the media the user liked in the gallery.
- Points – the current point total (editable in edit mode, see below).
- Tasks Completed – solved tasks (only when the Tasks feature is active).
- Achievements – earned achievements (only when the Achievements feature is active).
- Second row: Shares, Views Received (tooltip shows Views Given), Downloads and Comments (tooltip shows comments received).
Below that follow an upload-status overview (Total / Published / Unpublished / Pending) and the engagement score bar with its percentage value and activity level.
Editing user info (Edit User)
Section titled “Editing user info (Edit User)”Click Edit User – the info section is highlighted with a blue ring and an Editable chip.
-
Nickname: Enter a new display name in the text field. Leaving it empty keeps the current nickname unchanged.
-
Adjust the role: Pick a new role in the dropdown. It helps to understand where the role comes from – there are three source chips for this:
- Override – the role was set manually by an admin and overrides the role from the invitation code.
- Event Owner – the user is the event creator. This role is not editable (chip “Not Editable”); ownership must be transferred first to change it.
- From Invite – the role is derived from the highest-privilege invitation code the user has used.
-
Clear an override: If a user has a manually set role, you can click Clear in edit mode. The chip Will be cleared appears; after saving, the role from the highest invitation code applies again automatically.
-
Points: Edit the point total directly in the Points tile in the statistics section. Enter the new number.
-
Save or discard: Save applies all changes (you get a confirmation), Cancel discards them.
Awarding an achievement manually
Section titled “Awarding an achievement manually”If the Achievements feature is active, you can grant an achievement directly to a user. Expand the Achievements section in the detail dialog and choose Add Achievement.
-
The Add Achievement dialog opens with a note that you are selecting an achievement to award to this user.
-
Find the right achievement using the “Search achievements…” box, the sort order (Name A–Z / Z–A, least / most earned) or the filter chips (Time-based, Points, Tasks, Engagement, Social, Has Reward).
-
Each row shows an image, name, description, how many times the achievement has already been earned, its requirements and – if present – a reward icon. Achievements the user already has are hidden.
-
Select the achievement and confirm with Award Achievement. A success message appears.
Adding or removing an invitation code
Section titled “Adding or removing an invitation code”In edit mode you manage the user’s invitation codes within the User Info section.
-
Add: Click Add Invitation Code. The dialog of the same name opens with a “Search invitation codes…” box, sorting (Code A–Z / Z–A, least / most used, by role) and role filter chips.
-
Each row shows the code (in monospace), a Default or role chip, the description, usage (“X/Y used” or unlimited), any expiry date and an active checkmark.
-
If the chosen code has a higher role than the user’s current one, a yellow Role will be updated banner shows the change from old to new role. If nothing changes, a grey note appears instead.
-
Confirm with Add Invitation Code.
-
Remove: In edit mode, each code chip in User Info has a small red X. Clicking it opens a confirmation dialog (“Remove Invitation Code?”) before the code is removed.
Moderating a user
Section titled “Moderating a user”The Moderation section only appears when you are allowed to moderate this user (they have a lower role than you and you hold moderation rights). Expand the Moderation section.
-
Ban: Click Ban User. In the ban dialog you select one or more categories via checkbox: Uploads (no more photo uploads), Comments (no comments), Nickname change and Profile image change. Each category has a short explanation.
-
Enter a reason in the Ban reason field (up to 500 characters). This documents the ban traceably for your team.
-
Confirm with Confirm Ban. You can ban several categories at once.
-
Unban: When bans are active, the Unban User button appears. The unban dialog lists only the currently banned categories to choose from; confirm with Confirm Unban.
-
Remove profile image: If the user has an inappropriate profile picture, remove it with Remove Profile Image (only visible when an image is present).
The section also shows the status: “Currently banned from” in red with the banned categories, or “No bans active” in green.
Viewing a user’s achievements and tasks
Section titled “Viewing a user’s achievements and tasks”- The Achievements section (only with the feature active) lists earned achievements along with the status of their rewards (redeemed / dismissed); “load more” fetches additional ones. In edit mode, individual achievements can be removed.
- The Tasks section (only with the feature active) shows the tasks the user has solved.
Recommended practices
Section titled “Recommended practices”- Before awarding rewards, sort by Points or Uploads to identify the most active participants.
- Prefer to control roles via invitation codes rather than individual overrides – it is traceable for the whole team.
- Document every ban with a reason.
- For abuse, ban specific categories rather than issuing a full ban.
- Use the Registered filter to distinguish real accounts from one-time guests.
Common questions and troubleshooting
Section titled “Common questions and troubleshooting”- The Achievements or Tasks section is missing: the respective feature is disabled in your plan or settings. Check Features or Pricing and upgrade.
- The Moderation section is missing: you have no moderation rights for this user – for example because they hold a higher or equal role.
- Admin/Owner greyed out in the role dropdown: only the owner may grant these roles.
- “Add Invitation Code” shows no codes: there are no active, grantable codes. Create them first under Inviting guests.
- A user does not appear: they are probably hidden by the Registered filter or a role filter. Click Clear All.
- Changed points or nickname do not show: use the Refresh button in the header to reload the list.
Related pages
Section titled “Related pages”- Roles and permissions – what each role can do
- Inviting guests – creating and managing invitation codes
- Banning users and Moderation – moderating your event fully
- Achievements and Tasks manager – managing awards and tasks
- Reward tracking – tracking real rewards
- Event statistics – aggregated metrics for your event
- From the guest side: Points and rewards, Challenges, Real rewards, Profile