Your privacy
Your privacy matters. This page explains honestly which privacy controls you as a guest really have — and which ones sit with the event’s host. That way you know exactly what you can control yourself and when you need to contact the host.
The four core topics:
- Face recognition & Find me — how automatic people-grouping works and how to delete your selfie.
- Deleting or editing your own photos — your uploads belong to you.
- Who can see my photos? — how visibility and approval are handled.
- Staying anonymous, name & account — browsing without registering, and its limits.
Face recognition — what really happens
Section titled “Face recognition — what really happens”If the host has turned face recognition on, the gallery automatically groups photos by person. The filter then shows a Filter by People section, where you tap a face to see all photos of that person.
This is an event feature controlled by the host.
When does the people filter appear at all?
Section titled “When does the people filter appear at all?”The Filter by People section (and therefore Find me) is only visible when both conditions are met:
- The event’s plan includes AI face processing, and
- the host has enabled face recognition under Settings → Features.
Otherwise the whole section is missing. When the feature is off, you may see the note No face clusters found. Face recognition may not be enabled…
Your rights over your face data
Section titled “Your rights over your face data”Face data is biometric, especially sensitive data. Under the GDPR you have the right to have it deleted. When a host enables face recognition, they must consent to that and provide a contact for data-subject rights.
What you as a guest can actually do:
-
Don’t actively search for yourself with a selfie. If you don’t use Find me (below), no “this is you” matches are shown to you.
-
Delete your uploaded selfie and its face data — any time, via the trash icon next to the Find me card (steps in the next section).
-
Ask the host to delete automatically detected face data. You’ll find the contact on the event’s privacy/legal pages (see Event legal pages).
Find me — find yourself without leaving a trace
Section titled “Find me — find yourself without leaving a trace”Find me uploads a selfie so the gallery can pick out your photos for you. Your selfie stays private and is only used to find your photos in this event.
-
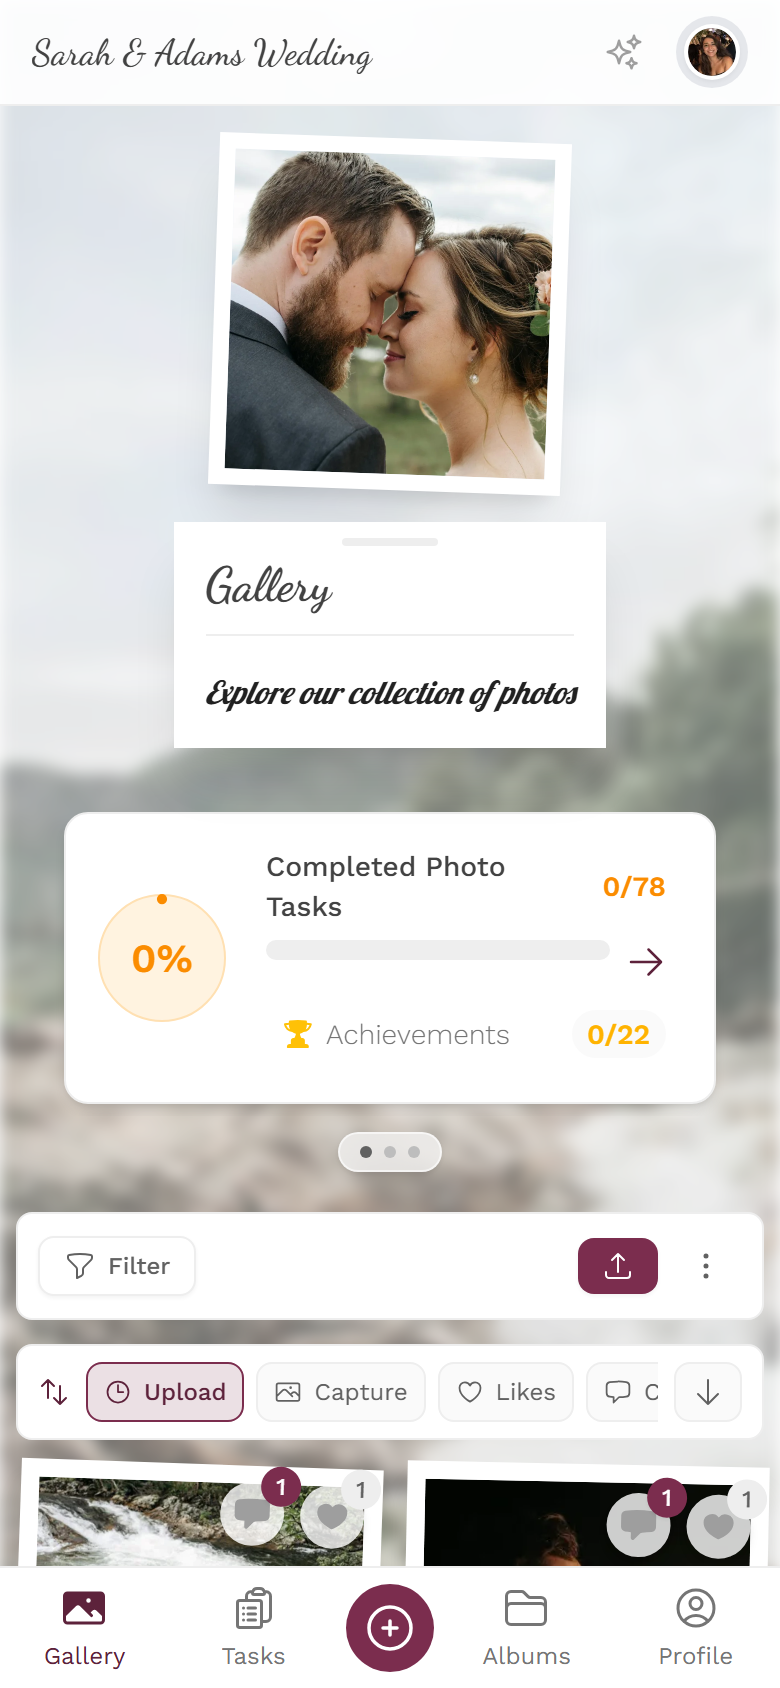
Open the gallery and tap the Filter button (funnel icon) in the toolbar.
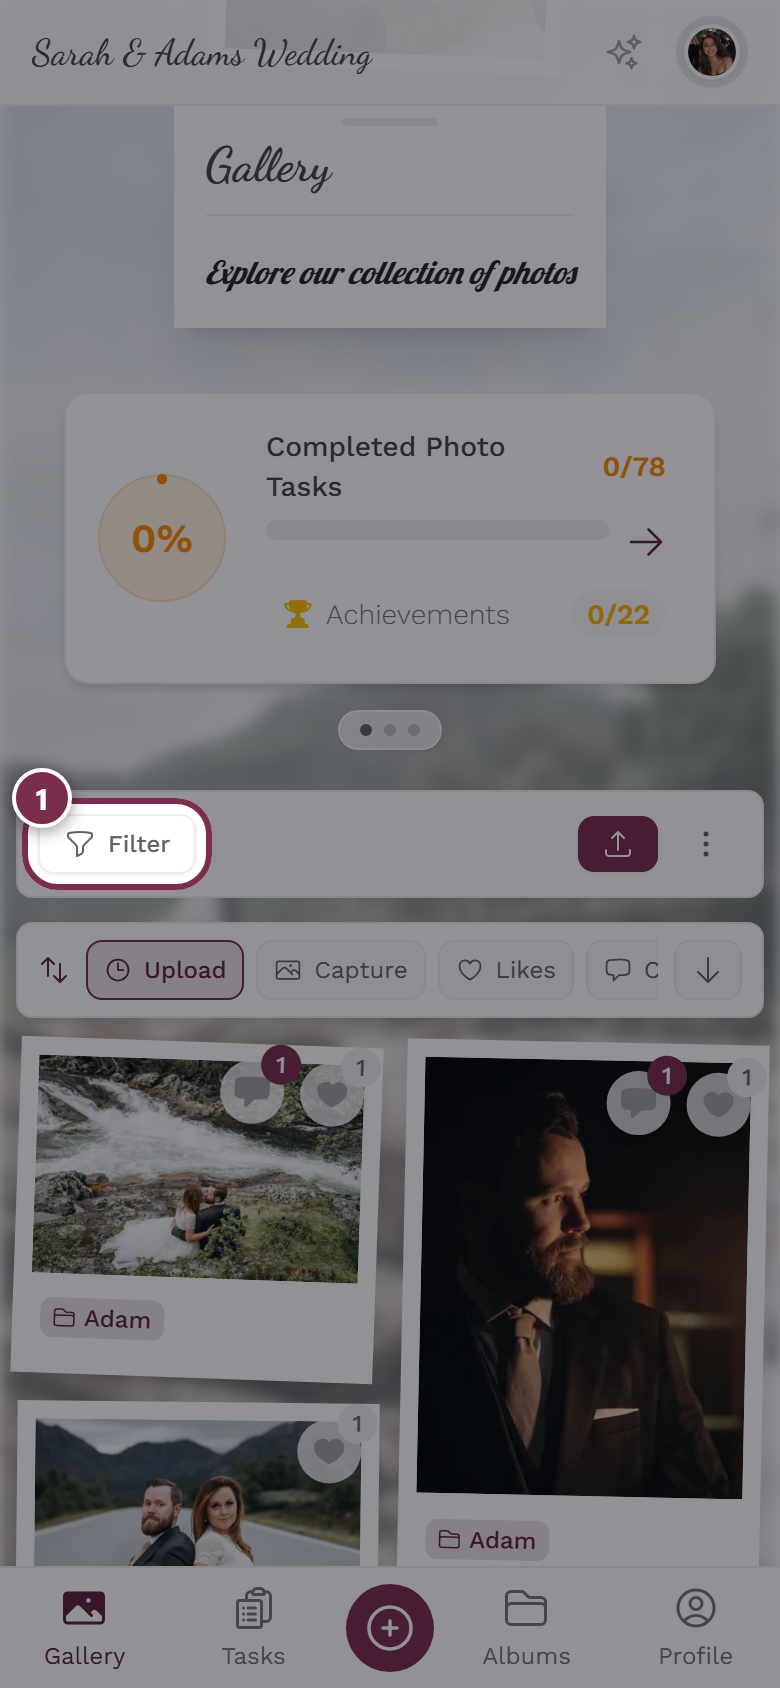
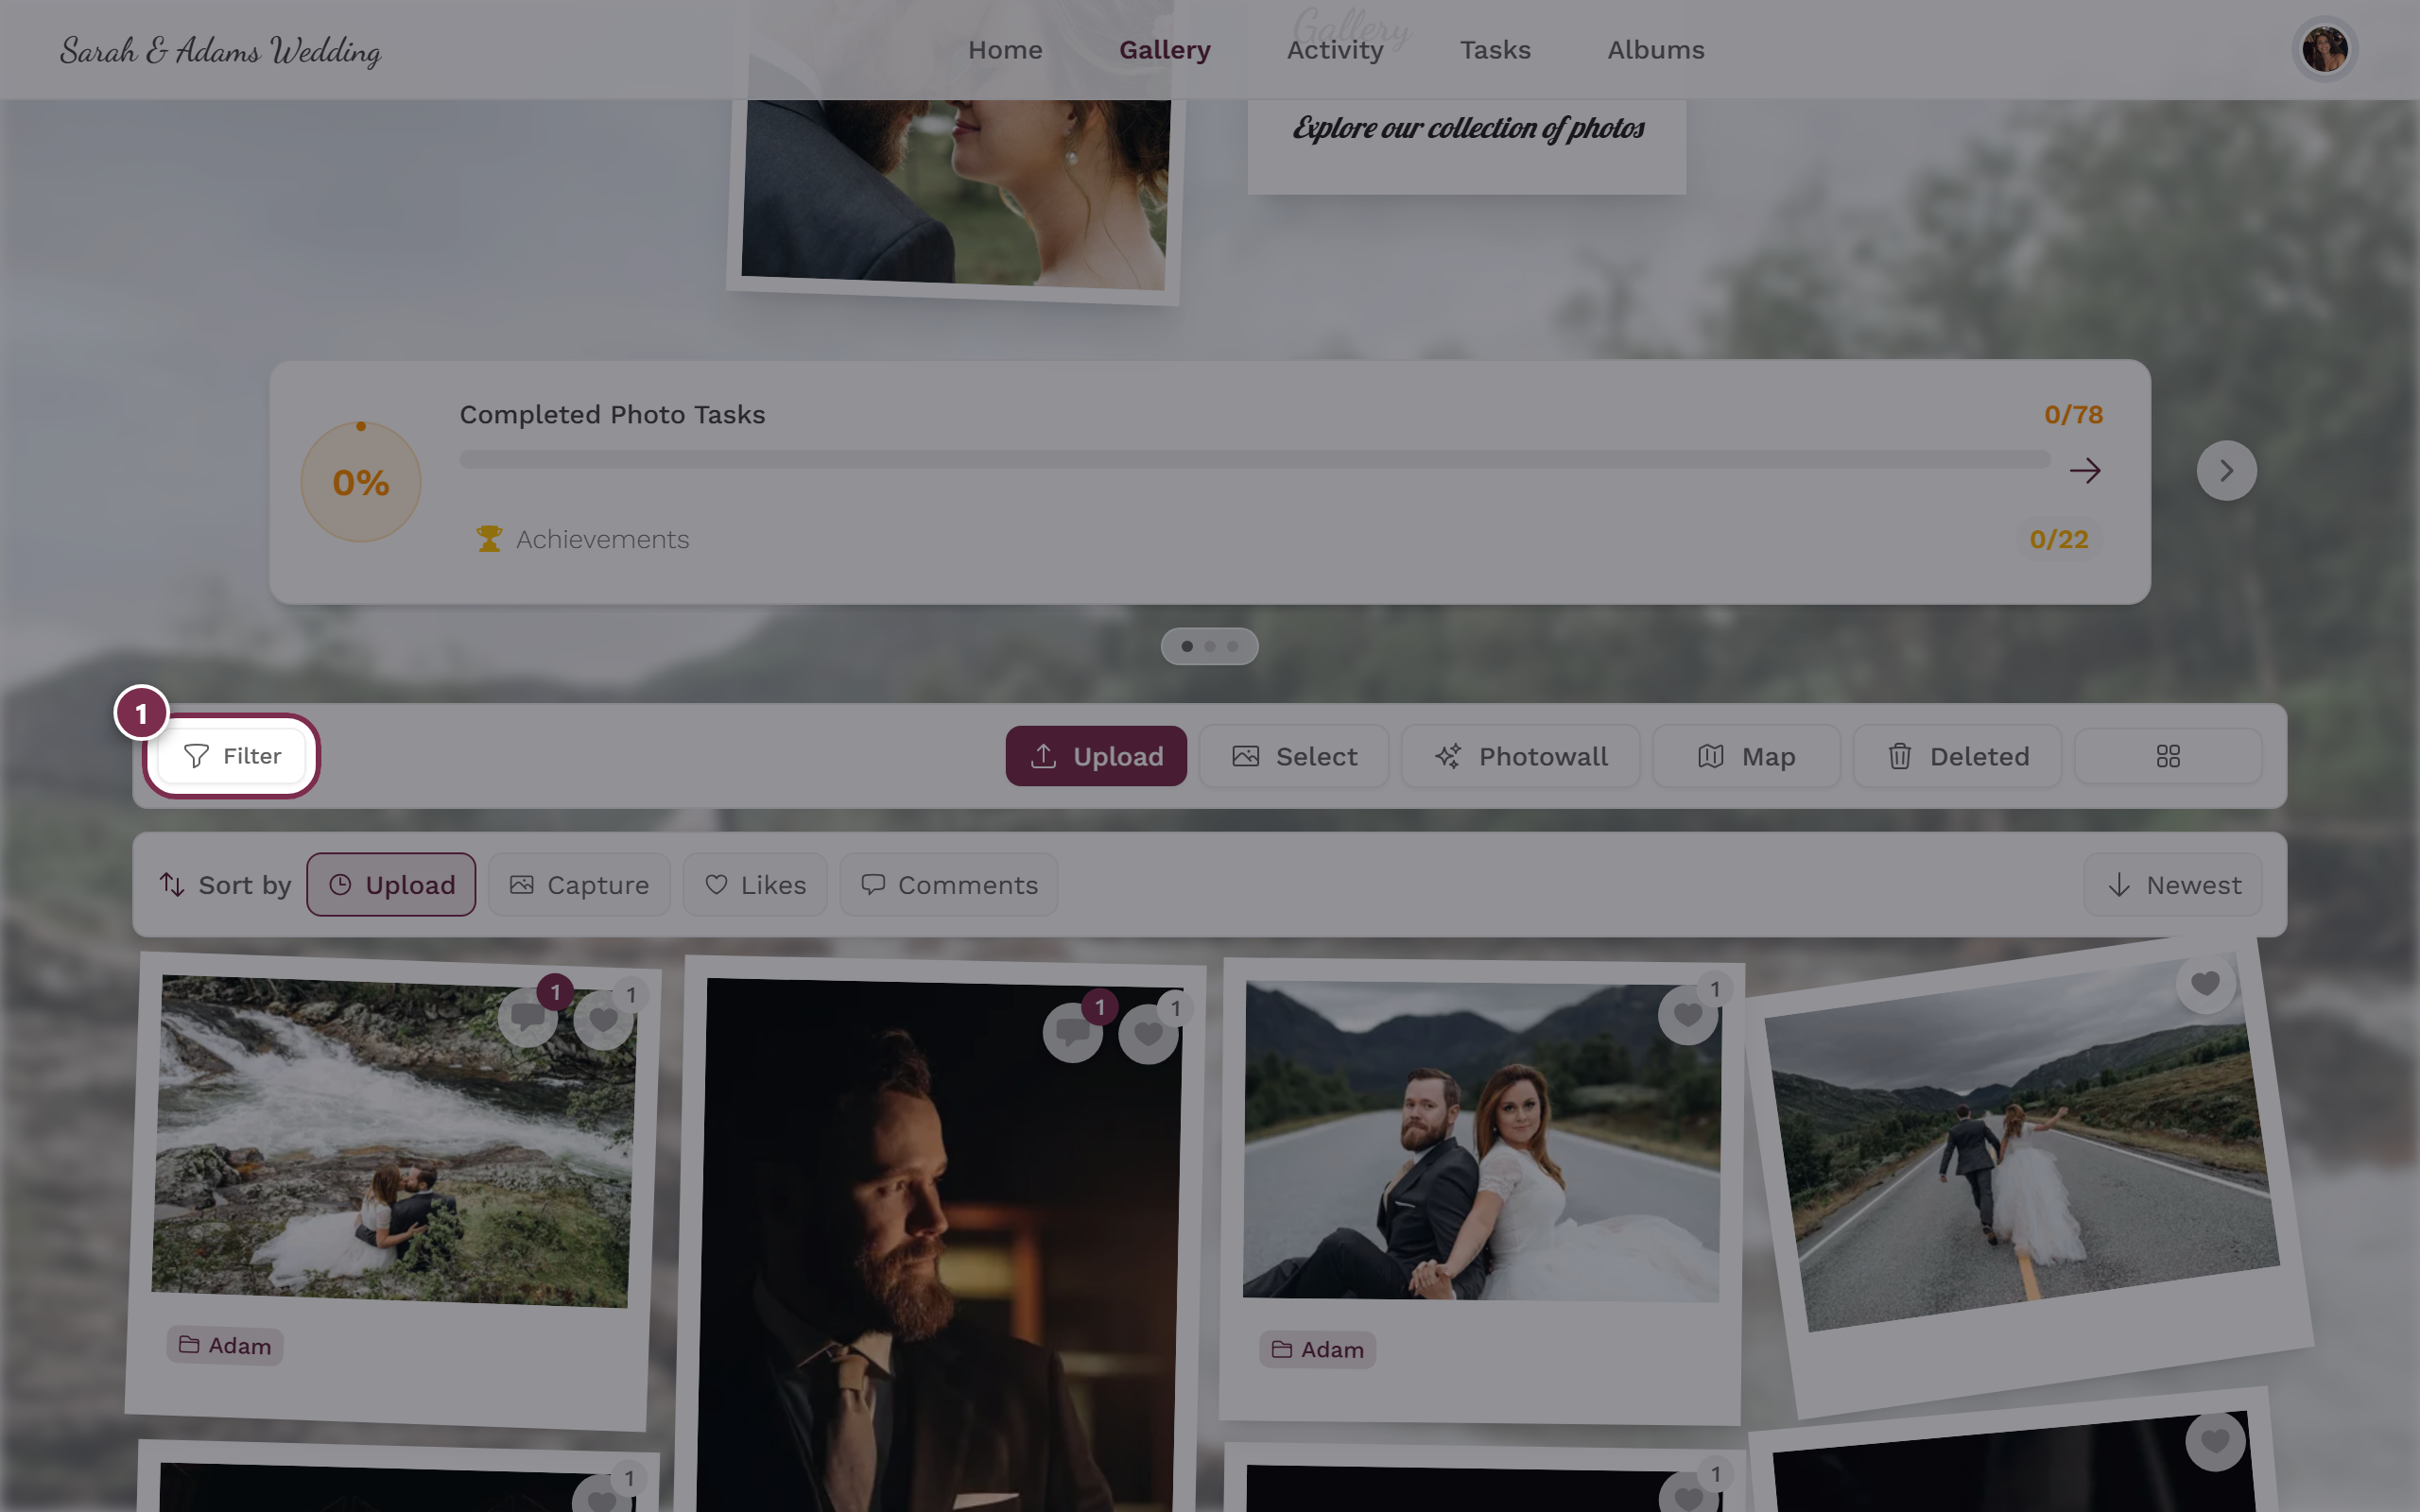
The filter button opens the filter panel. -
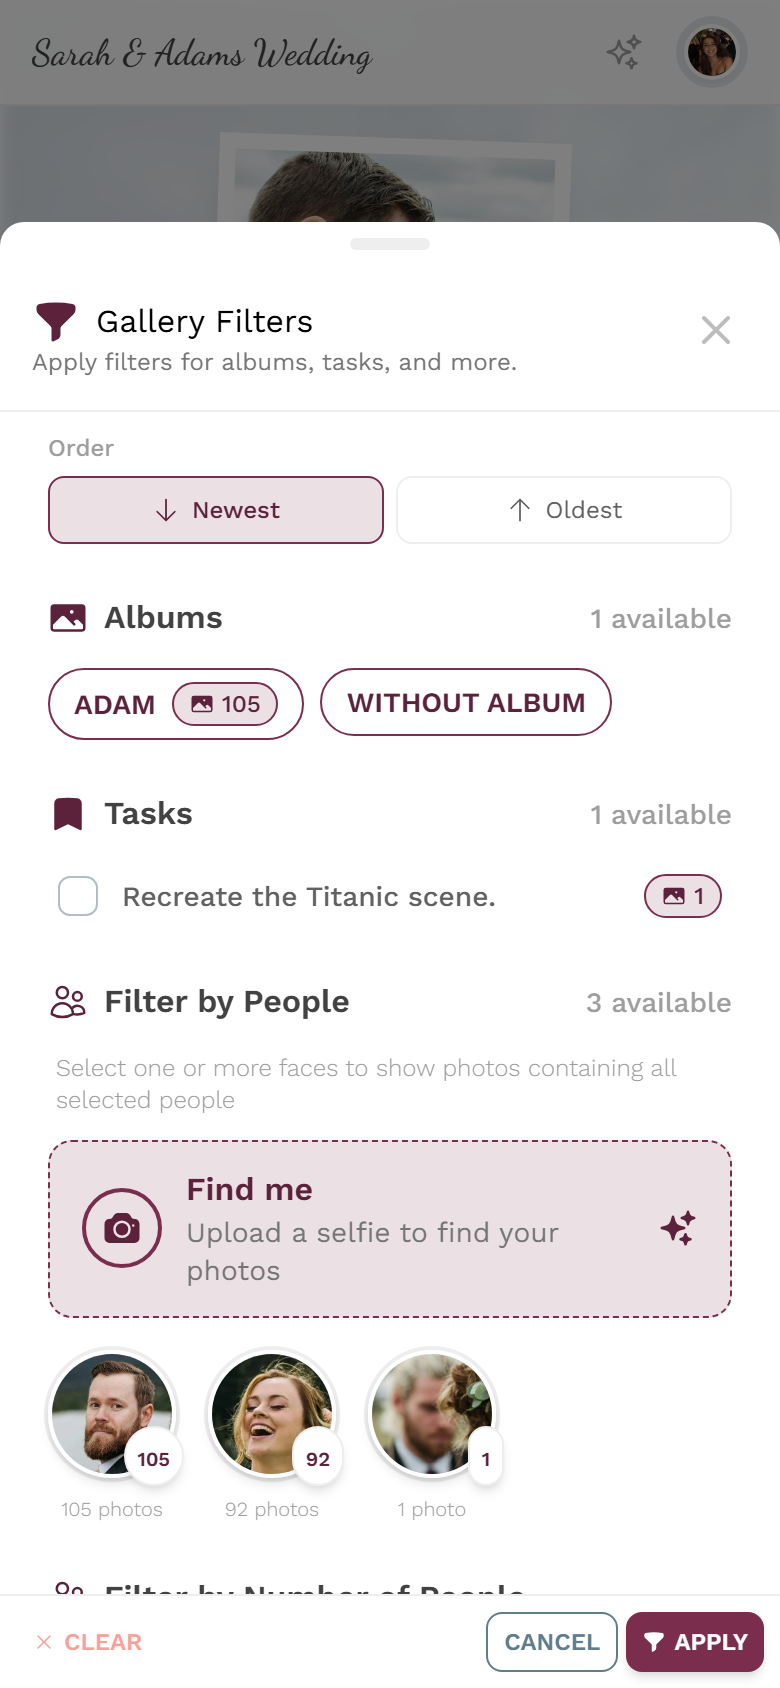
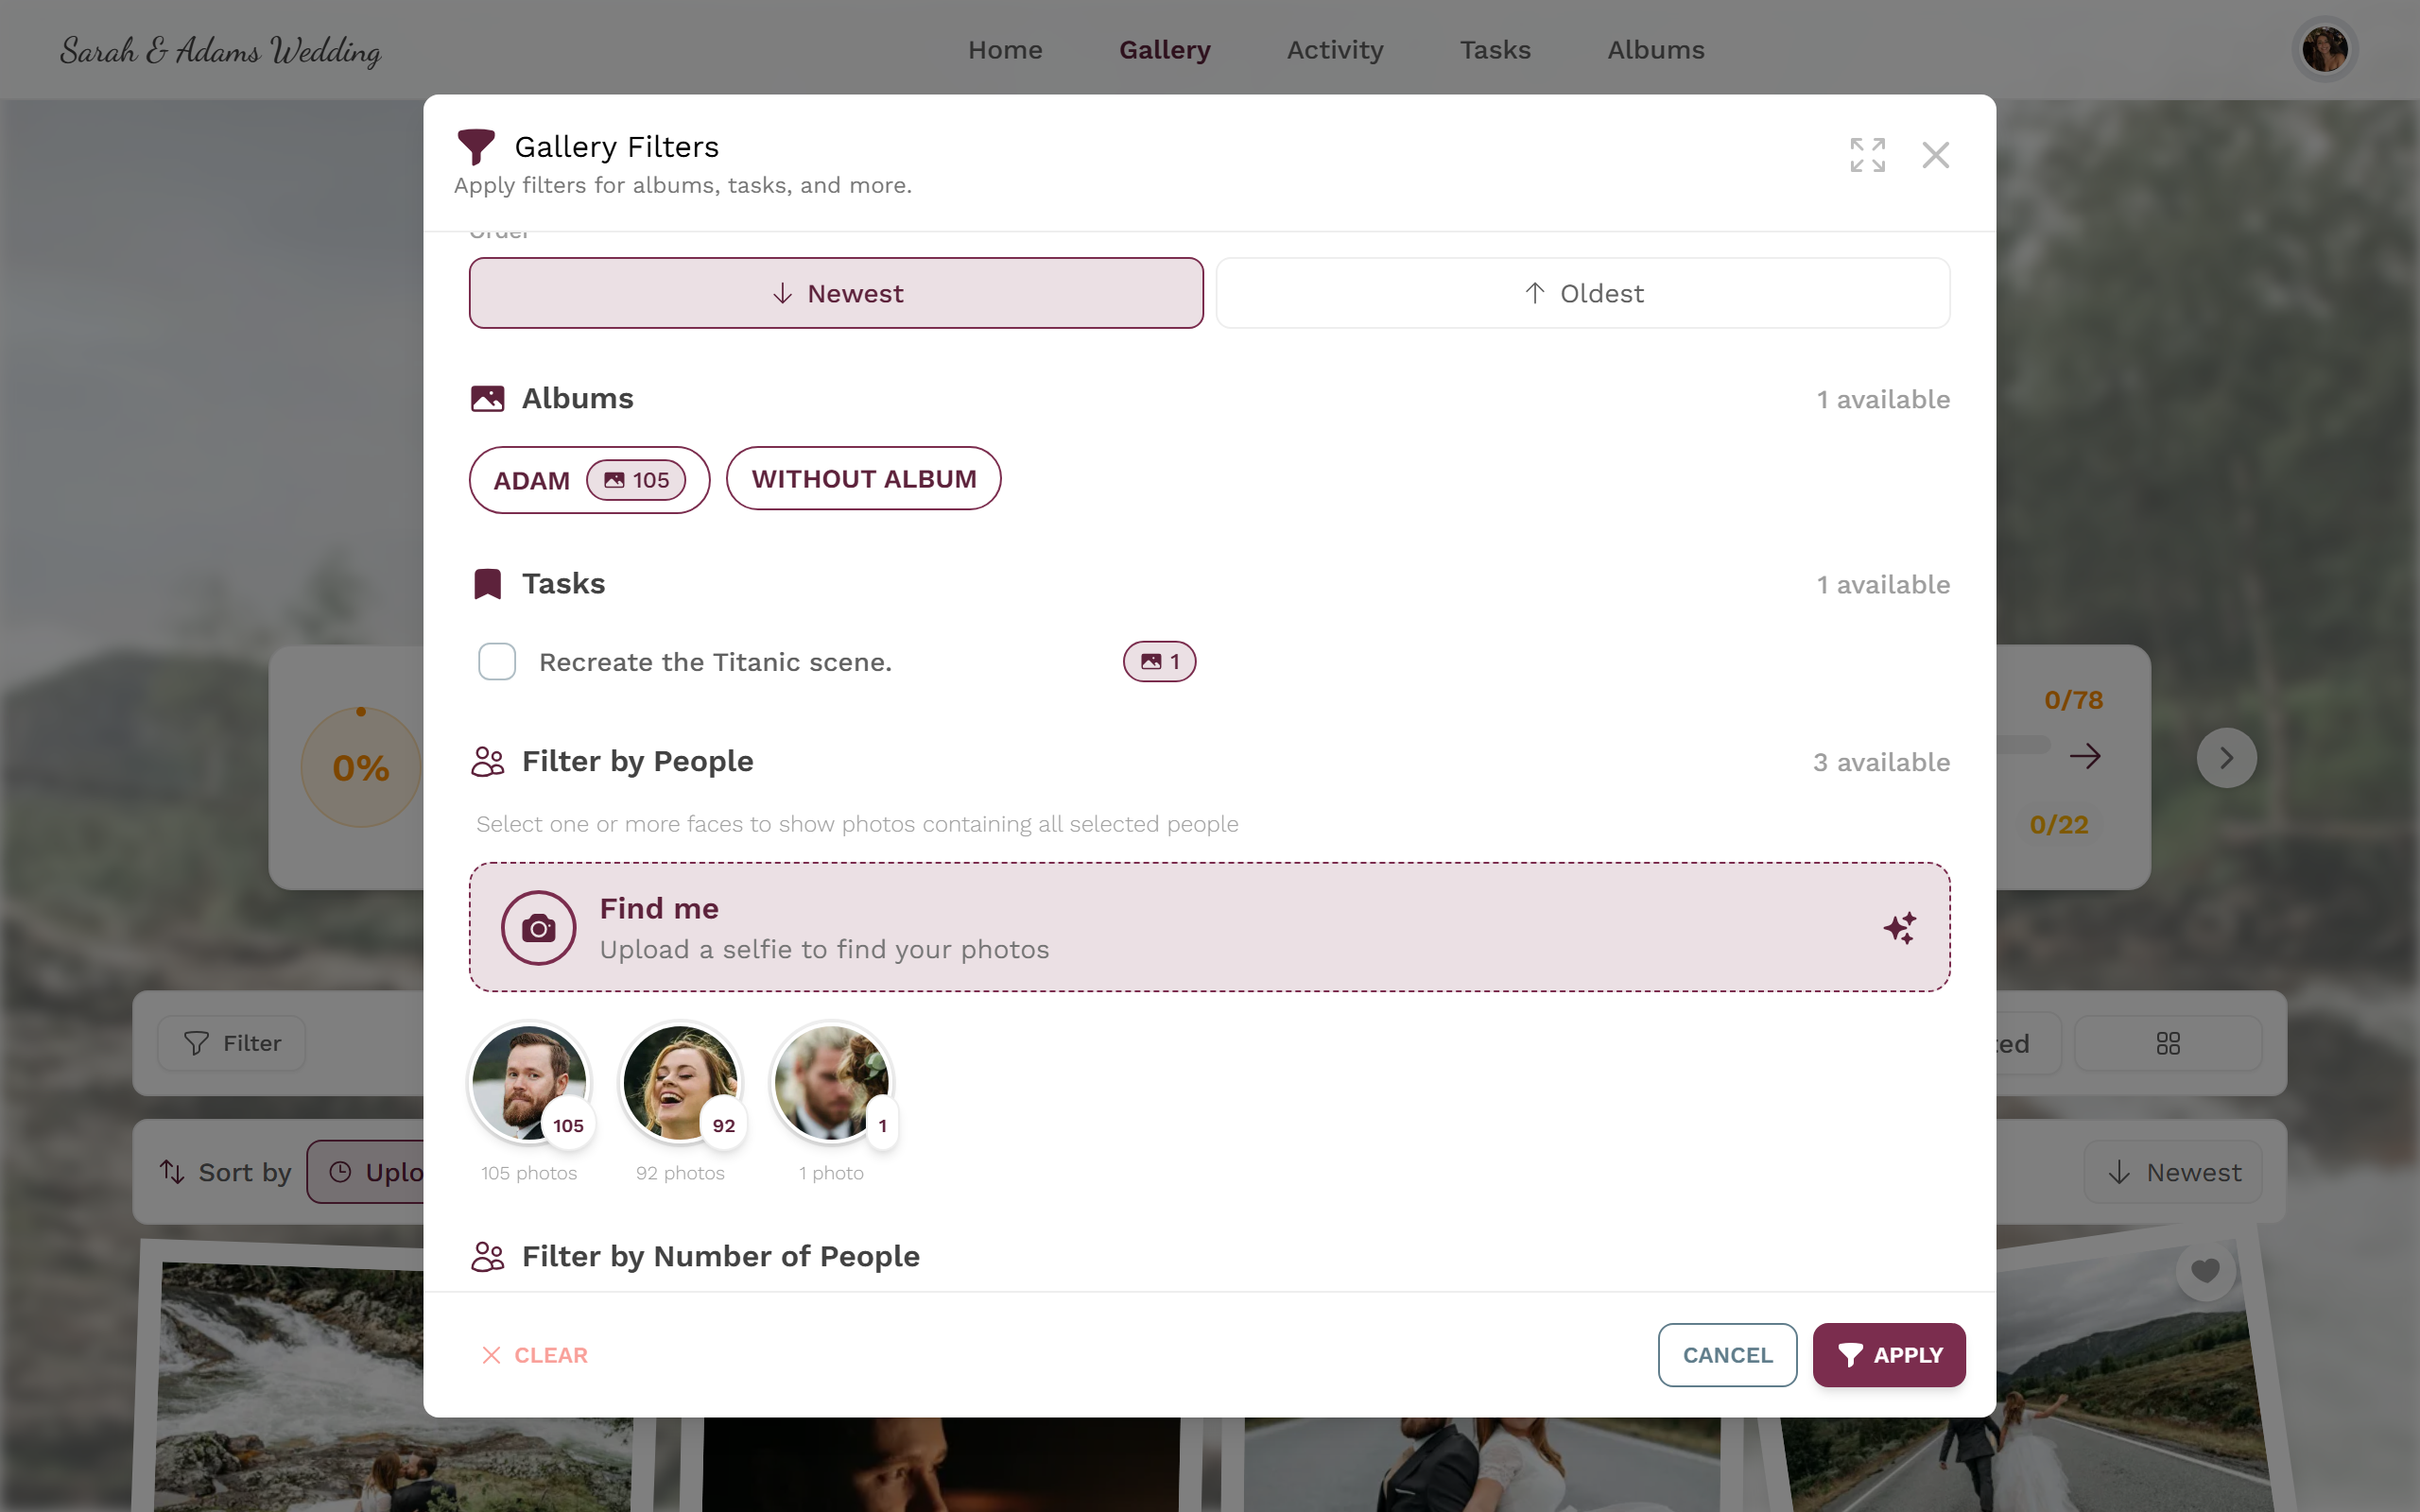
Scroll to the Filter by People section and tap the Find me card, with the subtitle Upload a selfie to find your photos.

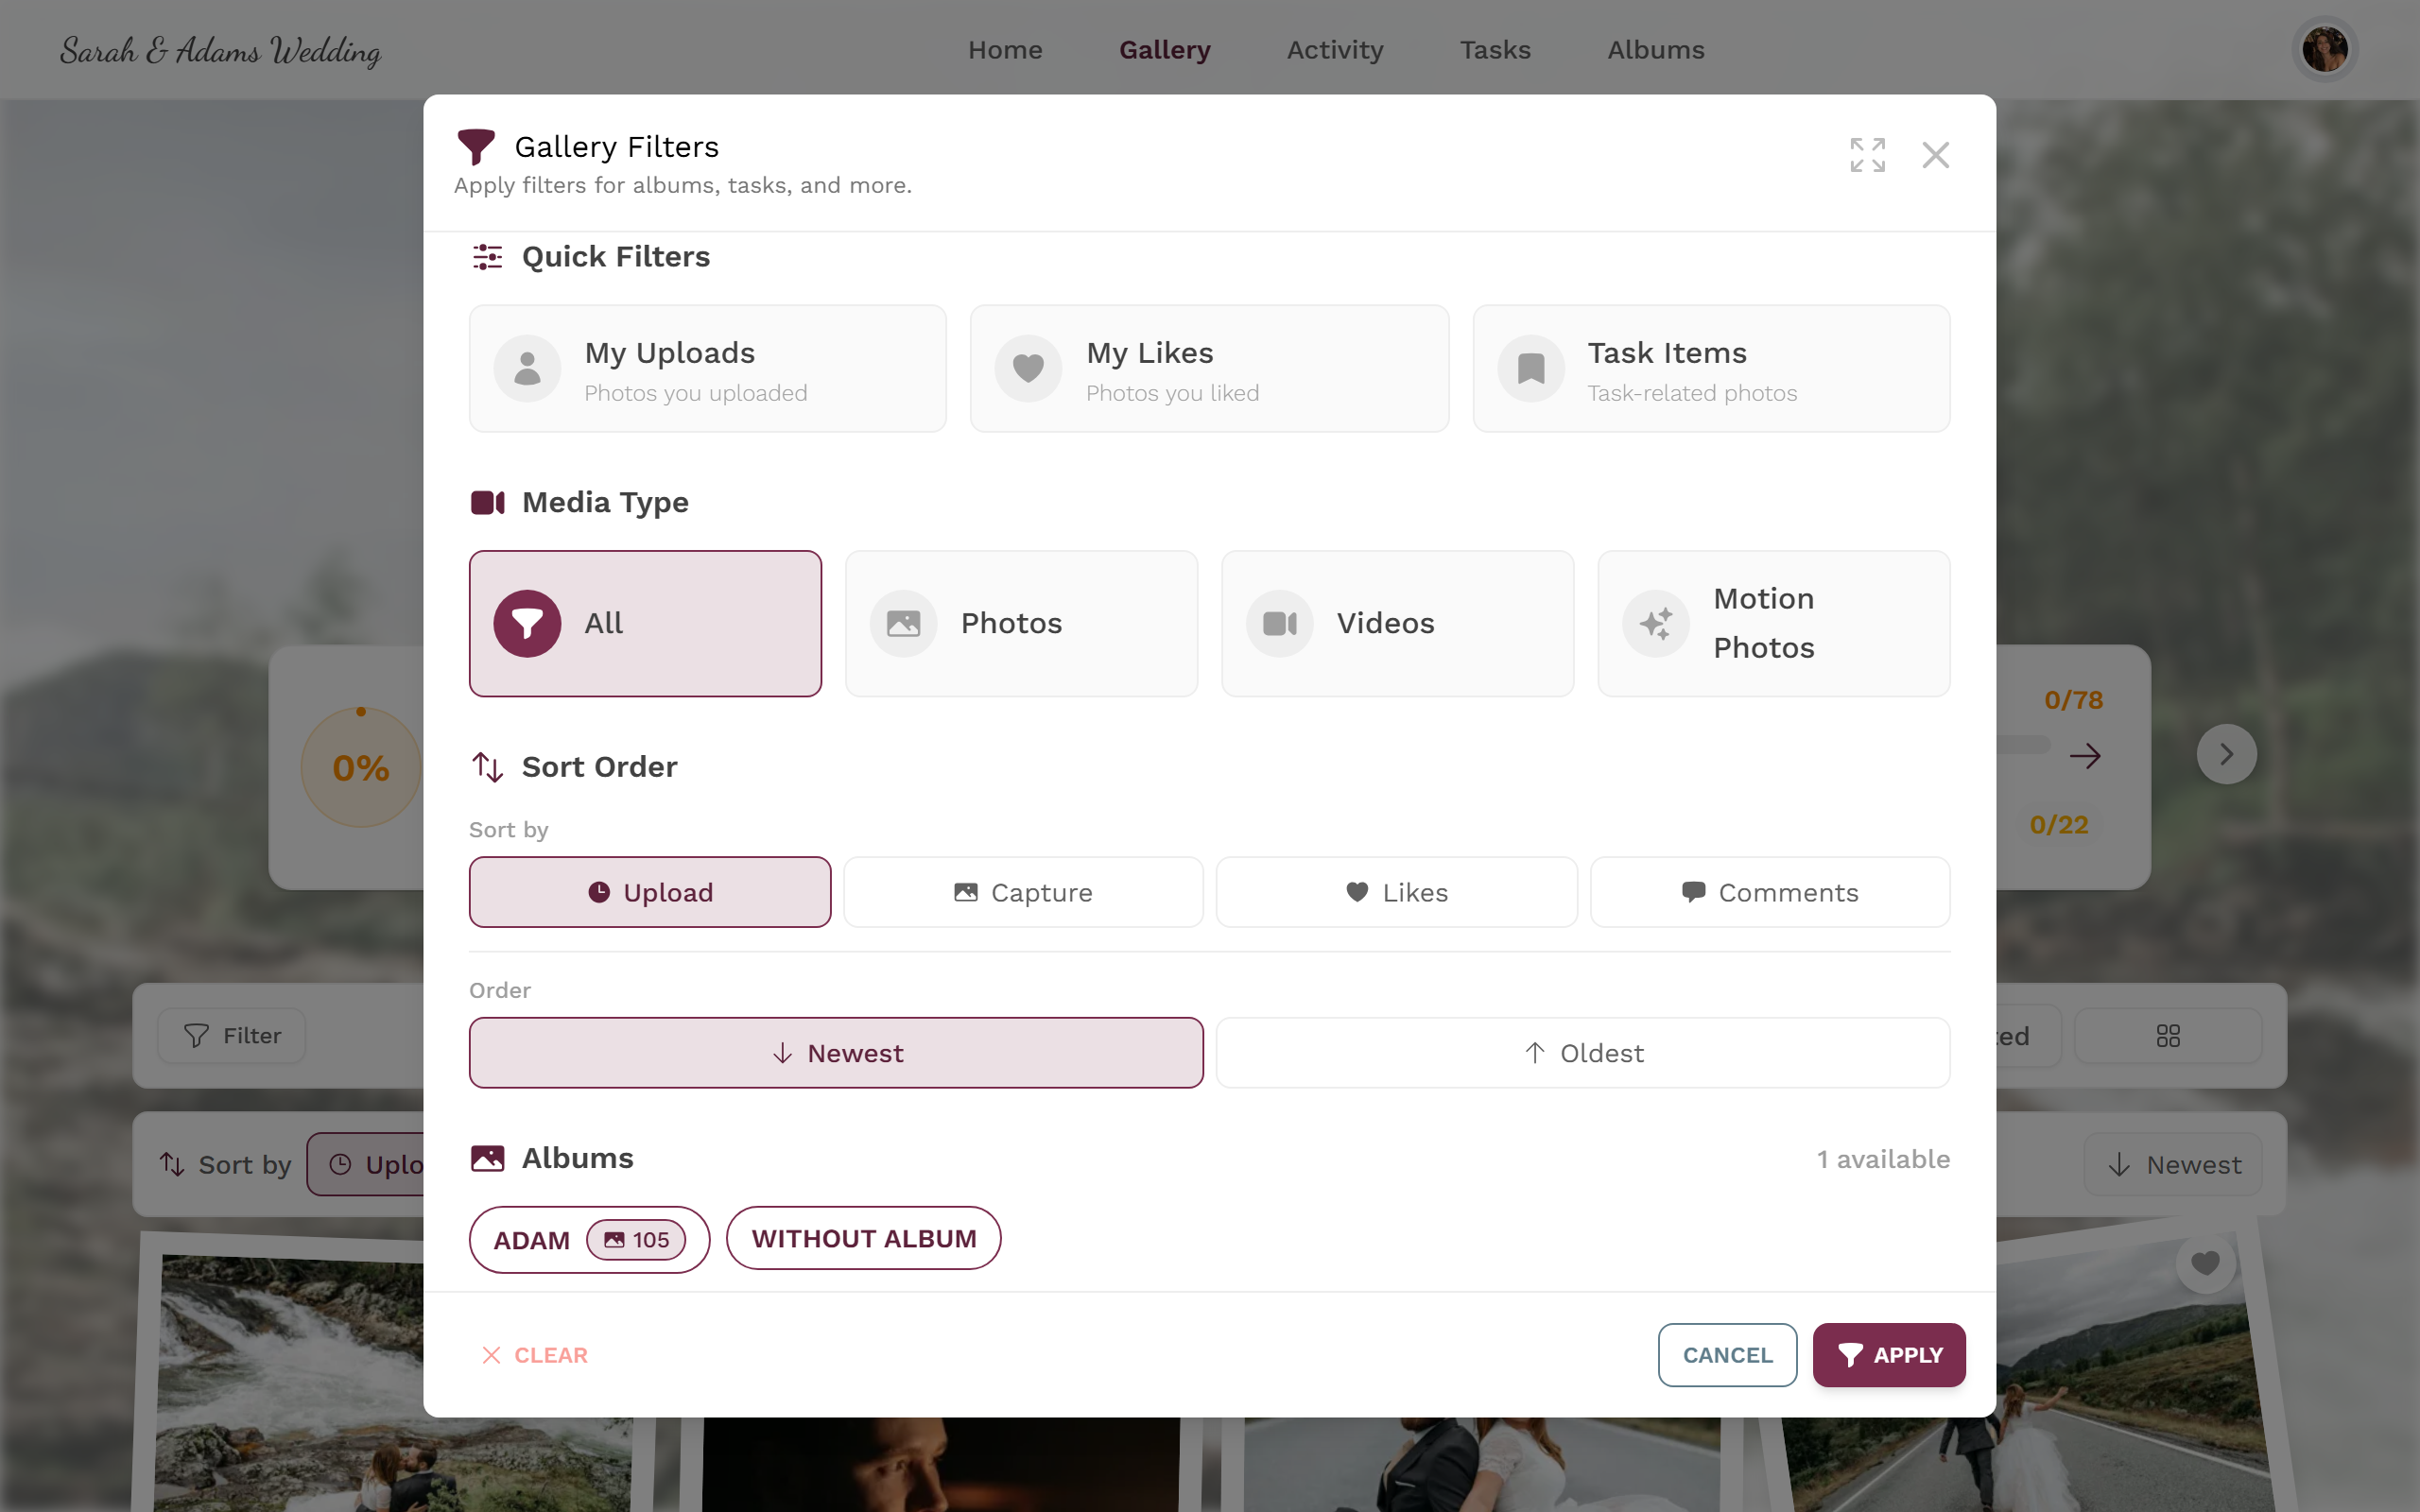
In the filter panel, Find me sits under Filter by People. -
Choose one of three ways to provide your selfie:
- Take Selfie — opens the front camera.
- Choose Photo — file picker (JPEG, PNG, WEBP, HEIC, HEIF).
- Use Profile Image — only appears if you have a profile image set (see Profile).
-
The app shows the privacy notice: “Your selfie is private and only used to find your photos in this event.” It then searches (Searching…) and, on success, shows “Found in {count} photos”.
Deleting your selfie and face data
Section titled “Deleting your selfie and face data”You can remove your selfie at any time. Afterwards the “this is you” association for this event is gone.
-
Open Filter → Filter by People again.
-
Tap the trash icon next to the Find me card.
-
Confirm in the Remove selfie dialog: “This will remove your selfie and face data for this event.”
Deleting or editing your own photos
Section titled “Deleting or editing your own photos”Your uploads belong to you: you may delete and edit your own photos. On other guests’ photos you won’t see these options (unless you’re a moderator or admin).
Option A — context menu (main way)
Section titled “Option A — context menu (main way)”-
Find your photo in the gallery.
-
Right-click (on a computer) or press and hold (on a phone/tablet, long-press) opens the context menu — the same menu on both devices.
-
Choose Delete to remove it, or Edit to change, for example, the caption or album.

Delete and Edit only appear in the context menu for your own photos.
Option B — selection mode (several photos at once)
Section titled “Option B — selection mode (several photos at once)”To delete several of your own photos at once, use selection mode:
-
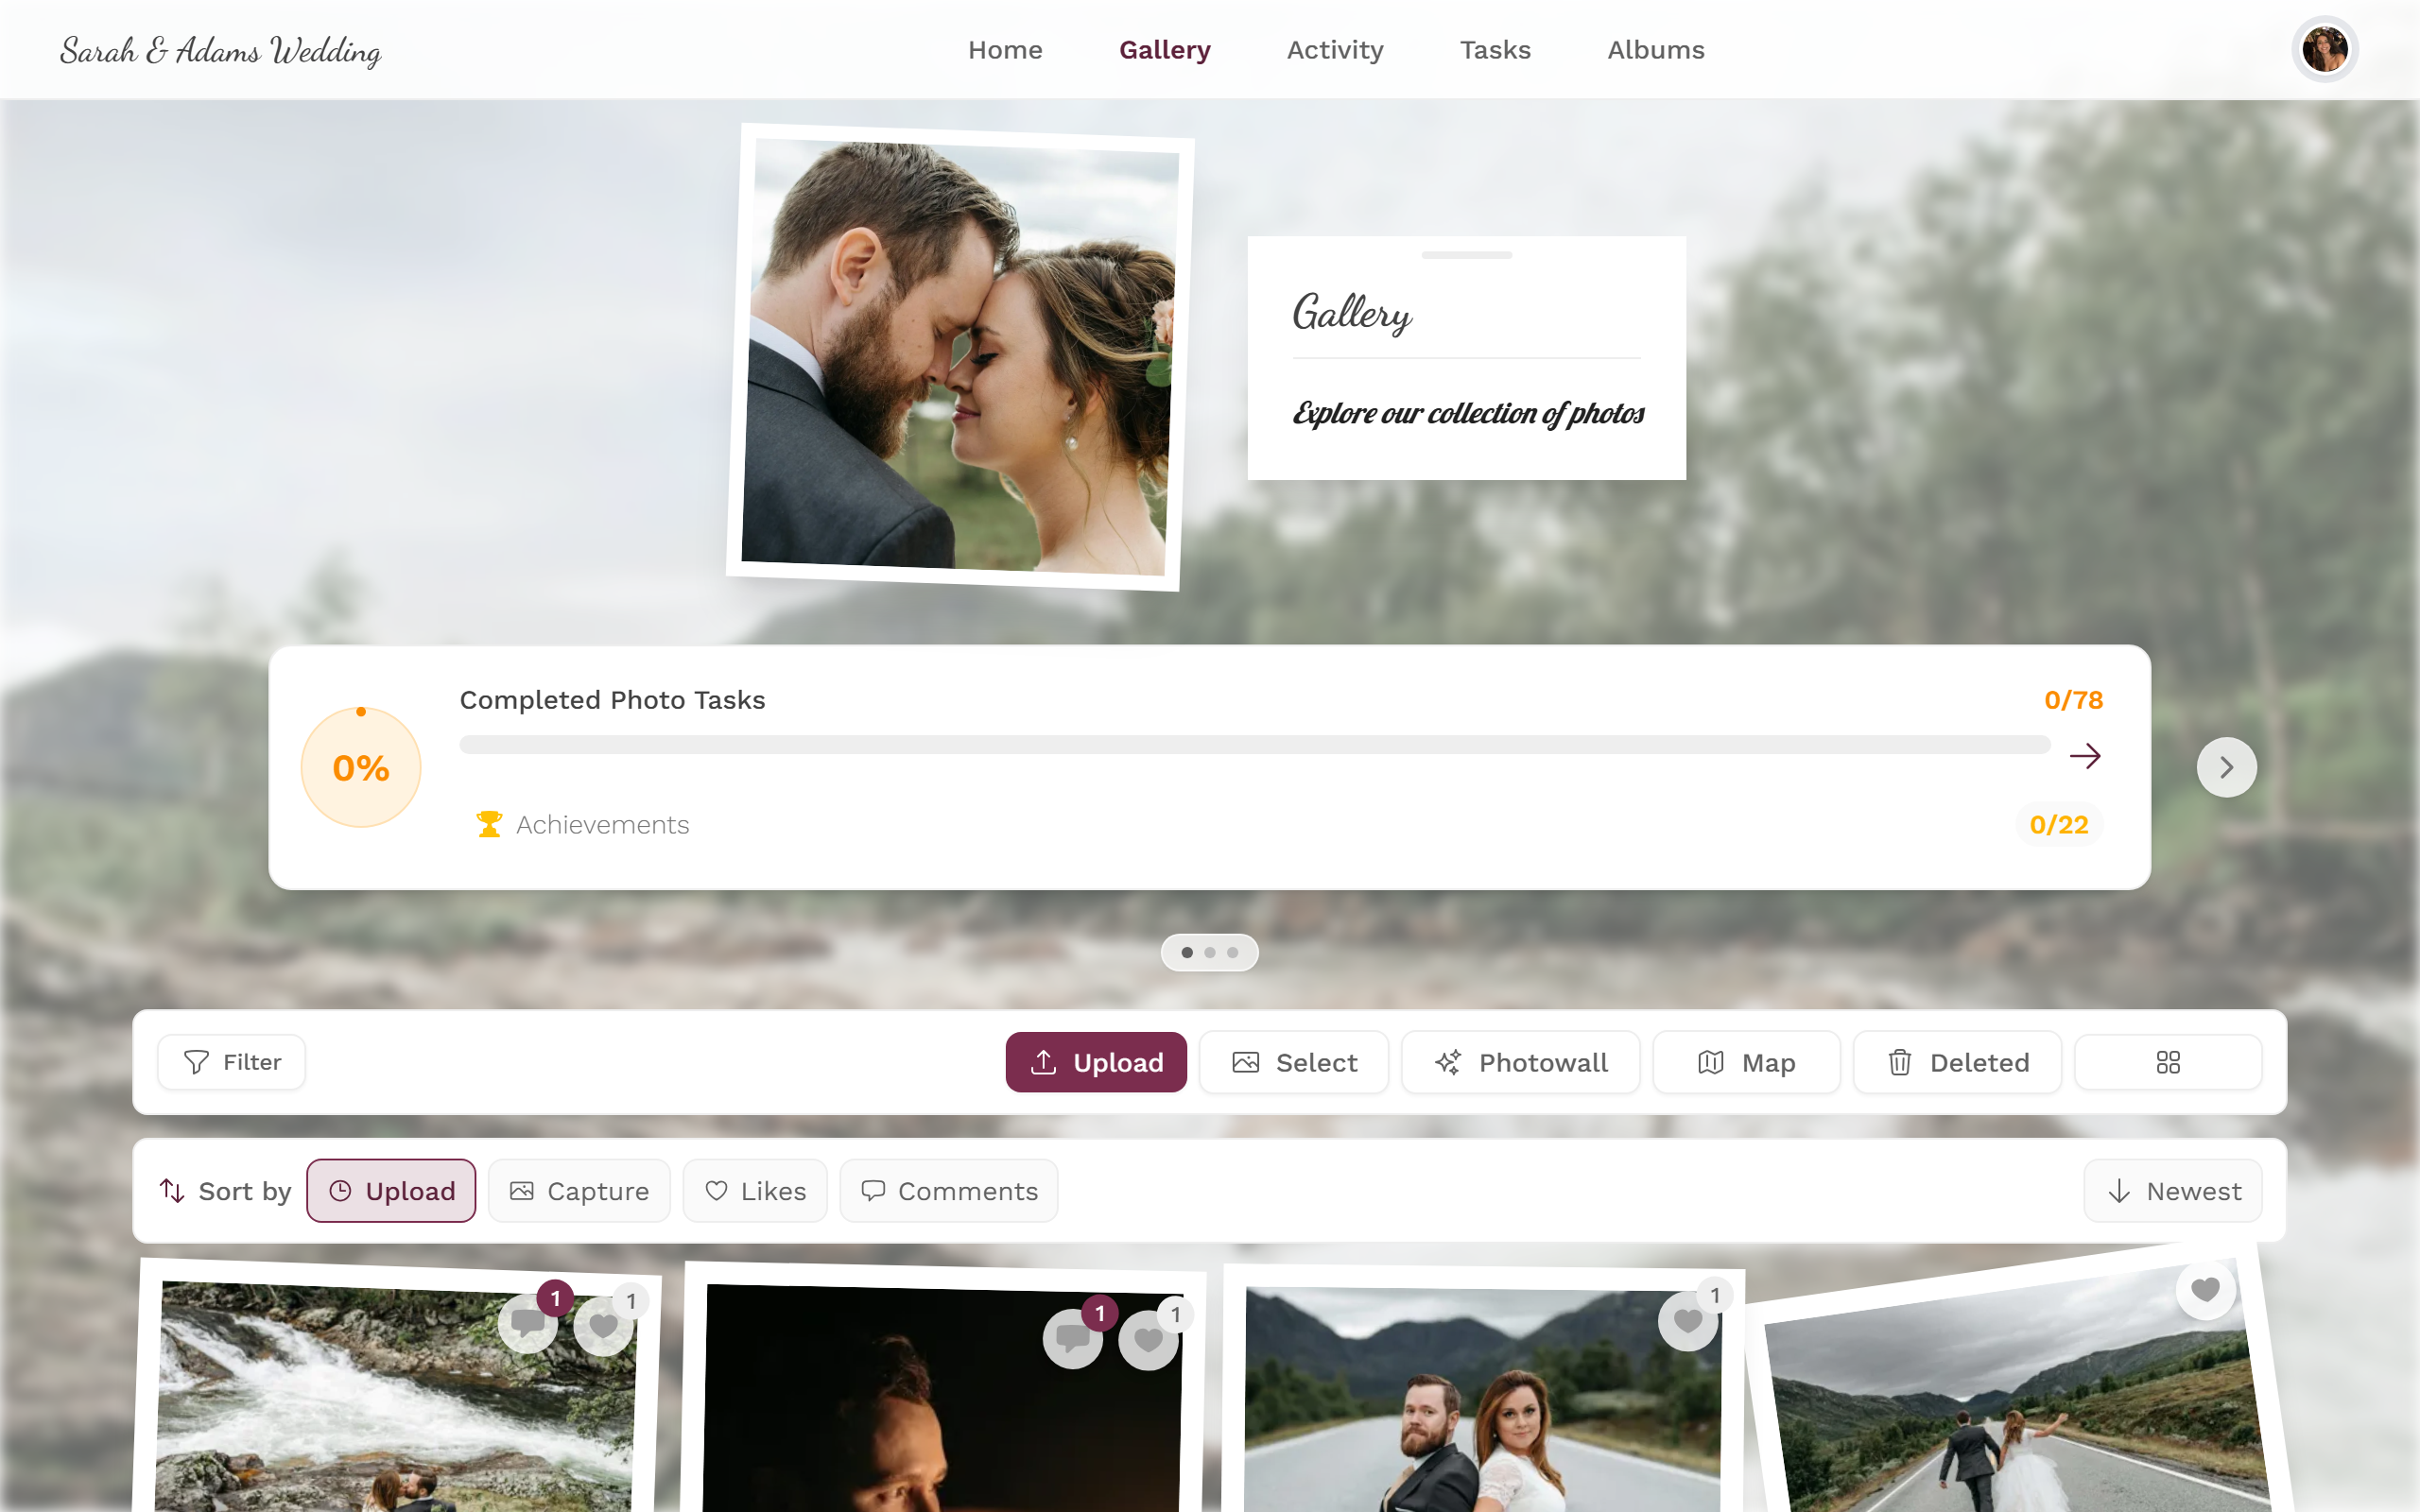
Turn on Select mode from the gallery toolbar (or via Select in the context menu).
-
Mark your photos and run the action from the action bar.
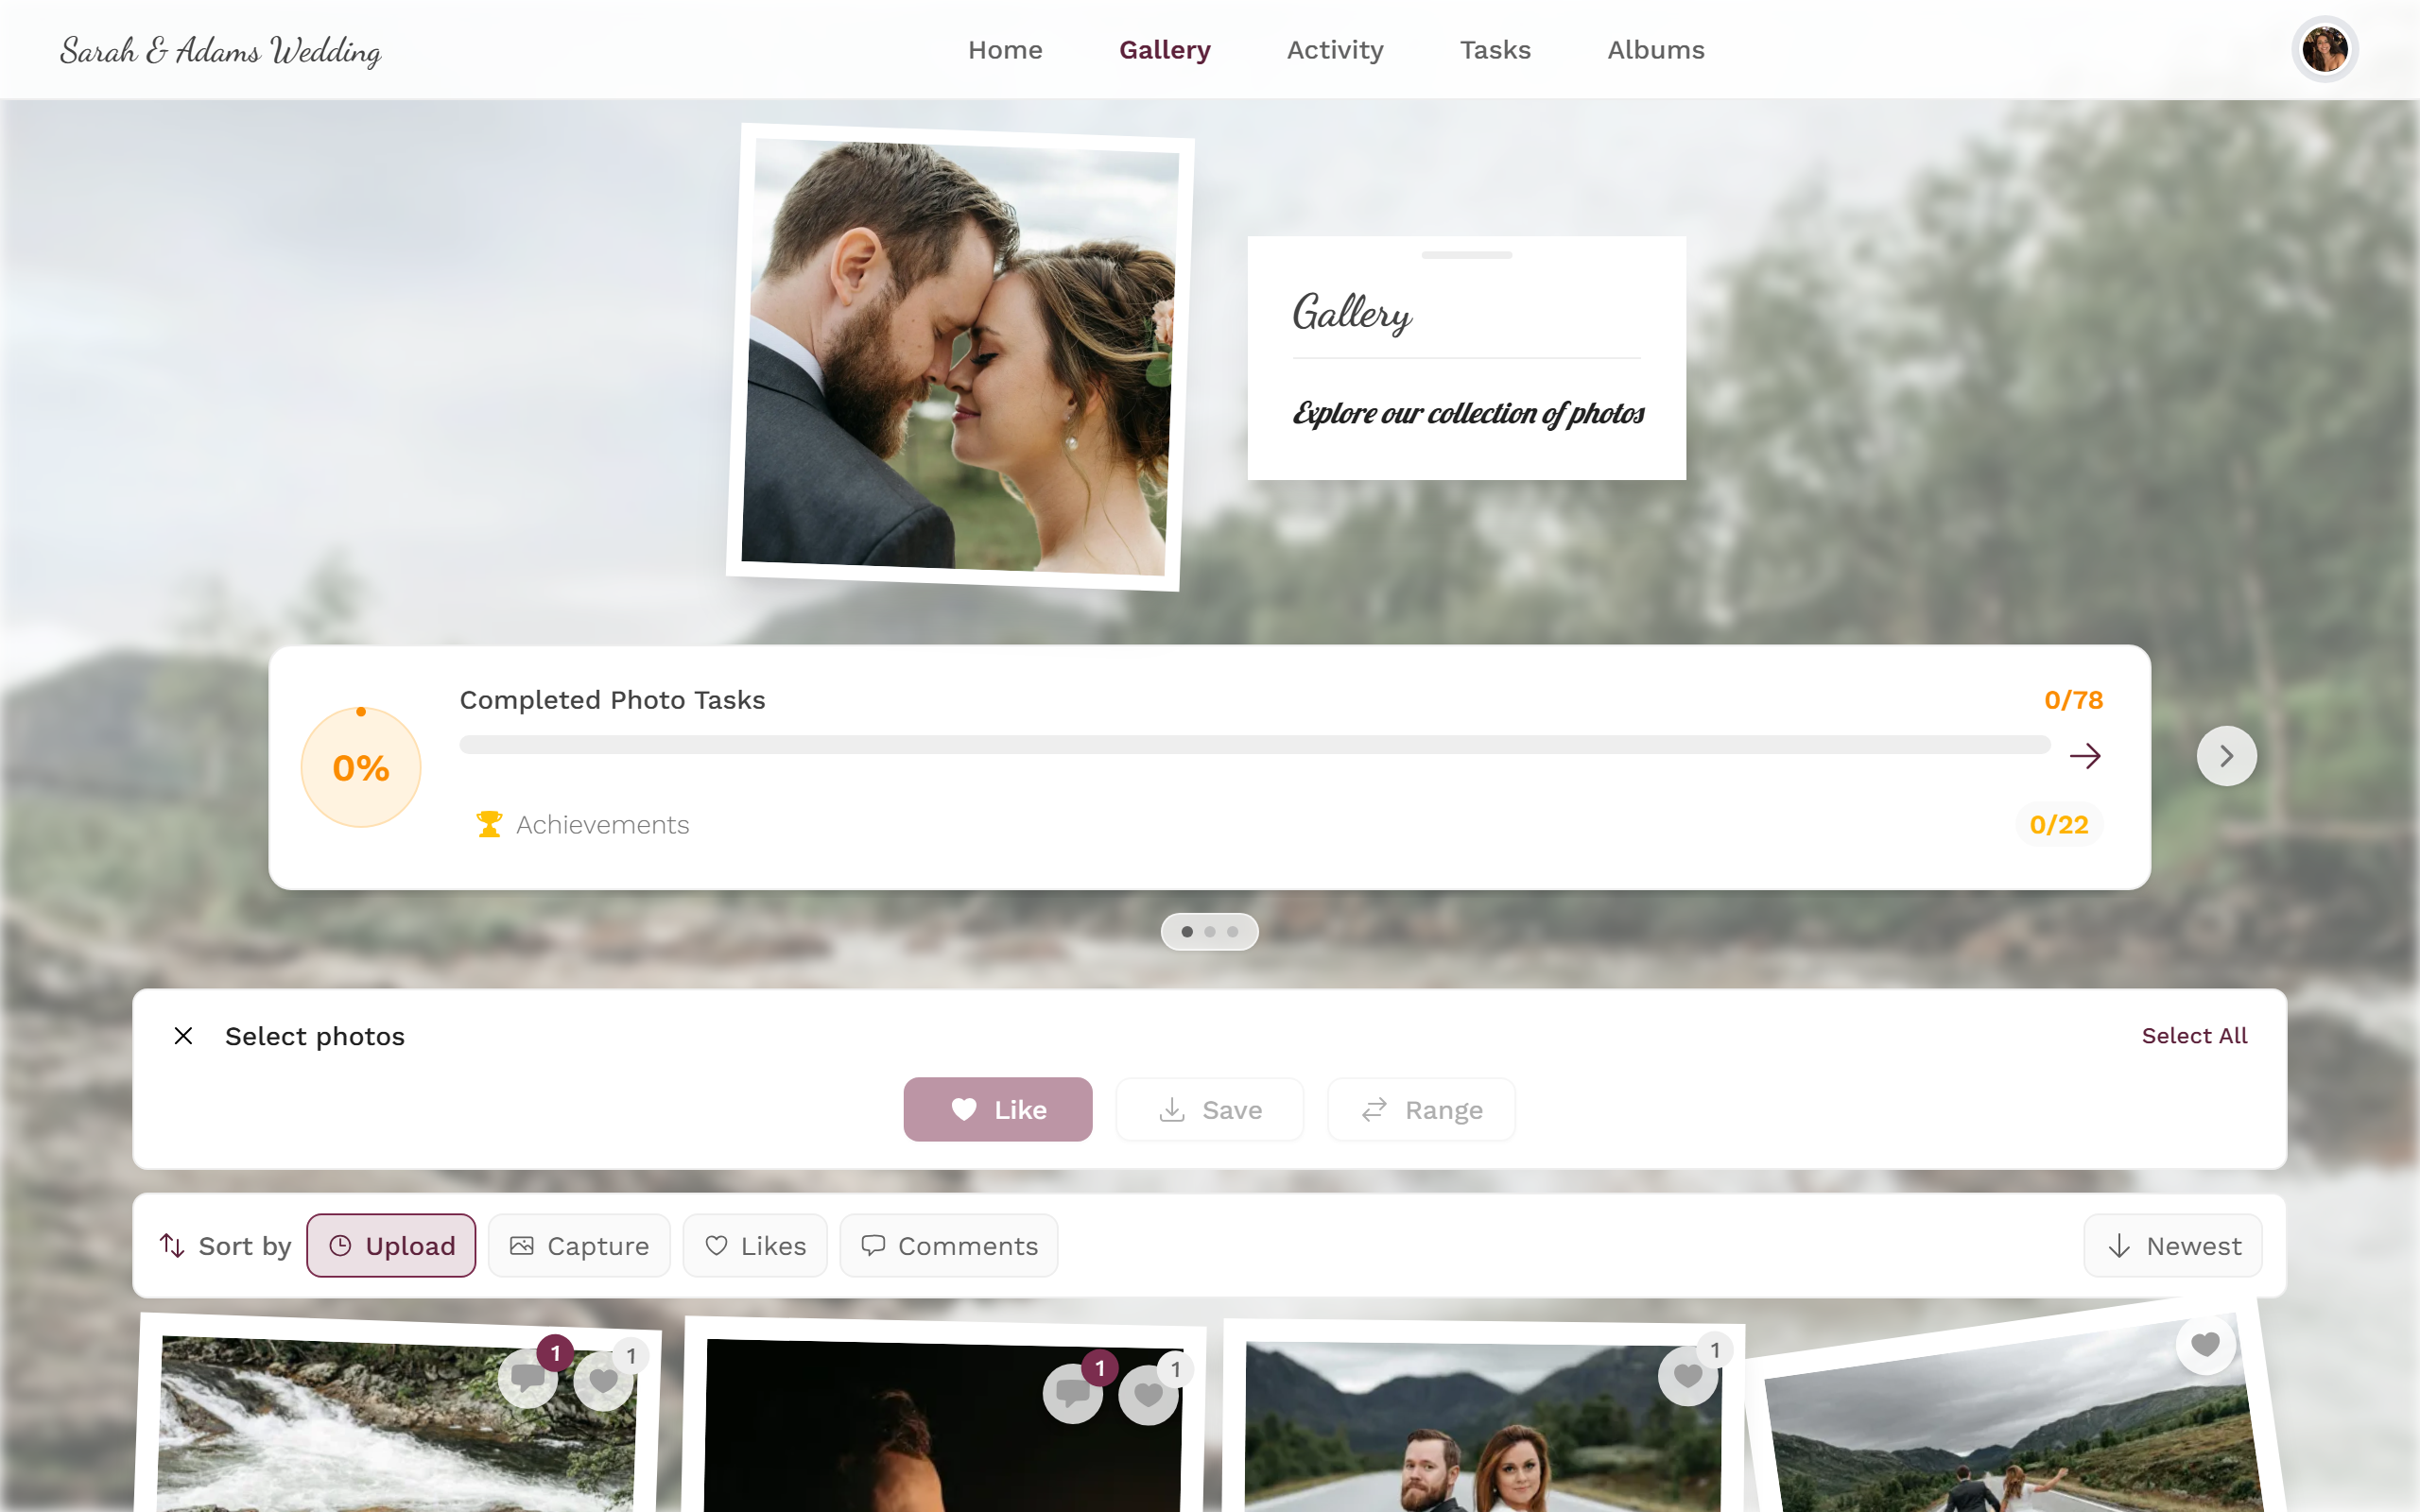
In selection mode you mark several of your own photos at once.
Details on selection mode: Select & Download.
Option C — from the detail view
Section titled “Option C — from the detail view”When you open a photo in the full-screen/detail view, as the owner you can also edit its caption and album there. Deleting works most reliably via the context menu (Option A).
What happens when you delete
Section titled “What happens when you delete”A deleted photo disappears from the gallery and moves to the recycle bin – so it isn’t gone for good right away. You can restore your own deleted photos yourself: as soon as you’ve deleted at least one item, the recycle bin appears – on a computer as Deleted in the gallery toolbar, on a phone as Recycle Bin in the ⋮ menu. Open it and restore individual photos with one click. More under Recycle bin & restore.
Who can see my photos?
Section titled “Who can see my photos?”Visibility is controlled by the host, not by you. An uploaded and approved photo is, in principle, visible to everyone in the event. Relevant host settings:
- Moderation / approval review — when active, your uploads only appear publicly after a moderator approves them. This explains the “waiting for approval” state. See Moderation.
- Invite only / completely private — determines who can enter the event at all and therefore see photos.
- Uploads allowed — whether guests may upload at all.
- Default role — sets what a new guest may do (view, like, upload). See Roles & permissions.
What you can influence: what you upload (and deleting your own photos again), and whether you want to be findable via a selfie. Only the host can change the access and approval rules.
Are you unwillingly in someone else’s photo? You can report the photo — see Report content. Removing or banning is then handled by moderators.
Staying anonymous, name & account
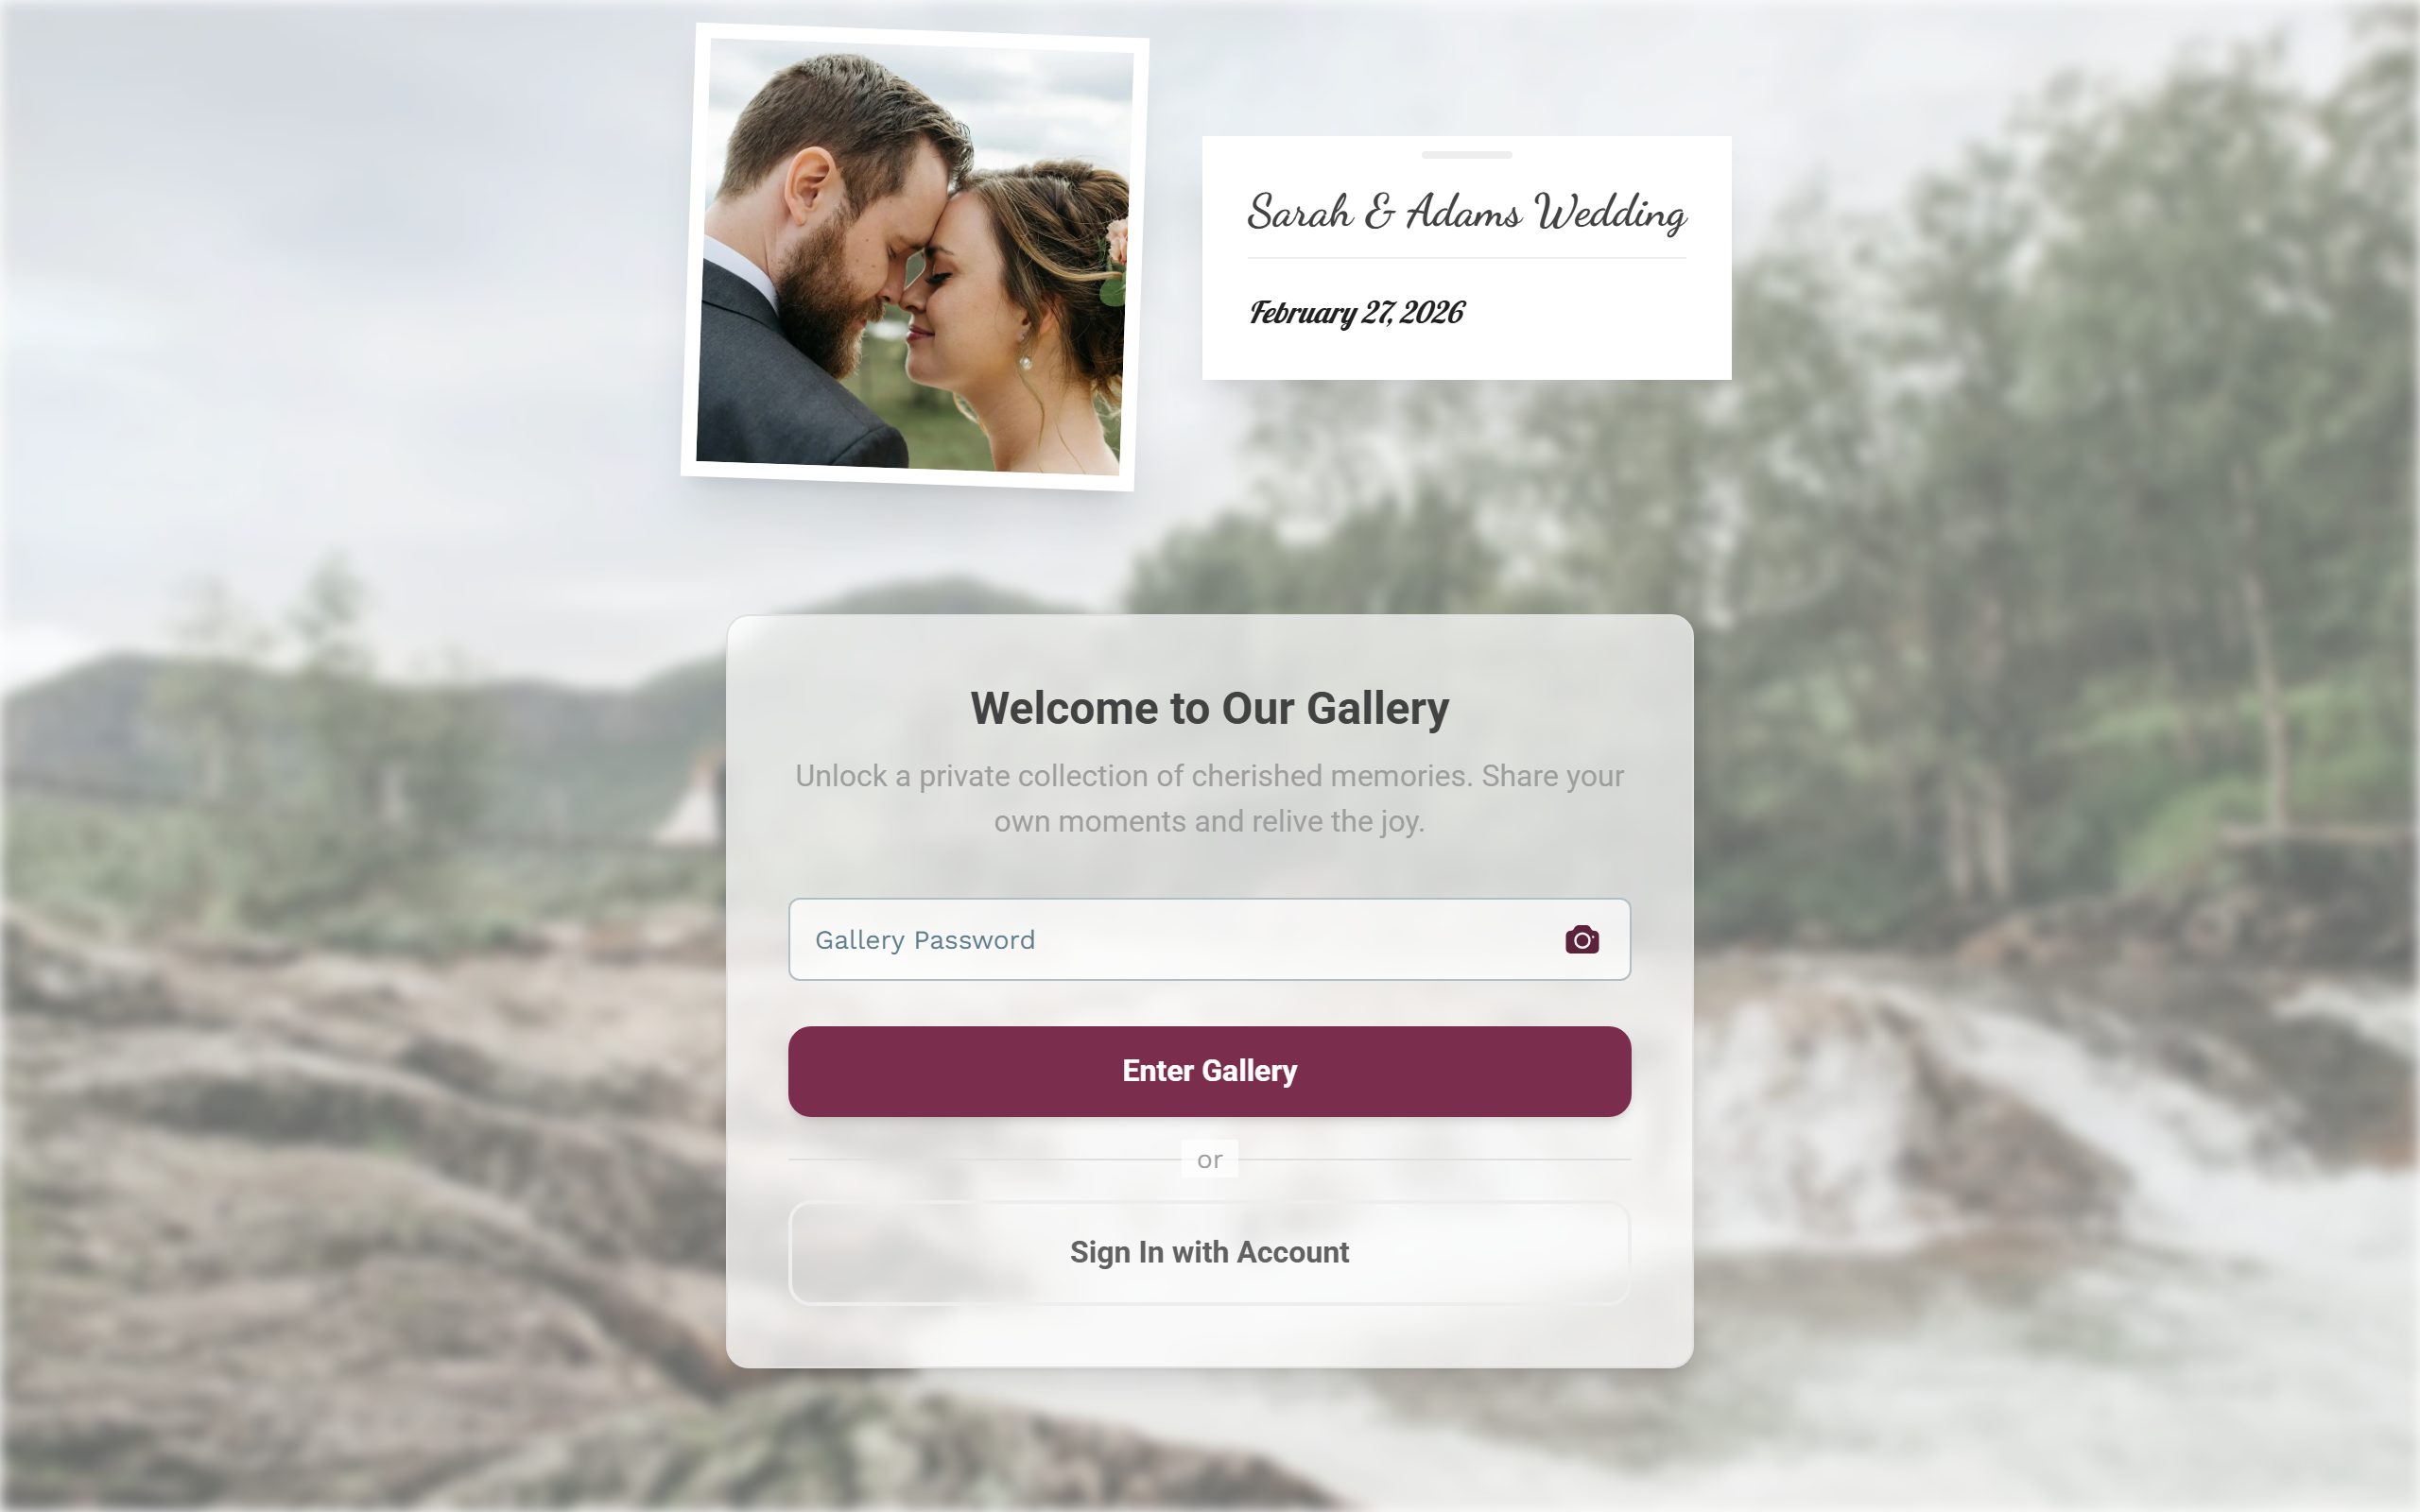
Section titled “Staying anonymous, name & account”Joining without registering
Section titled “Joining without registering”If the host allows Quick Access, you can enter the event without registering. Whether a name is required or optional is also up to the host.
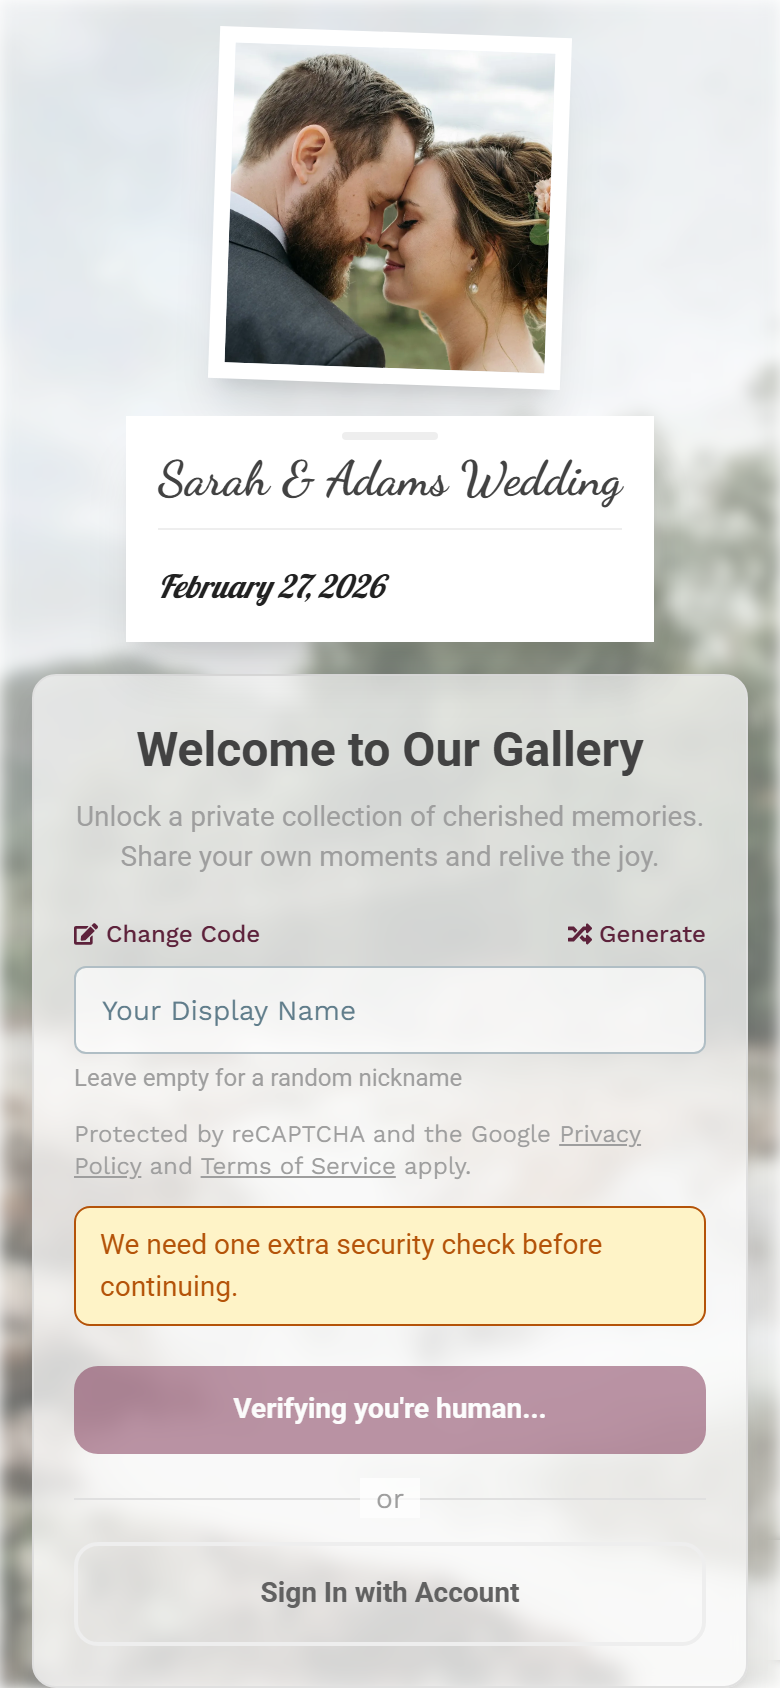
As an anonymous guest you appear, for example, as “Anonymous User”, and comments as “Anonymous”. That way you stay in the background while browsing.
Setting or changing your name later
Section titled “Setting or changing your name later”-
Open the profile menu at the top right (your avatar).
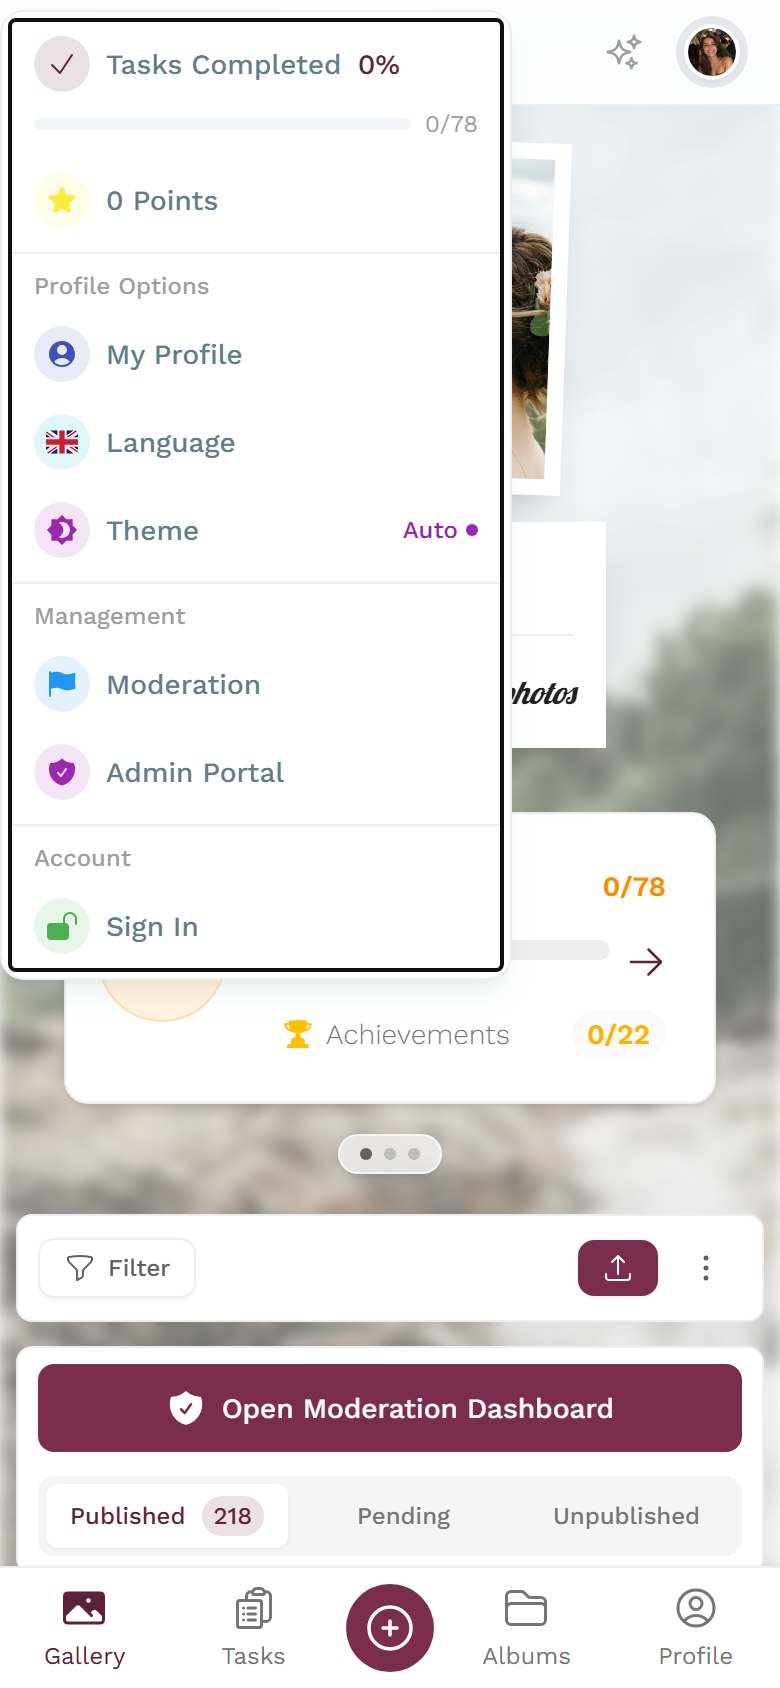
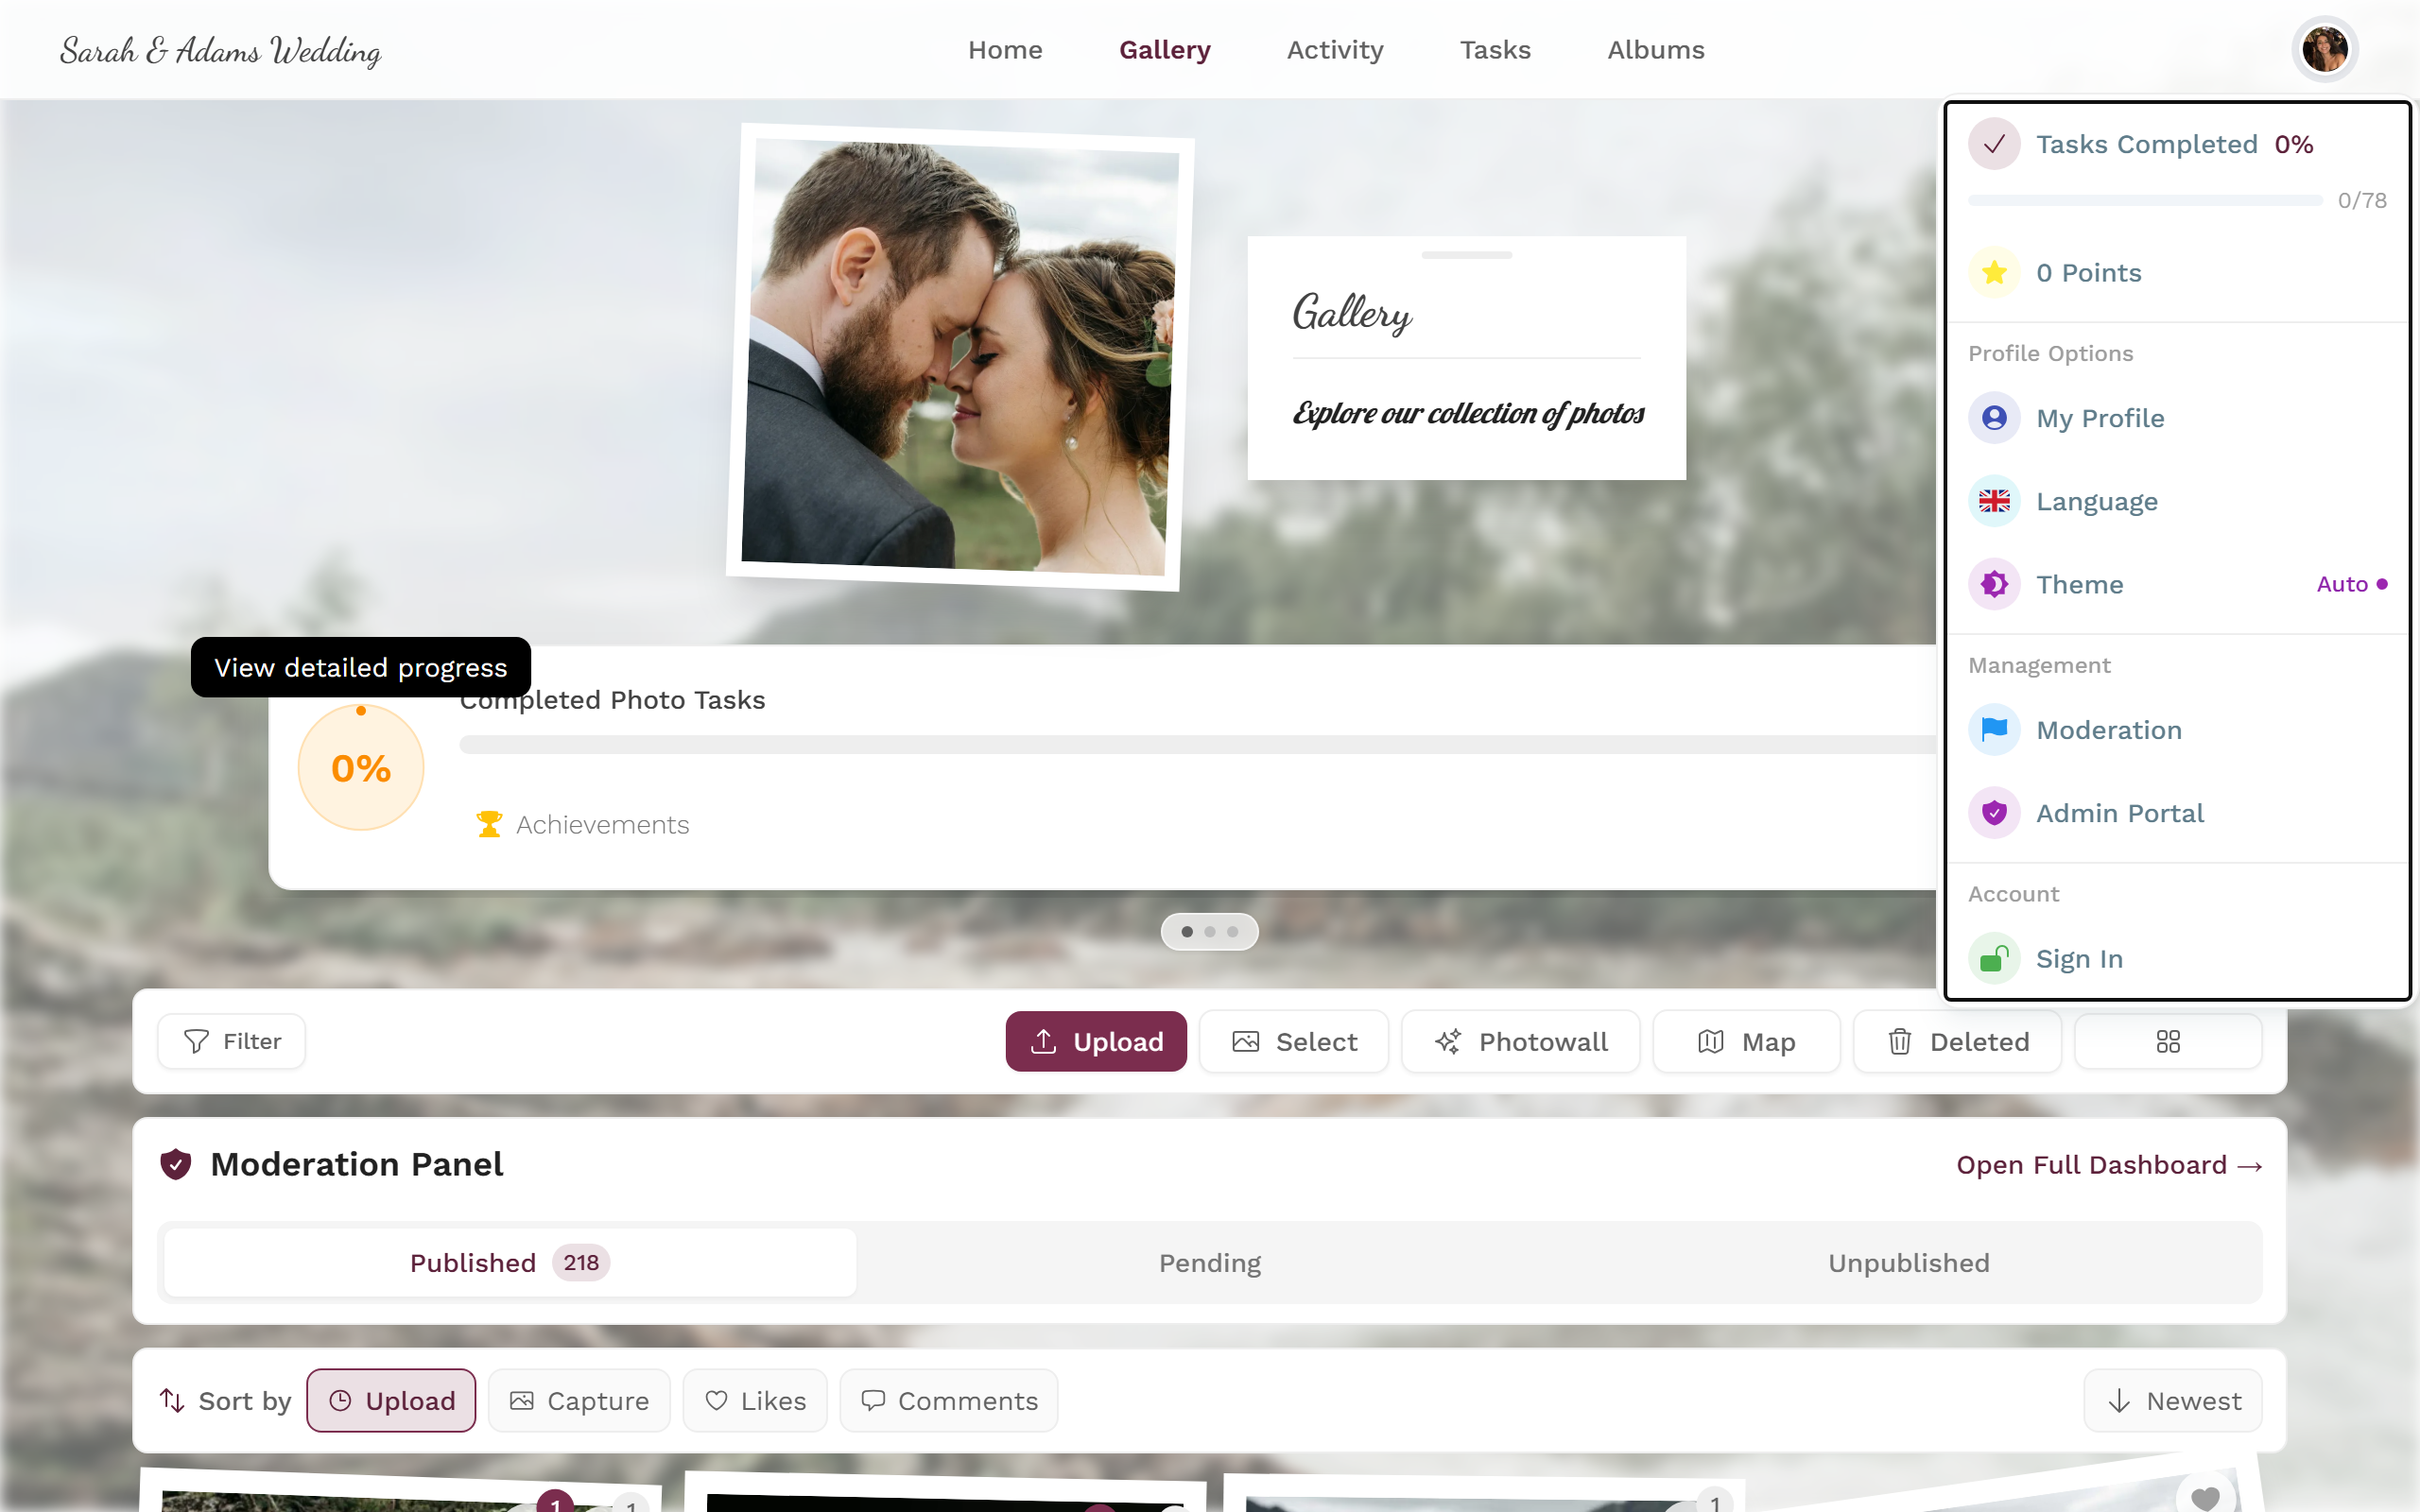
The profile menu gives you My Profile and — depending on your role — Moderation and Admin Portal. -
Choose My Profile.
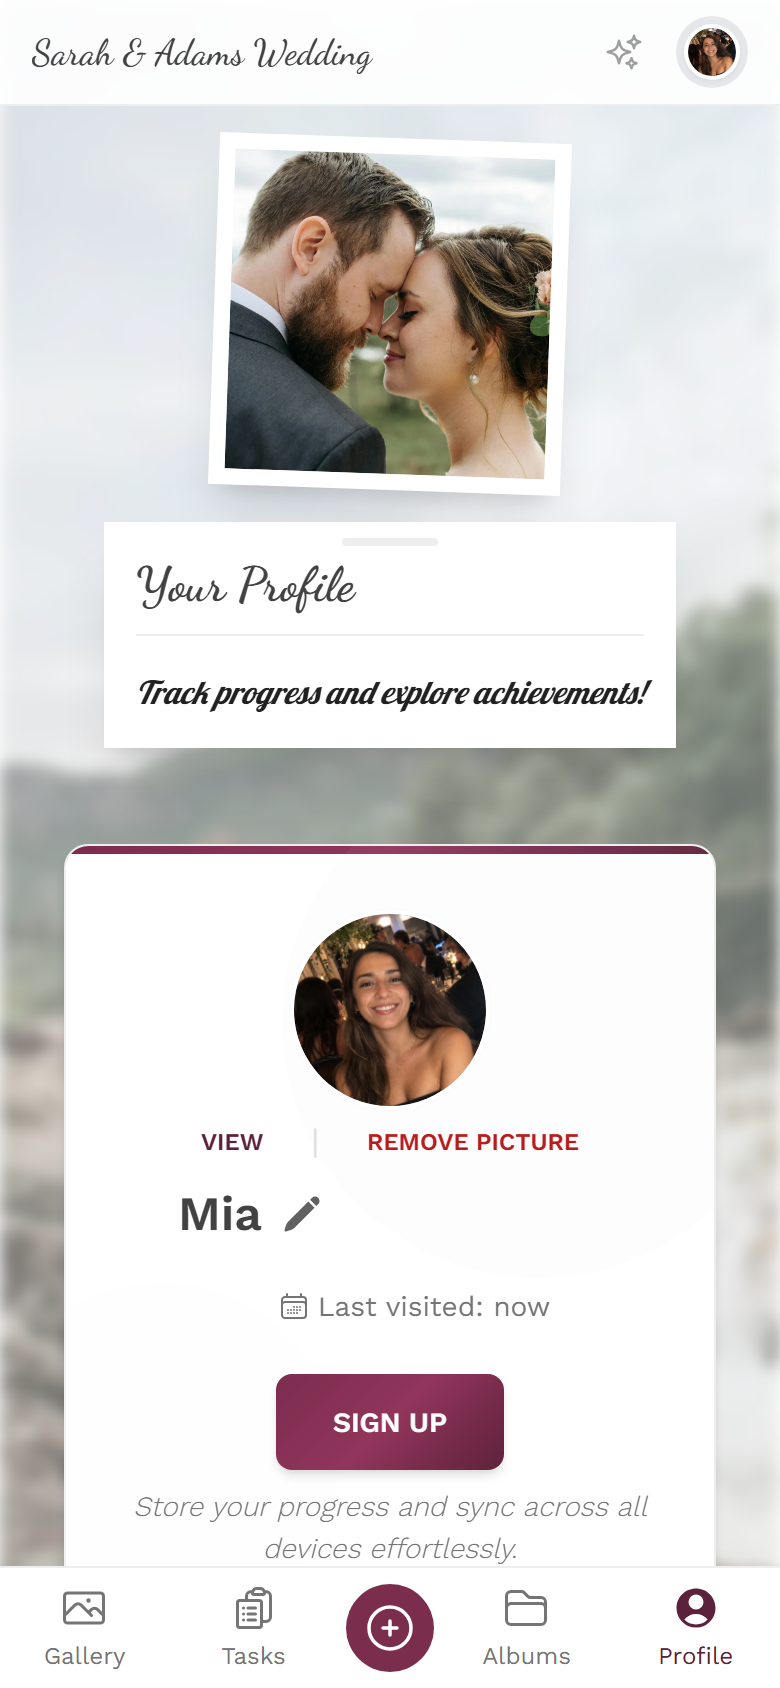
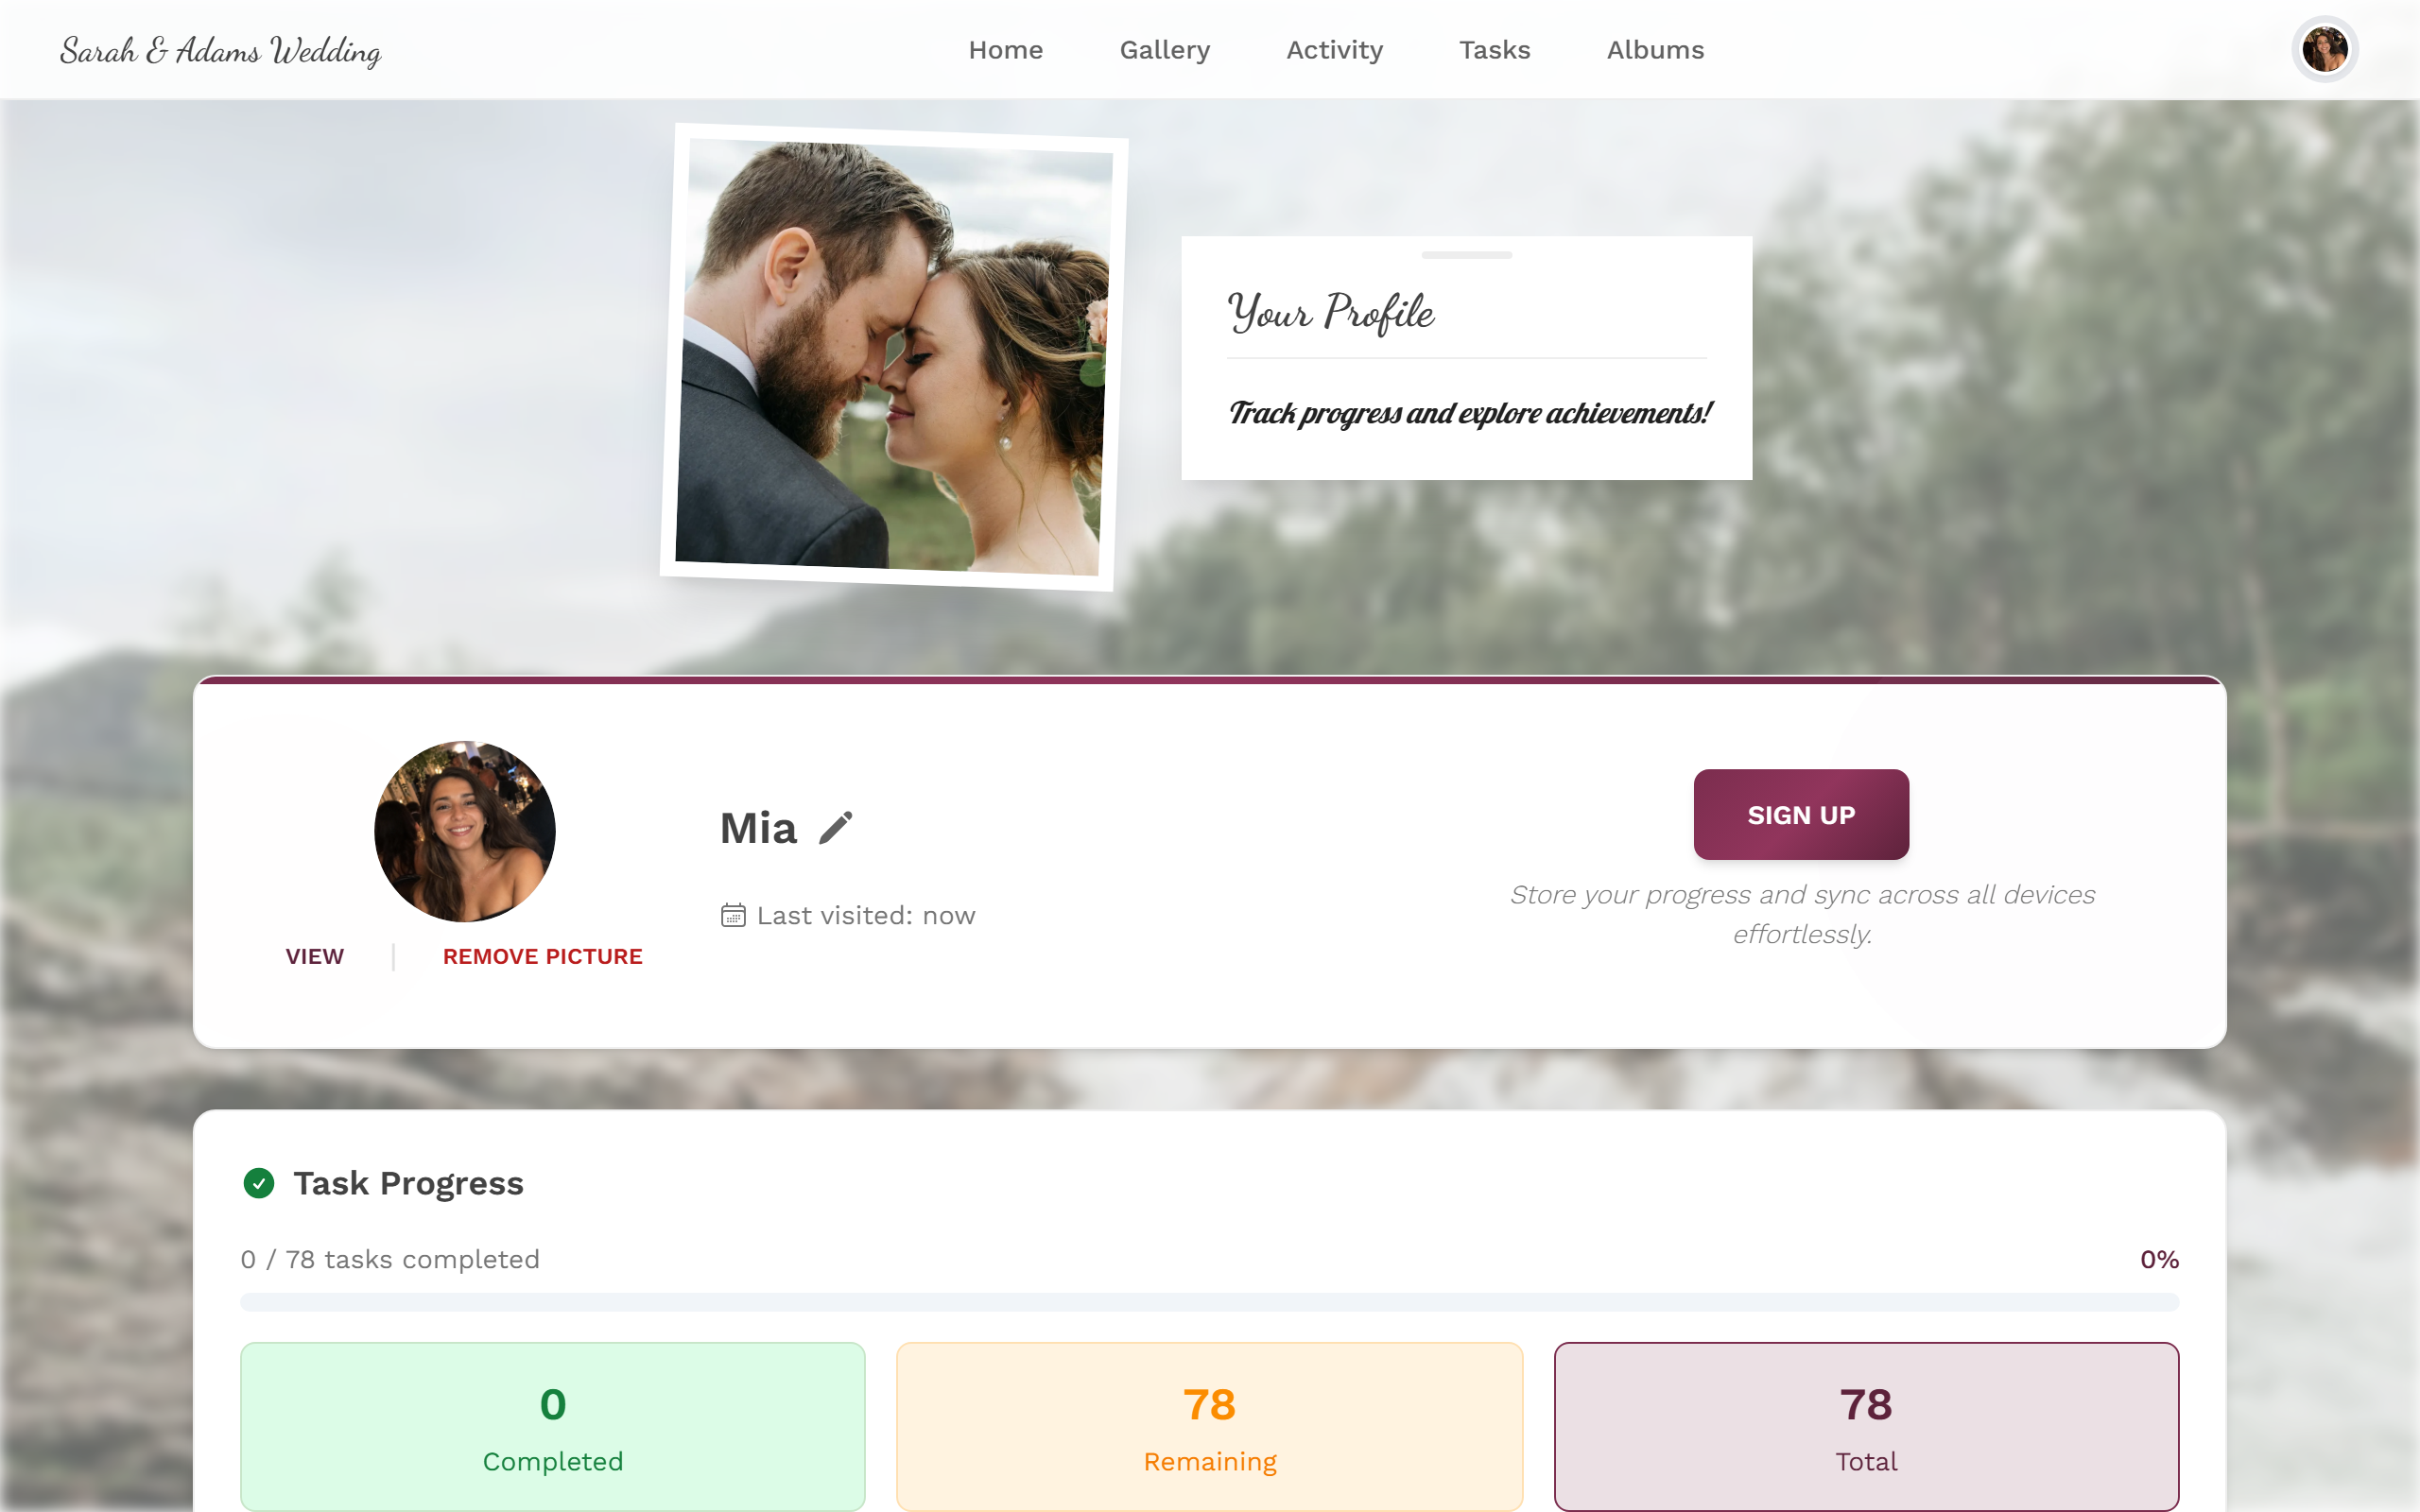
On the profile page you edit your nickname. -
Tap the pencil icon next to your name and change it in the “Edit your nickname” dialog.
Why registering is worth it
Section titled “Why registering is worth it”Without an account, your identity is tied to a device and session. If you lose the session (another device, cleared browser data), you may lose access to “your” uploads and likes — and then can’t delete them anymore. That’s why an account is recommended.
-
Open the profile menu and choose Sign In — or tap Sign Up in the profile header, with the note “Store your progress and sync across all devices effortlessly.”
-
Sign in or register with Google or your email address.
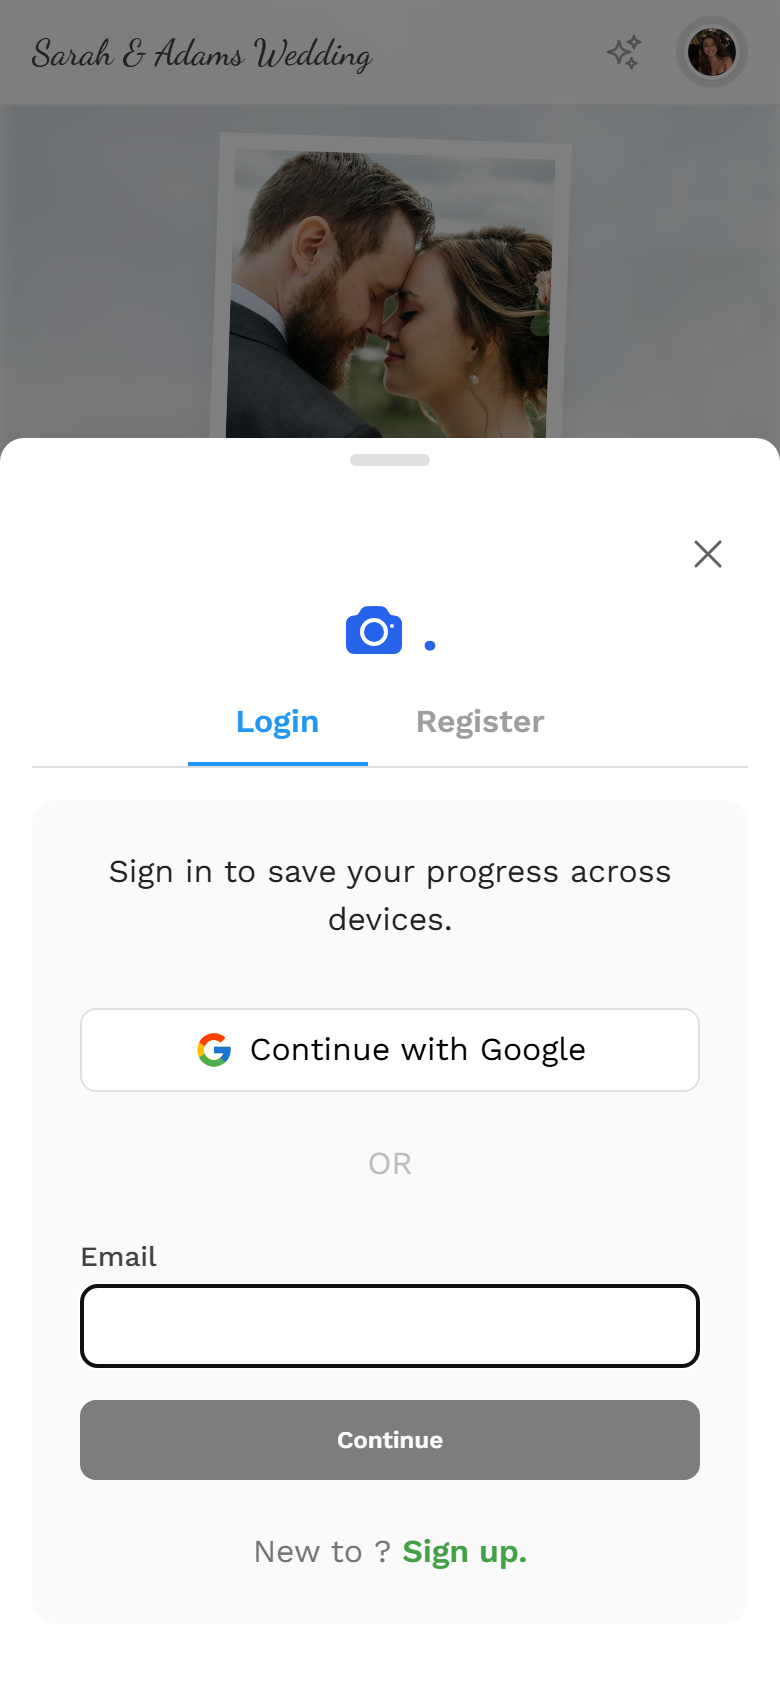
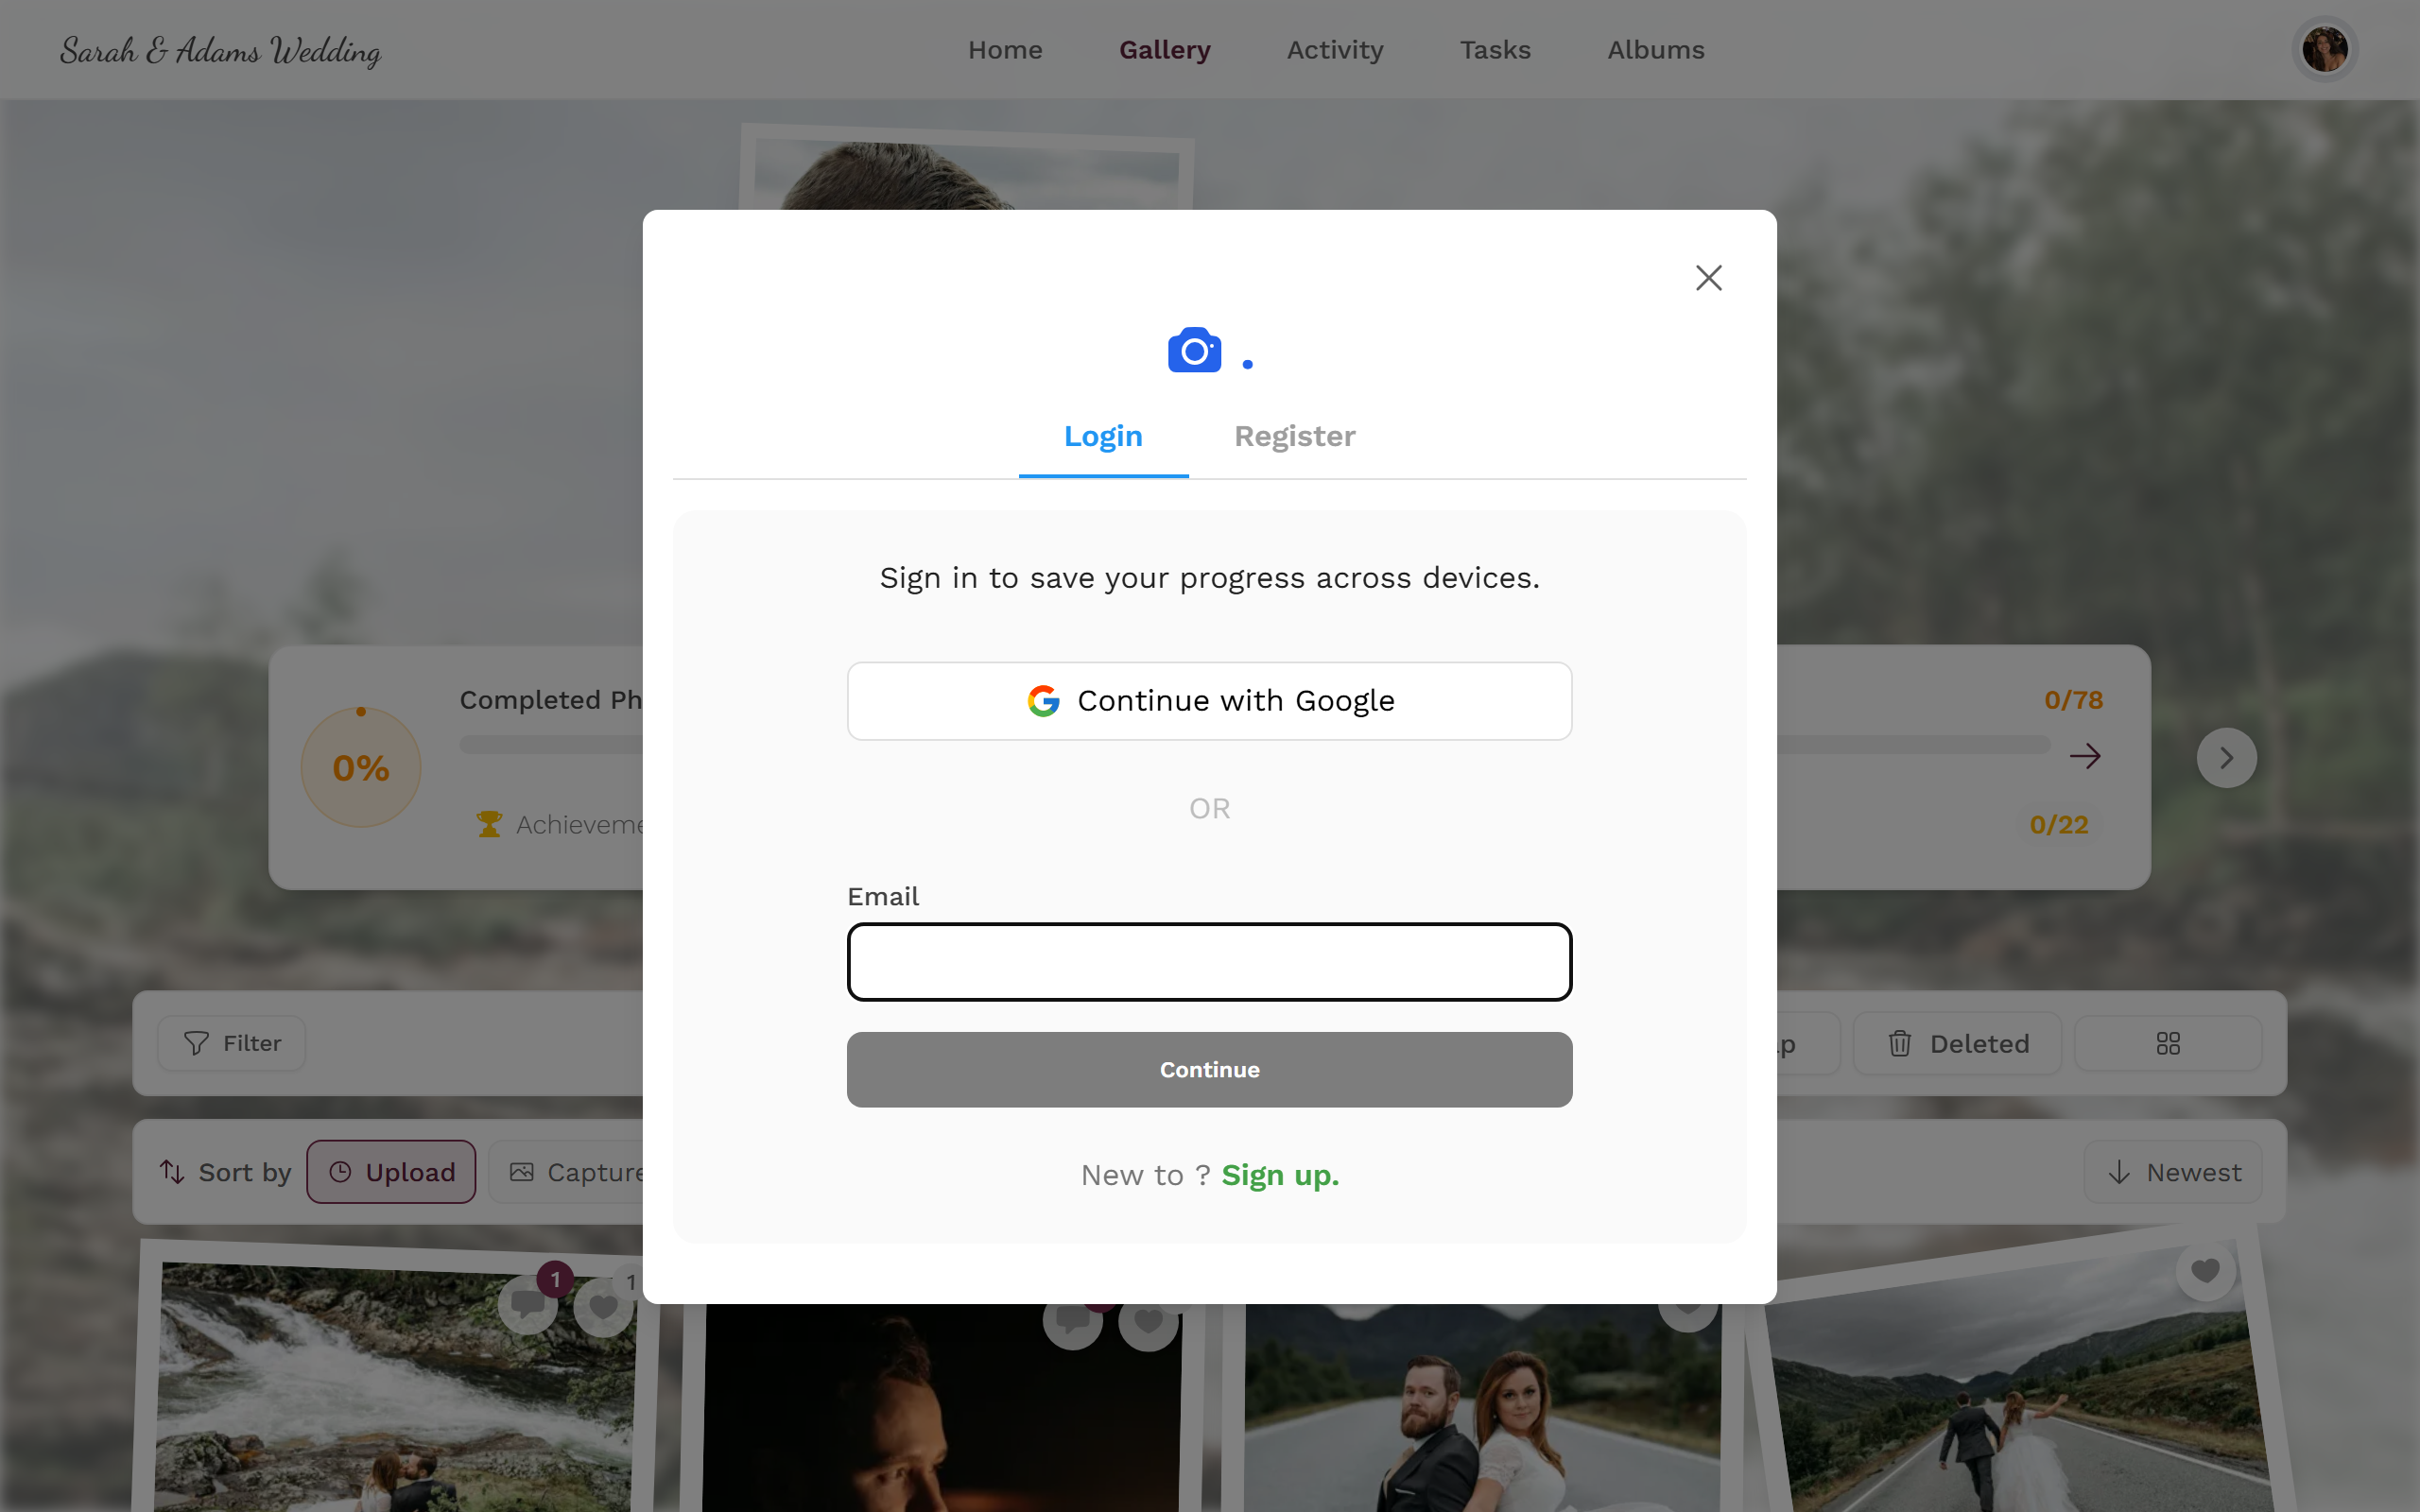
Sign in or register — with Google or by email.
Storage period & data
Section titled “Storage period & data”Photos and videos are only kept for a set period and are deleted automatically afterwards. This period is host- and plan-dependent.
Here’s how you can trigger deletion of your data:
- Your own photos — delete them yourself, see Deleting your own photos.
- Selfie/face data — delete it yourself, see Find me.
- Automatically detected face data and other personal data — by request to the host via the legal pages.
For moderators and admins
Section titled “For moderators and admins”If you’re a moderator or admin, you have extra tools: manage or hide face clusters, ban users, remove profile images, and approve uploads. You reach these areas via the profile menu at the top right → Moderation or Admin Portal — those entries are only visible with the matching role.
Further reading:
- Privacy & moderation settings
- Enabling face recognition (GDPR)
- Moderation & approval
- Roles & permissions