Map view
Map view shows you at a glance where your event’s photos were taken. It is a view mode inside the gallery – you do not switch to a separate page, you flip the gallery from the grid over to the map.
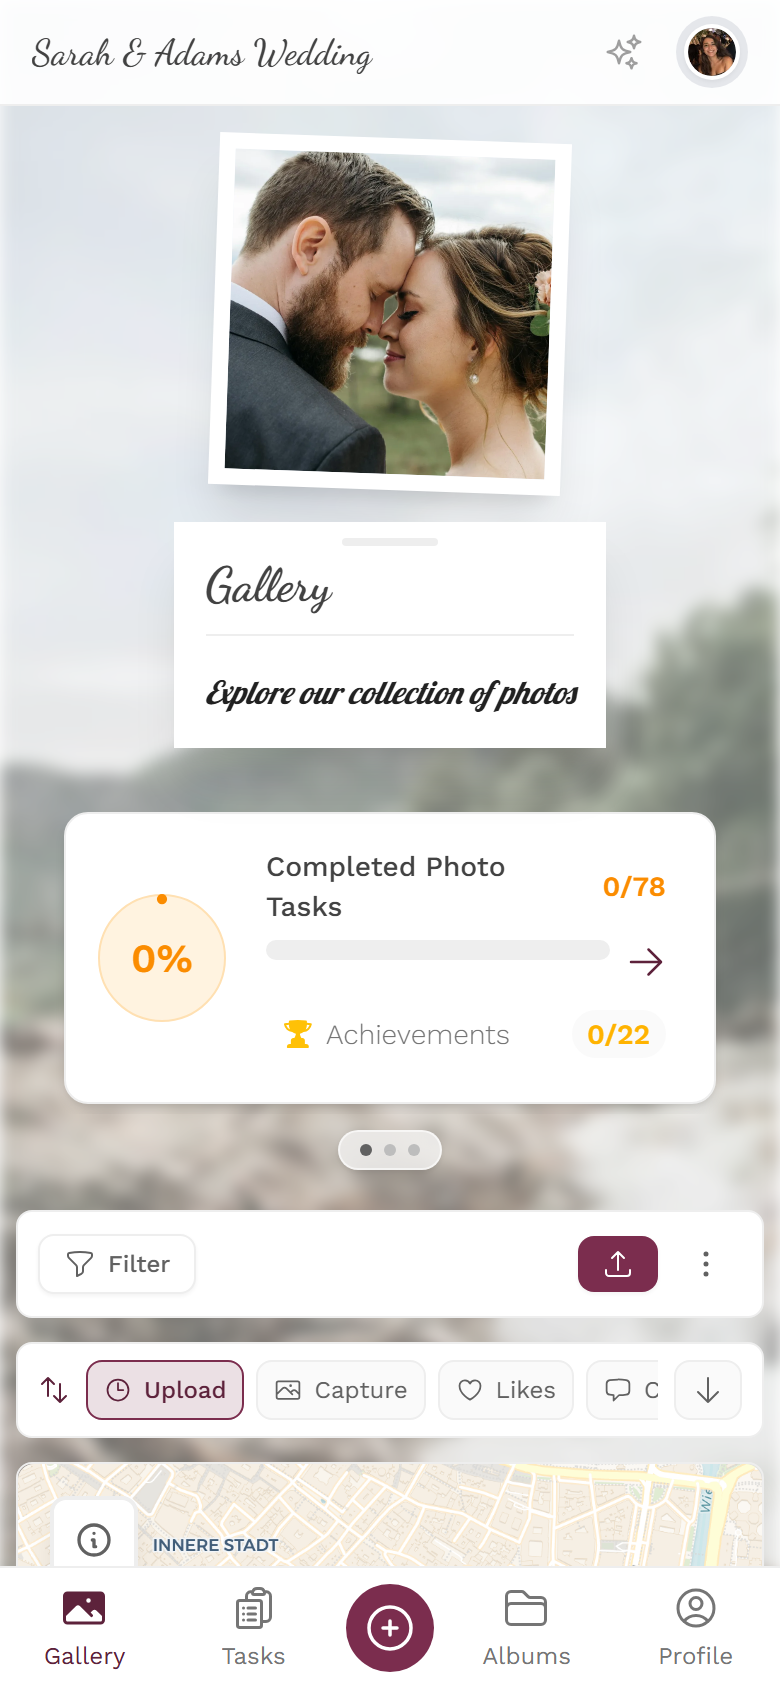
The map only shows photos that had location info (GPS) stored when they were taken. That is why the map is often smaller than your full gallery – this is normal (more on that below).
Opening the map
Section titled “Opening the map”-
Open your event’s gallery.
-
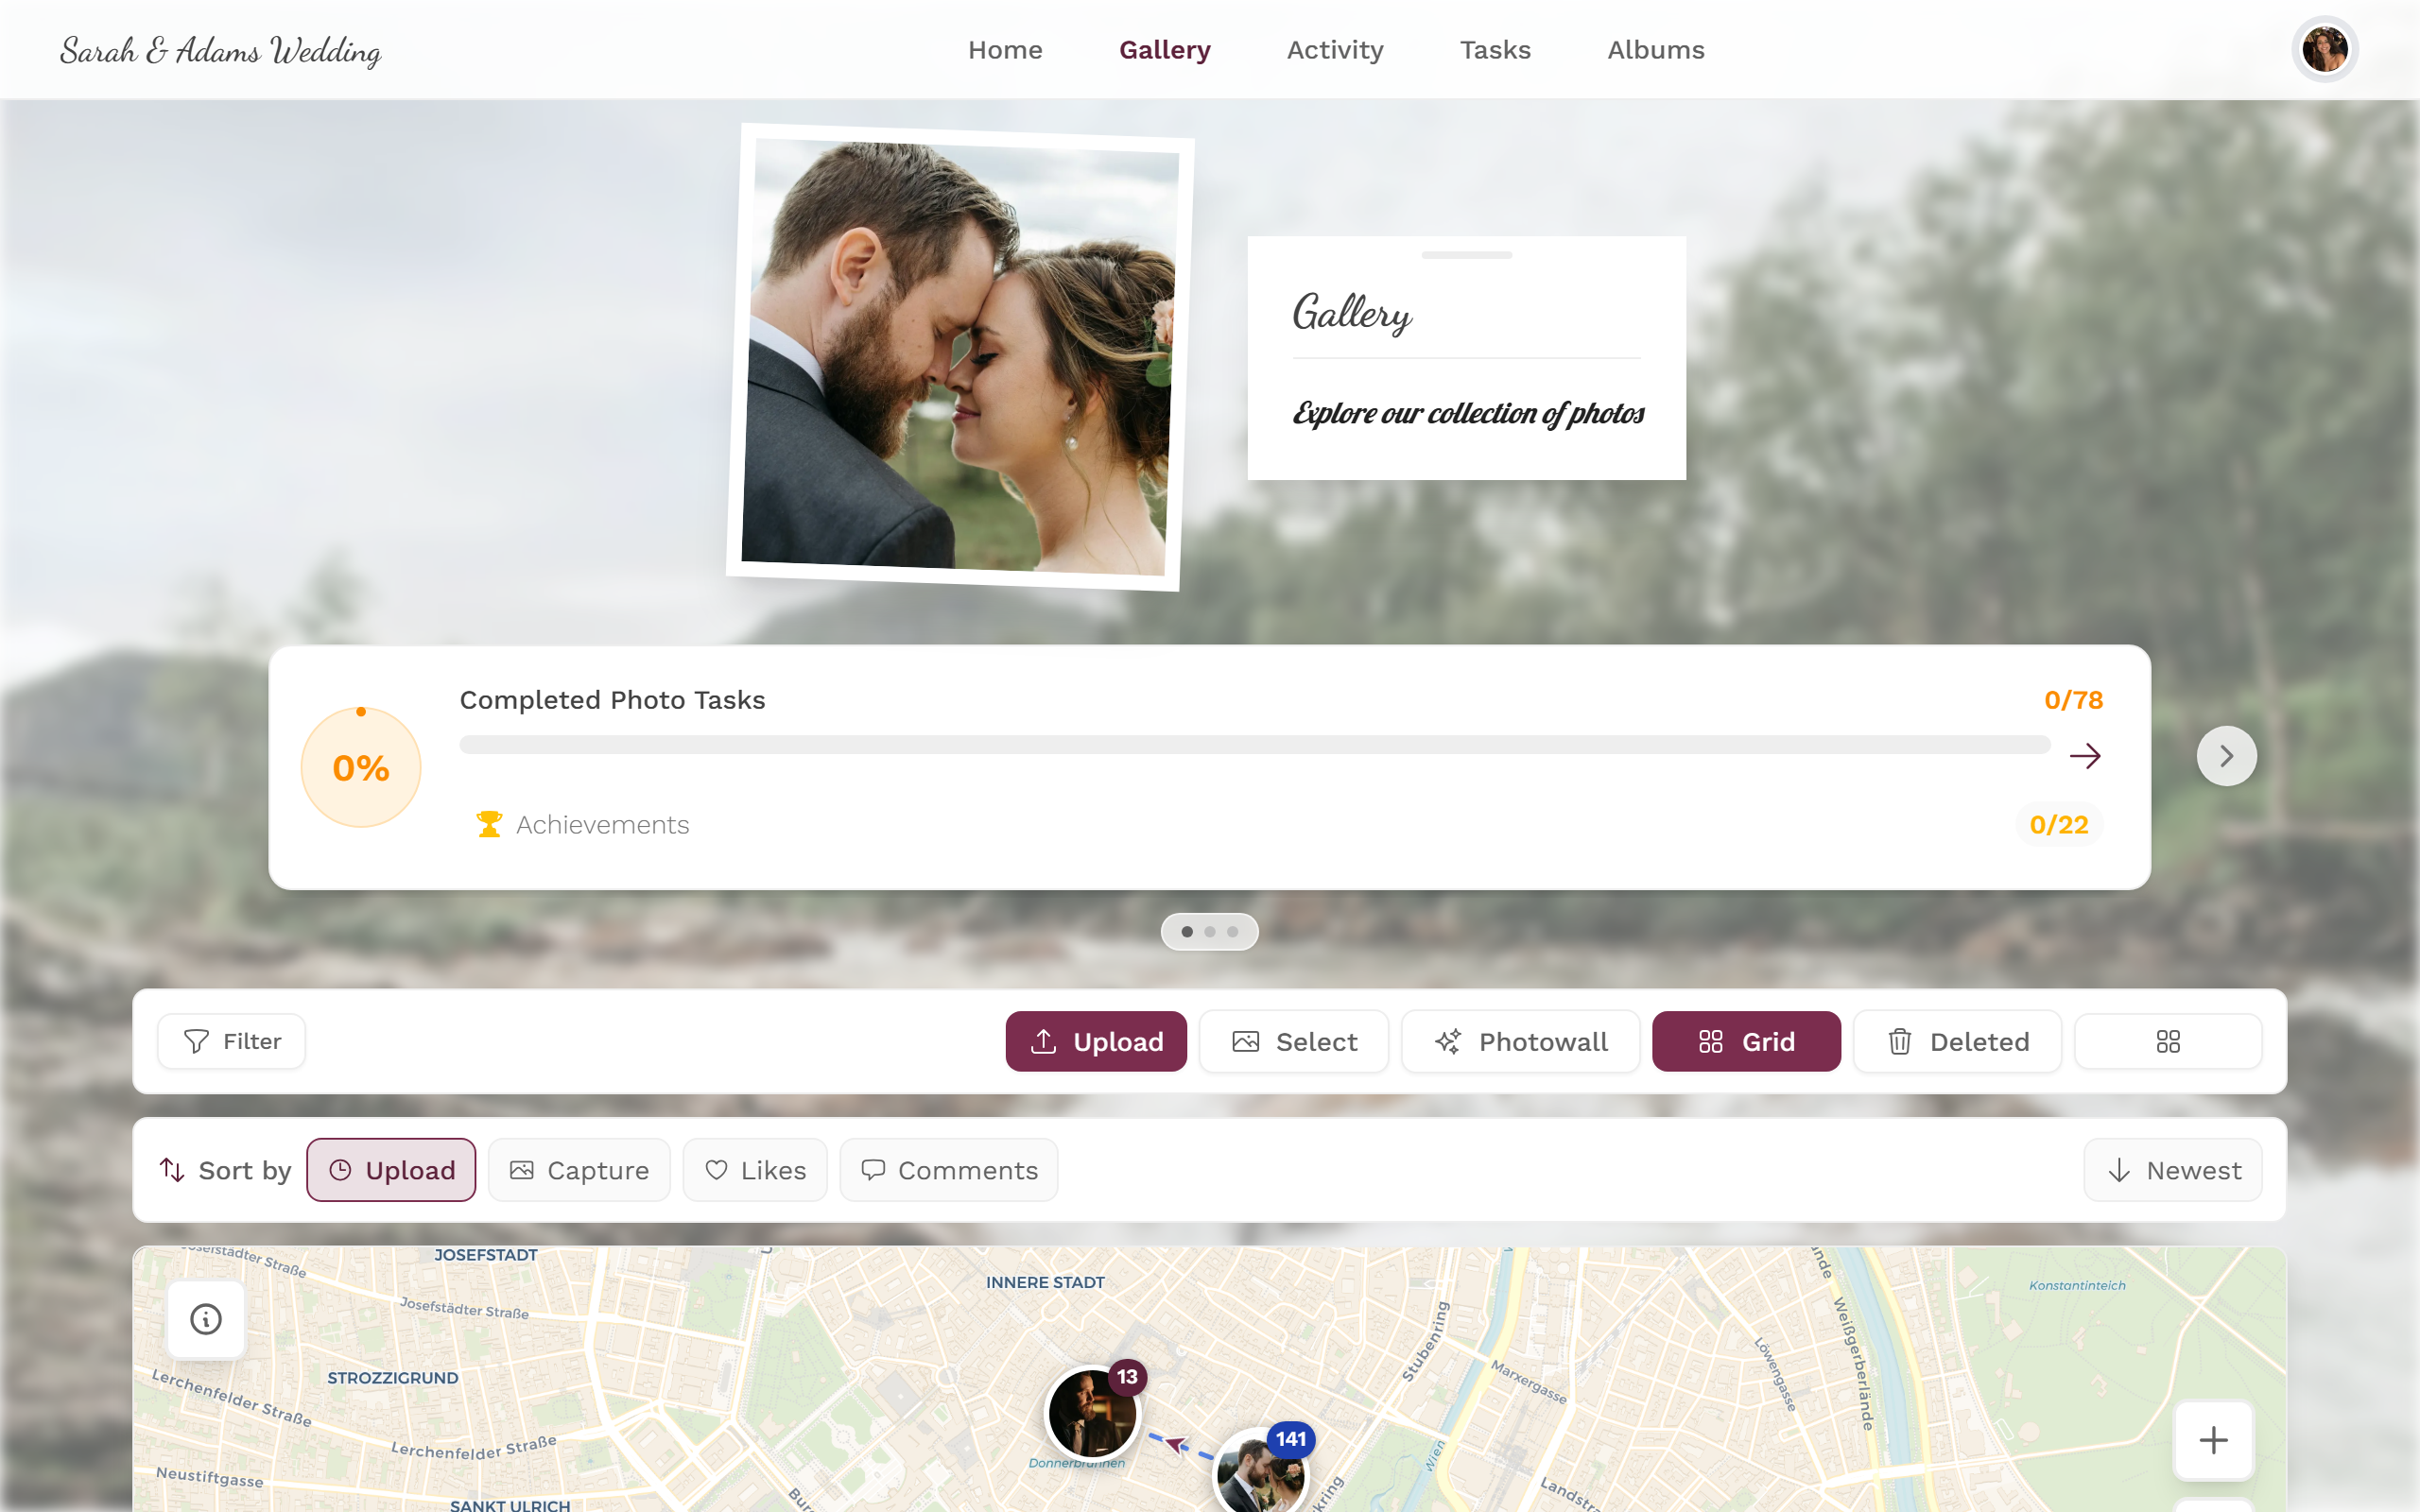
In the gallery toolbar, tap Map (map-pin icon) – not Filter.
On a computer (wide window) the Map button sits directly in the toolbar. On a phone or in narrow windows it lives in the ⋮ overflow menu (three-dots icon) – the entry is also labelled Map.
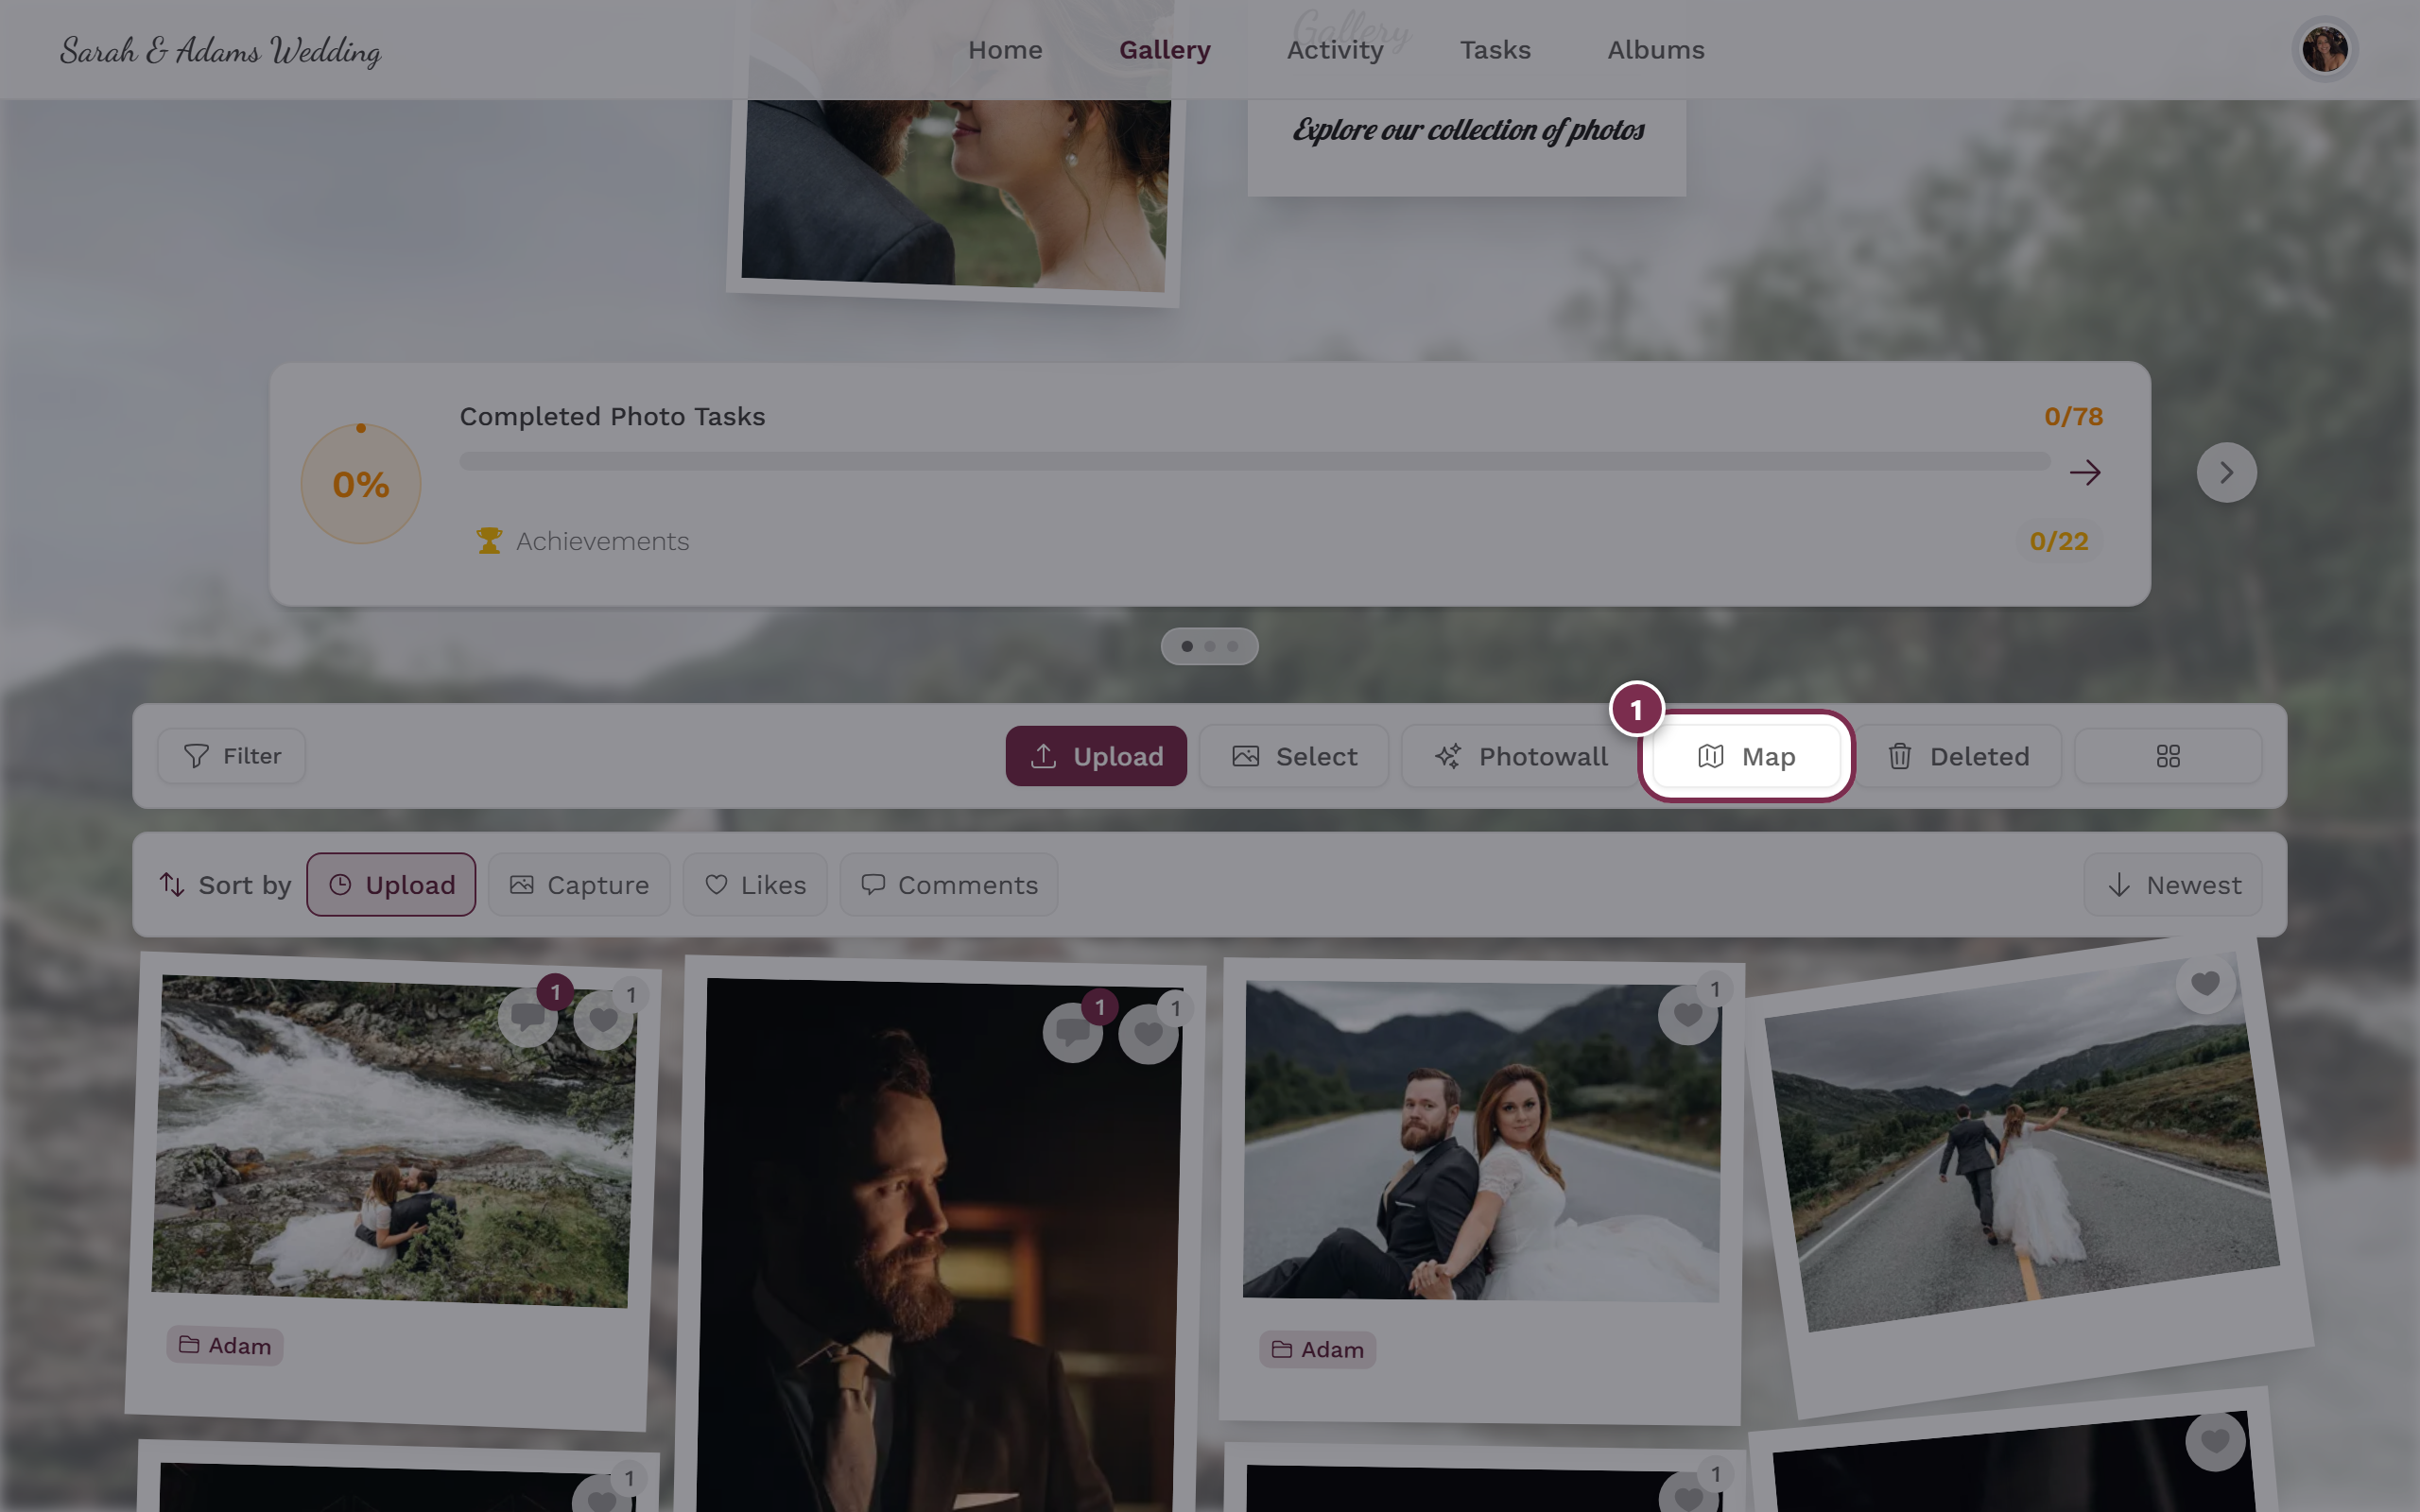
On a computer the Map button sits directly in the toolbar – tap here, not Filter. -
The gallery switches to map view. The same button now reads Grid – tap it again to return to the familiar grid.
What you see on the map
Section titled “What you see on the map”Every photo with a location appears as a marker at the place it was taken. There are three kinds of markers:
- Photo marker – the photo itself as a small framed preview with a pointer tip. This is the normal case.
- Pin marker – a classic location pin. Appears when no preview image is loaded (yet).
- Approximate position – a marker with a dashed border and an ≈ badge. It shows a rough, not exact, position (see Showing approximate positions).
Clusters
Section titled “Clusters”When several photos are close together, the map groups them into a cluster – shown as a preview image with a number (how many photos are there). The grouping radius depends on the zoom: zoomed far out you get large clusters, and as you zoom in they break apart into smaller clusters and individual photos.
Opening a photo
Section titled “Opening a photo”Unlike a classic map bubble, tapping a marker opens no popup at the marker – it opens a preview panel at the bottom of the screen.
-
Tap a cluster or a single marker.
- For a cluster, the panel shows all photos in that group in time order. The header shows how many are loaded (e.g. “12 / 40 photos”).
- For a single photo marker, the panel shows the photo plus the nearby photos within about 30 metres – not just that one image. That way you don’t miss anything taken right next to it.
-
Scroll horizontally through the panel. More images load automatically as you scroll (placeholders appear briefly).
-
Tap a photo in the panel to open it in fullscreen. From there you can page through, like, comment or share as usual.
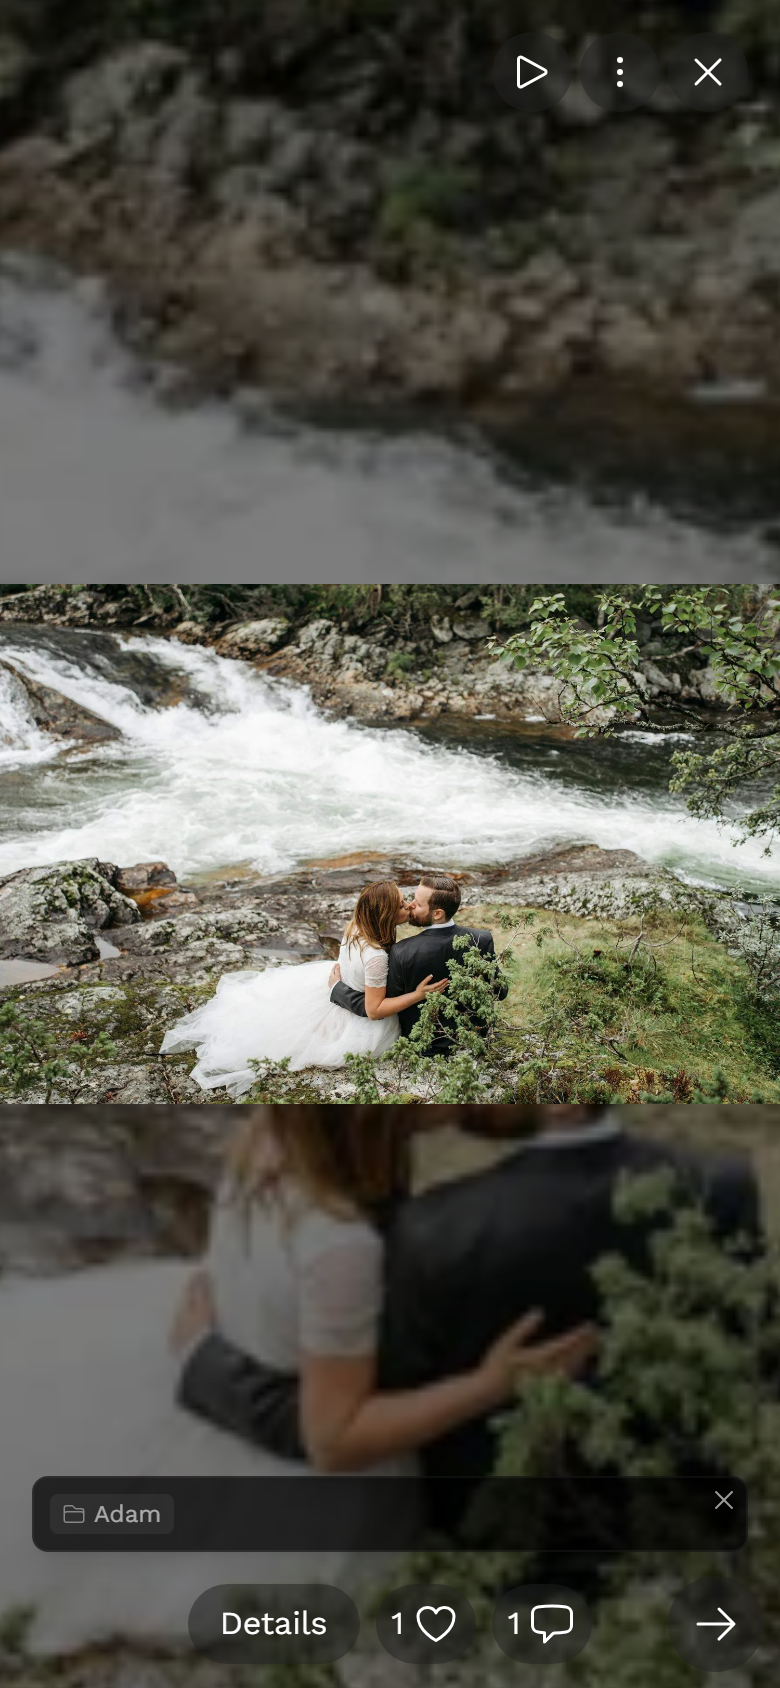
From the preview panel you go straight to fullscreen. -
Close the panel with the X in the top right (close preview).
Zooming & panning
Section titled “Zooming & panning”The map has its own gestures so that normal page scrolling doesn’t move or zoom it by accident.
On a computer (mouse)
Section titled “On a computer (mouse)”- Pan: hold the left mouse button and drag.
- Zoom: Ctrl + scroll wheel (on a Mac, Cmd + scroll wheel). Scrolling without Ctrl over the map does not zoom – instead a brief hint appears: “Use Ctrl + scroll to zoom the map”. Once you use the gesture correctly the hint disappears for good.
- Zoom buttons in the top right: + (zoom in) and − (zoom out).
On a phone (touch)
Section titled “On a phone (touch)”- Panning and zooming need two fingers. Swiping with one finger over the map scrolls the page – and shows a one-time hint: “Use two fingers to move and zoom the map”.
- Zoom: pinch with two fingers. As soon as two fingers are detected the hint disappears and won’t return.
- The + / − buttons work on a phone too.
Reset the view
Section titled “Reset the view”If you get lost, tap the reset button (third icon in the top right, “Reset view to show all photos”). The map flies back to the overall area of all photos.
Info card (i icon)
Section titled “Info card (i icon)”In the top left sits a small i icon (“Show map information”). Tap it to expand an info card. It shows:
- How many images are in the current view.
- If none are visible: “No photos in this area” with the hint “Move the map to see photos in other places”.
- The permanent note “Only photos with location enabled are shown”.
Use the X (“Close information”) to collapse the card again.
Showing approximate positions
Section titled “Showing approximate positions”Some devices or browsers (e.g. certain Android web uploads) strip the GPS data out of photos. If the host has enabled it, PhotoGala can derive an estimated location for such photos.
In the expanded info card you then find the checkbox Show approximate positions with a counter (≈ n). It is on by default. Estimated photos appear with a dashed border and an ≈ badge. Clear the checkbox to see only exact GPS photos.
Playing the journey (timeline)
Section titled “Playing the journey (timeline)”If your event has photos at several points in time, a timeline appears at the bottom – a little time bar that lets you relive the course of the event like a journey.
-
Tap the round play button Play journey. The map plays the stops in discrete steps: each step reveals a whole station (all its photos plus the leg leading there). The tour lasts about 12 seconds in total.
-
The same button becomes Pause – use it to stop at any time.
-
Drag the slider manually through the journey (“Scroll through the journey”). Only photos up to the chosen point in time are shown. As soon as you drag, automatic playback stops.
-
Along the axis there are segment dots – each stands for a station. Tap one to fly straight there; a tooltip shows the date and photo count.
-
The date labels show the start on the left, the current position in the middle (bold) and the end on the right.
-
While a time filter is active a circular arrow appears – Show all photos – which clears the time selection and shows all photos again.
The travel route on the map
Section titled “The travel route on the map”Between the chronological stations the map draws a dashed line with direction arrows per leg. The route only appears from two stations onward. A few subtleties:
- Very short legs get no arrow (so the map doesn’t get cluttered).
- A path walked there and back appears as a plain line without an arrow.
- What counts as a separate “station” depends on the zoom: zoomed in, individual places are separate; zoomed out they merge into a town or region.
When the map stays empty
Section titled “When the map stays empty”Related topics
Section titled “Related topics”- Fullscreen view (slideshow) – how to open and control photos from the preview panel.
- Upload photos and Take a photo – why some photos have a location and others don’t.
- Filtering and the gallery filters – filters apply to the map too.
- Albums – when albums and filters interact.