Selecting multiple photos
When you want to act on several photos at once, use selection mode. Instead of handling each photo separately, you mark a whole group and apply an action in one go – for example, give every photo of one round a heart, or save them all as a ZIP archive.
Entering selection mode
Section titled “Entering selection mode”There are two ways to start selection mode. Take whichever one you come across.
Way A – via the gallery bar (works everywhere)
Section titled “Way A – via the gallery bar (works everywhere)”-
On a computer or tablet: tap Select in the gallery bar at the top.
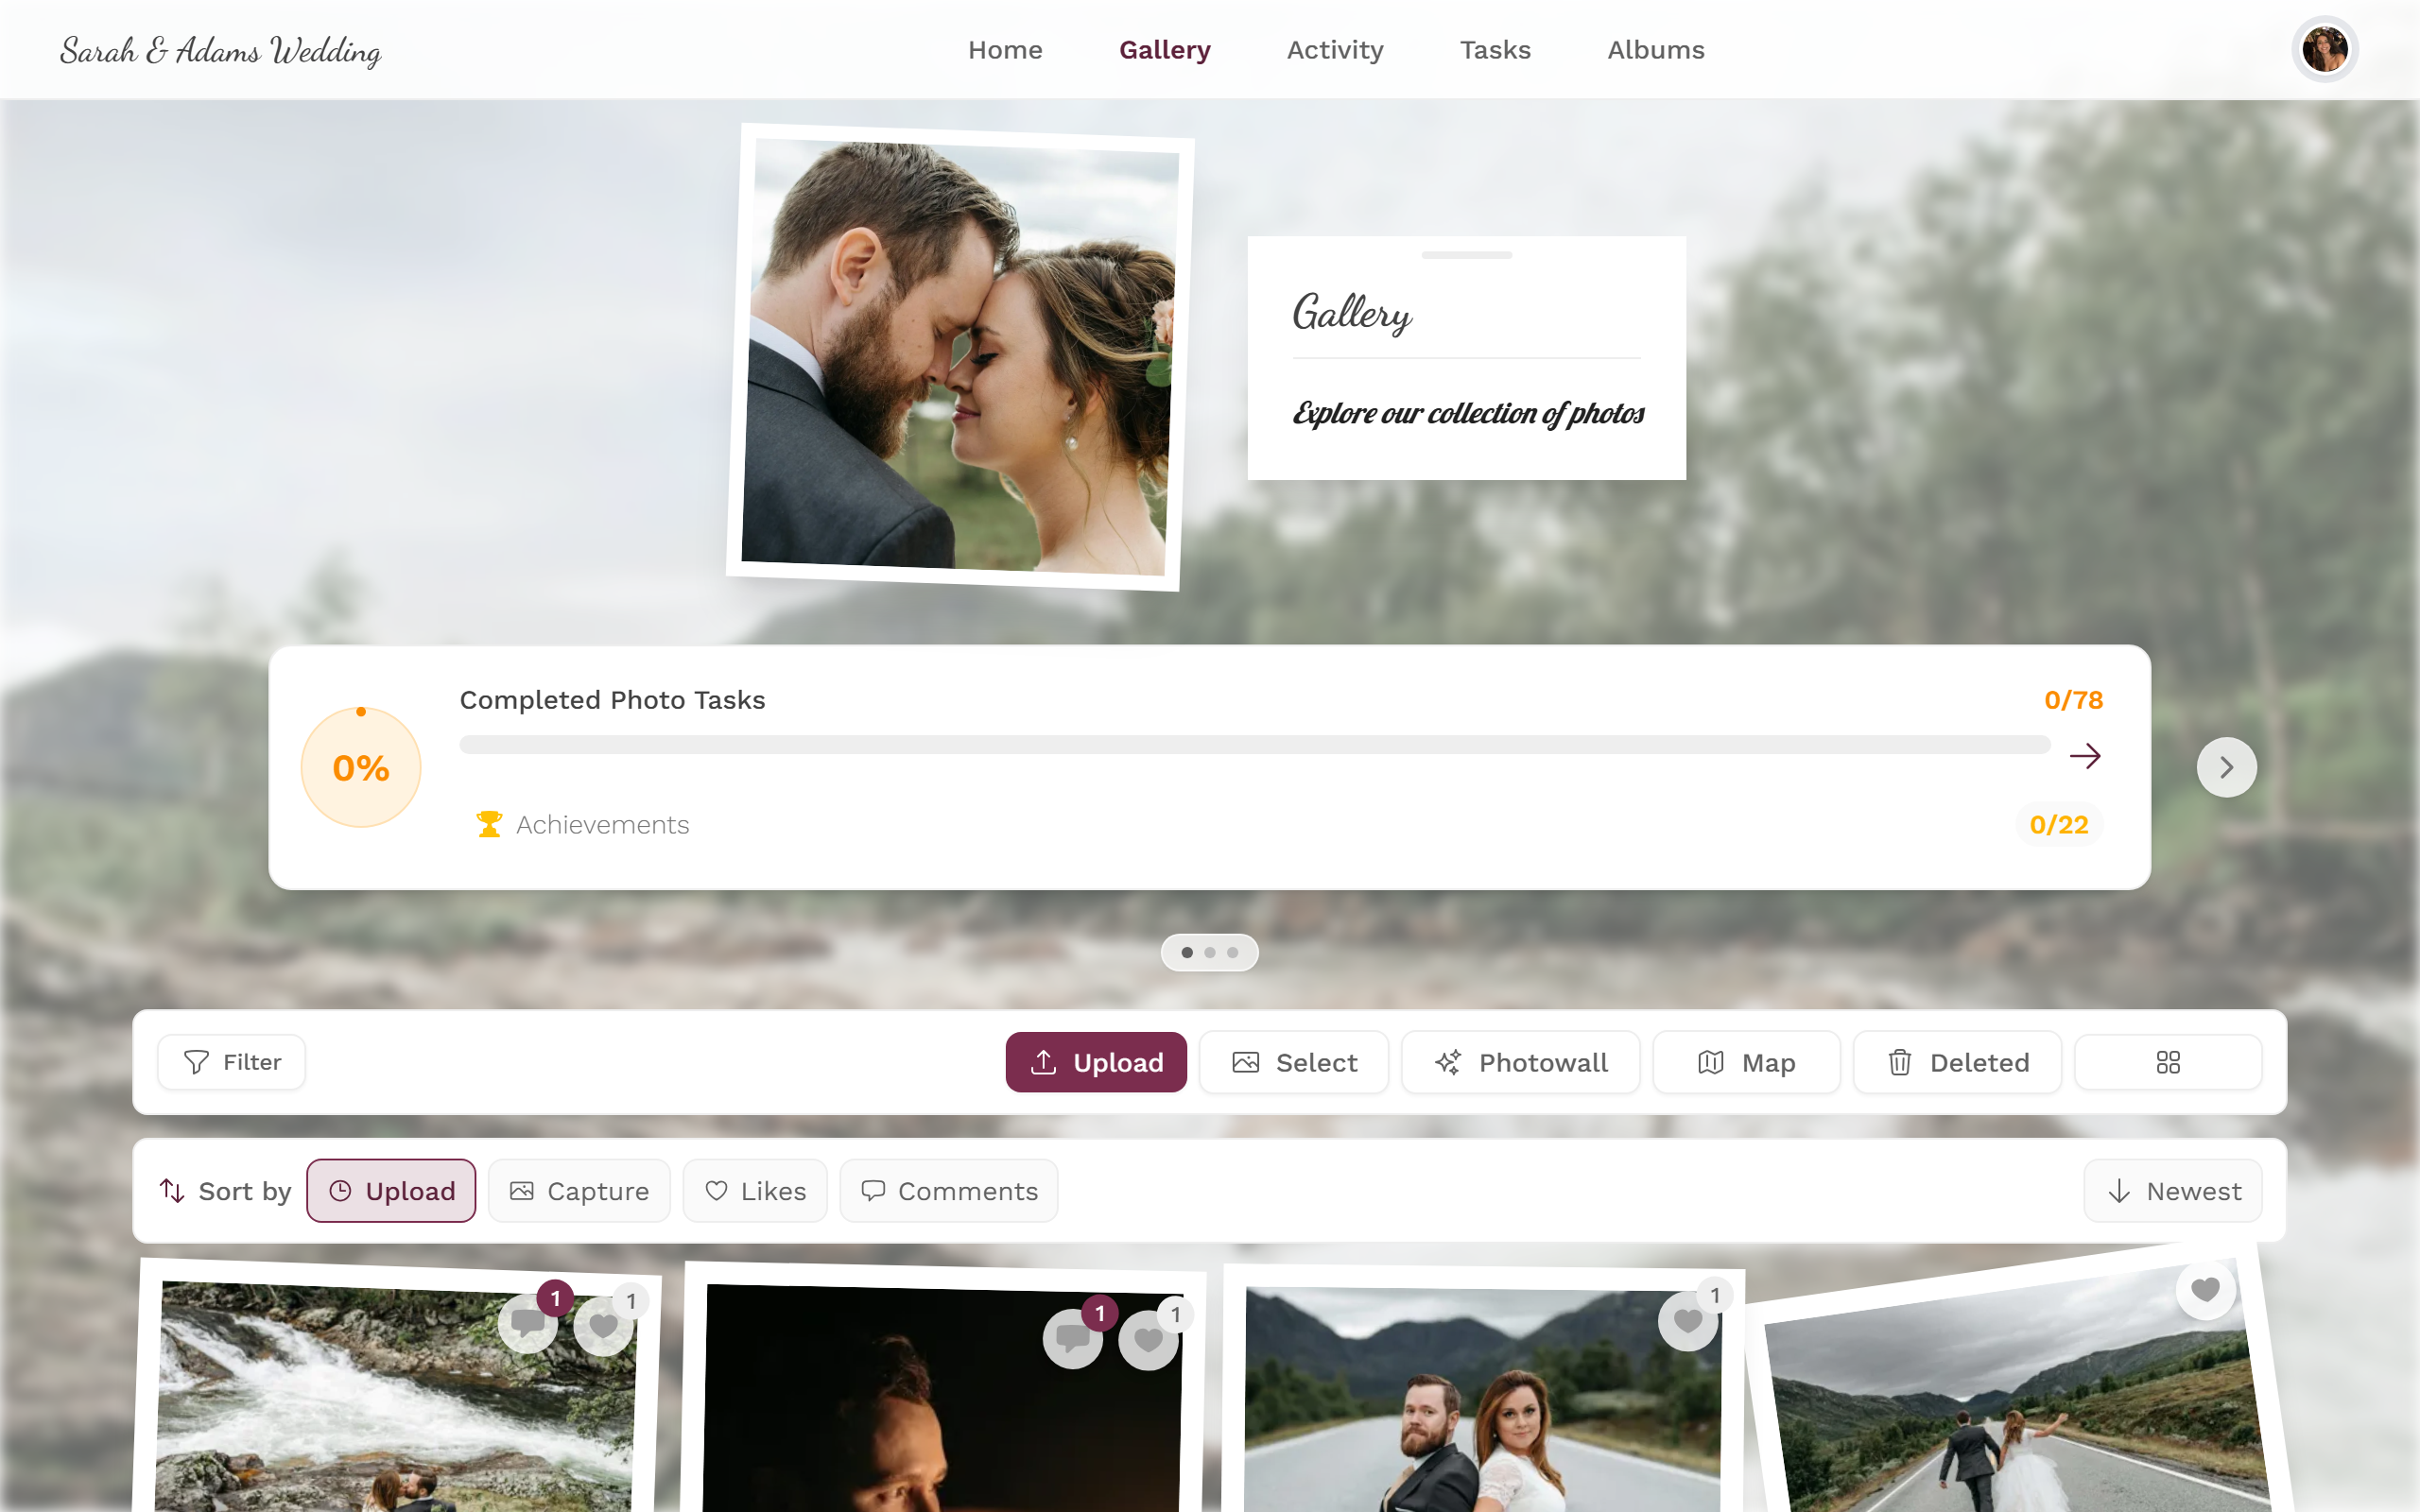
On a computer, you find the Select button in the gallery bar. -
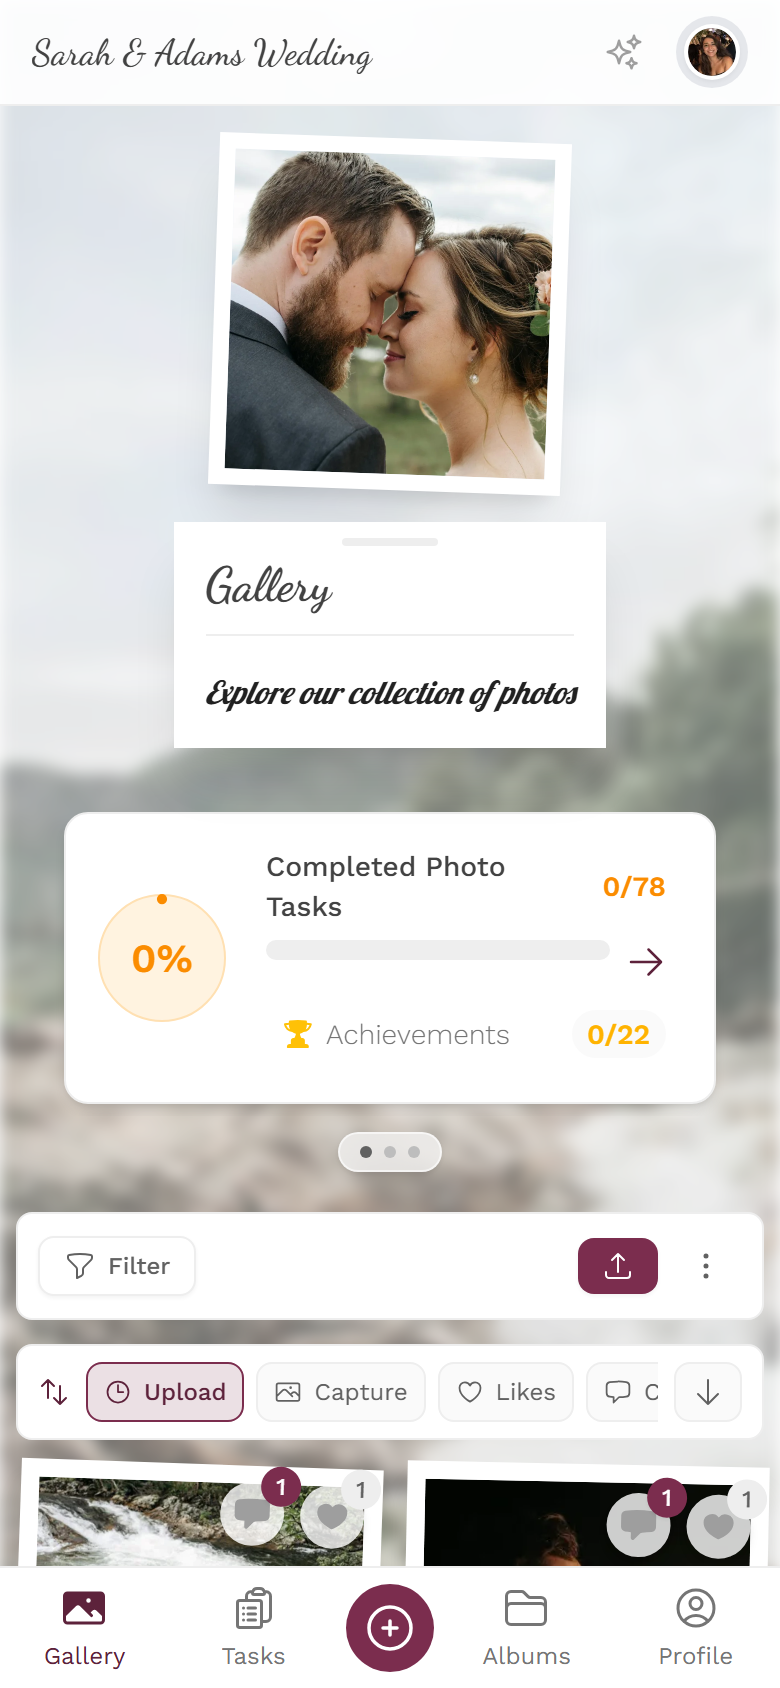
On a phone: space in the bar is tight, so tap the “…” menu (three dots on the right) and choose Select Photos.
-
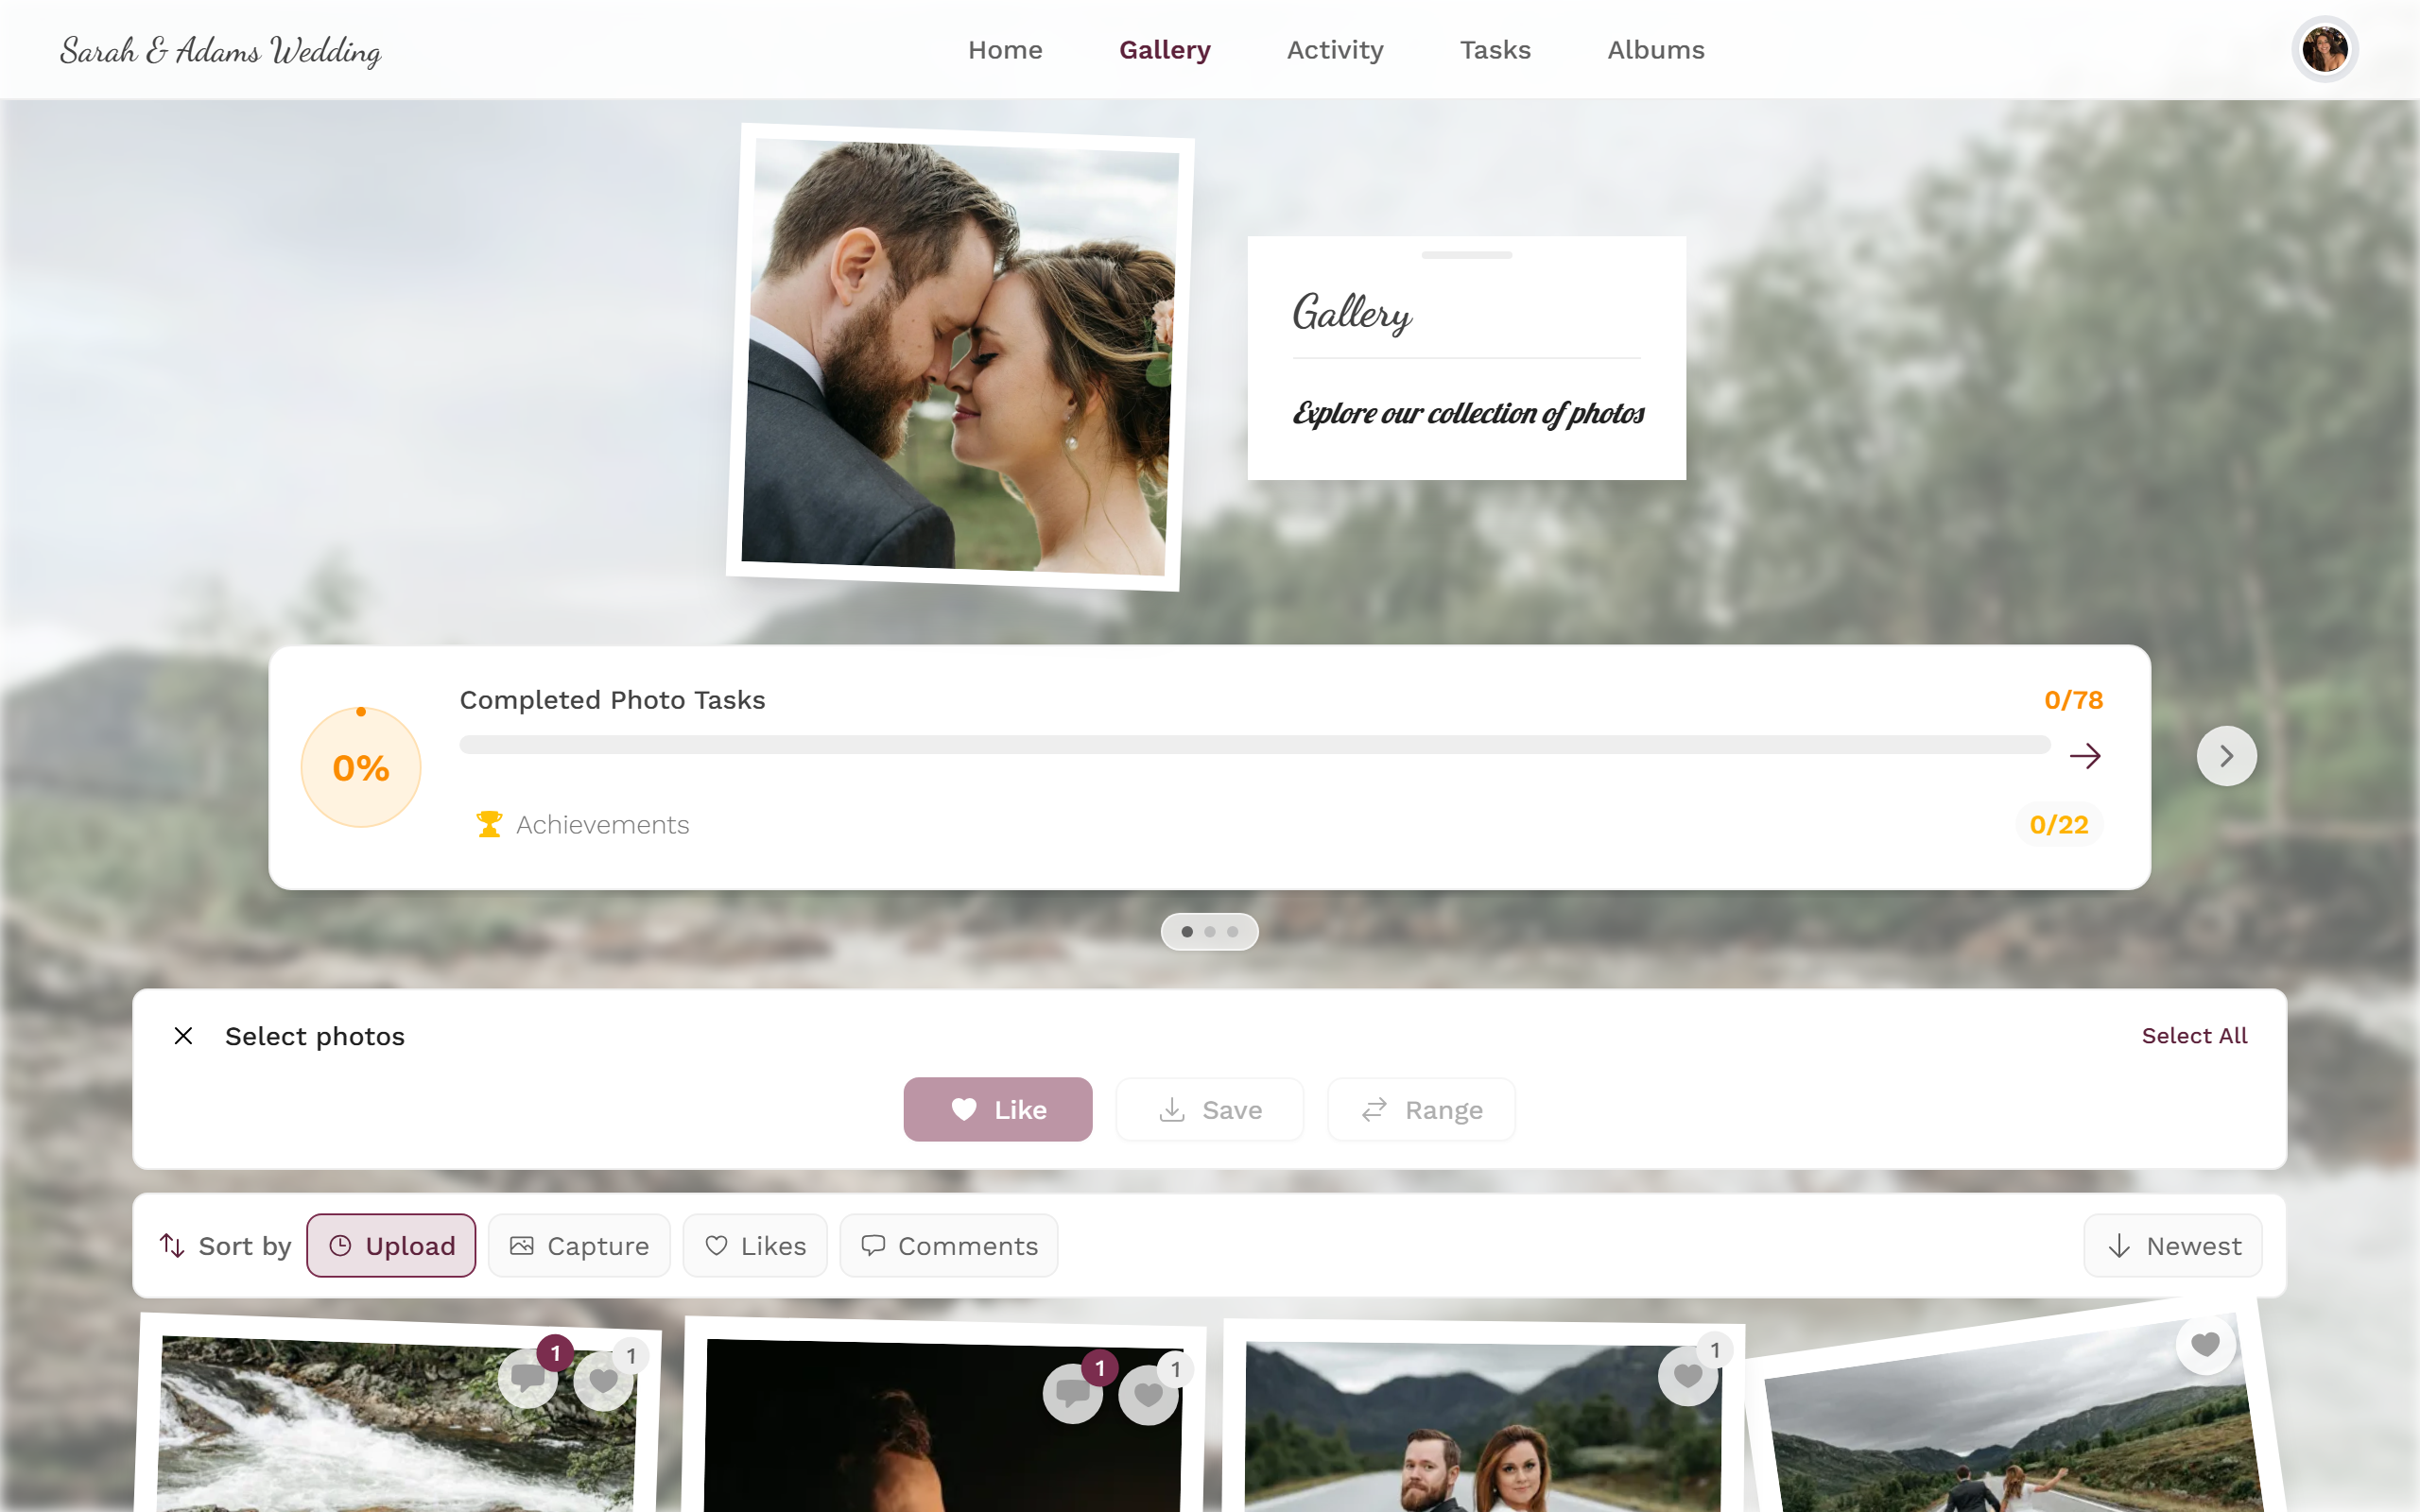
The selection bar appears. The counter at the top shows “0 photos” until you mark the first one.
The selection bar with counter, Select All and Range.
Way B – right-click a photo (on a computer)
Section titled “Way B – right-click a photo (on a computer)”-
Right-click any photo in the grid. The context menu opens.

Right-click opens the context menu with Open, Select, Like, Download and more. -
Choose Select. The photo is marked instantly and selection mode turns on – saving you a step.
-
When selection mode is already active, that same menu item reads Deselect and removes the mark again.
Marking and unmarking photos
Section titled “Marking and unmarking photos”Once selection mode is active, you collect your photos:
- Tap a photo once to mark it – it gets a red border. Tap again to clear the mark.
- Keyboard (accessibility): use Tab to focus a photo, then press Enter or the Space bar to mark or unmark it.
- Select All (top of the bar) marks every currently loaded photo at once. If a filter is active, it only marks the filtered set. Tapping the same button again (now Deselect All) clears the whole selection.
- Range is the fastest way to grab a continuous group: mark the first and the last photo of the group, then tap Range – every photo in between is marked as well. The button is greyed out while you have fewer than two photos marked.
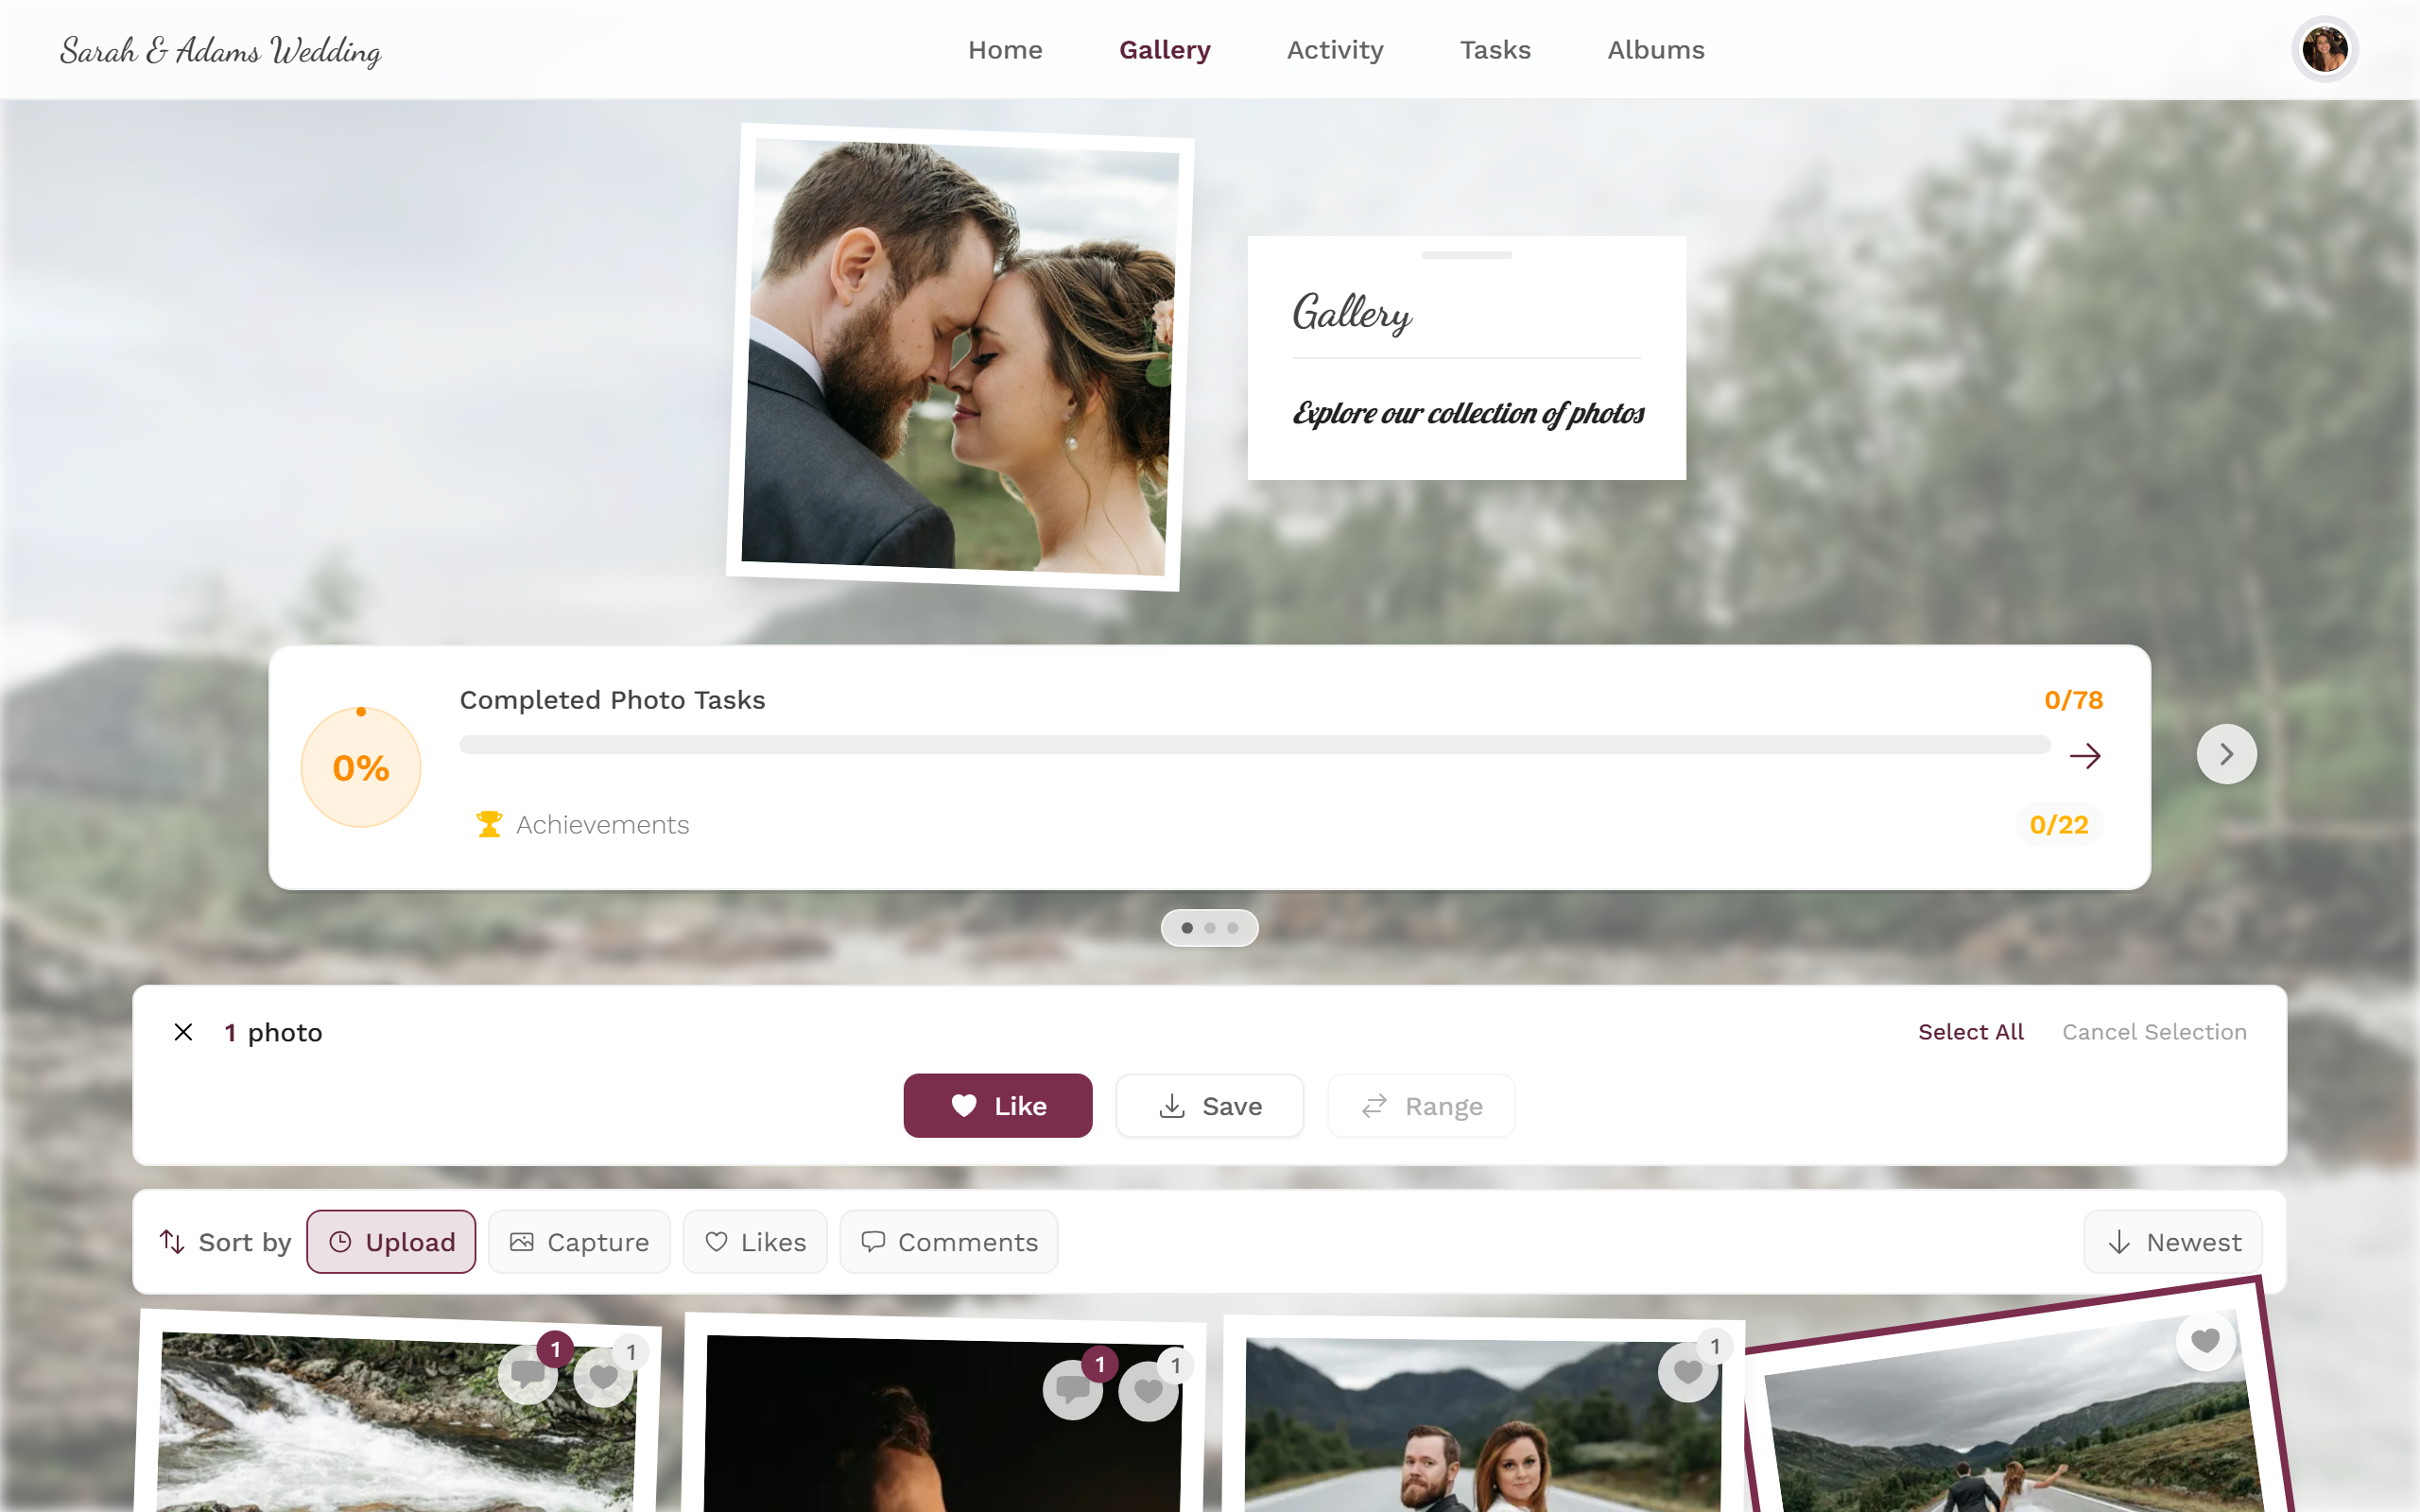
- The counter at the top (“N photos”) updates live as you mark.
Leaving selection mode
Section titled “Leaving selection mode”You leave selection mode via the X at the top left or via Cancel Selection. Selection mode also turns off automatically once an action (such as Like or Save) is finished.
What you can do with the selection – as a guest
Section titled “What you can do with the selection – as a guest”The selection bar offers these actions for all marked photos at once:
-
Like – gives every marked photo a heart in one go. The button only appears when liking is enabled for this event. More on this: Liking and commenting.
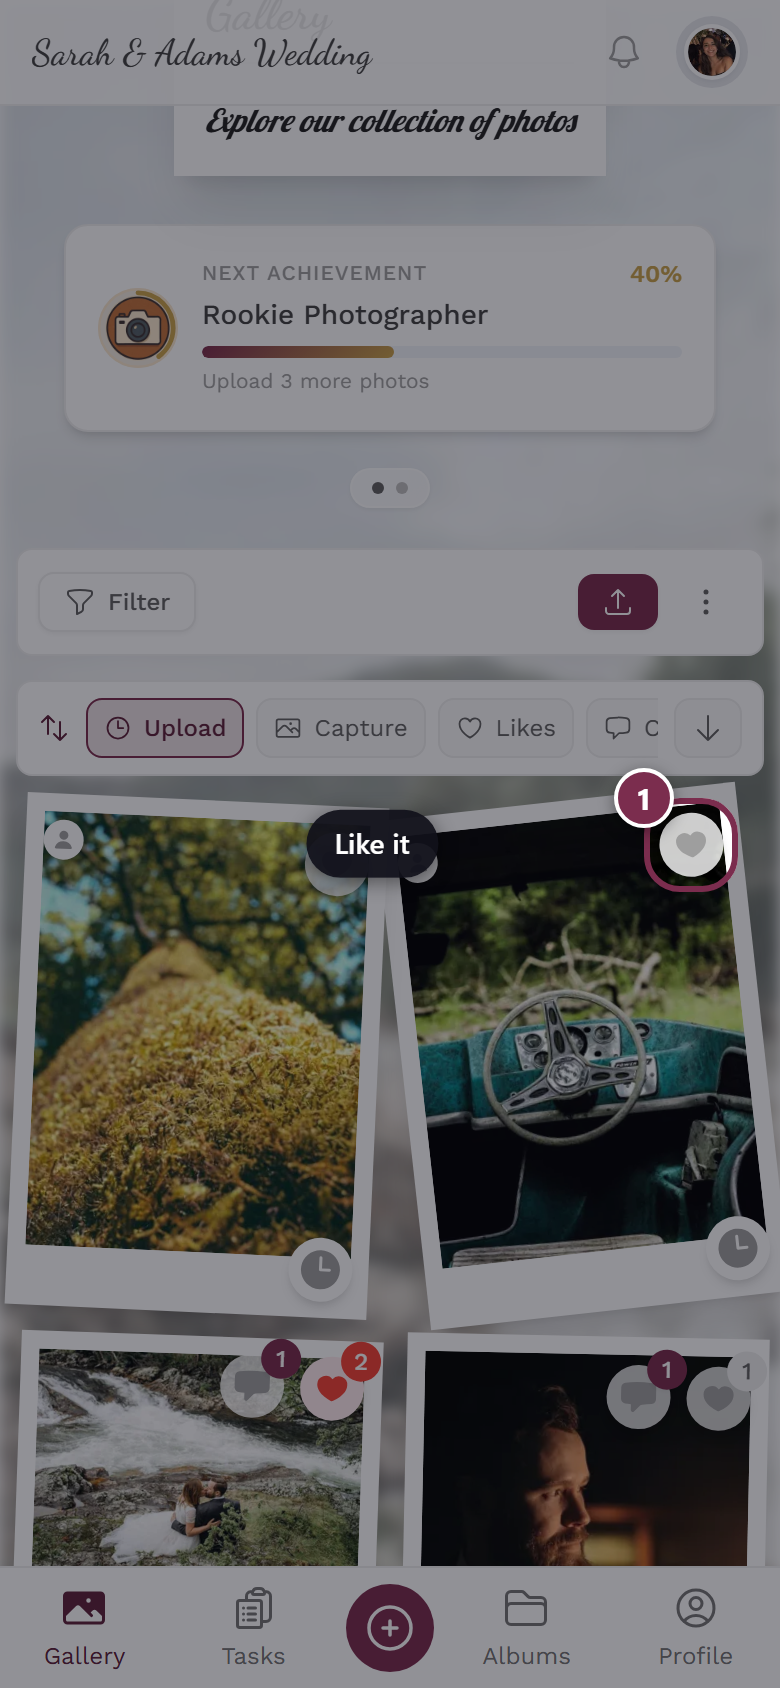
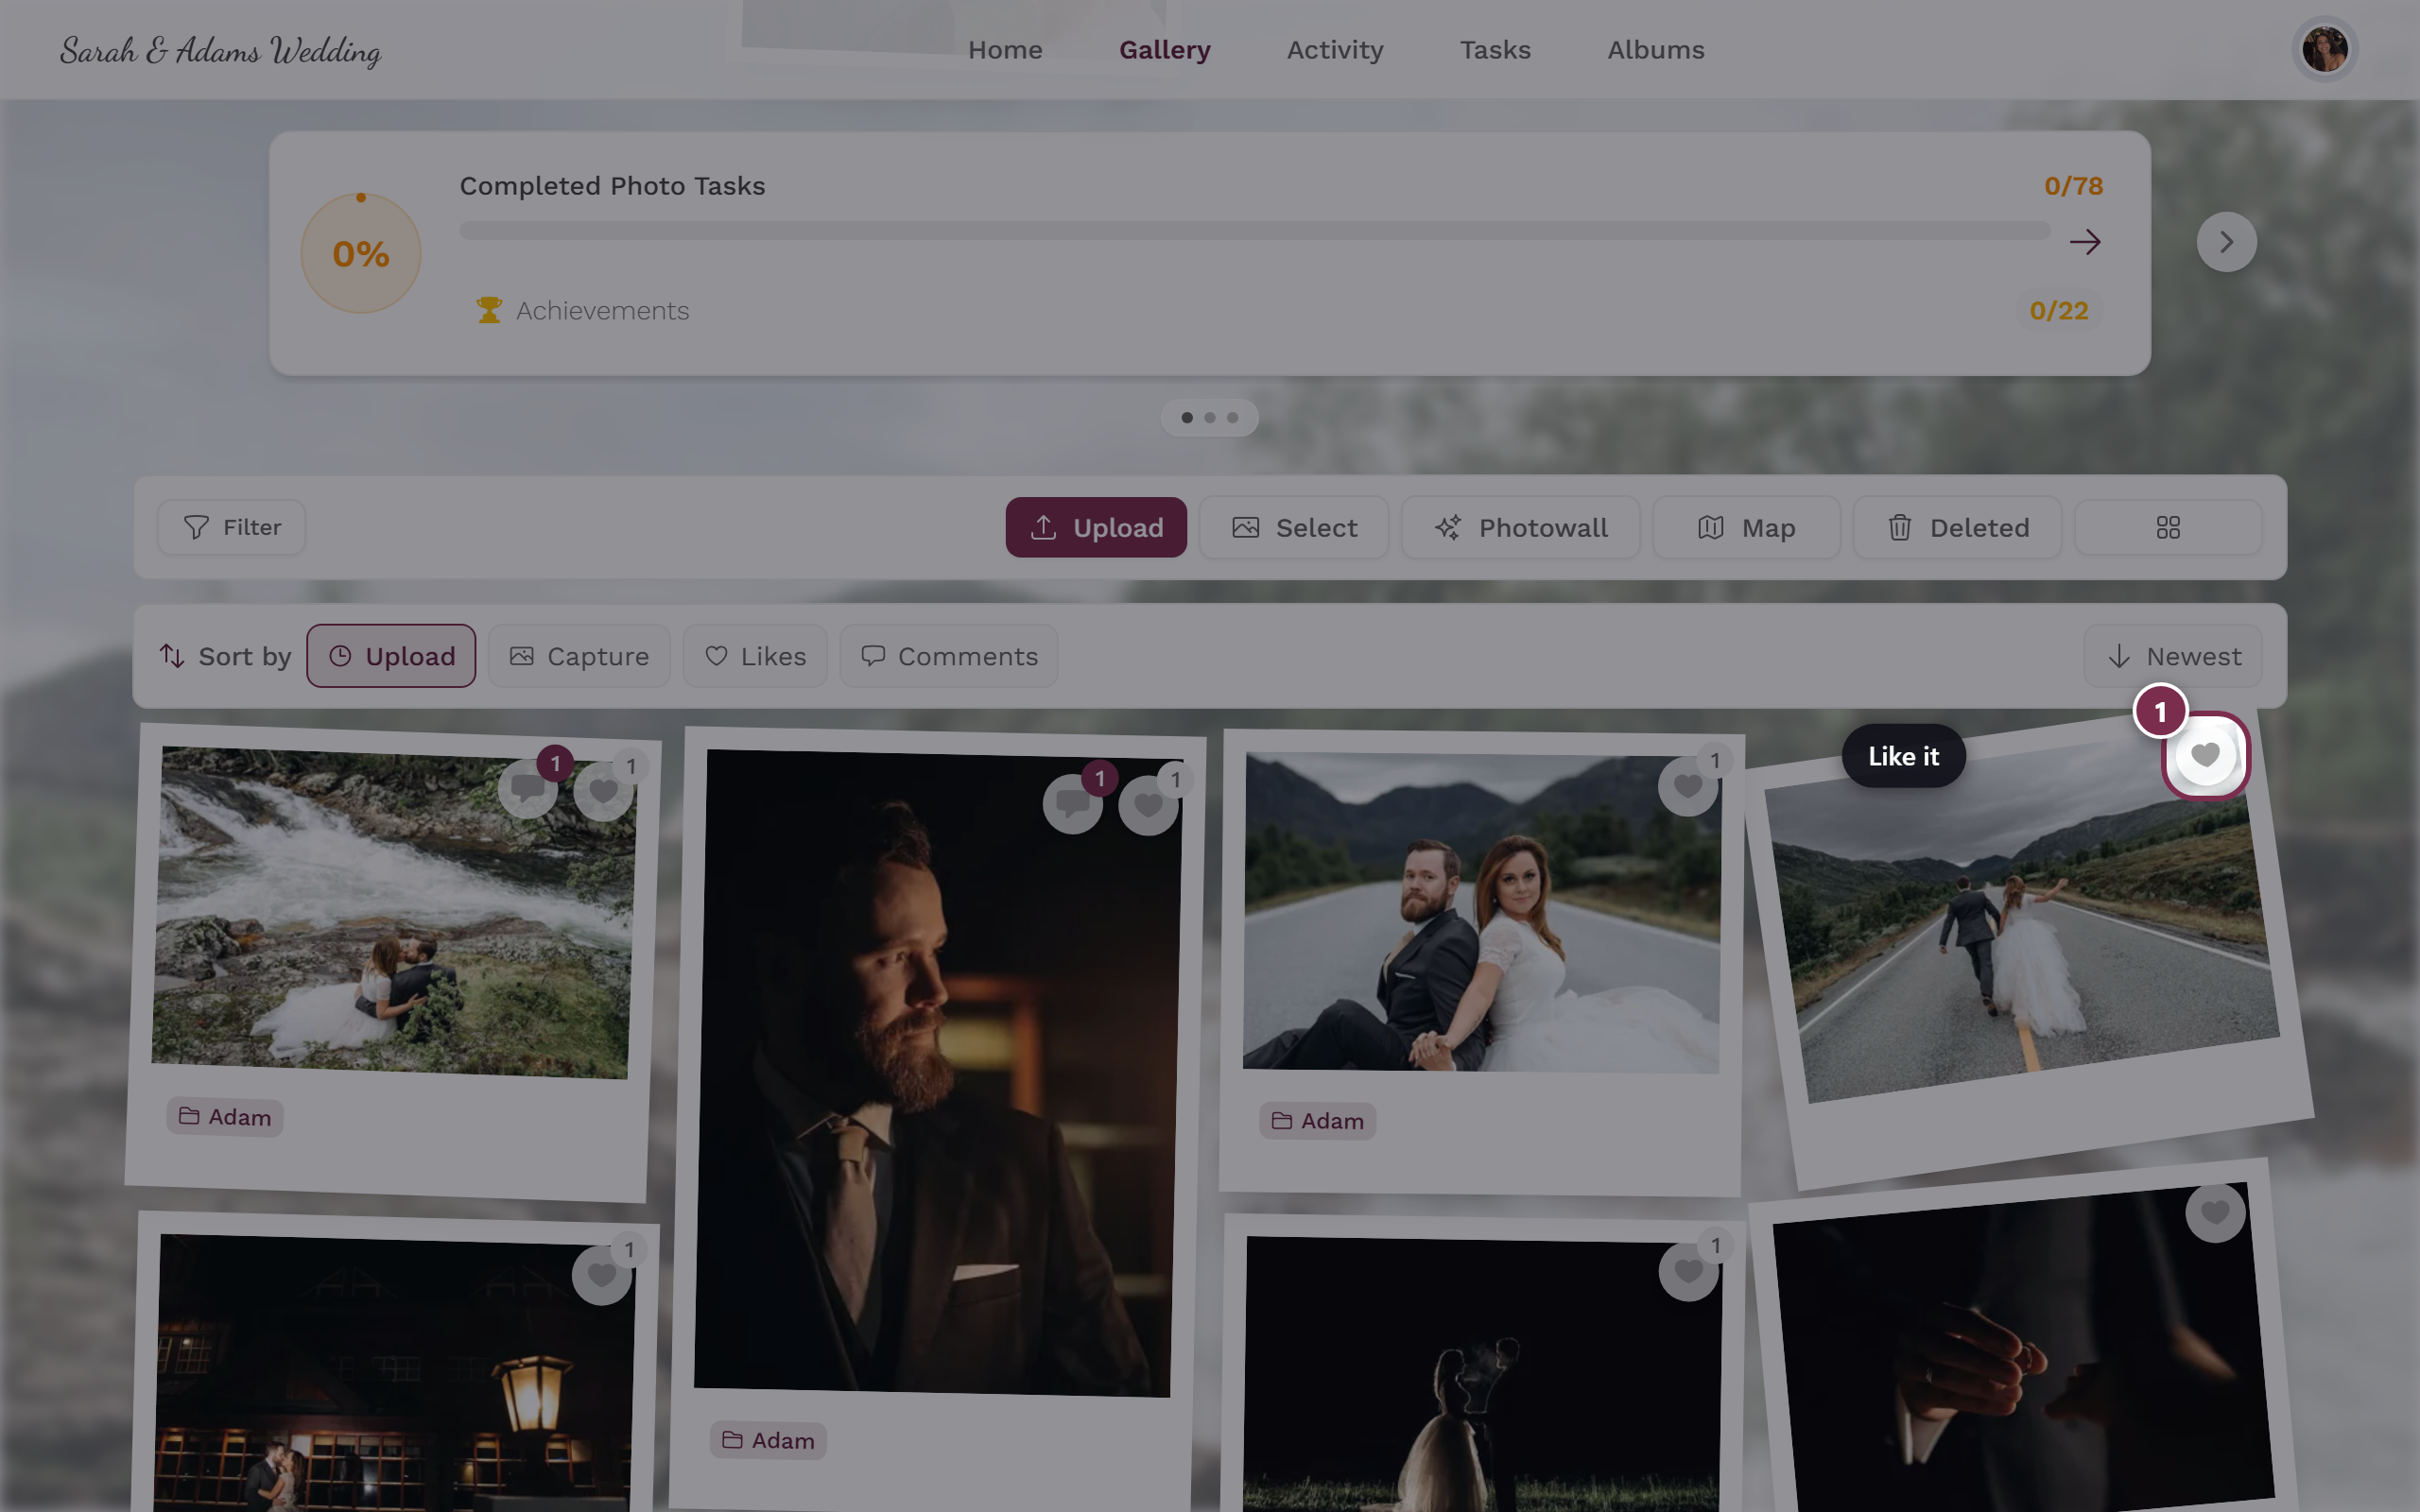
Like gives all marked photos a heart in one sweep. -
Save – downloads the selection as a ZIP archive. All the details – including single-photo downloads – are under Downloading photos.
-
Range – fills the gap between the first and last marked photo (see above).
Extra actions for hosts and moderators
Section titled “Extra actions for hosts and moderators”- Hide / Publish – toggles the visibility of the marked photos. See Moderation.
- Delete – moves the photos to the recycle bin (recoverable for 30 days). See Recycle bin.
- Remove from album – only appears when exactly one album filter is active, and removes the photos from that album only. See Browsing albums.
- Bulk Actions – opens a powerful dialog (admin/owner only), see the next section.
The “Bulk Actions” dialog (admin/owner only)
Section titled “The “Bulk Actions” dialog (admin/owner only)”The Bulk Actions dialog has several tabs. Which ones appear depends on the event: Challenge only if the event has photo challenges; Album only if there are albums. Description, Rotate and Metadata are always there.
- Challenge – assign marked photos to a photo challenge or remove the assignment. Ties in with your event’s photo challenges.
- Album – add photos to albums or remove them from albums. The “Search albums…” box helps you find the right album quickly; you can tick several albums. See Browsing albums and Managing albums.
- Description – set a shared description for all photos (up to 2000 characters), prepend some text (up to 500 characters), or clear the description (red, irreversible).
- Rotate – 90° Clockwise, 180° Flip or 270° Counter-clockwise. Rotation is queued for background processing, so it isn’t visible immediately.
- Metadata – add location (latitude/longitude/altitude; “Pick on map” or “Current position”), capture time, camera/lens, and artist name/copyright notice. Only the filled-in fields are updated.
At the bottom you confirm with the action button, whose text changes per tab (e.g. “Add to albums” or “Update metadata”). For very large selections the action runs automatically in blocks of 500 photos; at the end you see one combined message (“X updated, Y skipped”).