Take a photo directly
You don’t have to open your camera app first, take a photo and then hunt for it. With Take Photo you launch your camera straight from the upload dialog, and the finished picture lands right in your upload preview.
One thing up front: Take Photo is not a camera built into PhotoGala. The button opens your device’s native camera (on a phone) or the file picker (on a computer). Capturing, confirming and discarding a blurry shot therefore happen in your device’s system camera – not inside PhotoGala. That’s why we cover phone and computer separately below.
How to reach Take Photo
Section titled “How to reach Take Photo”The button lives in the upload dialog you open from the gallery.
-
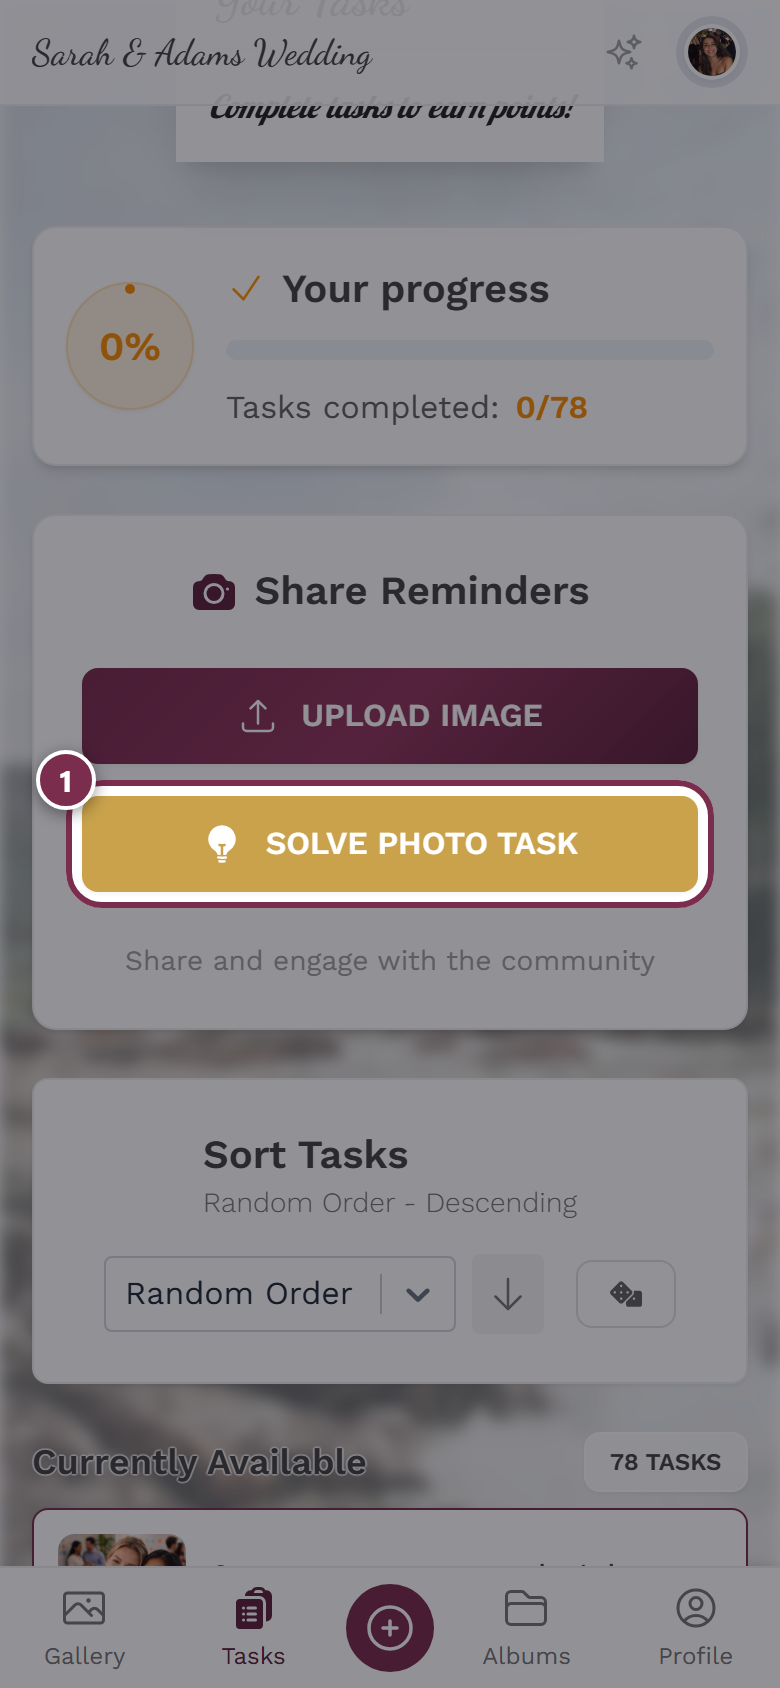
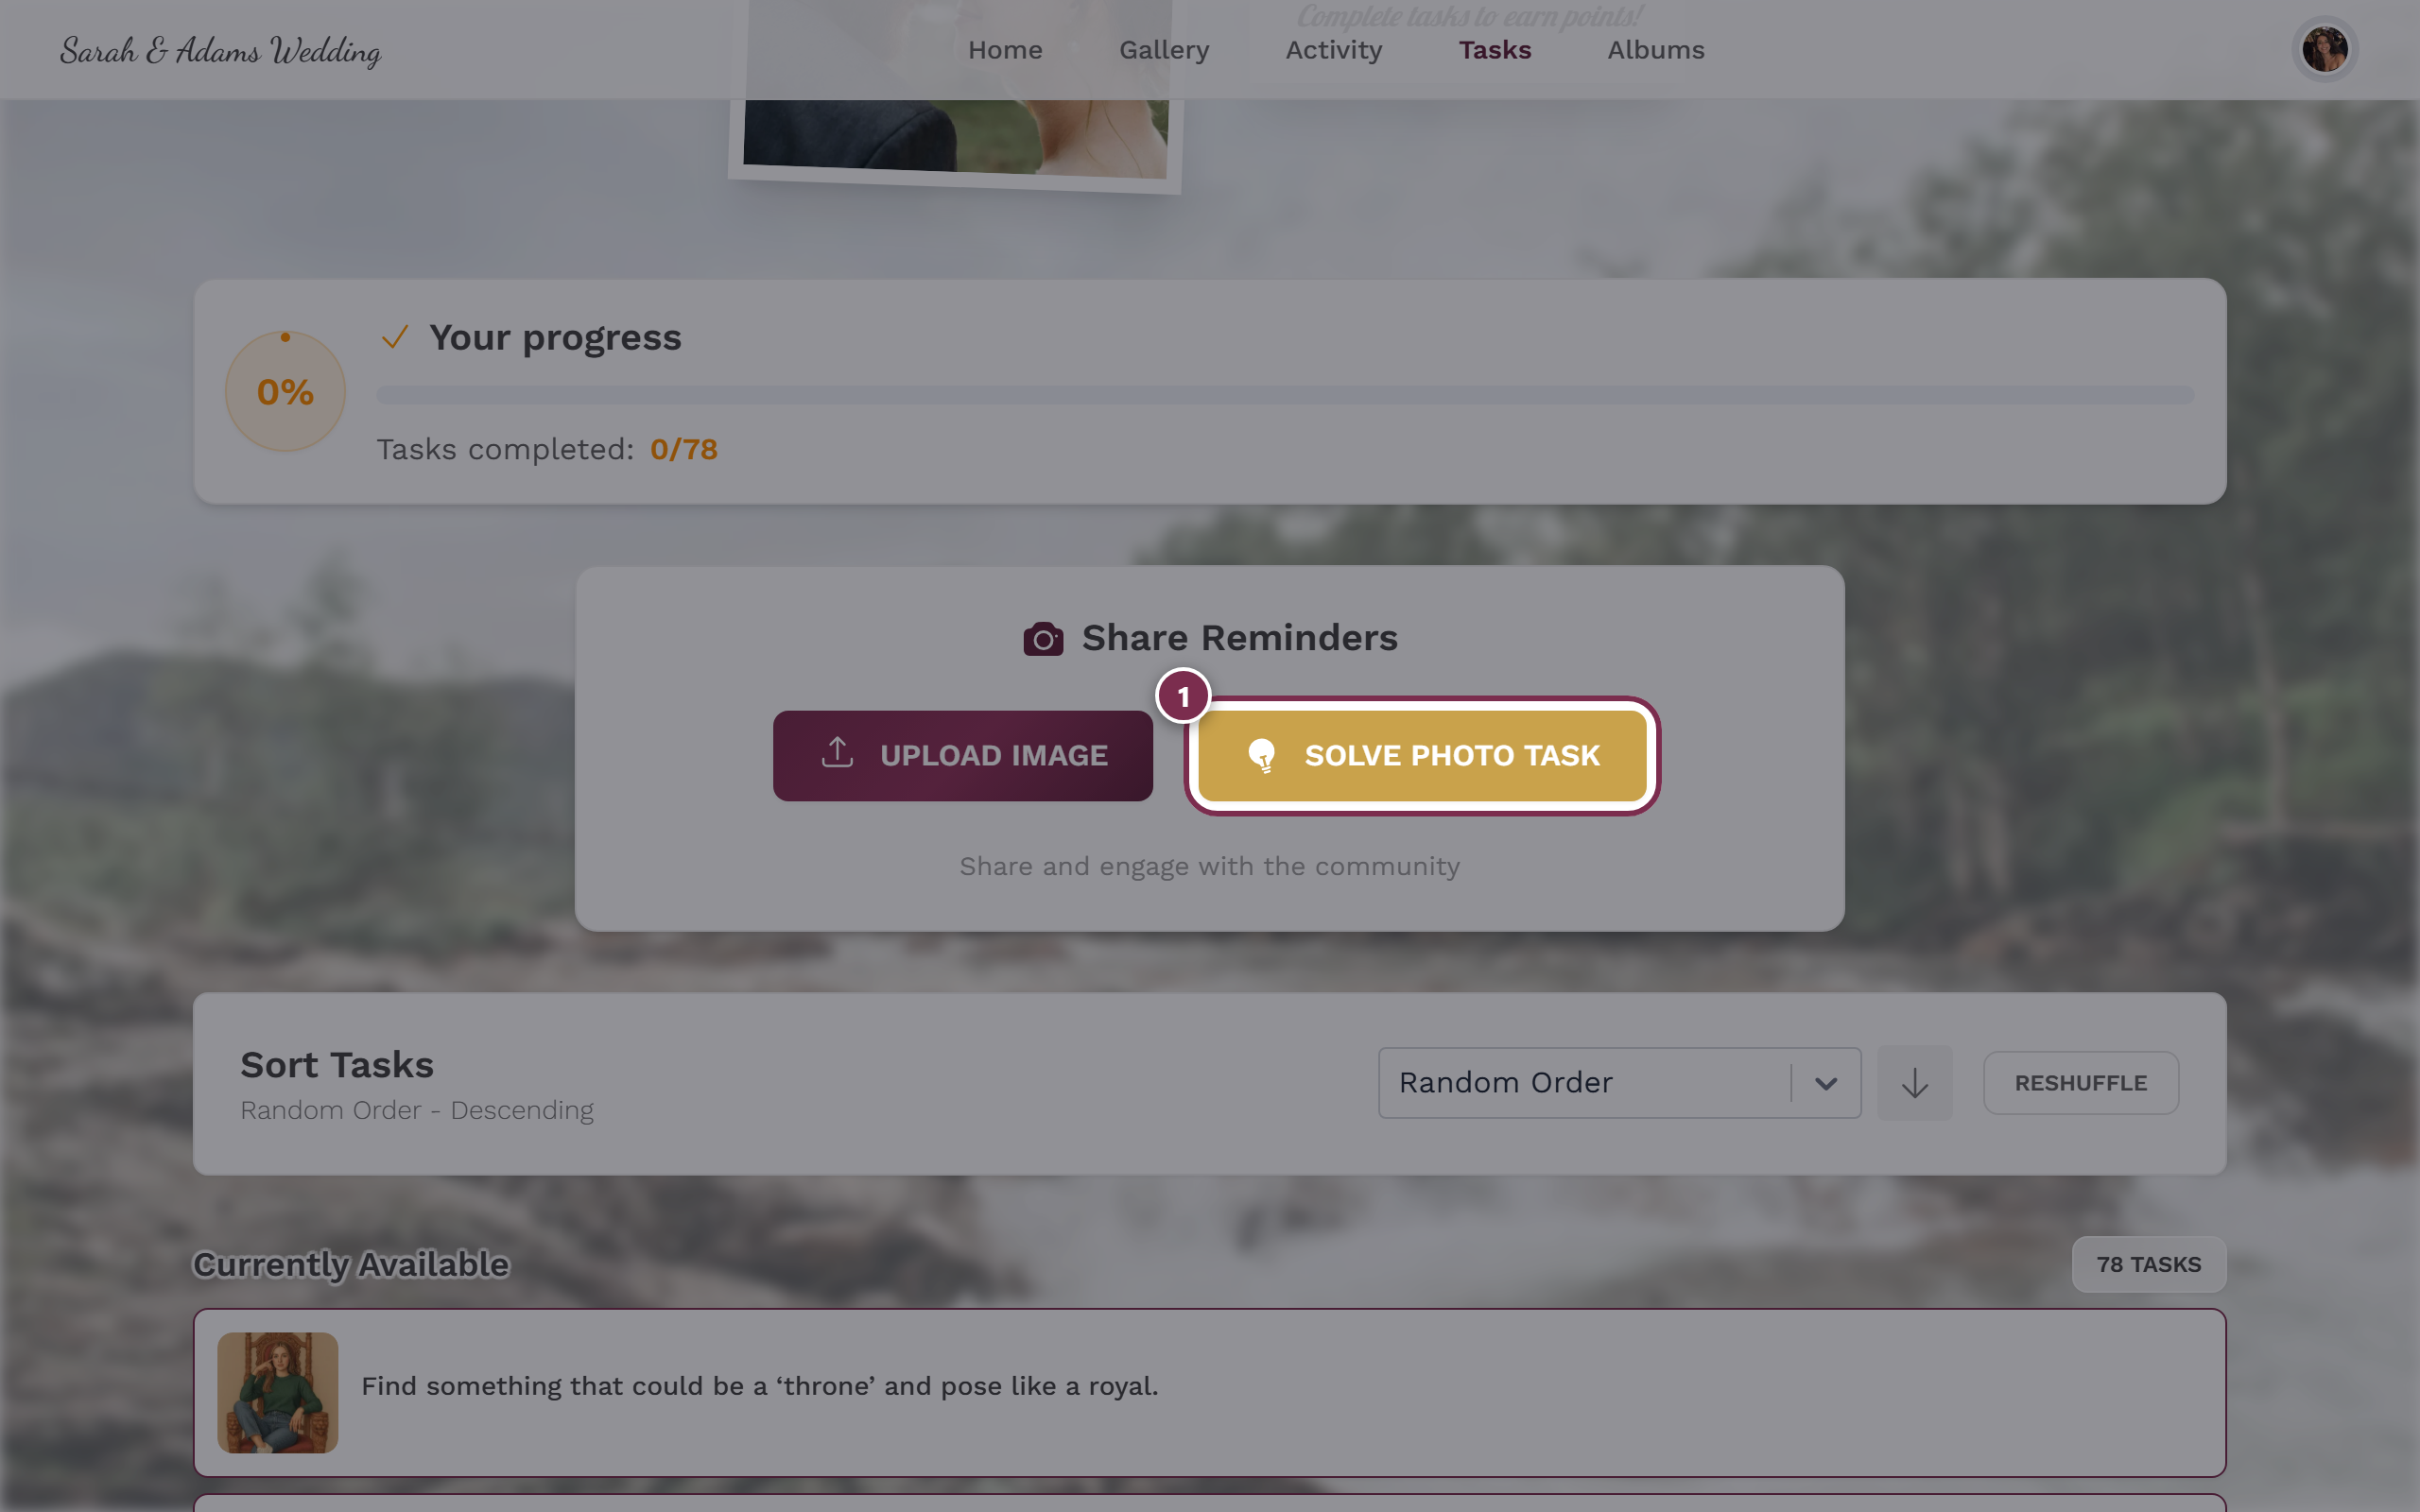
Open the gallery and tap the Upload button (plus icon) in the gallery bar.
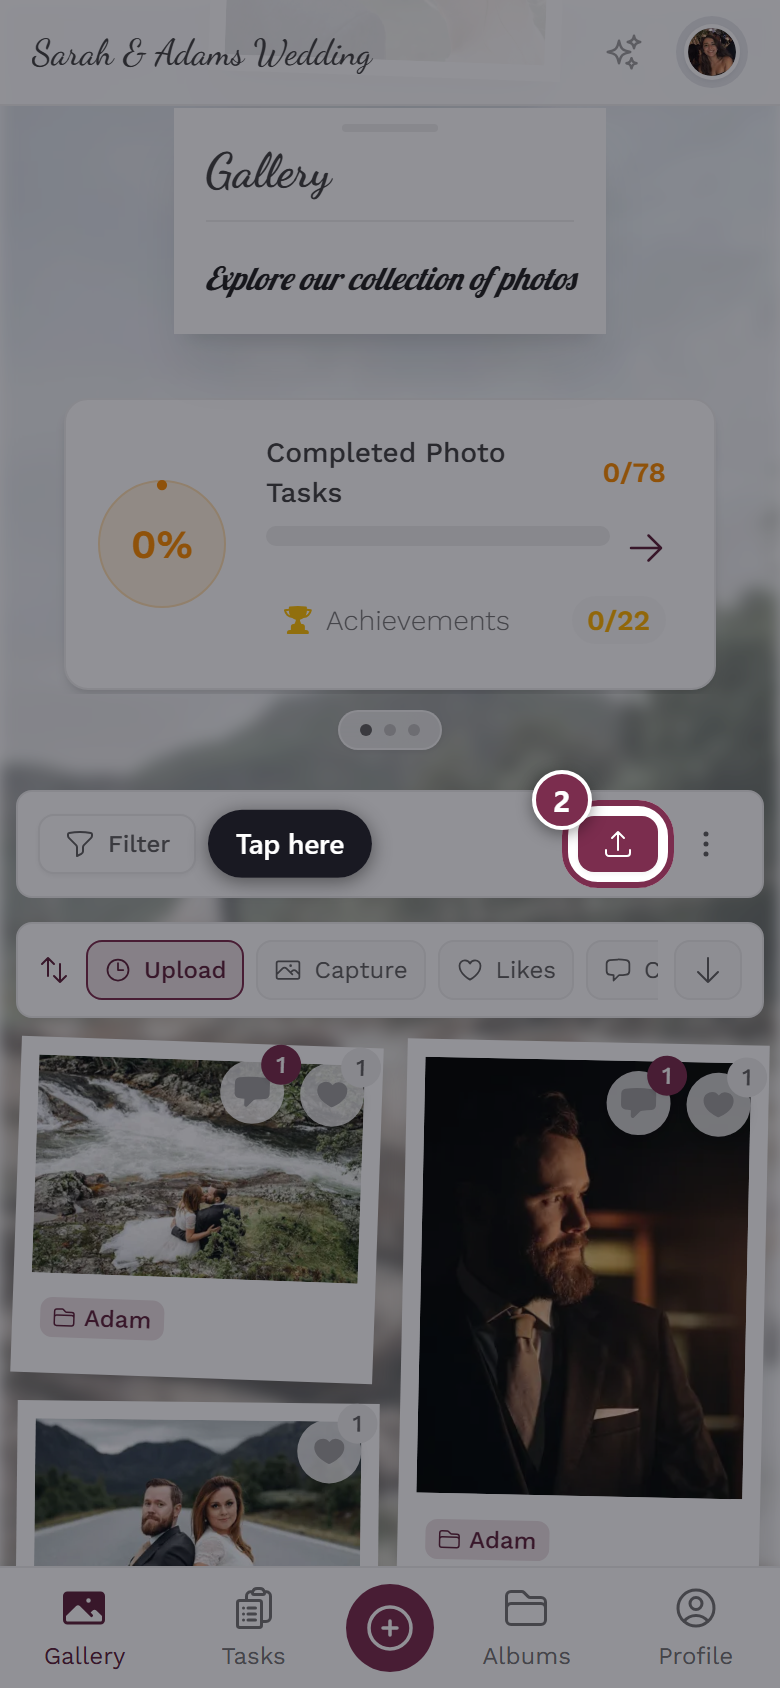
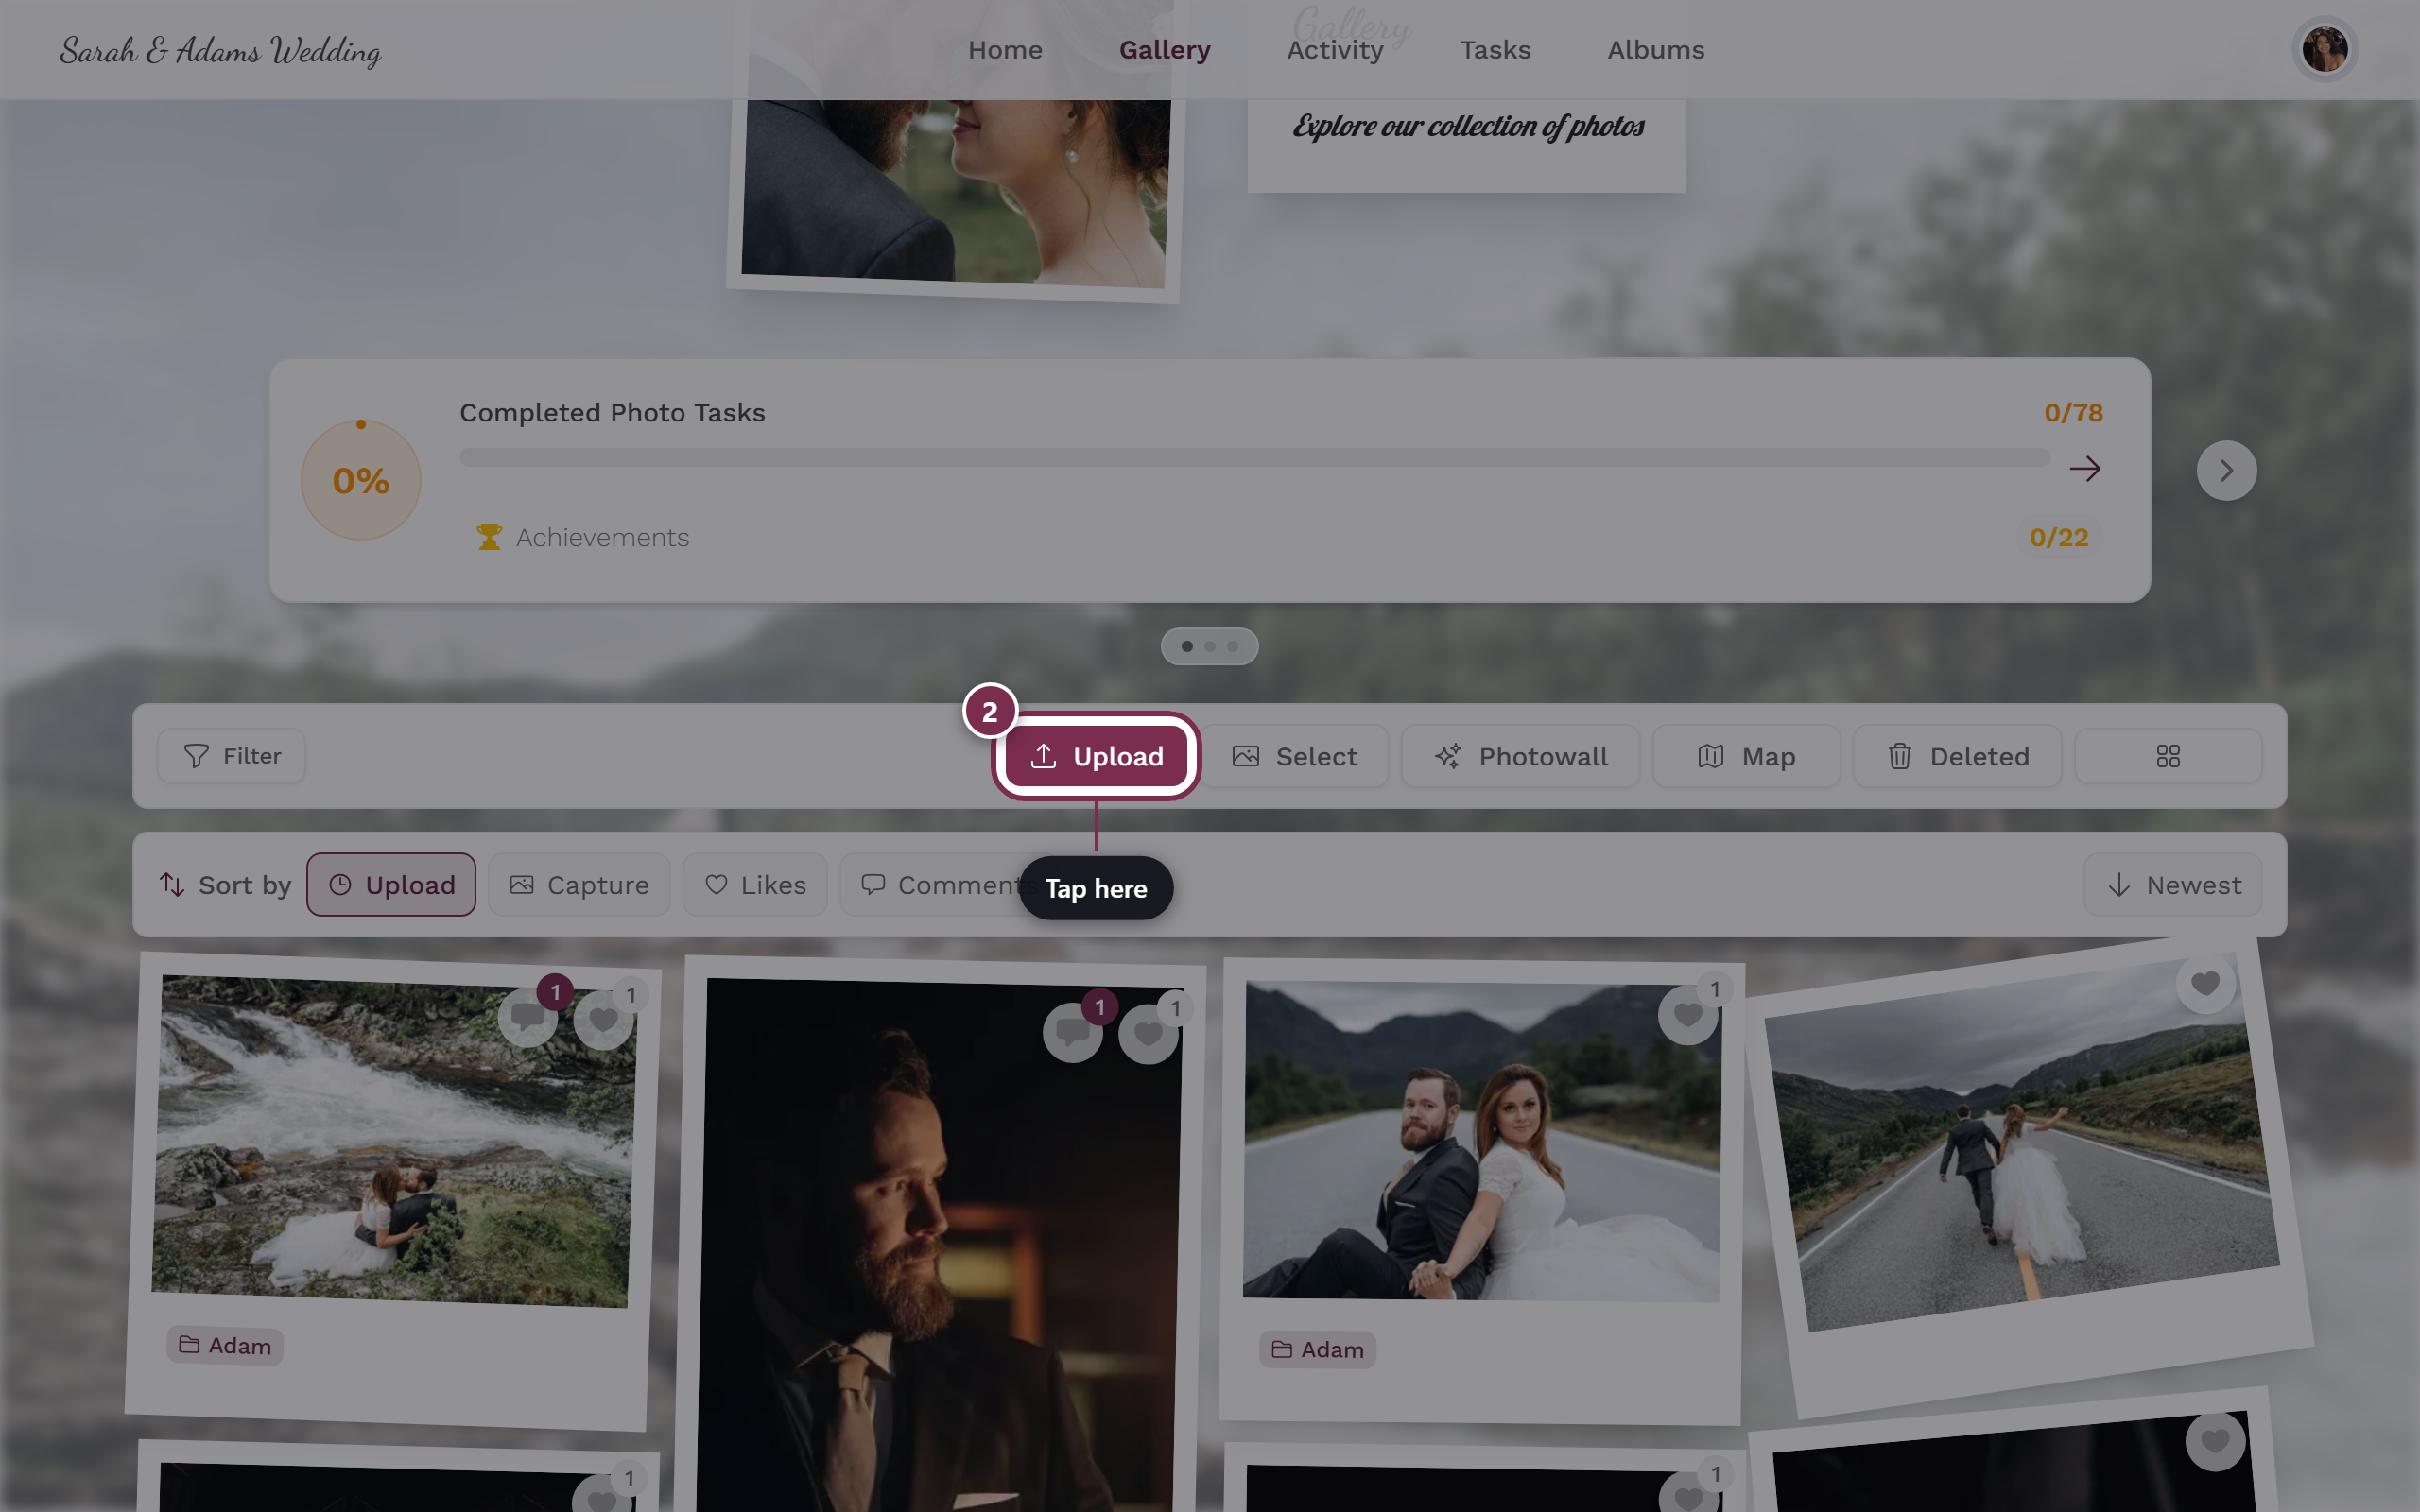
The Upload button in the gallery bar opens the dialog. -
In the source picker you’ll see two buttons side by side: Upload Images and Take Photo. Tap Take Photo (camera icon).
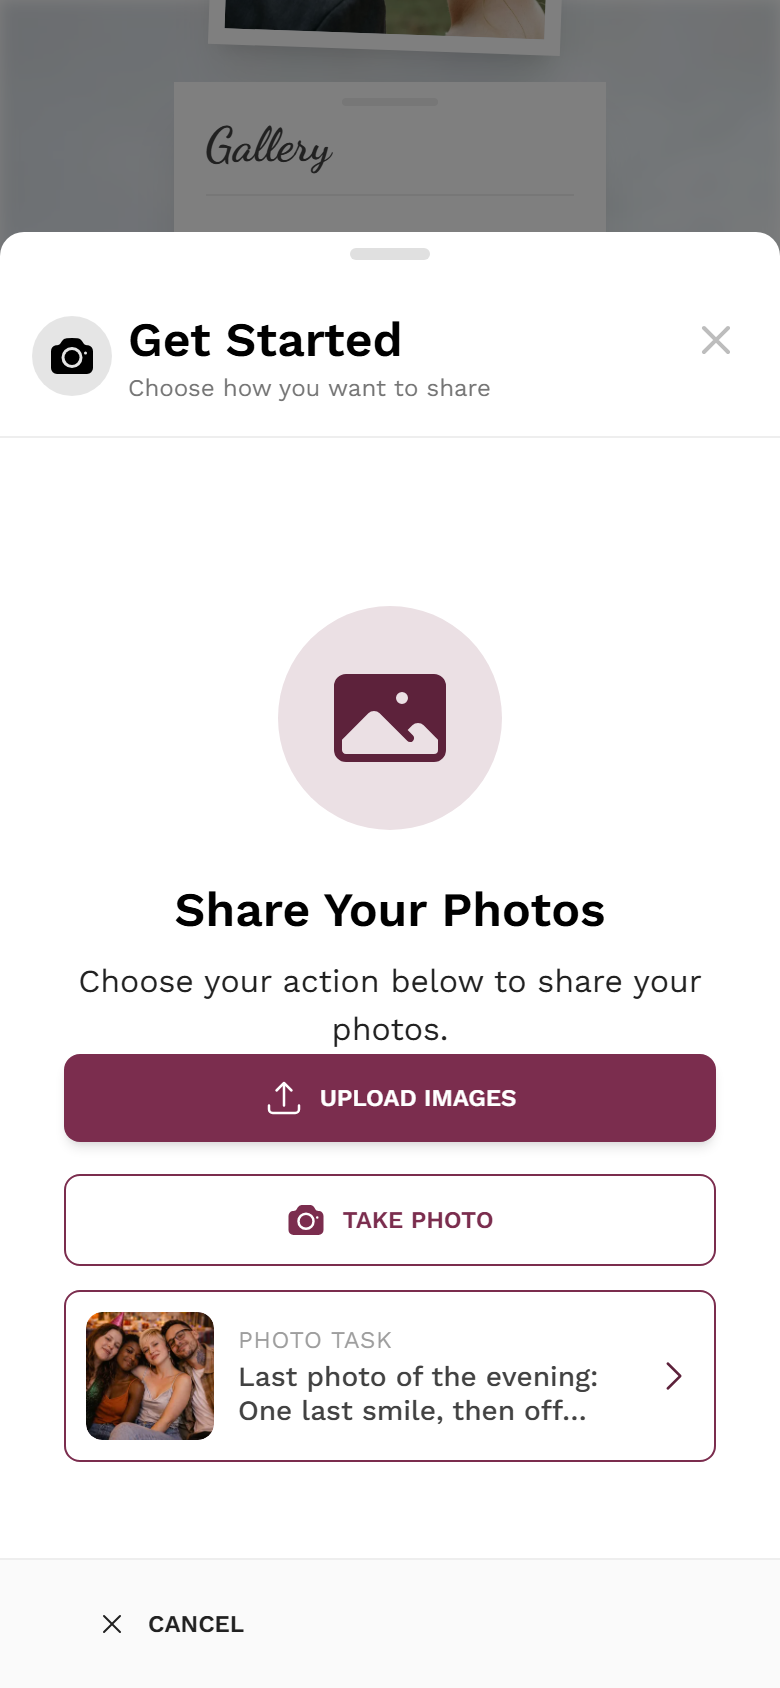
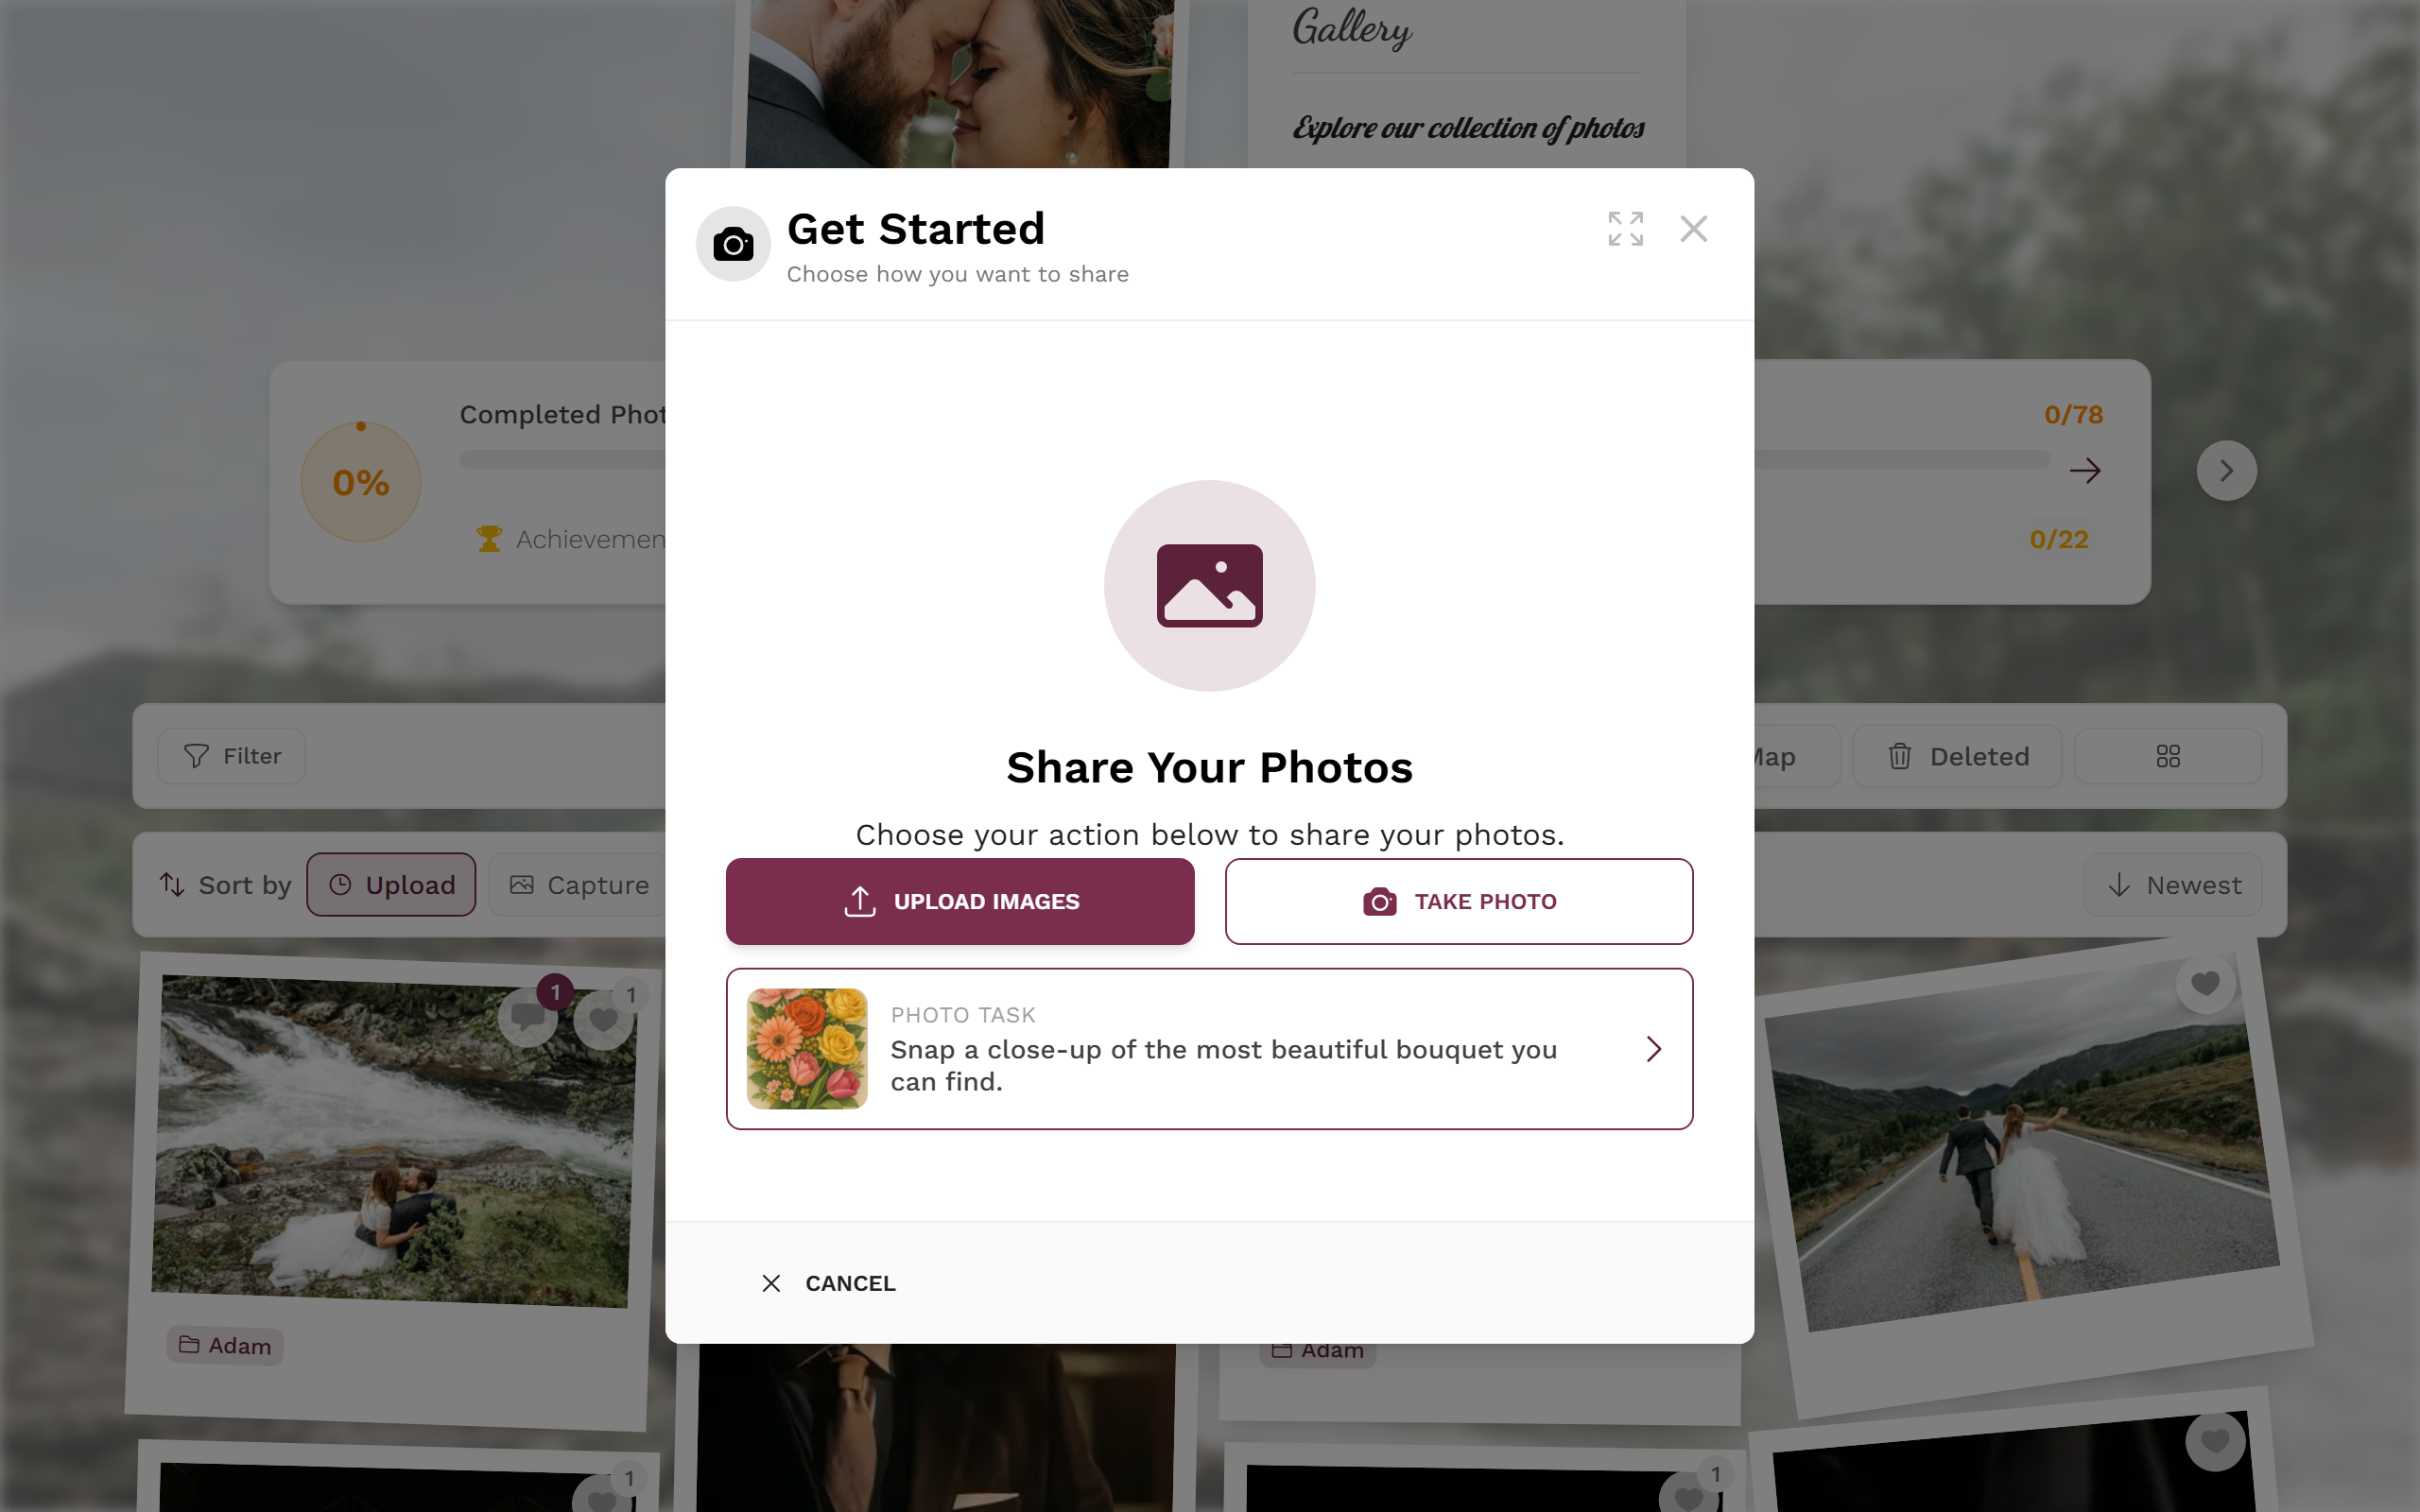
Two sources to choose from: Upload Images or Take Photo. 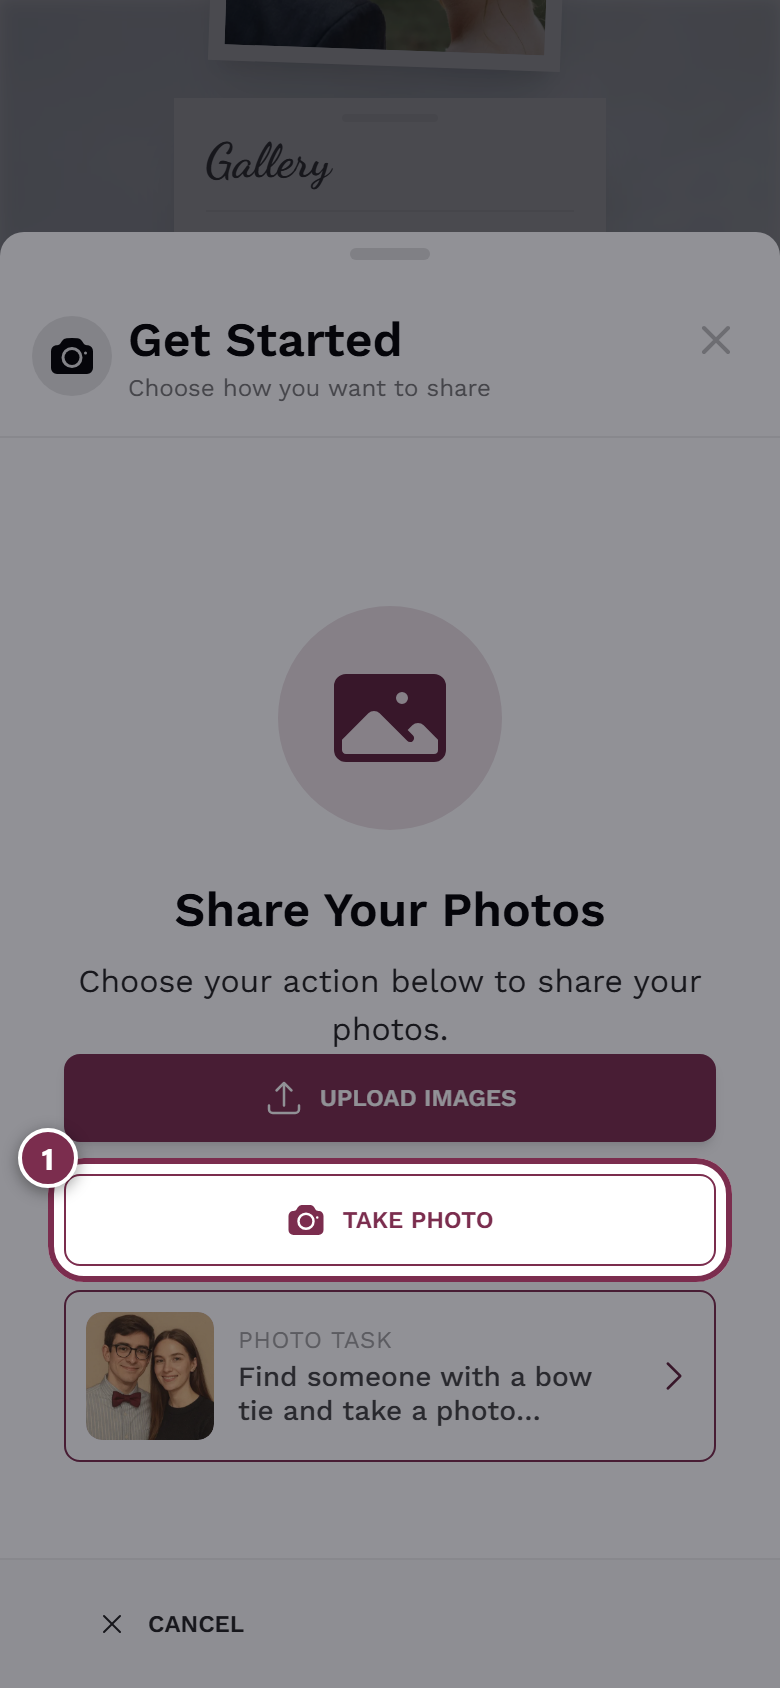
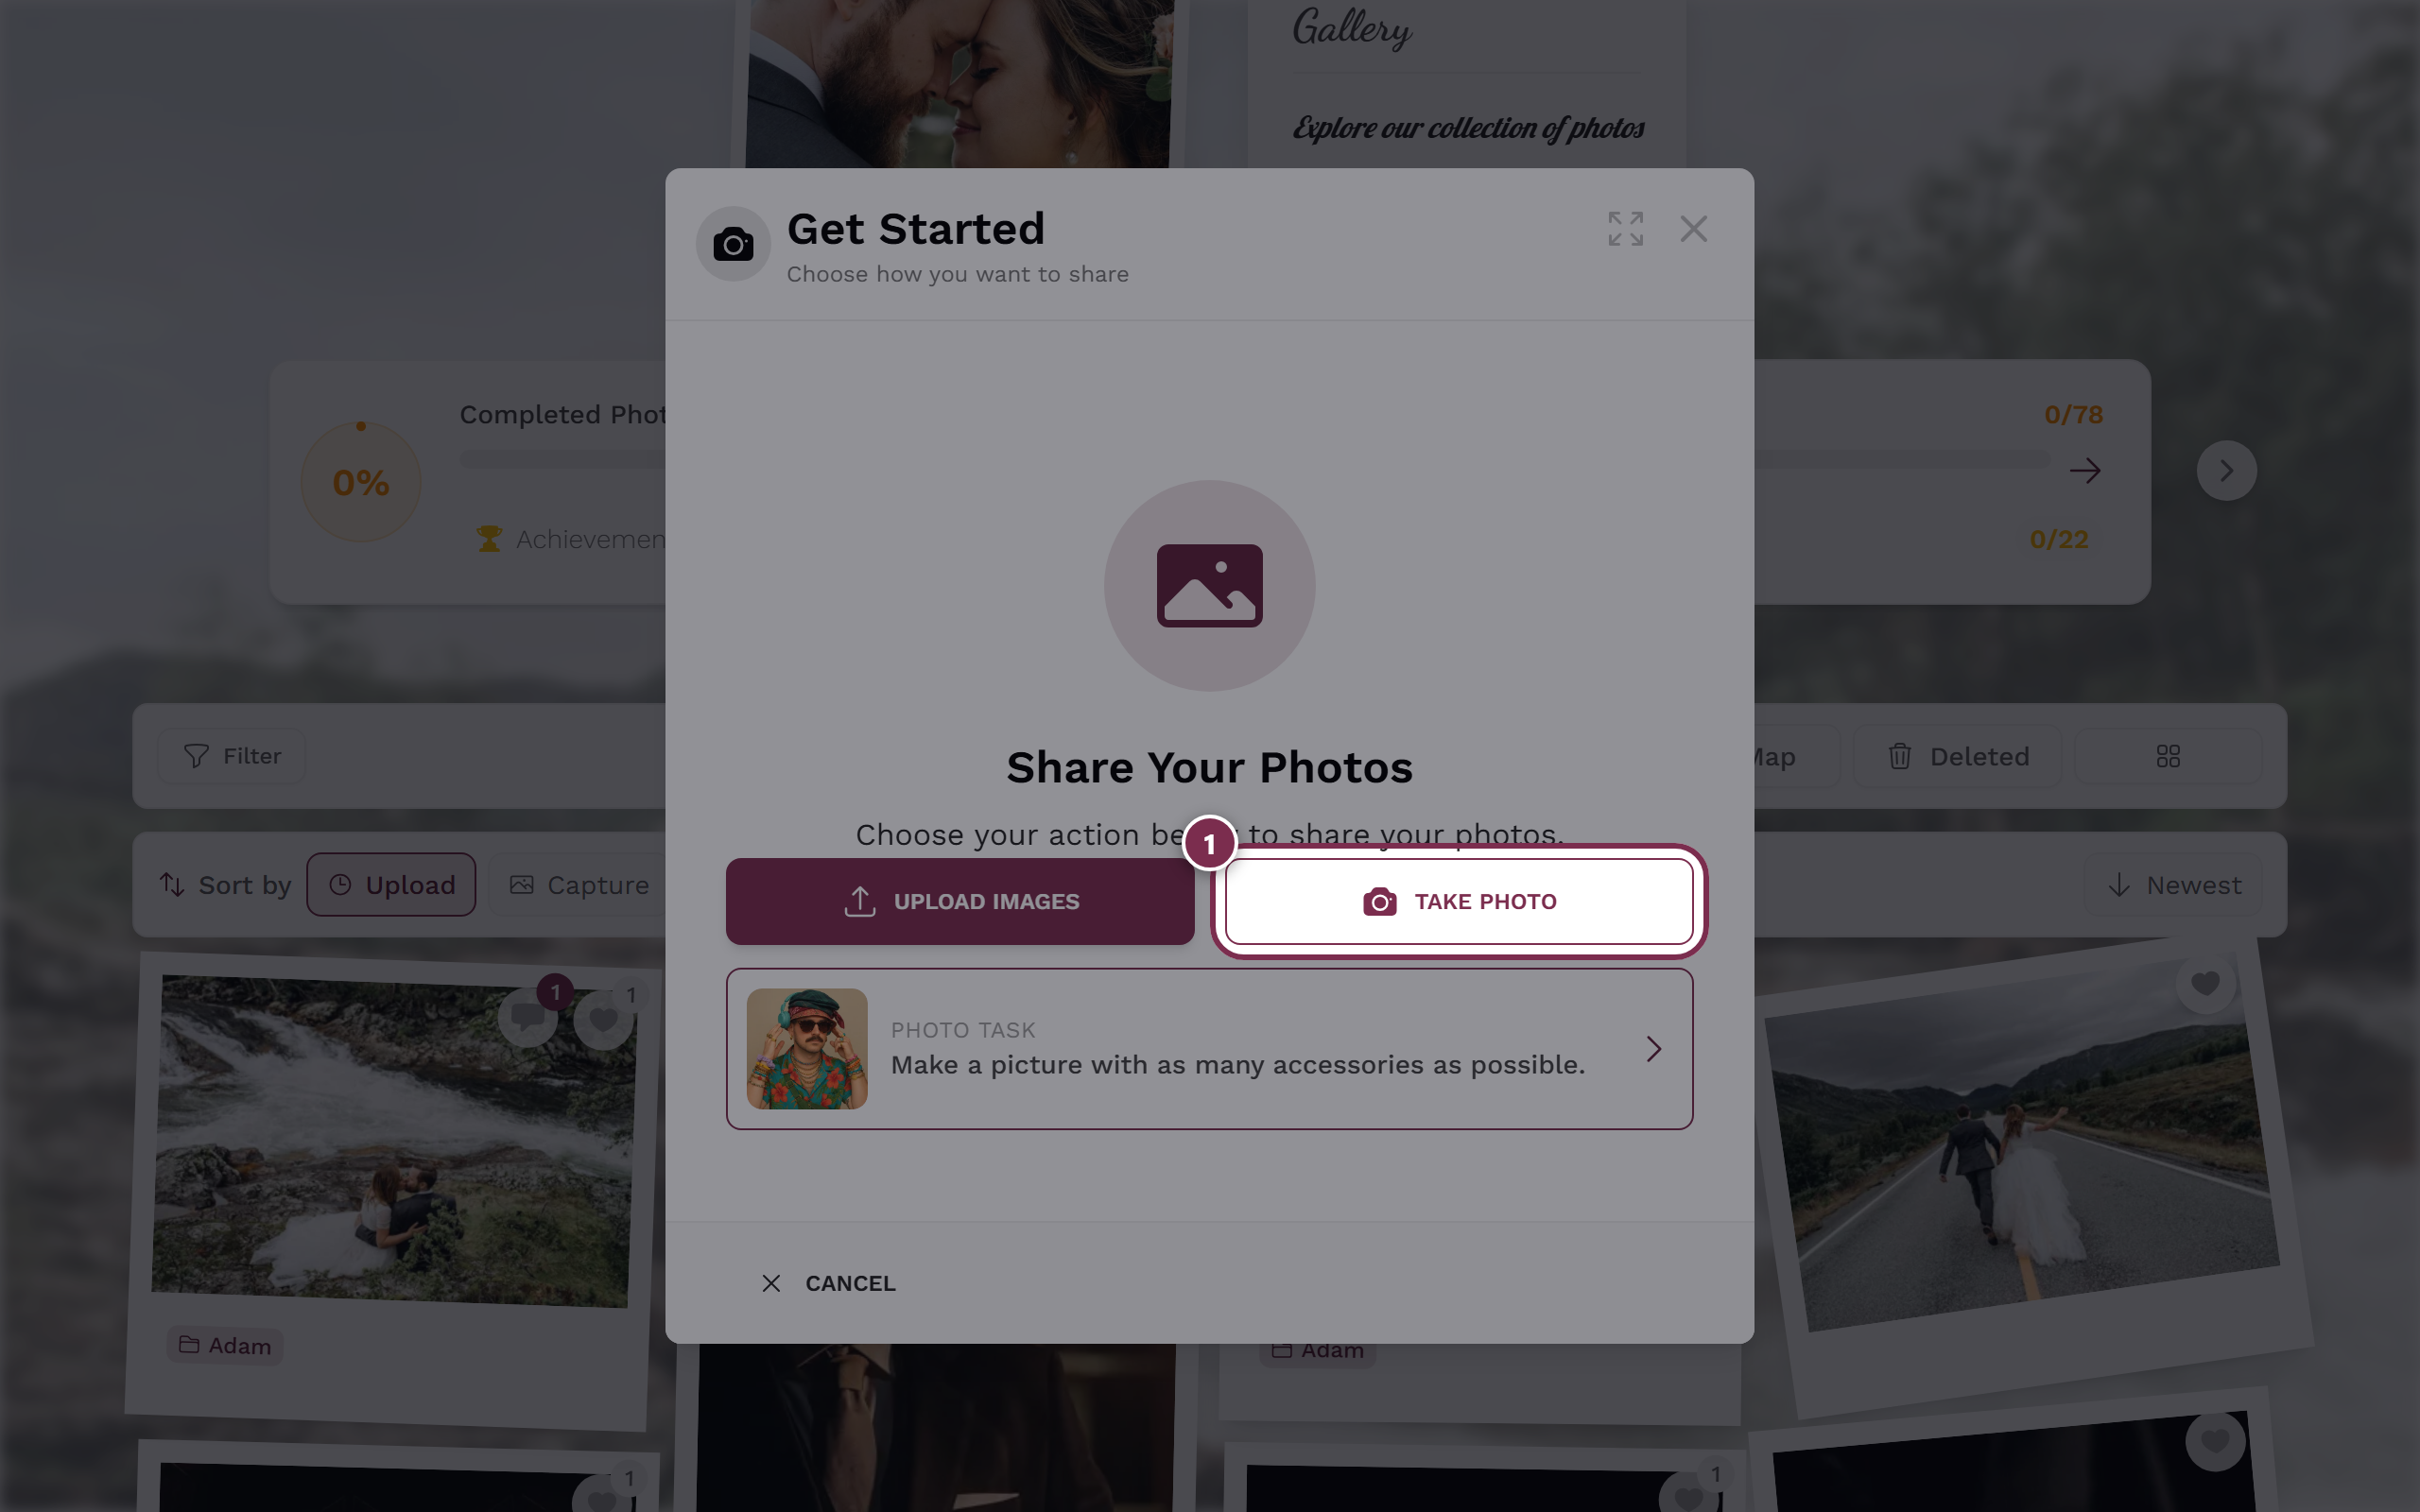
Take Photo opens your device camera.
On a phone or tablet
Section titled “On a phone or tablet”This is the real use case. Take Photo opens your device’s system camera.
-
Open the gallery and tap Upload → Take Photo.
-
The first time, your operating system or camera app may ask for camera permission. Tap Allow. This is a permission for your device’s camera app, not the classic website camera prompt – you won’t see that one on this path.
-
Take the photo in your system camera. The rear camera is preselected. Switch to the front/selfie camera using the toggle inside the camera app itself.
-
Confirm the photo in the camera app (checkmark/OK) – or discard it (X) and reshoot if it’s blurry. This retake step belongs to your device’s camera app.
-
After you confirm, PhotoGala jumps automatically to the photo preview. There you can add a description, pick an album, take more photos or delete the shot.
-
Tap Upload. Progress is shown, and then your photo appears in the gallery.
On a computer or laptop
Section titled “On a computer or laptop”On desktop there’s no viewfinder. Most browsers ignore the camera call there, so Take Photo opens the same file picker as Upload Images.
- On a computer, just choose Upload Images. Guide: Uploading photos.
- If you want a genuine webcam shot, take it with an external camera or photo app and then upload the file via Upload Images.
Take more photos or assign to a task
Section titled “Take more photos or assign to a task”Take Photo appears in three places – all three open the same camera:
-
In the source picker (step 1) – the normal way for a spontaneous photo, right next to Upload Images.
-
In the task picker (step 2) – when you want to complete a photo task. Your camera shot is then assigned to that task.
Shoot from within a task to complete it. -
In the photo preview (step 3) – if you already have photos in your upload and want to snap another, tap the plus button. A small menu appears with Upload Images and Take Photo. That way you add another photo without leaving the upload.
Retake and delete
Section titled “Retake and delete”PhotoGala has no dedicated “retake” screen – retaking works in two ways:
- Before confirming – discard and reshoot right in your device’s system camera. That’s normal camera operation.
- After confirming – in the photo preview (step 3), delete the shot with the trash button, then take a new one via the plus button → Take Photo. That’s the in-app “retake”.
Photo or video?
Section titled “Photo or video?”- Take Photo accepts photos and motion pictures (Live/Motion photos, animated GIFs). This is intentionally broad so the camera dialog opens cleanly on mobile.
- You can only capture video here if the host’s plan allows videos. If it doesn’t, only a photo is possible.
- Storage, photo and participant limits apply at the upload step. Details under Uploading photos.
Related topics
Section titled “Related topics”- Uploading photos – the main alternative and the way to go on a computer.
- Challenges & tasks – take a photo directly for a task.