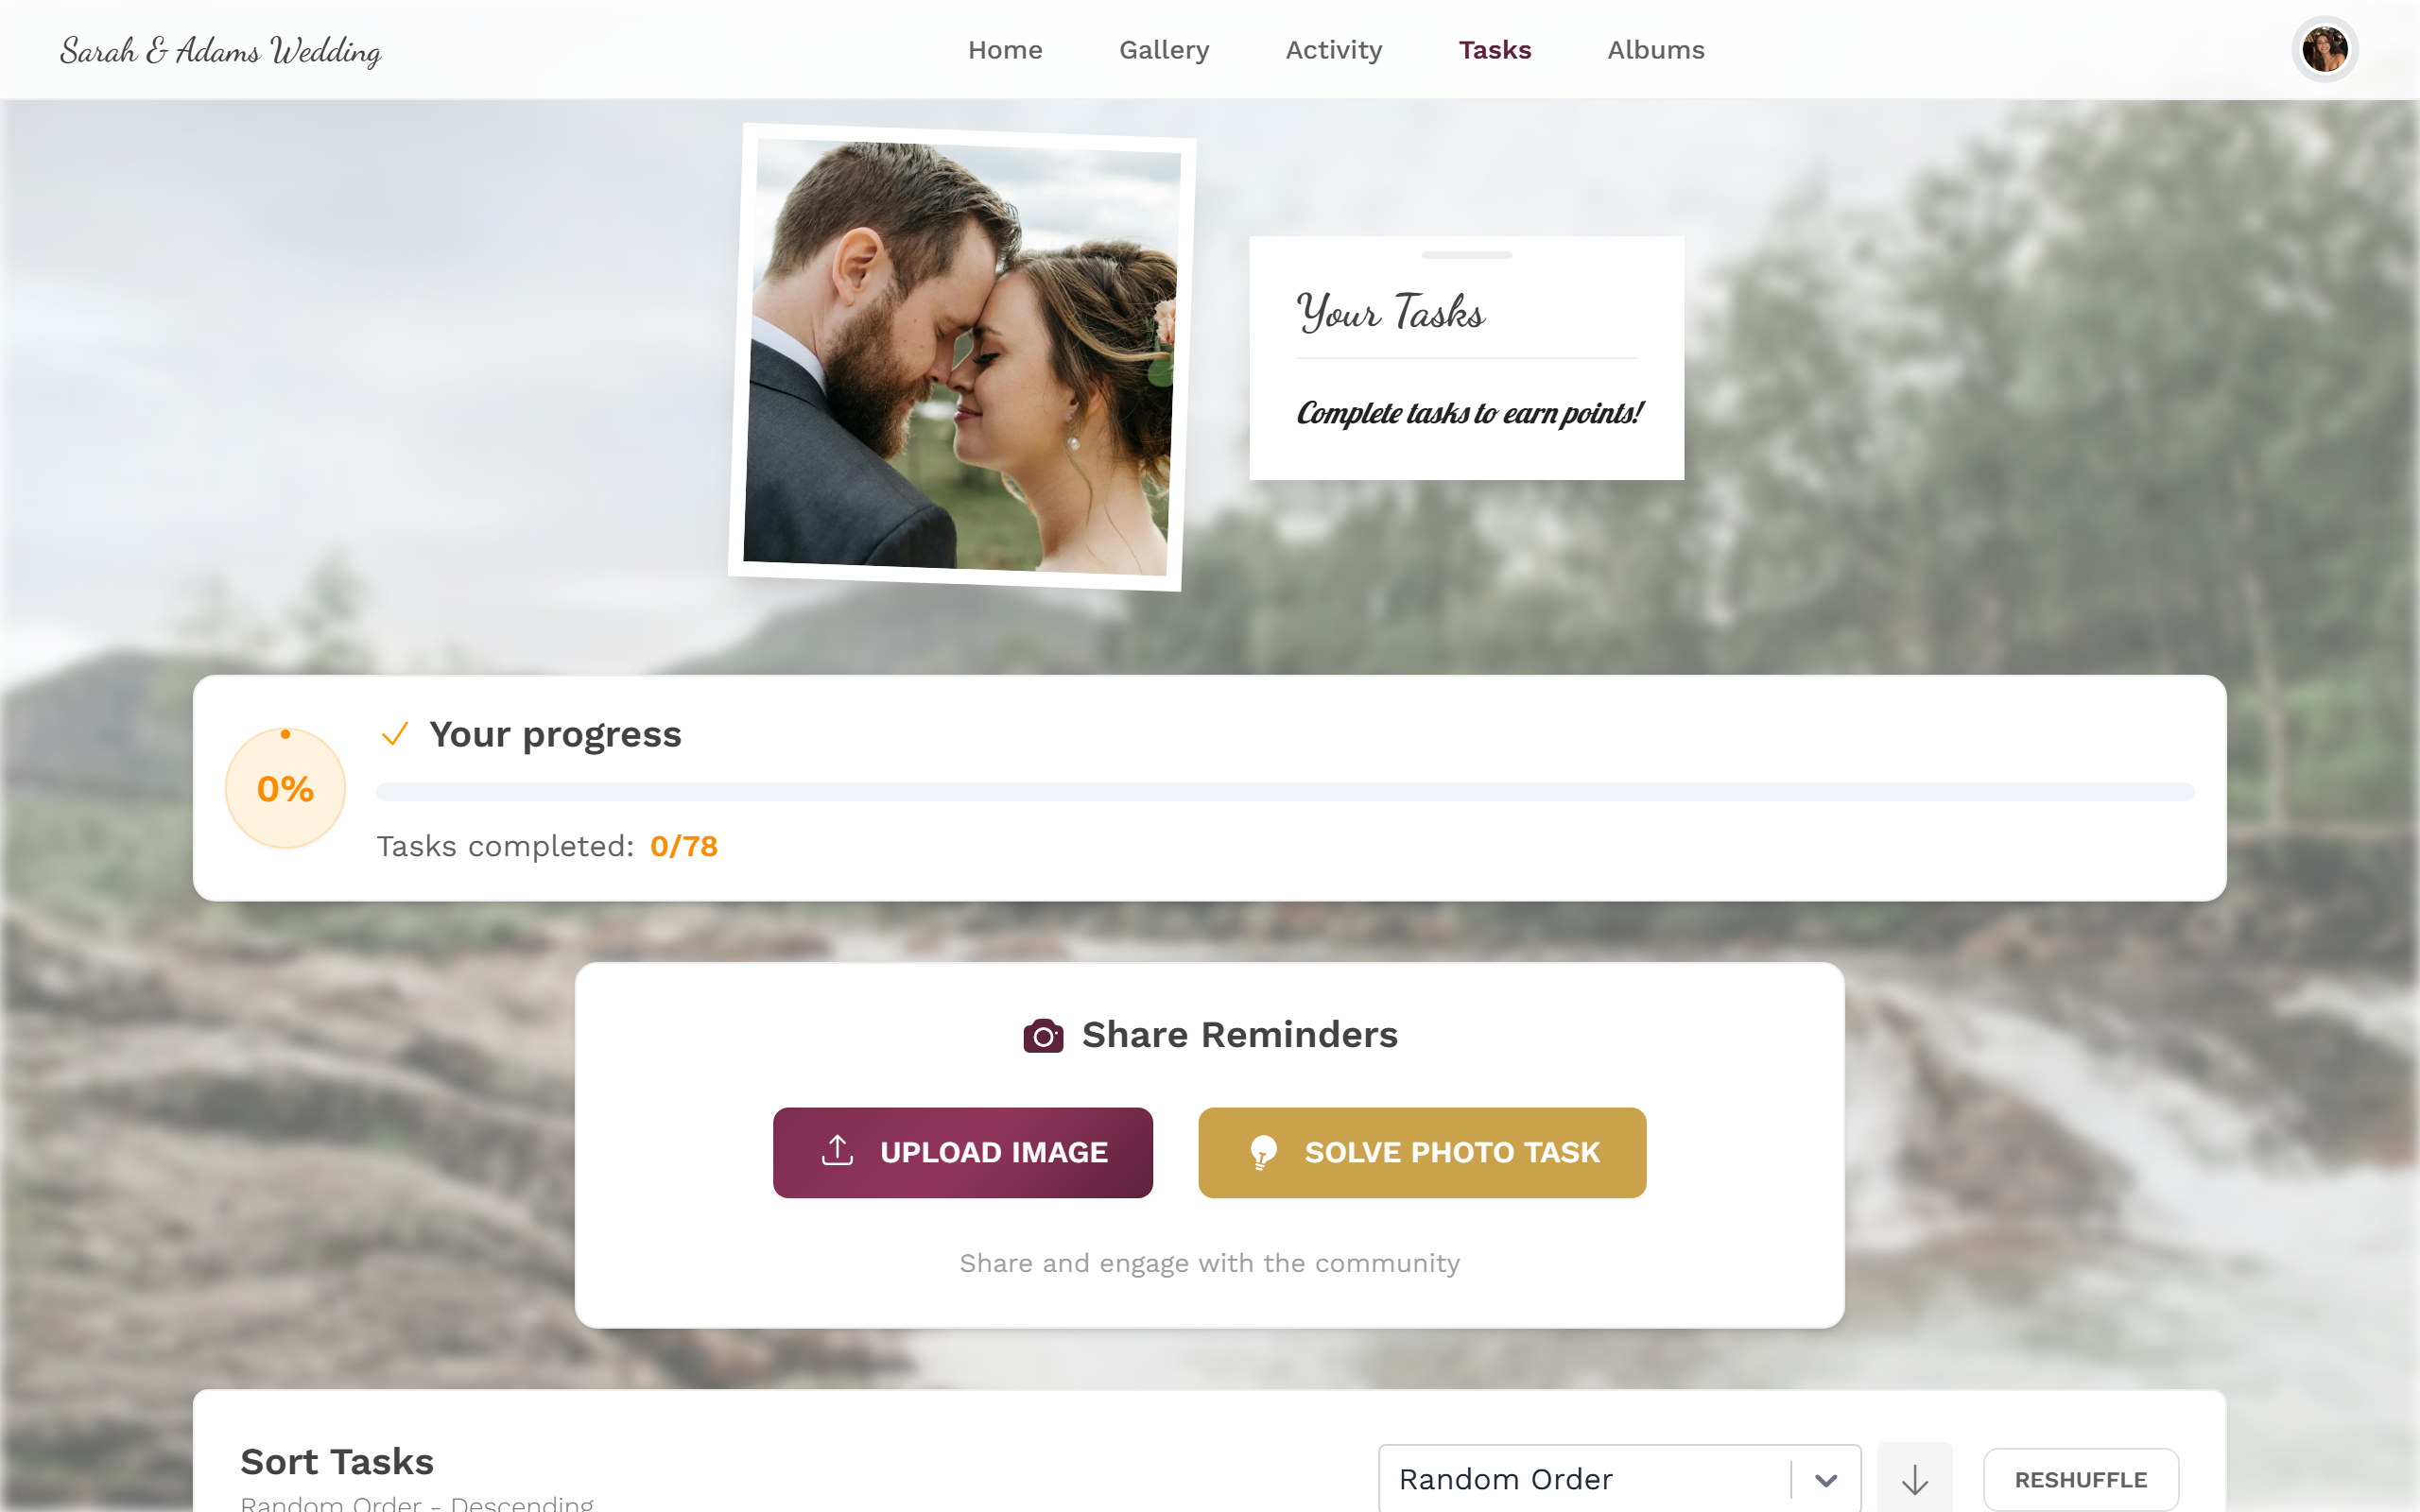
Challenges & tasks
Challenges turn any event into a little game: you get creative photo tasks, solve them with a matching photo – and earn points along the way. Some tasks have unlock conditions or a time window, others can be solved multiple times and award points each time.

Getting to the tasks page
Section titled “Getting to the tasks page”There are several ways to reach your tasks:
- The “Tasks” menu – in the top bar on a computer, in the bottom navigation bar on a phone (clipboard icon). The menu item only appears when the feature is on and tasks already exist.
- Straight from the gallery – via the upload dialog, without opening the tasks page (see Route B).
Solving a task
Section titled “Solving a task”Photos always reach the event through the same upload dialog. “Solving a task” simply means your photo gets assigned to a task. There are several entry points that all end up in the same dialog – pick whichever is closest at hand.
Route A – from the tasks page (recommended)
Section titled “Route A – from the tasks page (recommended)”The targeted route when you want to solve a specific task. You see the reference image and point value up front.
-
Open the Tasks area.
“Currently Available” lists every task you can solve right now.“ -
Under Currently Available, tap a task card. You’ll see the title, description and how many photos have already been uploaded.
-
The upload dialog opens right at the task selection – your task is already preselected as a Task to Complete card, with its reference image (if set) and the point value “+X”.
The task you tapped is already selected – now just add the photo. -
Tap Upload Images to pick an existing photo, or Take Photo to shoot one with the camera. Several photos are possible.
Upload Images or Take Photo – both assign the result to the task. -
Check your selection in the preview step and upload. Done: the task moves to Completed, you earn points and may unlock an achievement or reward.
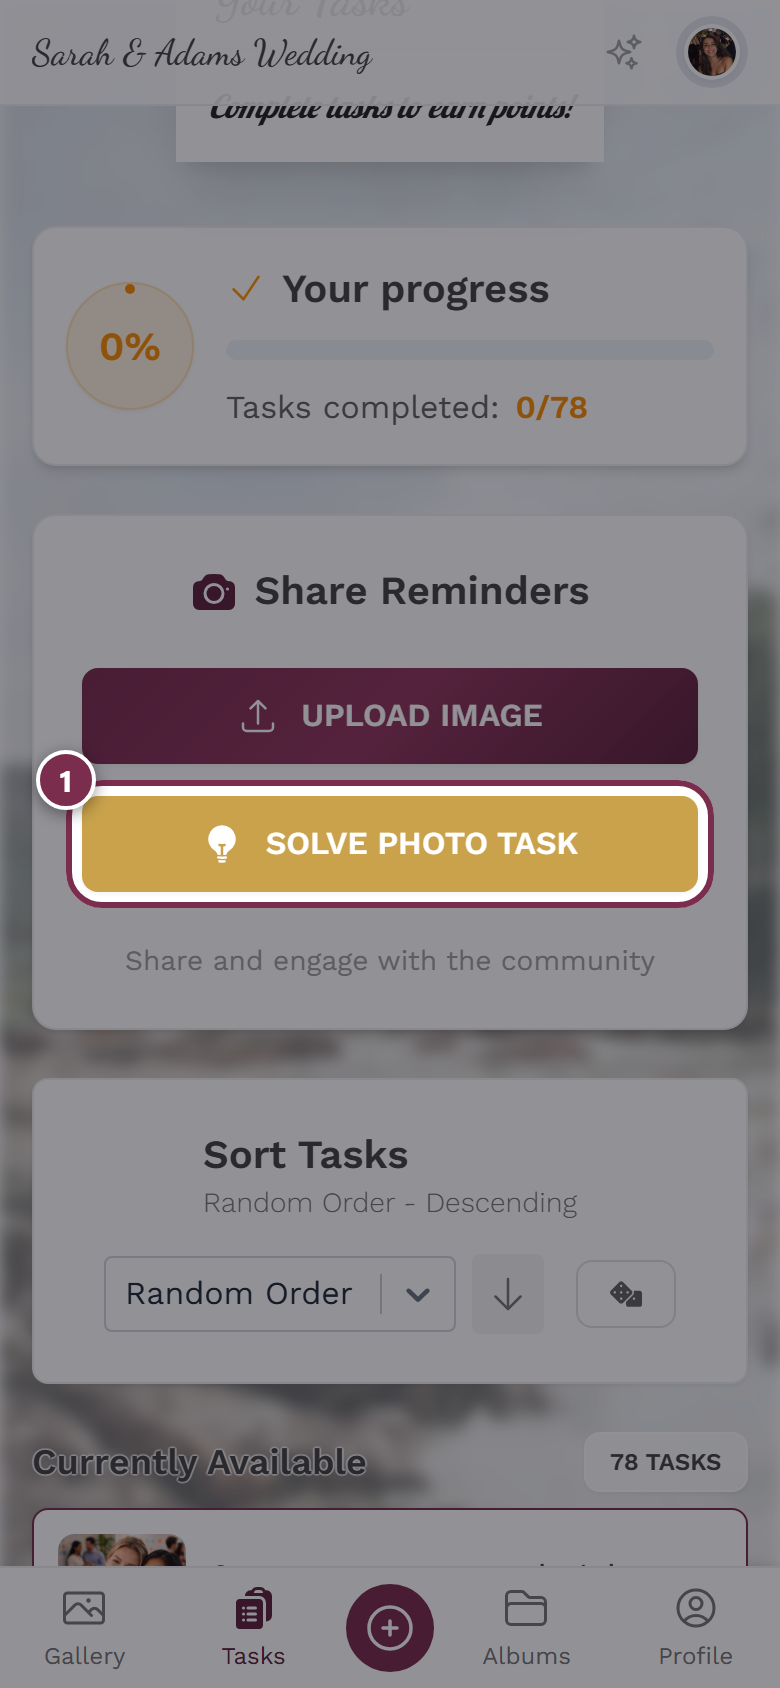
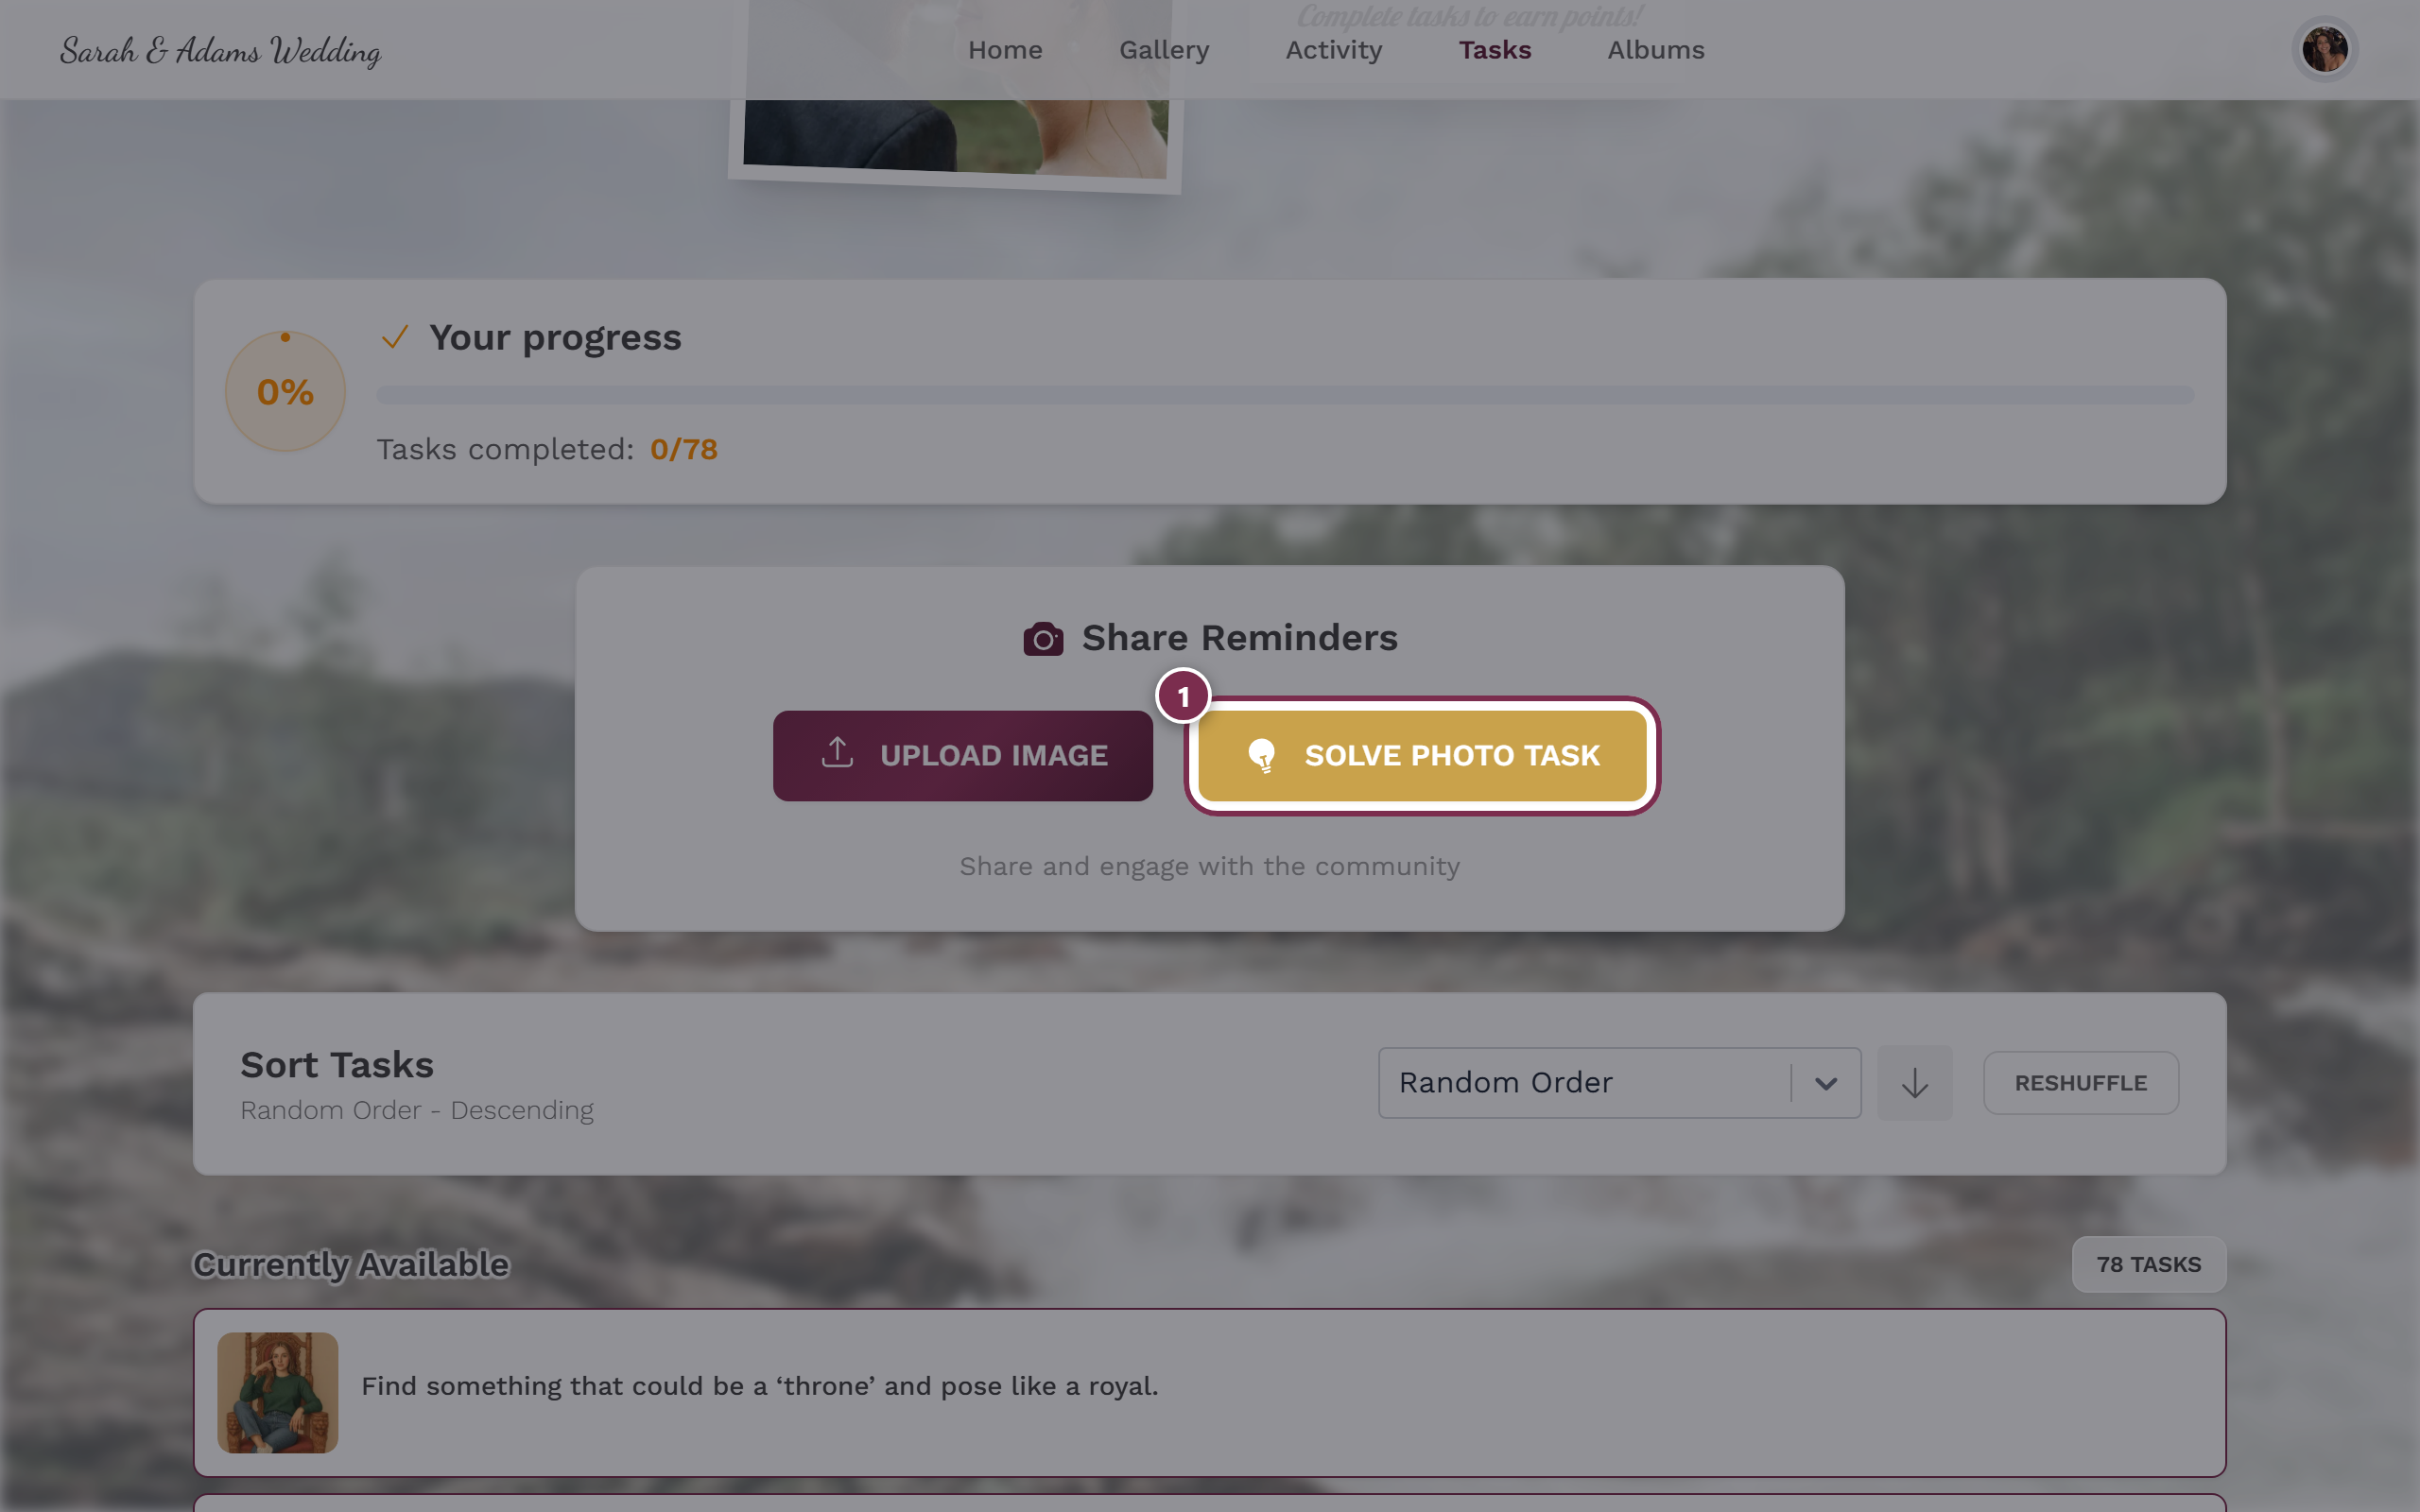
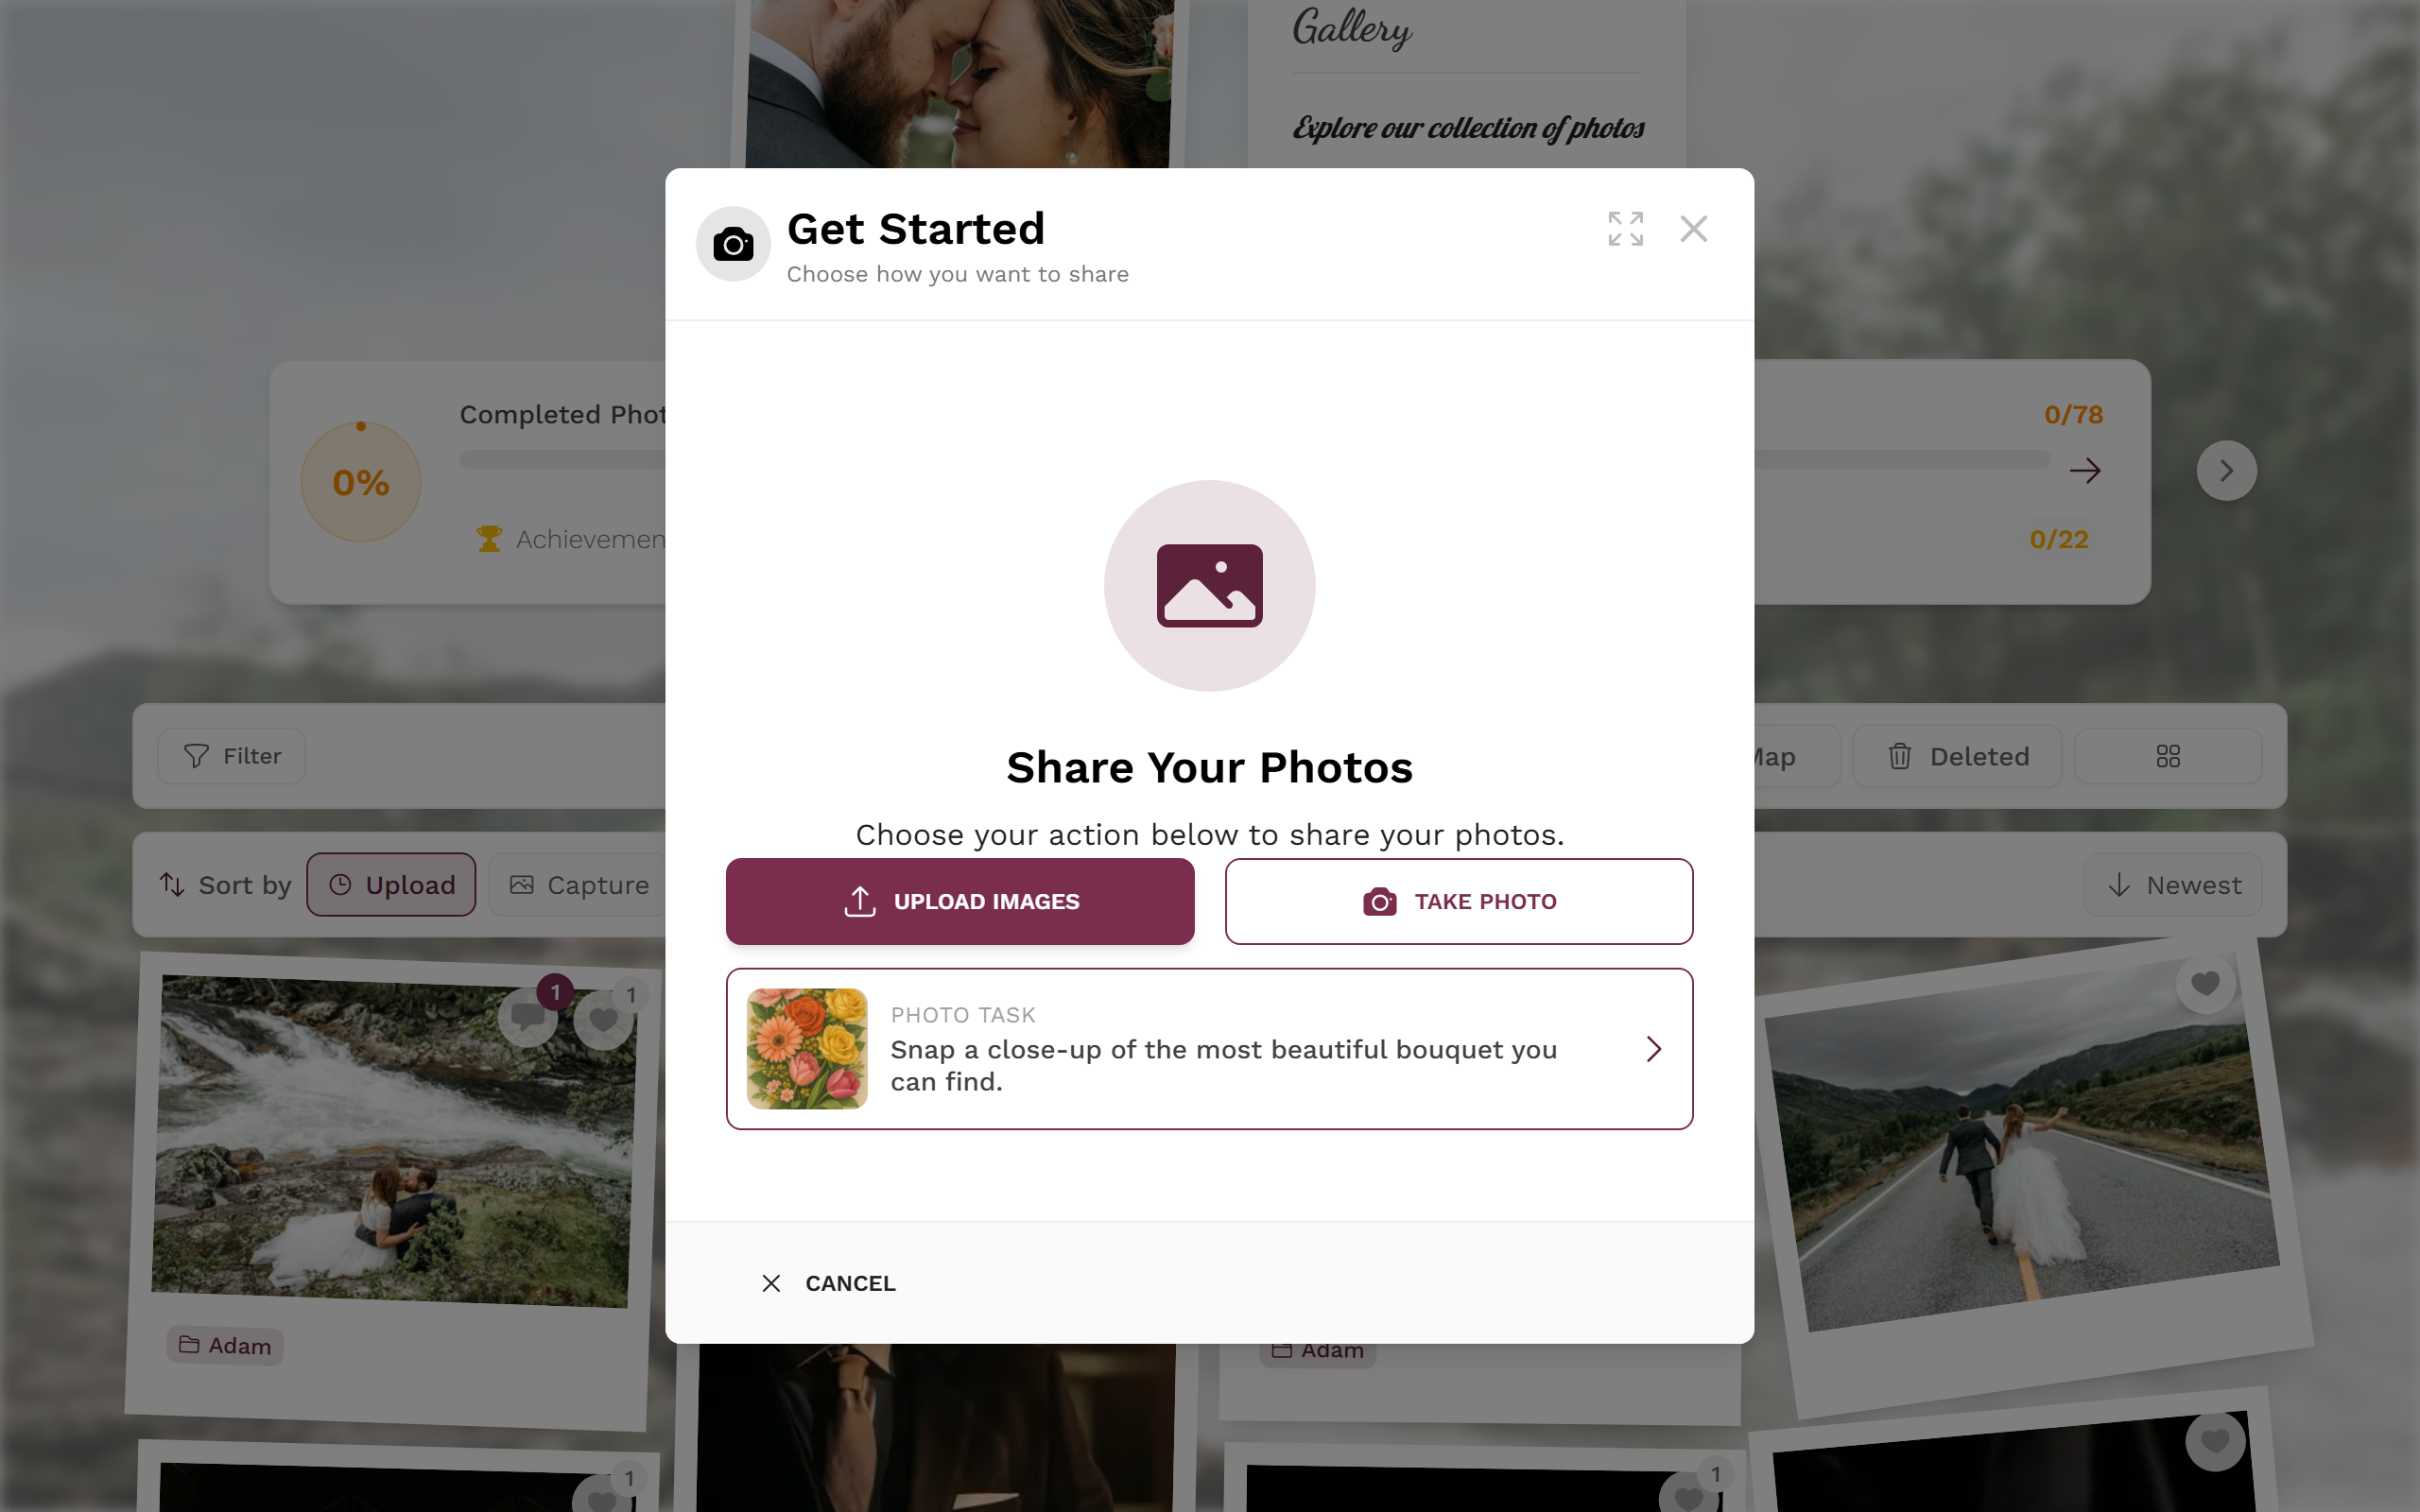
Route B – spontaneously from the upload dialog
Section titled “Route B – spontaneously from the upload dialog”Already in the gallery and want to join in on a whim? Then you don’t need the tasks page at all.
-
In the gallery, open the Upload dialog.
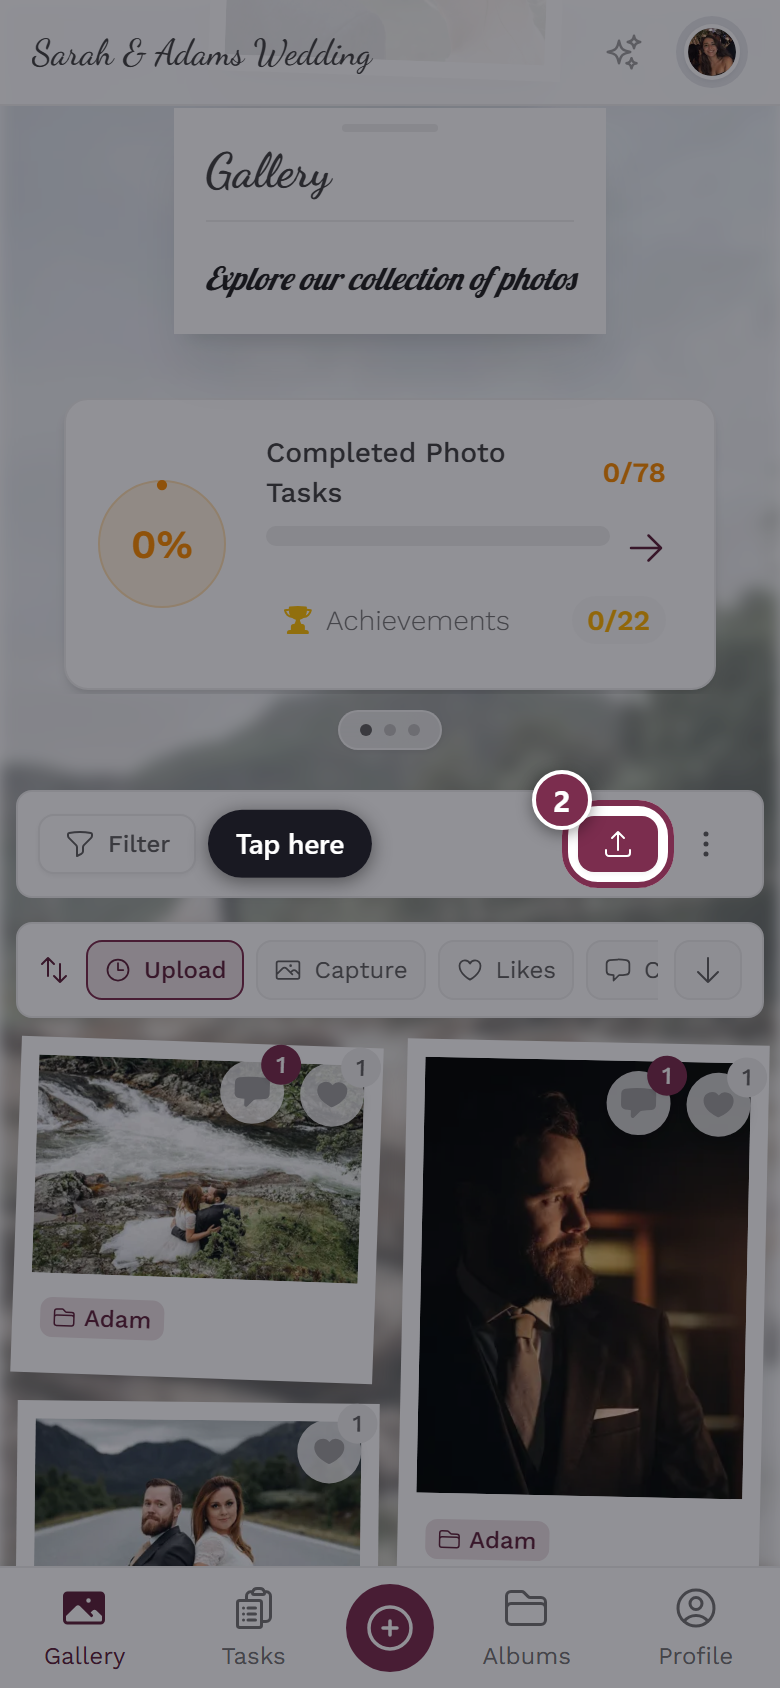
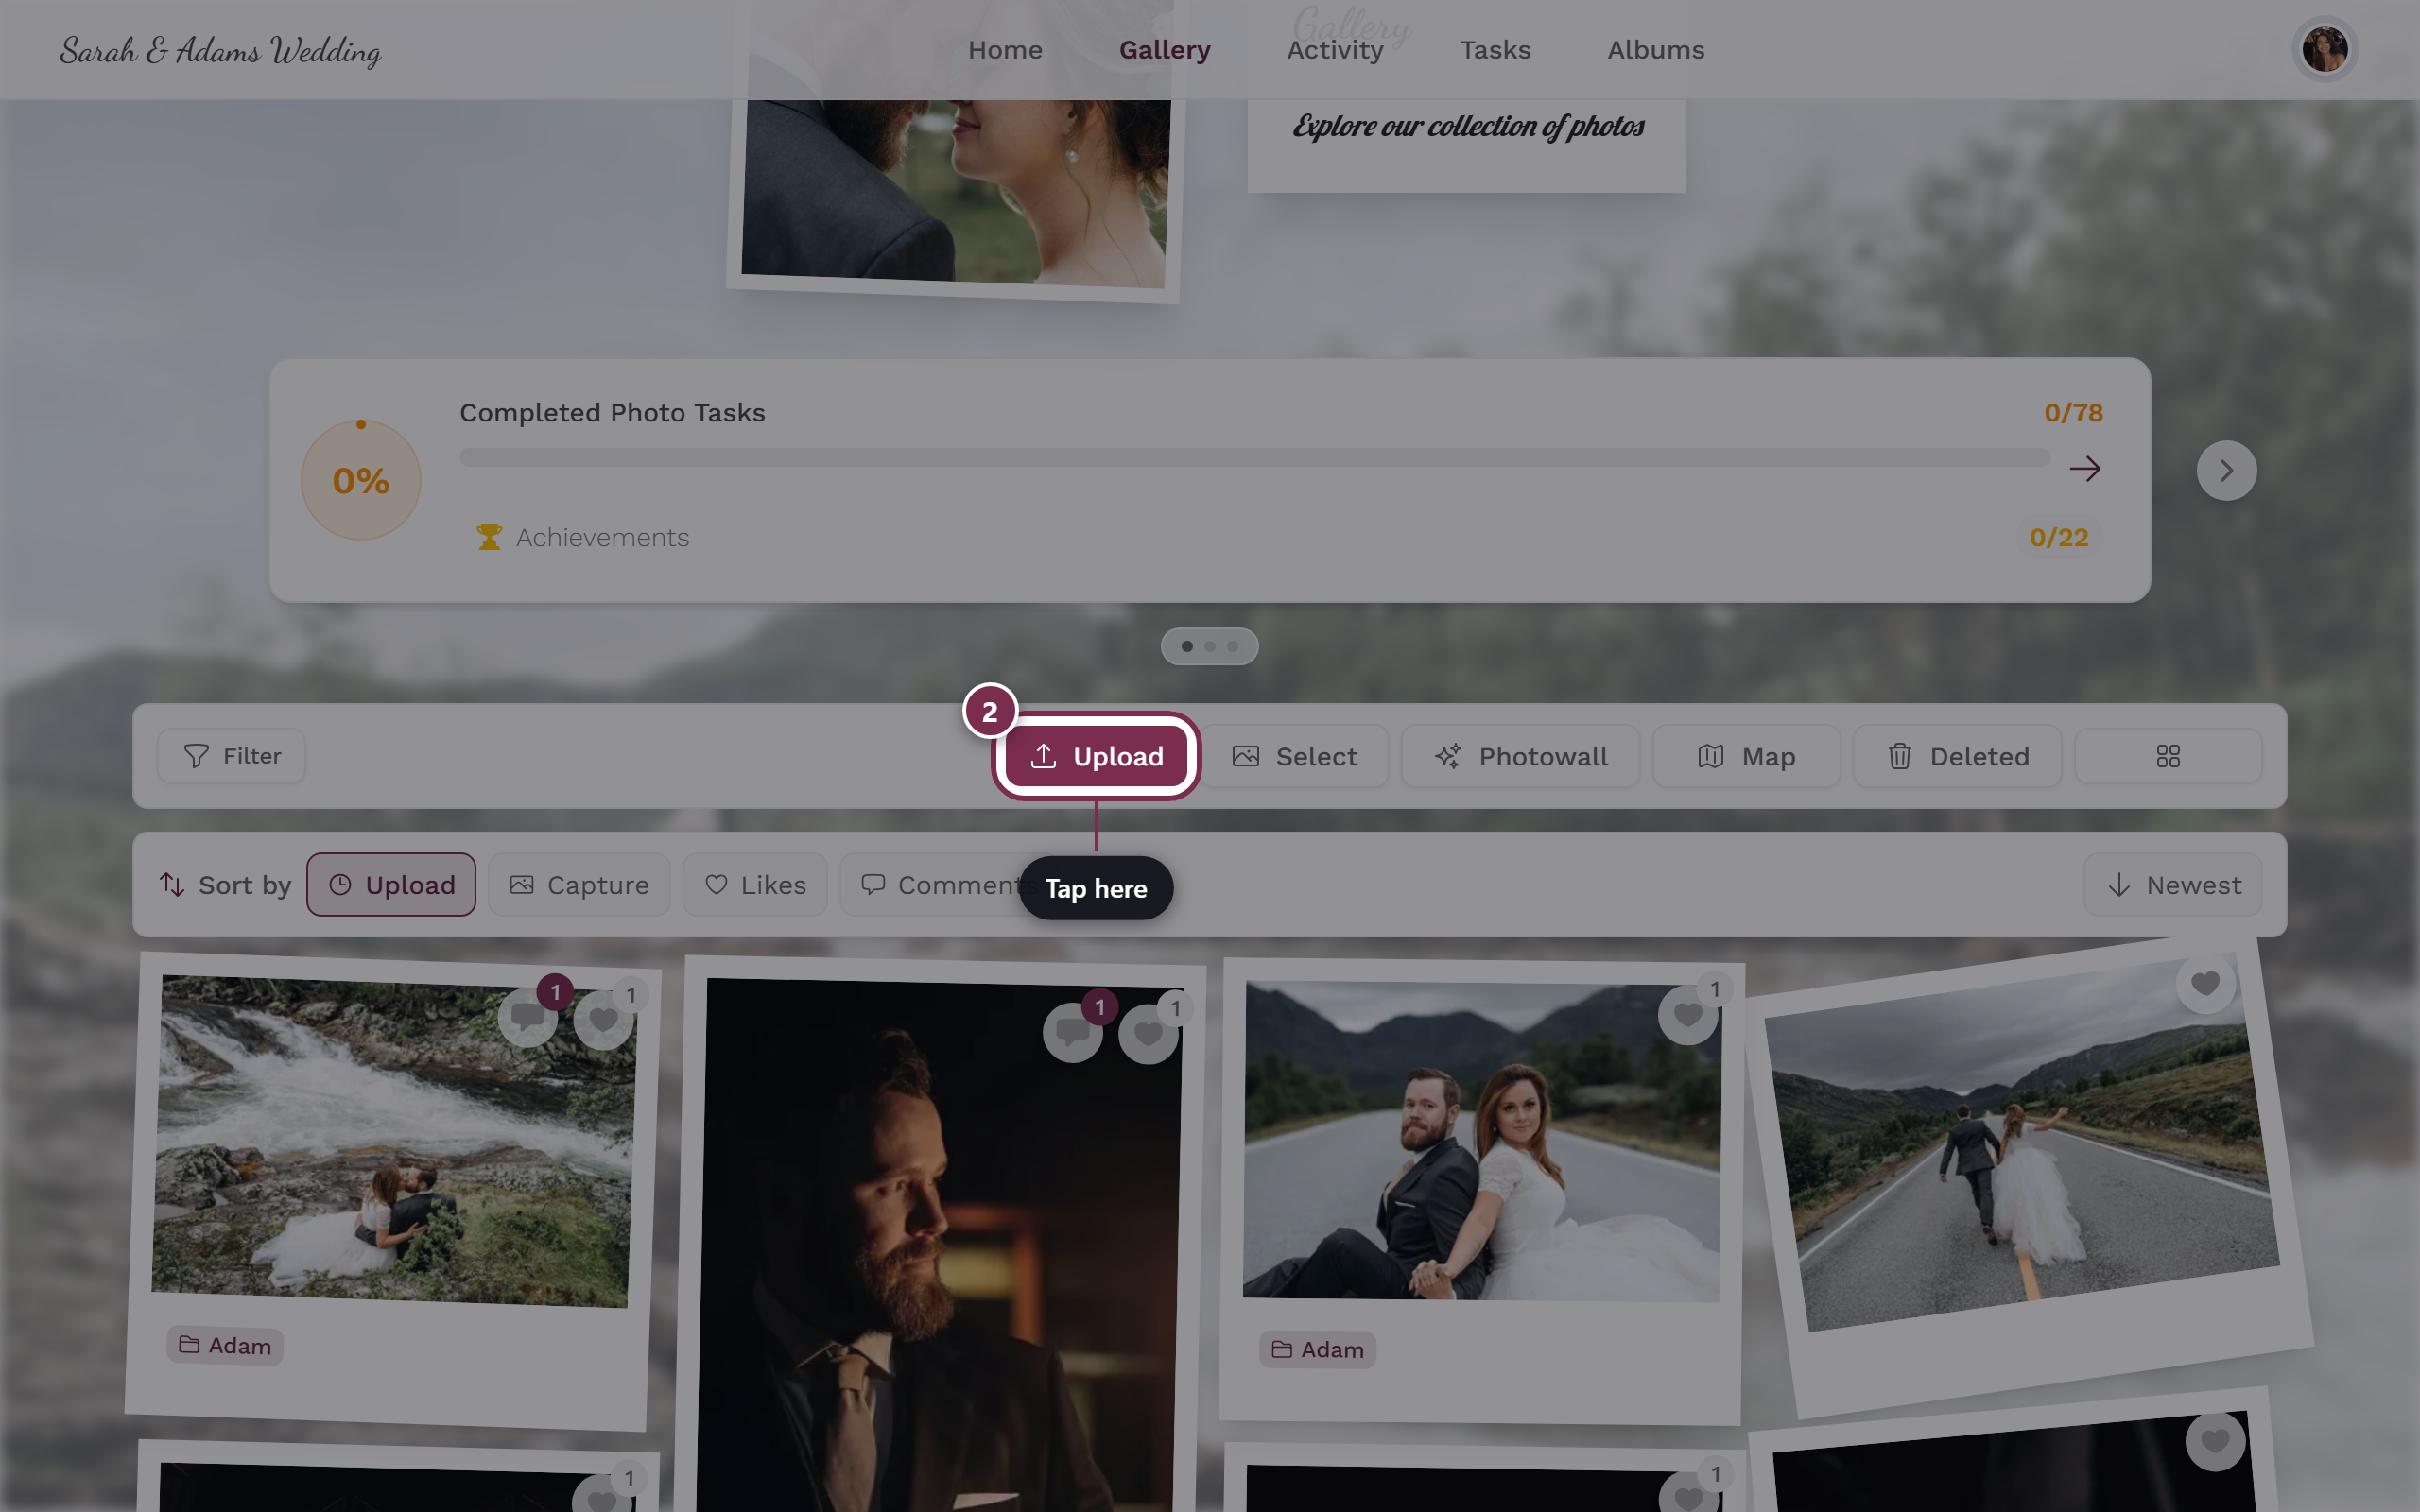
The upload button opens the upload dialog. -
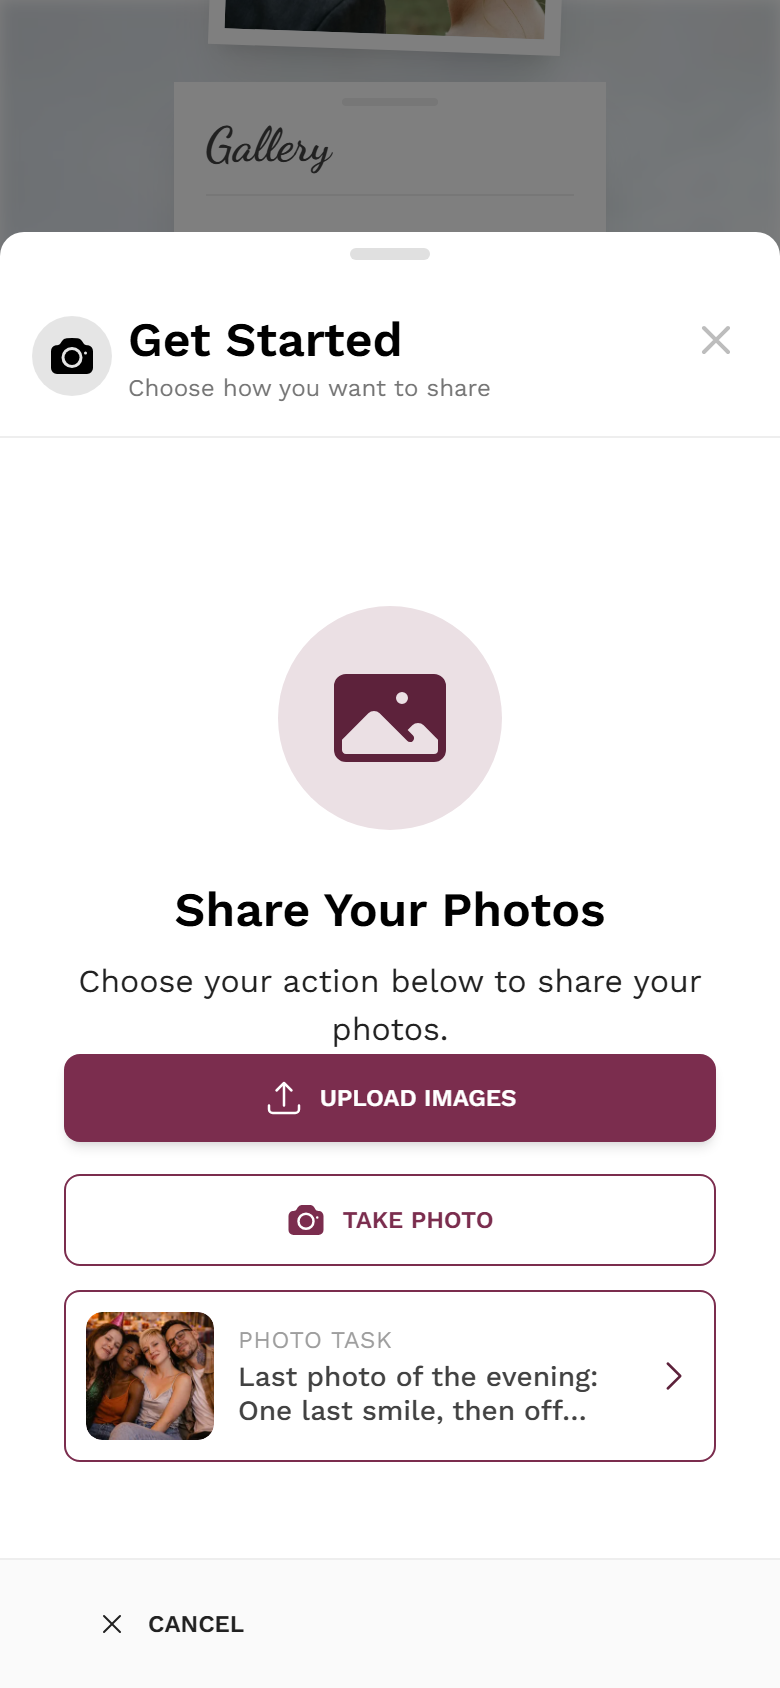
On the first step Share Your Photos you have two options:
- Tap the photo-task preview card at the bottom (it shows a reference image, task name and a “Photo task” label) – opens the selection with exactly that task.
- Or tap Solve a Photo Task – opens the selection with a random open task. This button only appears when no task has a reference image.
-
From here continue as in Route A from step 4: Upload Images or Take Photo.
Route C – choose a different task in the dialog
Section titled “Route C – choose a different task in the dialog”You’re in the upload dialog but the preselected task doesn’t fit? No problem:
- Tap Select a different task. The large Select Task dialog opens with:
- Quick actions Random (dice icon) and Unsolved (light bulb, only when solvable tasks exist).
- Tabs All, To Solve, Completed and Locked. Show more expands longer lists.
- Alternatively, right on the task card, swipe between tasks (on a phone) or use the arrow buttons left/right (on a computer). Unlocked tasks come first, then locked ones. The arrows and the swipe gesture only appear when there is more than one task.
Route D – from a gallery photo
Section titled “Route D – from a gallery photo”If you open a photo that belongs to a task, the image details contain a Task section. Clicking the task name filters the gallery to exactly that task. In this filtered view the gallery shows a task header with a Solve Task button that reopens the upload dialog for that task. More on image details and filtering in the gallery help and under Filtering & search.
The tasks page in detail
Section titled “The tasks page in detail”Your progress
Section titled “Your progress”At the very top, a progress ring shows your share of completed tasks as a percentage (solved and expired tasks both count). Below it reads “Tasks completed: X/Y”. Once you’ve finished them all, a completion message with confetti appears. As long as you’ve solved at least one task, you’ll also find the link View your task photos here, which shows only your task photos in the gallery.
Sorting
Section titled “Sorting”As soon as open tasks are present, you can order the list via Sort by:
- Random Order
- Alphabetical
- Total Uploads (how often a task has been solved overall)
- Your Uploads (how often you solved it)
An arrow button next to it toggles between ascending and descending. For “Random Order” there is also Reshuffle (a dice icon on a phone) to re-roll the order.
Groups and tabs
Section titled “Groups and tabs”If there are both open and completed tasks, the page splits into two tabs: Open Tasks and Completed Tasks. If only one group has content, the tabs disappear and the list is shown directly.
Within the open tasks there are several sections depending on what exists, each with a counter:
- Currently Available – solvable now.
- Locked Tasks – solvable only after conditions are met.
- Unlocks After – still time-locked, they open at a set time.
- Expired Tasks – the deadline has passed, they can no longer be solved.
Each card carries a matching status badge: no badge for open tasks, Unlocks After (clock), Expired (X), Completed (checkmark) or LOCKED (padlock). Cards also show details like “X images uploaded”, “Available from {date}” or “Expires on {date}”. Show more expands longer sections in full.
Unlocking locked tasks
Section titled “Unlocking locked tasks”Tapping a locked task does not open an upload. Instead, the card shows the unlock criteria right away; Show more opens the full criteria dialog. Possible conditions are:
- Time – the task opens at a specific time.
- Points – you need a minimum number of points (with a progress bar).
- Tasks – you must solve certain other tasks (with a progress bar).
- Dependency – another task must be completed first.
- Reward – you must first earn a specific achievement or reward.
Anything already met is marked with a checkmark. If a task is still missing, it’s usually clickable – tapping it jumps straight to the required task so you can solve it first. Reward conditions are informational only.
Seeing only one task’s photos
Section titled “Seeing only one task’s photos”To see all the results of a challenge side by side, there are three ways:
- Progress link – View your task photos at the top of the tasks page takes you to your own task photos.
- From the image details – open a photo of the task, tap the task name in the Task section, and the gallery shows only that task.
- Via the filter – the filter panel lets you filter by task; the gallery then shows a task header with a reference image, photo count and a Solve Task button.
Remove the filter via the X on the task chip. More on this under Filtering & search.
If you don’t see anything
Section titled “If you don’t see anything”- No tasks menu or “Tasks Not Available”? The feature is off, not included in the plan, or no task has been created yet.
- Area present but empty? Then the page shows “No Tasks Available” – there are currently no challenges.
- Upload not working? Possible reasons: no upload permission, the event has ended or expired, or a moderator has blocked you from uploading. In those cases you can only view tasks, not solve them.
- Picked a locked task in the dialog? Then Upload Images and Take Photo are disabled and a note says the task is locked. Choose an open task instead (Route C).
For hosts and moderators
Section titled “For hosts and moderators”As a host/admin you’ll see a Manage tasks header with an Add button at the top of the tasks page. Long-pressing or right-clicking a task card opens a menu with Upload to task, Edit and Delete. For full management – conditions, points, time windows, reference images – use the task manager in the admin portal.
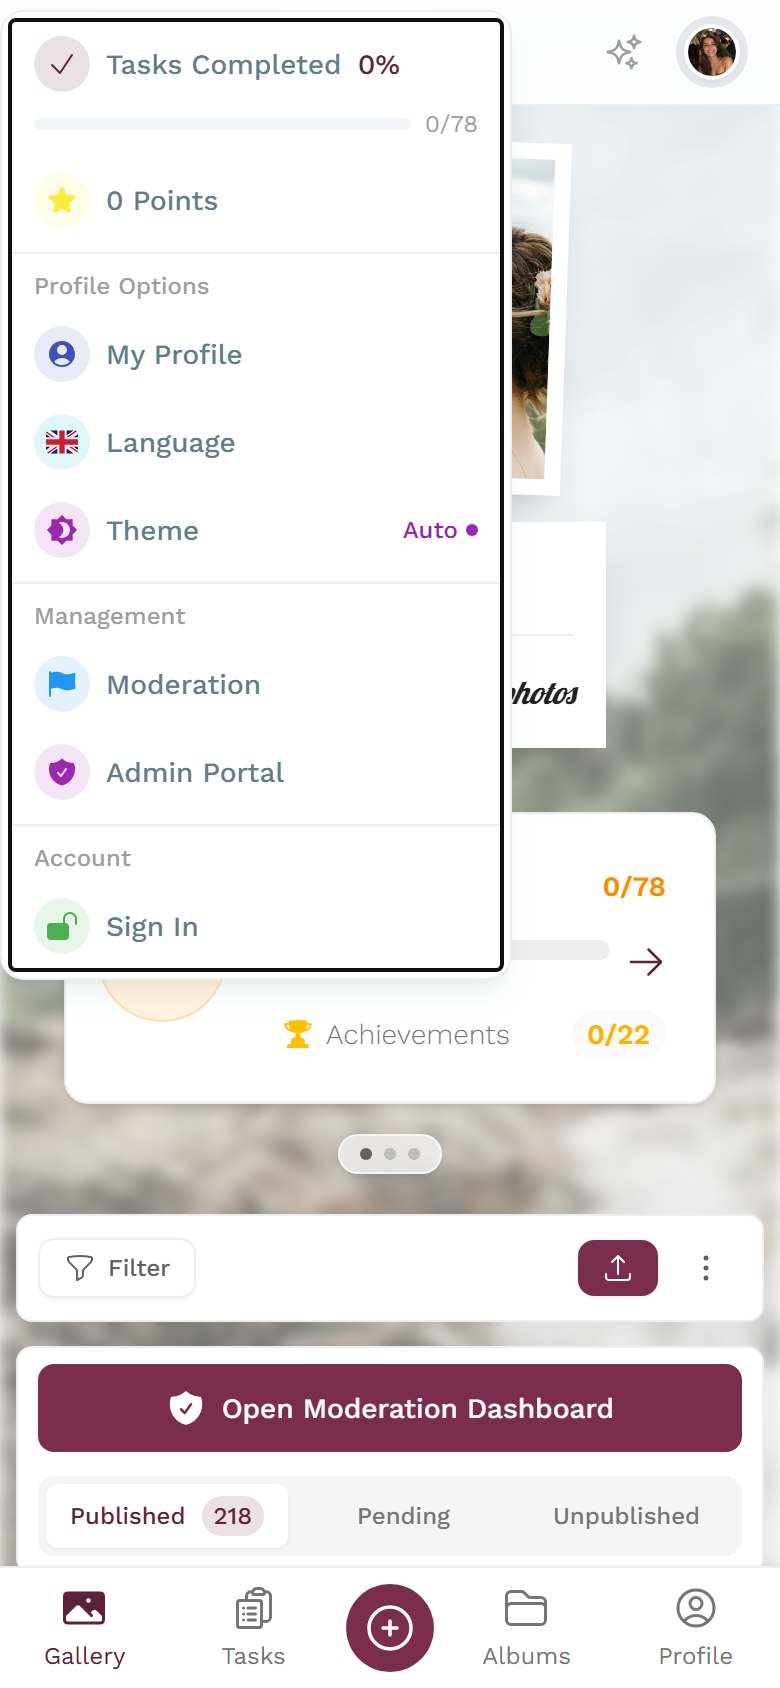
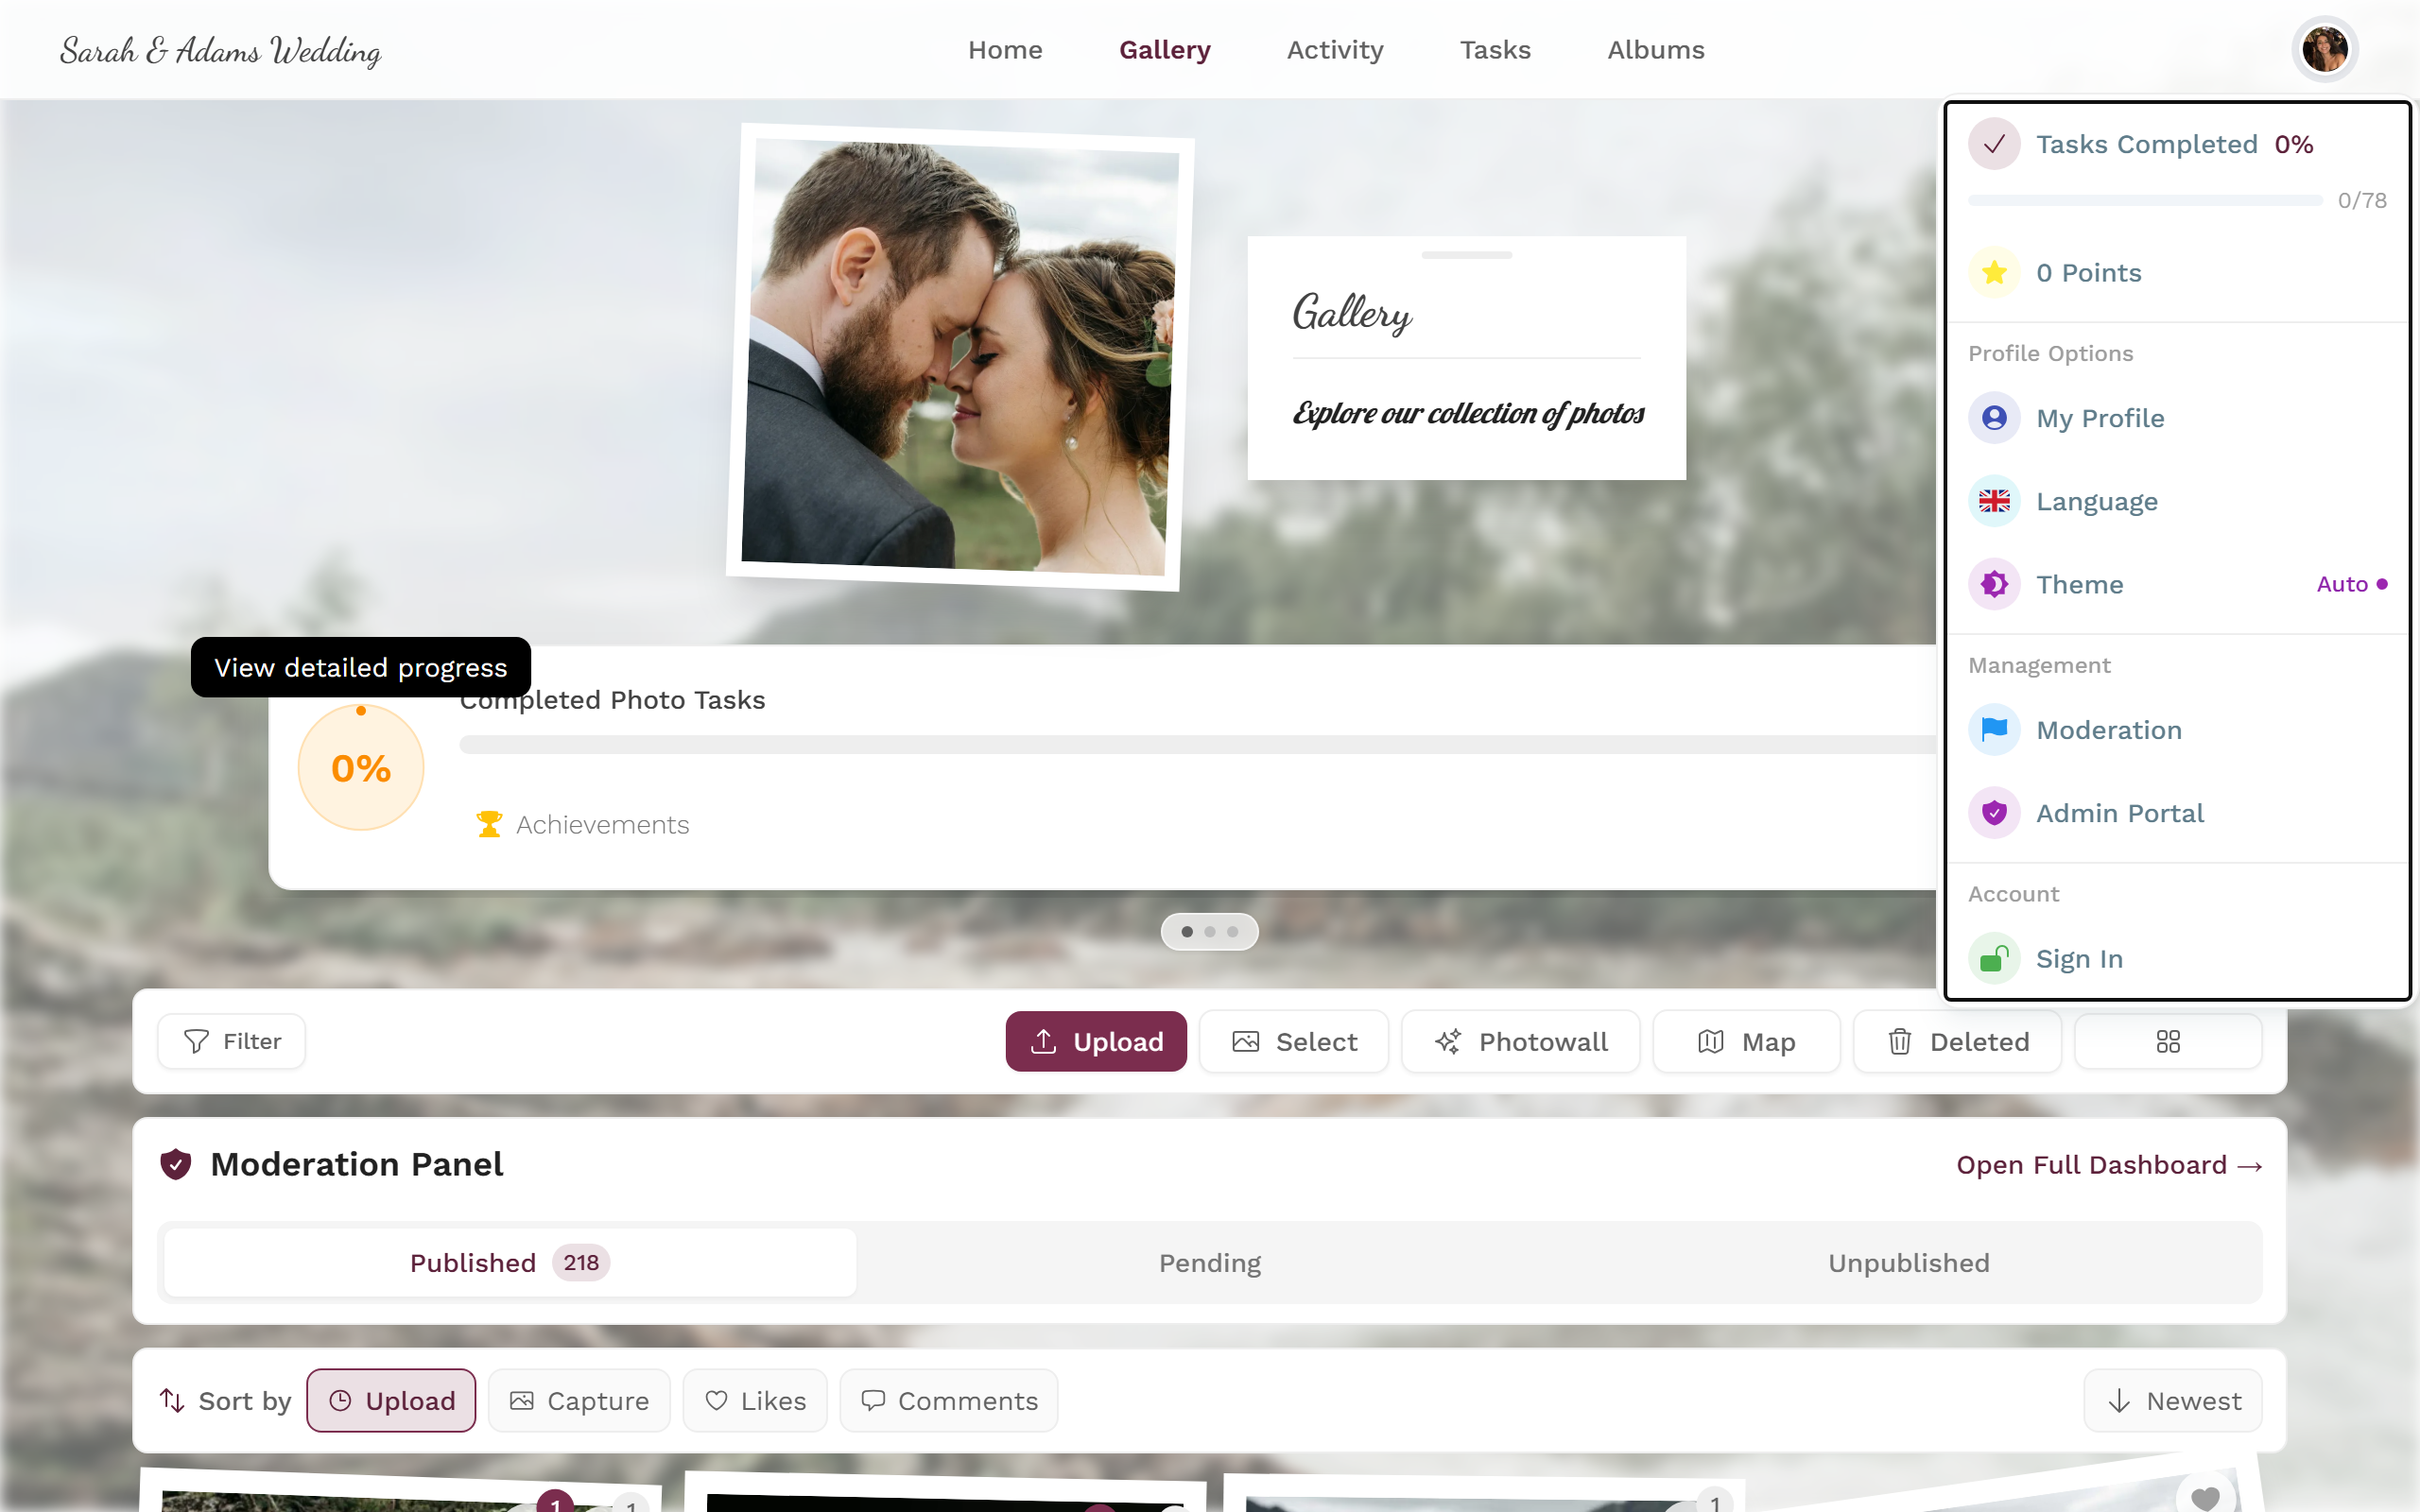
You reach the admin or moderation area via the profile menu in the top right.
Moderators can block guests from uploading; that explains why an upload is sometimes not possible.