Downloading photos
You’ll want to keep the best moments. There are several ways to save – and when you save you almost always choose between two quality levels: the high-resolution original or a smaller, web-optimized version for quick sharing. This page walks you through every route to a photo (and video) and the difference between the two versions.
Is download enabled for this event?
Section titled “Is download enabled for this event?”The host has to turn download on. There are two separate switches under Settings → Features:
- Single download – save one specific photo/video.
- Bulk download – save several selected photos as a ZIP.
The two are independent: bulk download can be on while single download is off – and vice versa.
Saving a single photo – three ways
Section titled “Saving a single photo – three ways”There are three equivalent ways to do a single download. Pick whichever is quickest right now.
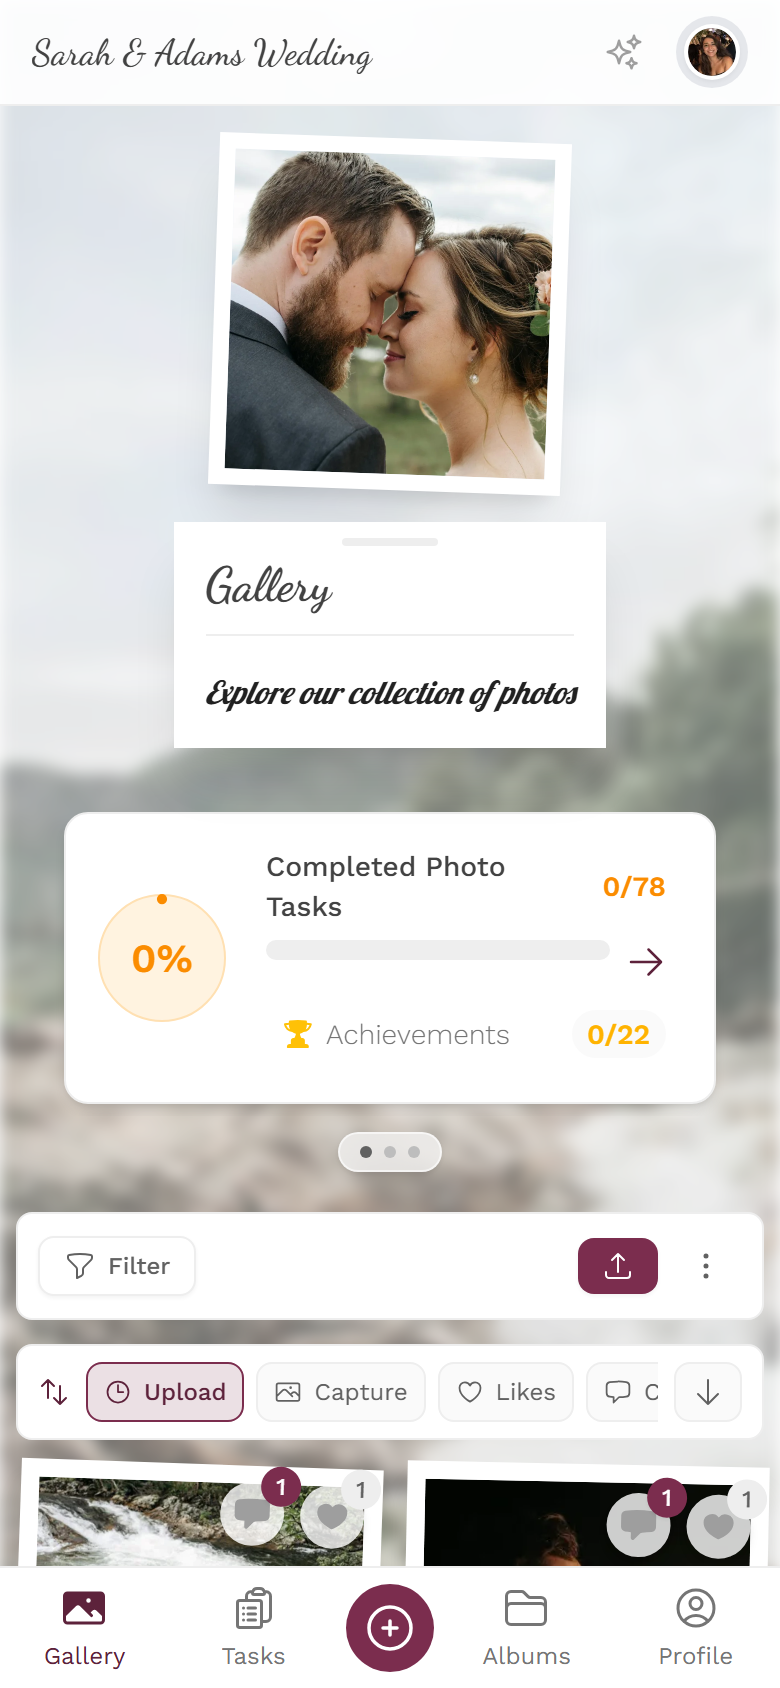
Way A: Straight from the photo grid (fastest)
Section titled “Way A: Straight from the photo grid (fastest)”Best when you just want one specific image from the overview without opening it.
-
Open the gallery and find the photo you want in the grid.
-
Open the tile’s context menu: on a computer, right-click; on a phone, press and hold (long-press).

Right-click (desktop) or long-press (phone) opens the context menu with Download. -
Choose Download (down-arrow icon). Depending on what’s enabled, the same menu also offers Open, Select, Like, Comments and Report.
Way B: From fullscreen / the slideshow
Section titled “Way B: From fullscreen / the slideshow”Best when you’re already viewing the image large or flipping through the photos.
-
Tap/click a photo – it opens in fullscreen (slideshow).
-
Open the ⋮ menu in the top right (three-dot icon, labelled Open menu).
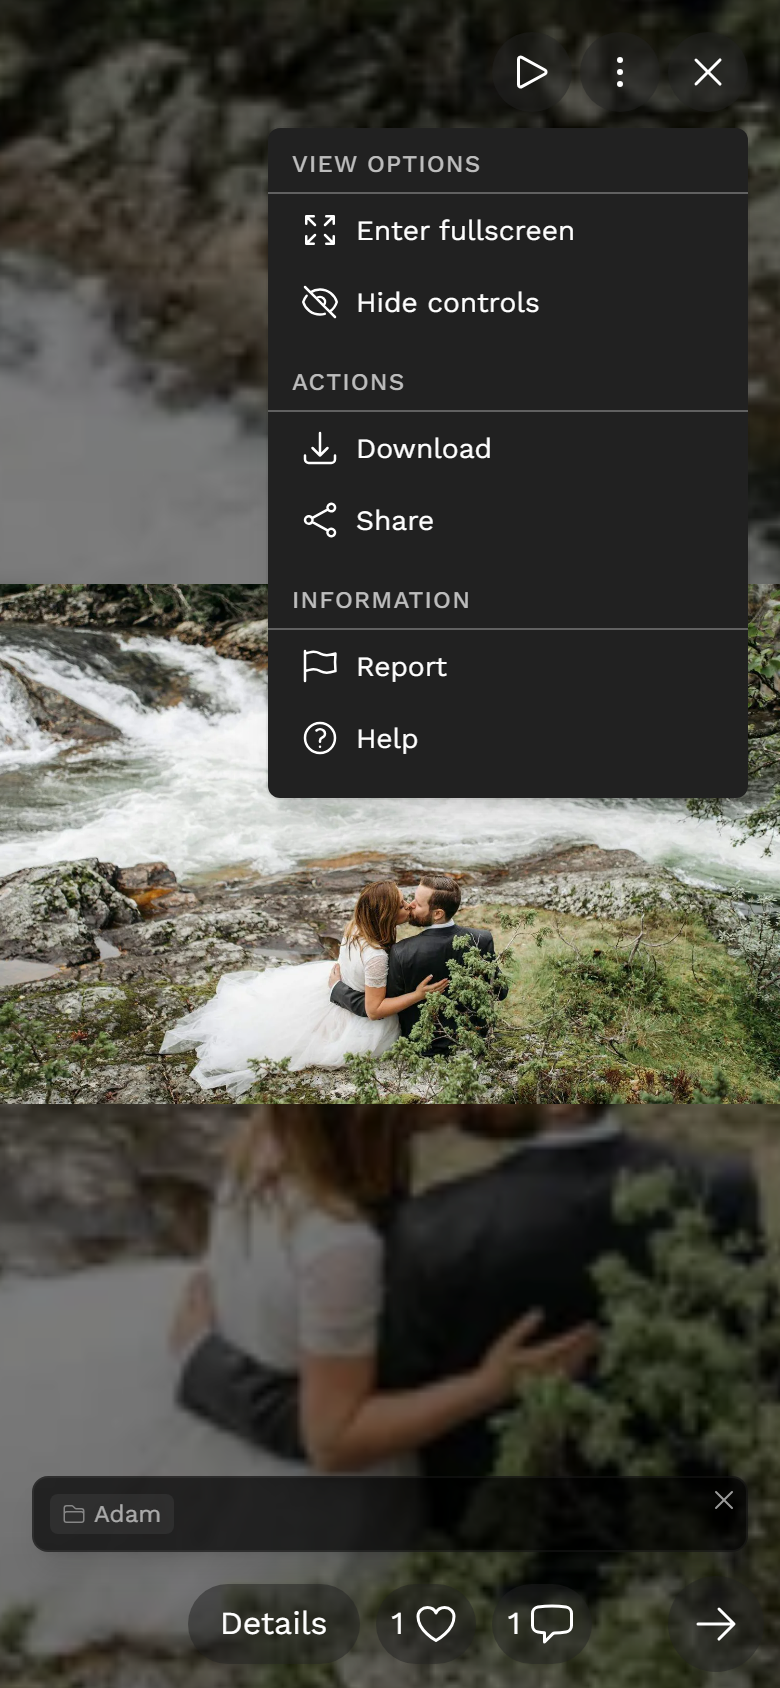
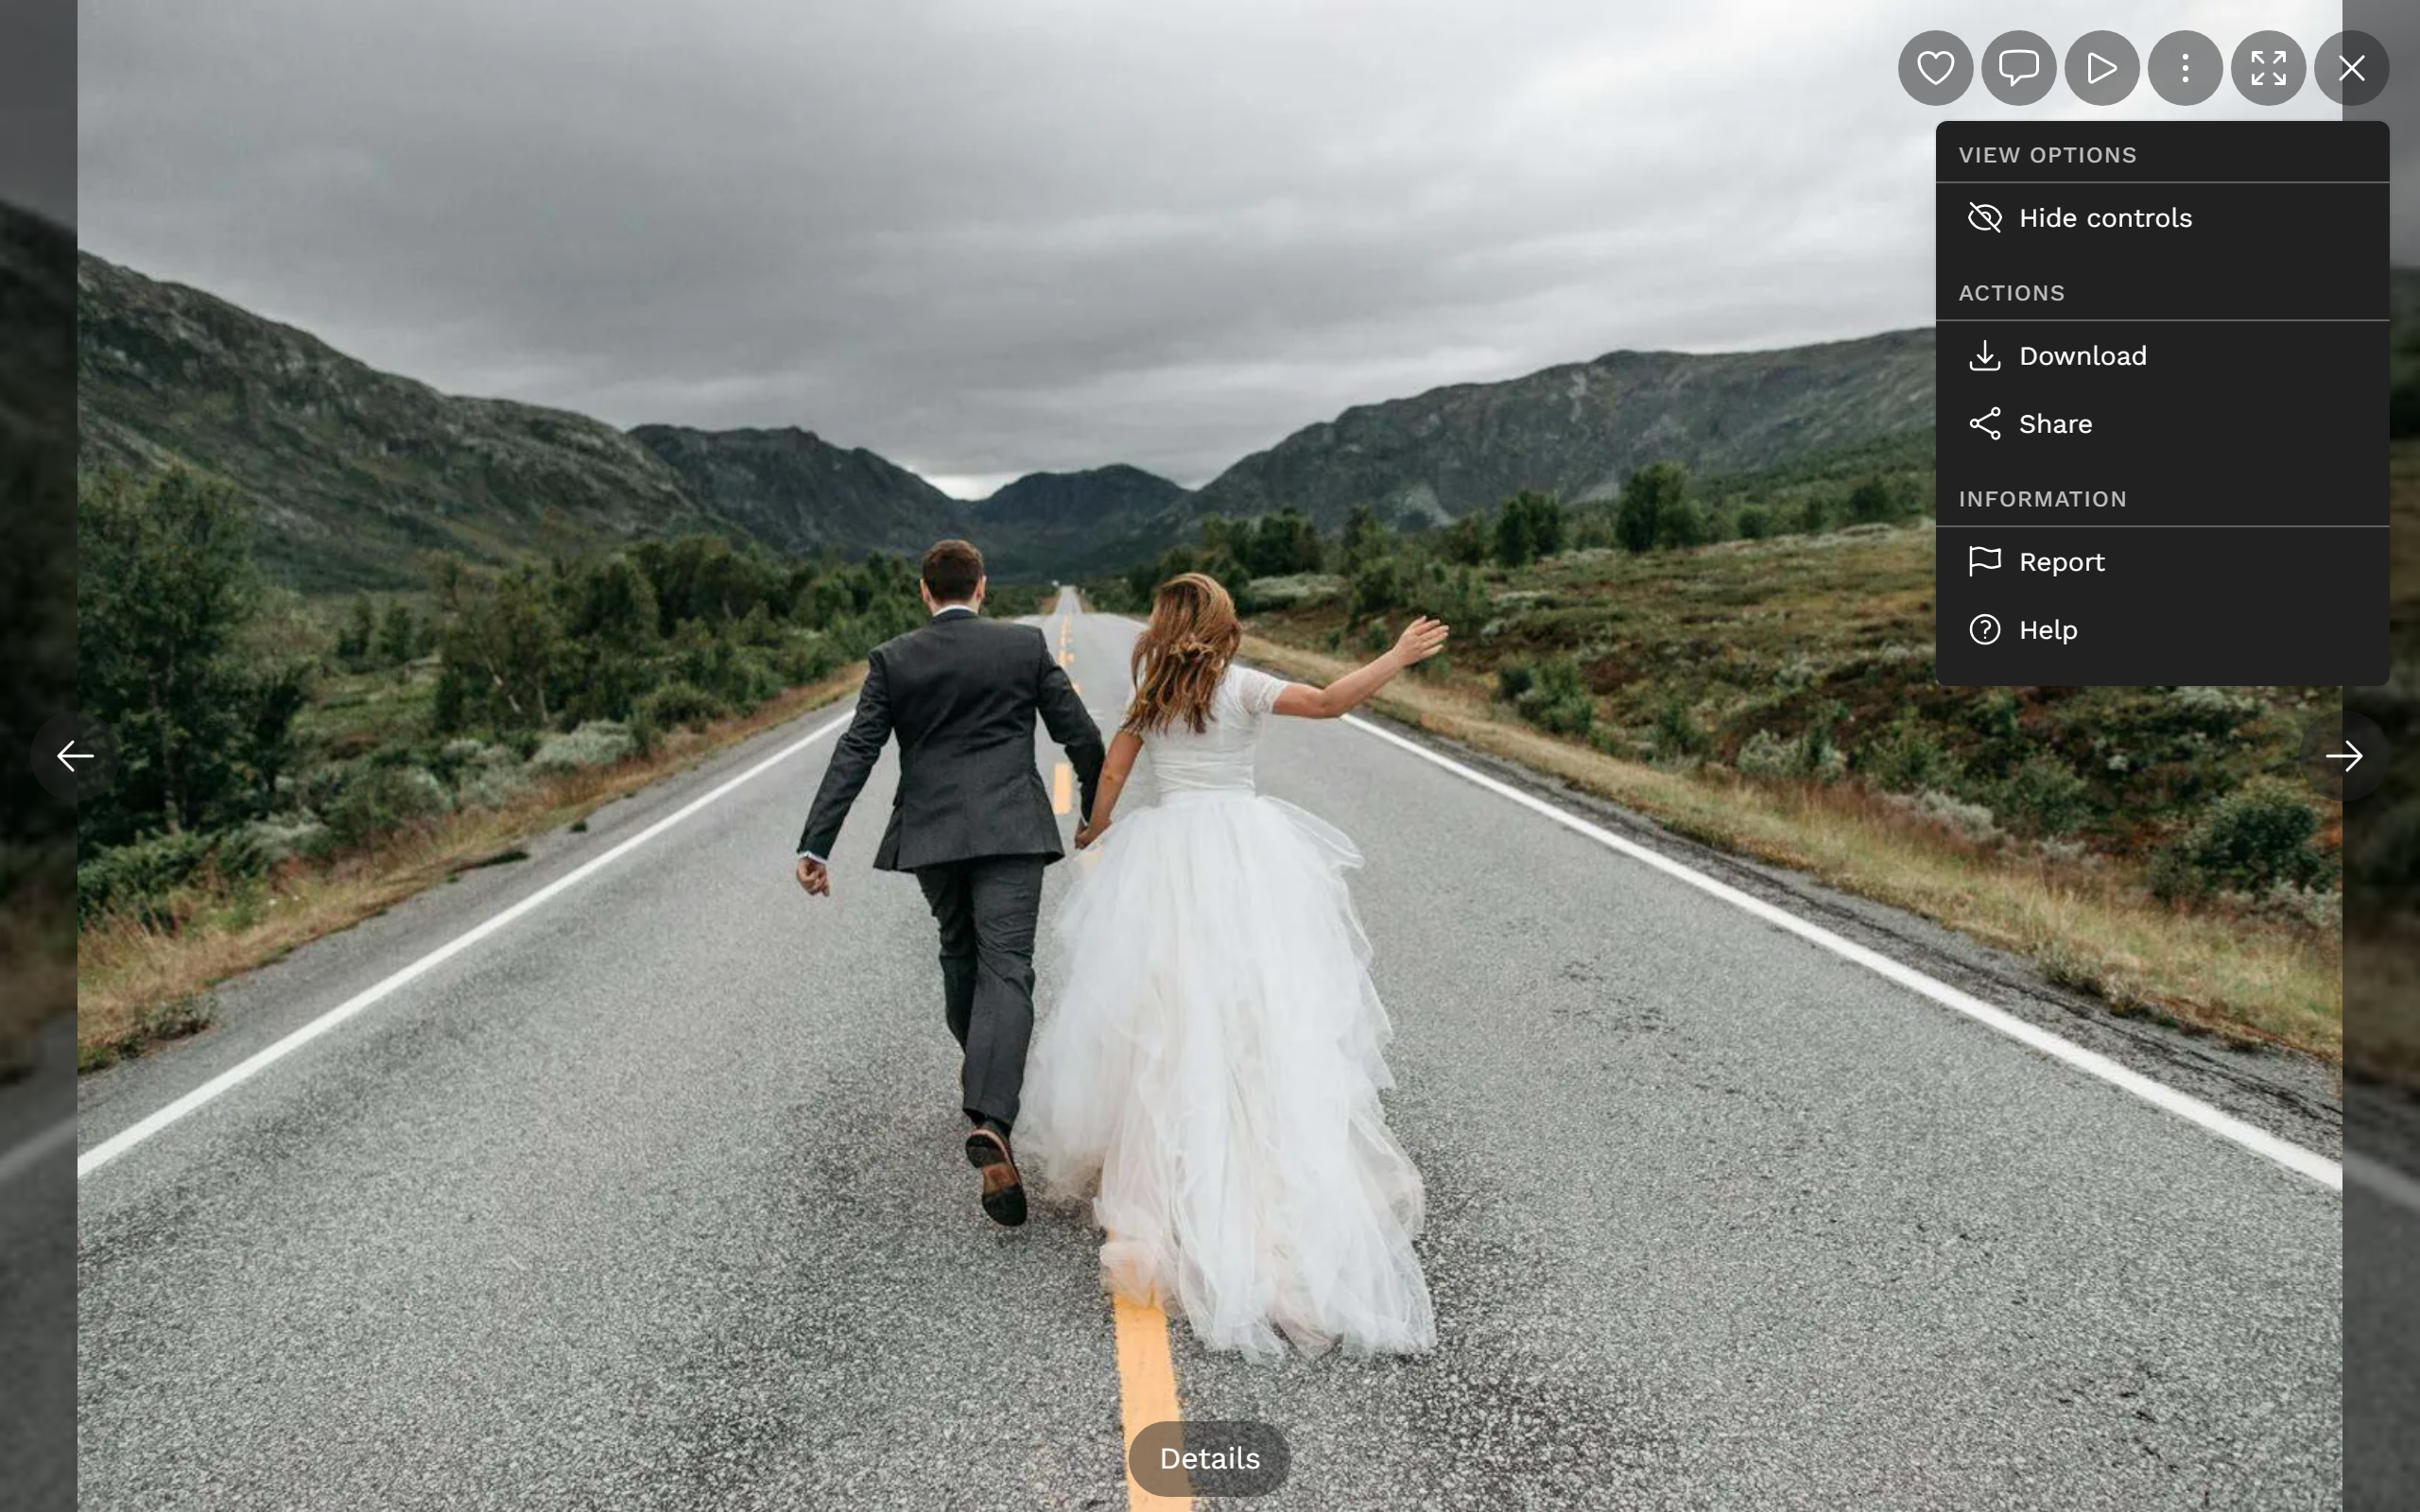
The ⋮ menu in fullscreen has a Download entry in the Actions section. -
Under Actions, choose Download.
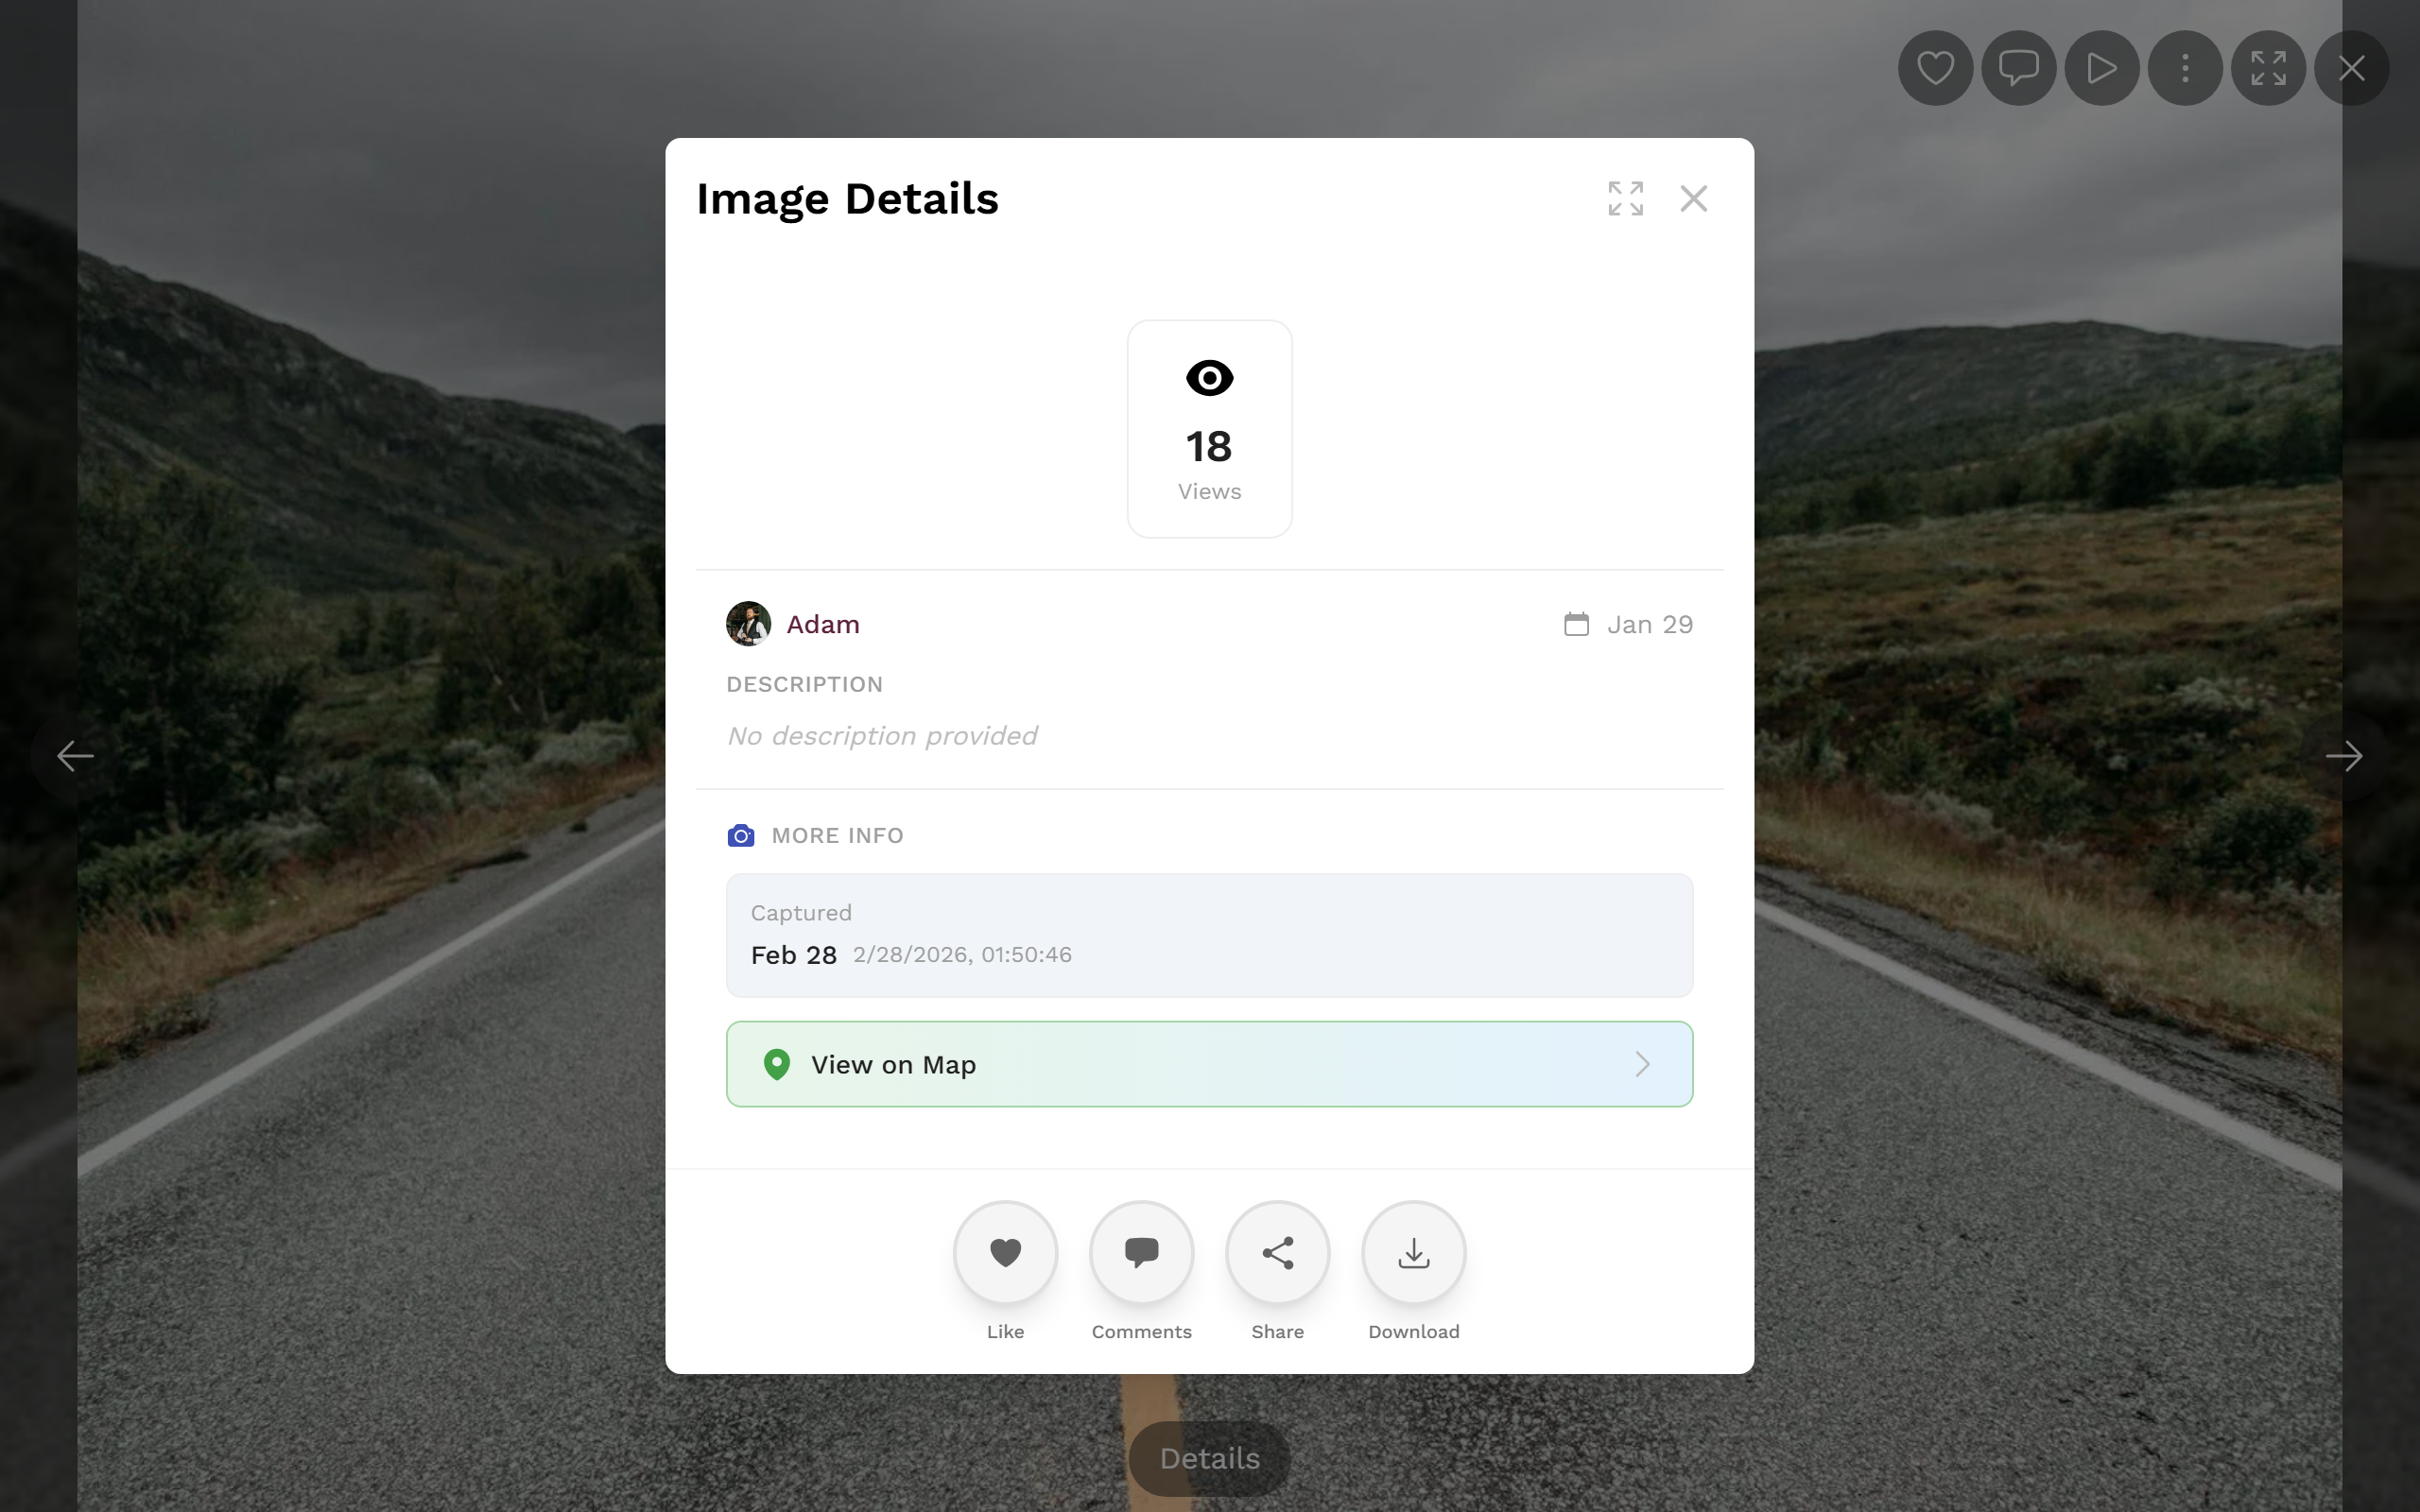
Way C: Via the details view (with photo info)
Section titled “Way C: Via the details view (with photo info)”Best when you also want to see the capture date, uploader, album or location and save from there.
-
Open the photo in fullscreen and tap Details in the control bar at the bottom.
-
The Image Details dialog opens with stats, uploader, date, album, people and EXIF data.
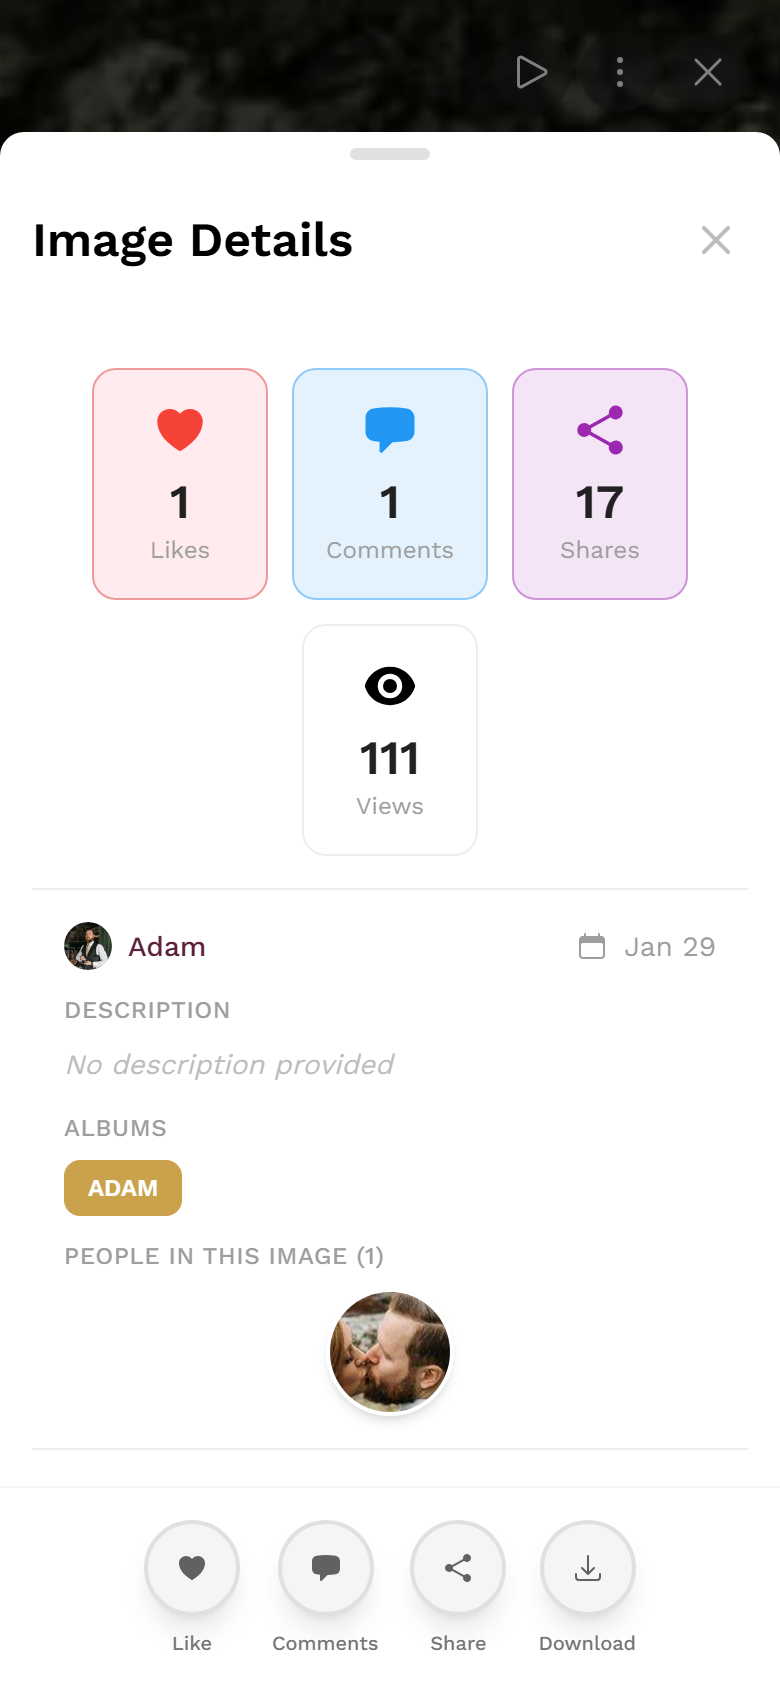
In the Image Details dialog the downloads count in the stats bar is clickable. -
In the stats bar at the top, click the downloads count – this opens the download dialog directly. Alternatively, use the Download entry in the details dialog’s menu.
Original or web-optimized?
Section titled “Original or web-optimized?”Whichever of the three ways you take: after clicking Download, the Download Options dialog appears first with two buttons. Only then does the actual download begin.
- Original Quality – subtitle “Highest resolution available”. Full resolution, no compression. Use this for print, archiving or further editing.
- Web Optimized – subtitle “Recommended for sharing online”. Much smaller file. Ideal for WhatsApp, social media and quick sharing. For photos it may be converted to JPG.
After your choice you see a progress bar with a percentage and a status text (“Downloading…”, and at the end “Download complete!”). While it’s loading you can:
- Pause – halts the download (status “Download paused”).
- Resume – continues a paused download.
- Cancel – stops it.
This is handy mainly for large original files or a slow connection. These buttons only appear during the loading phase.
Where does the file go?
Section titled “Where does the file go?”When it’s done, the file lands in your device’s or browser’s Downloads folder. The file name follows a fixed scheme: a type (photo_, video_, motion_), a number, a timestamp and the suffix original or web – so you can tell at a glance which version you saved.
Several photos at once
Section titled “Several photos at once”To save several photos together, use selection mode. The result is a ZIP archive.
-
Turn on selection mode: right-click a photo → Select, or tap Select in the gallery bar.
-
Mark the photos you want – or use Select all in the action bar.
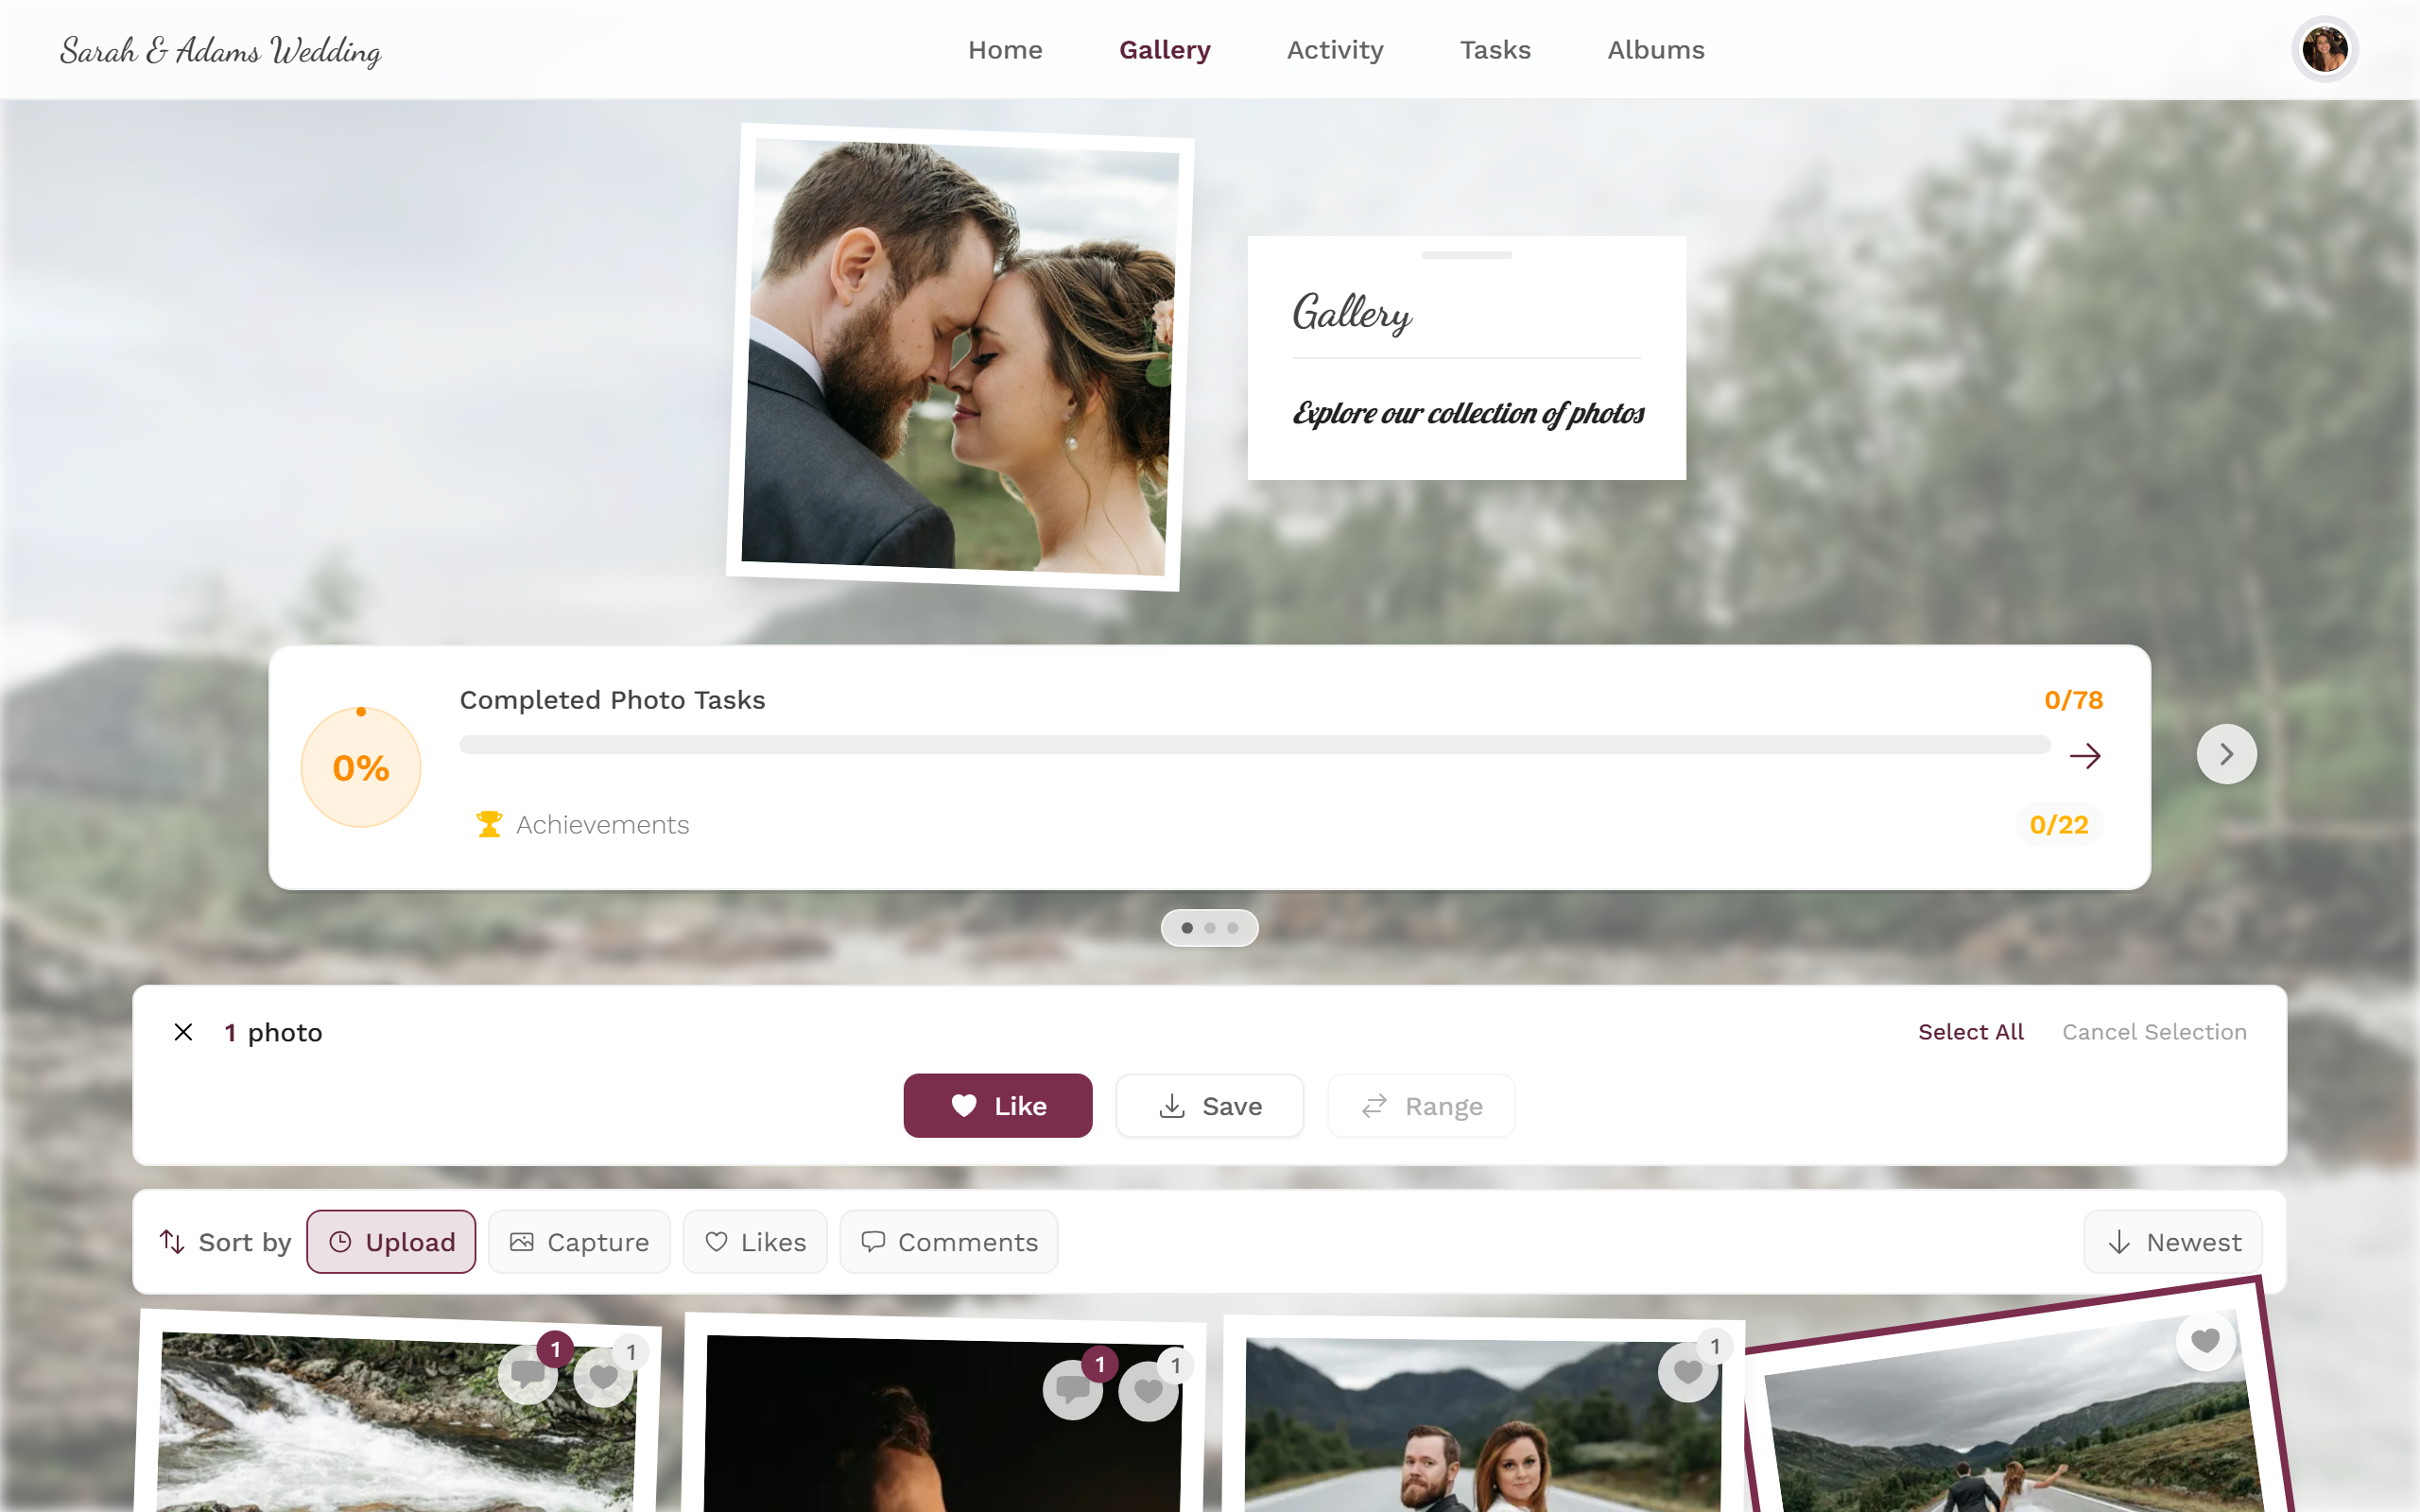
In selection mode an action bar appears at the bottom with Select all and Save. -
Tap Download in the action bar. All marked photos are packed into a ZIP archive.
More on this: Selecting multiple photos.
As a host: back up the whole gallery
Section titled “As a host: back up the whole gallery”If, as a host, you want to save all your event’s photos at once, use the full export in the admin area. You reach it via the profile menu in the top right → Management → Admin portal, then the Download/Export section. Details: Backing up all photos. It’s especially worth it before the storage period ends.
When something doesn’t work
Section titled “When something doesn’t work”Related topics
Section titled “Related topics”- Selecting multiple photos – selection mode and ZIP in detail.
- Slideshow & fullscreen – all the fullscreen controls.
- Sharing photos – share instead of download.
- Backing up all photos – the full export for hosts.
- Settings: Features – enable the download switches.