Changing the language
The gallery currently comes in German, English, Dutch, French, Spanish, Hungarian, Italian, Polish, Turkish, Japanese, Portuguese (Brazil) and Hindi. Switching takes exactly one tap, applies right away – and your choice is remembered for your next visit.
You have four ways to do it: the language button in the footer, the profile menu in the top right, the join page itself (before you are even in the gallery), or the address (URL). The language selector is always available – no matter which event you visit and whether you are signed in. What differs from event to event is only how languages are split into main languages and additional languages (more on that below).
Option 1: The language button in the footer
Section titled “Option 1: The language button in the footer”The quickest way from any gallery page.
-
Scroll all the way down to the footer. There you will find a button with a globe icon and the current language next to it (e.g. “🇬🇧 English”).
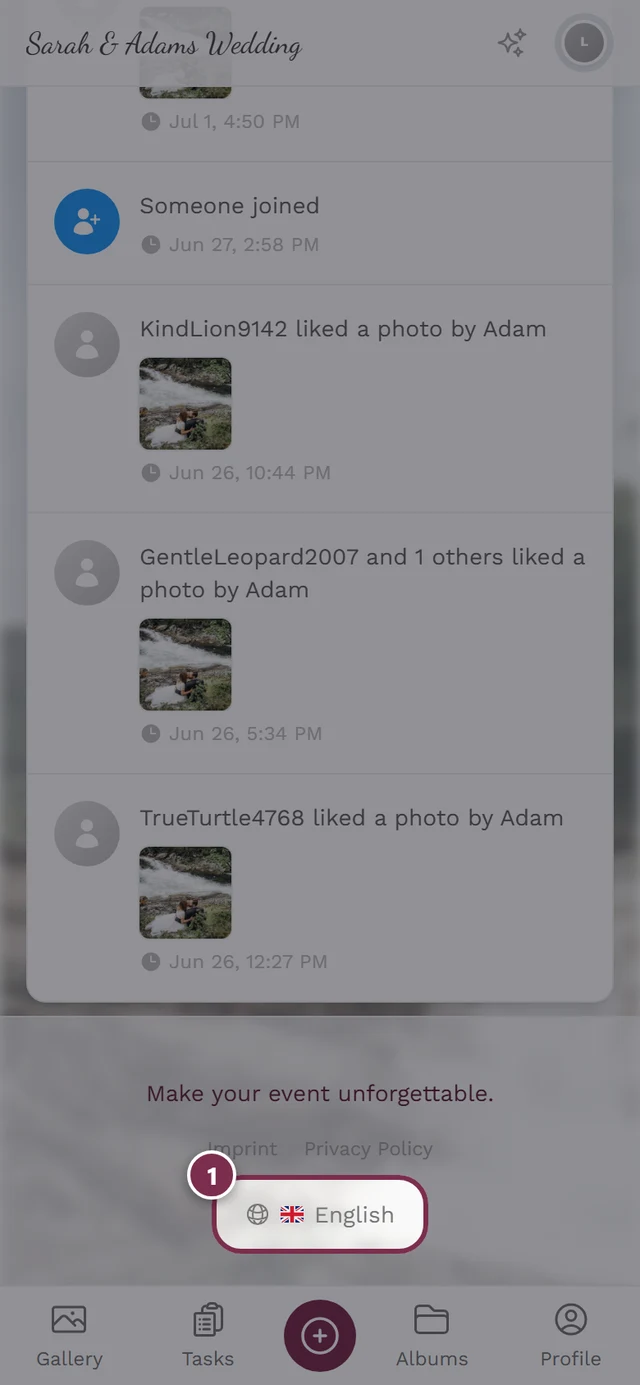
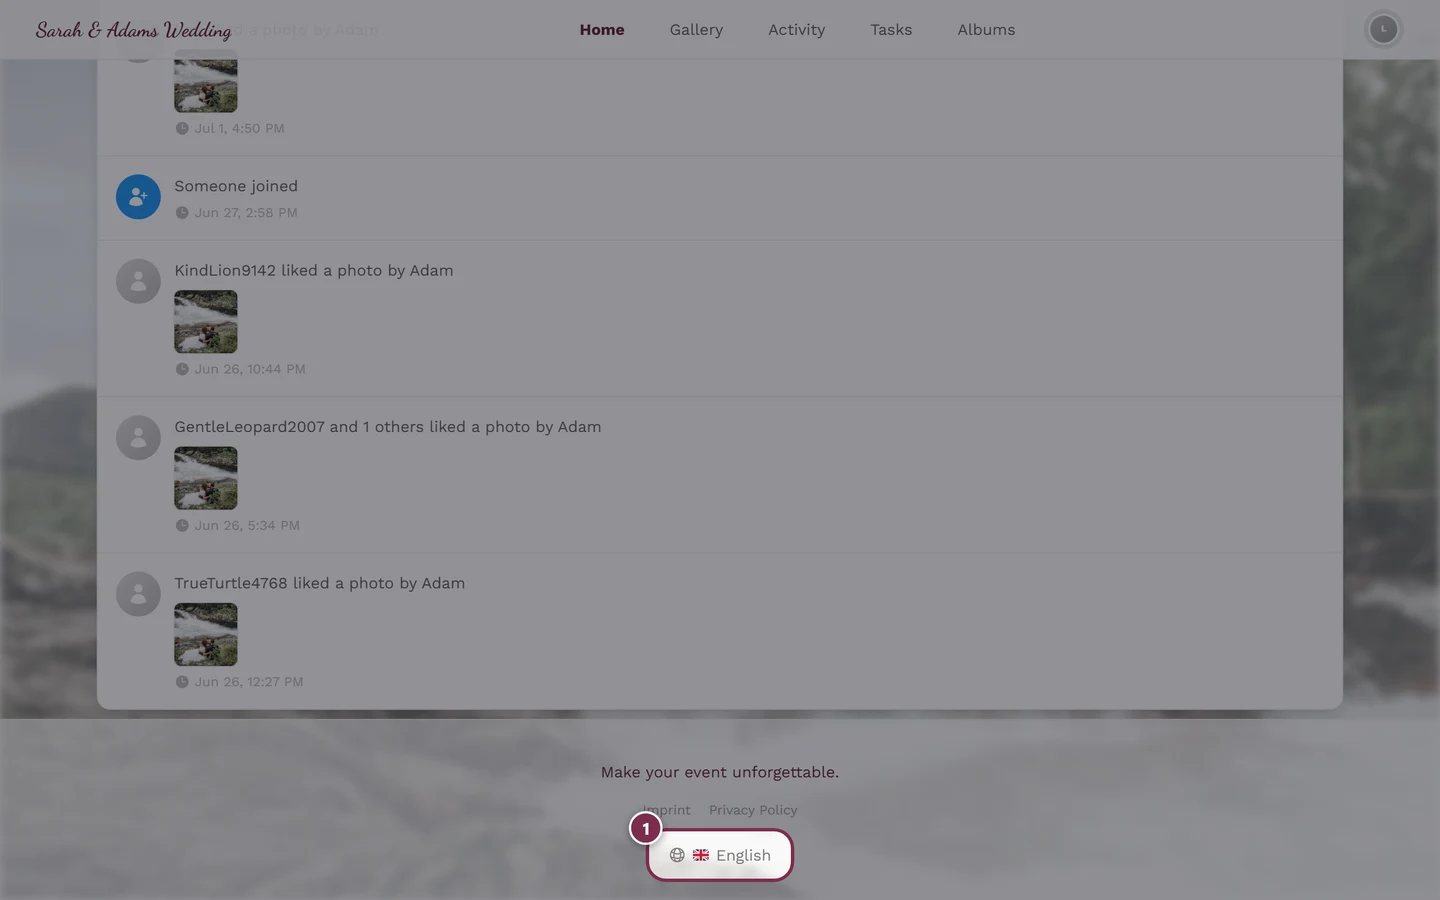
The language button at the bottom of the footer always shows your current language. -
Tap it. The language dialog opens with the available languages.
-
Tap your language. The gallery switches right away and the dialog closes automatically.
Option 2: Via the profile menu
Section titled “Option 2: Via the profile menu”This way works from anywhere, without scrolling to the bottom of the page.
-
Tap your profile picture (the avatar) in the top right. The profile menu opens.
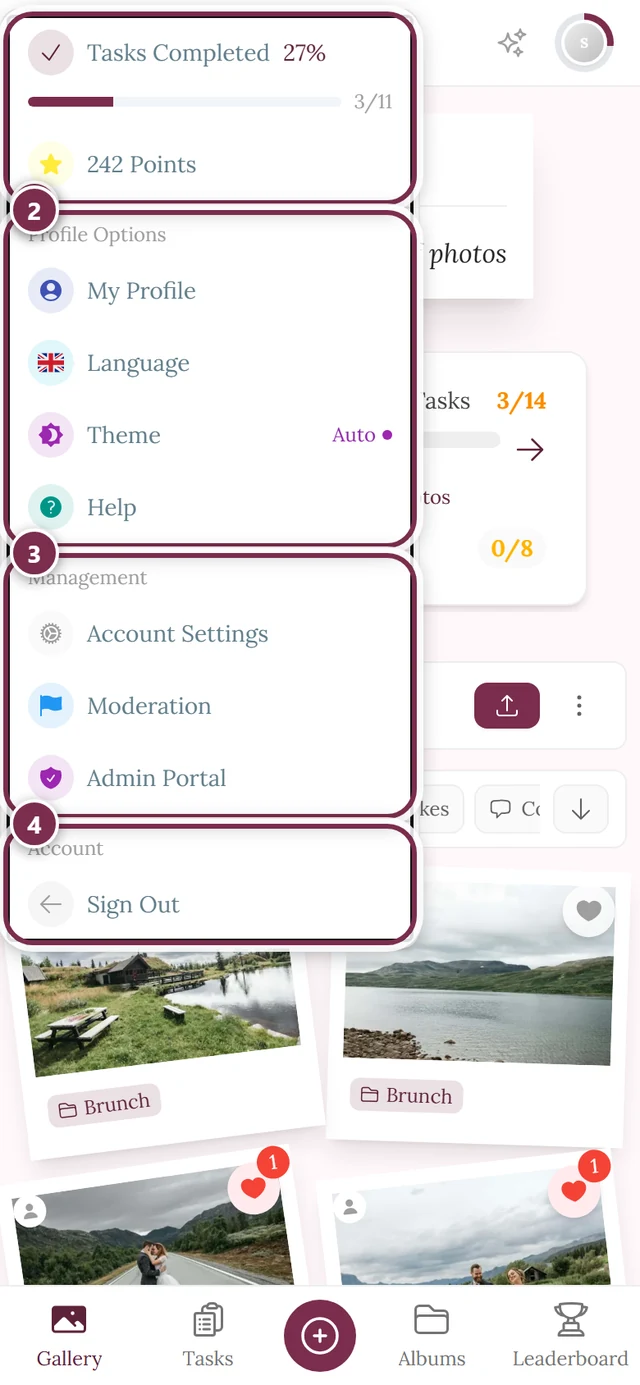
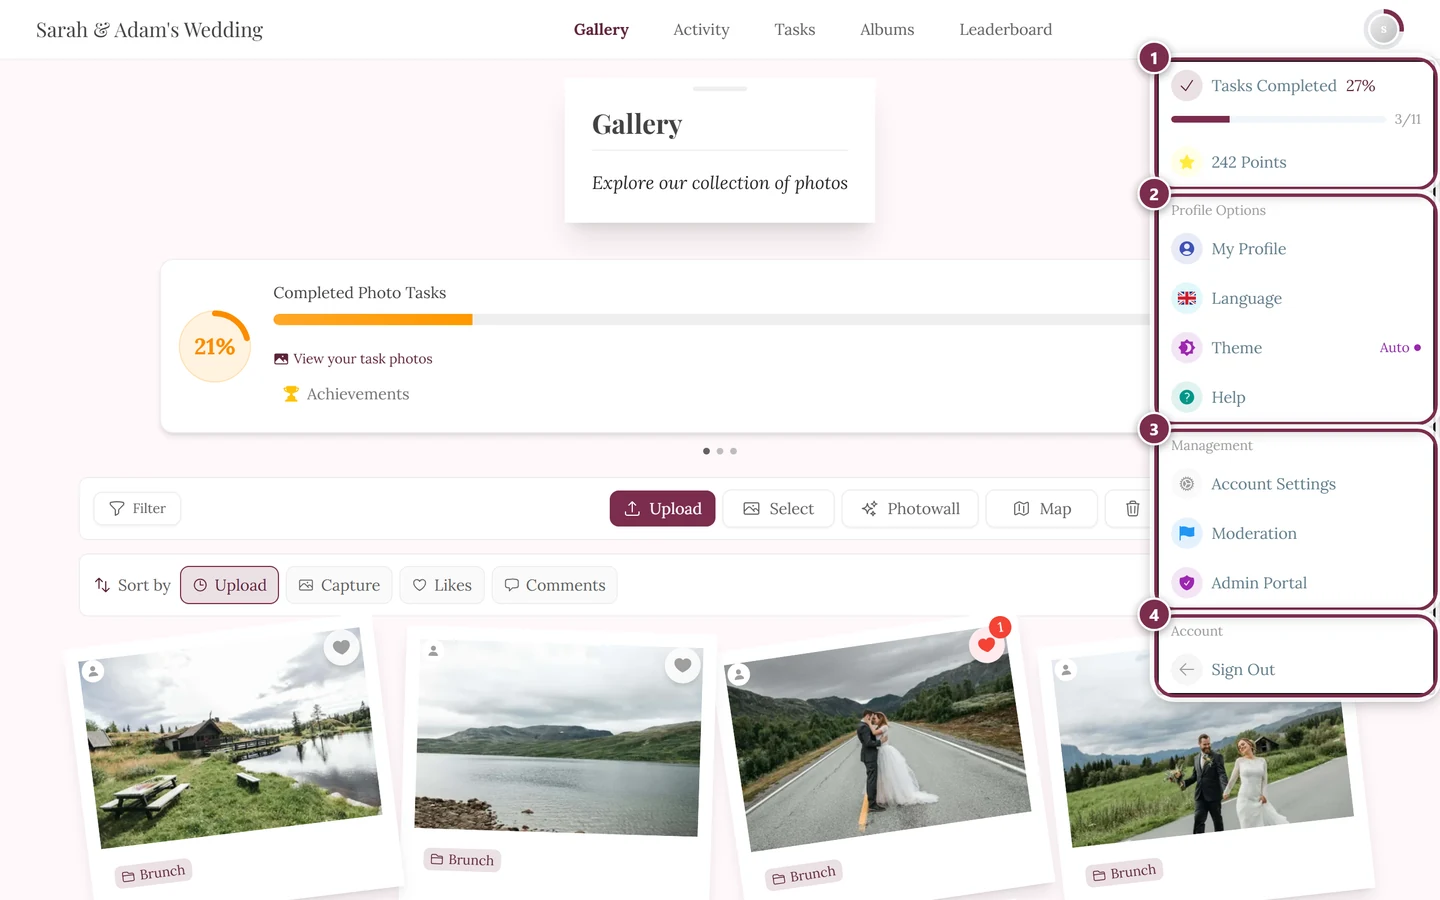
In the profile menu you will find the Language entry under Profile Options. ① your points and solved tasks, ② Profile options with My Profile, Language, Theme and Help, ③ Management with Account Settings, Moderation and Admin Portal – this section is missing until you hold a role for it, ④ Account with Sign out. -
Under Profile Options choose Language. A small flag icon in a cyan circle shows which language is currently active.
-
In the language dialog, tap the language you want – done.
Option 3: On the join page itself
Section titled “Option 3: On the join page itself”You do not have to be in the gallery first: the welcome screen Welcome to Our Gallery – the page with the password field and the nickname – already has a language switcher.
-
Open the event link or scan the QR code. You land on the join page.
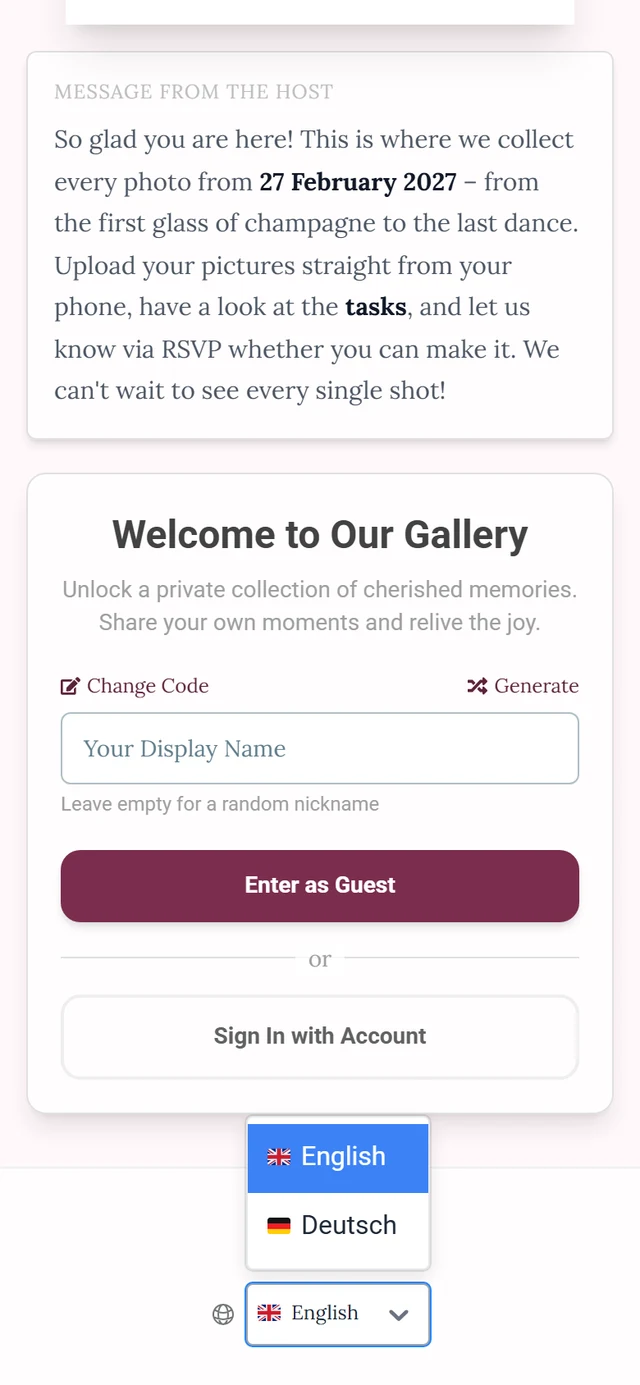
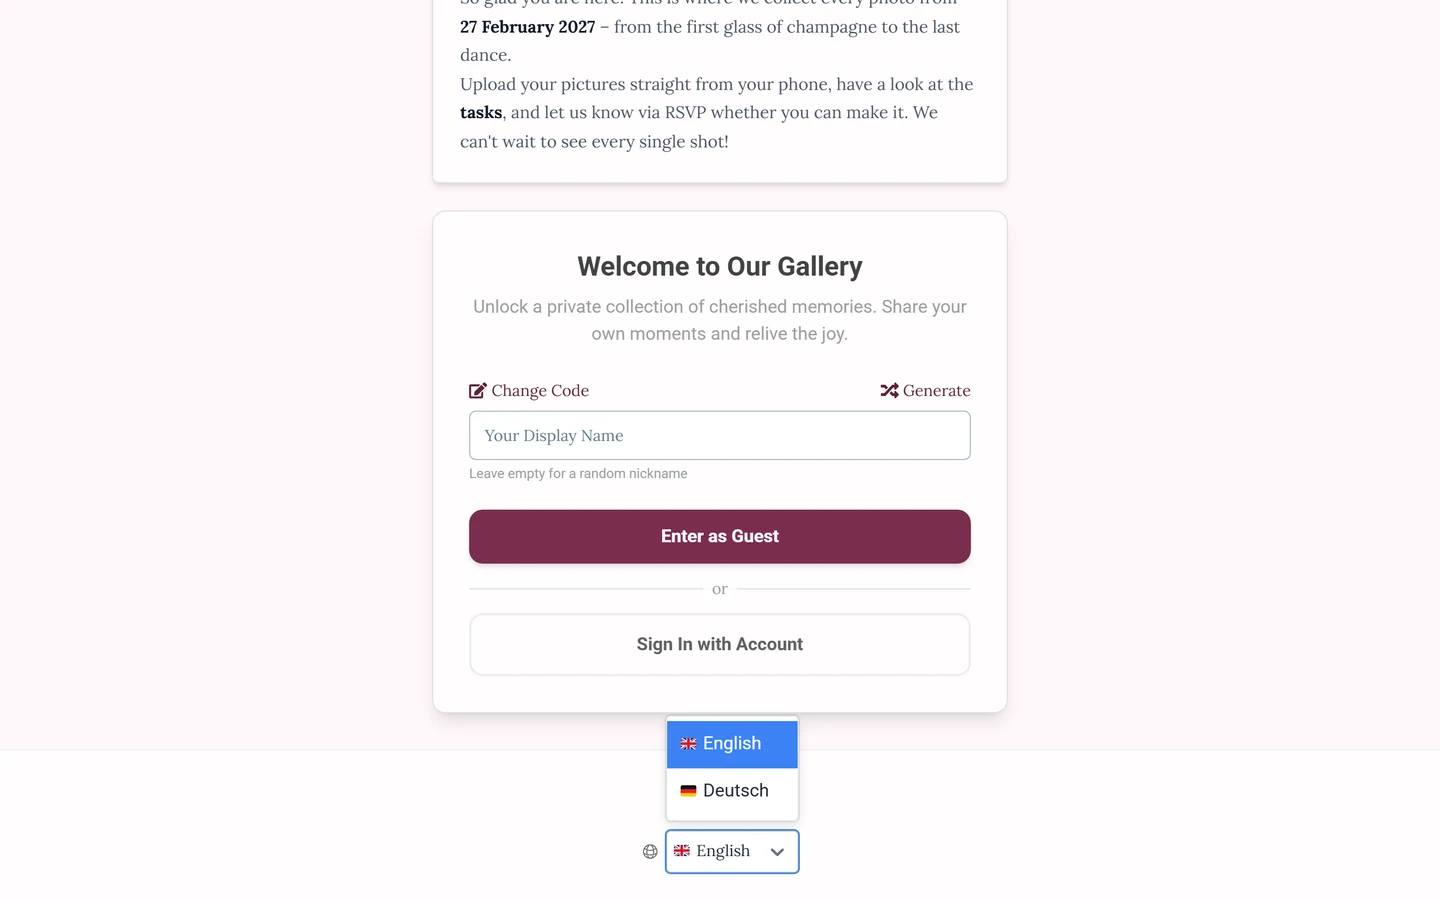
At the very bottom of the footer: globe icon, the current language – and the opened list. -
Look at the very bottom footer. On branded events it hangs below the card (under the year line and “Powered by Photogala”); without branding it sits inside the card, right under the Secured by note. Either way, a globe icon with the current language sits next to it.
-
Tap it. A compact drop-down list opens right above the field – not the big language dialog you get inside the gallery. Pick your language: the page switches immediately, you stay on the join page and nothing you already typed is lost.
Option 4: Via the address (URL)
Section titled “Option 4: Via the address (URL)”The current language sits right in the address, for example photogala.net/en/@wedding-demo versus photogala.net/de/@wedding-demo. Swap the language segment by hand (/en/, /de/, /nl/, /fr/, /es/, /hu/, /it/, /pl/, /tr/, /ja/, /pt/, /hi/) and the same page loads in the other language. That is exactly what the language dialog does – it leaves the rest of the link untouched.
The language dialog in detail
Section titled “The language dialog in detail”Options 1 and 2 always open the very same dialog. Its title is Language Selection and its subtitle is “Choose your preferred display language for the interface”. The join page (option 3) has no such dialog – there only the plain drop-down list next to the globe opens.
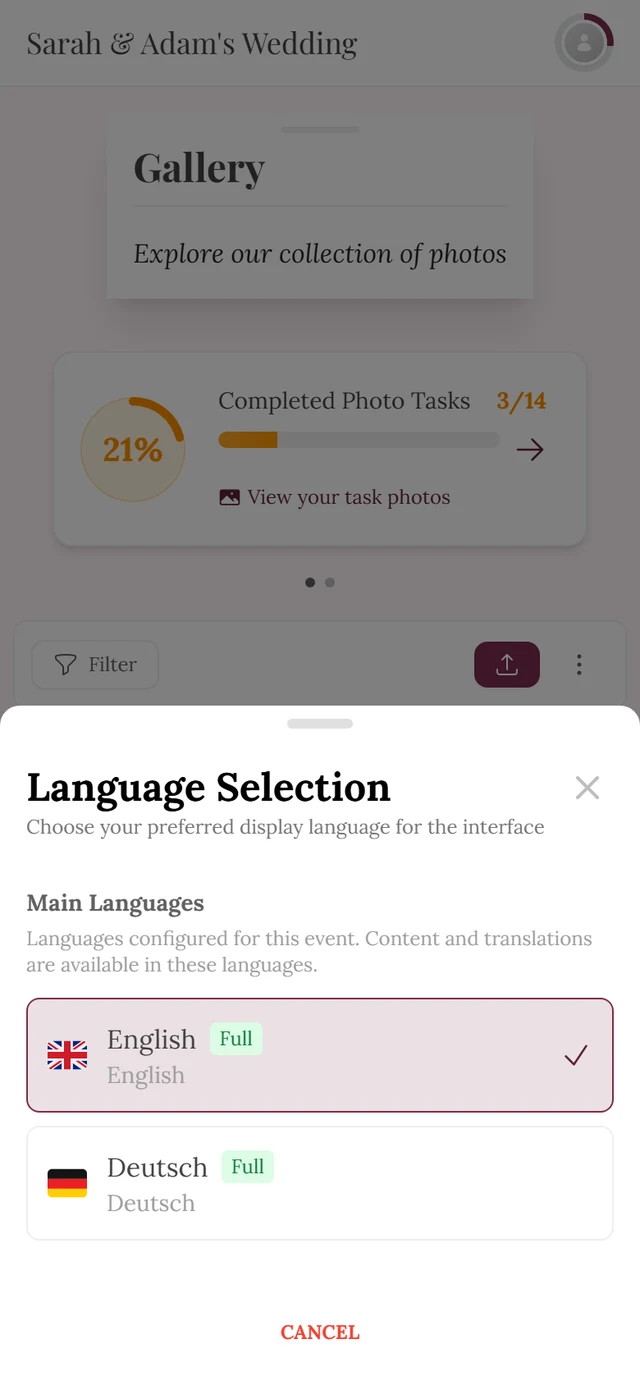
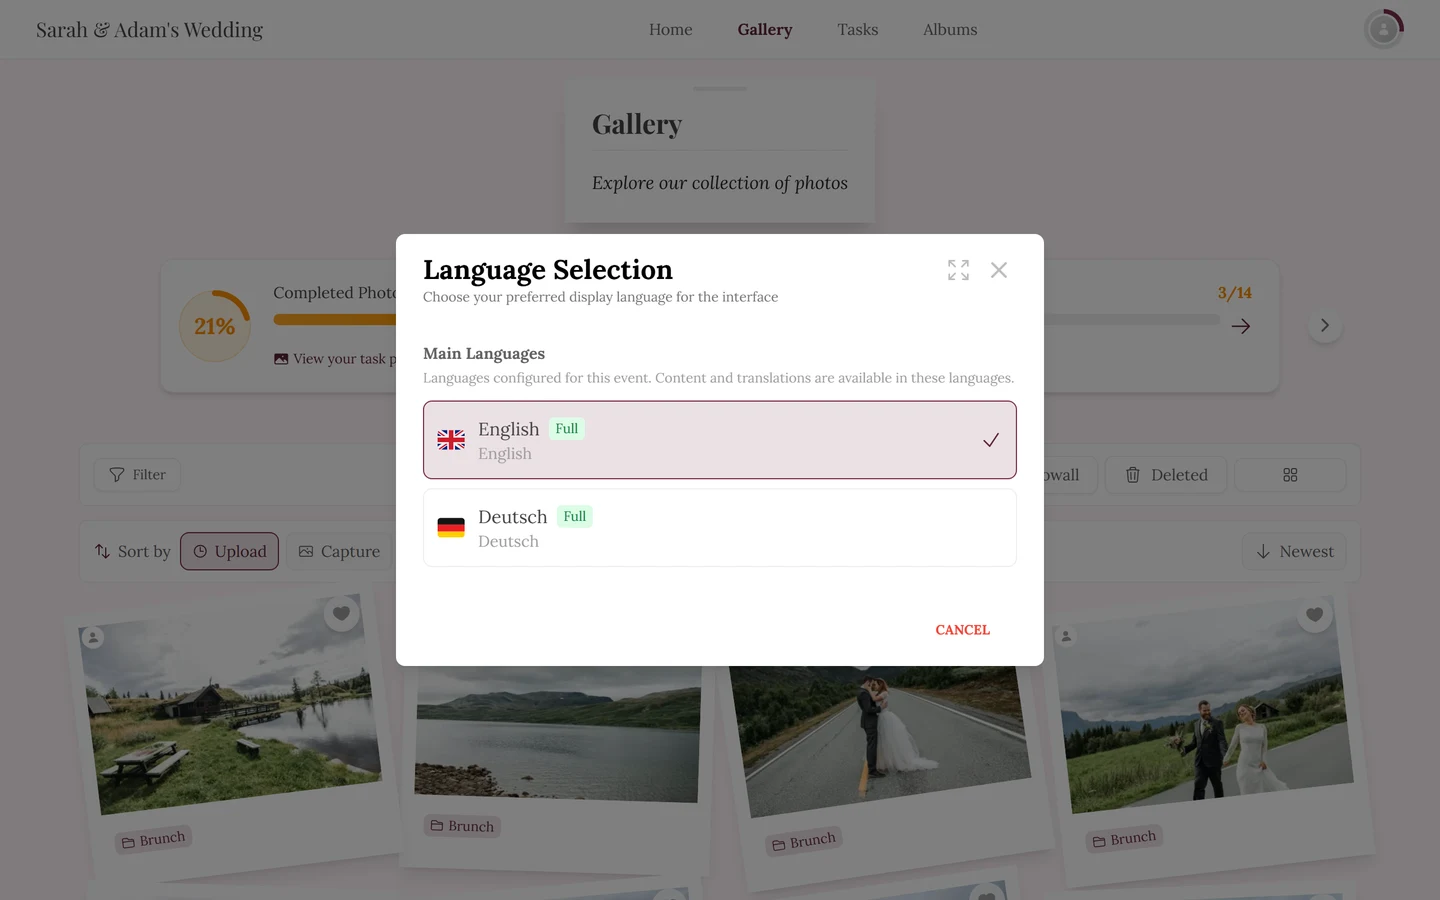
- Current language: Your currently selected language is marked with a colored border and a checkmark. Tapping it again simply closes the dialog – nothing else happens (no reload).
- Selecting: Tap another language. The switch usually happens instantly. Only if saving takes a moment does a small spinner appear next to the row, with the other entries (including the Cancel button) briefly grayed out.
- Cancel: In the bottom right, the red text button Cancel closes the dialog without changing anything.
Main languages vs. additional languages
Section titled “Main languages vs. additional languages”If the host set up several languages for the event, the dialog splits the choices into two groups – marked with small badges:
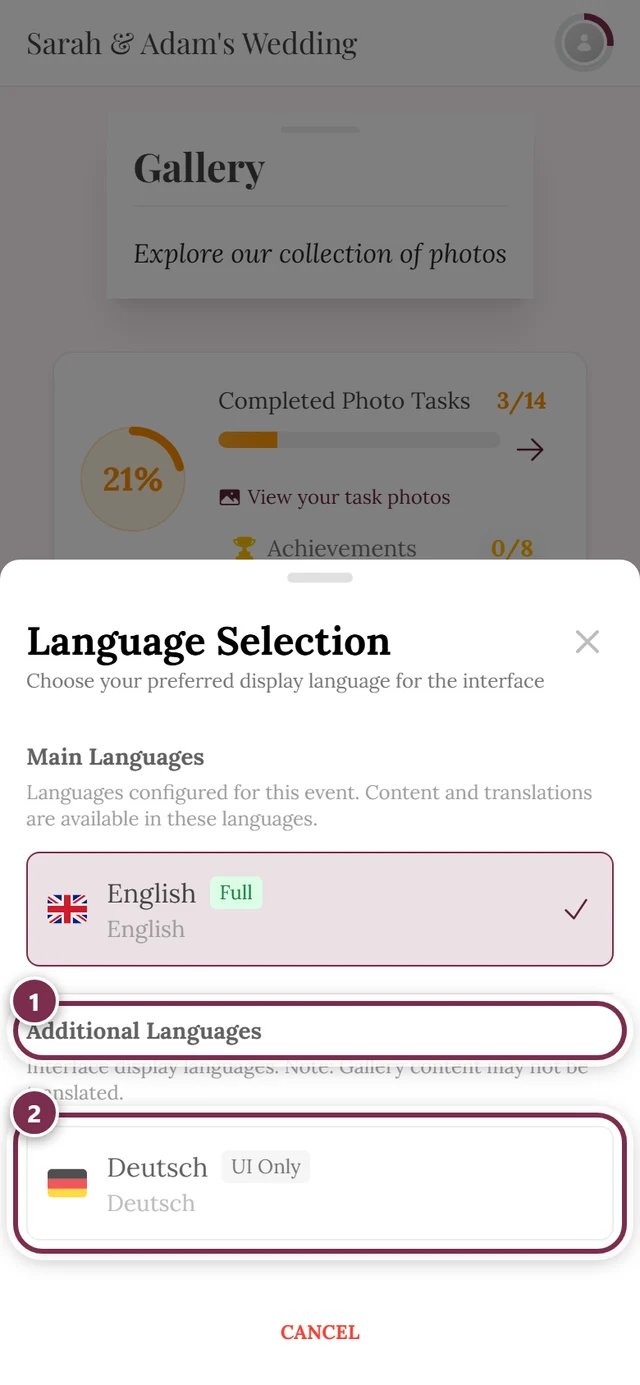
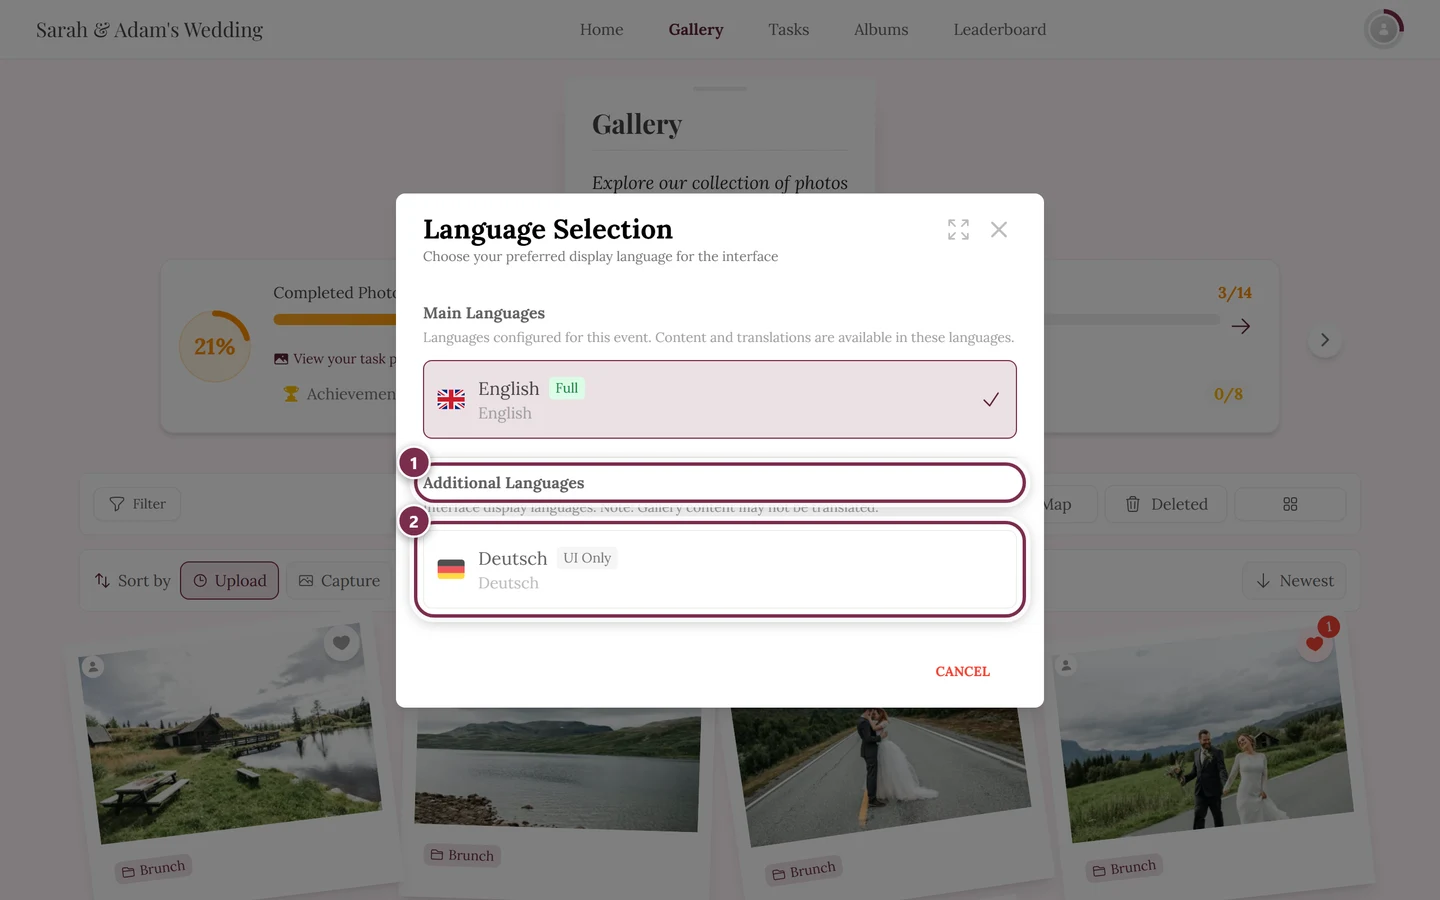
- Main Languages with a green Full badge: These are the languages the host configured for this event. Here the content is translated too – gallery title, about text and challenge texts, not just the interface.
- Additional Languages with a gray UI Only badge: These are extra languages for the interface only. Menus and buttons switch to your language, but the event content stays in its original language.
A divider separates the two groups. If the host set up only a single language, there are no separate groups with badges – the available languages simply appear in one list.
What exactly gets translated
Section titled “What exactly gets translated”It helps to know what moves with a language switch and what does not:
- Interface (menus, buttons, system texts): always switches to the chosen language – even for “UI Only” languages.
- Event content (gallery name, about text, challenge texts): only translated if the host has provided a translation for that language. So: main language = fully translated, additional language = interface only.
- Text entered by guests (comments, nicknames, challenge answers): always stays in the original and is never translated automatically.
Your choice is remembered
Section titled “Your choice is remembered”- In the address (URL): The current language sits in the path (
/en/,/de/,/nl/,/fr/,/es/,/hu/,/it/,/pl/,/tr/,/ja/,/pt/or/hi/). When switching, the dialog only swaps that segment and leaves the rest of the link untouched. - On your first visit: If you open a gallery without a language segment, Photogala automatically detects your browser language or a previously remembered language.
- On your next visit: Your last chosen language is saved on your device – the gallery then starts in the same language again.
- Signed-in users: Your choice is also saved to your account, so it carries across devices on your next login. If saving ever fails, the interface still stays in the chosen language.
Setting the language permanently in your account
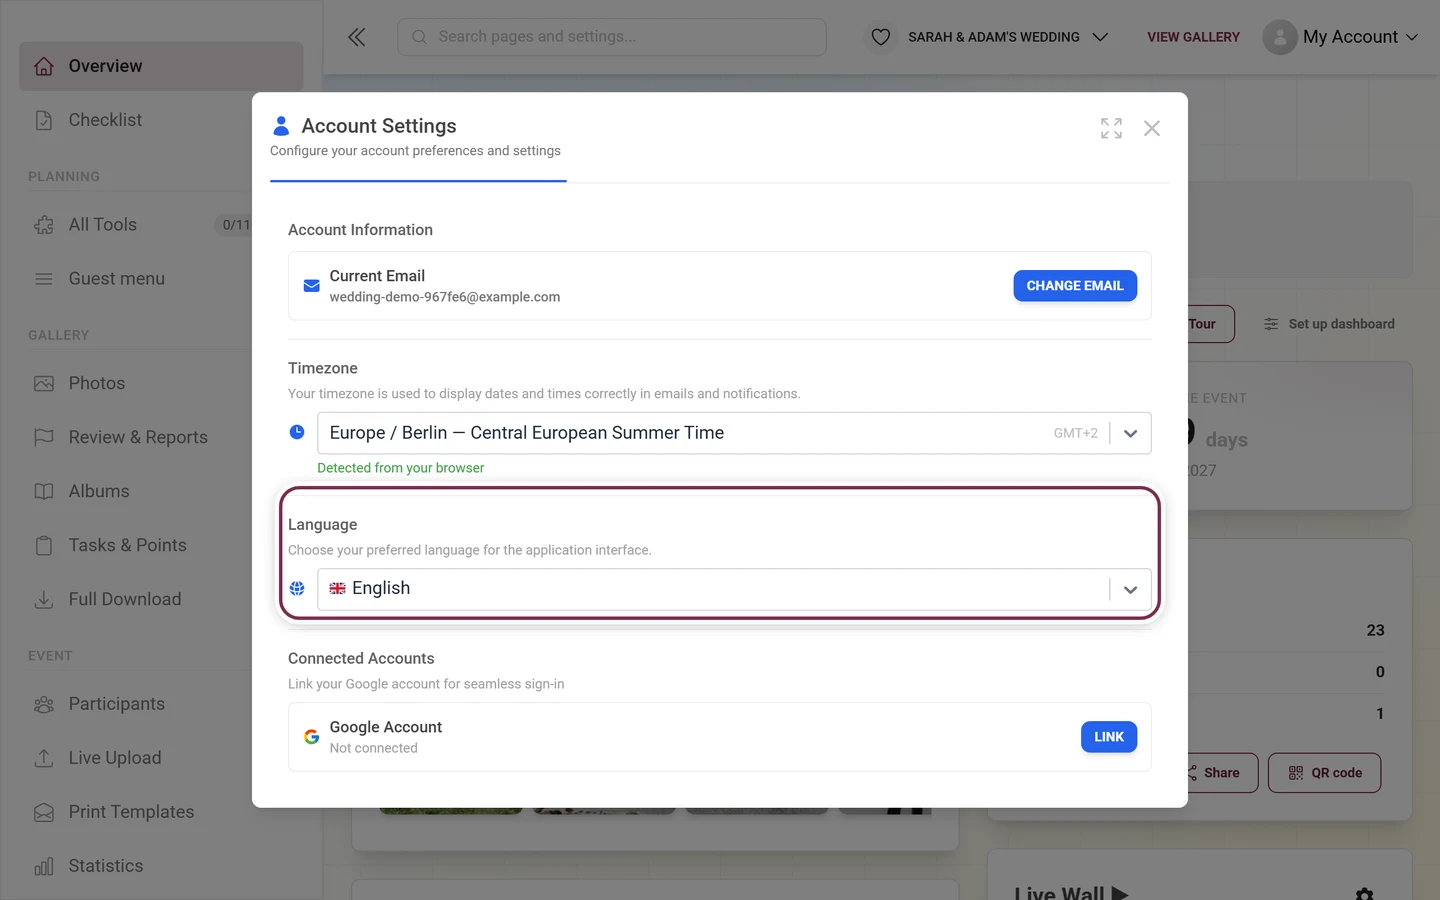
Section titled “Setting the language permanently in your account”With a registered account you can also set the language directly there instead of switching it through a dialog:
-
Tap the avatar at the top right and pick Account Settings in the Management section.
-
Stay on the General tab and scroll to the Language section: “Choose your preferred language for the application interface.”
-
Pick your language in the selector. It applies immediately and is stored in your account.
For hosts and moderators
Section titled “For hosts and moderators”When something goes wrong
Section titled “When something goes wrong”Related topics
Section titled “Related topics”- Solving challenges – challenge texts are translated in the main languages.
- Sharing – shared links include the language prefix.
- Guest or account – as a signed-in user your language is remembered in your account.
- Your profile – how to reach the profile menu in the top right.
- Navigation – overview of the footer, profile menu and role-based areas.