RSVP – Collect confirmations
With RSVP your guests confirm or decline online – and the answers land in your guest list automatically. No paper slips, no phone calls, no manual matching.
What makes RSVP different
Section titled “What makes RSVP different”RSVP behaves differently from most tools:
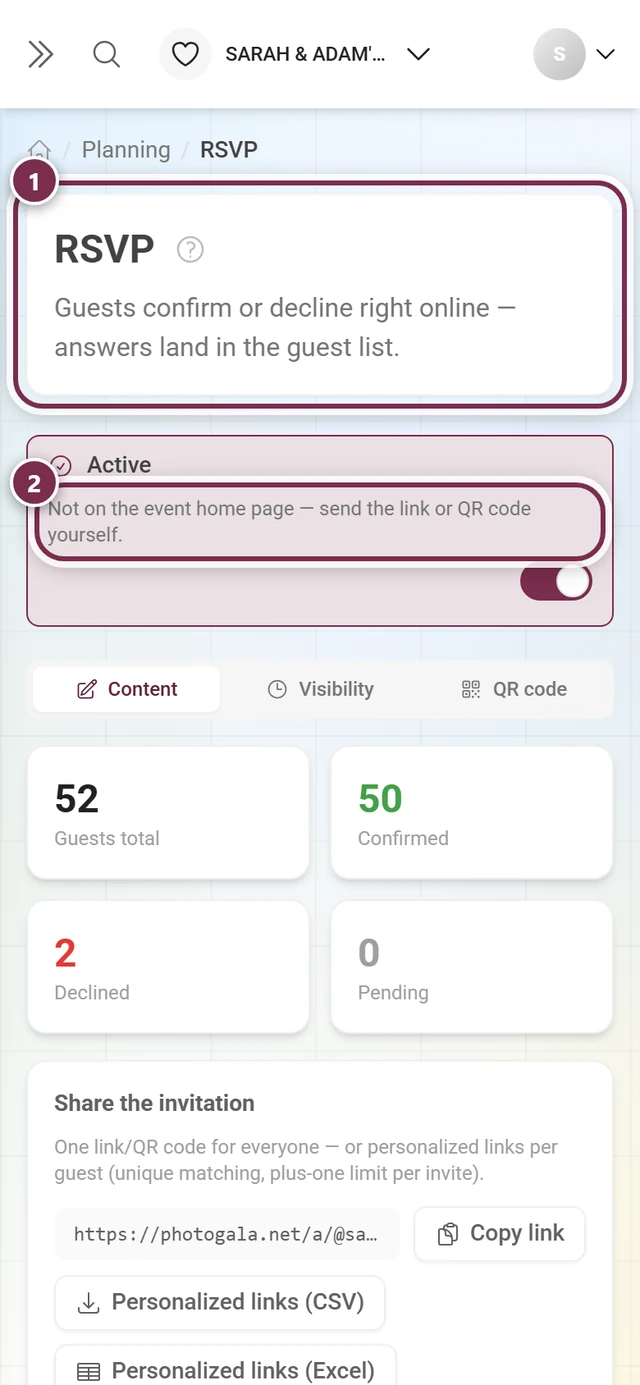
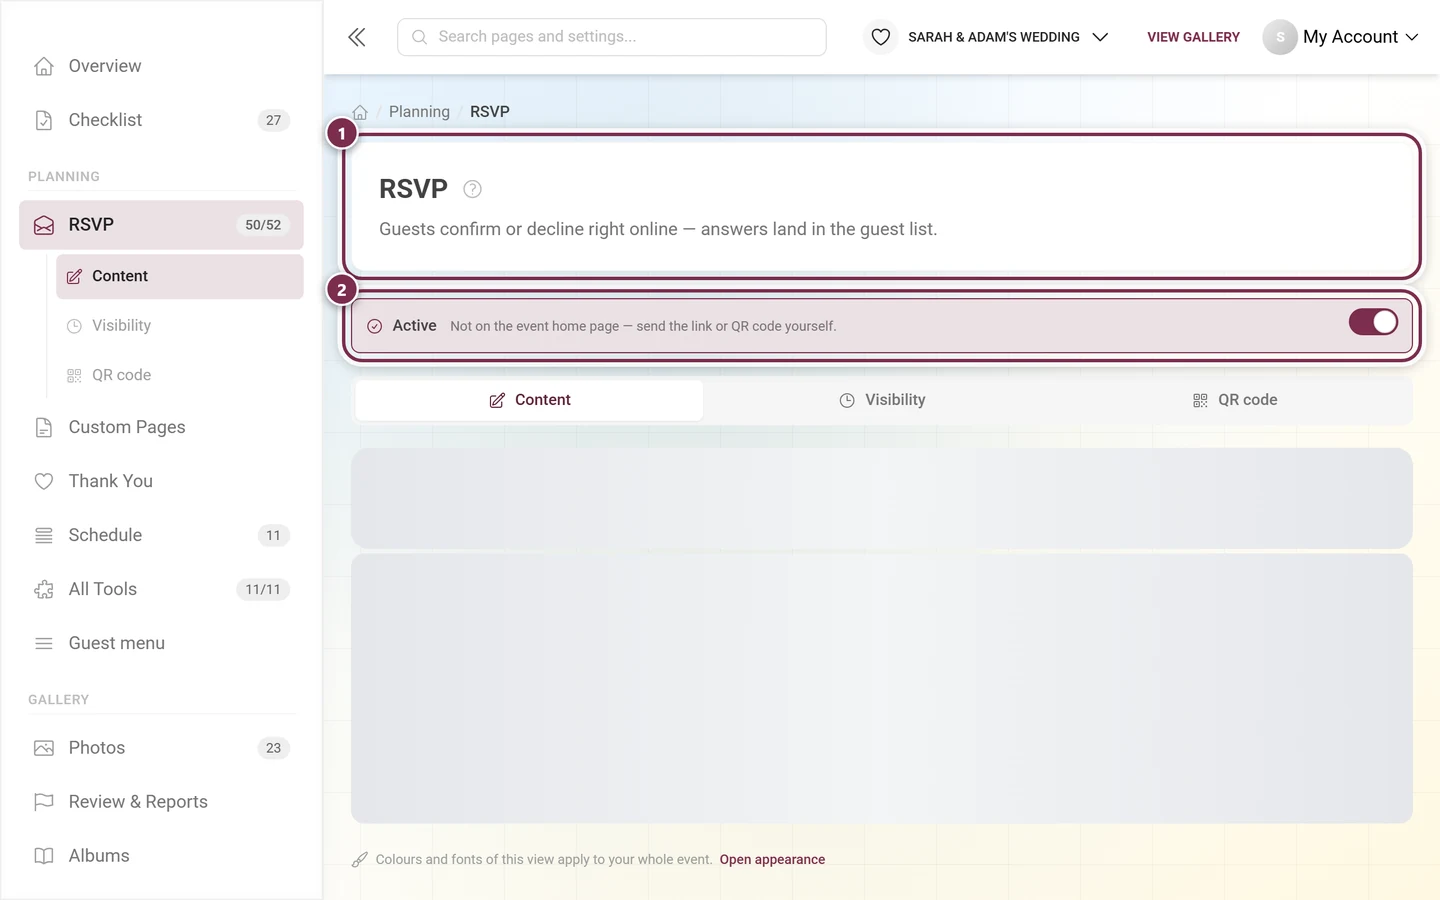
- It does not appear on the event home page – neither as a widget nor in the guest menu. That is why the tile carries
Direct link onlyat the bottom – no longer a chip, but part of a dot-separated line of text – and why the editor has no Display tab. Unlike the digital invitation, RSVP cannot be added to the guest menu later either; that switch does not exist here. - You send it out actively: as a link or QR code, on your invitation card for example.
- Your guests only see the form, without gallery navigation around it.
- The visibility window is the response window – once it closes, the form is closed.
Where to find RSVP
Section titled “Where to find RSVP”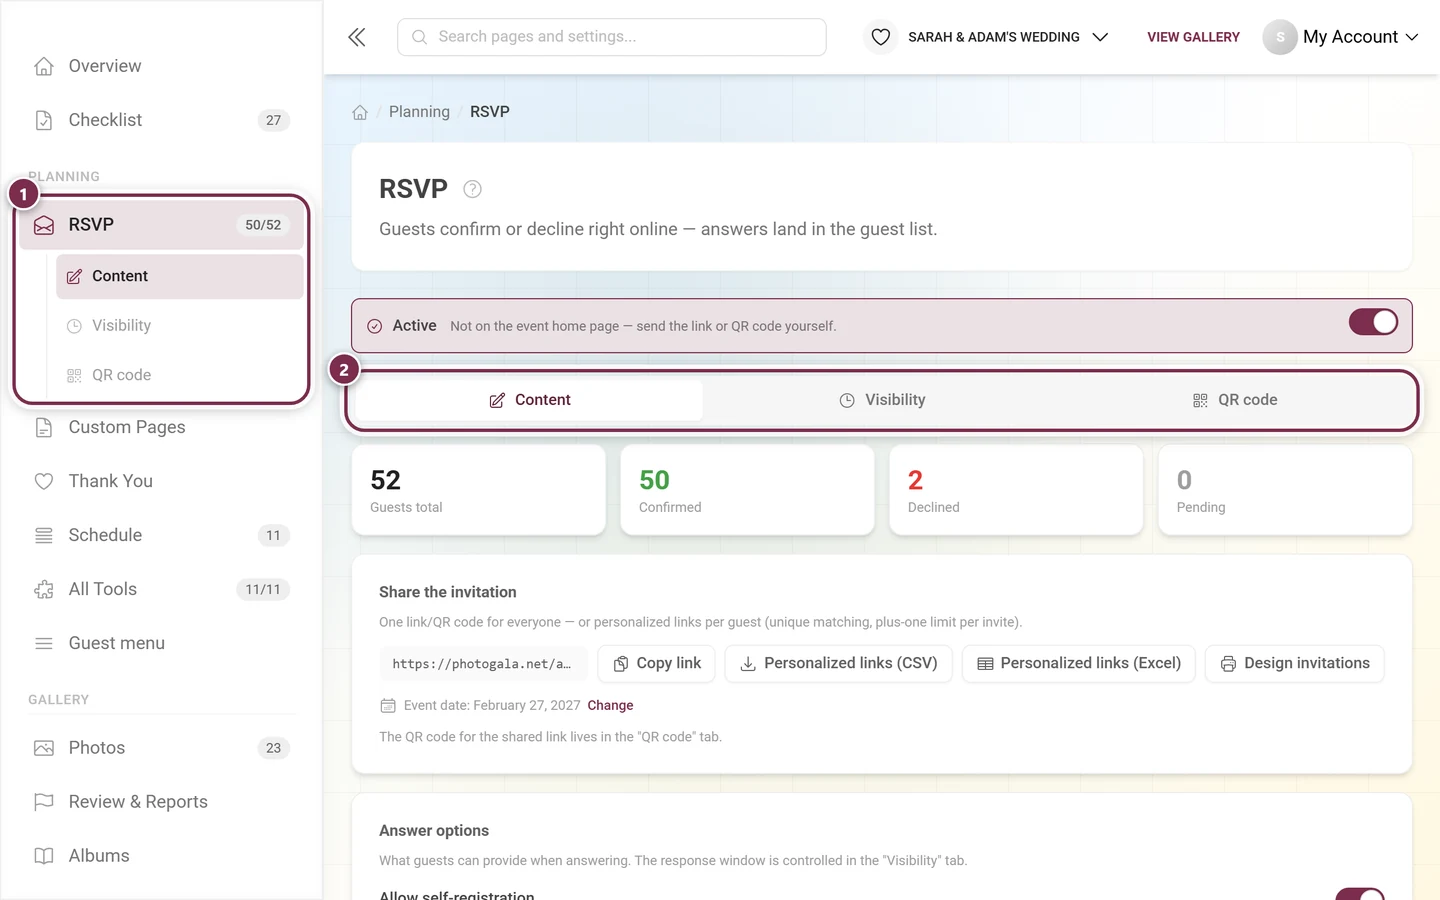
Setting it up
Section titled “Setting it up”-
Open RSVP from the sidebar or via All tools.
-
Switch it on at the top with Enable tool.
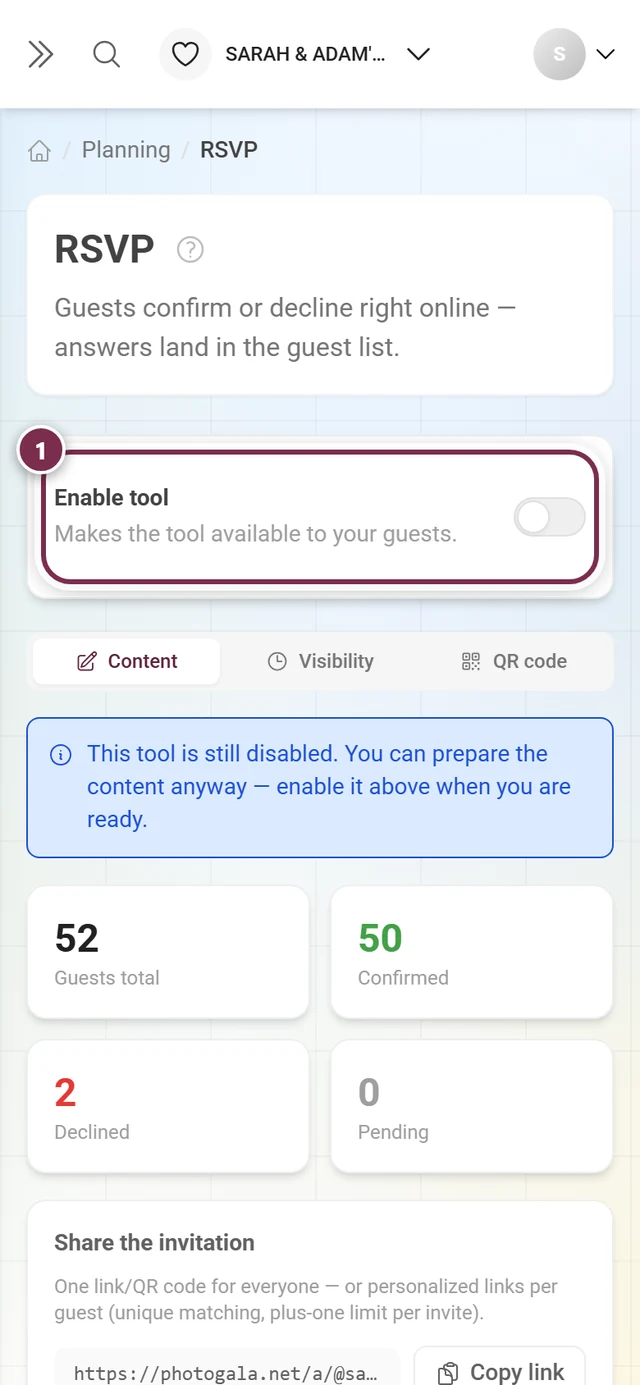
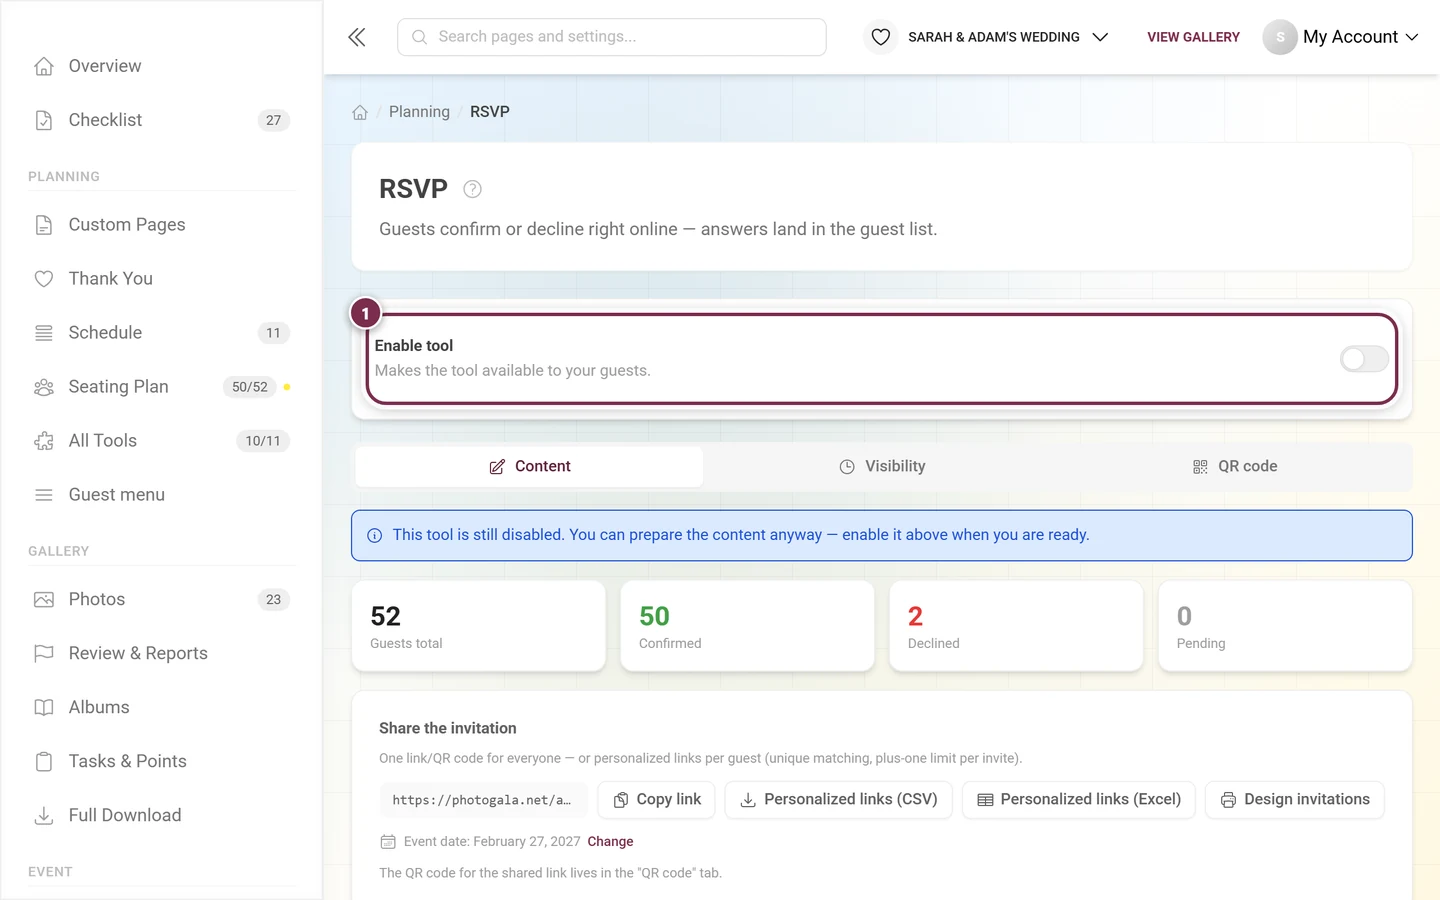
While RSVP is off, the whole card Enable tool – Makes the tool available to your guests. sits at the top. The blue hint below says: “This tool is still disabled. You can prepare the content anyway — enable it above when you are ready.” So you can set everything up in peace and go live at the very end. -
Pick your answer options in the Content tab and add custom questions if you need them. Then hit Save.
-
Set your response window in the Visibility tab.
-
Send out the link – either one shared link for everyone, or personalized per guest.
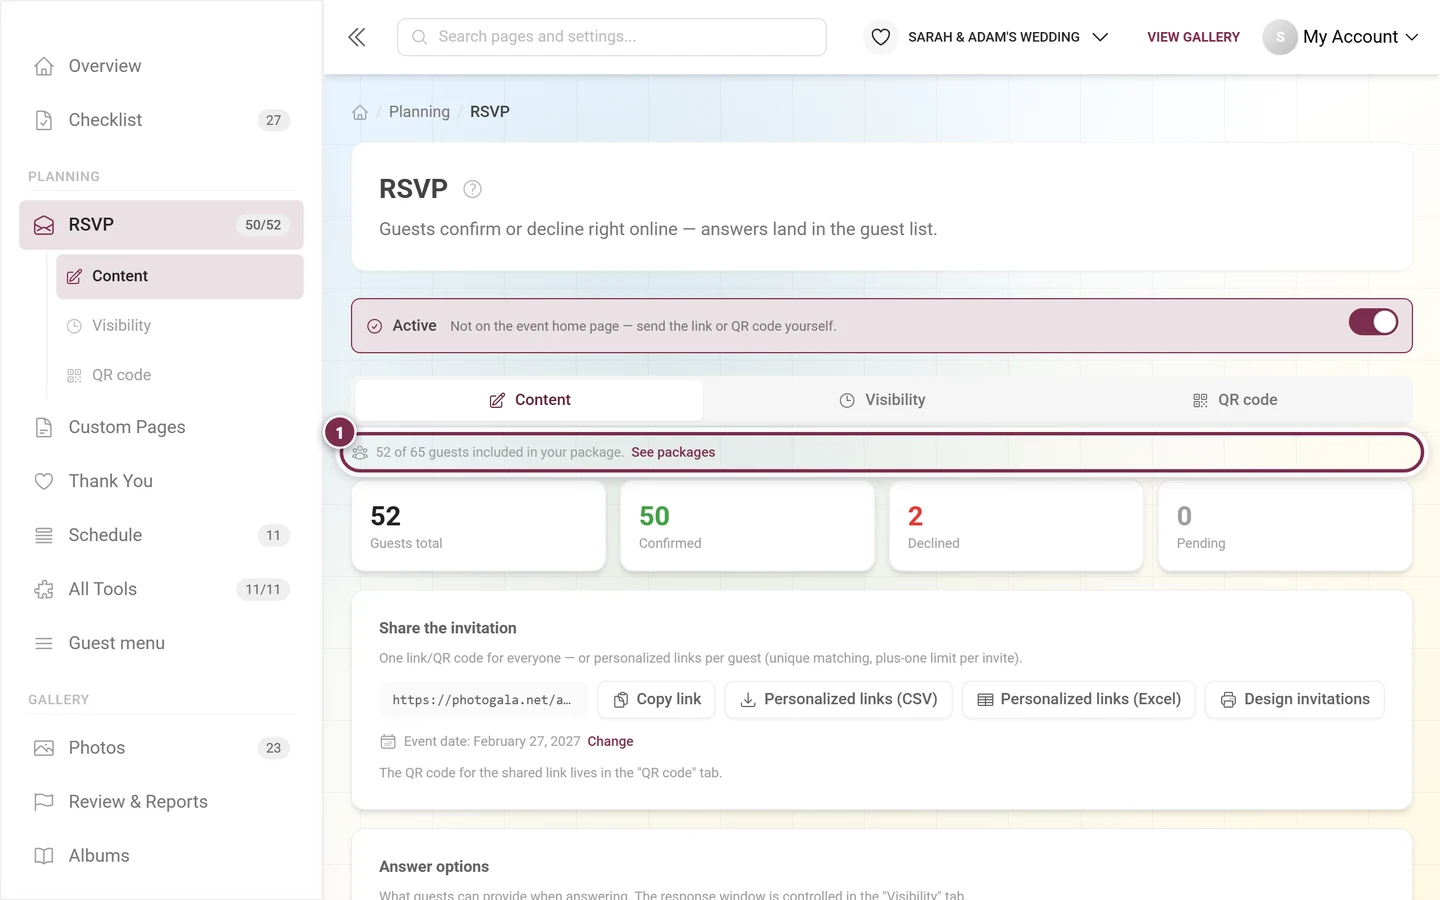
The stats at the top
Section titled “The stats at the top”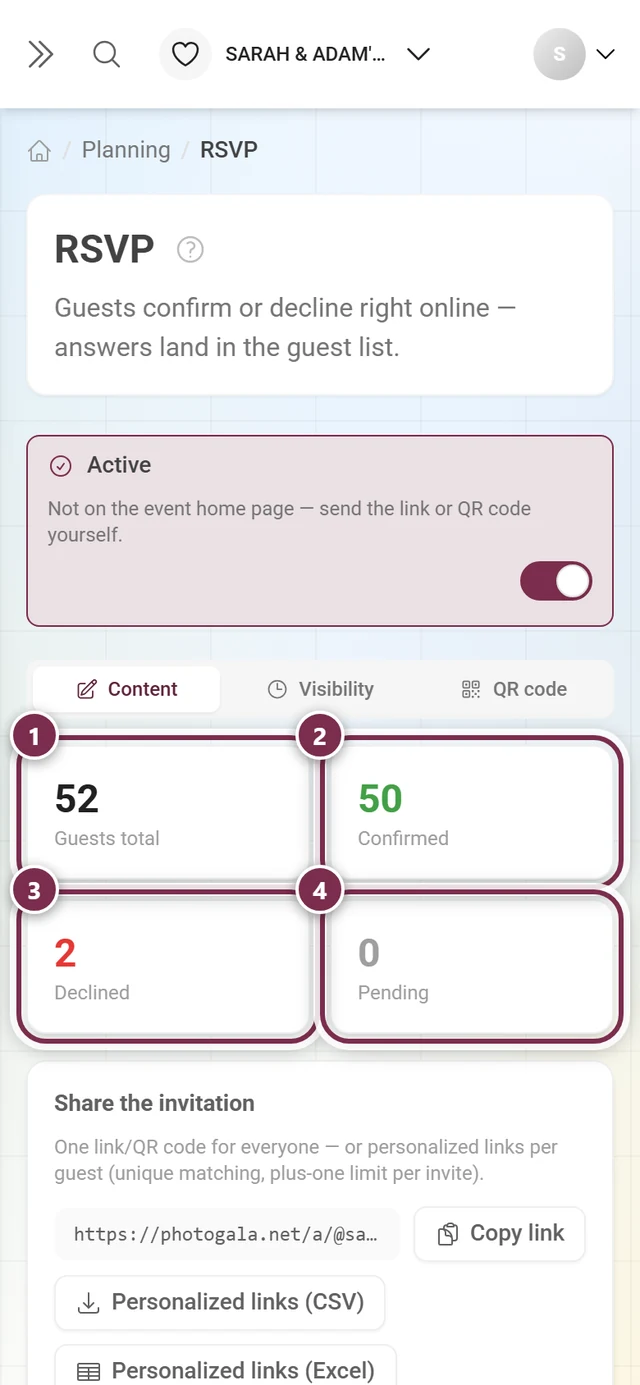
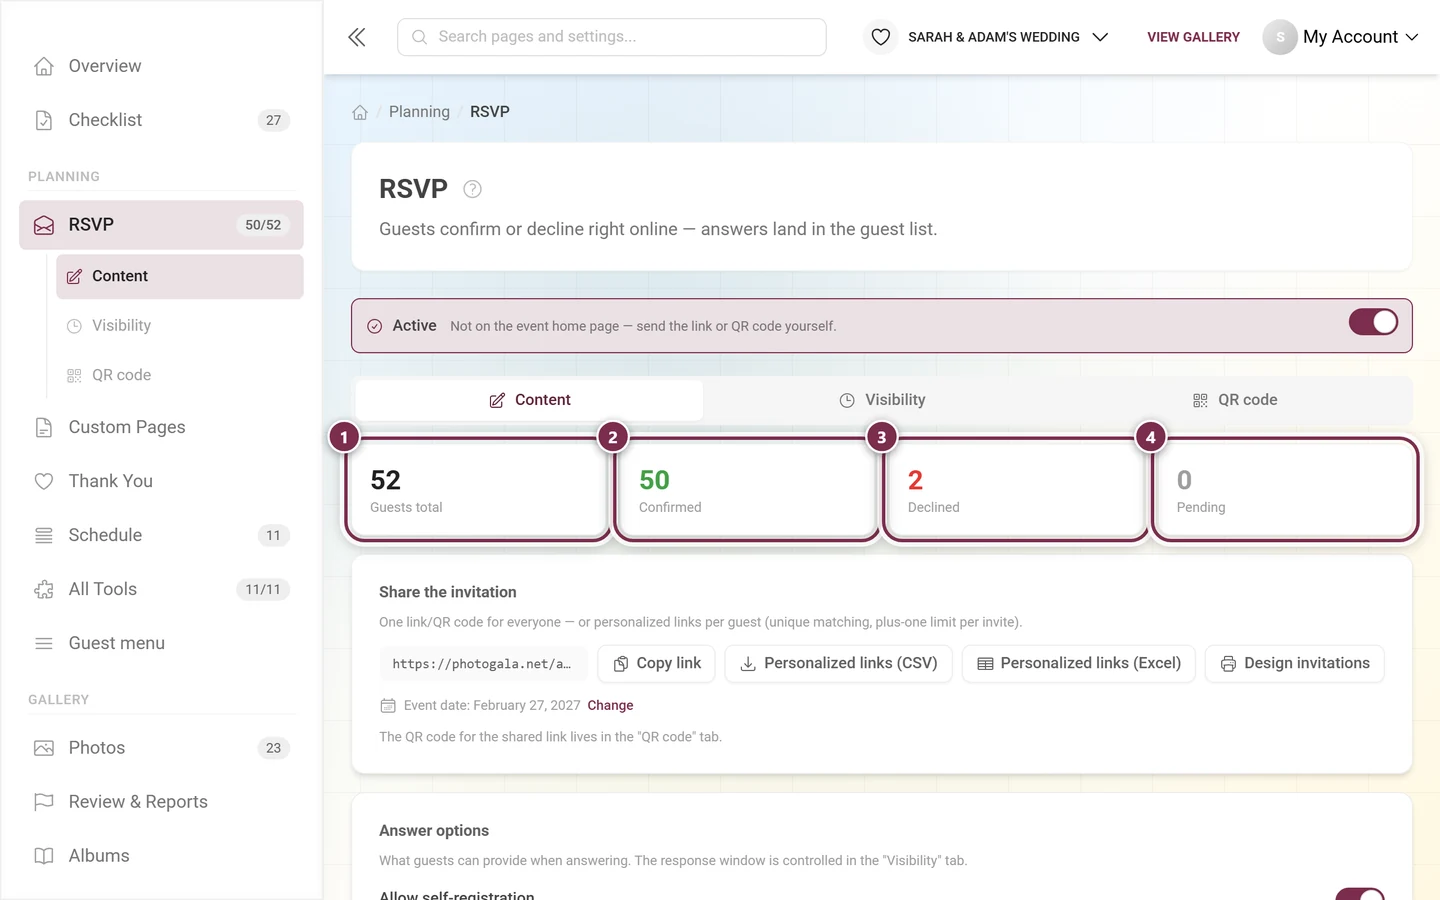
Share the invitation
Section titled “Share the invitation”Everything you need for delivery sits side by side in Share the invitation.
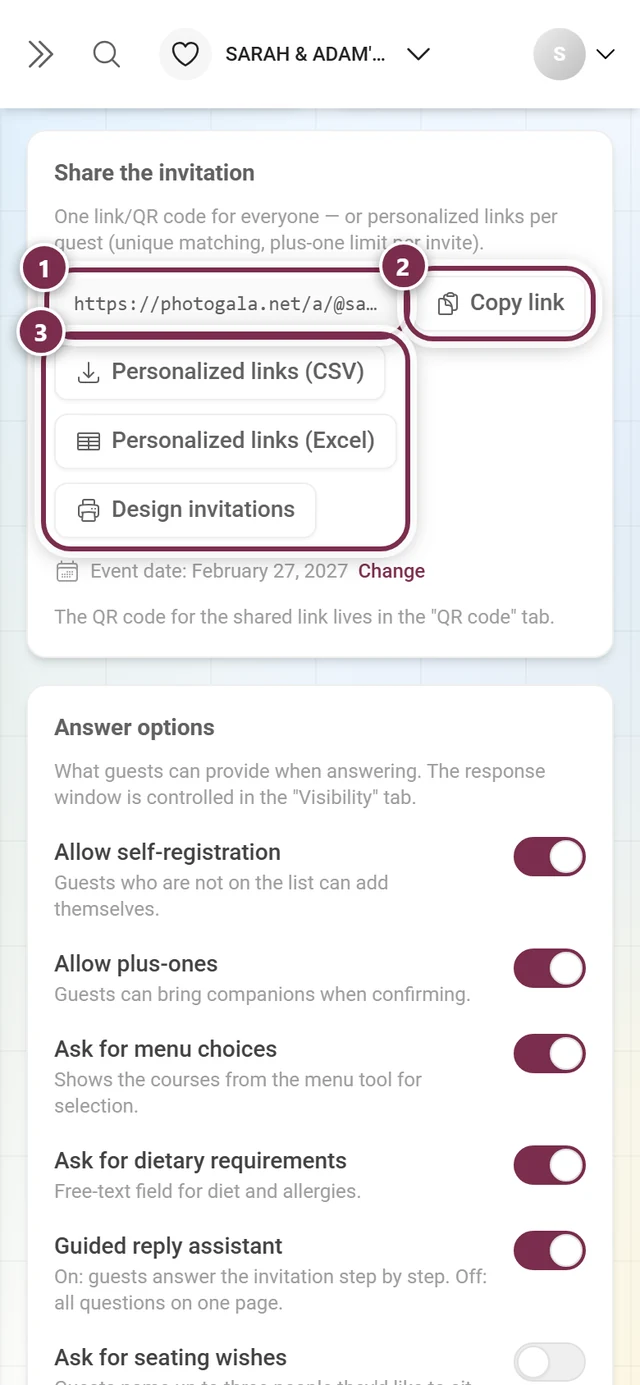
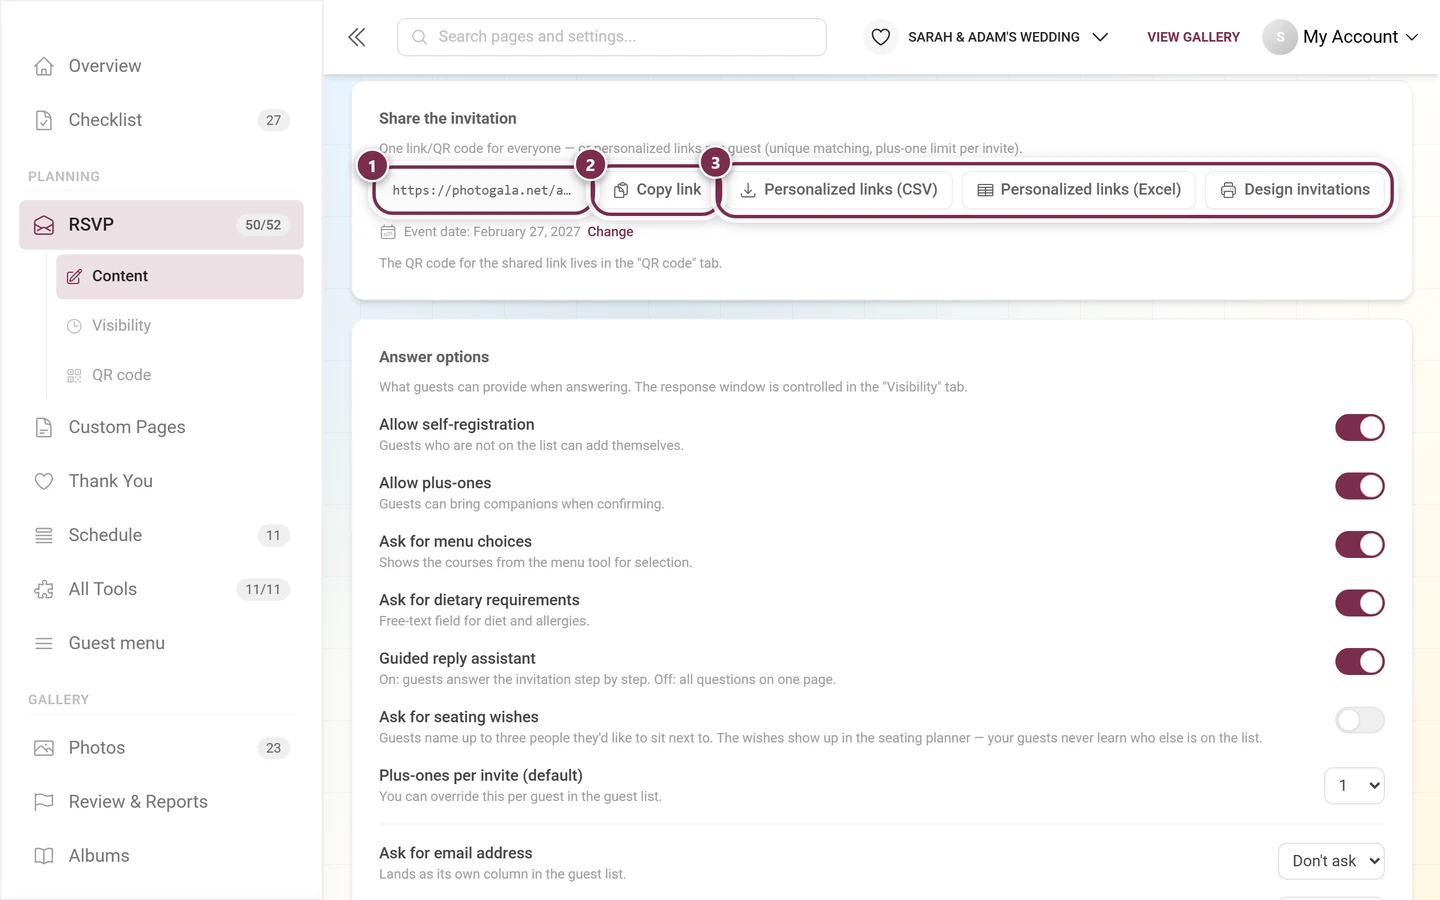
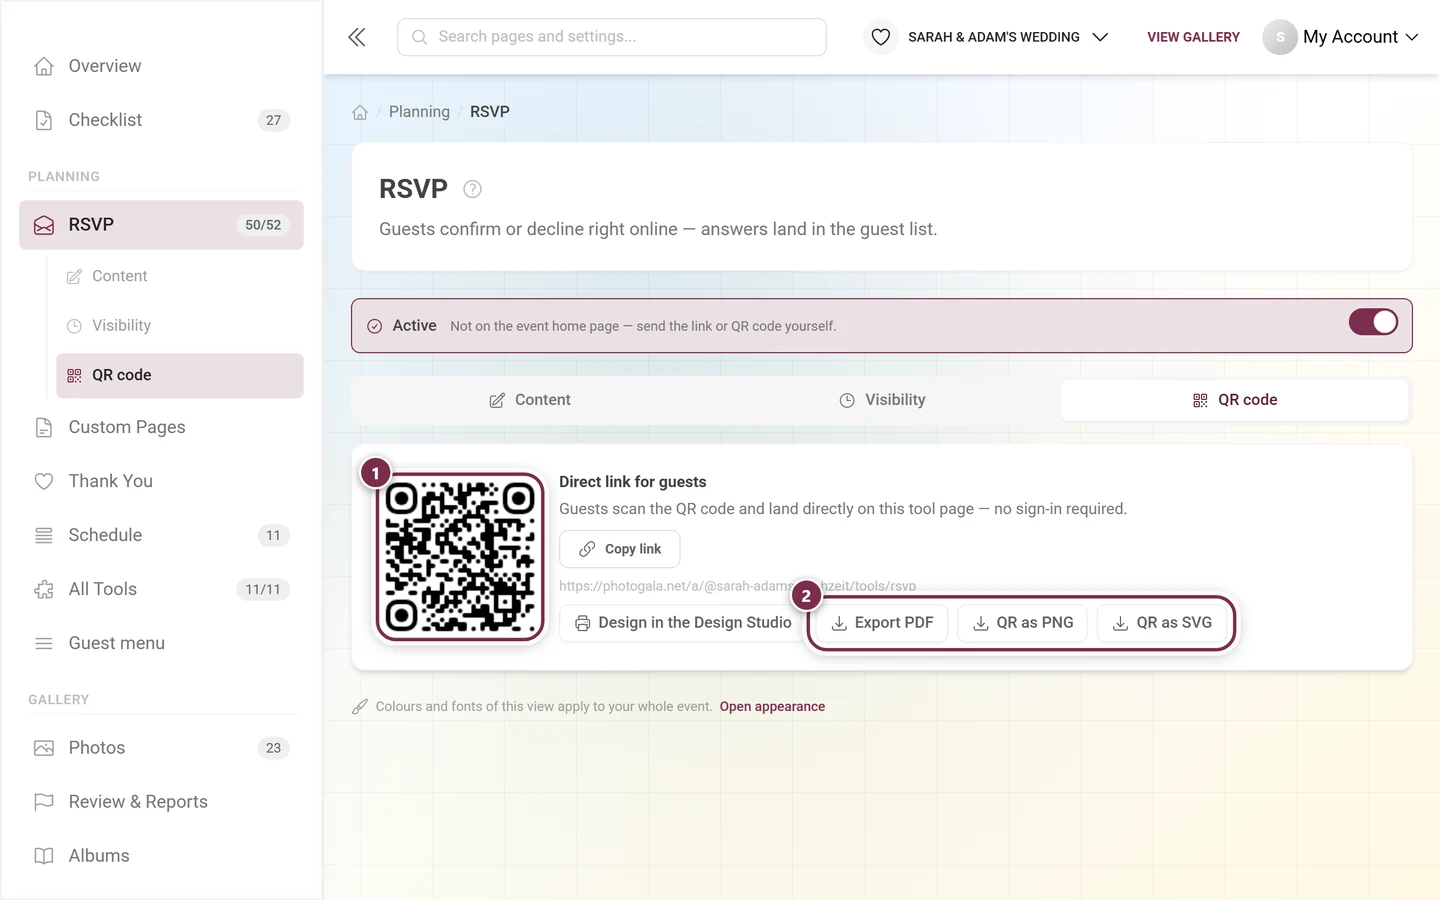
The shared link. The address is right there; Copy link puts it on your clipboard. The same link is available as a QR code in the QR code tab – there also as a PDF poster and ready to be restyled in the Design Studio.
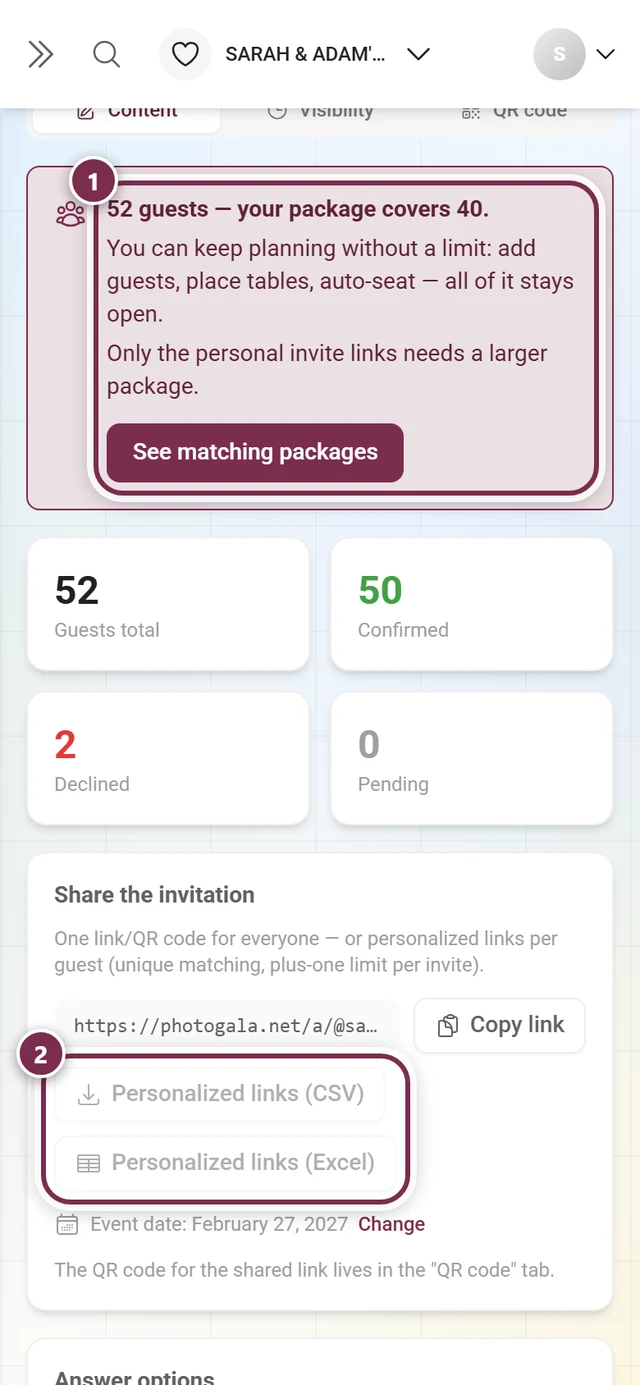
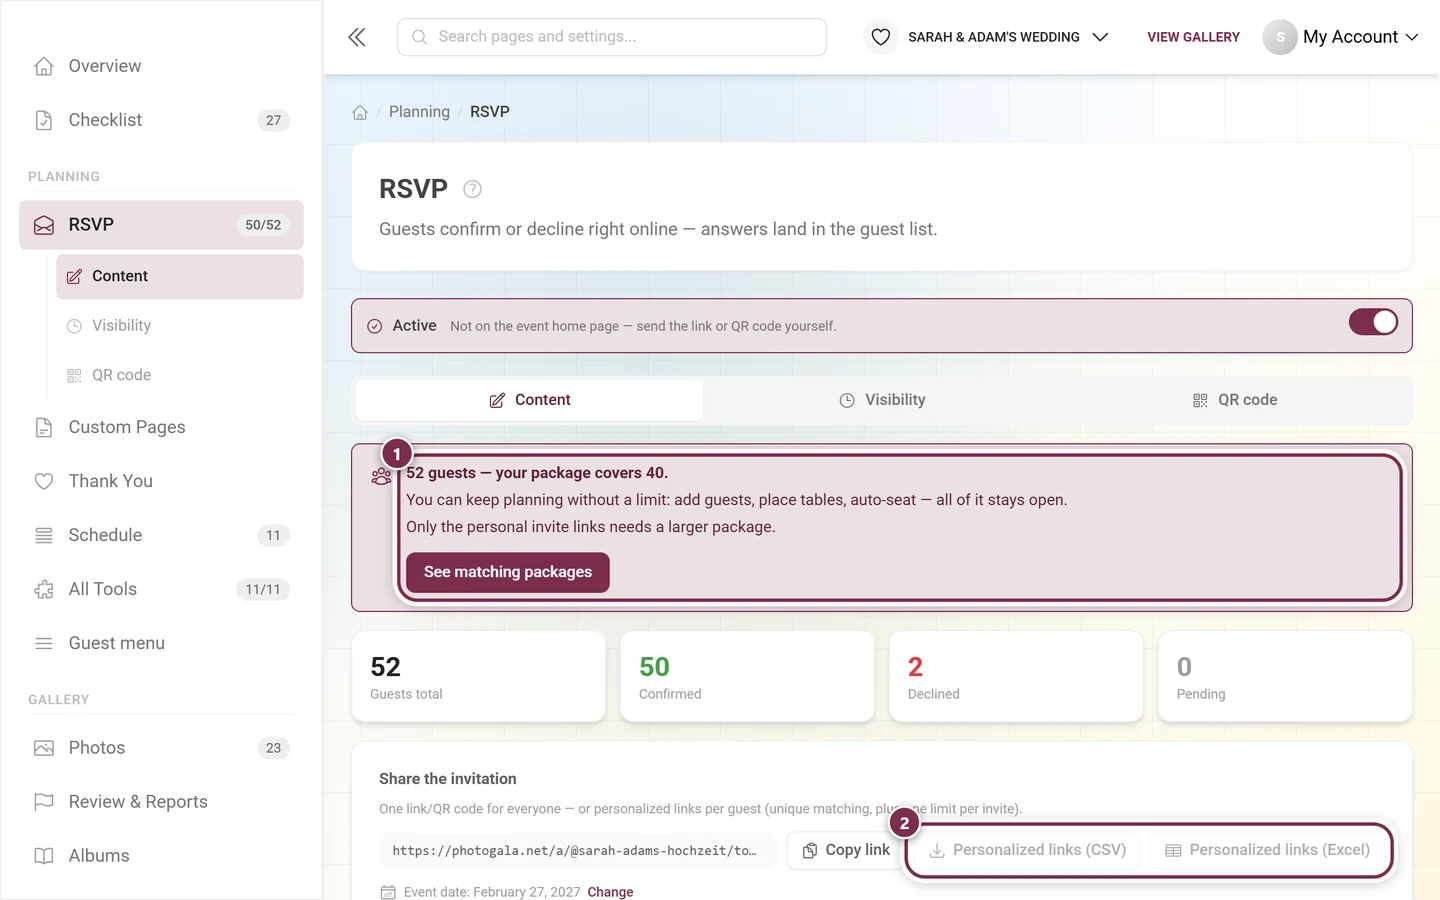
Personalized links per guest. Two buttons create an individual link for every guest on the guest list and download it as a file:
- Personalized links (CSV)
- Personalized links (Excel)
Both files have two columns: Name and Invite link. You can feed the file straight into a mail merge. The upside: the answer is unambiguously attached to the right person, your guests never have to type their own name, and the plus-one limit applies per invite.
Design invitations. This button opens the Design Studio with the RSVP invitation template, preset to A6. The preview lets you page through your real guests; on export every card carries that guest’s personal QR code.
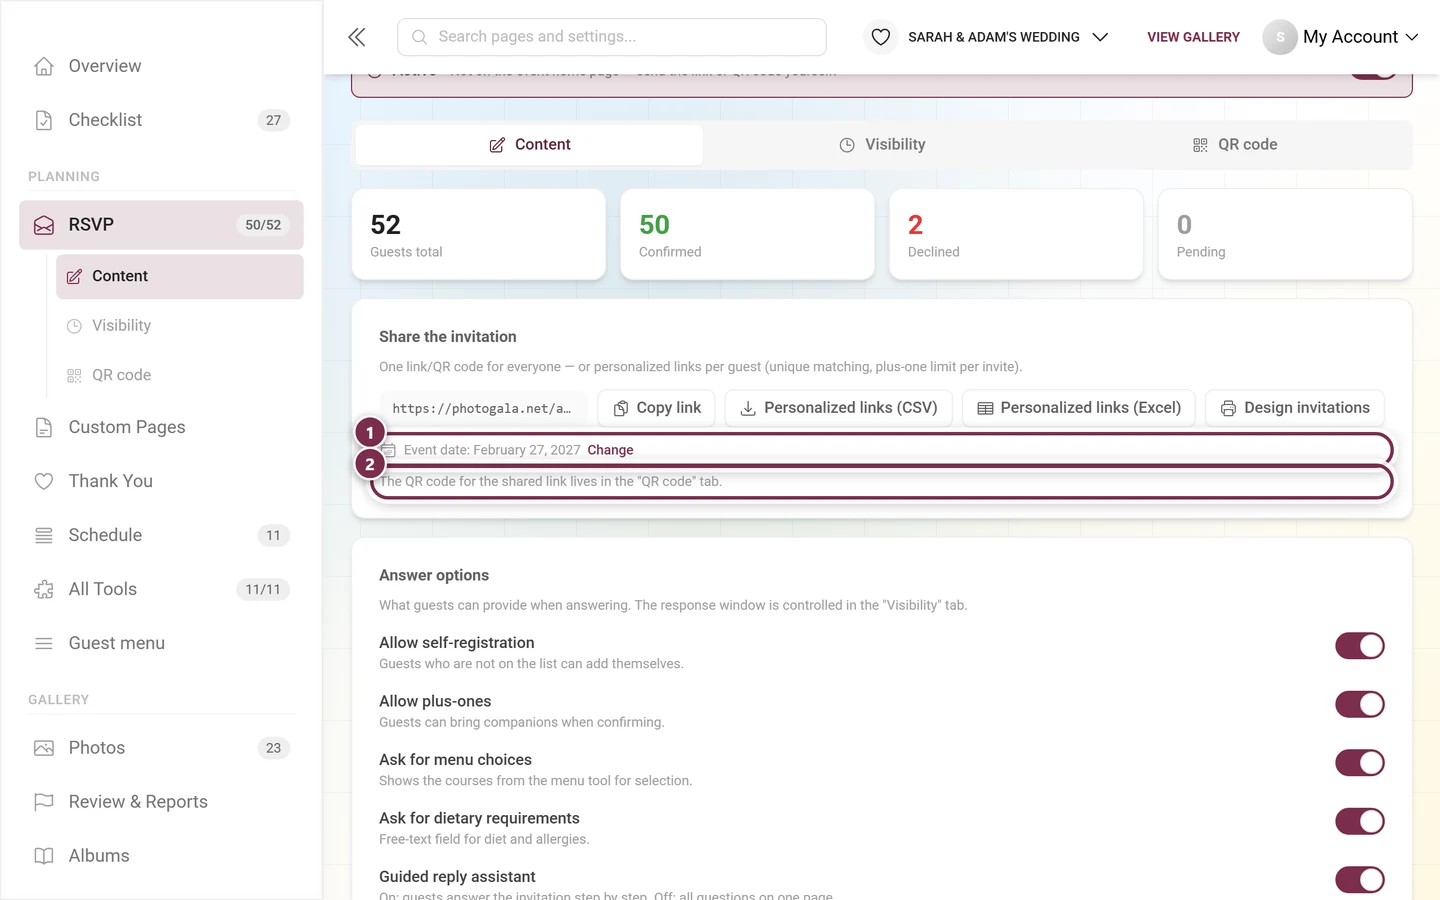
When the guest allowance runs tight
Section titled “When the guest allowance runs tight”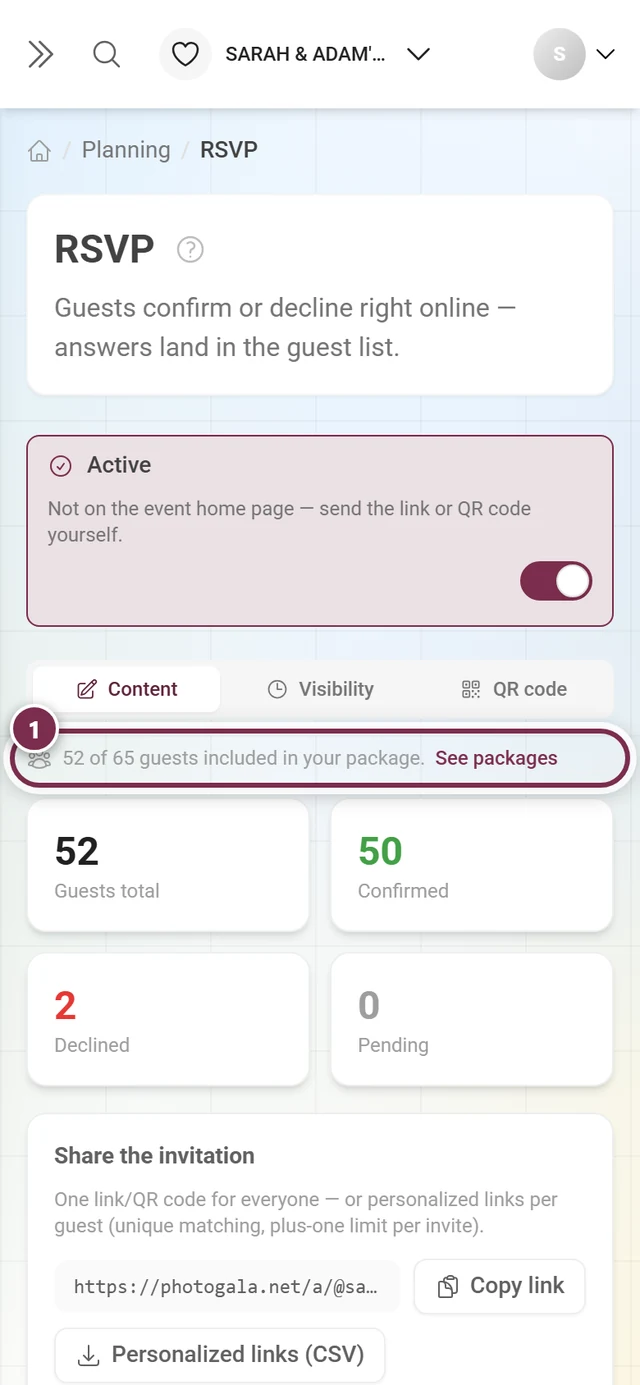
The QR code tab
Section titled “The QR code tab”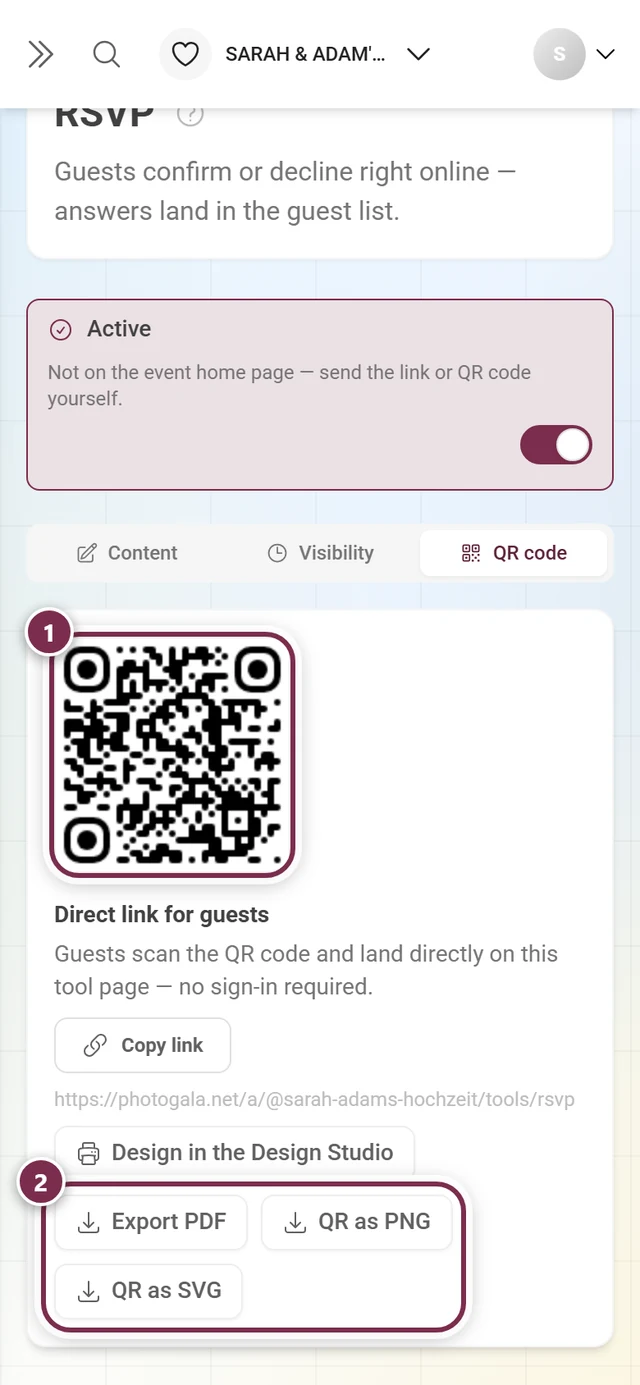
Answer options
Section titled “Answer options”You decide what gets asked – only ask for what you really need.
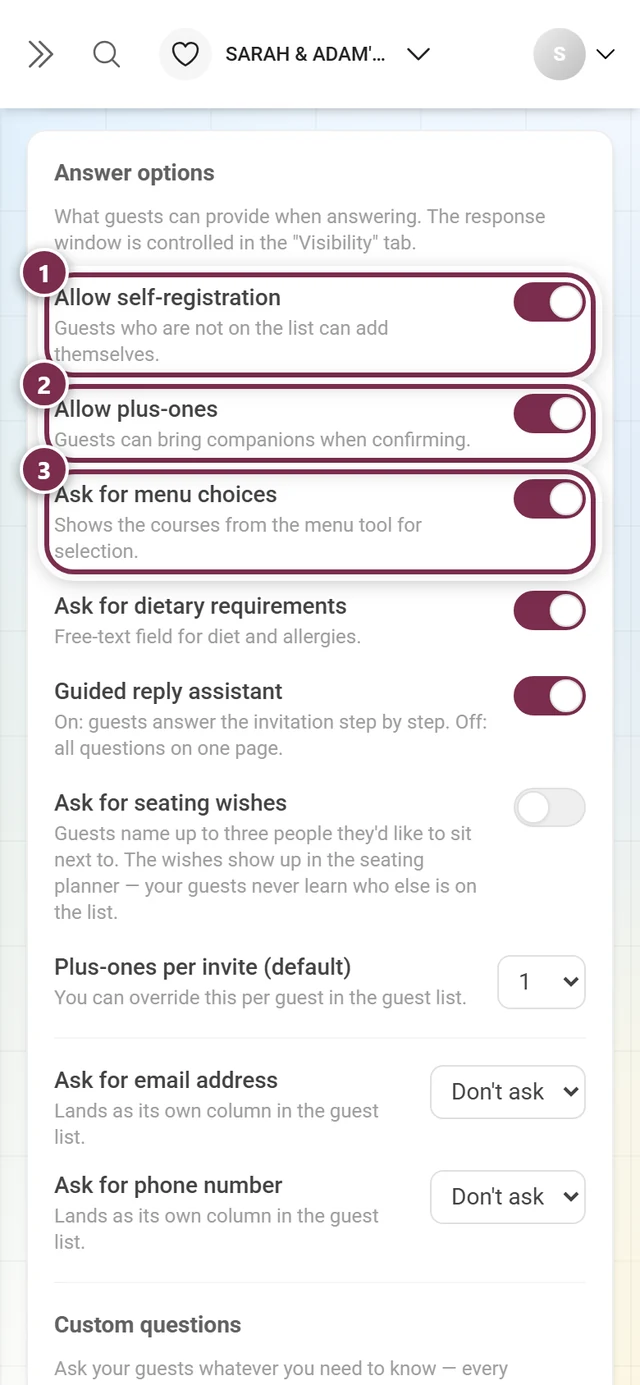
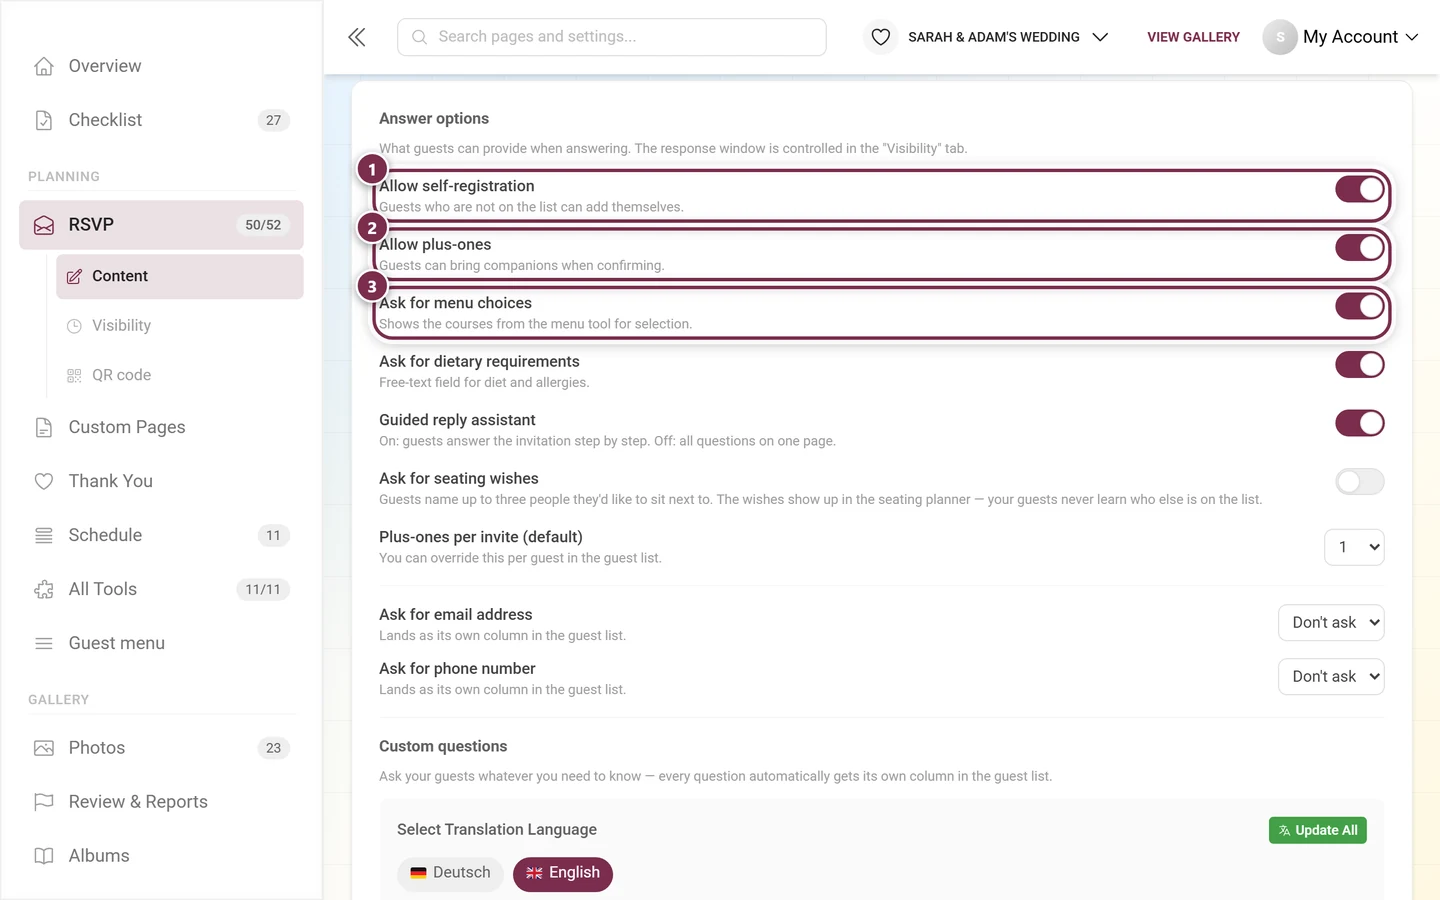
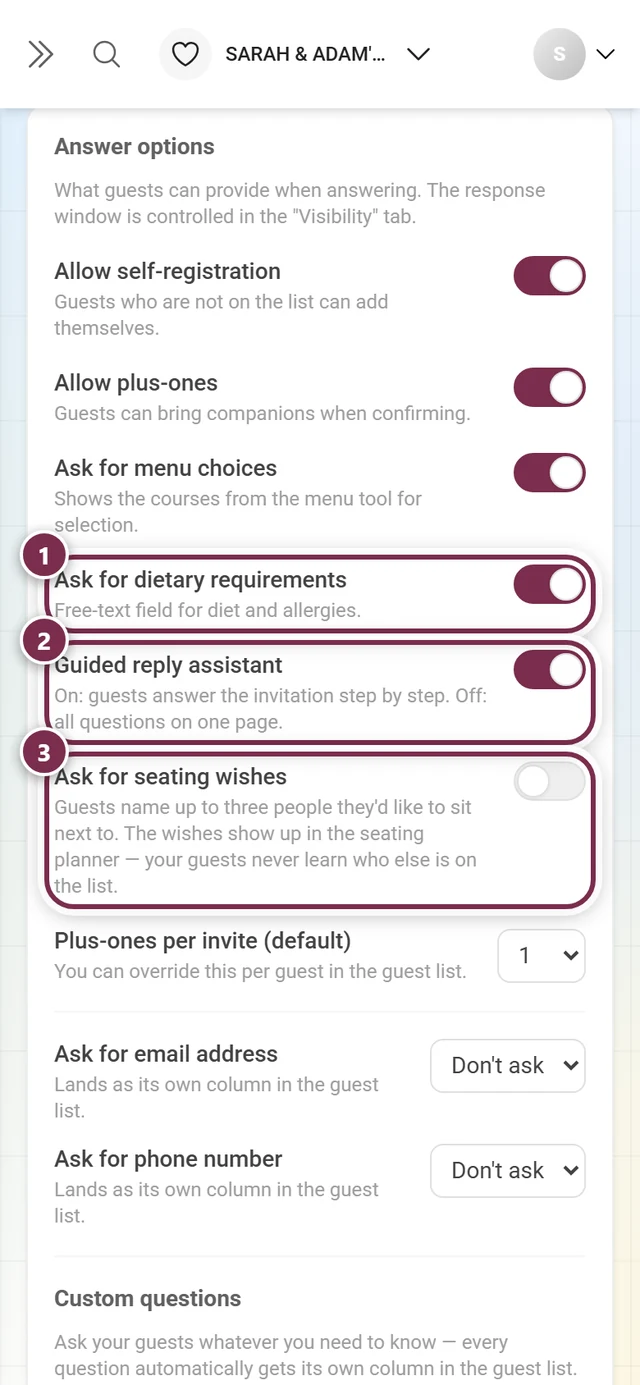
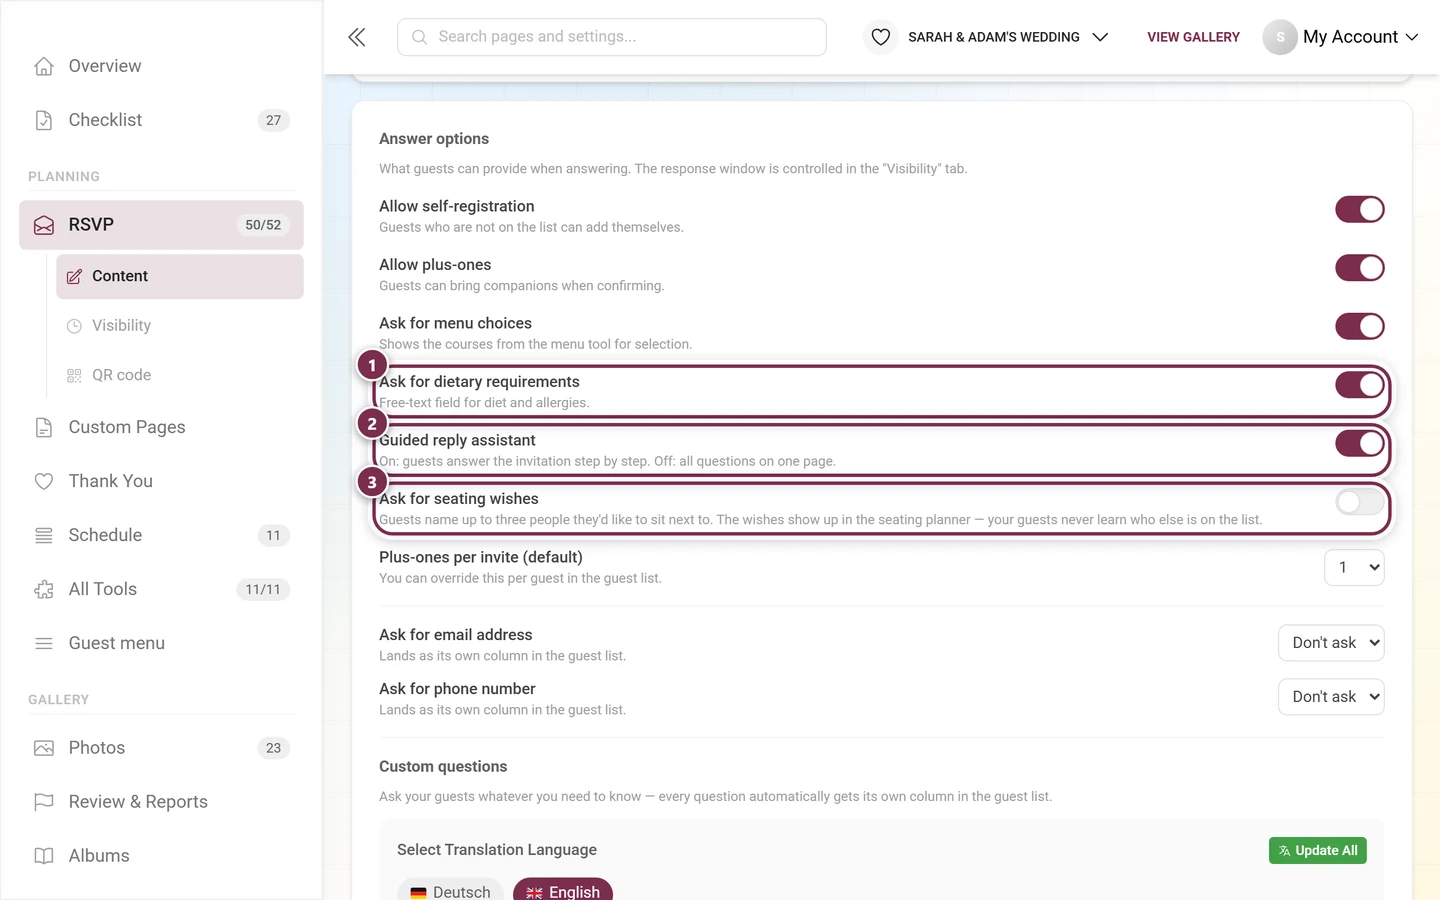
The order in the editor, top to bottom:
- Allow self-registration – people who are not on the list can add themselves. You reconcile their entries in the guest list later.
- Allow plus-ones – guests name companions when confirming.
- Ask for menu choices – shows the courses from the menu tool for selection. Every plus-one picks their own dish.
- Ask for dietary requirements – free-text field for diet and allergies.
- Guided reply assistant – on: guests answer the invitation step by step. Off: all questions on one page.
- Ask for seating wishes – guests name up to three people they would like to sit next to. The wishes show up in the seating planner and can be turned into seating rules there.
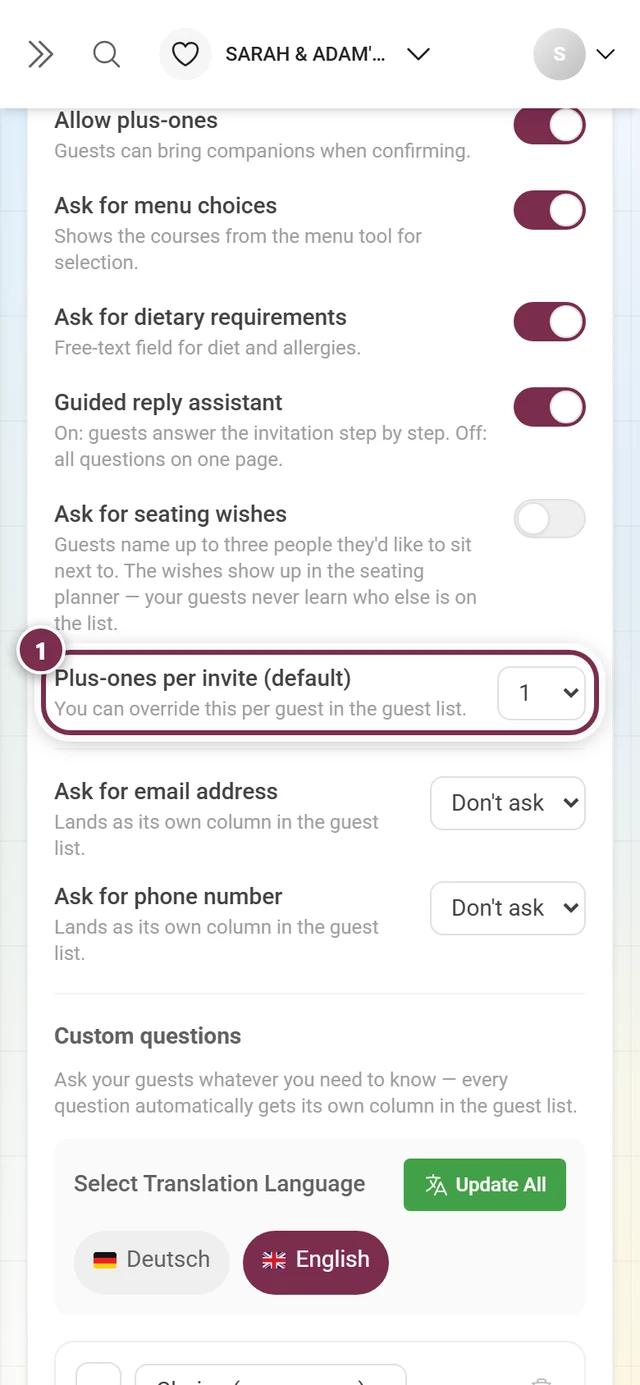
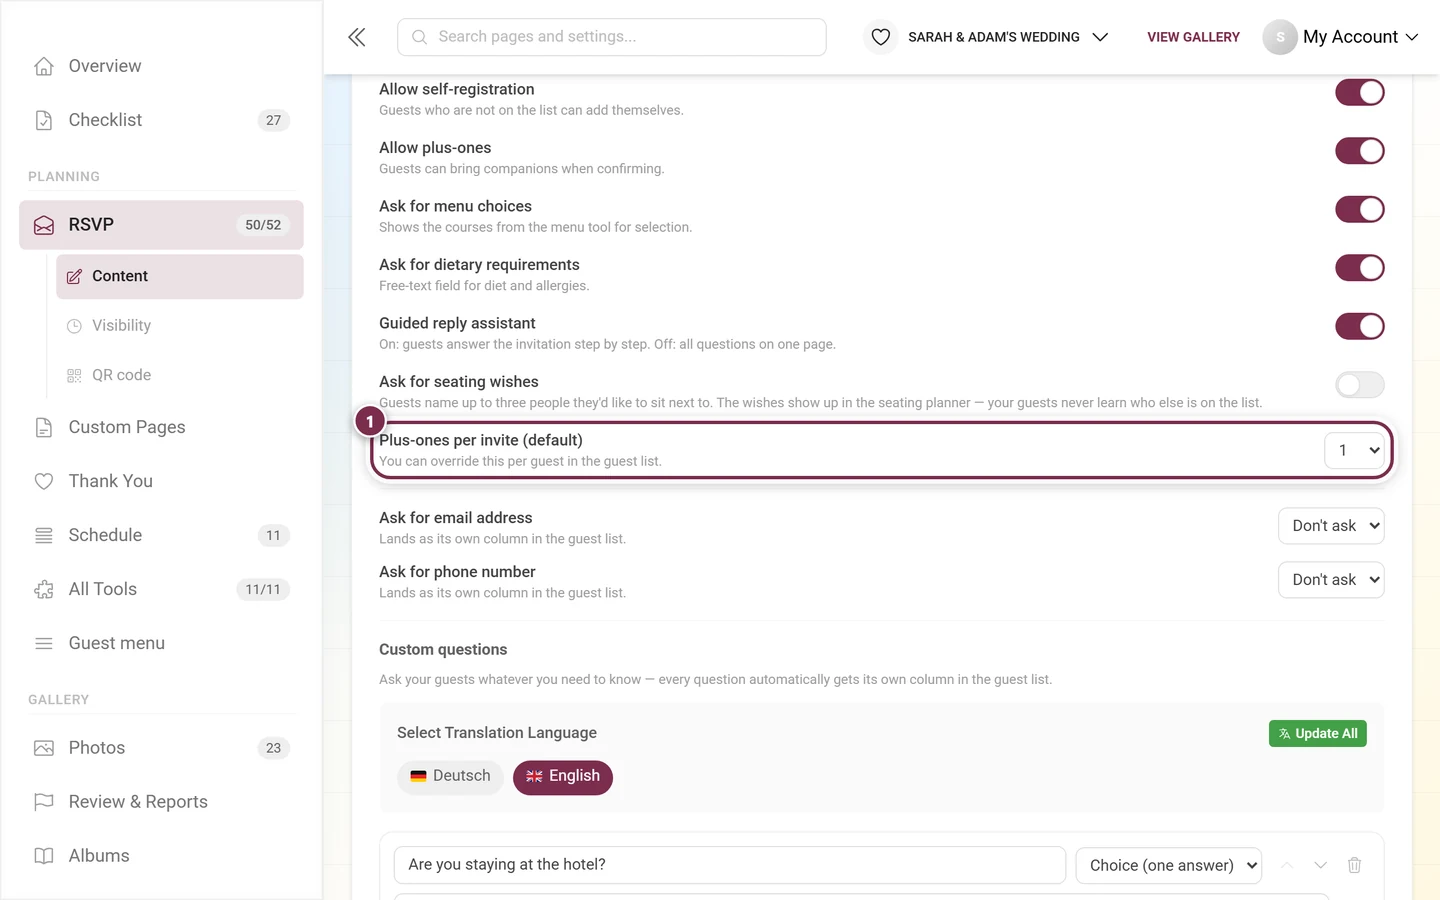
- Plus-ones per invite (default) – only appears while plus-ones are allowed. The value applies to everyone; you can override it per guest in the guest list.
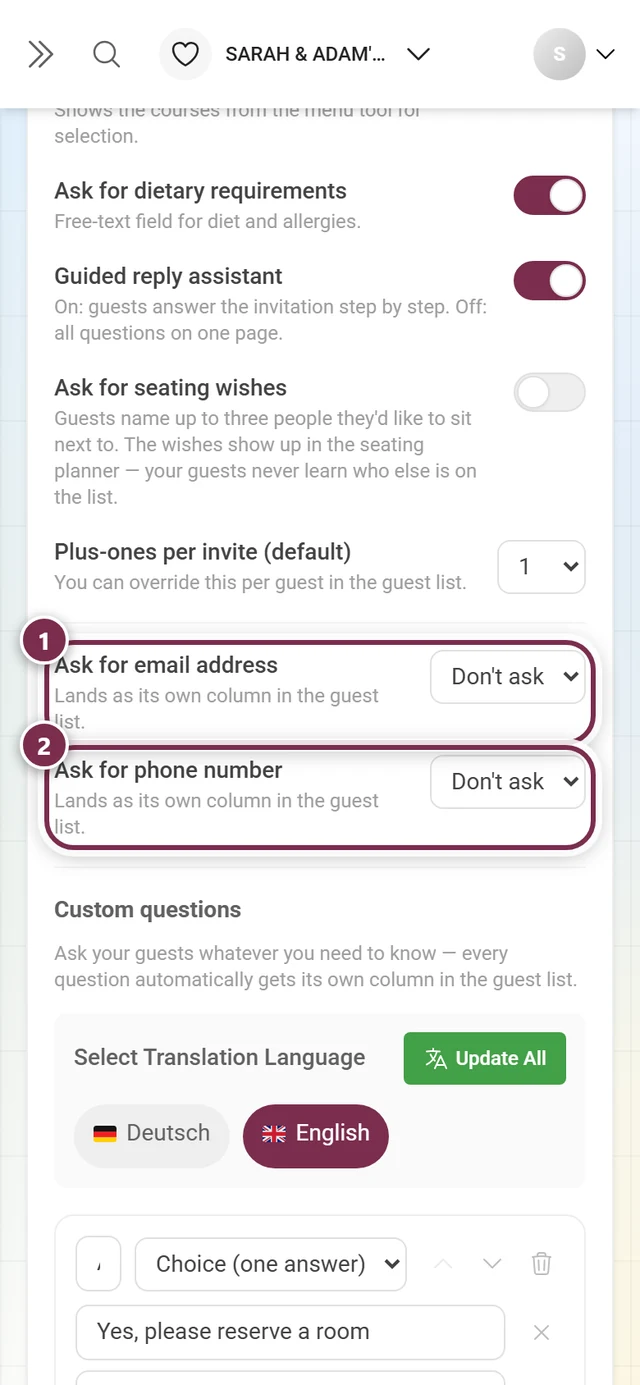
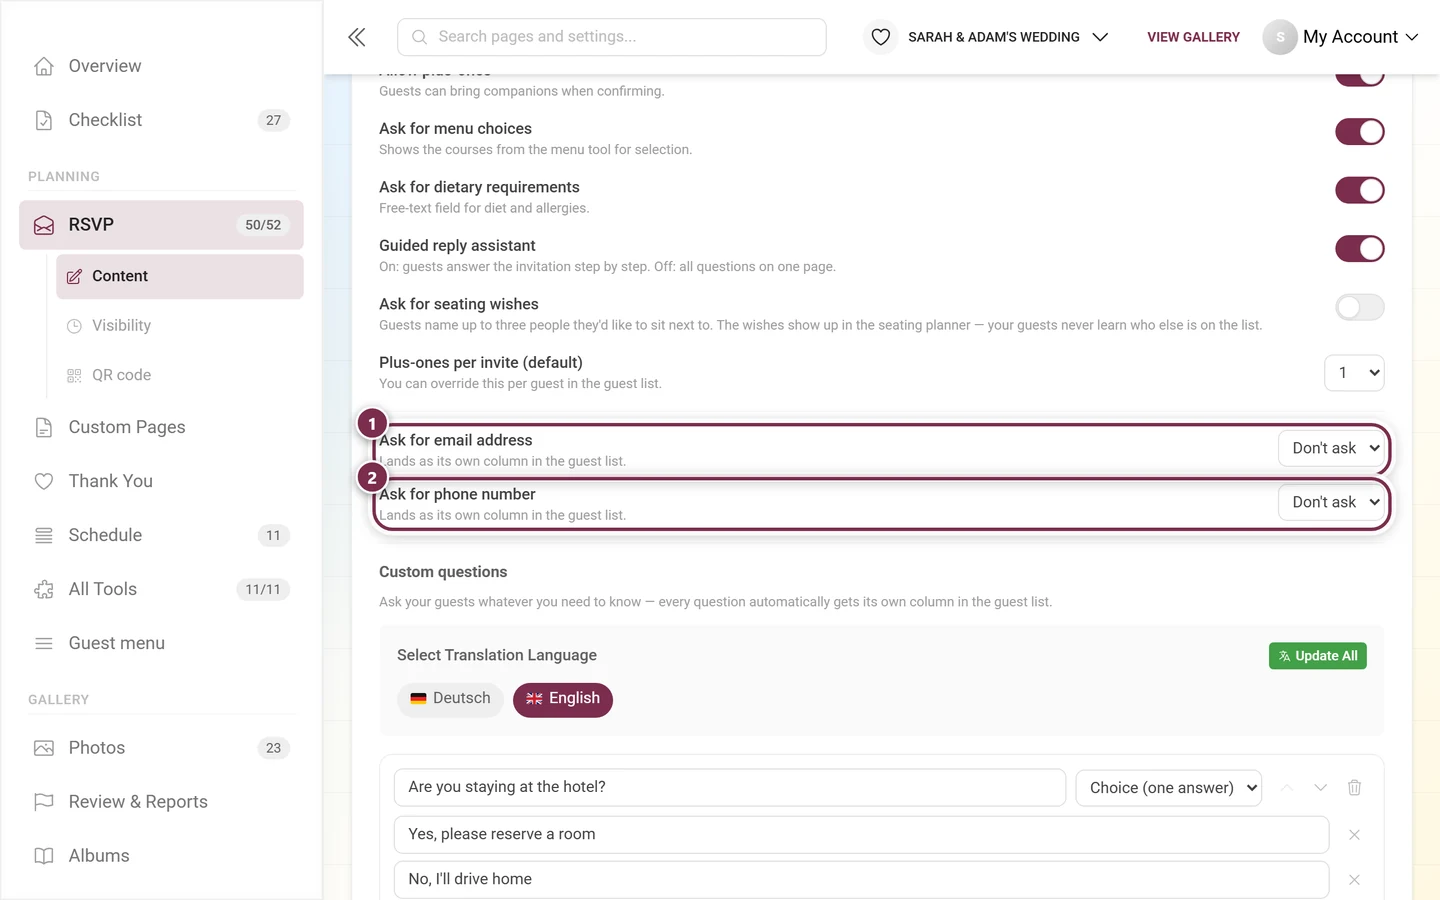
- Ask for email address and Ask for phone number – each three-way on its own: Don’t ask, Optional or Required.
Custom questions
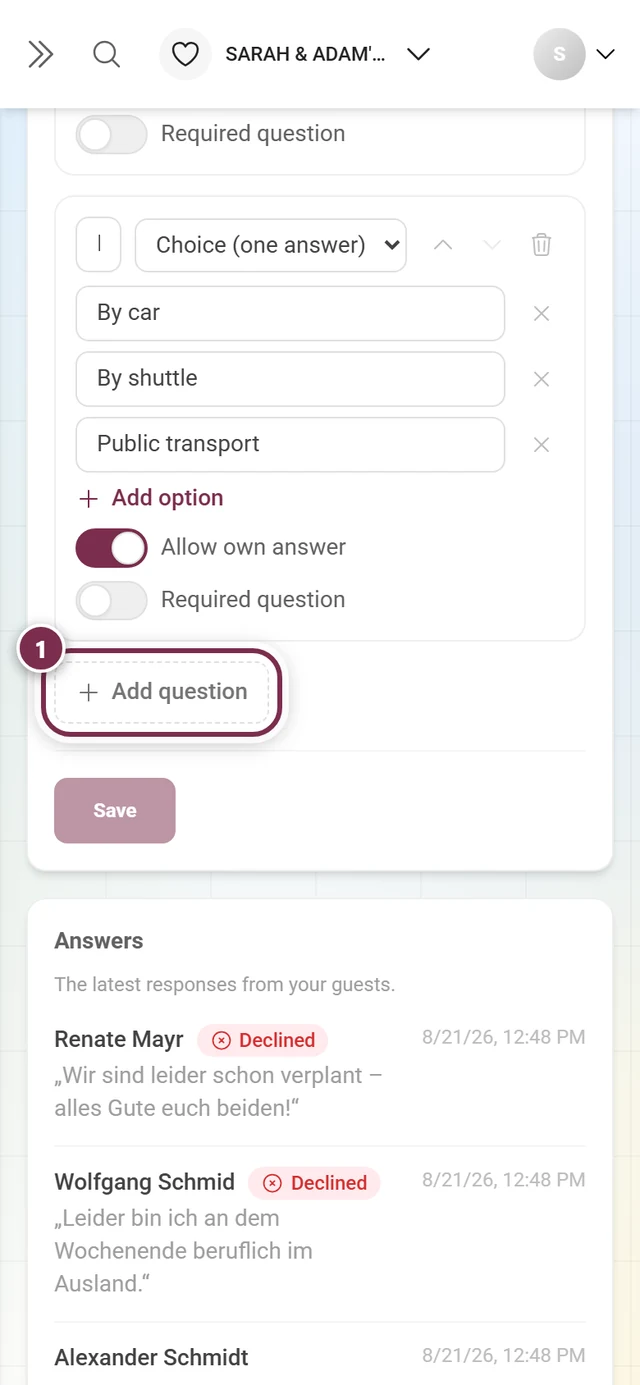
Section titled “Custom questions”If the standard fields are not enough, add custom questions – “Will you take the shuttle?” or “Are you staying at the hotel?”, for instance.
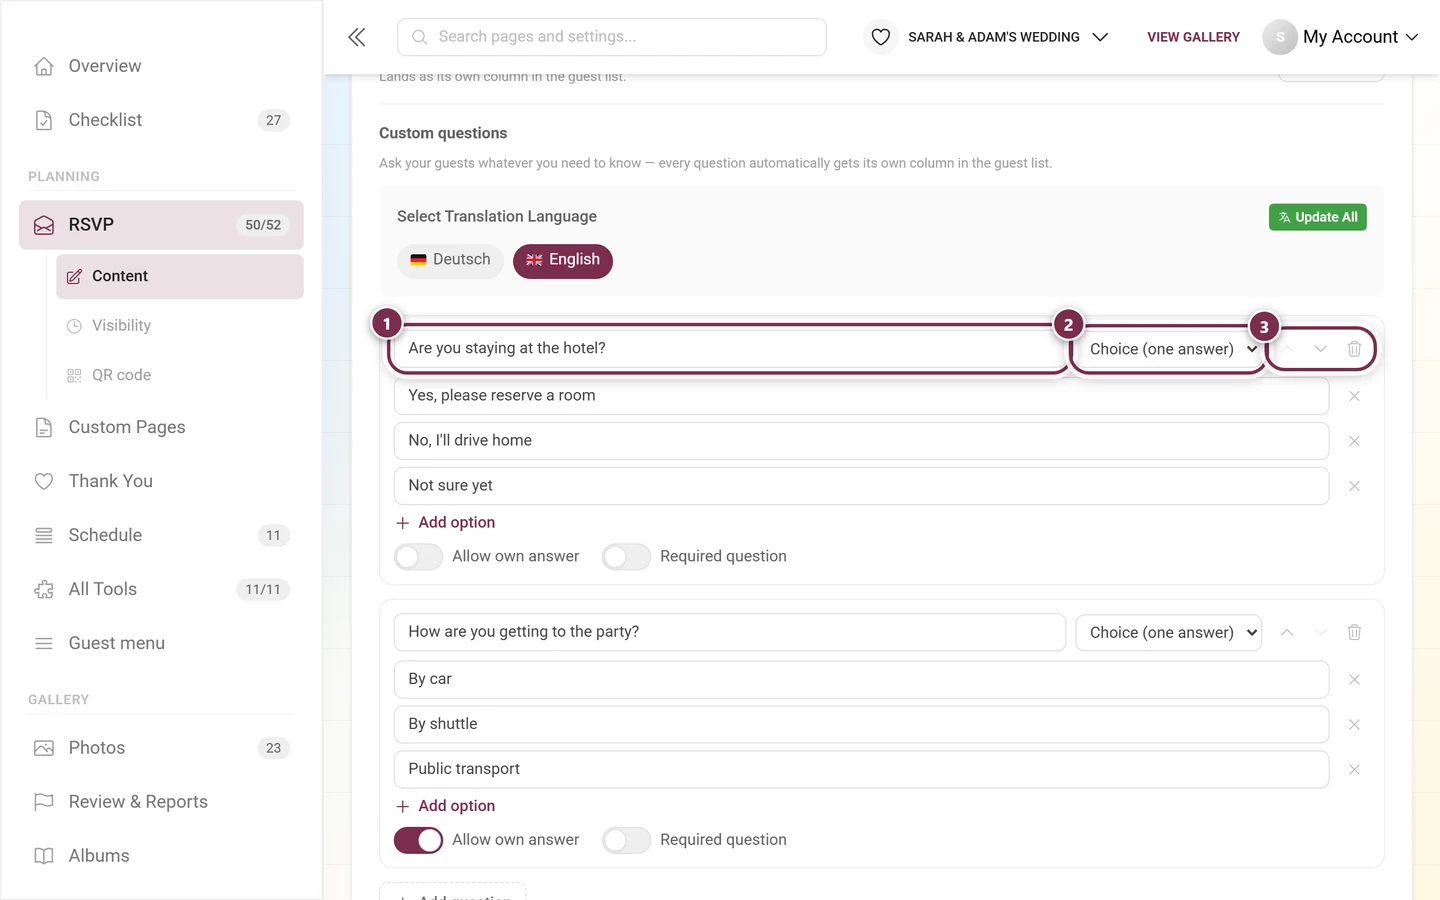
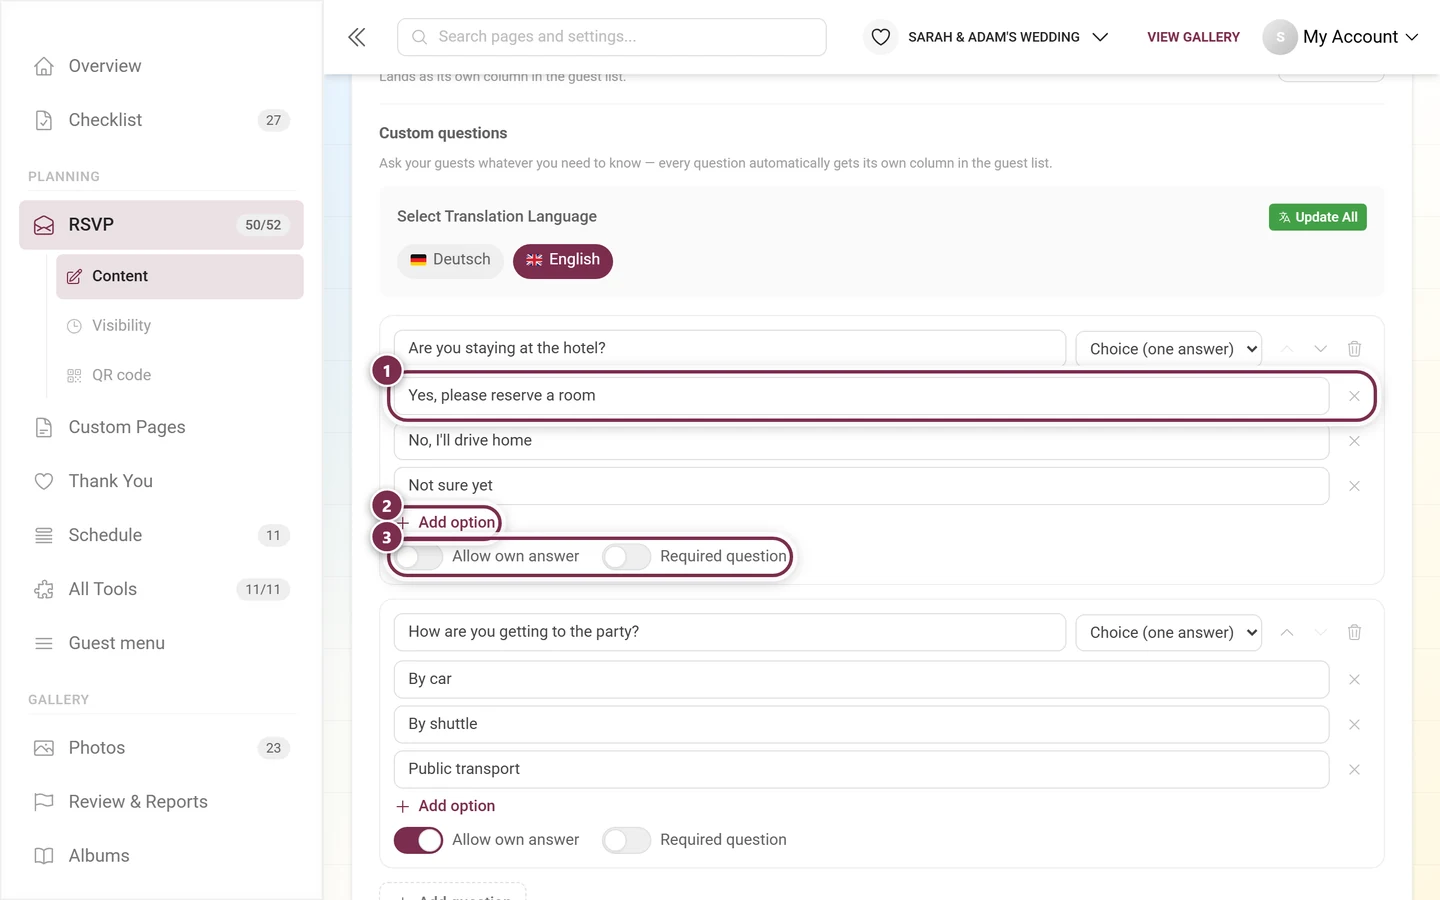
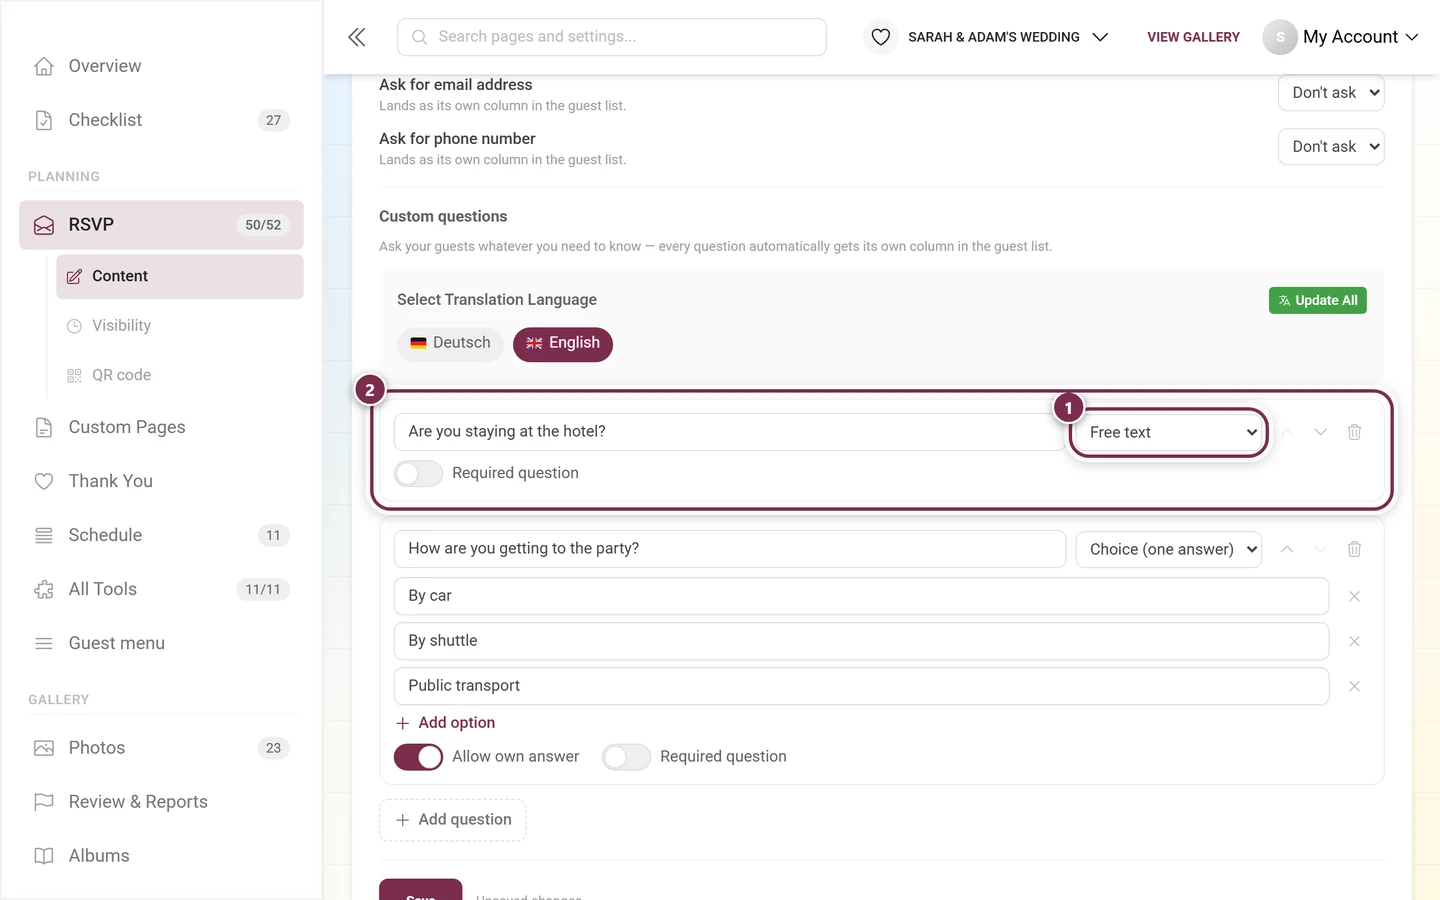
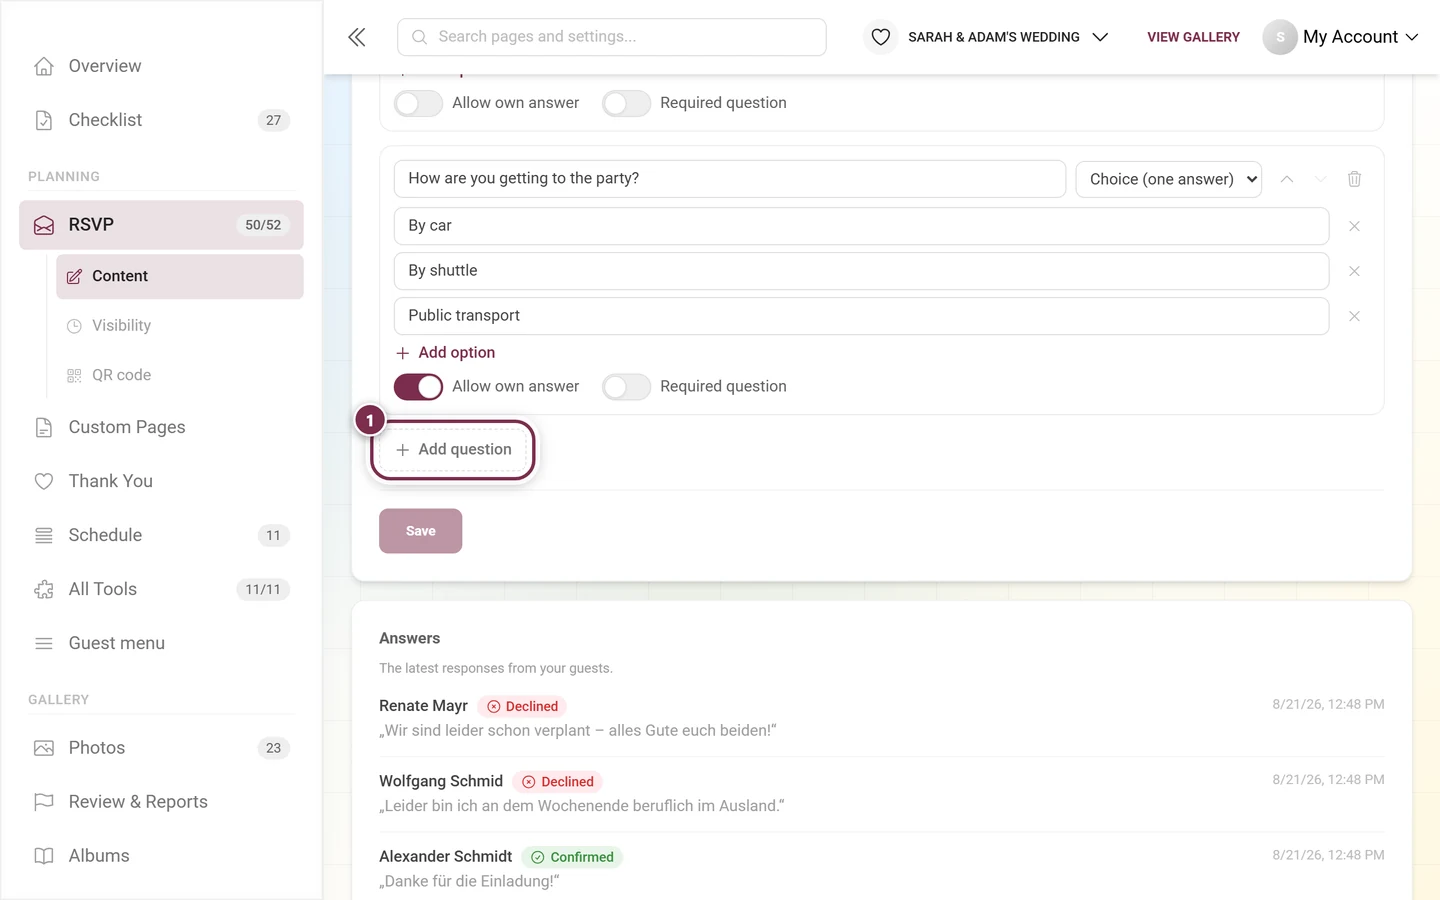
If your event runs in several languages, the language bar appears above the questions: questions and answer options are maintained per language.
Don’t forget to save
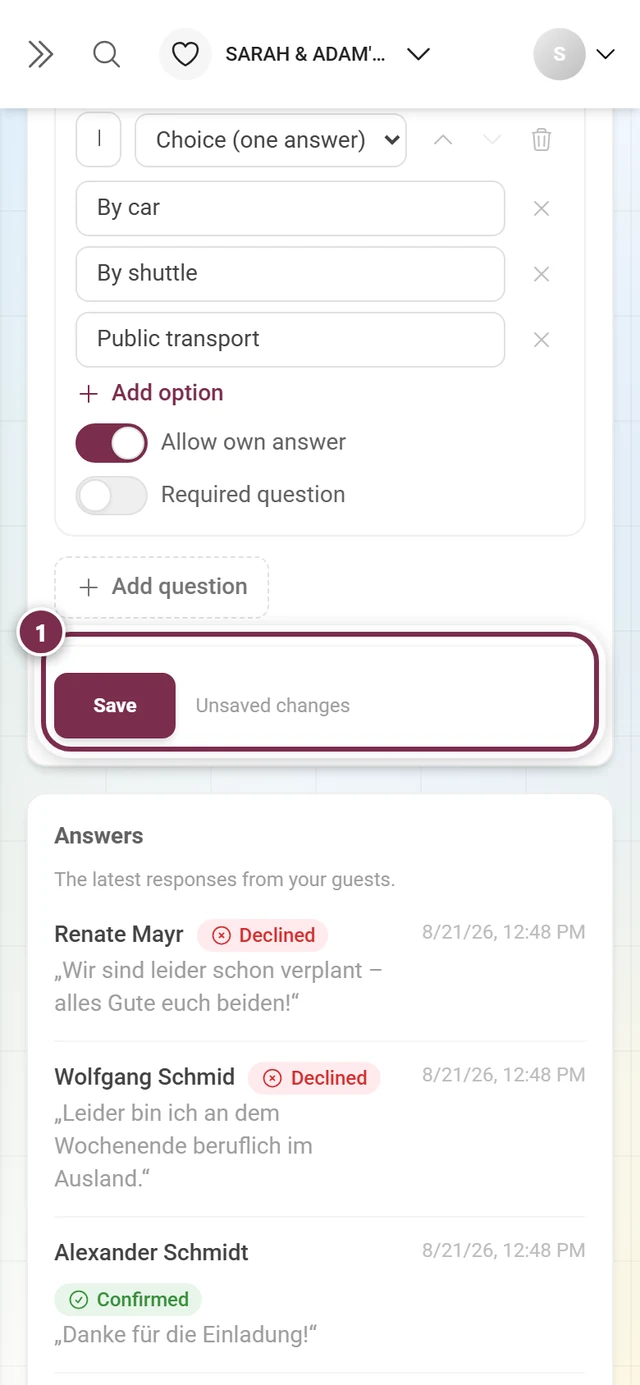
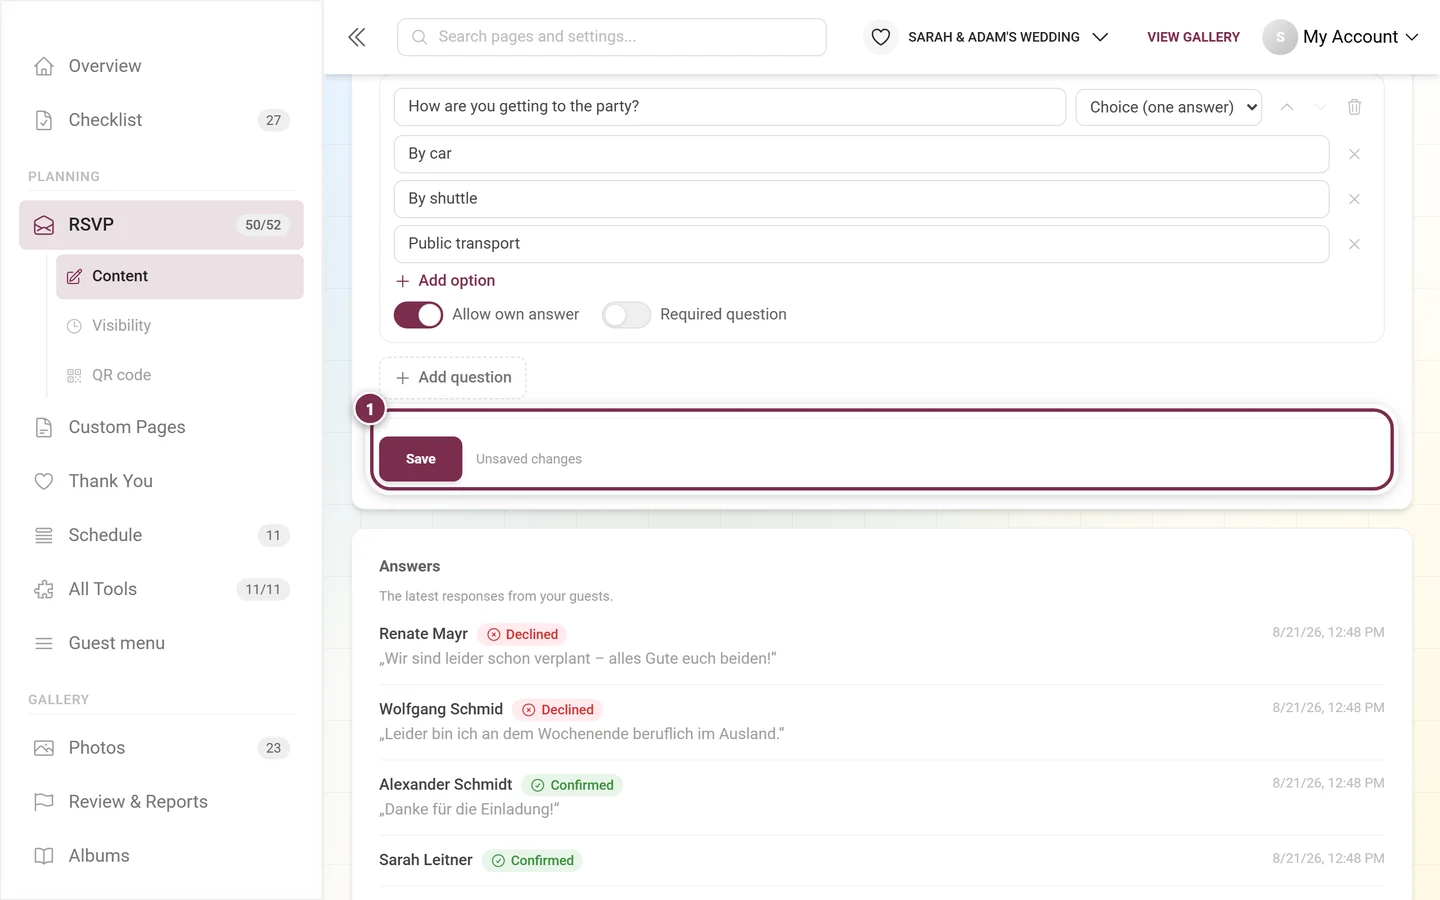
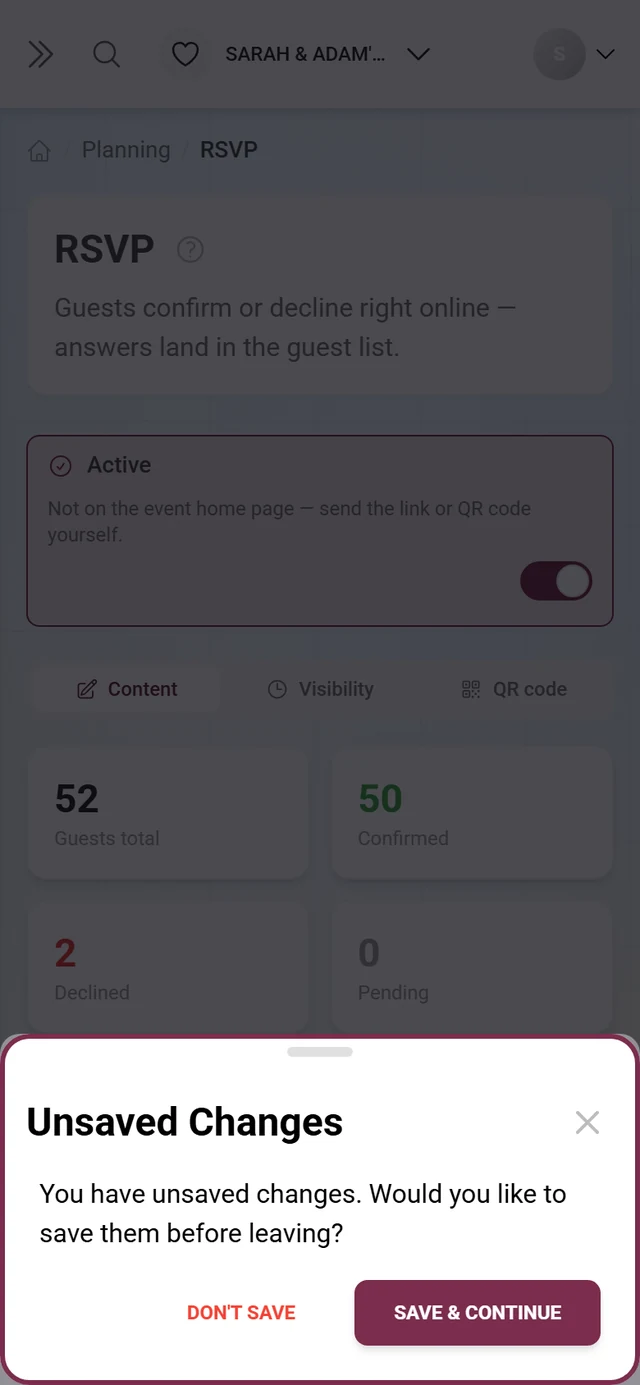
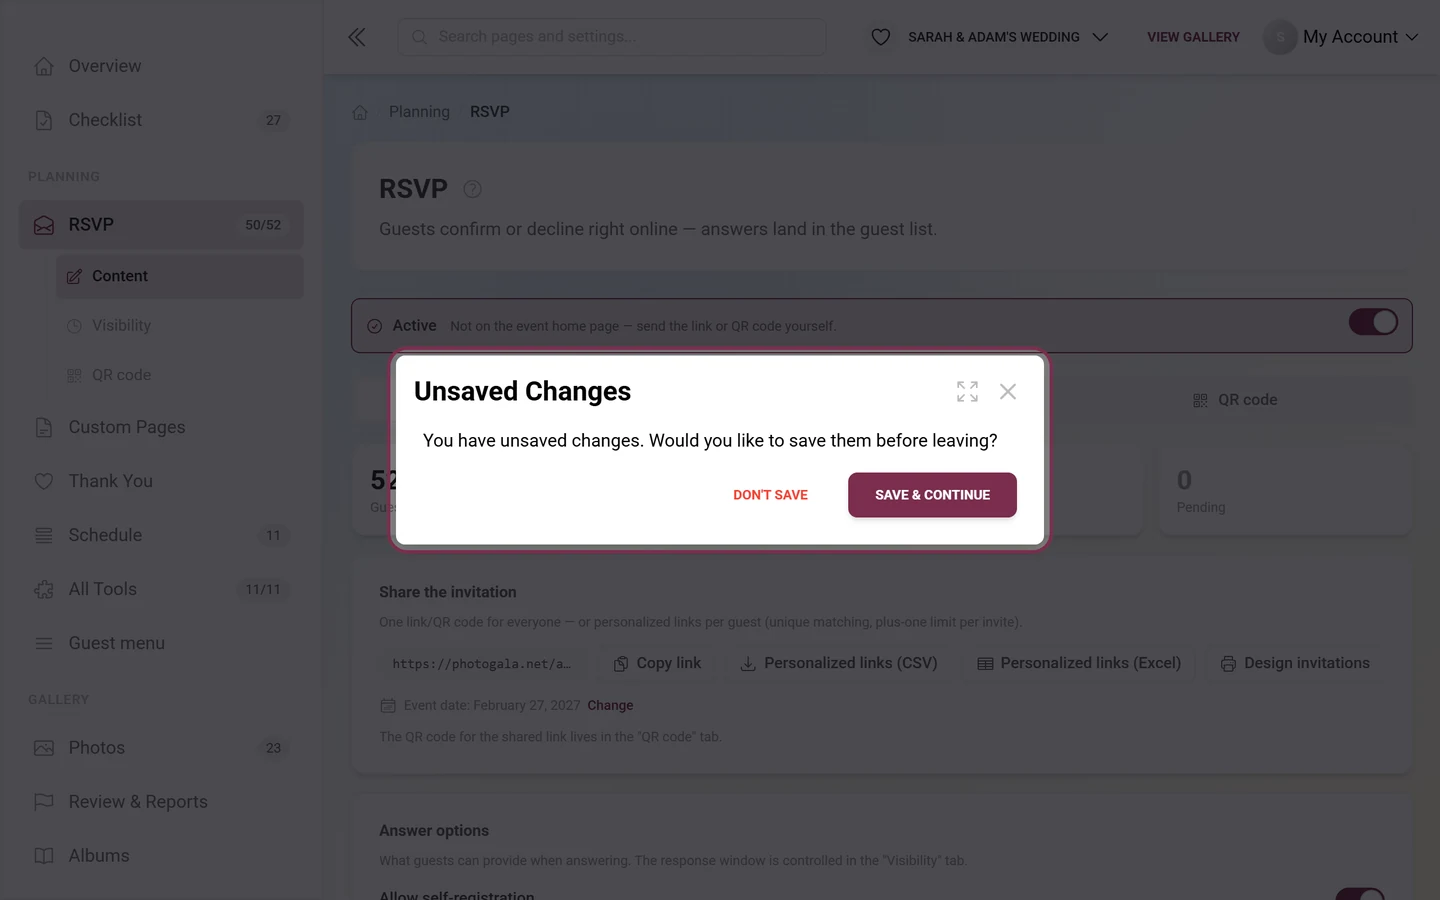
Section titled “Don’t forget to save”Answer options and custom questions are a draft – they only reach the server when you hit Save.
What your guests see
Section titled “What your guests see”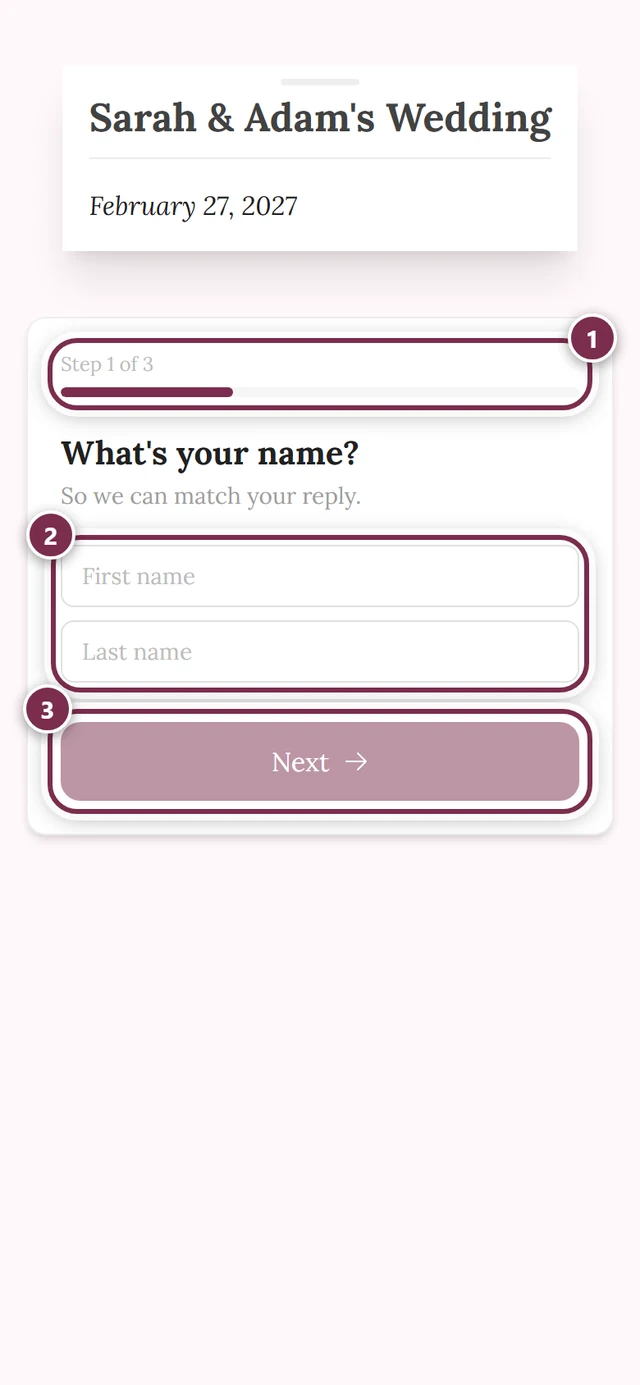
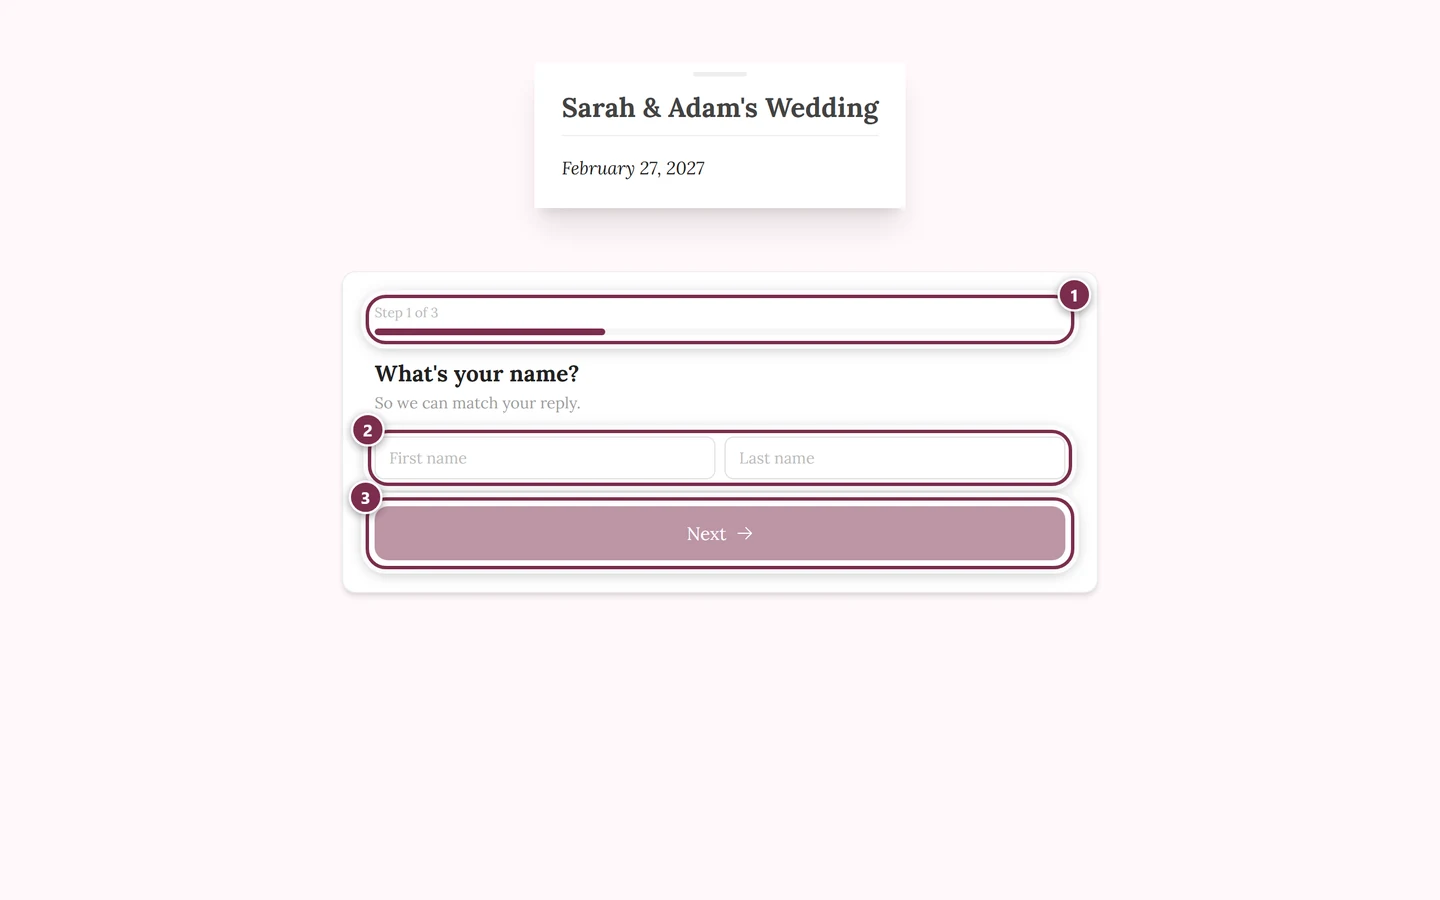
There are two routes into the form, and they differ on purpose:
Through the shared QR code or link. The guest types first name and last name. The server then matches the name itself – either to an existing guest-list entry or as a new one.
Through the personalized link. Here the guest is recognized immediately: their name is at the top and an earlier answer is already filled in. Change answer lets them correct it at any time, as long as the response window is open. The individual plus-one limit is applied correctly too.
The whole flow step by step is on the guest page Accept or decline (RSVP).
Setting the response window
Section titled “Setting the response window”The Visibility tab defines from when and until when people may answer – it is the same visibility window every time-controlled tool has.
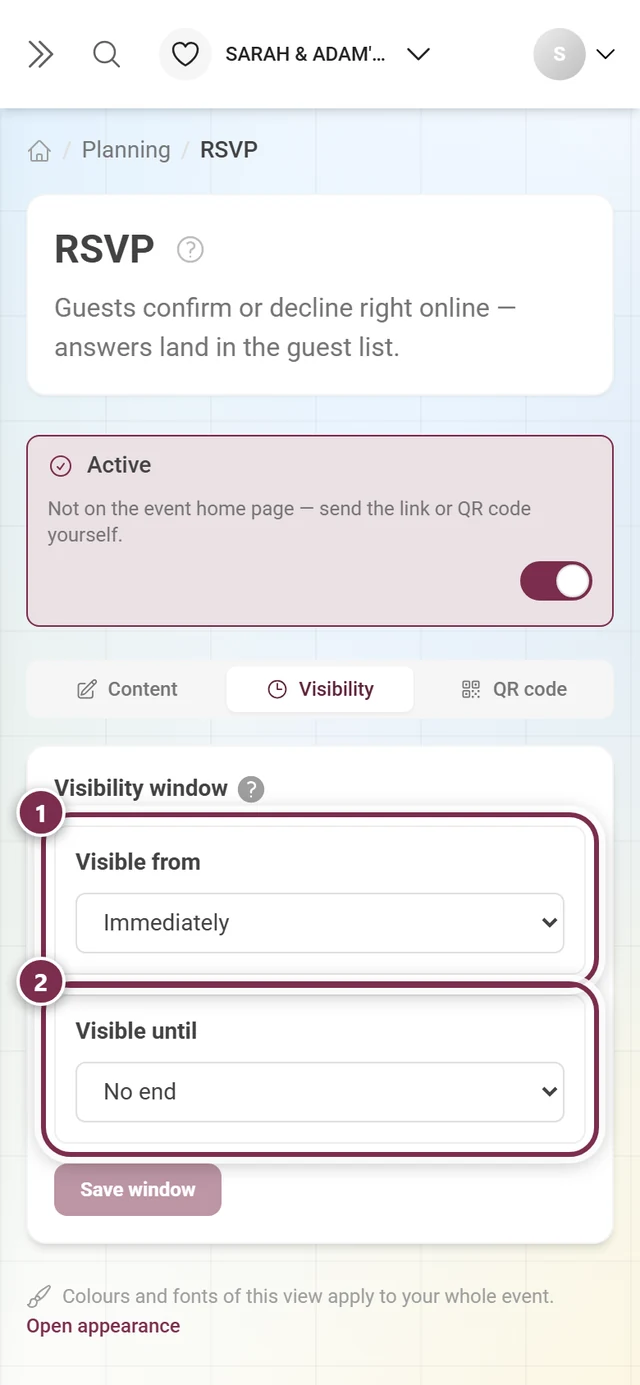
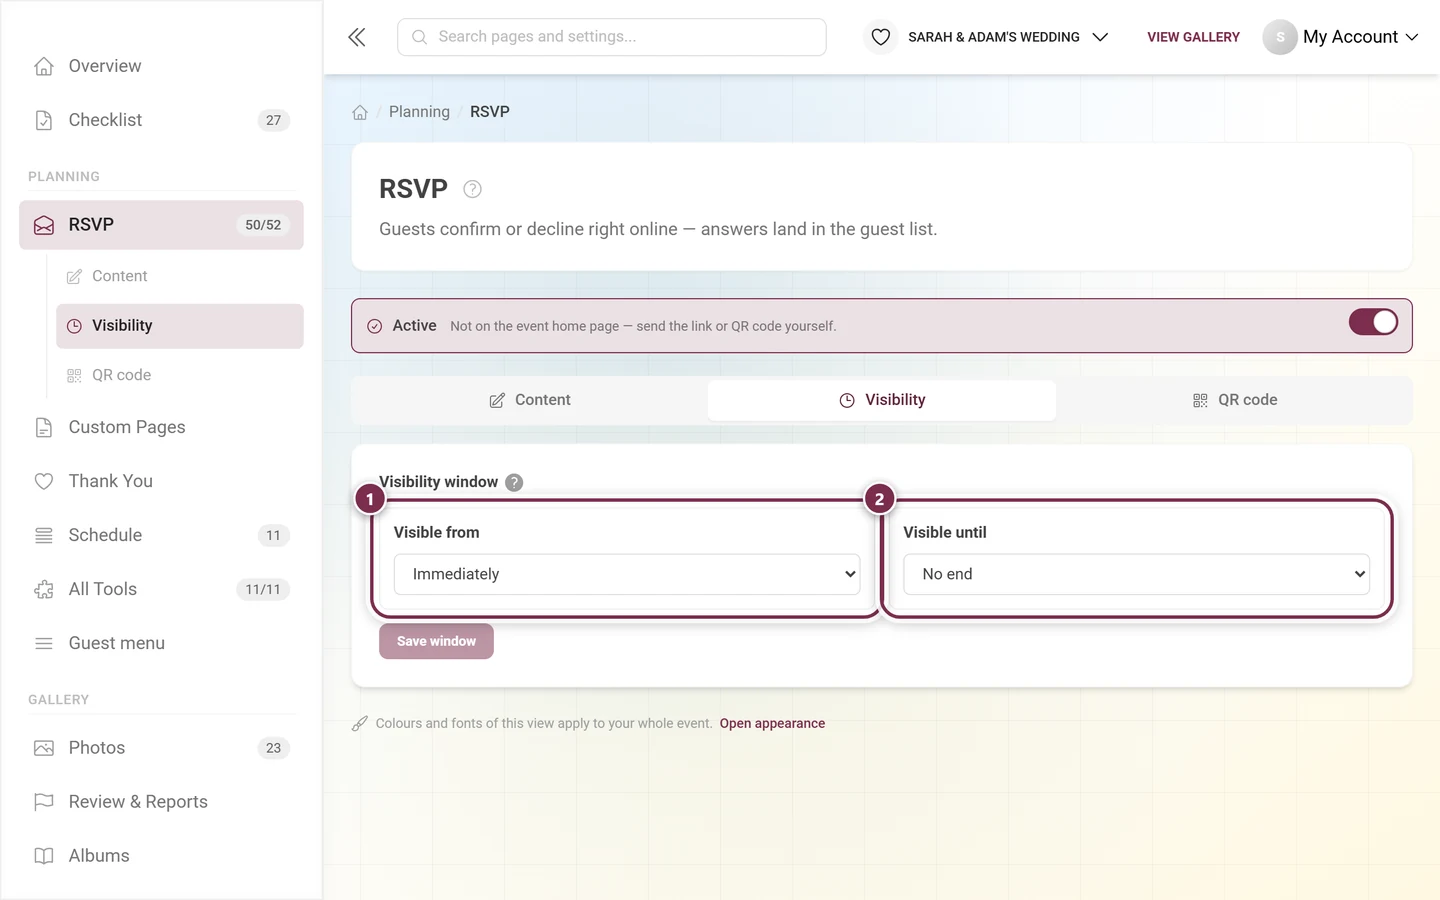
The handy one is Event date with an offset: “until 14 days before the event” moves along automatically if you still change the event date. Once it has passed, guests can no longer reach the form. The modes in detail are covered in Tooling – Overview.
Reading the answers
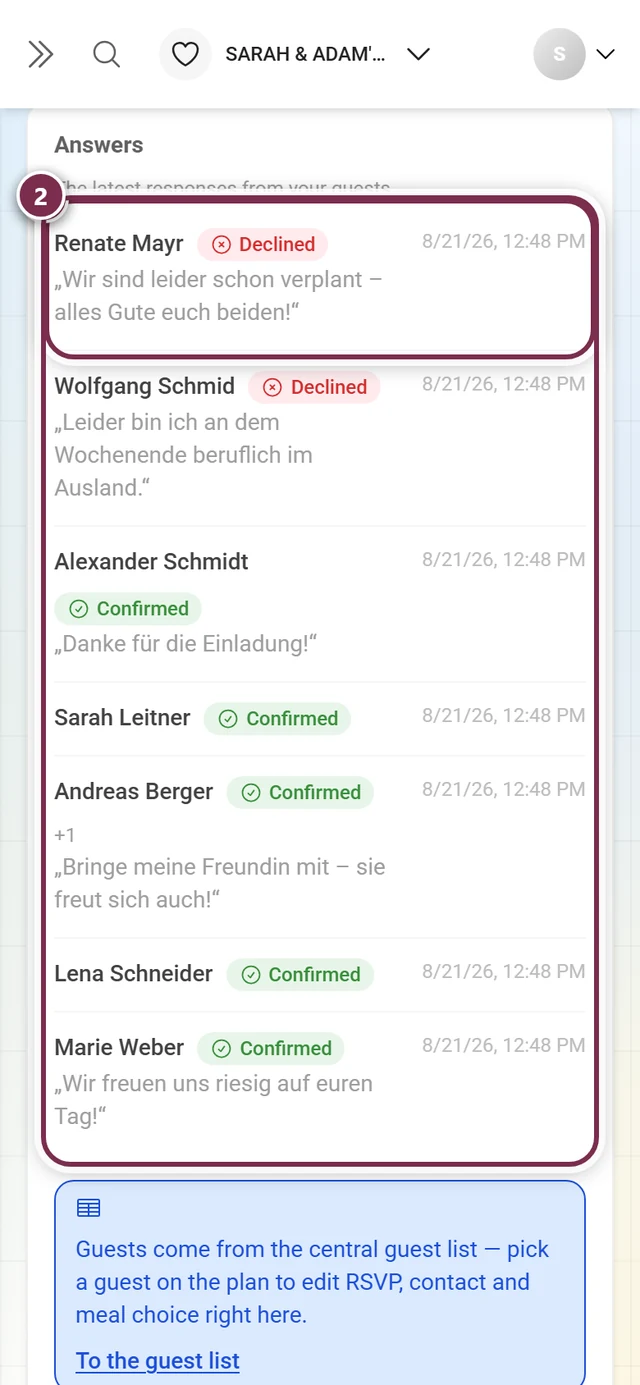
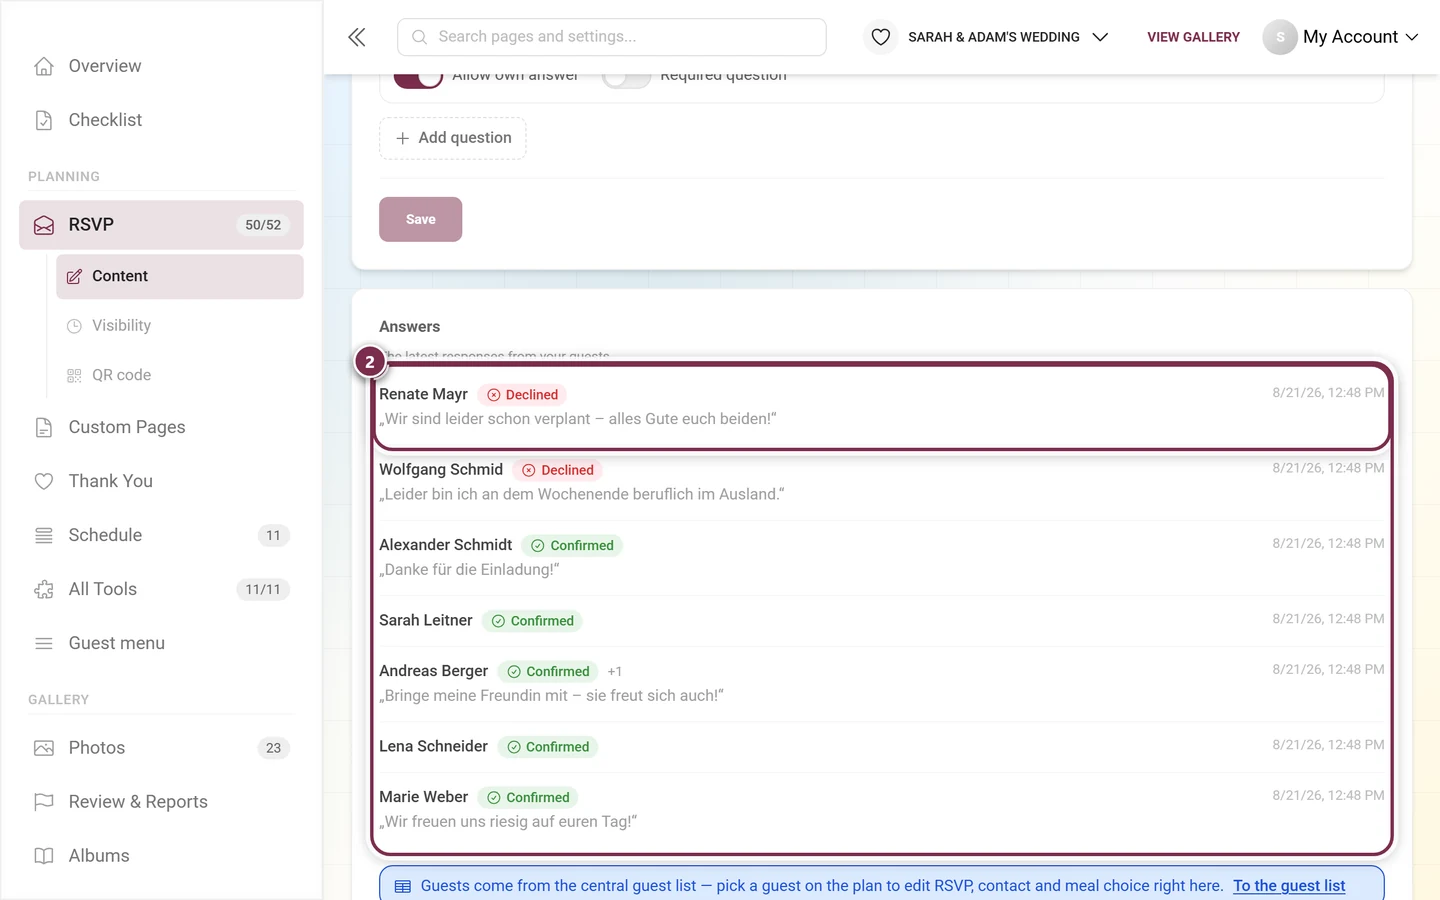
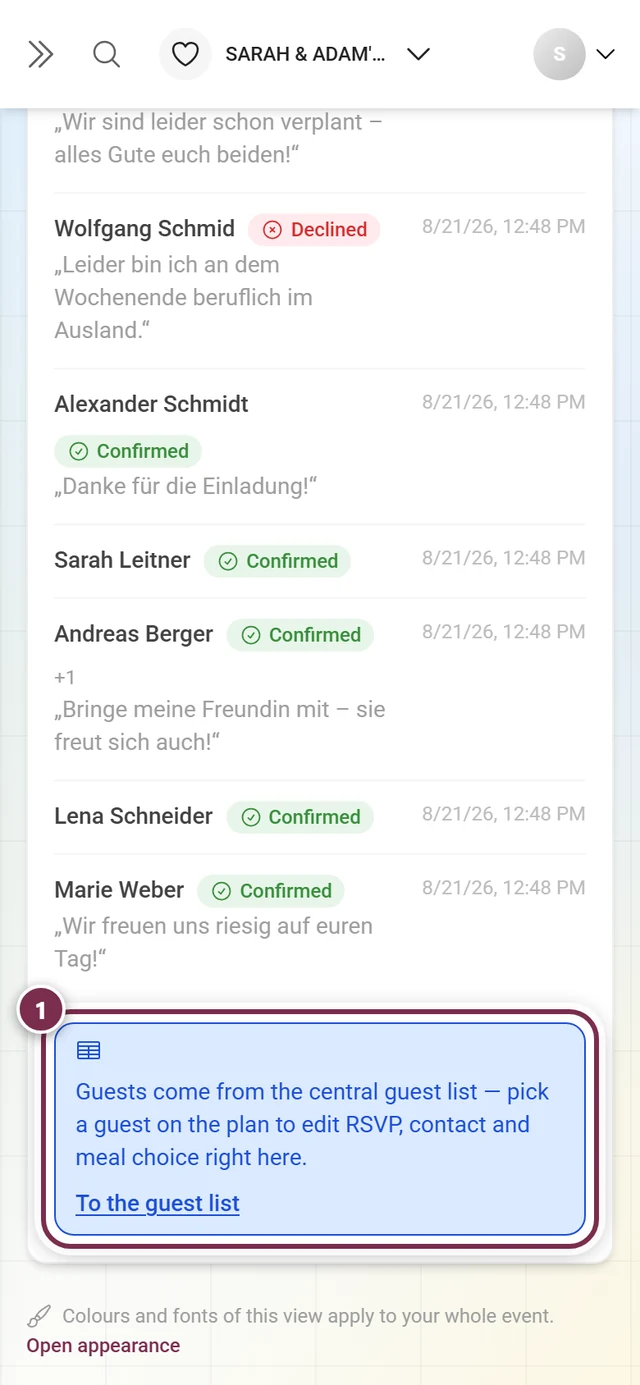
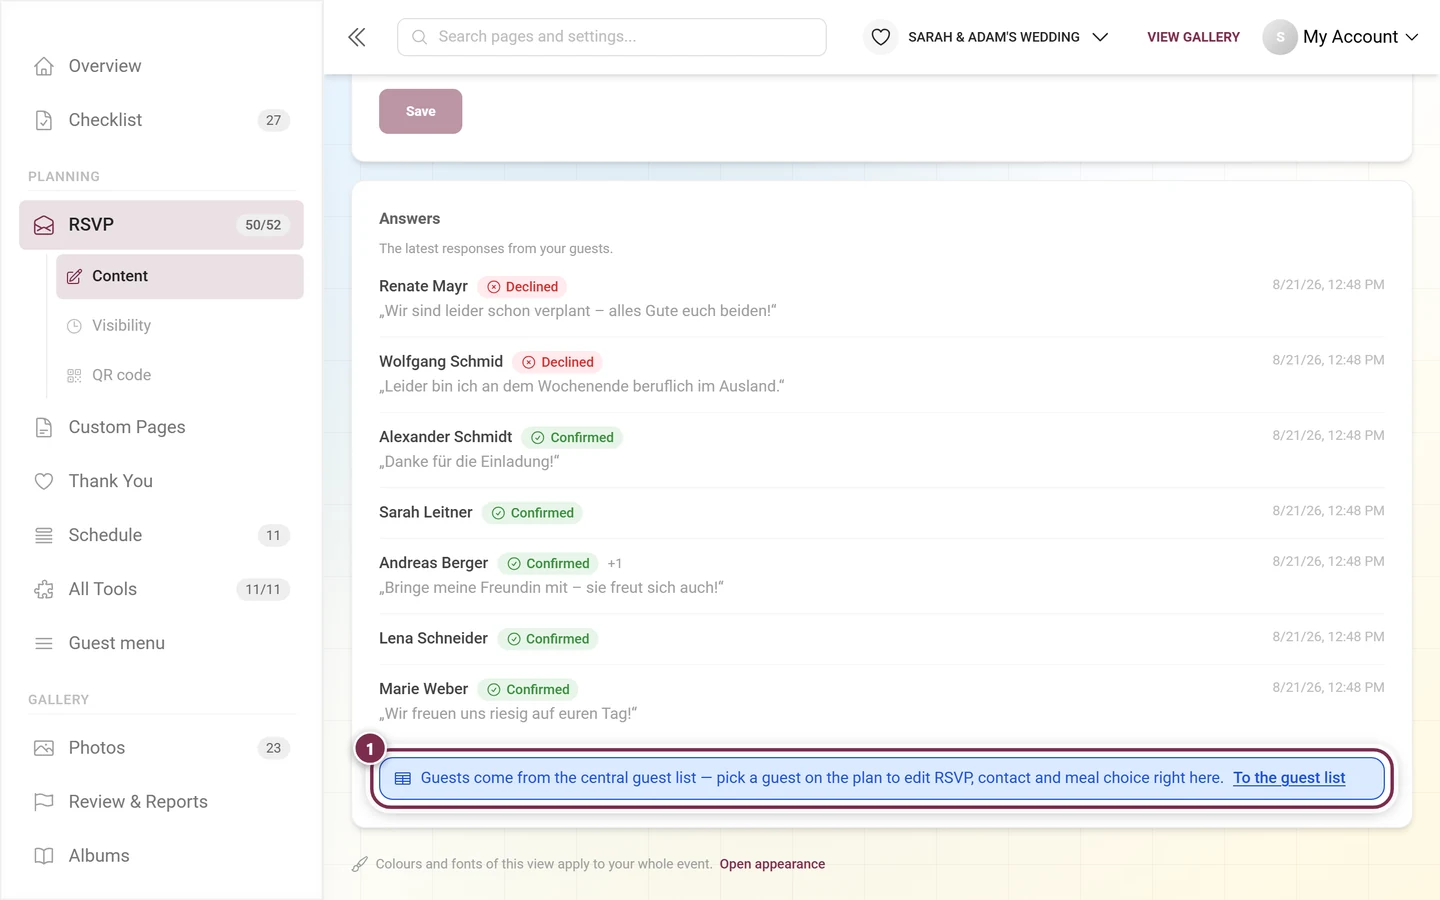
Section titled “Reading the answers”Below the settings, Answers lists the latest replies.
Troubleshooting
Section titled “Troubleshooting”- Nothing to pick in the menu selection. There are no courses and dishes in the menu tool yet. RSVP shows exactly what is there.
- The personalized link export fails. With no guests there is nothing to export – add or import them in the guest list first.
- The buttons for the personalized links are gray. Your guest list exceeds your plan’s guest allowance. The shared link keeps working.
- Guests end up on a password prompt. Your event is invite-only. Turn on Embed password in link in the QR code tab and send the link again.
- A custom question vanished after saving. Questions without text in the default language are discarded, and so are choice questions with no answer option at all and without Allow own answer.
- 50 confirmations at the top, but only seven rows in the list. The cards count all guests, the answer list only shows those who replied themselves. The full picture is in the guest list.
- A guest appears twice. They added themselves through the shared link although they were already on the list. In the guest list you assign the new entry to the existing one.
- The form is closed for guests. Check in the Visibility tab whether today falls inside the response window – and whether the tool is enabled at all.
Related pages
Section titled “Related pages”- For guests: Accept or decline (RSVP) – what your guests see.
- For hosts: Guest list – where all the answers land.
- For hosts: Seating Plan – Seating guests – where seating wishes become seating rules.
- For hosts: Menu – the courses for the menu selection.
- For hosts: Digital invitation – the designed alternative to the bare form.
- For hosts: Tooling – Overview – tabs, visibility and QR code in detail.