Joining an event
To view an event’s photos and add your own, you join the gallery once. It all happens right in your browser – no app and no account needed. In the vast majority of cases a single tap on the link is all it takes, and you’re already in.
How to reach the gallery
Section titled “How to reach the gallery”There are two ways to the gallery, both leading to the same place:
- Open the link – The host shares a link (for example via WhatsApp, email, or on an invitation). Tap it and it opens in your phone’s or computer’s browser.
- Scan the QR code – Point your phone’s camera (or a QR app) at the posted code. It opens the same link. More on this under Scanning a QR code.
The classic join, step by step
Section titled “The classic join, step by step”When the host requires a password, a short welcome screen guides you through two steps: first the access code, then your display name.
-
Open the welcome screen. After tapping the link or QR code, the “Welcome to our gallery” screen appears. For events with custom branding it shows the host’s colors and logo – but the flow stays the same.
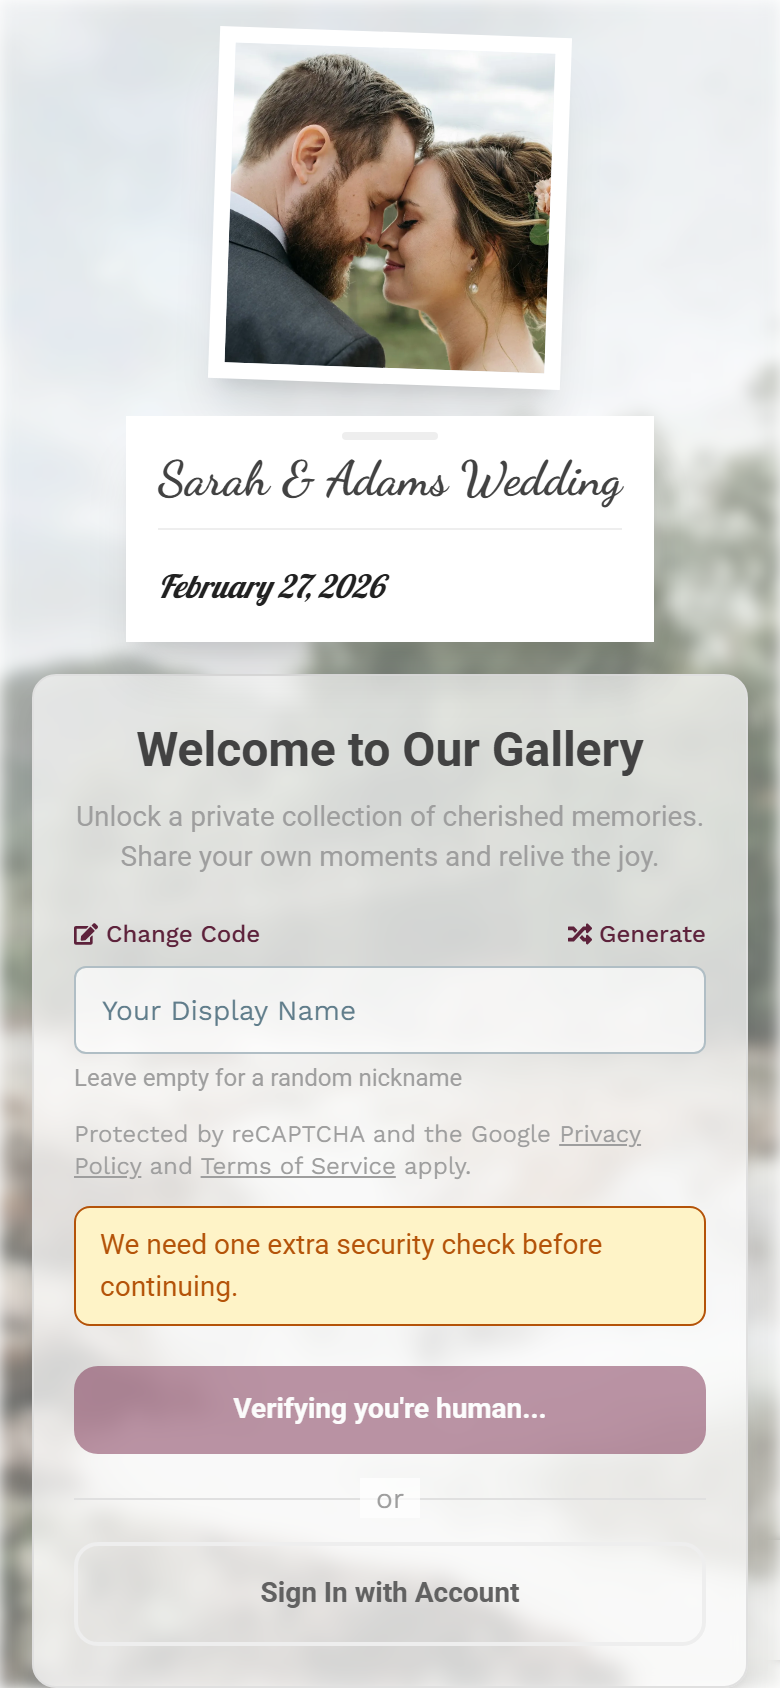
The welcome screen greets you right after opening the link. -
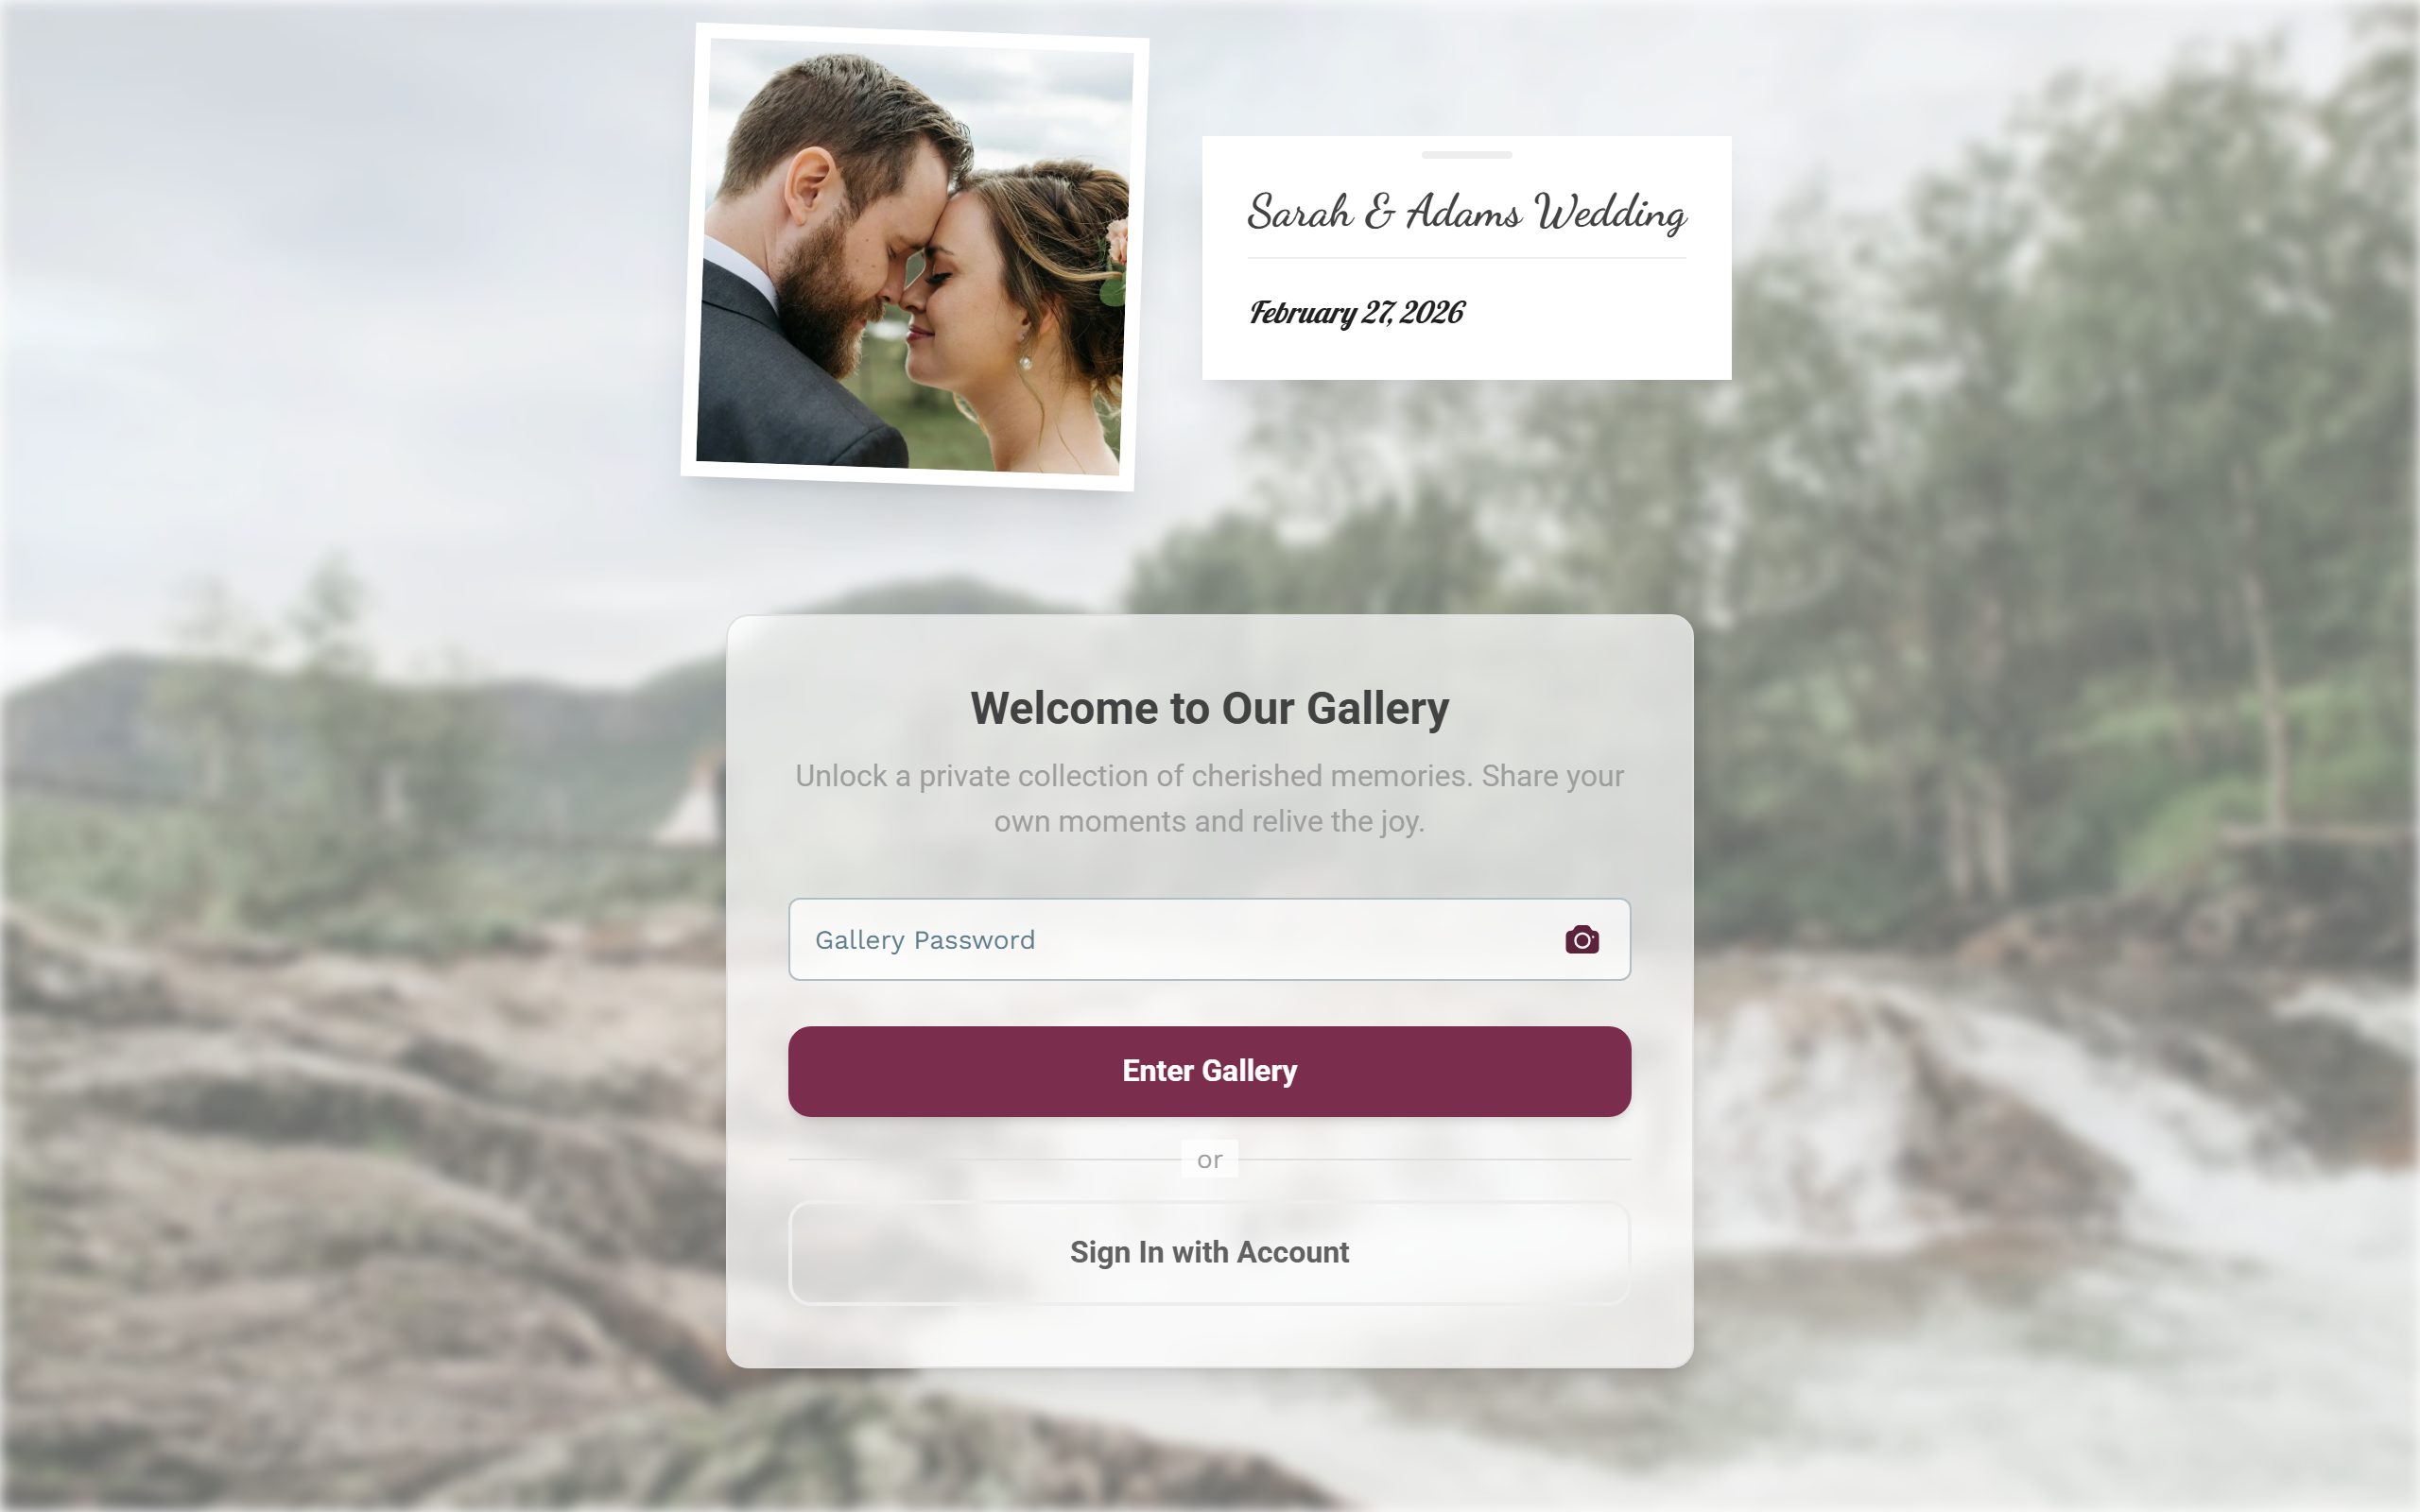
Enter the access code (only when a password is required). Type the code into the Gallery Password field (placeholder “Enter shared password”). Confirm with Continue or simply press the Enter key. You’ll usually find the code on the invitation, a place card, or a poster.
-
Choose a display name. In the next step, enter under Your display name how you’d like to appear in the gallery (for example
ShutterBug42). Leave the field empty and you’ll get a random nickname like “FlashMaster1234” automatically – the hint Leave empty for a random nickname sits right below it. -
Enter. Tap the large button. If you’re not signed in, it reads Enter as guest. A moment later you’re in the gallery.
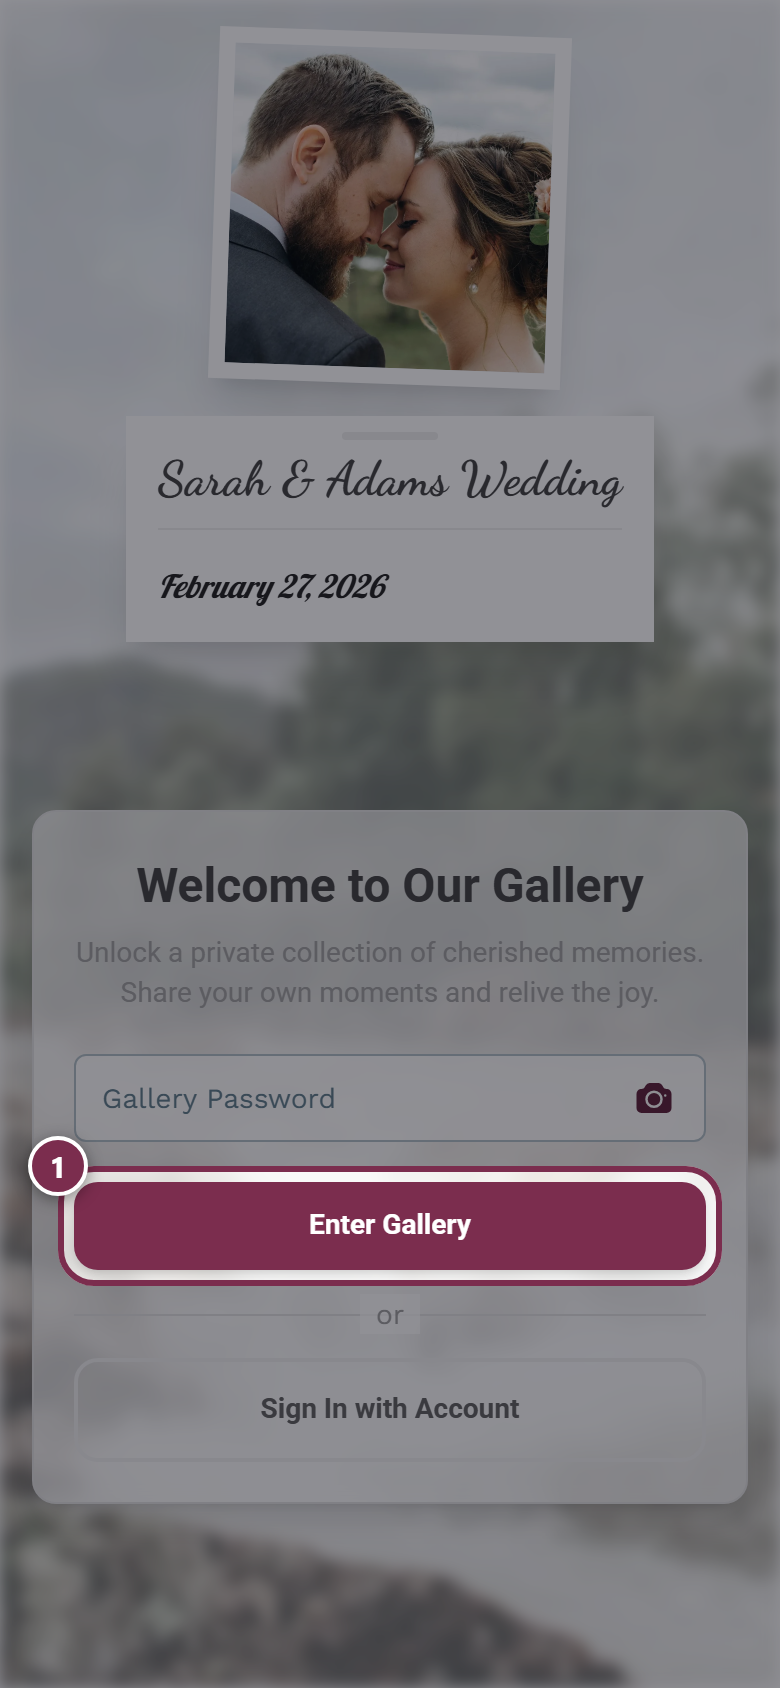
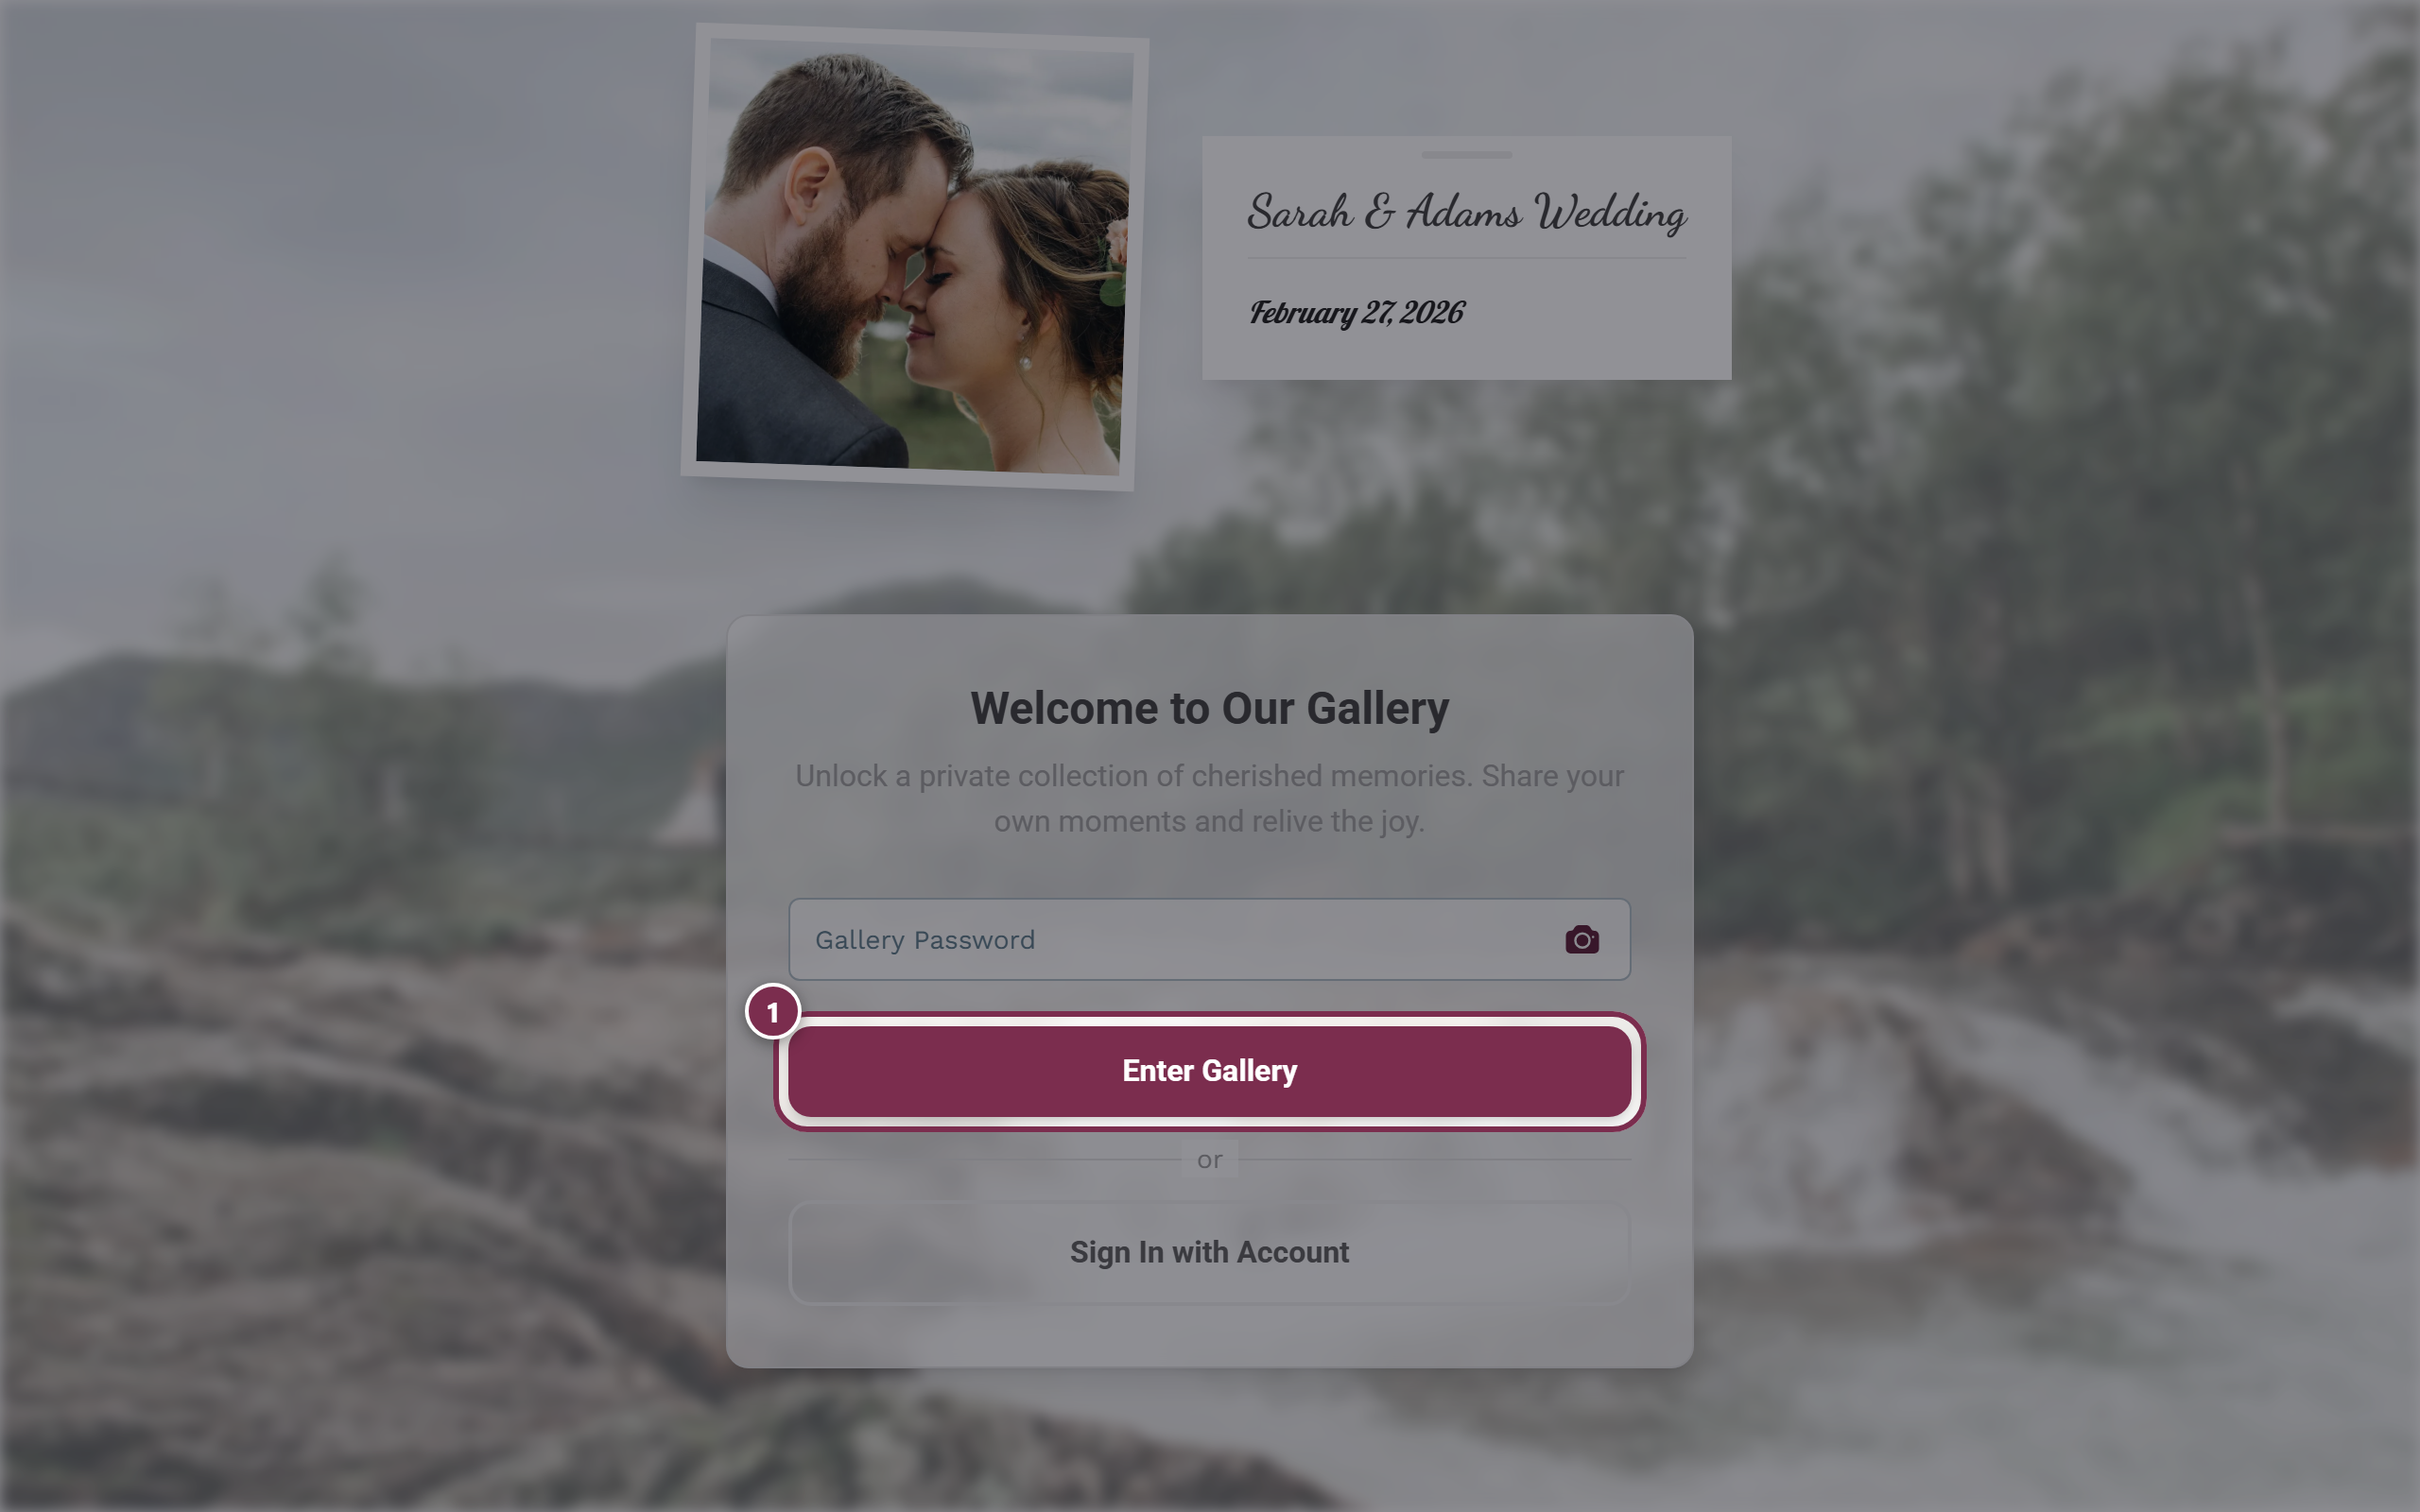
The button to enter is highlighted – tap here to join.
Prefer to sign in with an account?
Section titled “Prefer to sign in with an account?”If you’re not signed in, below the main button you’ll find an or divider and the Sign in with account button. That opens the sign-in dialog.
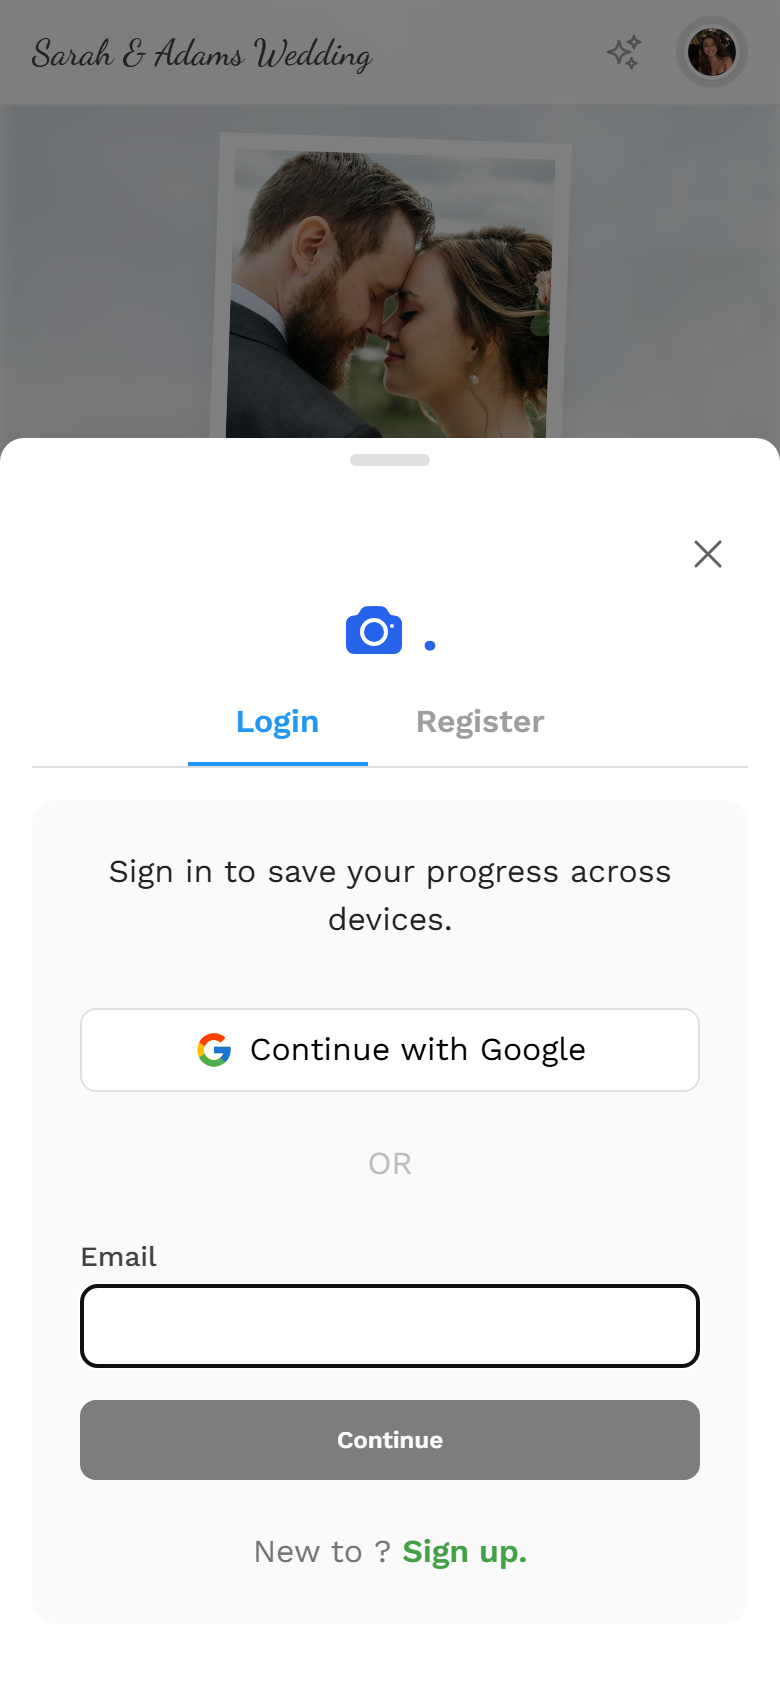
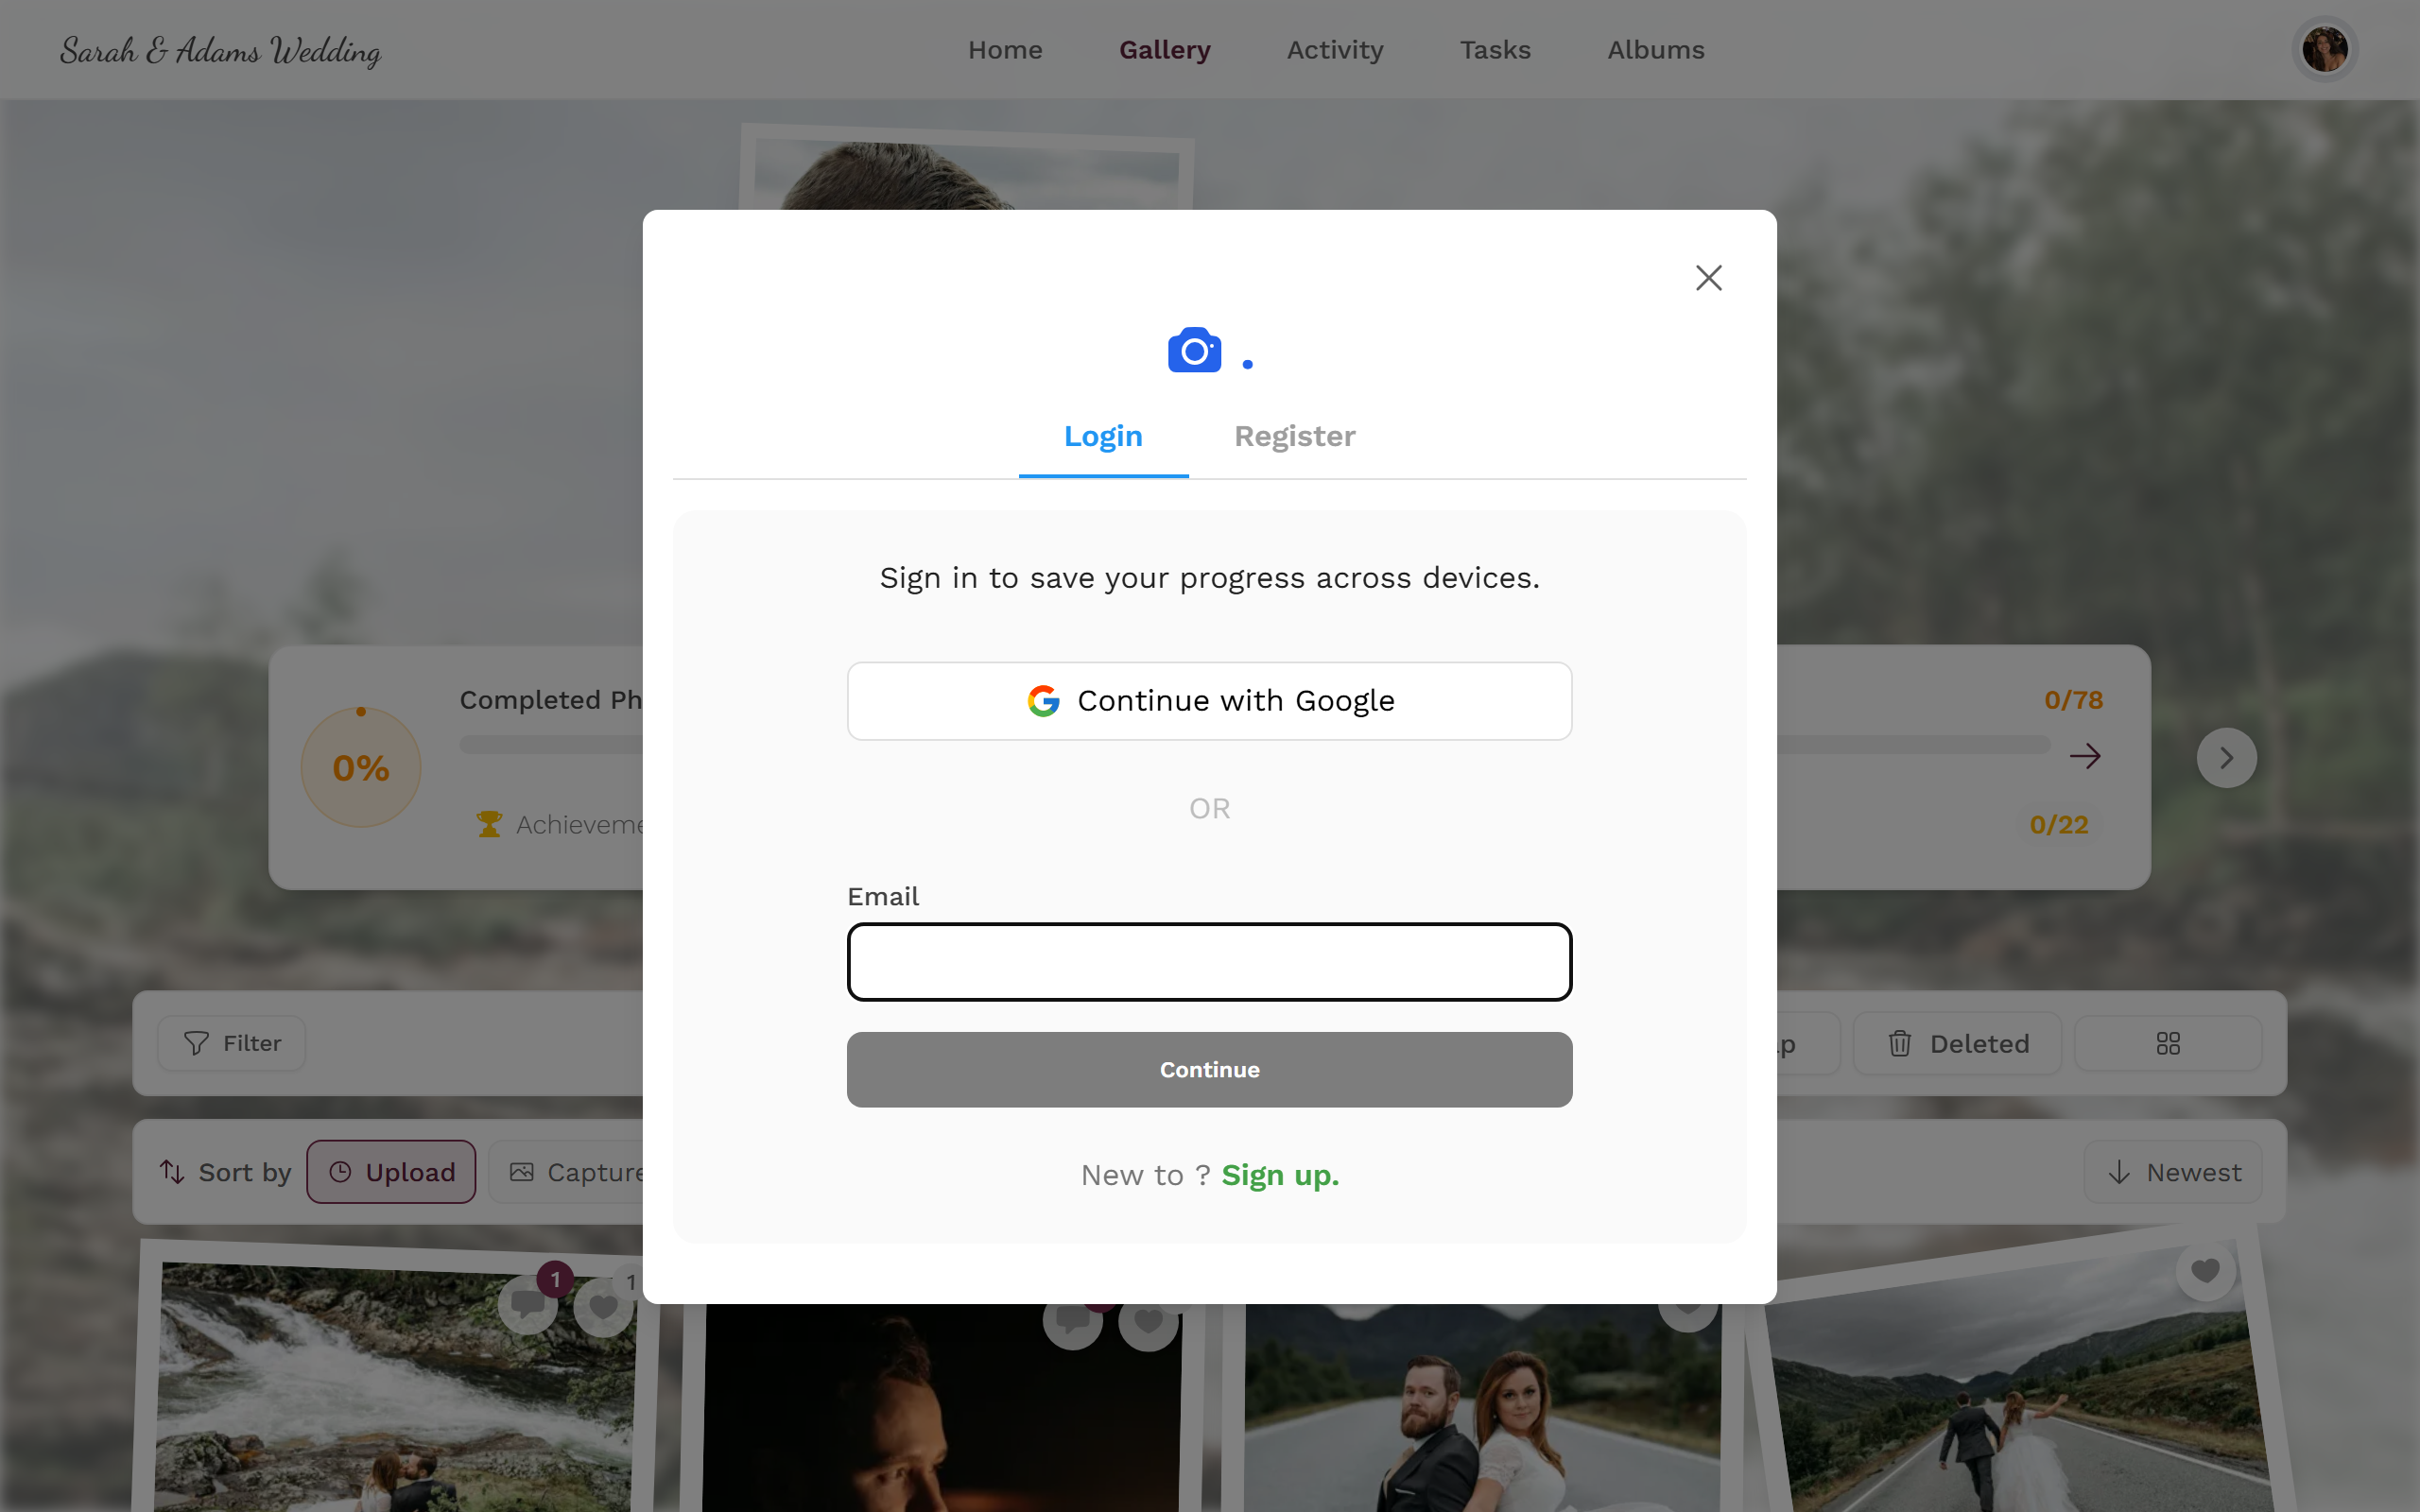
An account is worthwhile if you want to be recognized across devices – for example when you take photos on your phone and continue later on your laptop. If you’re already signed in and have a nickname set, you skip the name step automatically. More on this under Profile and nickname.
Why do I (not) see a password field?
Section titled “Why do I (not) see a password field?”Whether and which field you see when joining is decided solely by the host via the access mode (under Settings → Privacy). There are three modes:
- Open Access – “Anyone with the link can view.” You get in without any input. The host decides whether you start as a Viewer (view photos and like them) or a Contributor (upload photos and complete tasks).
- Password Protected – “Guests need a code to enter.” You have to enter the access code (for example
wedding-2024). - Completely Private (Advanced) – Only custom invitations work; the default code is disabled. Here you need a personal invitation link from the host.
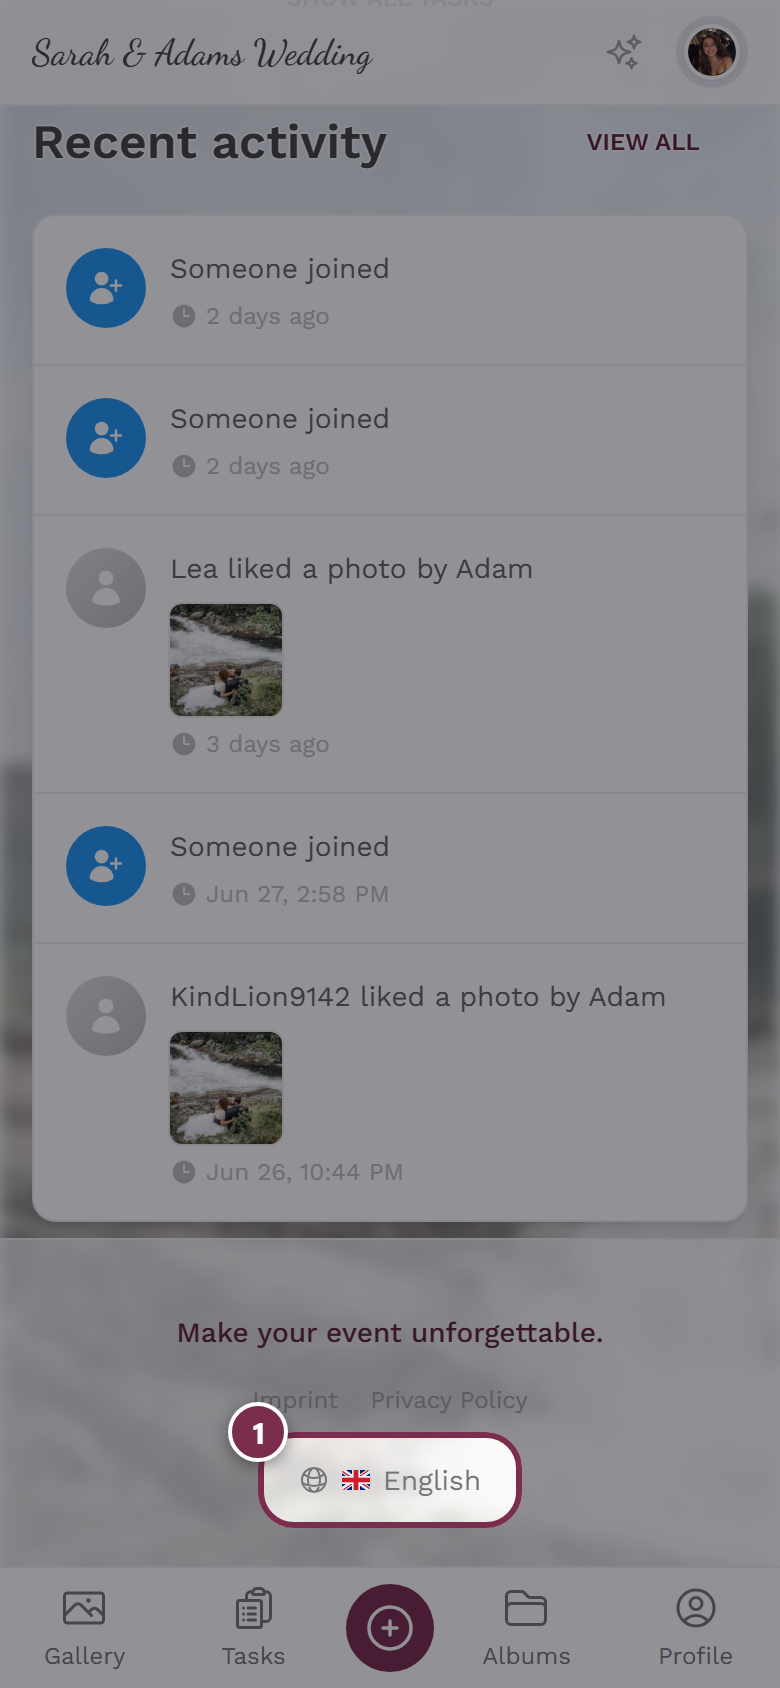
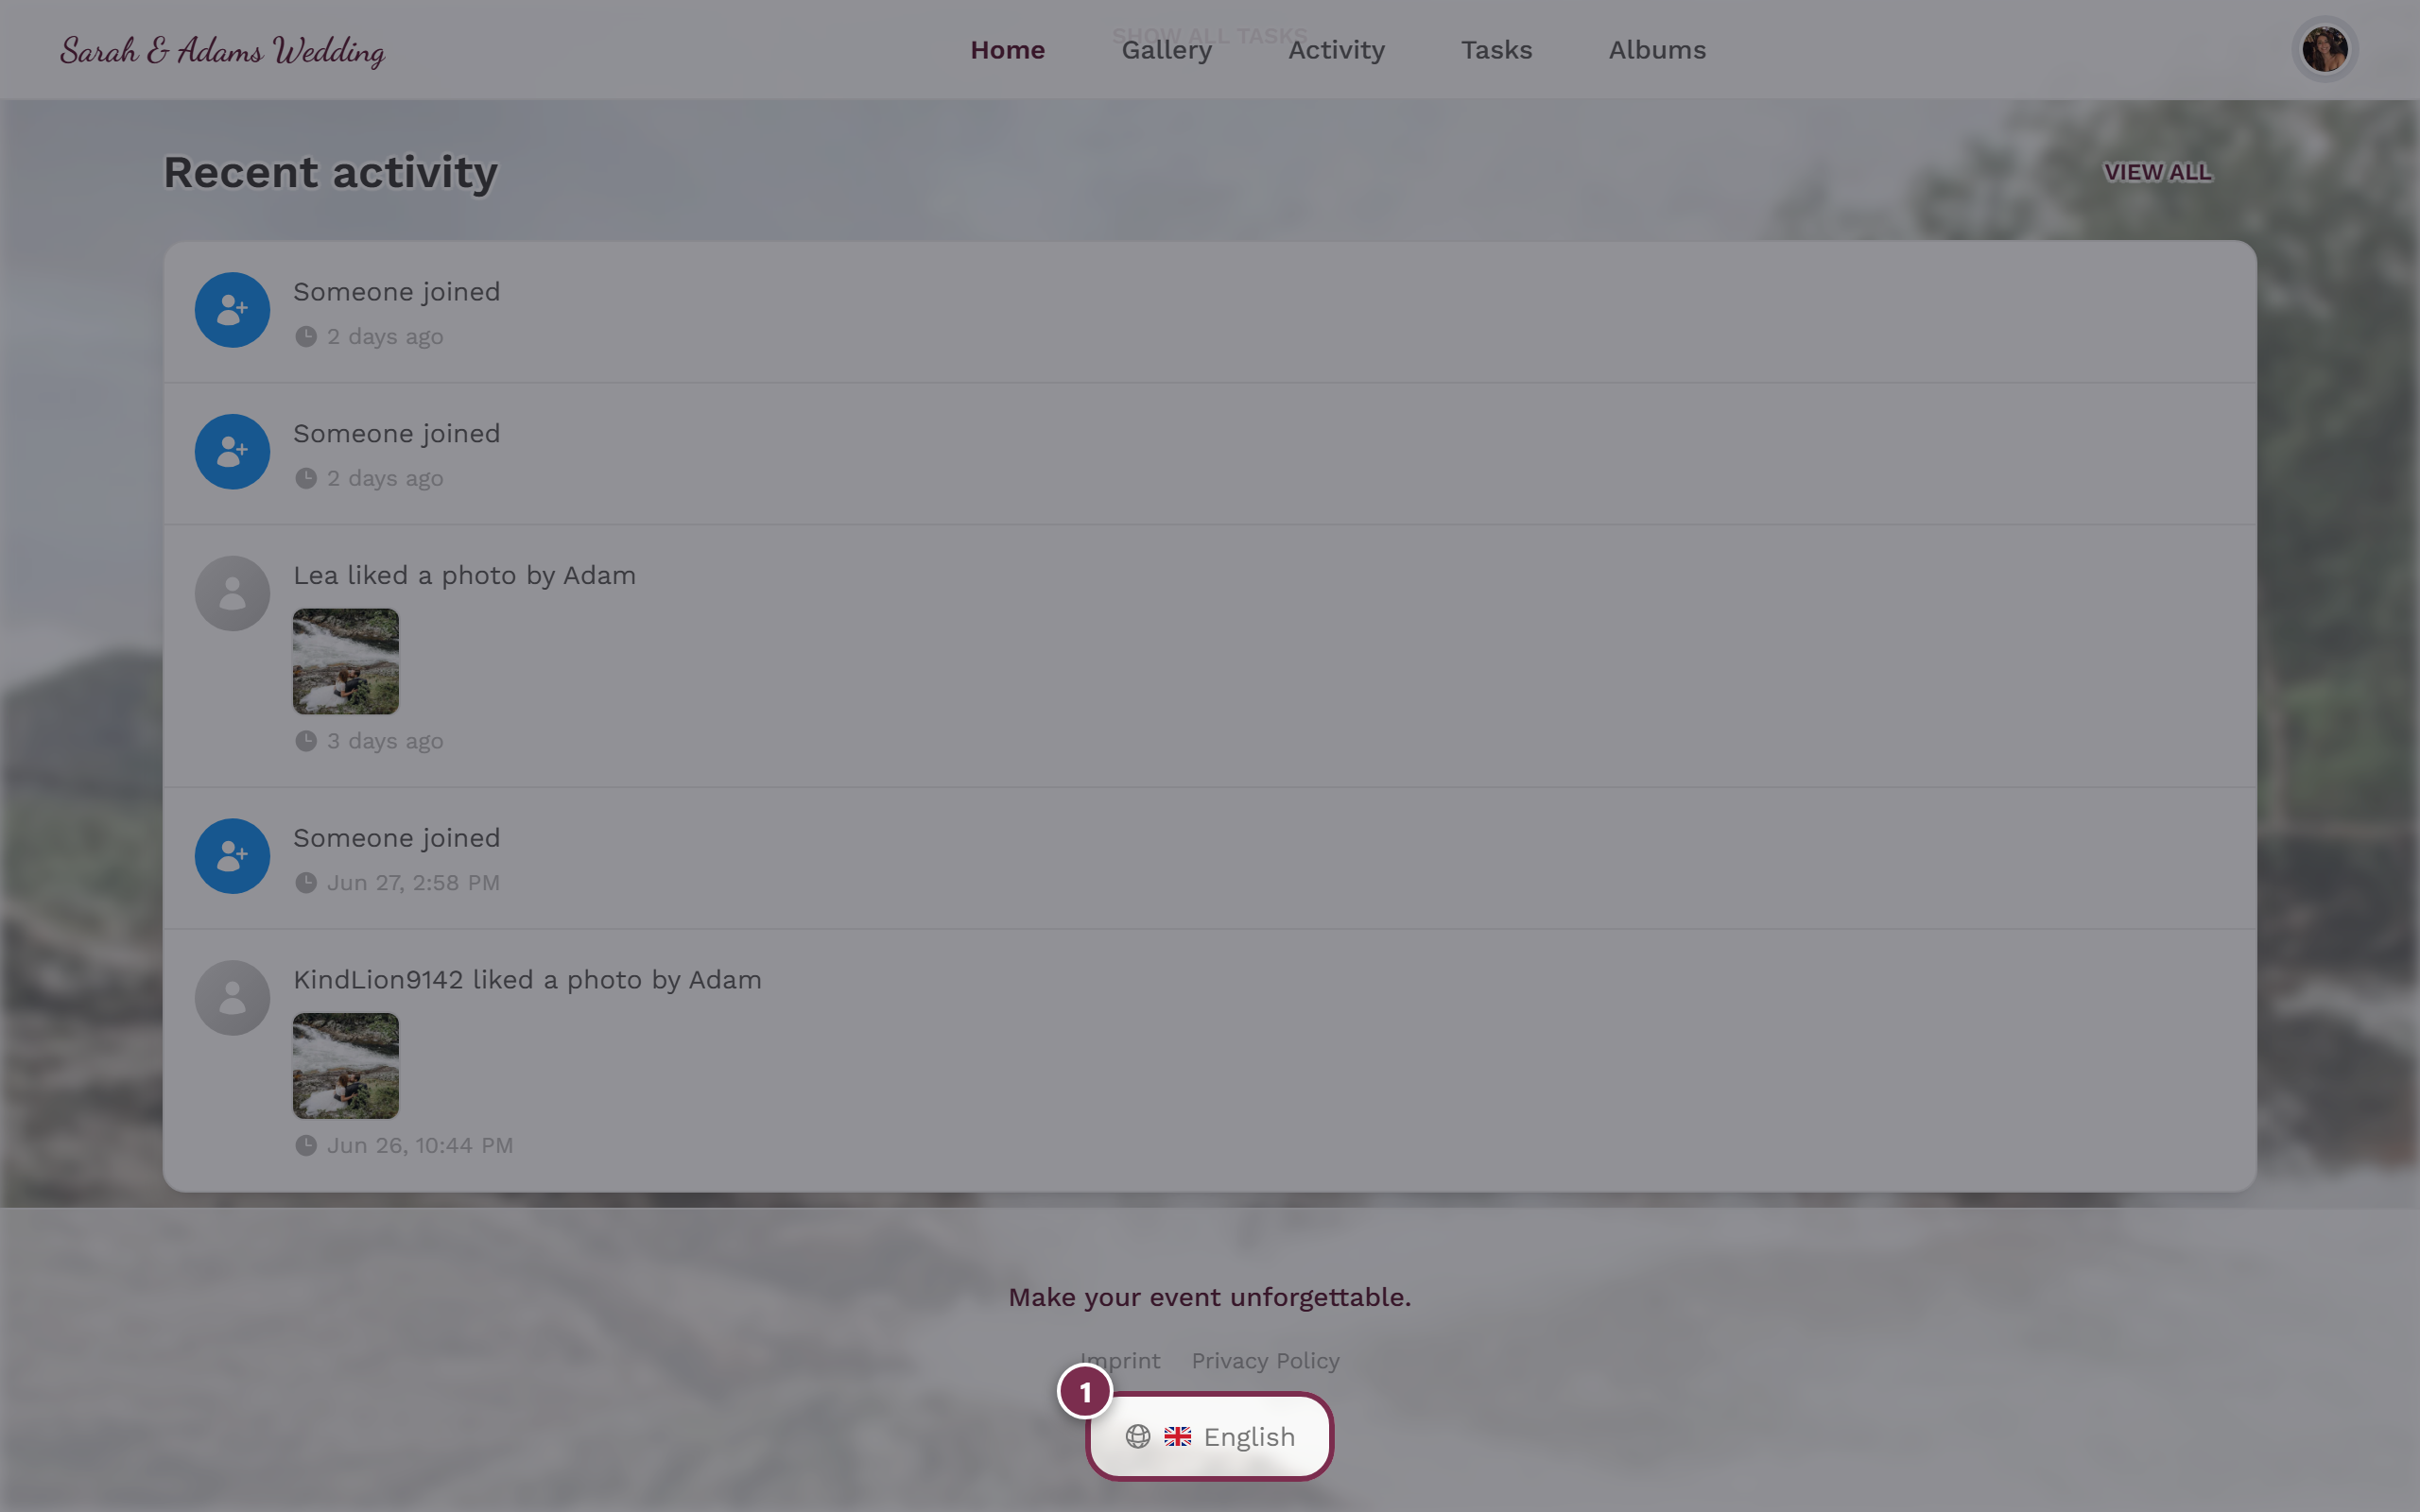
Changing the language on the gate
Section titled “Changing the language on the gate”You can switch the display language even before joining: at the bottom of the welcome screen you’ll find the globe icon with a language picker. The change takes effect immediately. Details under Changing the language.
Troubleshooting
Section titled “Troubleshooting”What happens after joining?
Section titled “What happens after joining?”Done – you’re in the gallery. From here you can dive right in:
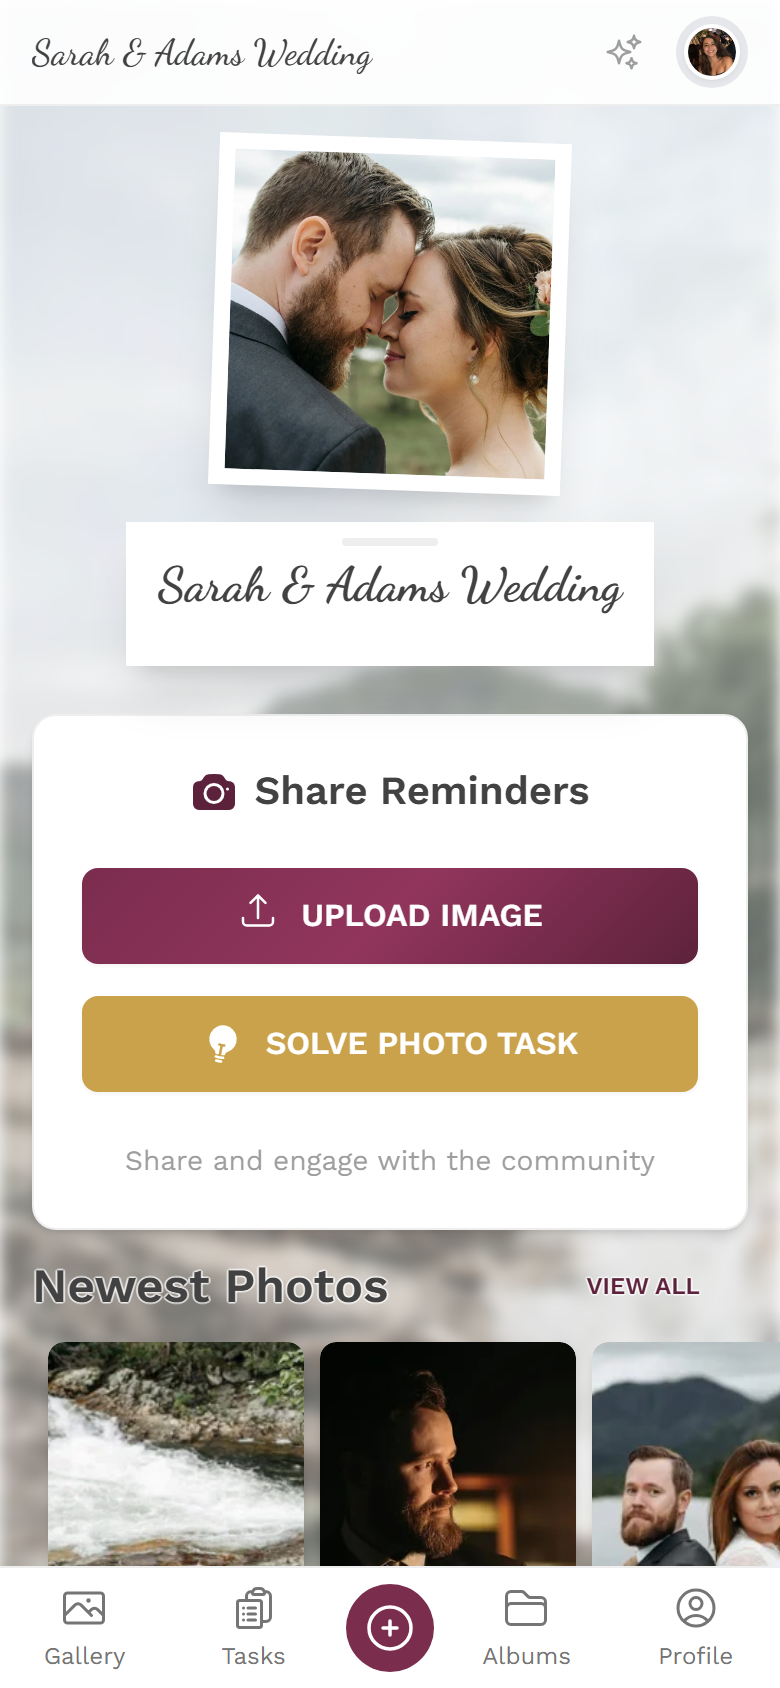
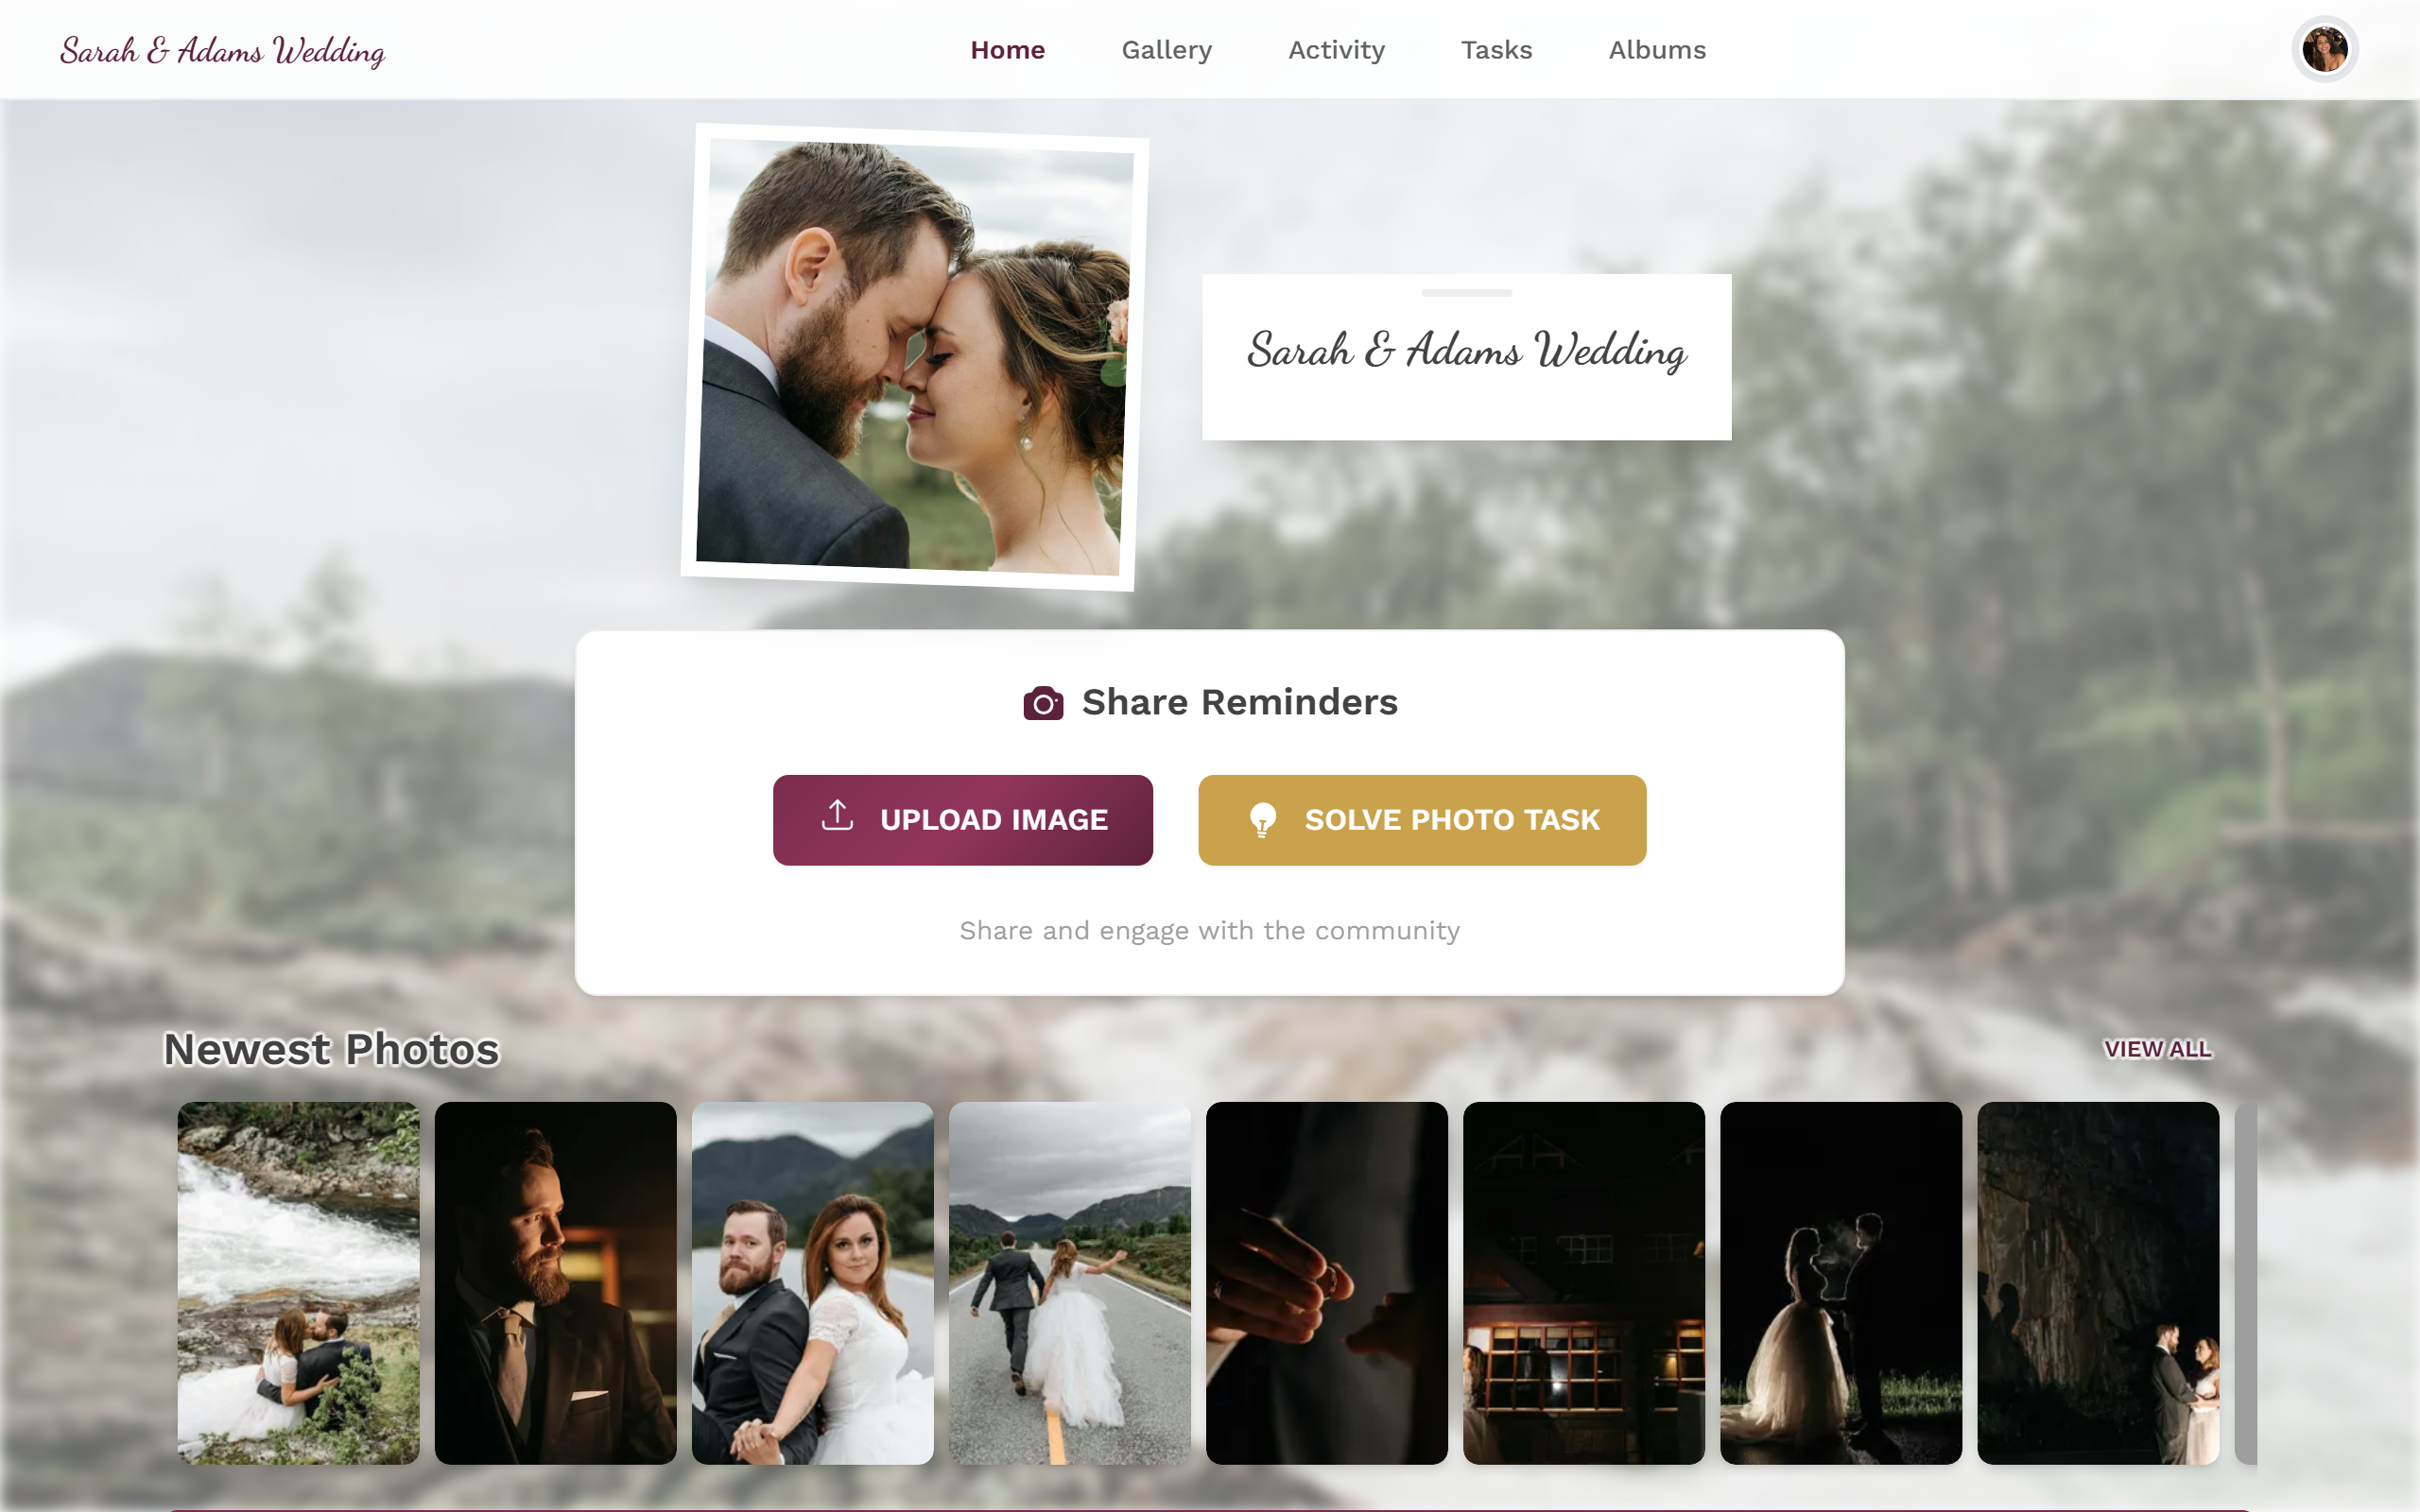
- Viewing and navigating the gallery – find your way around the grid, albums, and menus.
- Uploading photos – share your own shots with everyone.
- Solving photo tasks – earn points with little photo challenges.
- Profile and nickname – change your display name anytime.