Image quality & compression
Here you decide how Photogala handles the photos your guests upload: at full original resolution (ideal for professional photography and archives) or as optimized uploads (smaller files, faster loading). It is a deliberate trade-off between image quality on one side and loading speed and storage on the other.
How to get there
Section titled “How to get there”-
Open the admin area of your gallery — via the profile menu at the top right (admin portal) or straight from the admin sidebar. Open the admin area explains how.
-
In the sidebar, under “Event”, pick Settings (route
/admin/settings).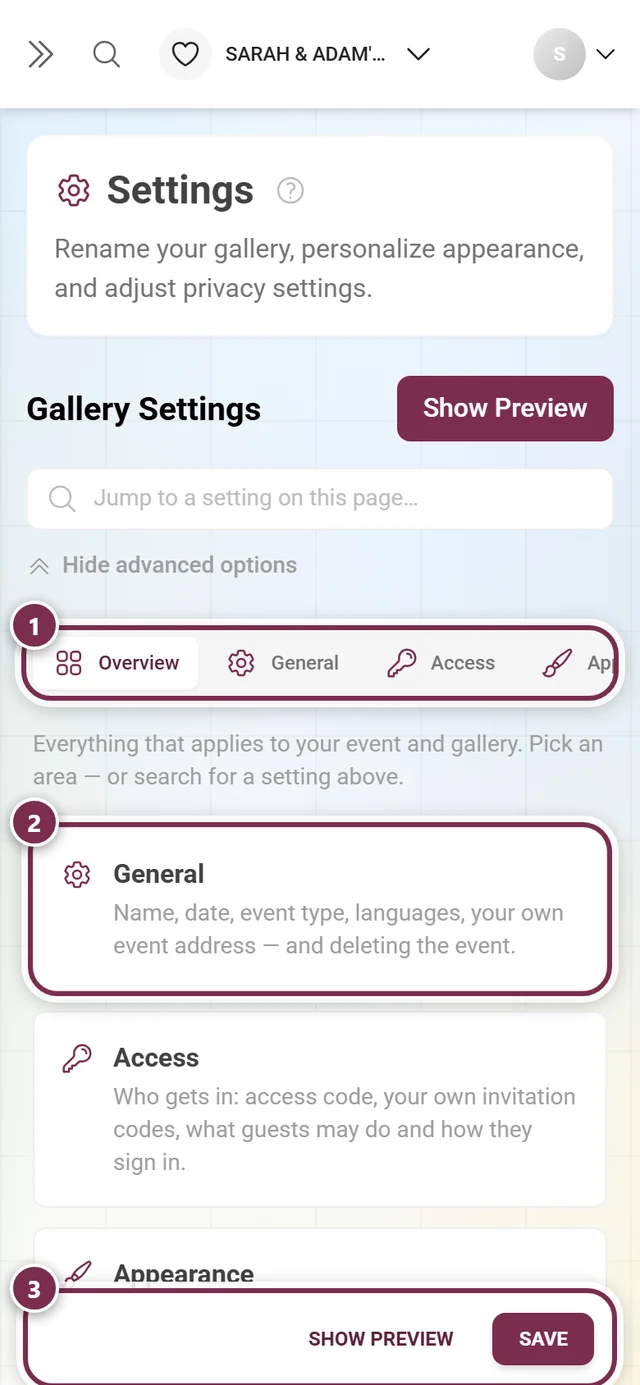
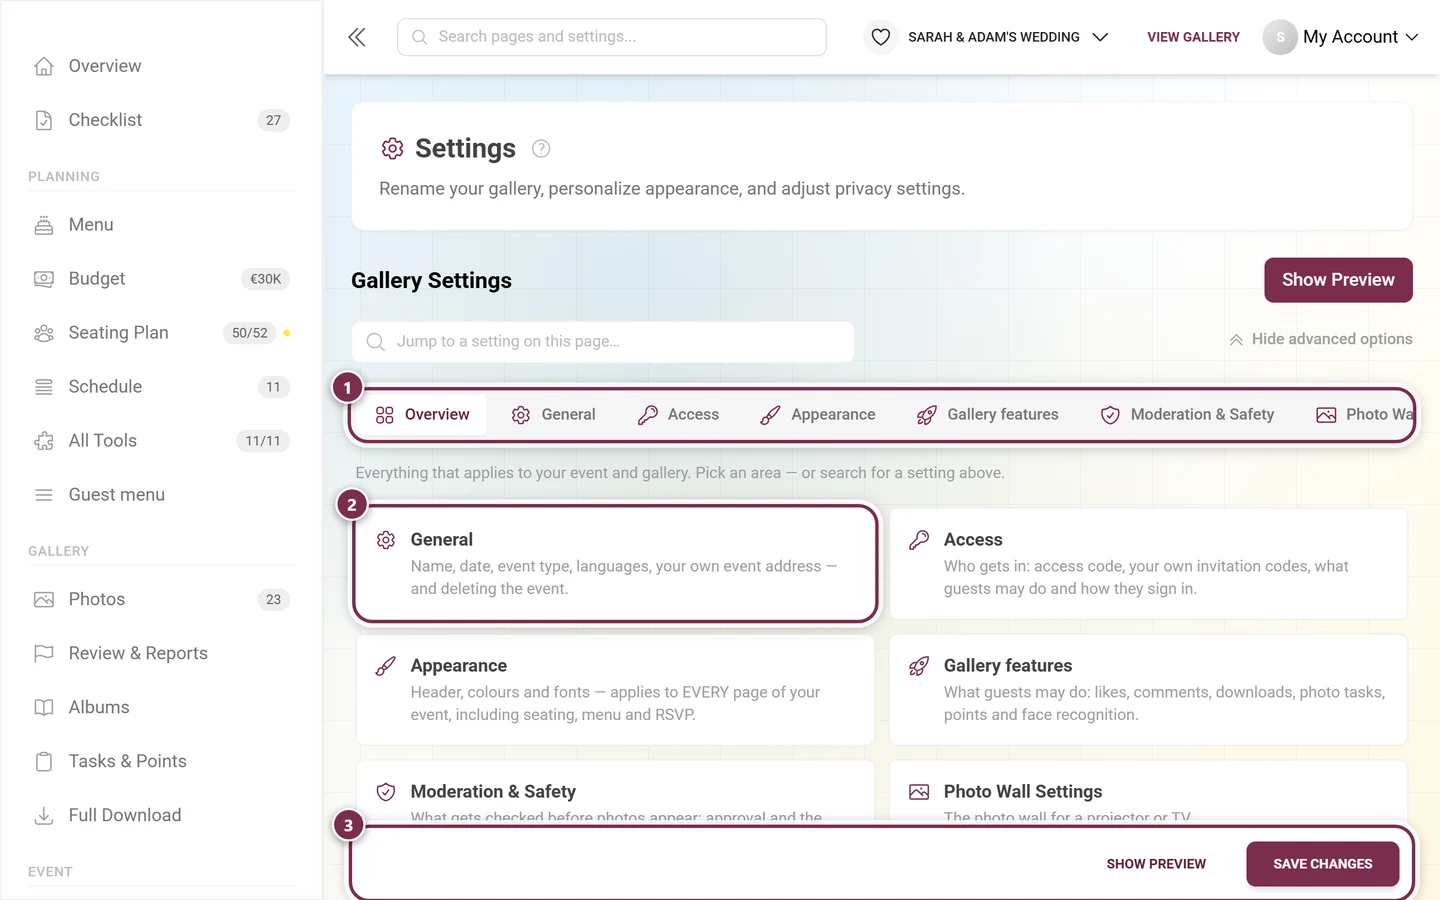
Settings open on the overview — there is no separate “Image quality” entry any more. ① the tab row with every area – it is wider than the window and scrolls sideways; on a phone only three tabs fit at a time, ② one card per area, each with a line on what it holds, ③ the bar that stays at the bottom: Show preview opens the gallery with your changes, Save changes (just Save on a phone) applies them. -
Open the Gallery features tab (rocket icon). Direct link:
/admin/settings?tab=feature-settings. -
Open the “Media & Upload” fold — it is the fourth one, below “Interaction & Engagement”, “Downloads” and “Gallery Views”.
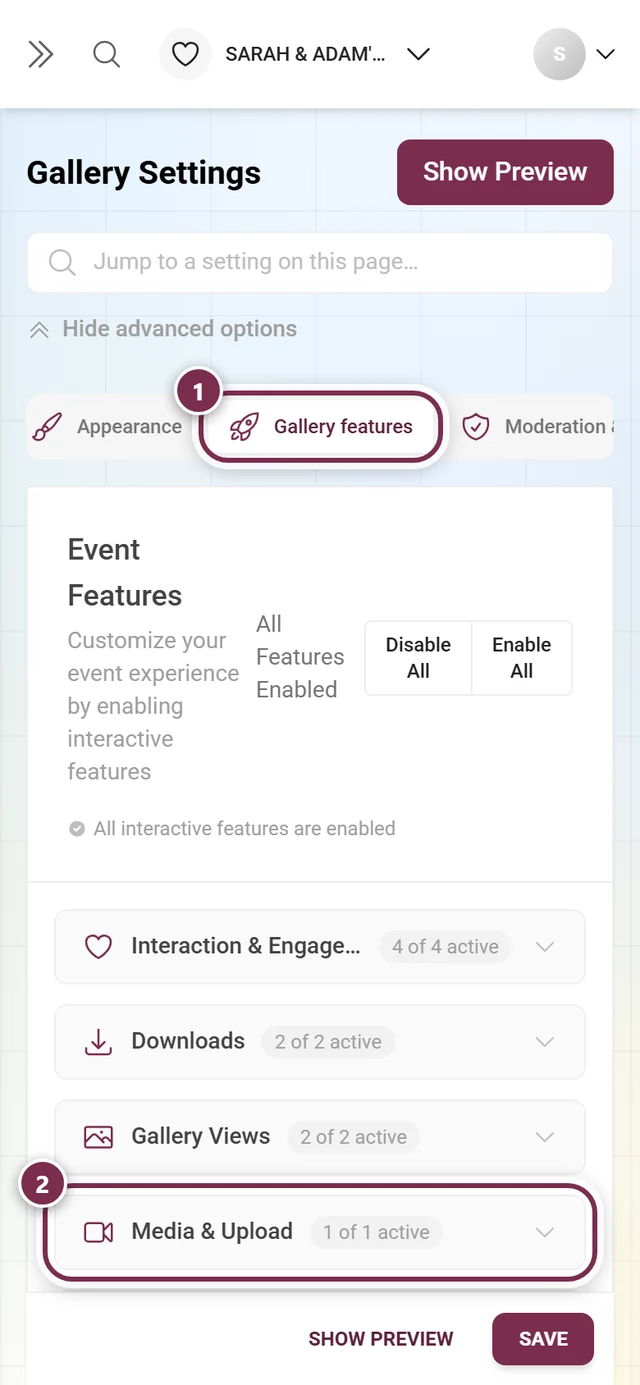
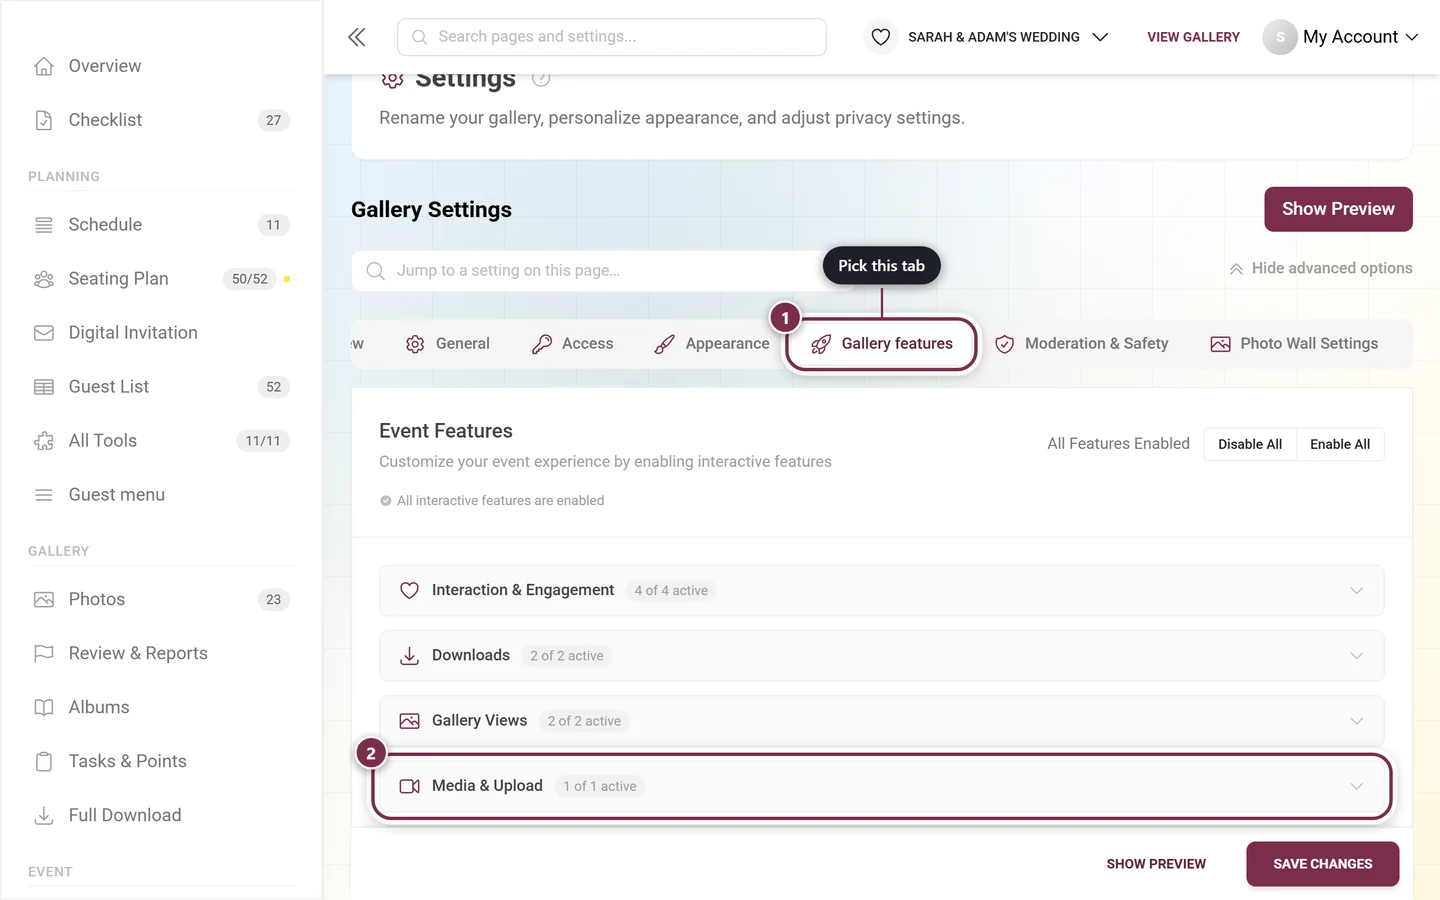
Two clicks to the target: ① the Gallery features tab, ② the “Media & Upload” fold. The small “1 of 1 active” next to it counts the switches in that fold — it means the video switch; the photo options are not counted.
What is inside the fold
Section titled “What is inside the fold”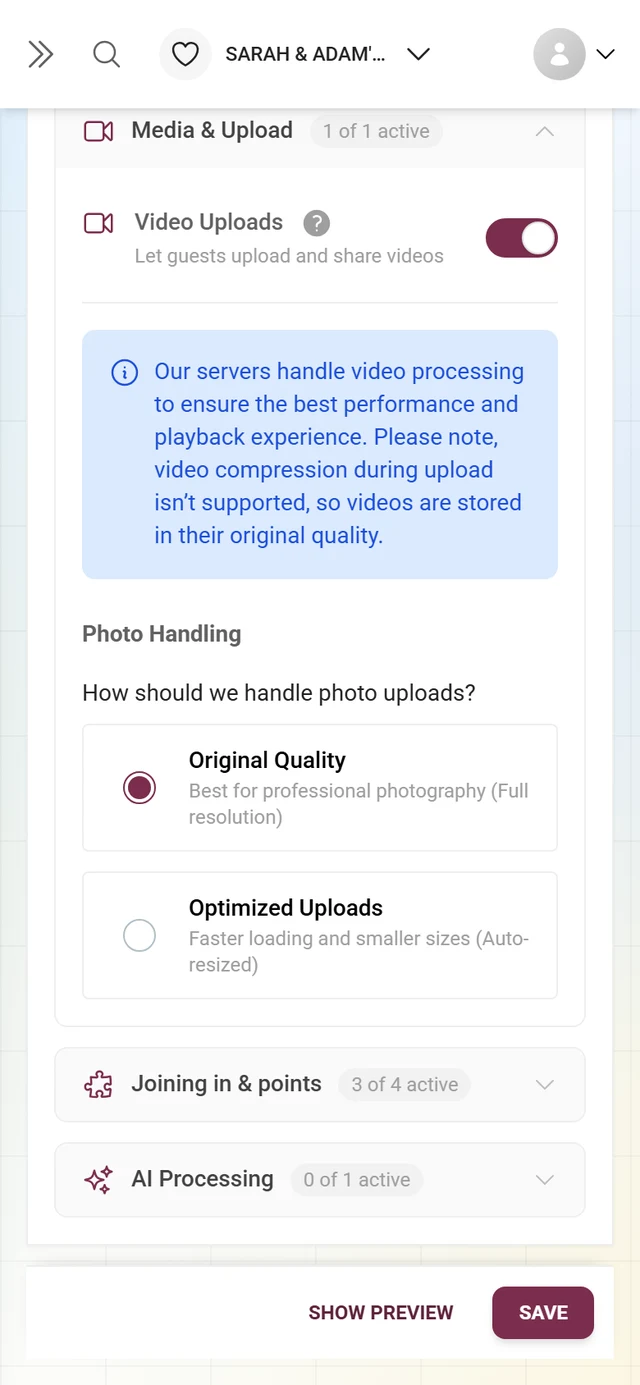
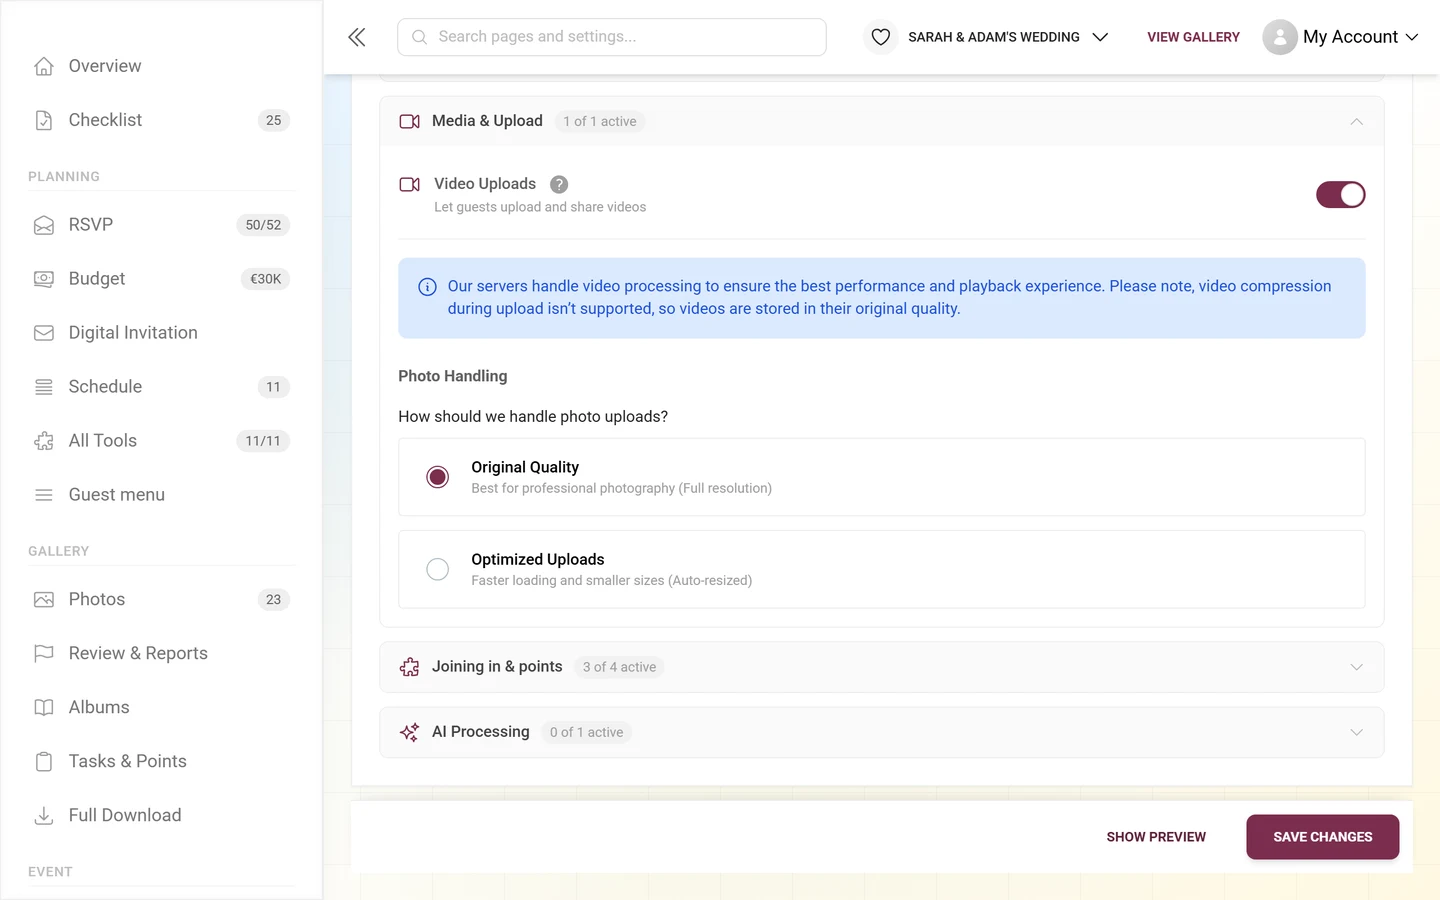
The “Media & Upload” fold holds three things, one below the other:
-
The “Video Uploads” card — the switch that lets guests upload videos at all.
-
The video note — it answers the question the switch above it raises (see below).
-
The “Photo Handling” heading with the two photo options.
Video handling: a note, nothing else
Section titled “Video handling: a note, nothing else”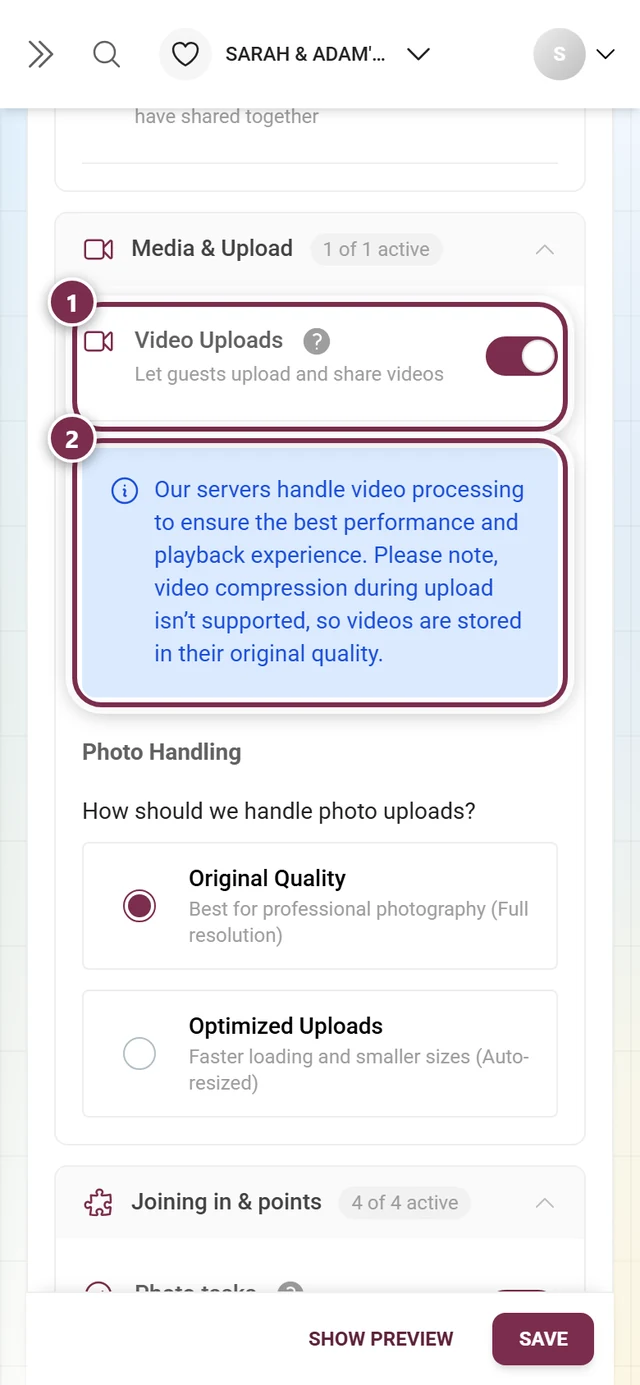
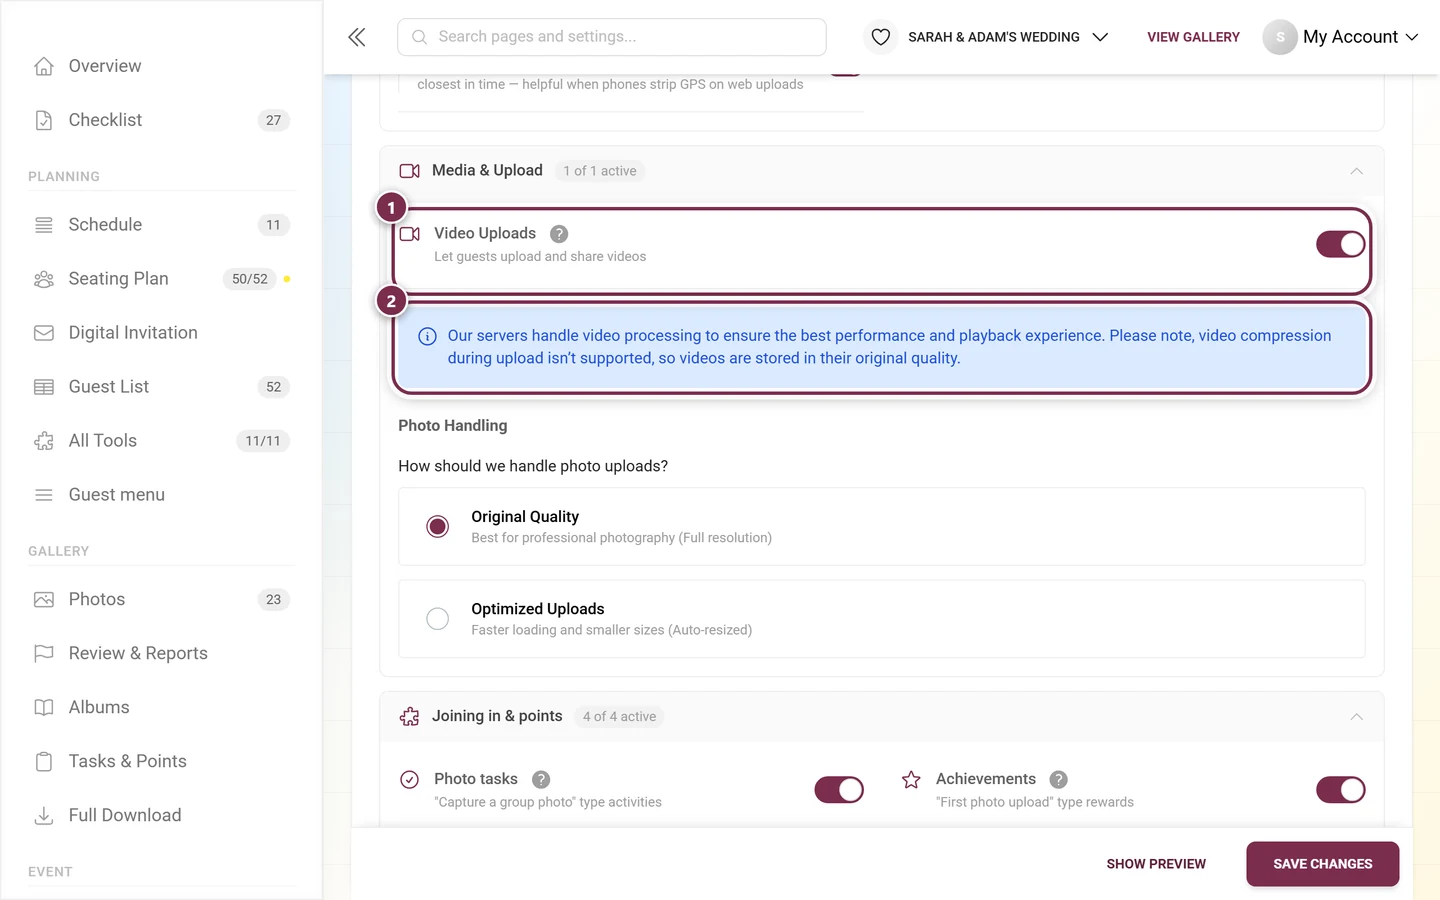
There is no quality switch for videos here. The setting below applies to photos only; videos are never affected, whichever option is selected.
Whether guests may upload videos at all is decided by the Video Uploads switch; see Gallery features.
Photo handling: the actual decision
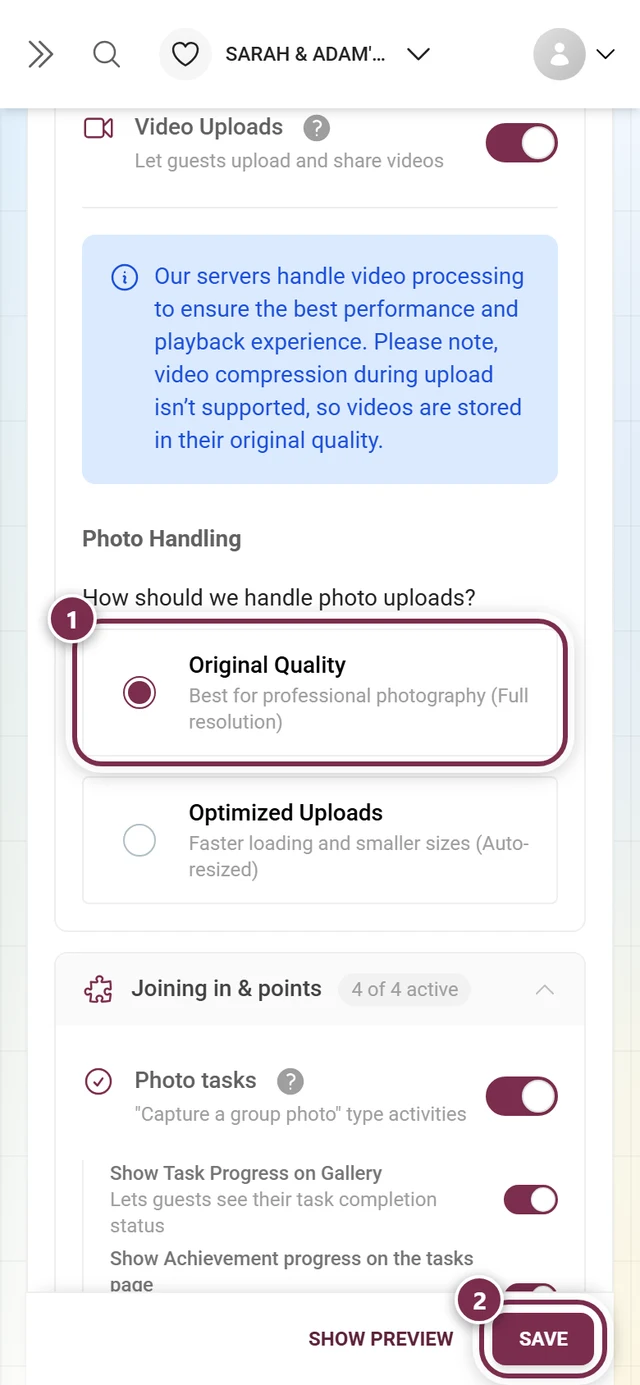
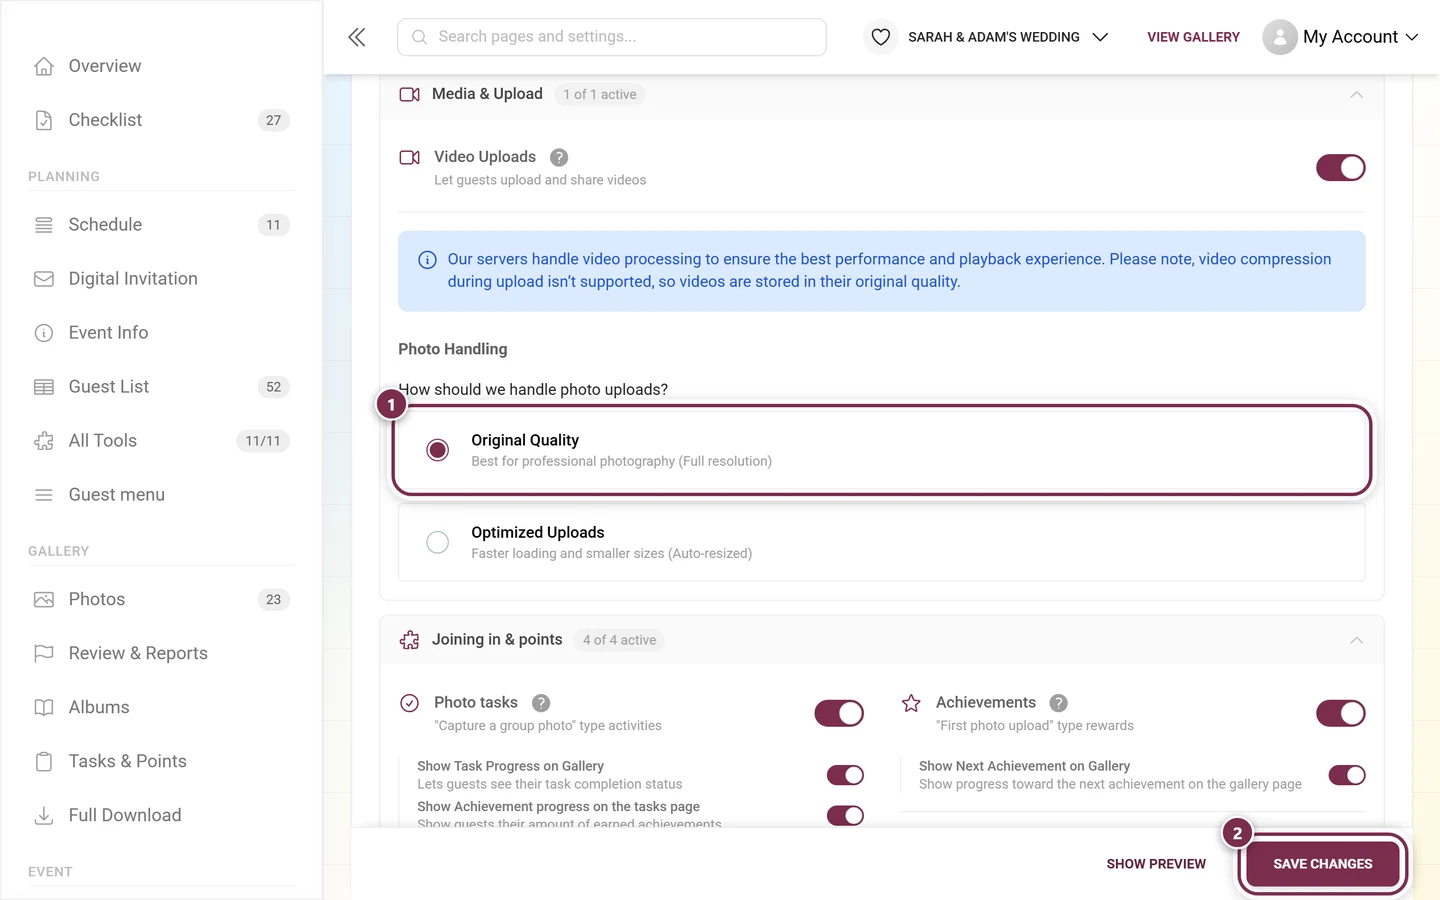
Section titled “Photo handling: the actual decision”The legend asks: “How should we handle photo uploads?” Below it are exactly two choices (radio buttons — only one can be active):
-
Original Quality — “Best for professional photography (Full resolution)”. Photos are stored exactly as they were uploaded: nothing is resized, nothing is recalculated. This is the default for new galleries and the right choice for photographers, later prints or a long-lived archive. This option requires premium (see below).
-
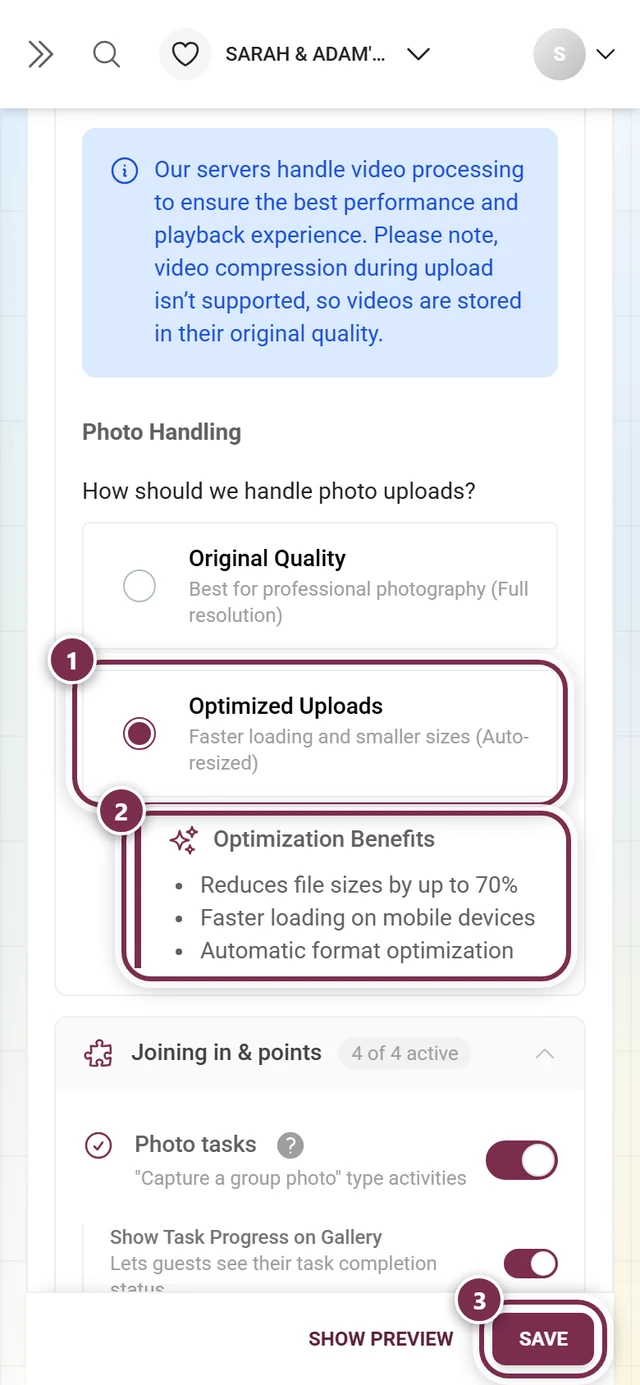
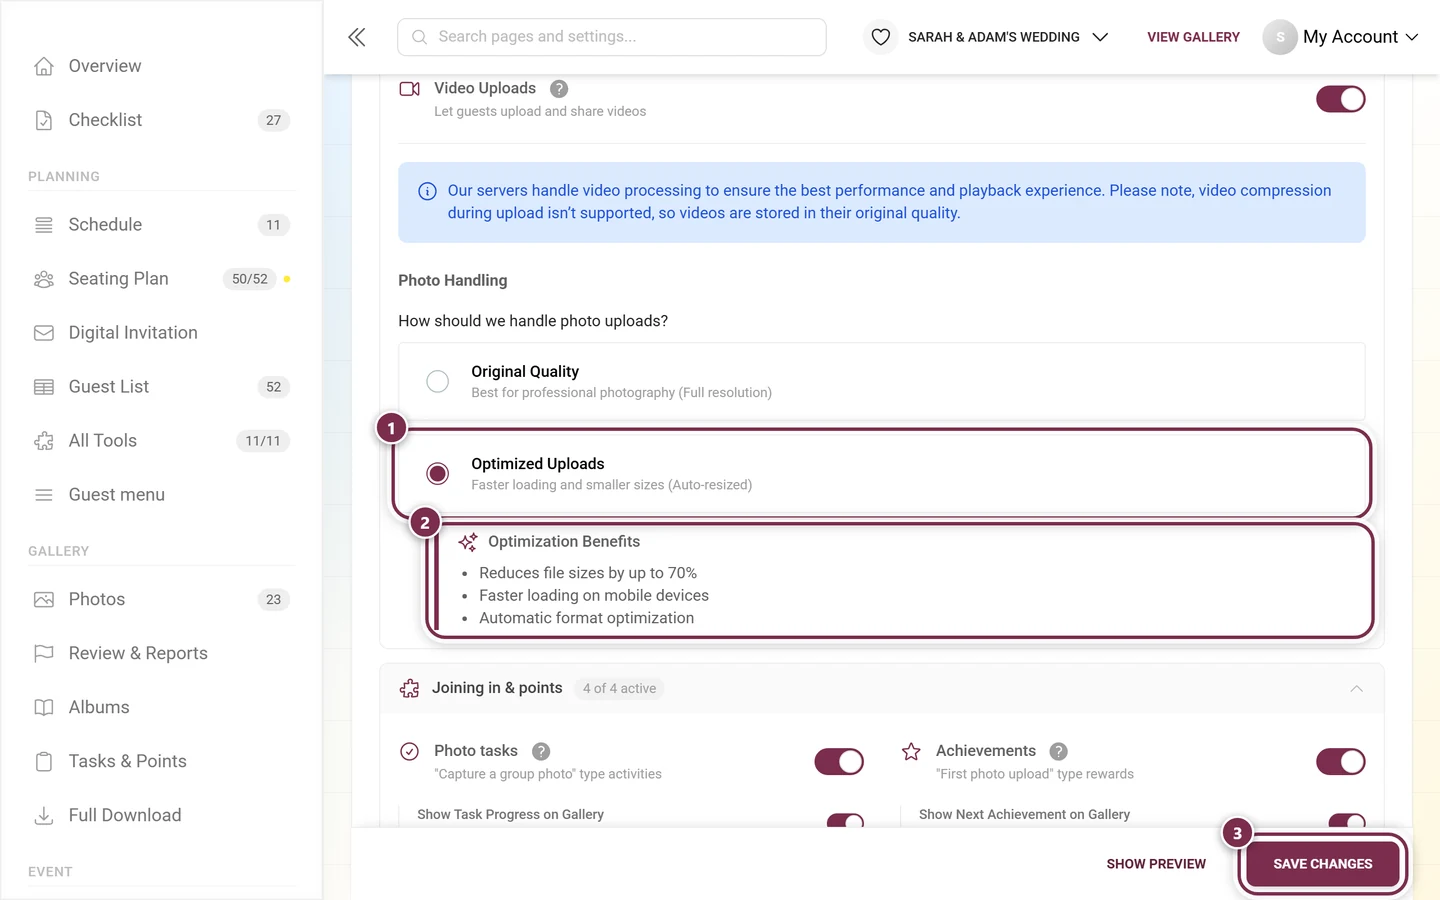
Optimized Uploads — “Faster loading and smaller sizes (Auto-resized)”. Every photo is shrunk before it is uploaded. While this option is active, the indented Optimization Benefits box appears below it.
What “Optimized Uploads” actually does
Section titled “What “Optimized Uploads” actually does”The resizing happens in the guest’s browser or on their phone, before the file is even sent — not on the server afterwards. In detail:
- The longest edge is capped at 2048 pixels (2K). A 4032 × 3024 phone photo becomes 2048 × 1536; a photo that is already smaller stays untouched.
- Quality starts at 80 % and is adjusted until the result fits.
- The file format is preserved (JPEG stays JPEG, PNG stays PNG) — nothing is converted into a different format.
- EXIF data is kept in full, including capture time, camera model and GPS position. Orientation (portrait/landscape) is carried over correctly as well.
- If the resizing fails, the original is uploaded instead. No photo is ever lost because of it.
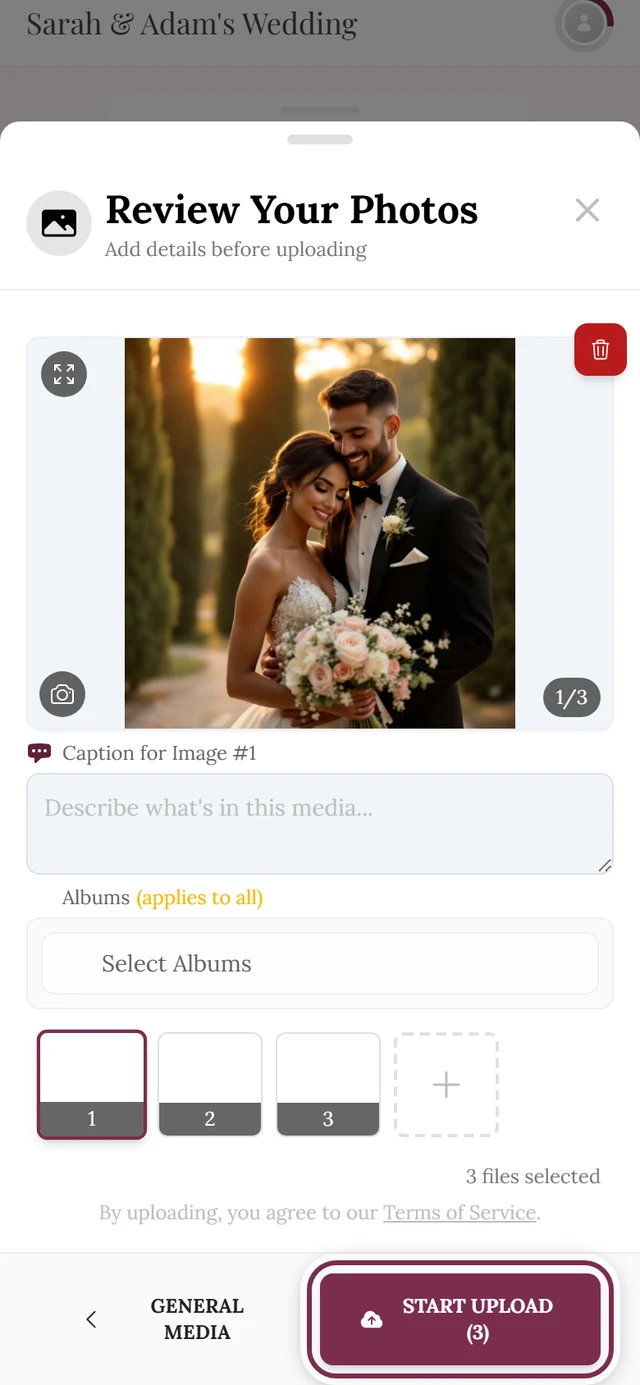
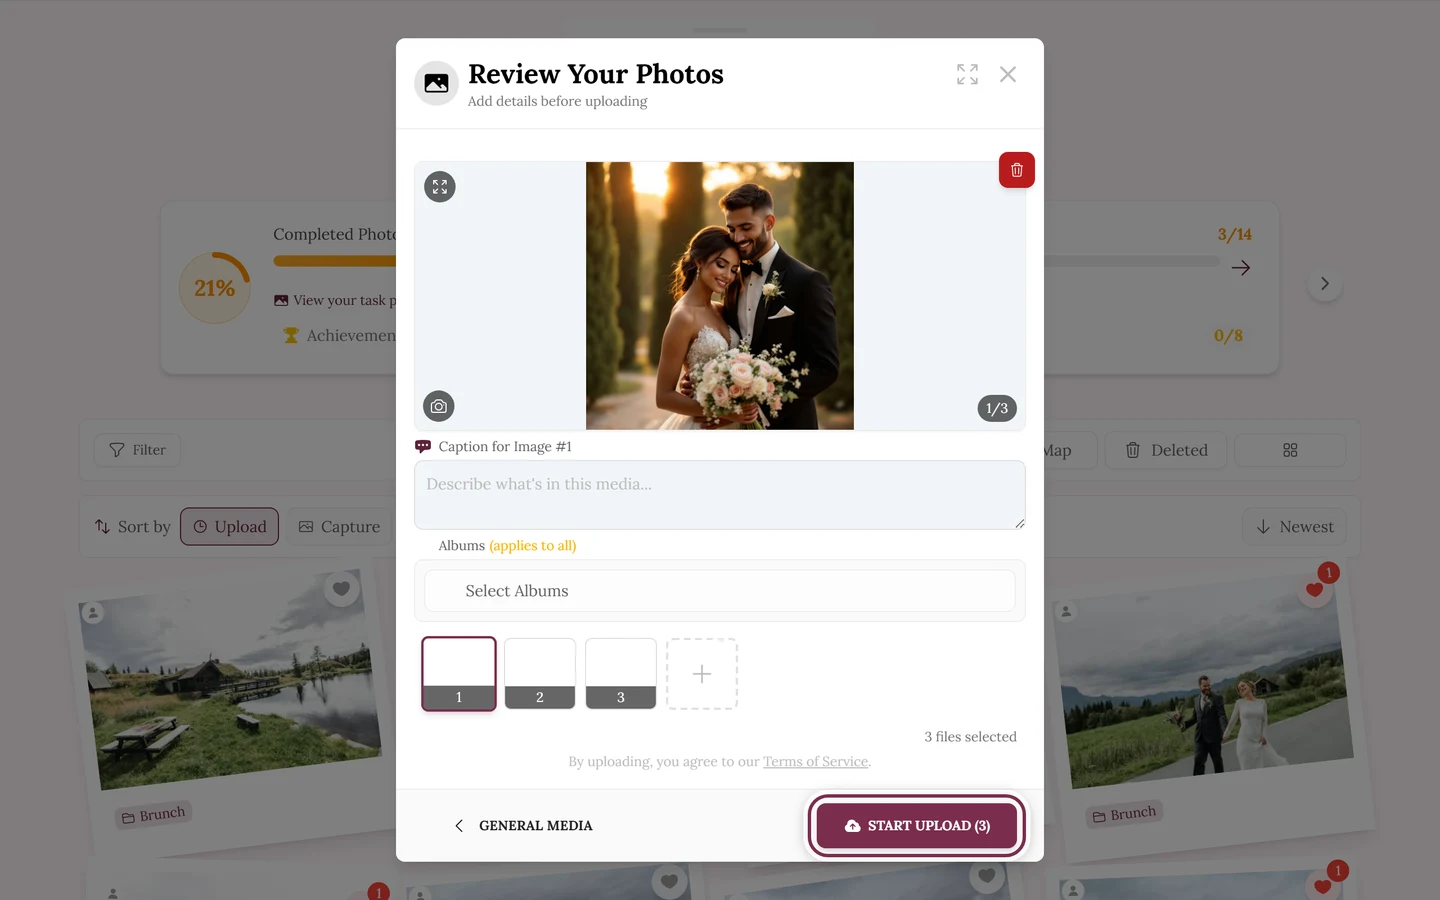
When compression happens anyway — and when it never does
Section titled “When compression happens anyway — and when it never does”This setting is not the only factor. Three cases behave differently:
-
Without the premium feature, everything is compressed. If “High Quality Uploads” is missing, uploads run optimized even when “Original Quality” is stored. The setting is effectively bypassed until the plan is unlocked.
-
Live Photos and motion pictures are never compressed. For iPhone Live Photos and similar formats, resizing would destroy the motion data — they are always transferred untouched, whichever option is selected.
-
Uploads via FTP, WebDAV or Live Upload bypass the setting. There a camera or a program uploads straight to the server; there is no browser that could shrink anything first. Those files always arrive at full size — even with “Optimized Uploads”. See Live upload (FTP/WebDAV).
What this means for downloads
Section titled “What this means for downloads”When downloading, Photogala offers two variants: Original quality (“Highest resolution available”) and Web optimized. The word “available” is the important one.
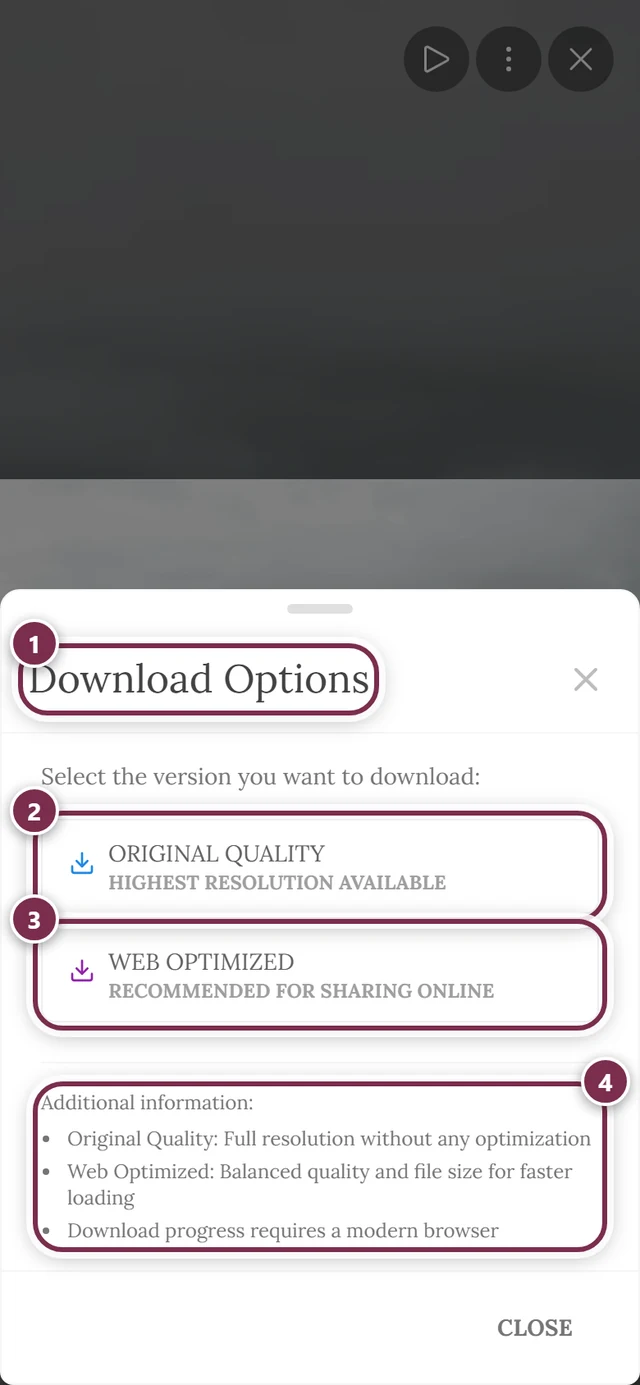
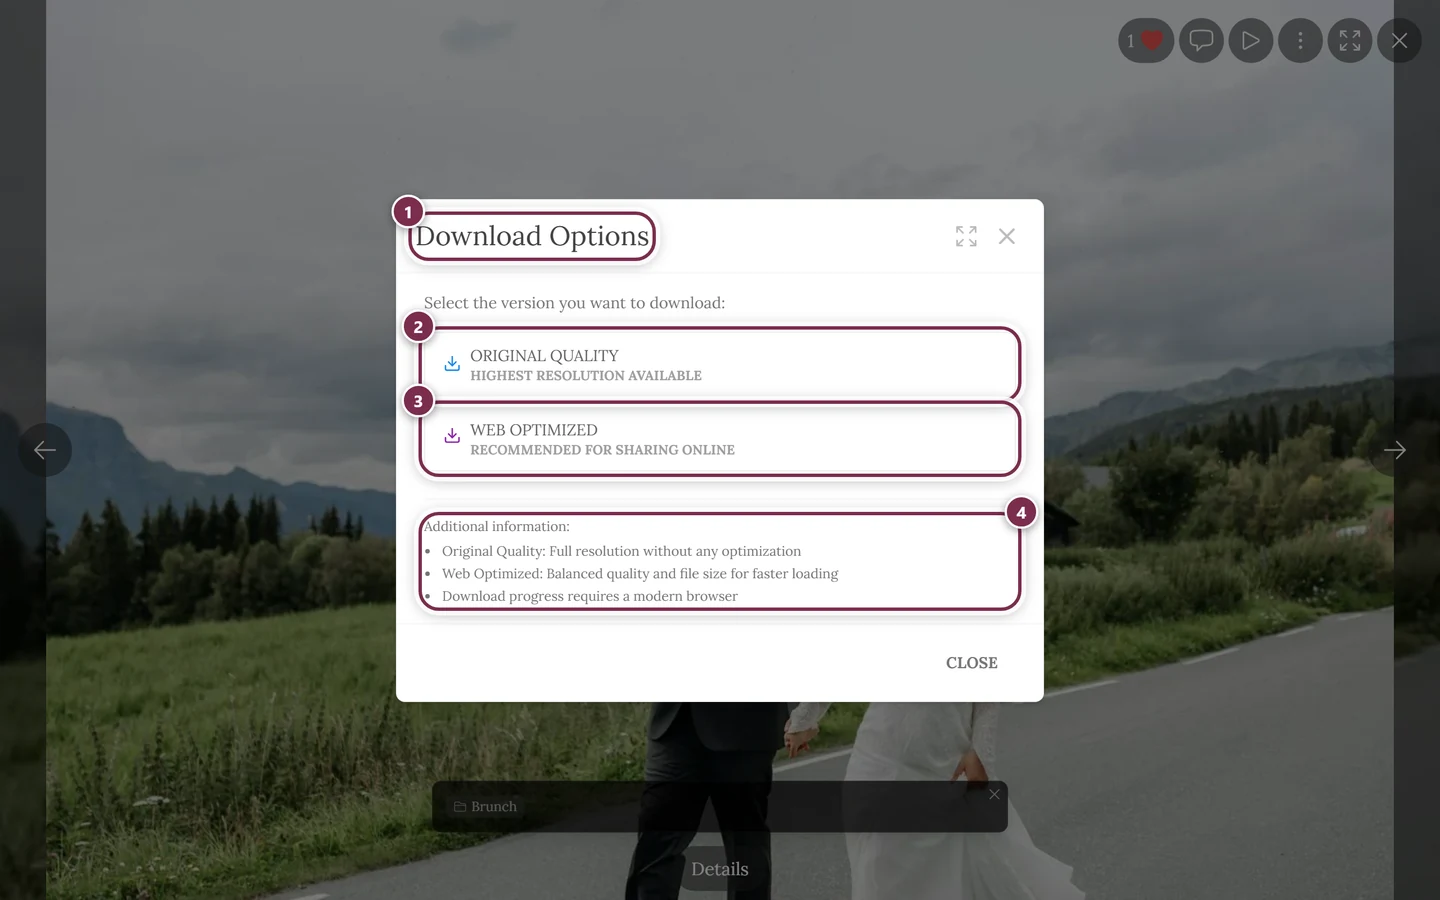
If a photo was stored as an optimized upload, the stored original already is the 2048-pixel version — “Original quality” then returns exactly that. Full camera resolution cannot be restored afterwards. So if large prints are on the agenda, switch to original quality before the event. More on bulk downloads under Download & export.
Saving your changes
Section titled “Saving your changes”-
Pick the photo option you want. That alone does not store it — it only lives in the form.
-
Click Save changes at the bottom right (just Save on a phone). Only then does the setting take effect, for every upload from that moment on.
-
If you leave the page with unsaved changes, a confirmation dialog asks whether you really want to leave without saving.
The Show preview button opens the live preview of your gallery. Handy for an overall check, but it changes nothing about the quality setting.
Premium & unlocking
Section titled “Premium & unlocking”Original Quality is the premium option (feature “High Quality Uploads”). Without the matching plan, a notice panel covers the entire “Photo Handling” block: the two options are only faintly visible behind it and cannot be clicked.
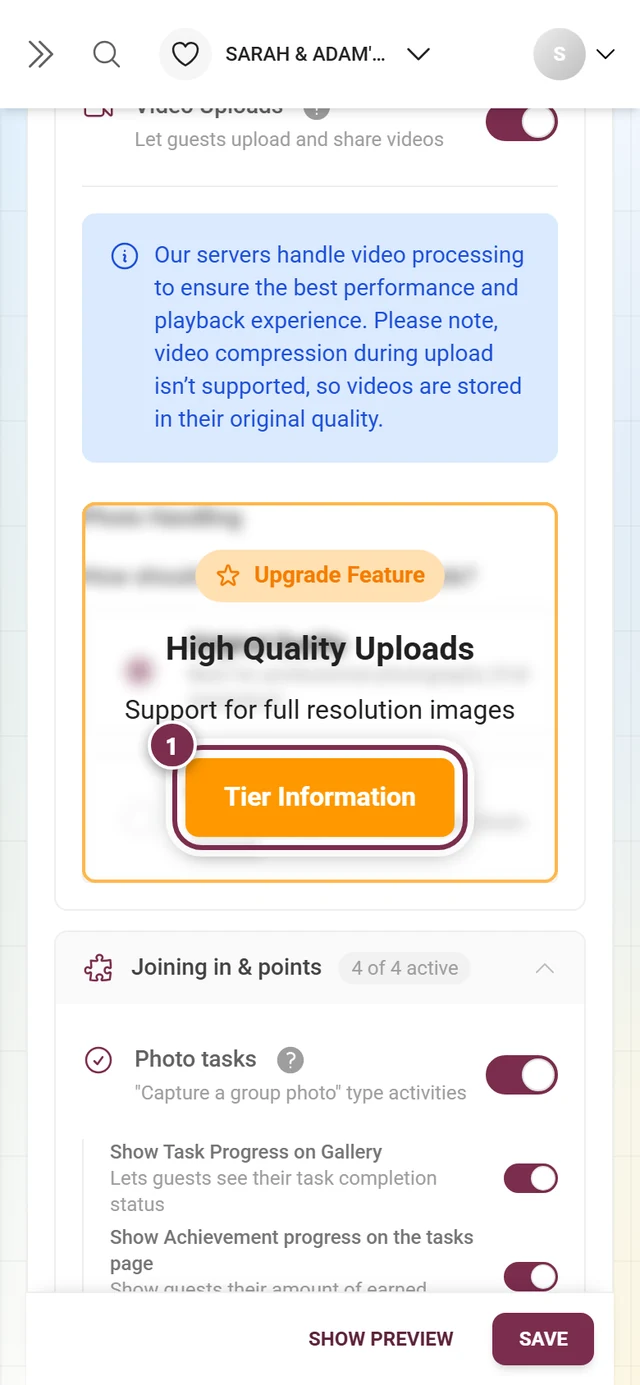
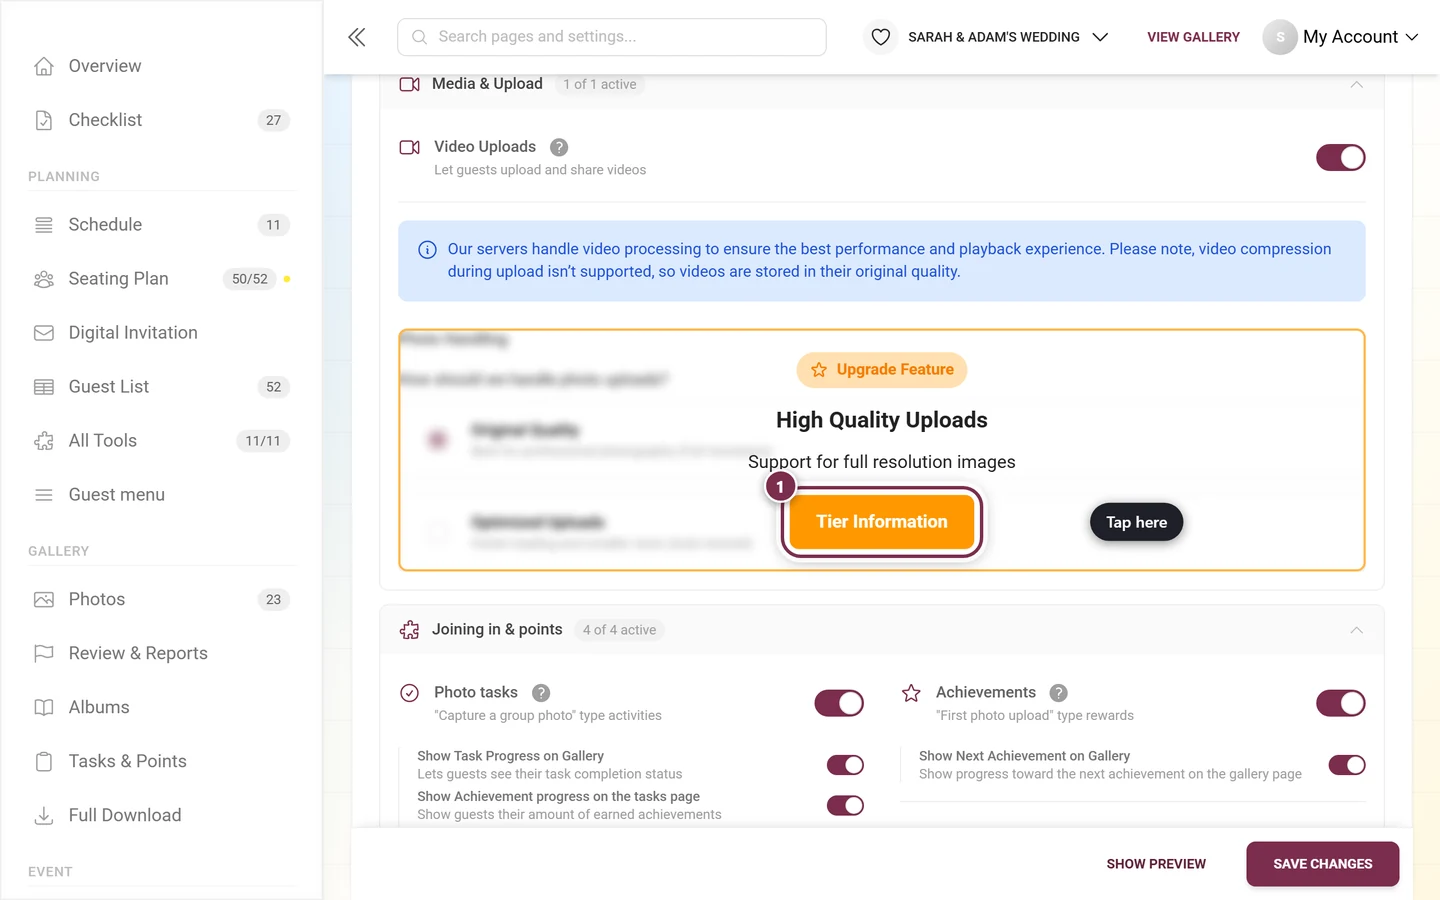
In that case uploads stay optimized — “Original Quality” cannot be selected until the feature is unlocked.
Edge cases & troubleshooting
Section titled “Edge cases & troubleshooting”- I can’t find the “Image Quality” tab any more. It no longer exists. The setting sits in the Gallery features tab, inside the “Media & Upload” fold. An old link to
?tab=image-qualityredirects there automatically. - I see no photo options in the “Media & Upload” fold at all. For brand-managed (partner-managed) events the quality block is hidden when neither high quality uploads nor video uploads are unlocked. Talk to your partner or consider an upgrade.
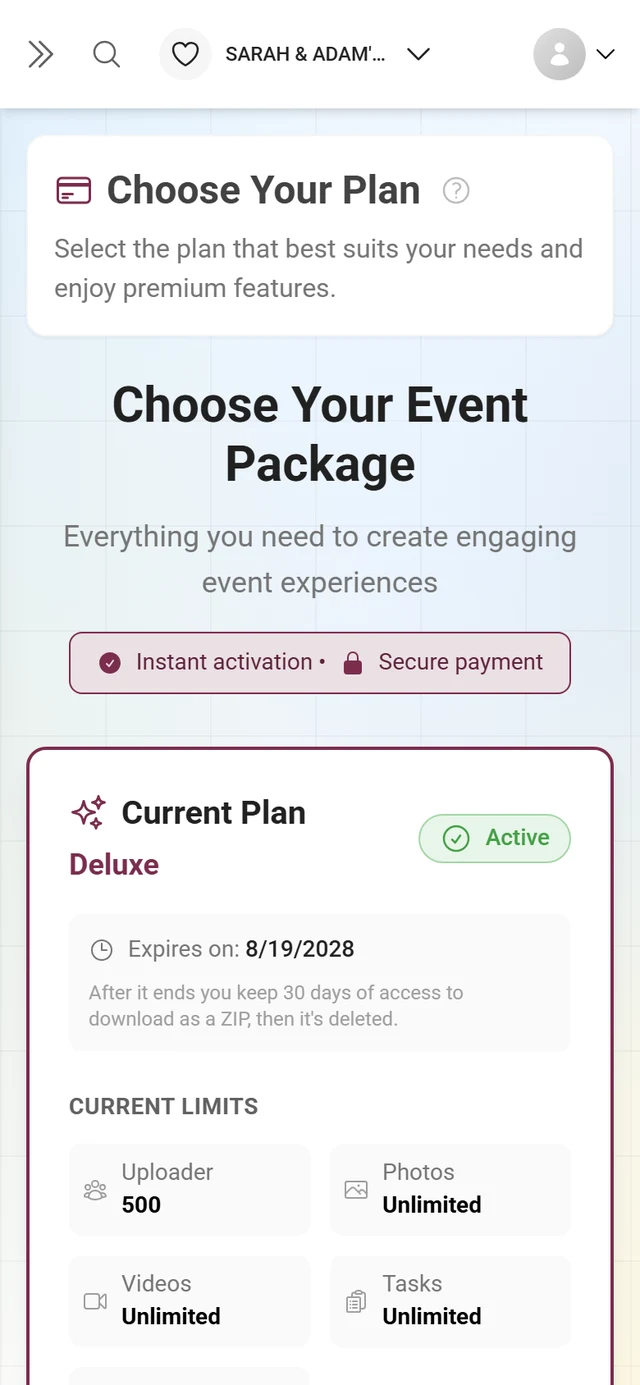
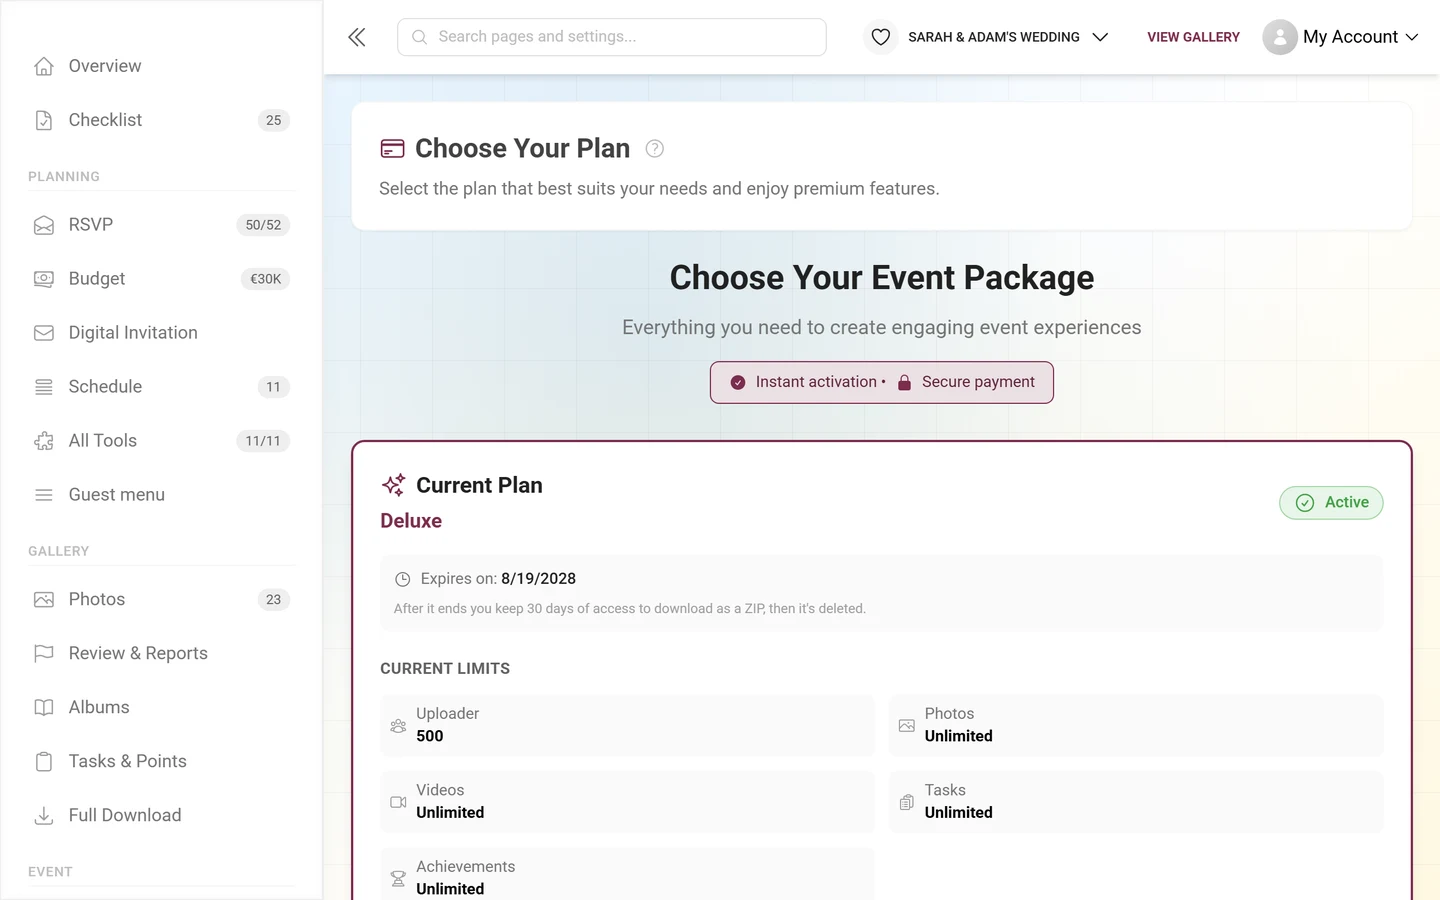
- “Original Quality” can’t be clicked. You are missing the premium feature for full resolution; an orange panel covers the block. Until you upgrade, uploads run optimized — see Plan & term.
- I switched to “Original Quality” and the photos are still 2048 pixels wide. Two possible reasons: the photo was uploaded before you switched, or the event lacks the premium feature — in which case everything is compressed regardless of the setting.
- My FTP uploads are much larger than the ones from the app. That is by design: live upload, FTP and WebDAV go straight to the server, without the on-device resizing.
- Videos are not compressed. That is intentional — video compression on upload is not supported, videos remain at original quality.
- I can’t find a metadata or EXIF option. No such setting exists: EXIF data including GPS survives “Optimized Uploads”, and there is no switch in Photogala that strips it from guest photos. (The opposite does happen — phones themselves sometimes drop GPS on web uploads, which is what the Approximate positions (GPS fallback) option under “Gallery Views” is for.)
Next steps
Section titled “Next steps”- Gallery features — the tab this setting lives in today (including video upload)
- Download & export — download originals or all media in bulk (important for archives)
- Live upload (FTP/WebDAV) — the path that bypasses compression
- How guests upload photos and Take a photo
- Neighbouring tabs: General · Appearance · Moderation & safety