Overview
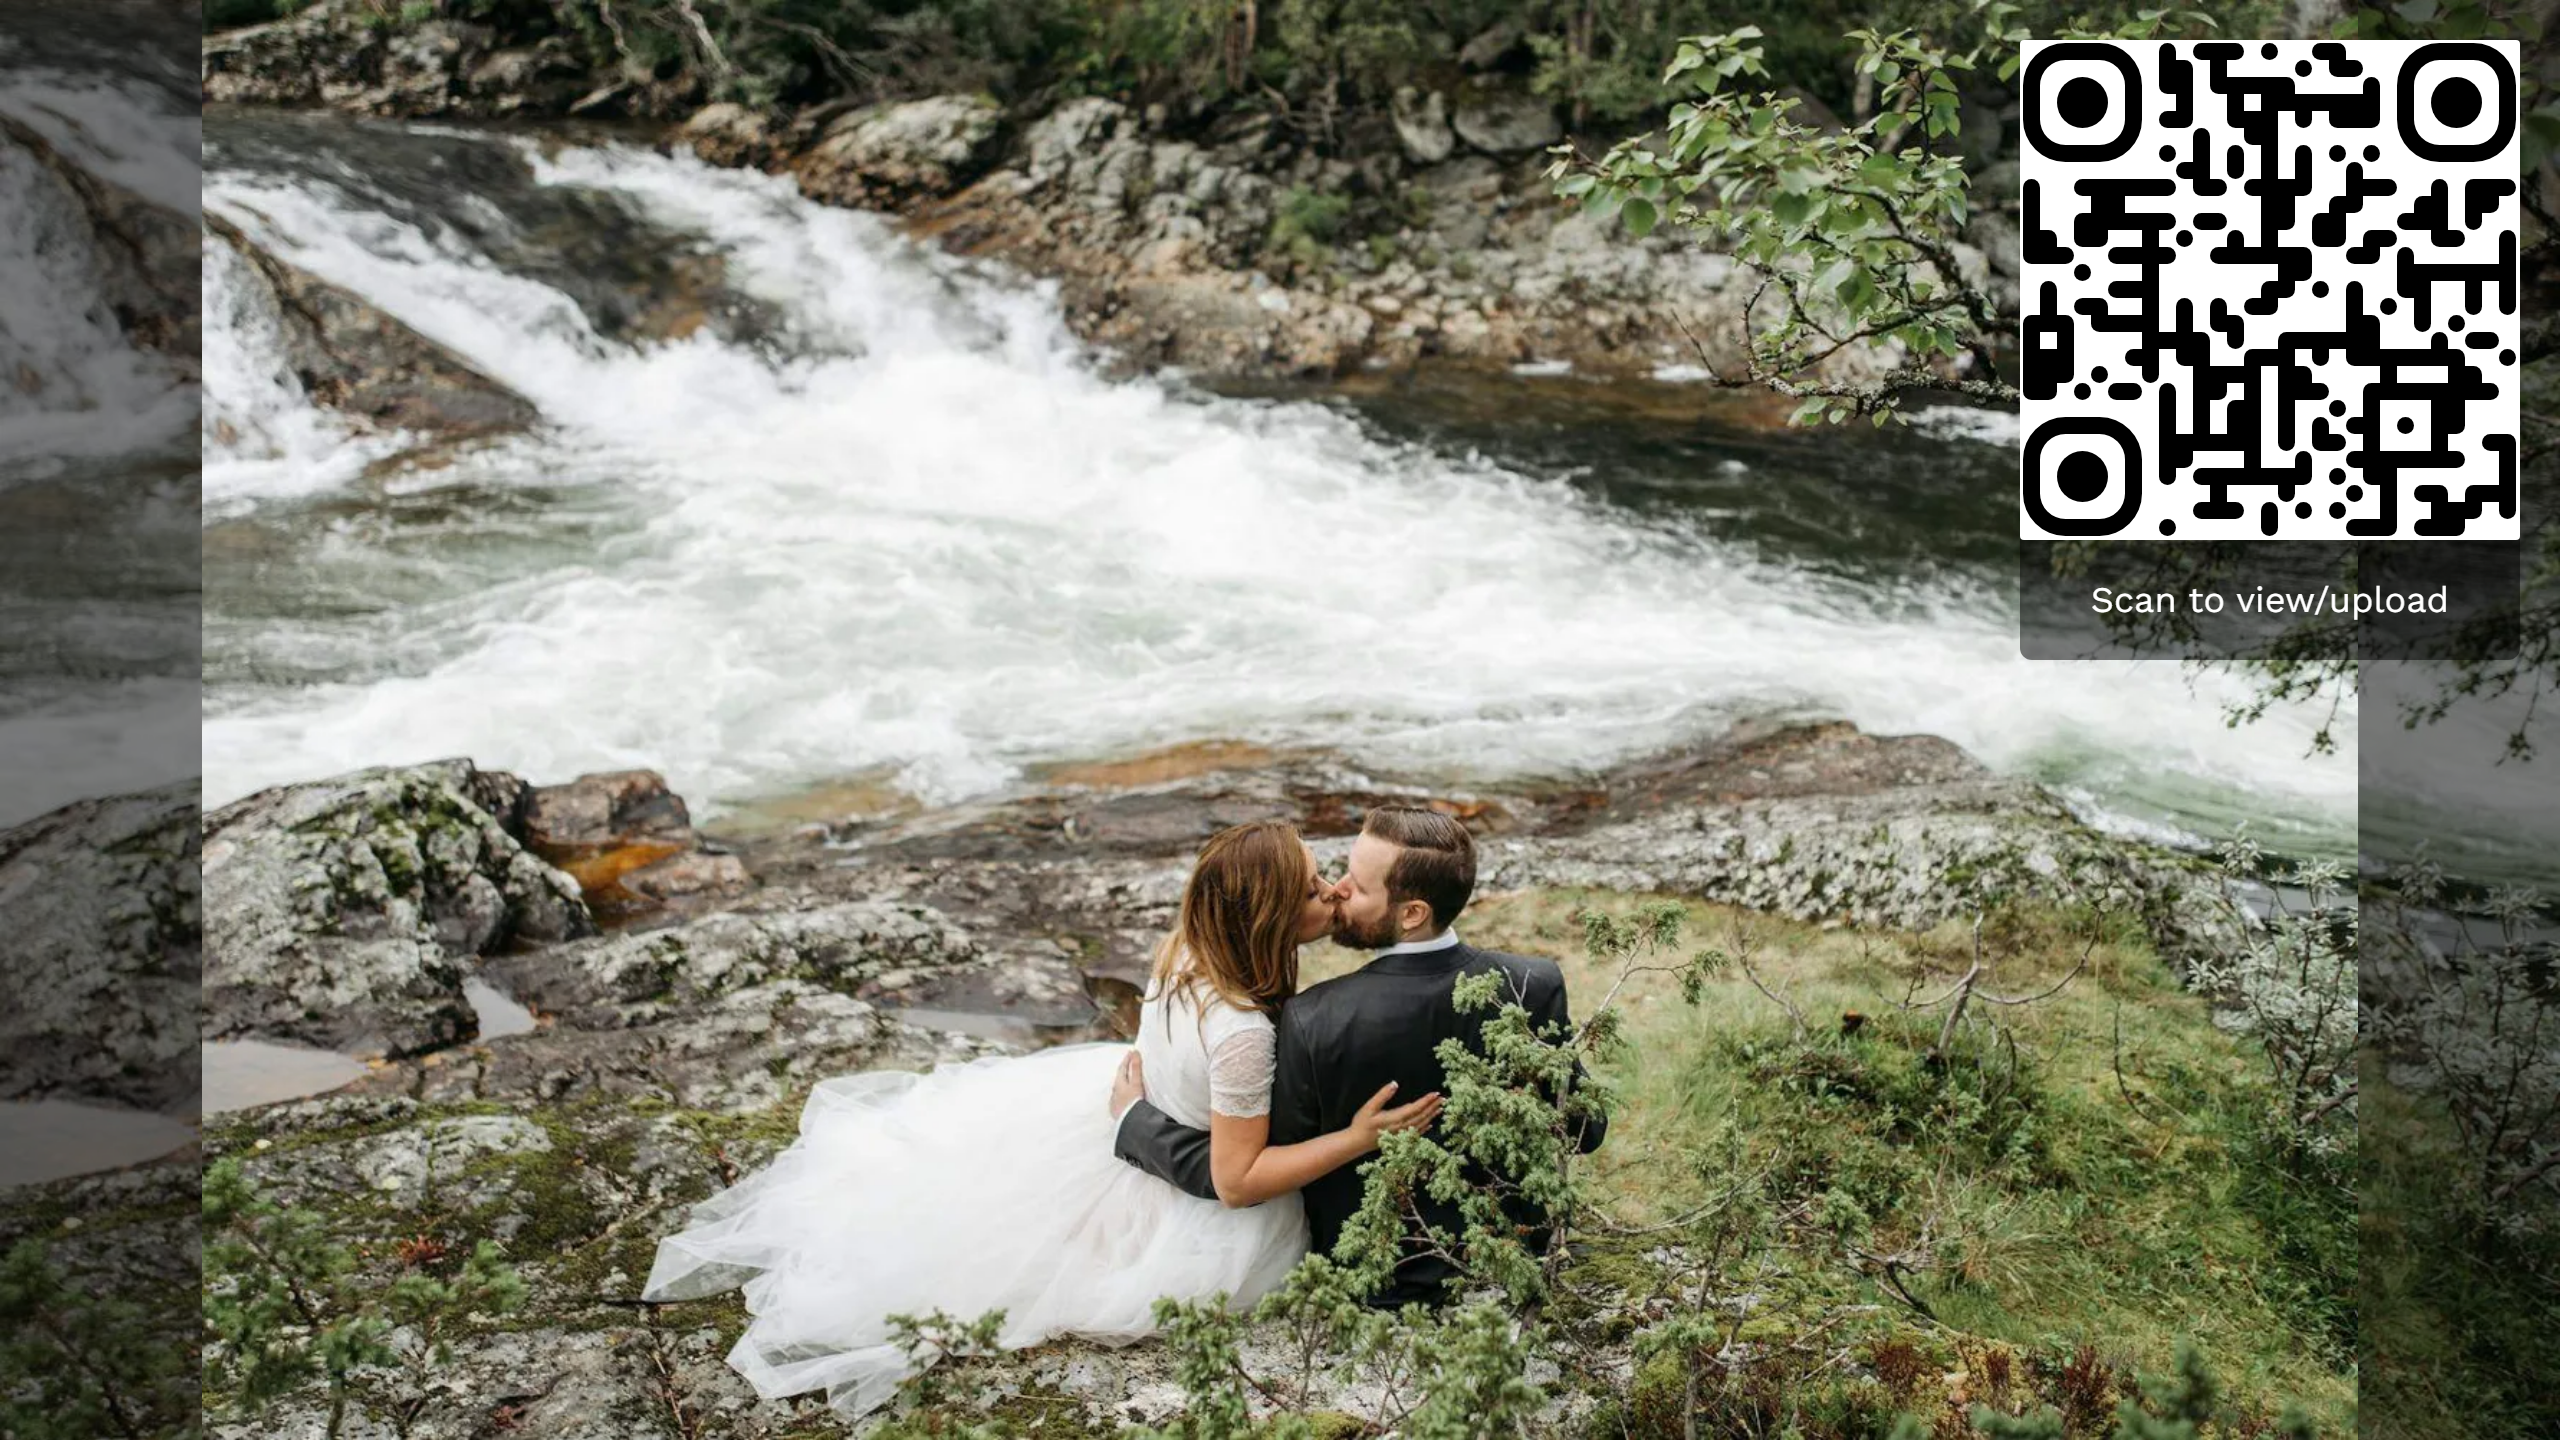
Welcome! Your event gallery is the central place where all the photos and videos of your event come together – from you, your guests and the photo booth. It runs right in the browser, with no app or account.
This page is your map: it shows what the gallery can do, where to find it (it looks different on a phone than on a computer) and when each feature appears at all. Because almost everything you see depends on what the host has switched on, your view may differ from the screenshots here. That is not a bug.
Finding your way around
Section titled “Finding your way around”The gallery has two completely different navigations on desktop and on mobile. Once you get that, you will always find your way back.
On a computer (desktop)
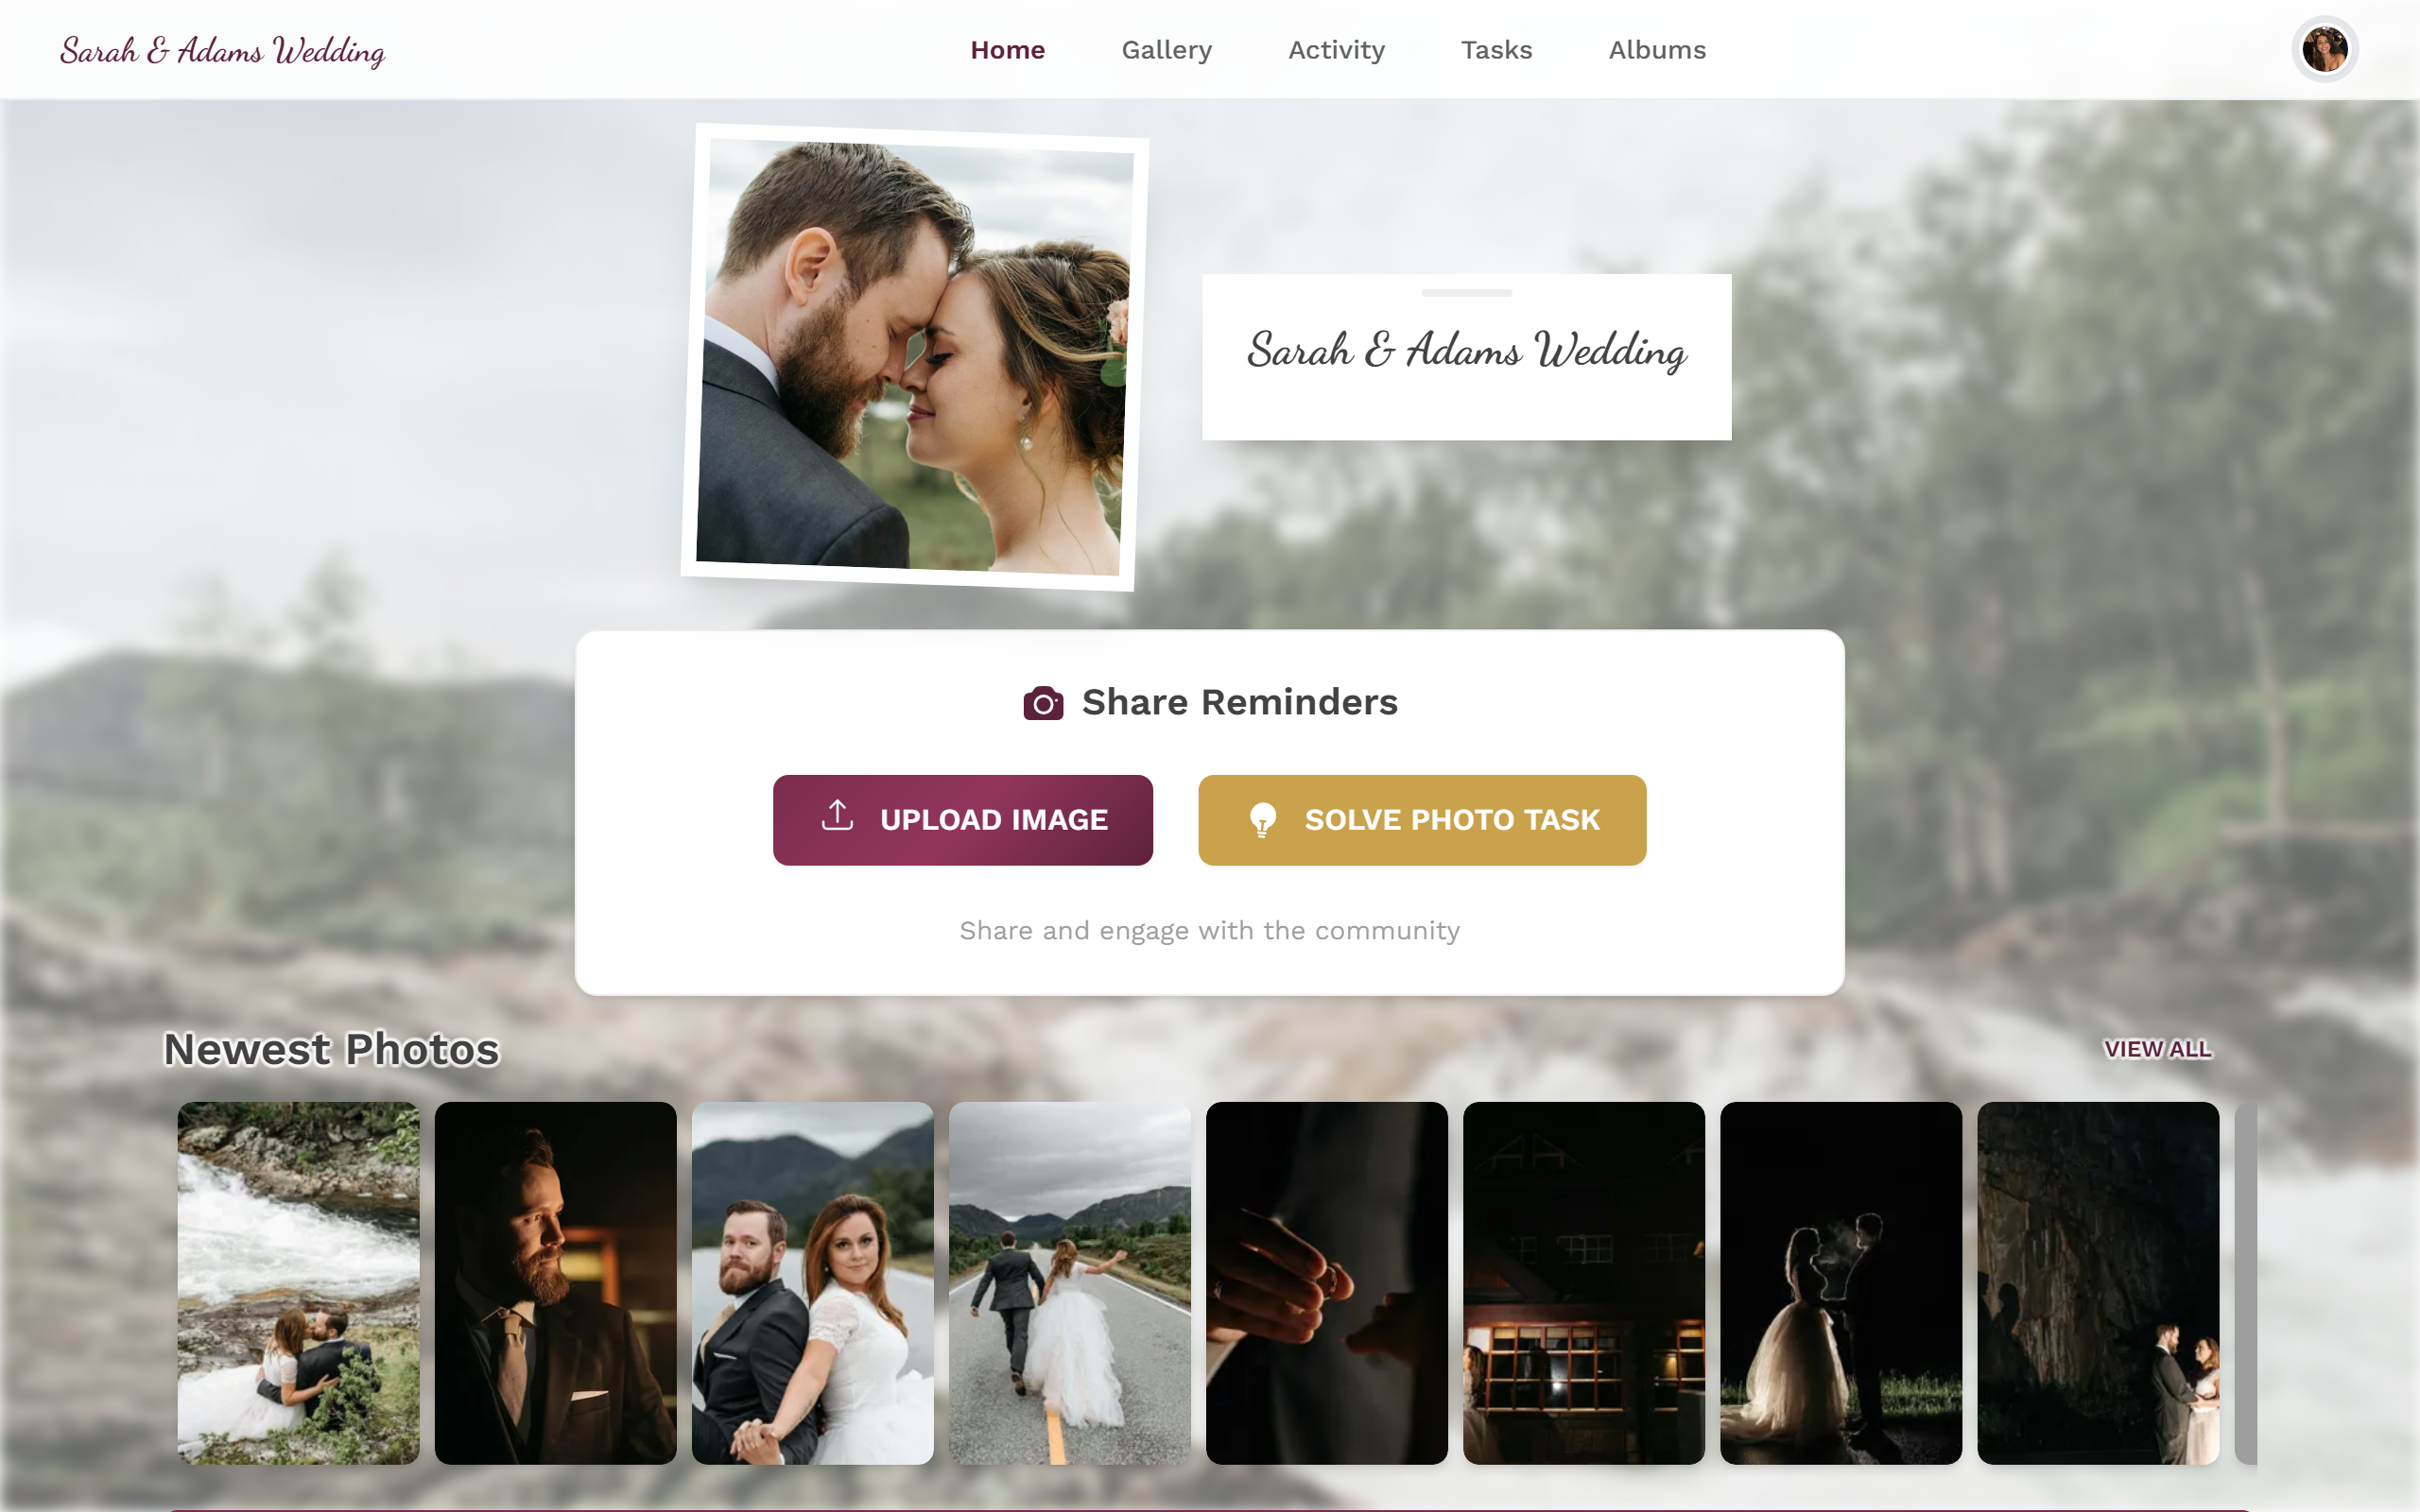
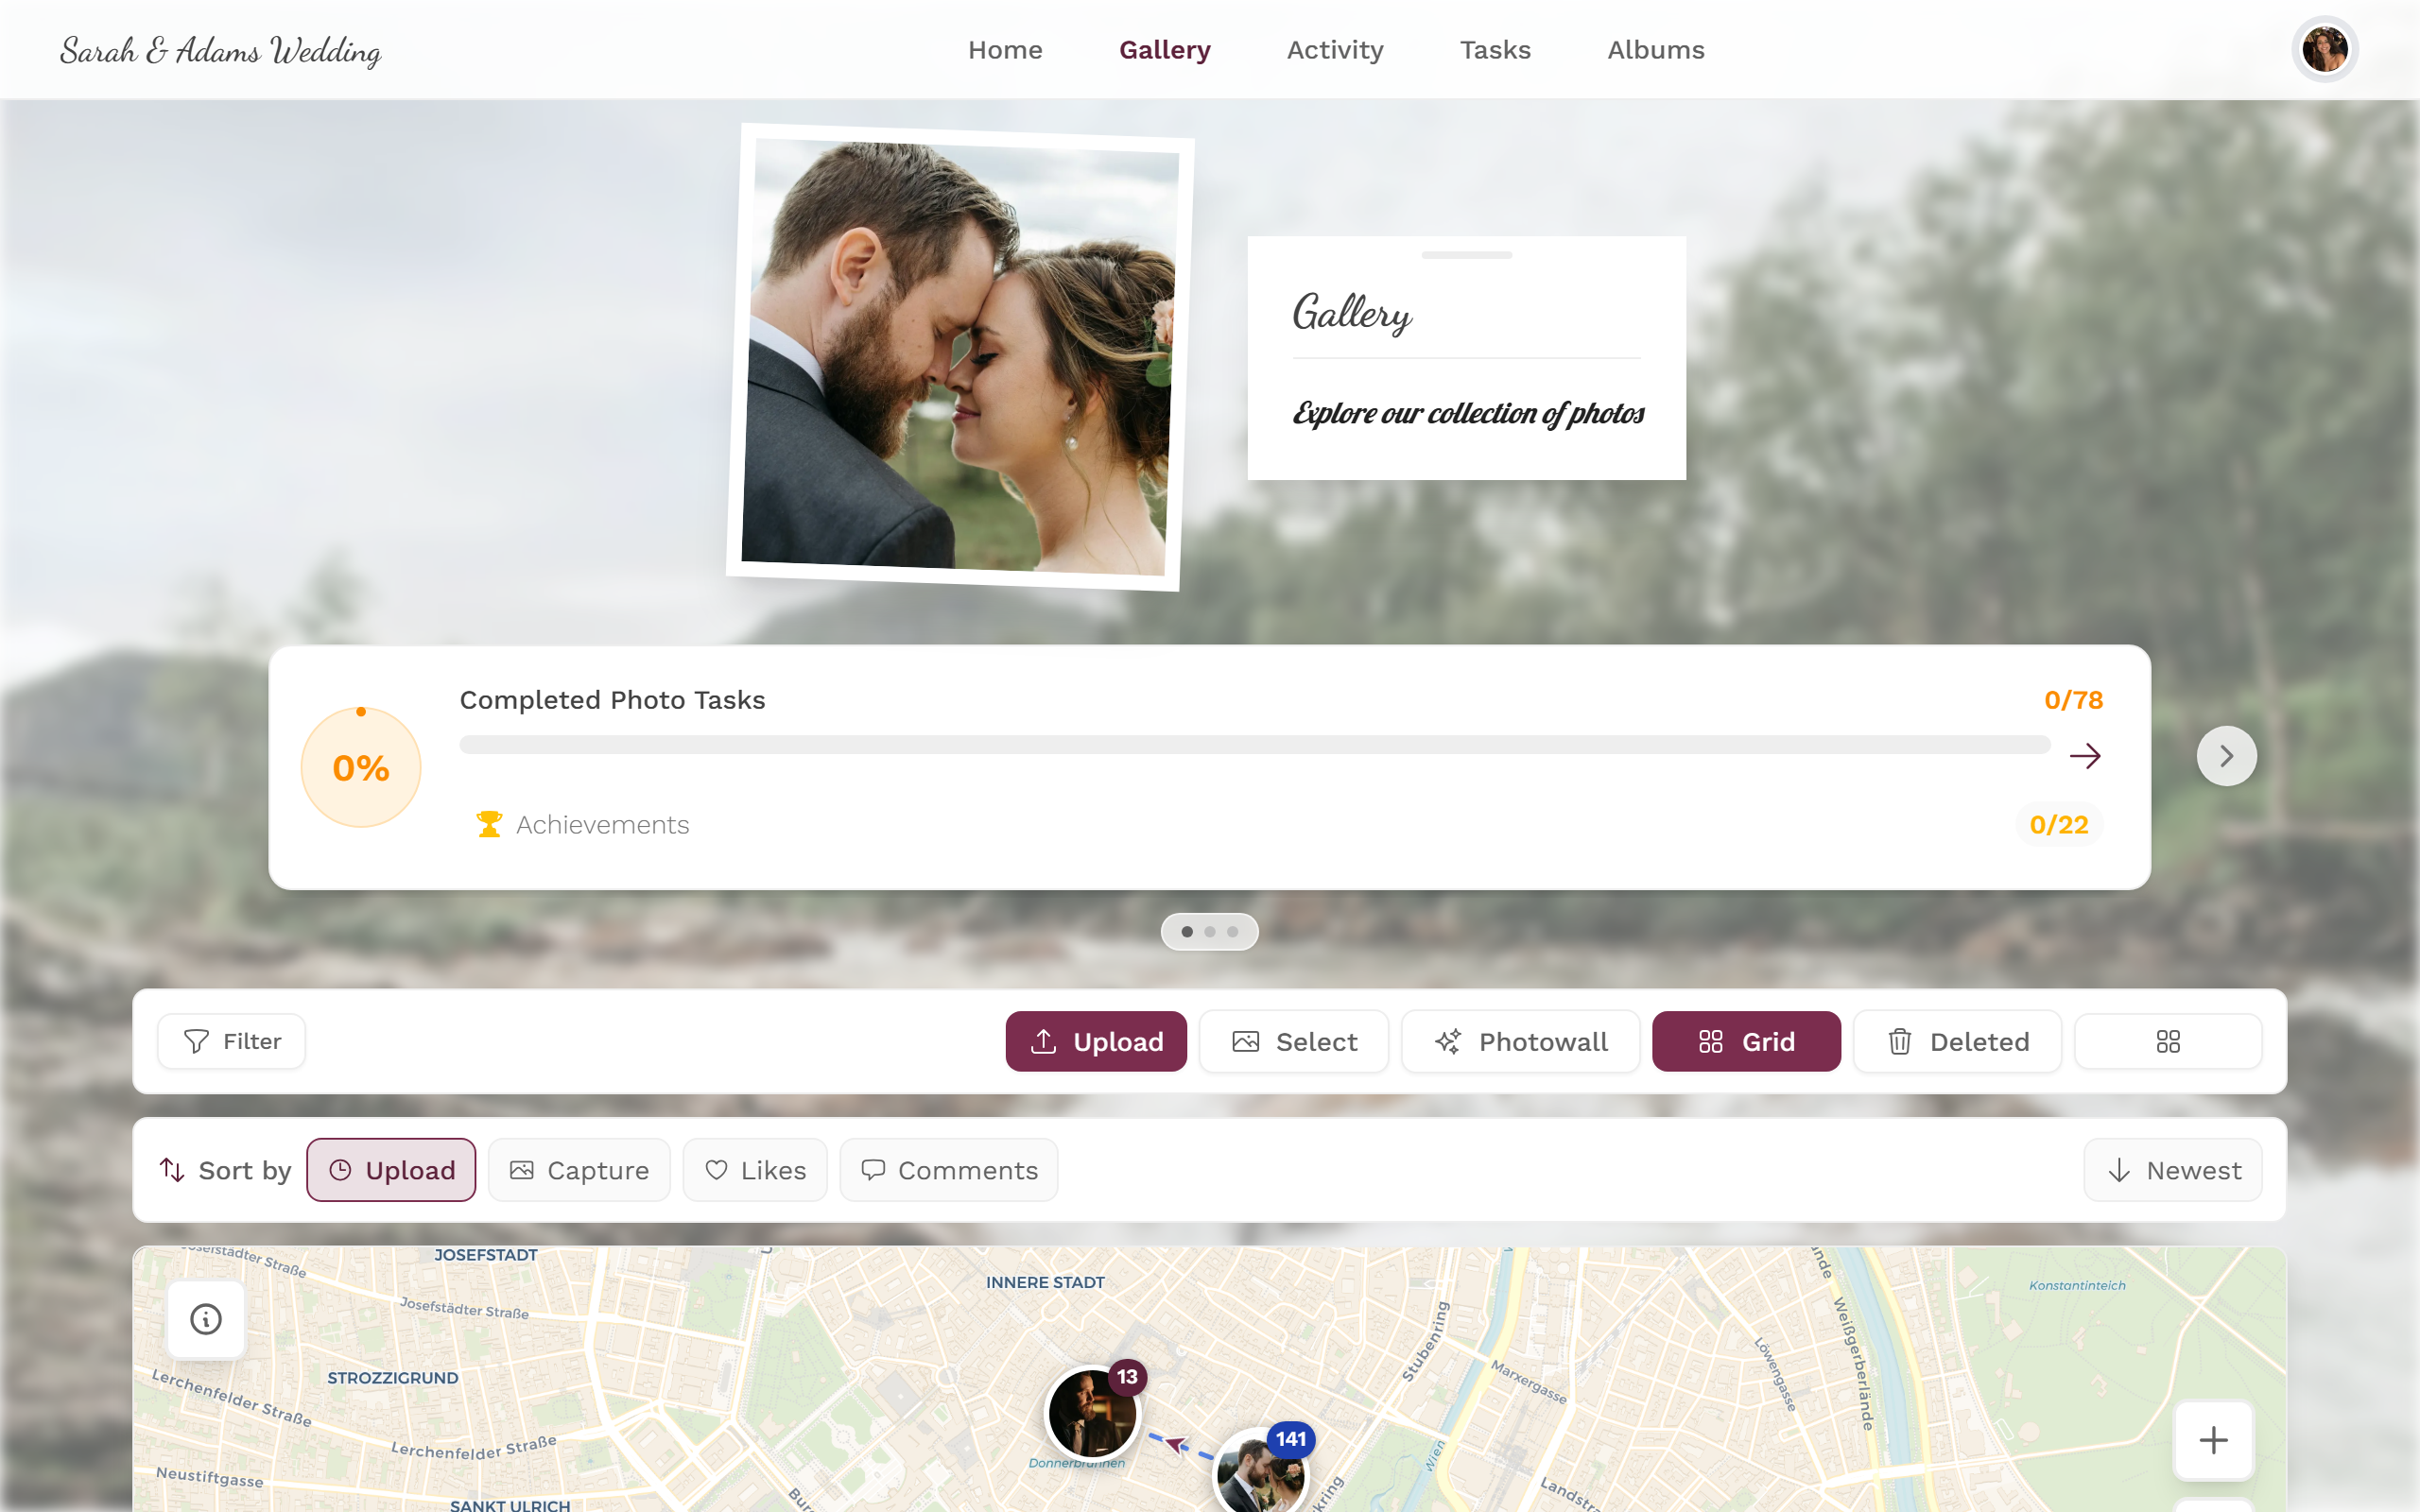
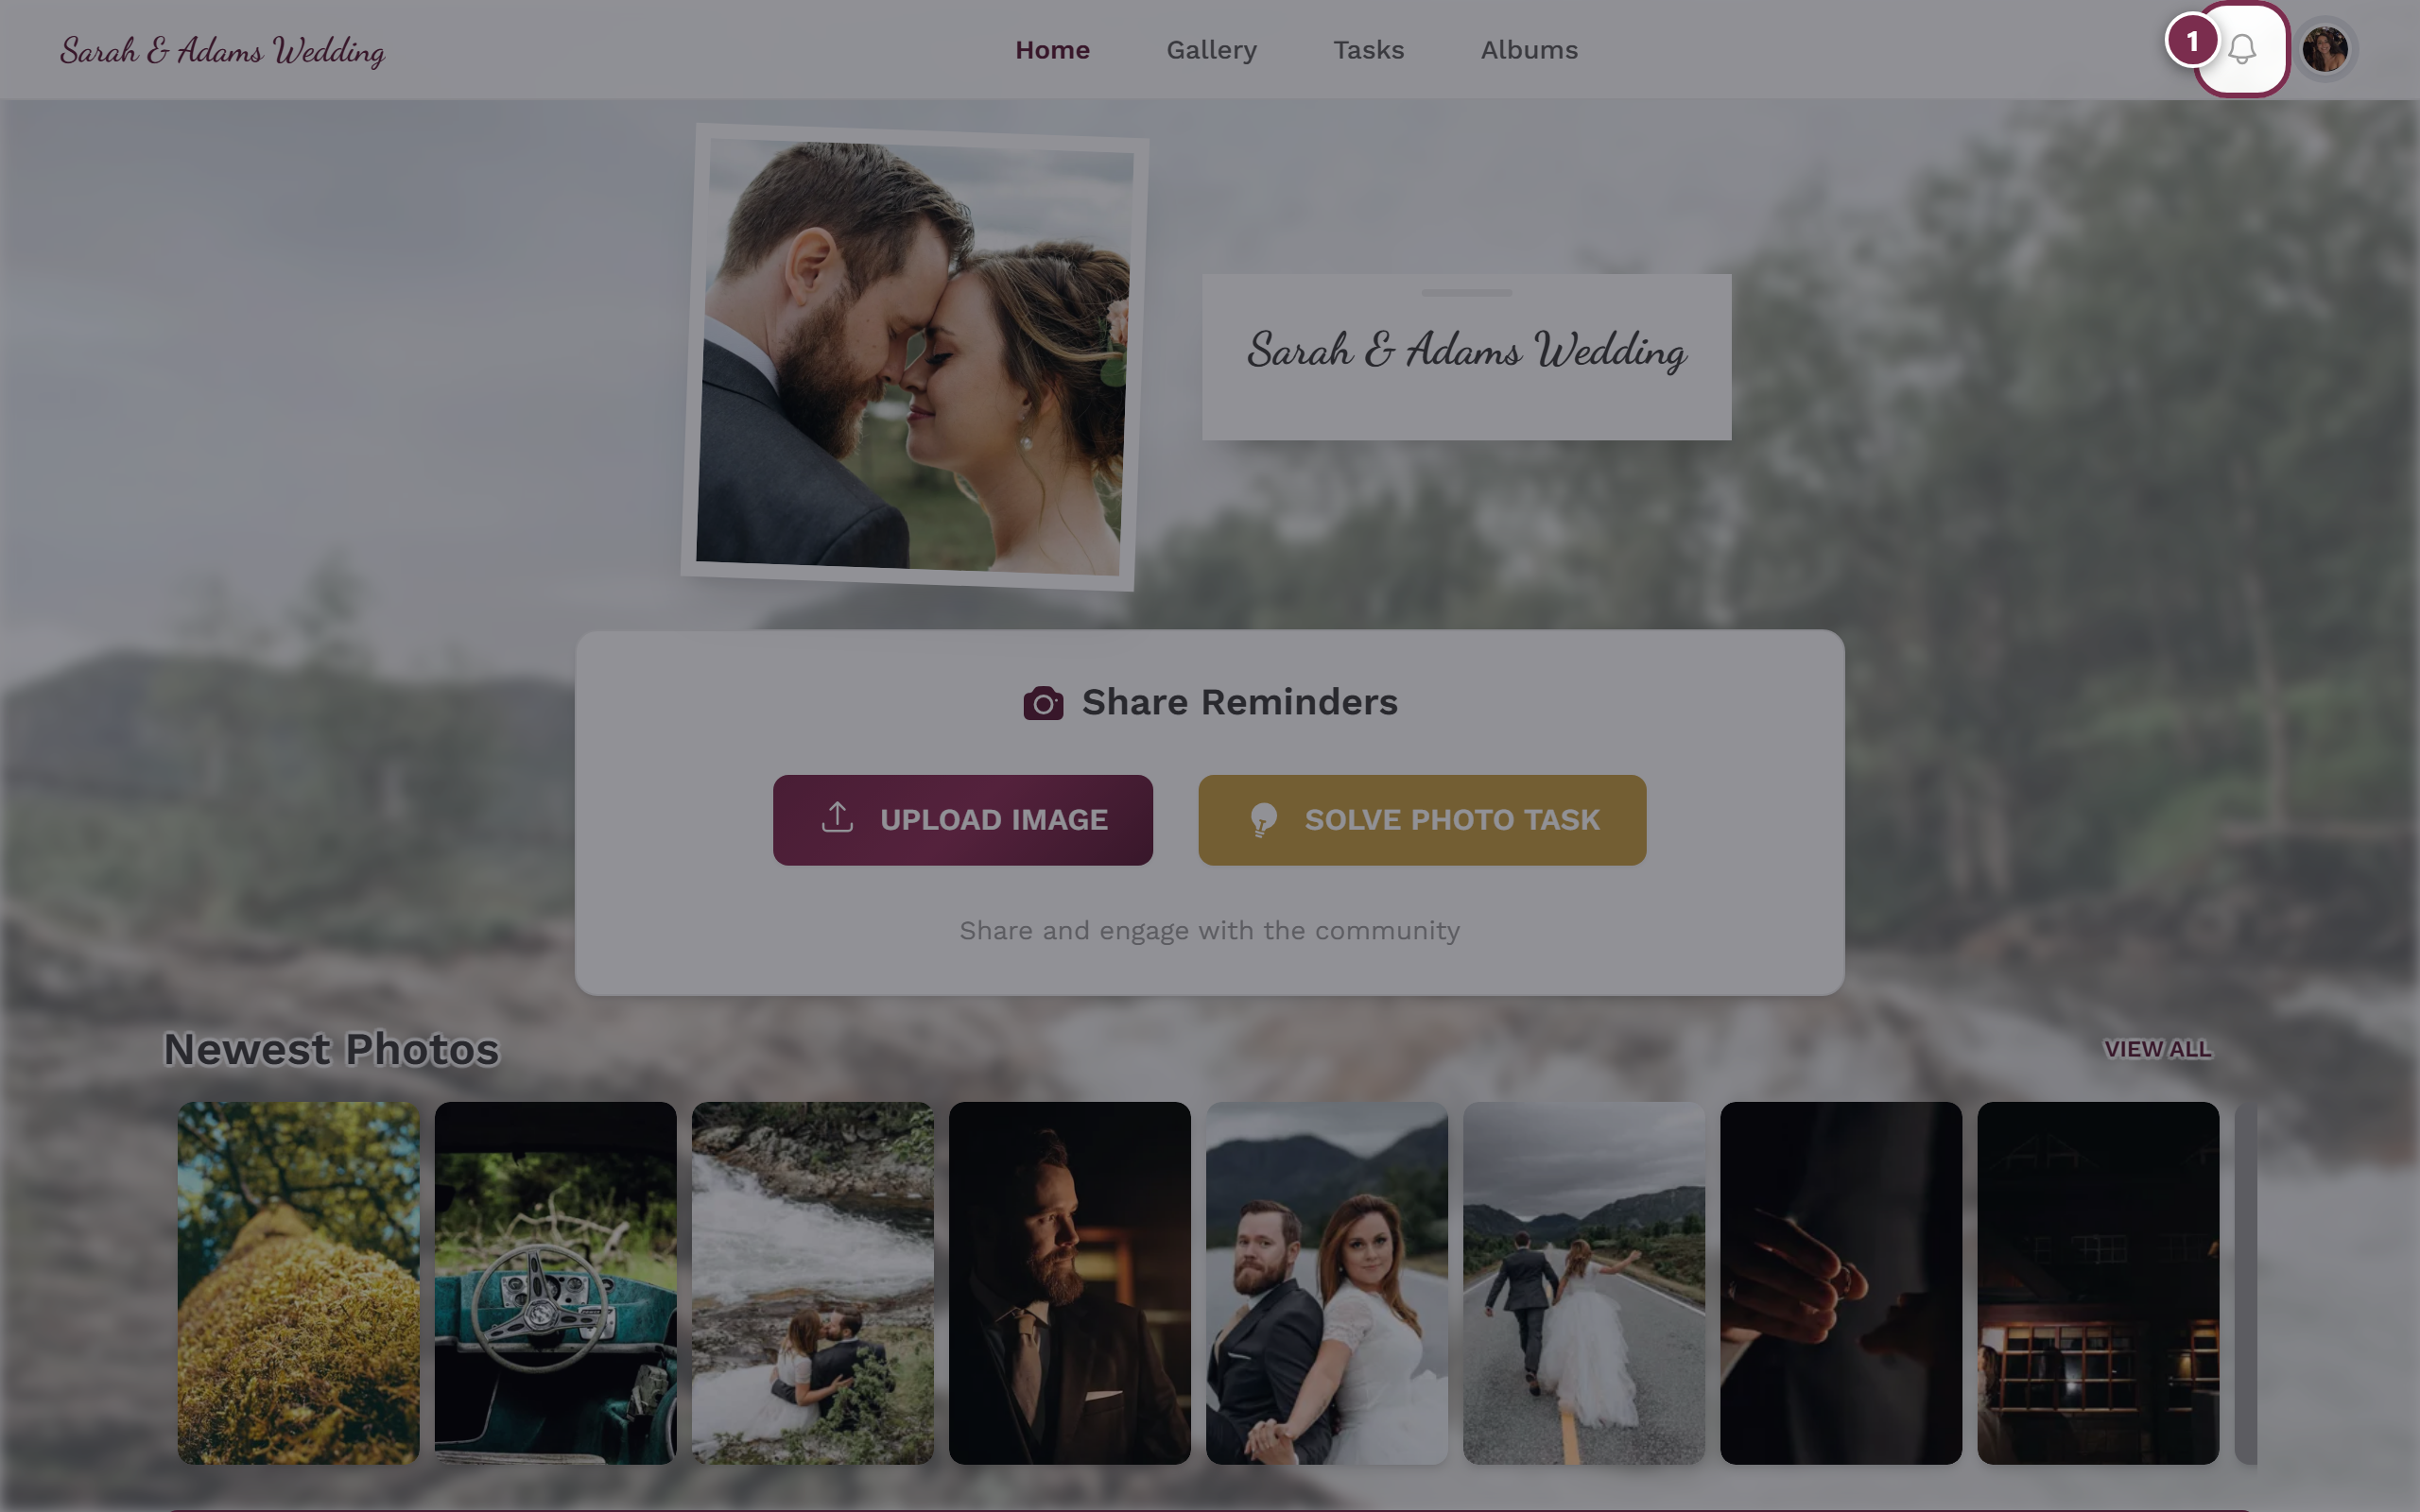
Section titled “On a computer (desktop)”A fixed navigation bar runs across the top of the screen.
- Far left sits the event title. Clicking it always takes you back to the home screen.
- In the middle are the text links. Depending on what is enabled you will see: Home, Gallery, Activity, Tasks, Albums and Leaderboard. “Gallery” is always there; the others appear only when the host has enabled them and there is content.
- Far right you find the bell (notifications) and your avatar (the profile menu, see below).
On a phone (mobile)
Section titled “On a phone (mobile)”On a phone there are two bars:
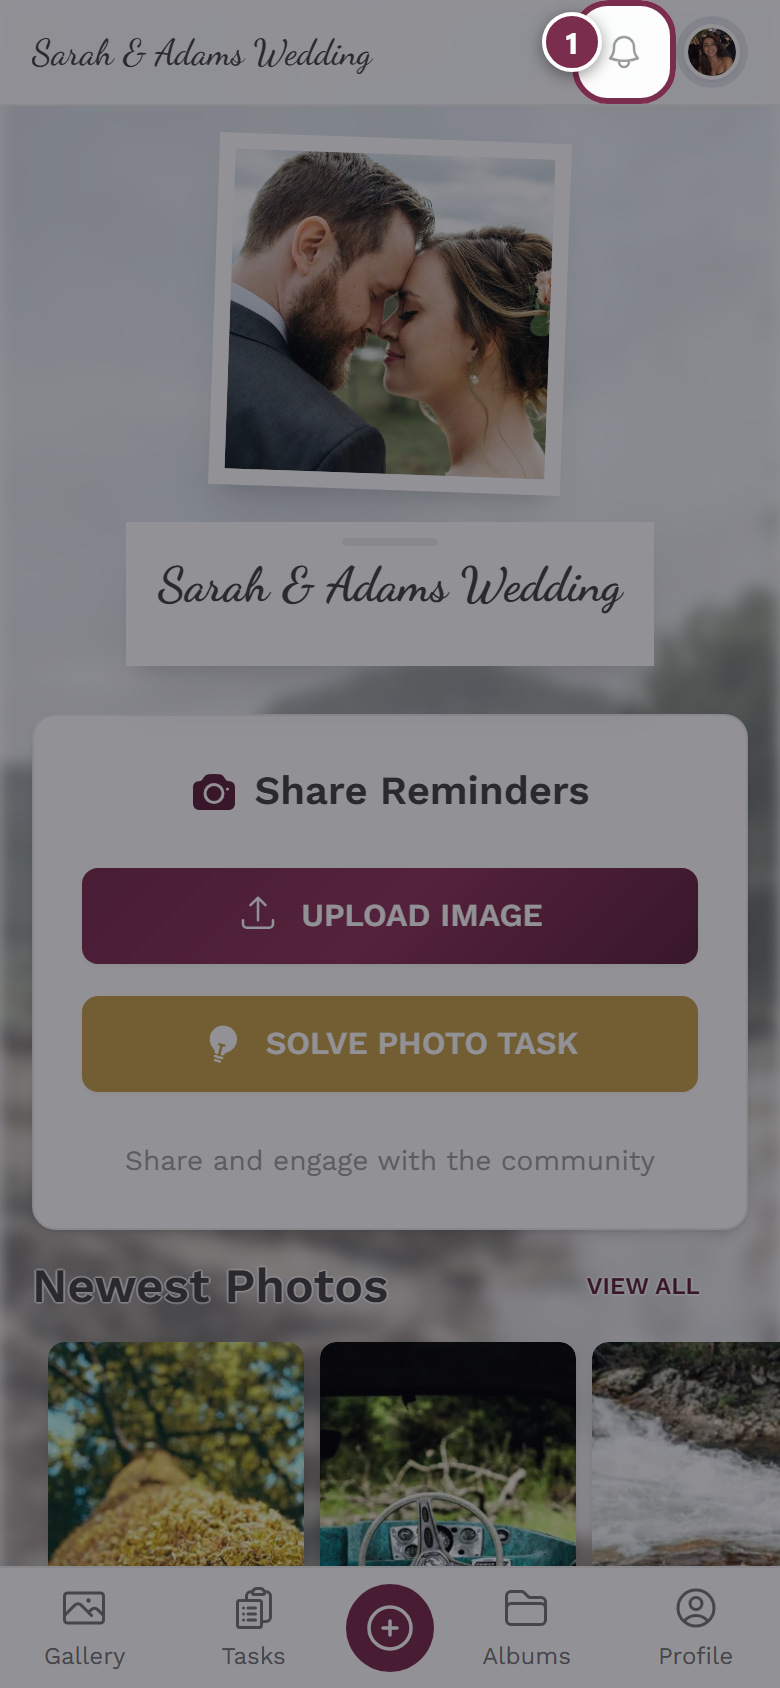
- At the top sits the event title (goes to the home screen), next to it (if enabled) a sparkles icon for Activity, plus the bell and avatar.
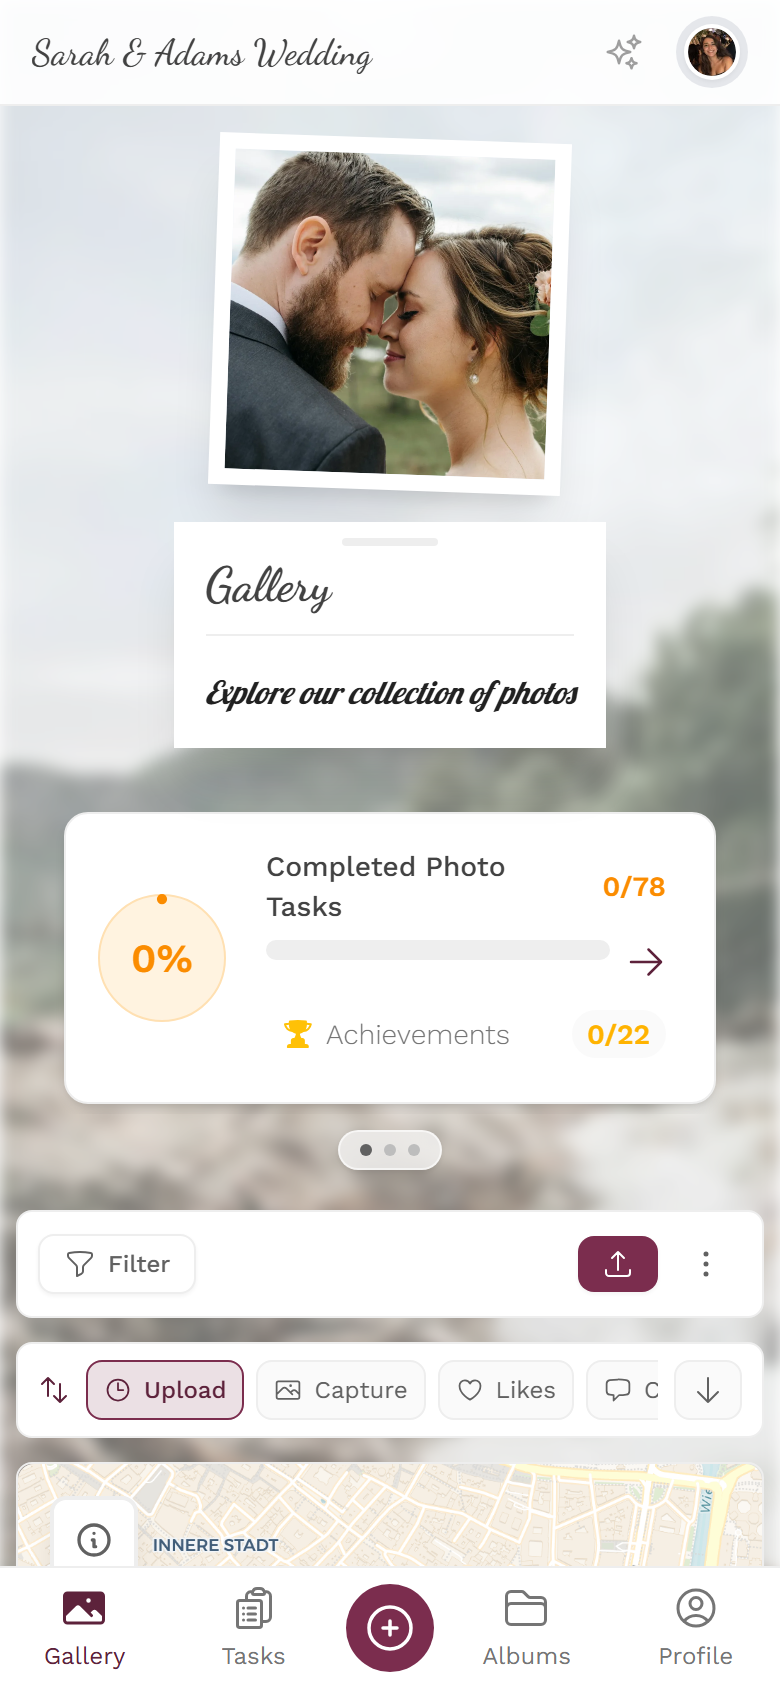
- At the bottom is the fixed tab bar. It shows – sorted by importance – up to five items, such as Gallery, Tasks, Albums, Leaderboard and Profile.
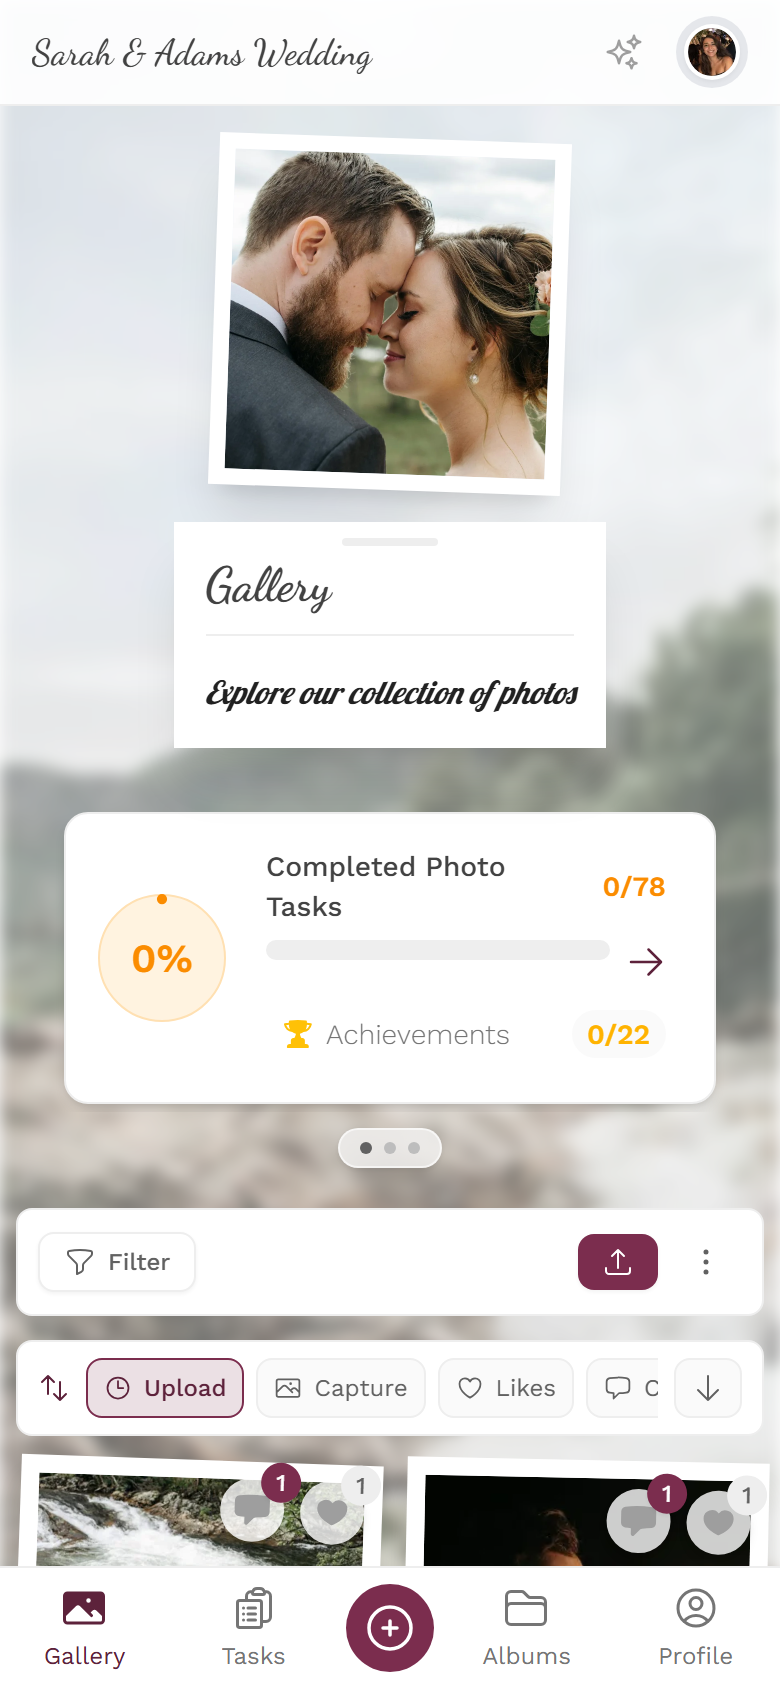
- In the middle of the bottom bar sits the large round plus button for uploading. It only appears if you are allowed to upload.
- The active tab is highlighted in the event’s brand color.
What can the gallery do?
Section titled “What can the gallery do?”Photos & videos
Section titled “Photos & videos”-
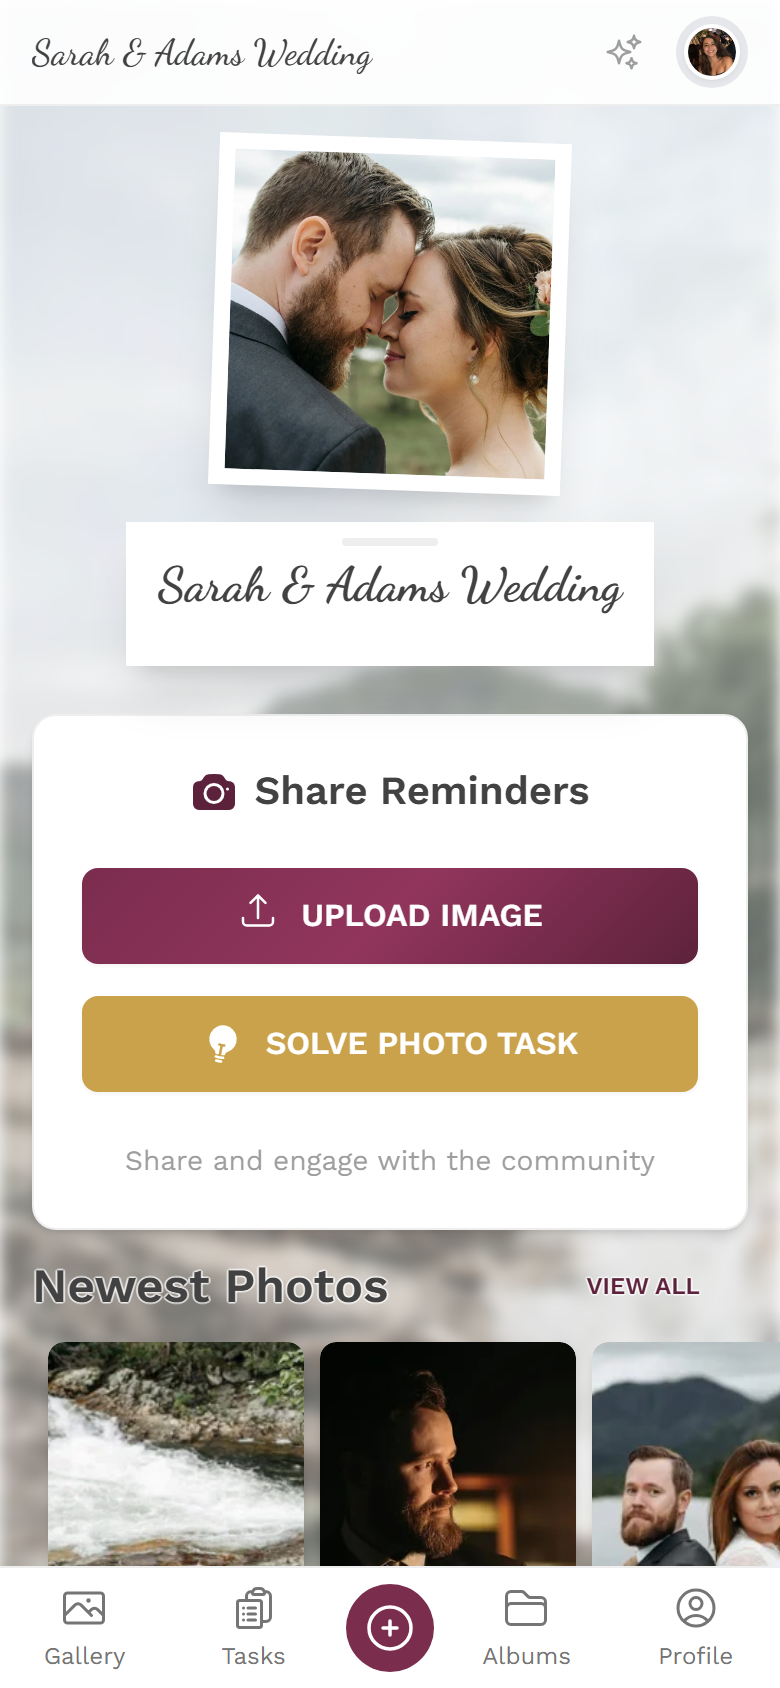
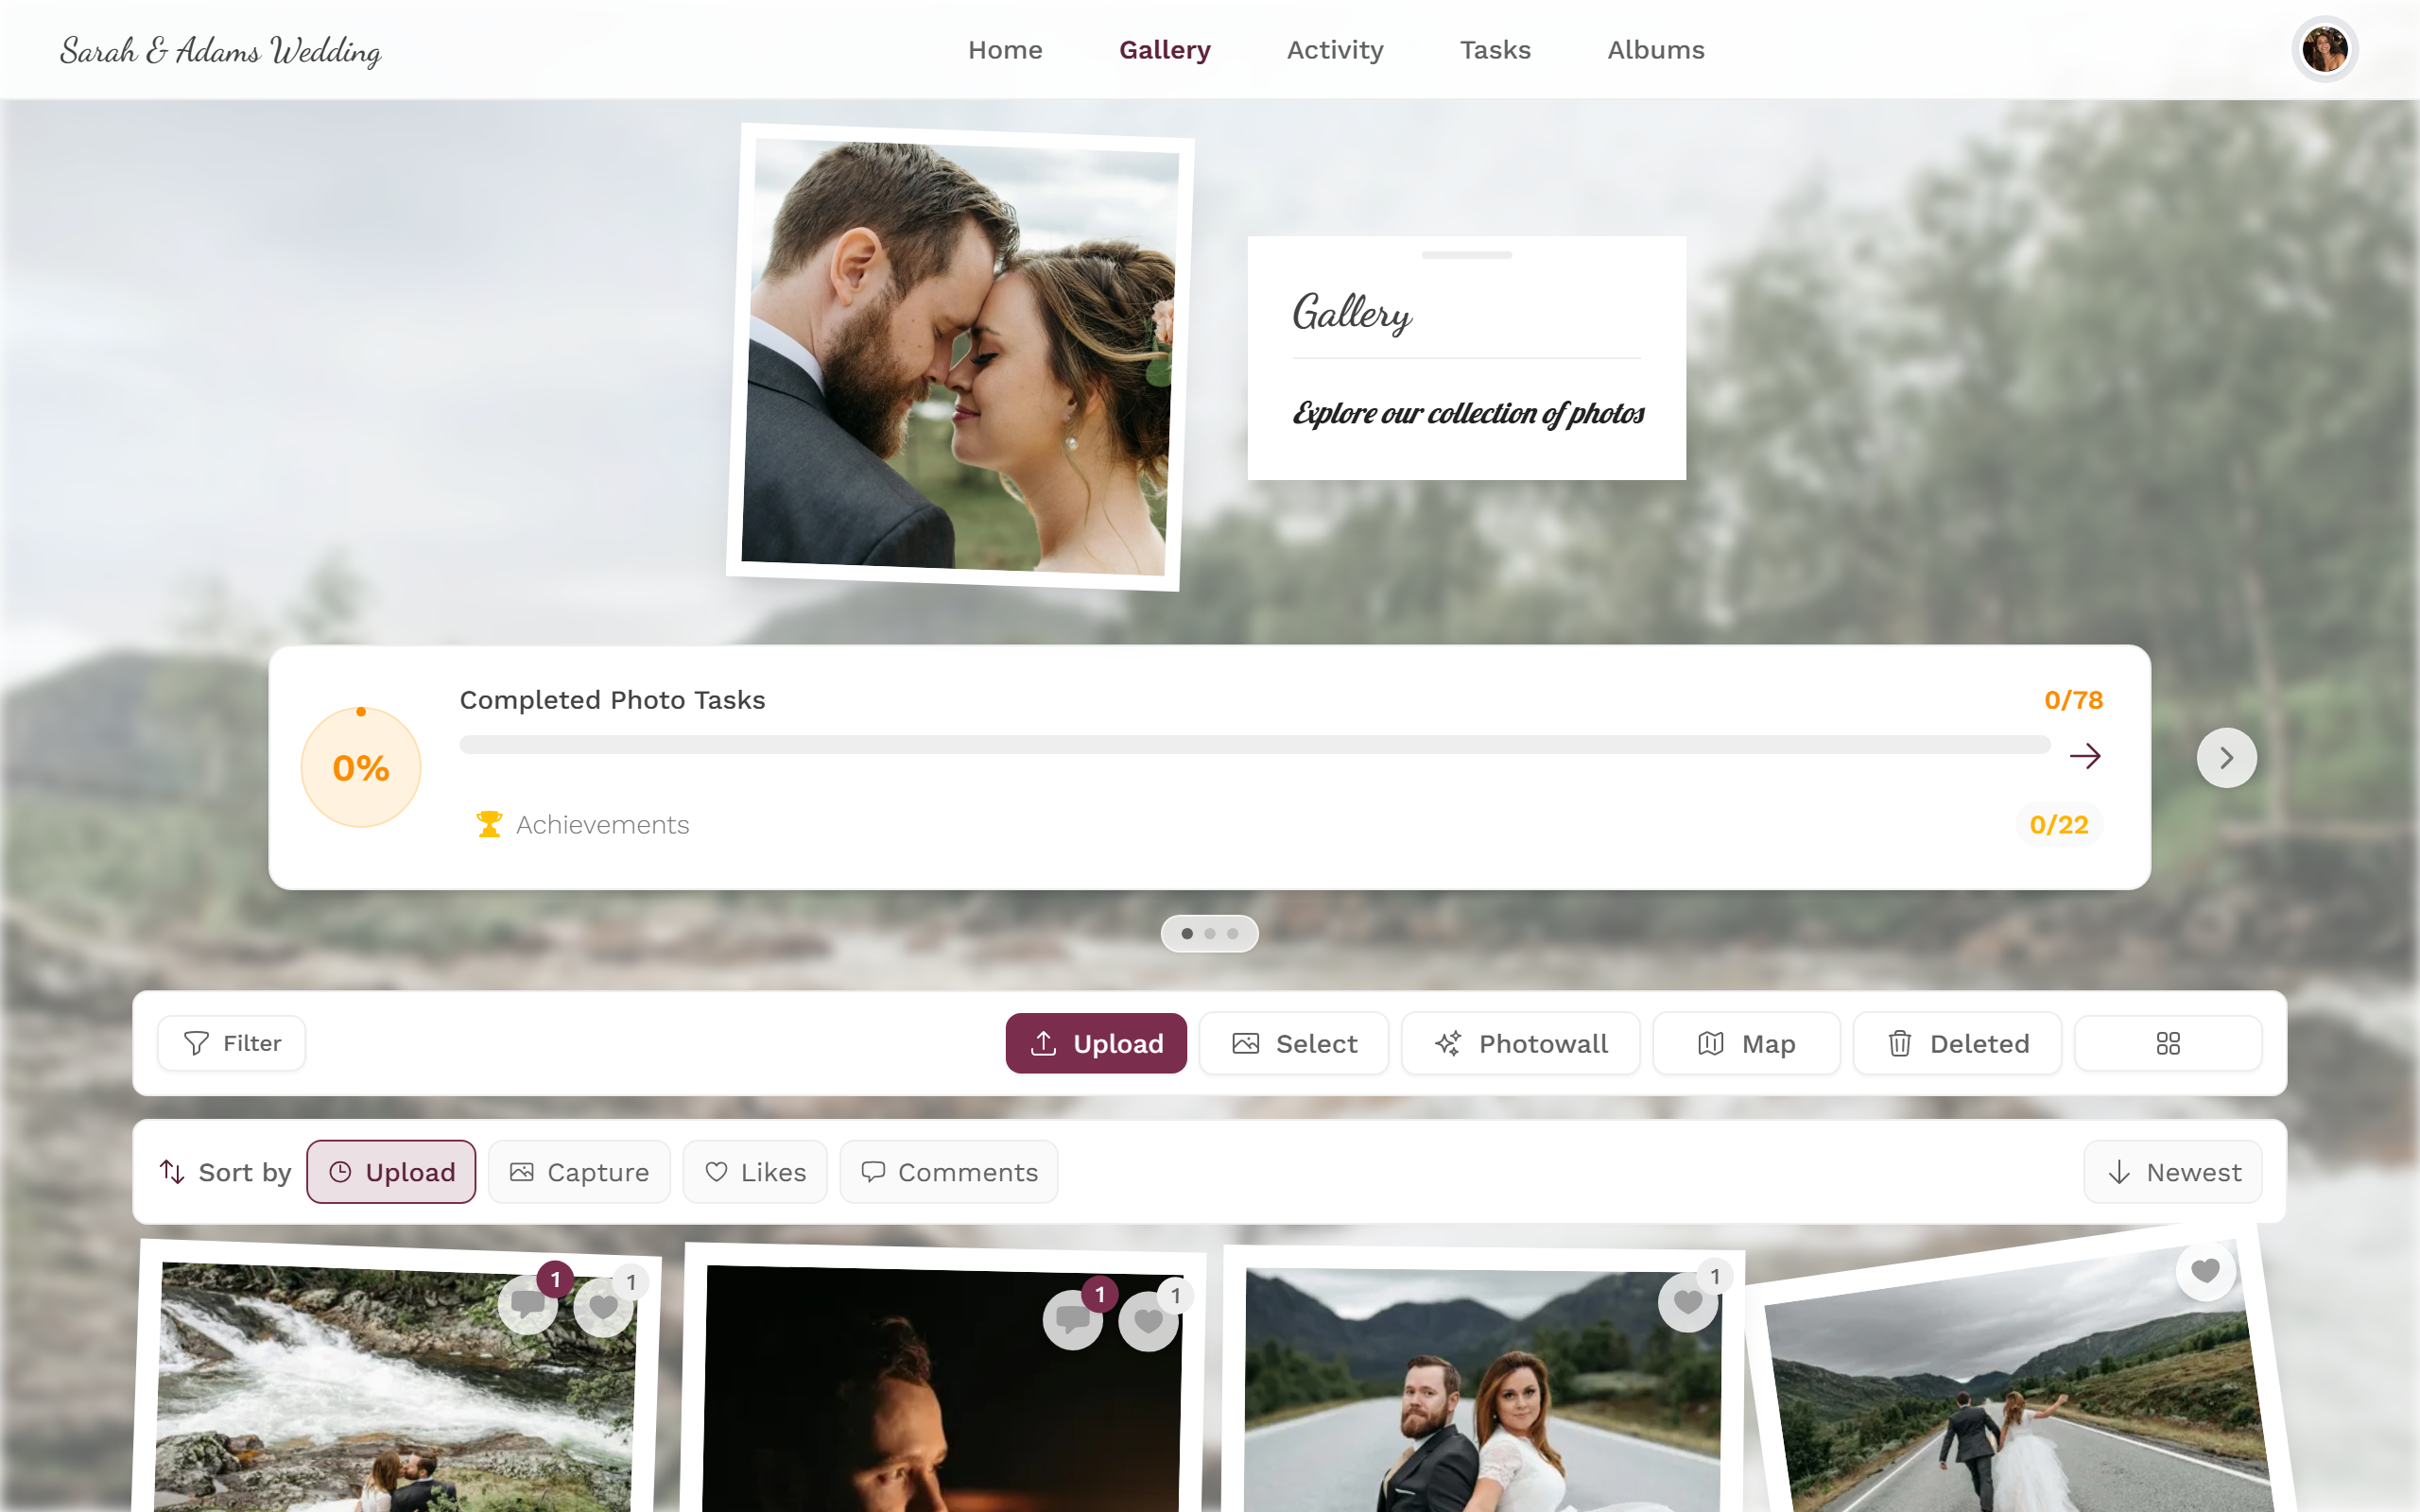
Upload photos – on a phone via the round plus button, on desktop via the gallery toolbar. Only visible if you have upload rights and the event allows uploads. Guide: Upload photos.
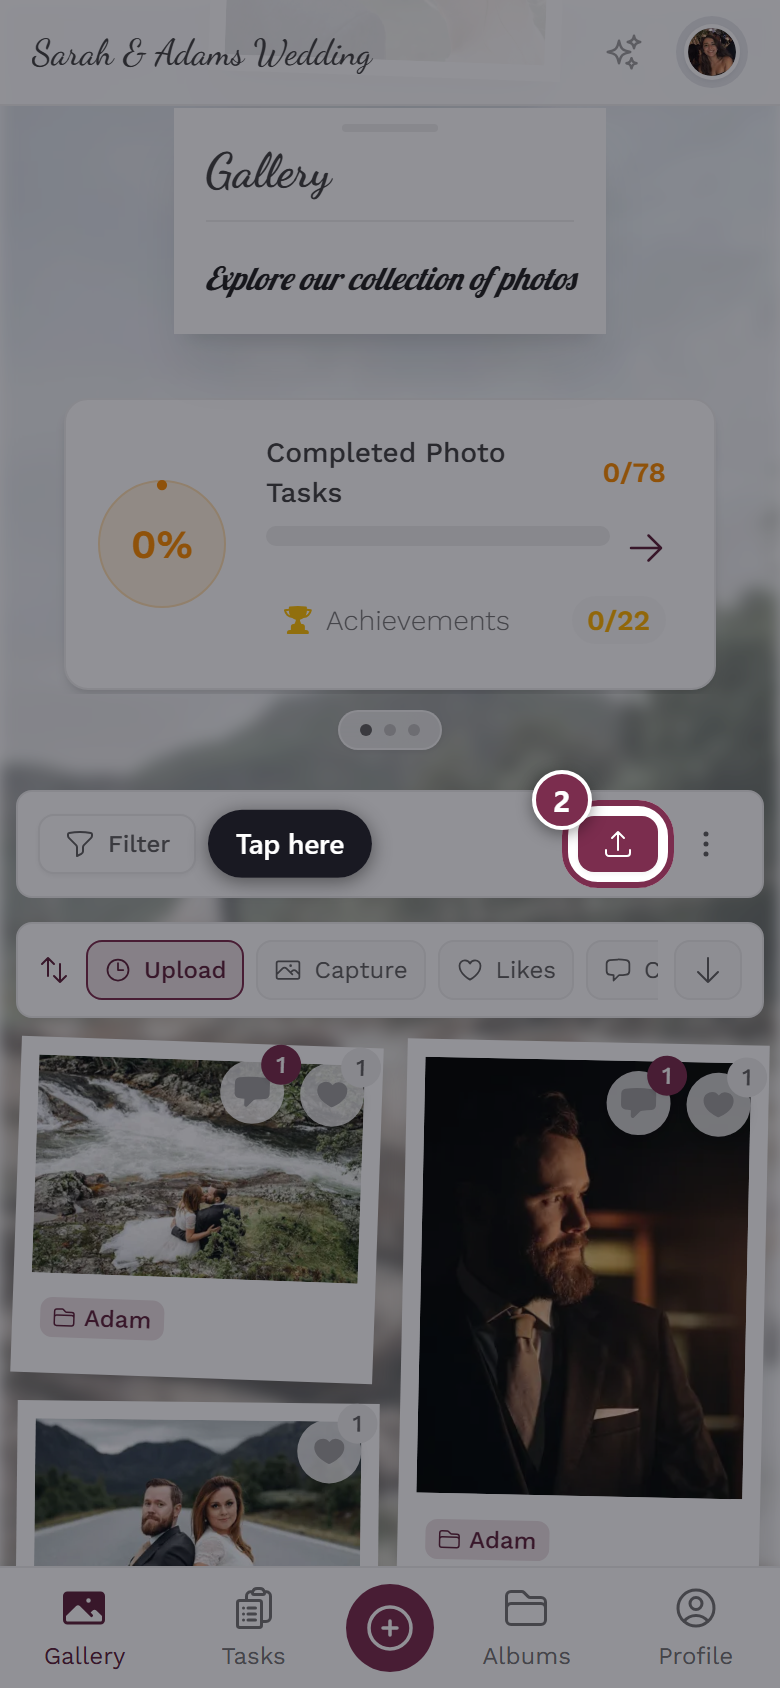
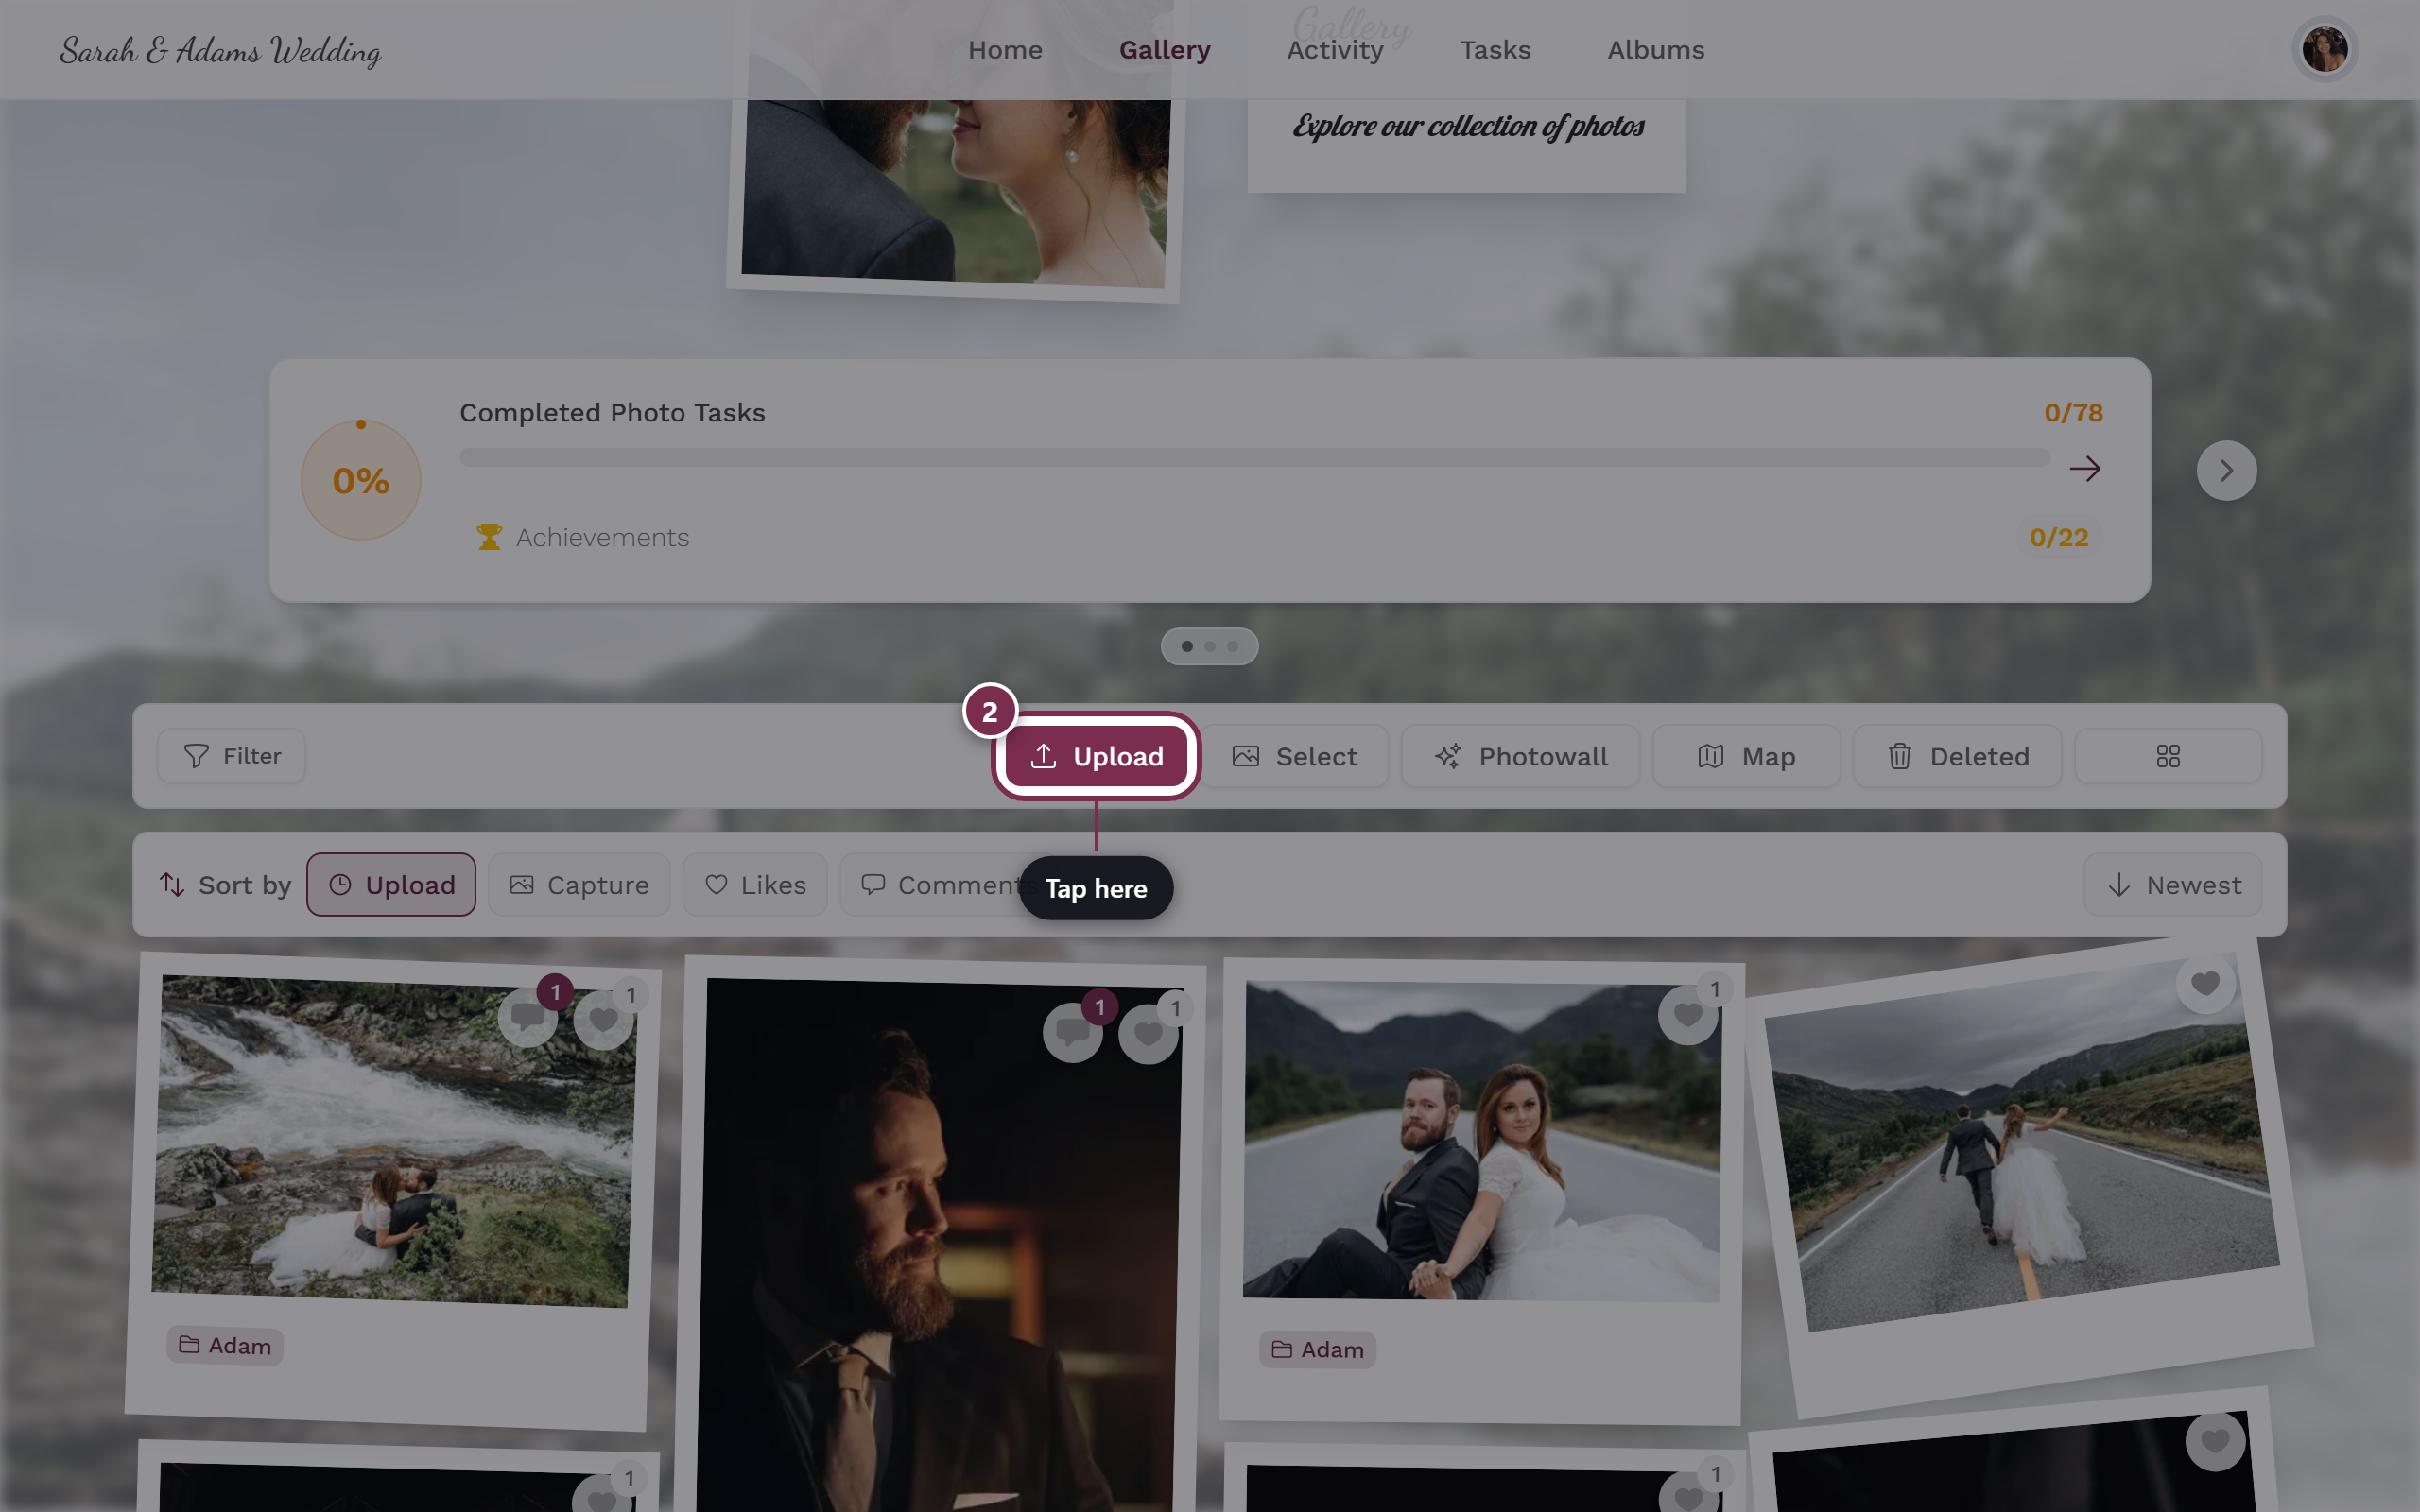
The upload button opens the upload dialog. -
Take a photo directly – the camera opens right in the gallery, with no detour through the camera app. Guide: Take a photo.
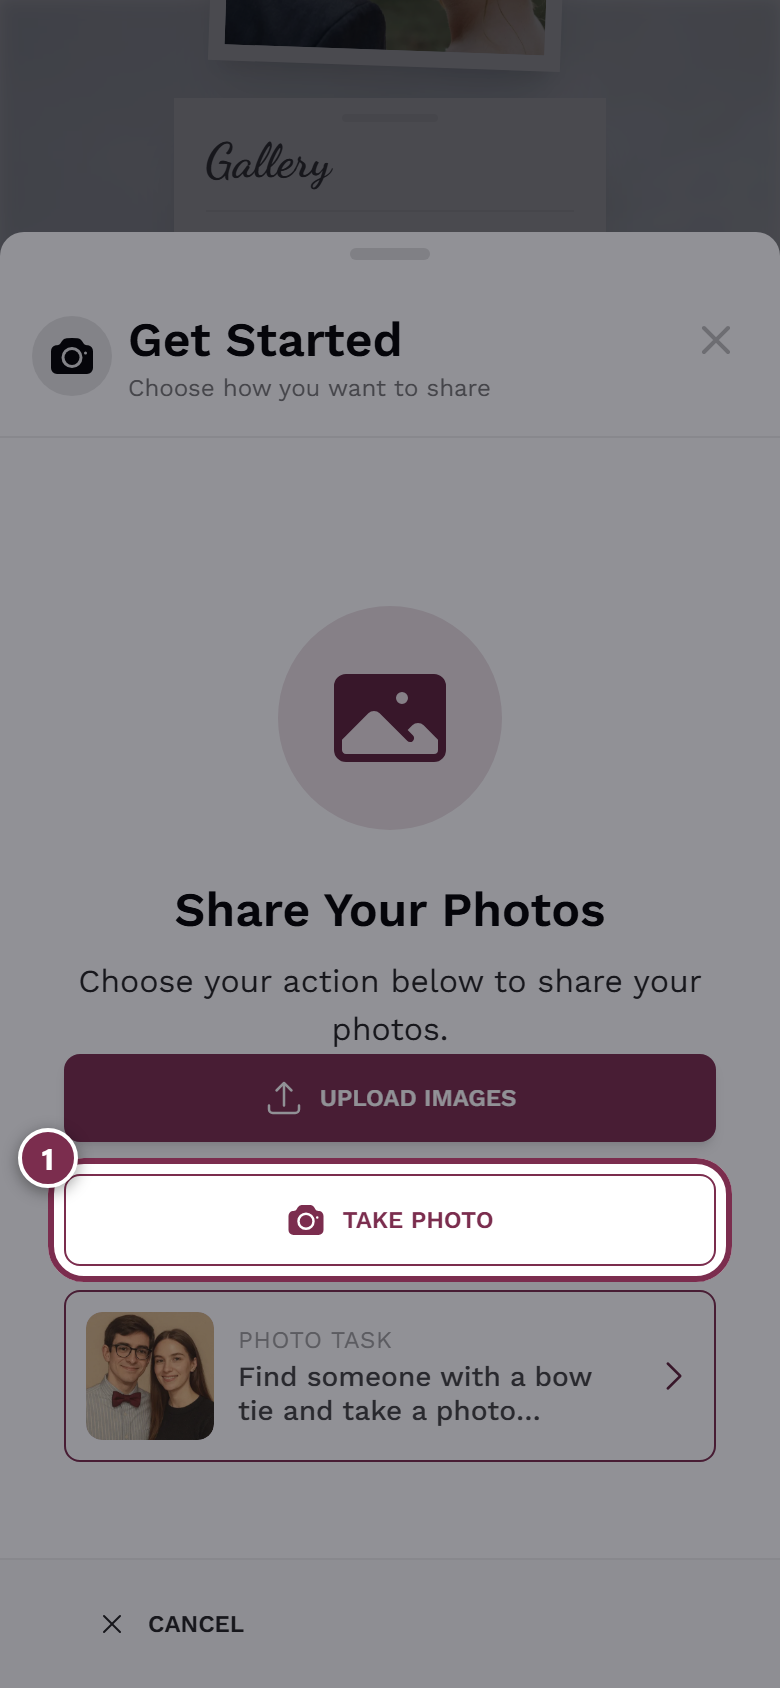
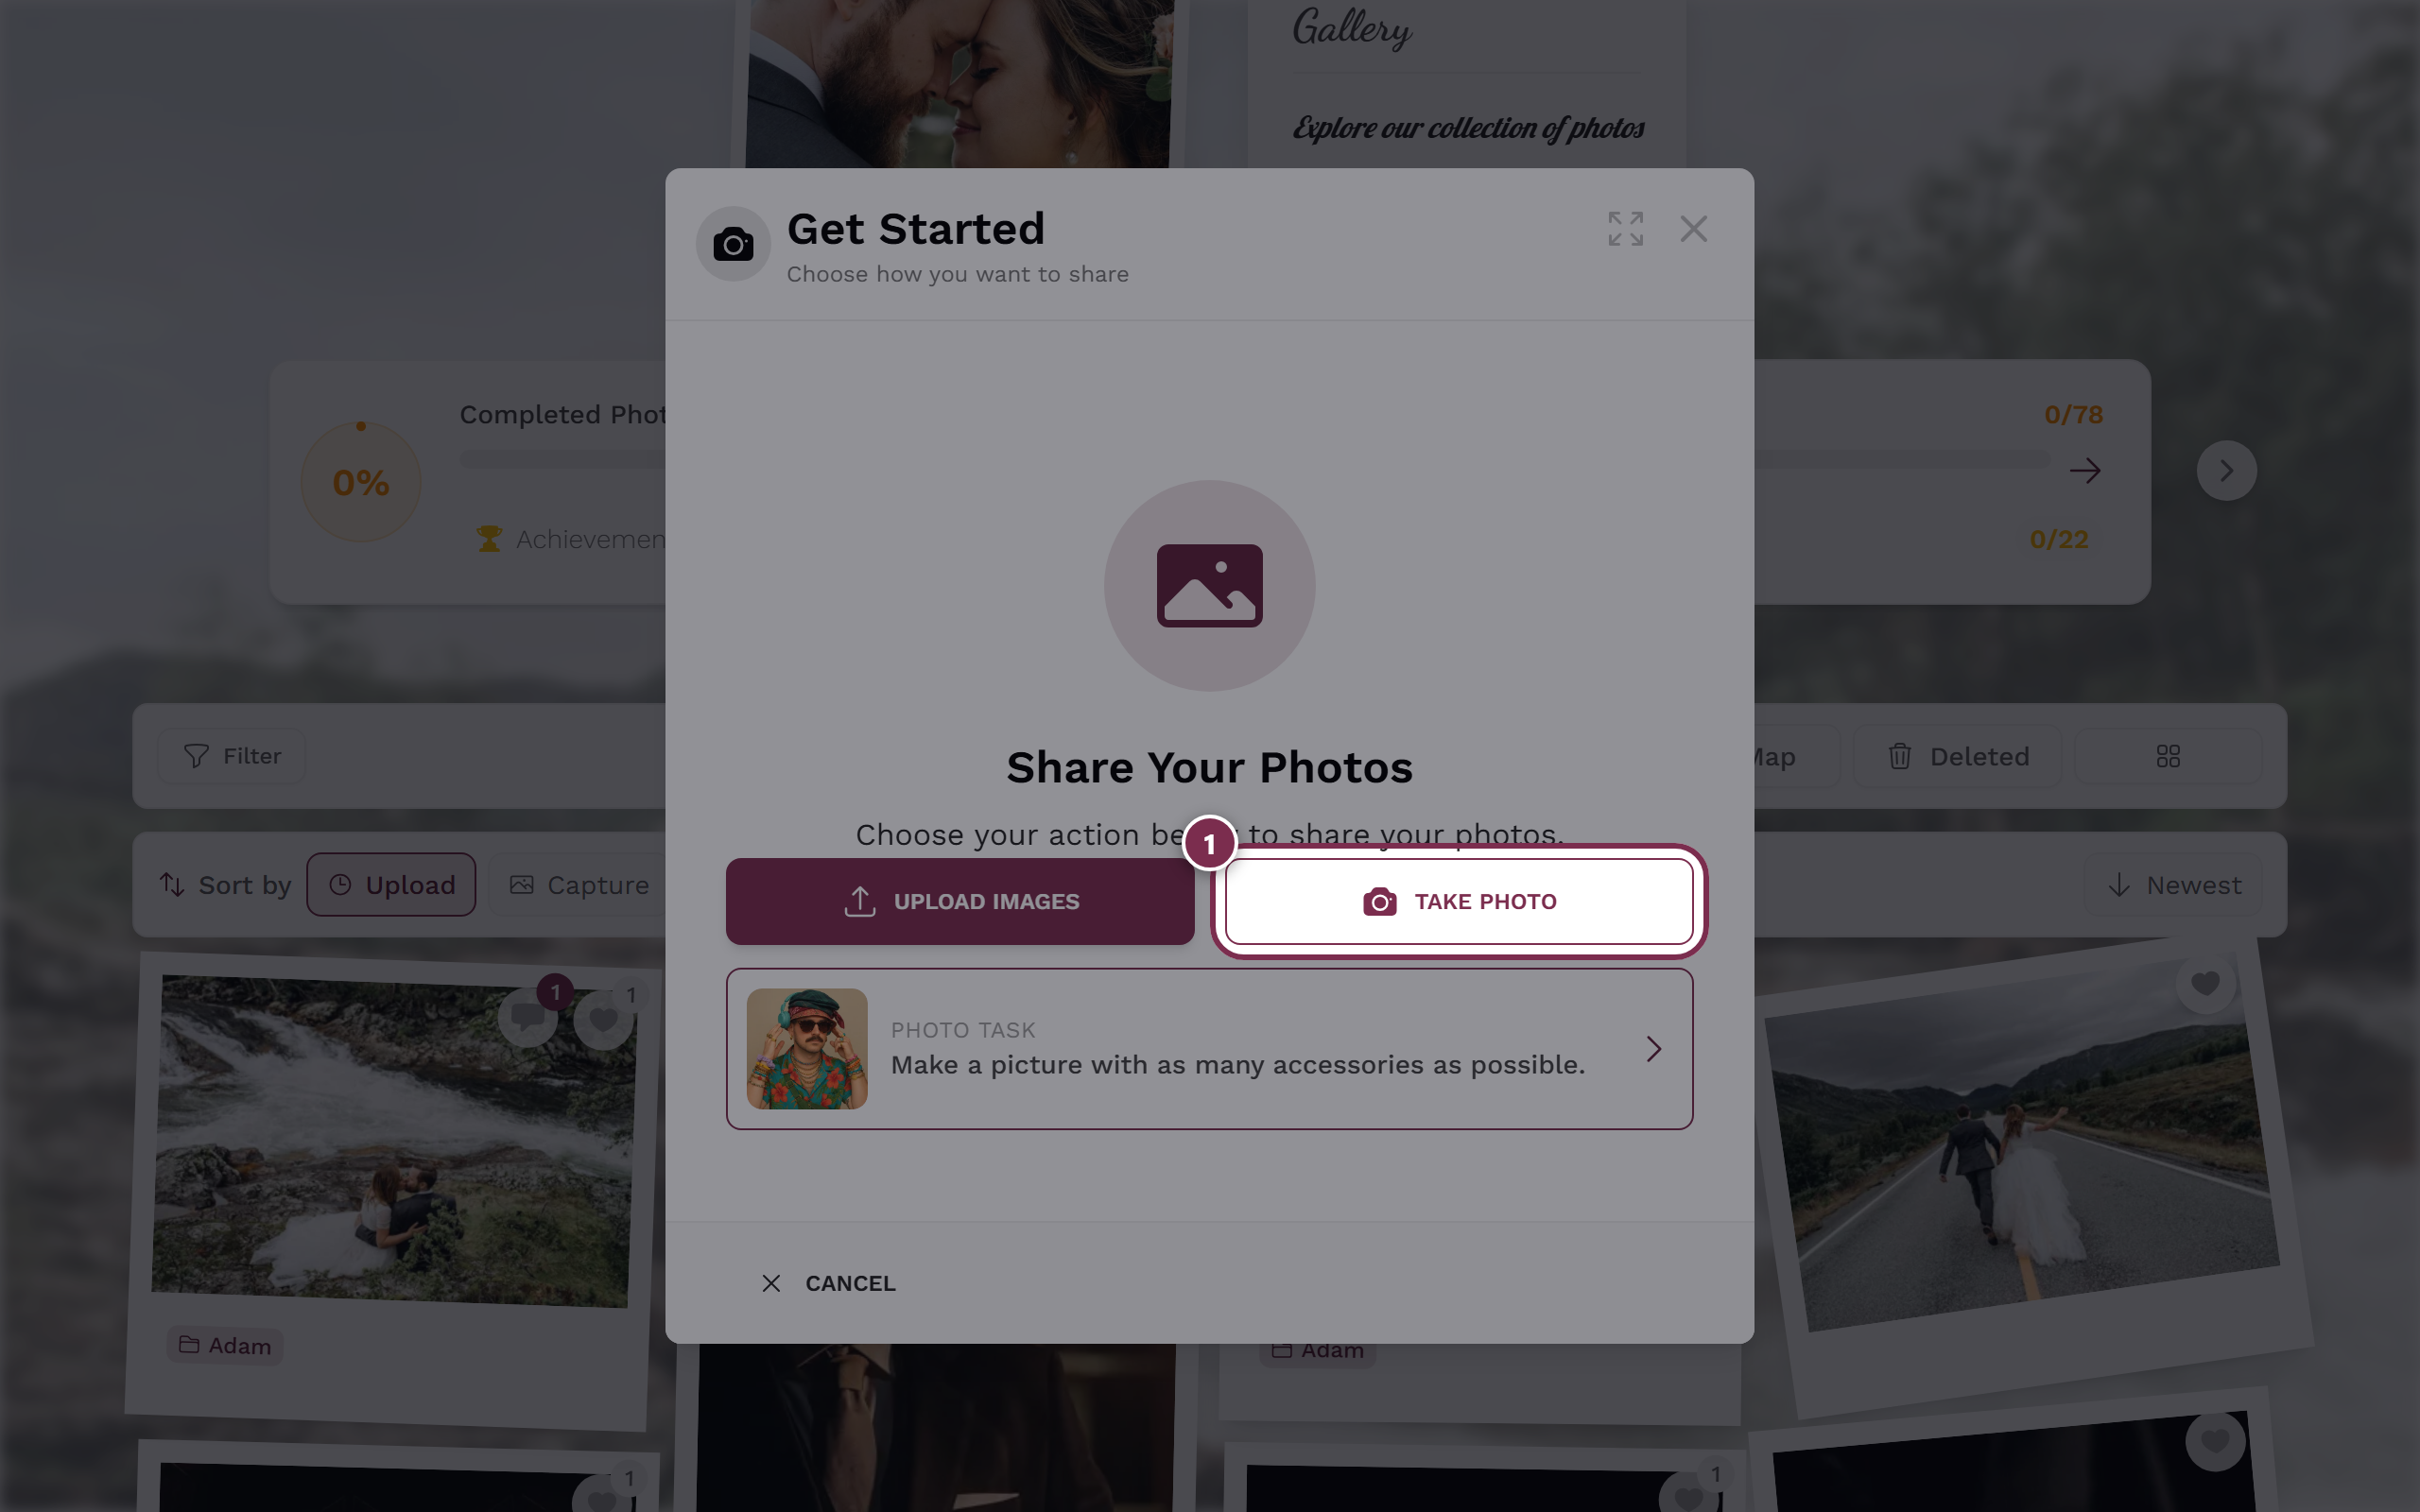
In the upload dialog you choose “Take photo” for the live camera.“ -
Download – save individual photos. Only visible when the host allows downloads. Guide: Download.
-
Select multiple – bulk download and bulk actions for many photos at once. Only when bulk download is allowed. Guide: Select multiple.
Discover & join in
Section titled “Discover & join in”-
Likes & comments – react with the heart (double-tap the photo or the heart icon) and write comments. Likes and comments each need to be enabled by the host. Guide: Likes & comments.
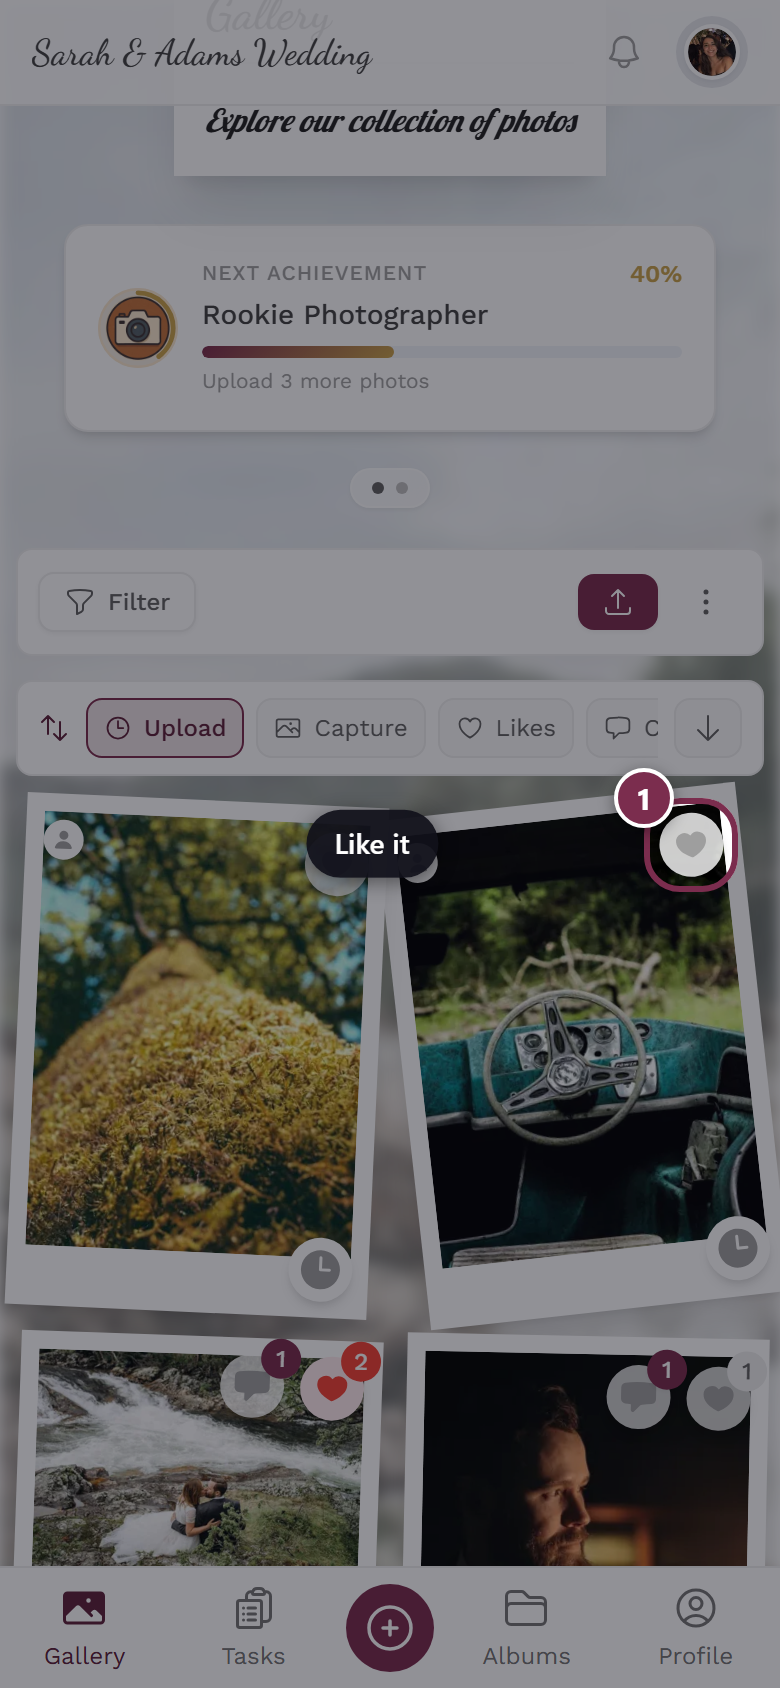
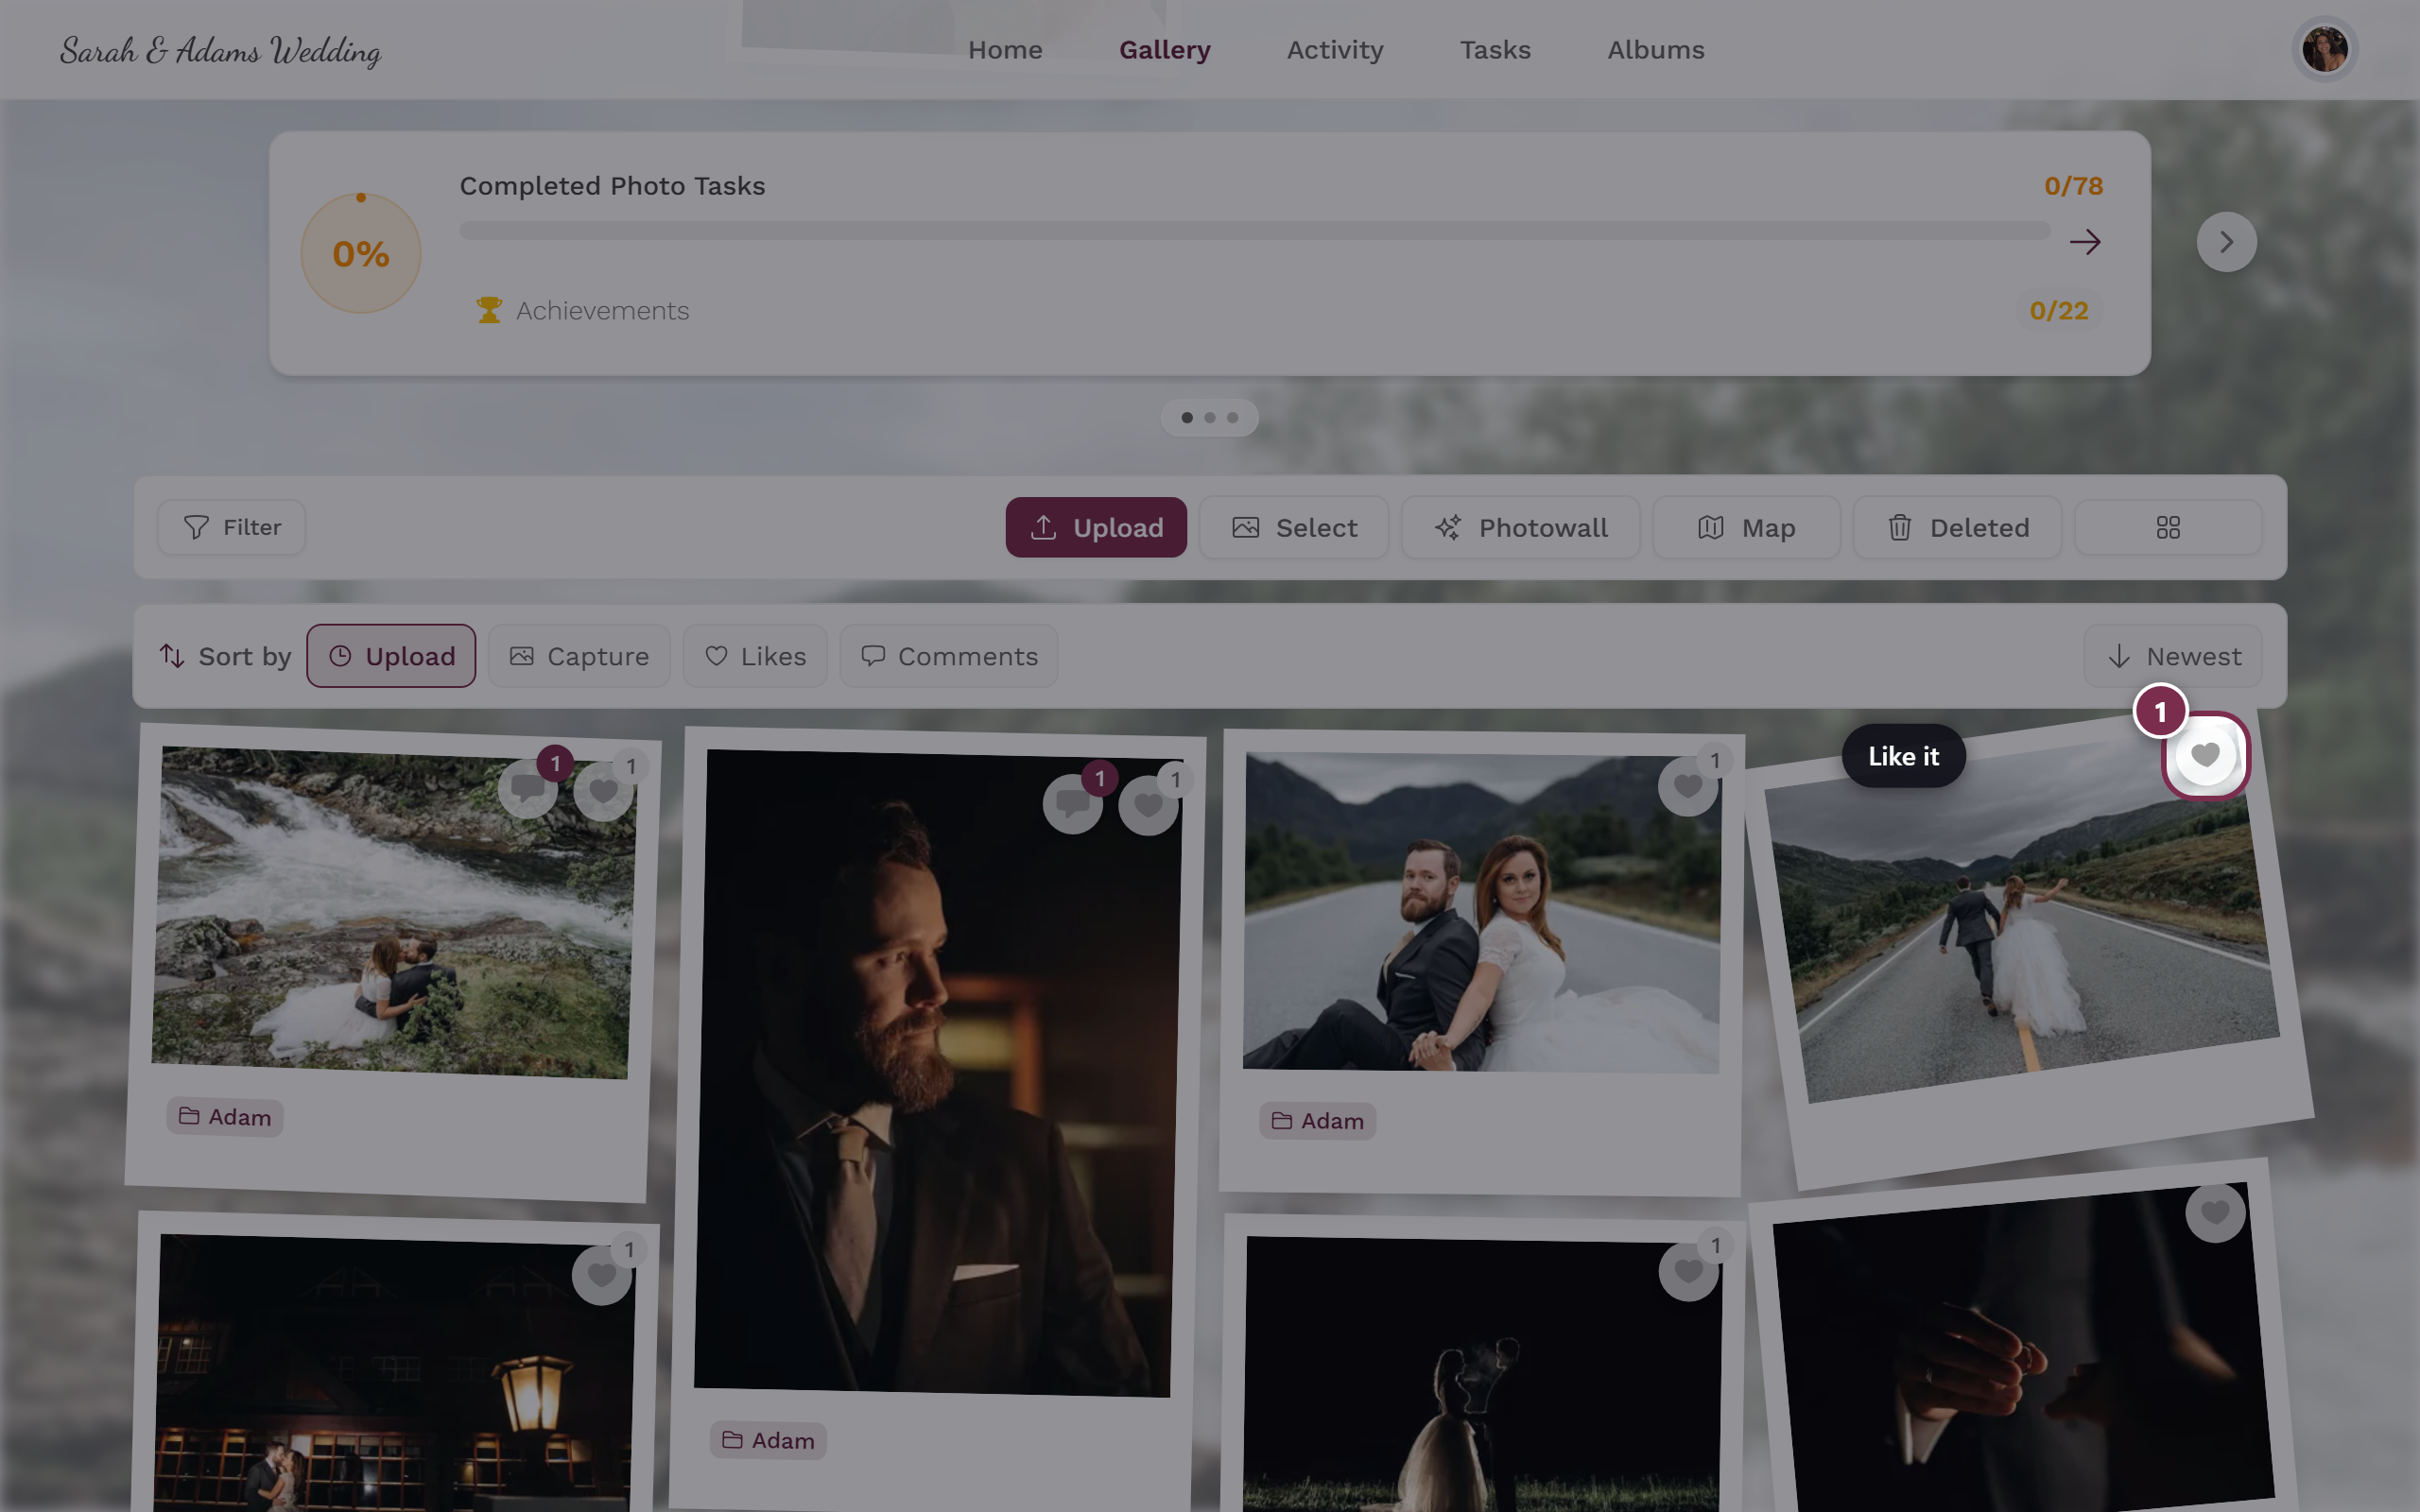
Give a like with a double-tap or via the heart icon. -
Challenges (Tasks) – in the Tasks tab you find photo tasks you can solve and earn points for. Only visible when tasks are enabled and there are some. Guide: Challenges.

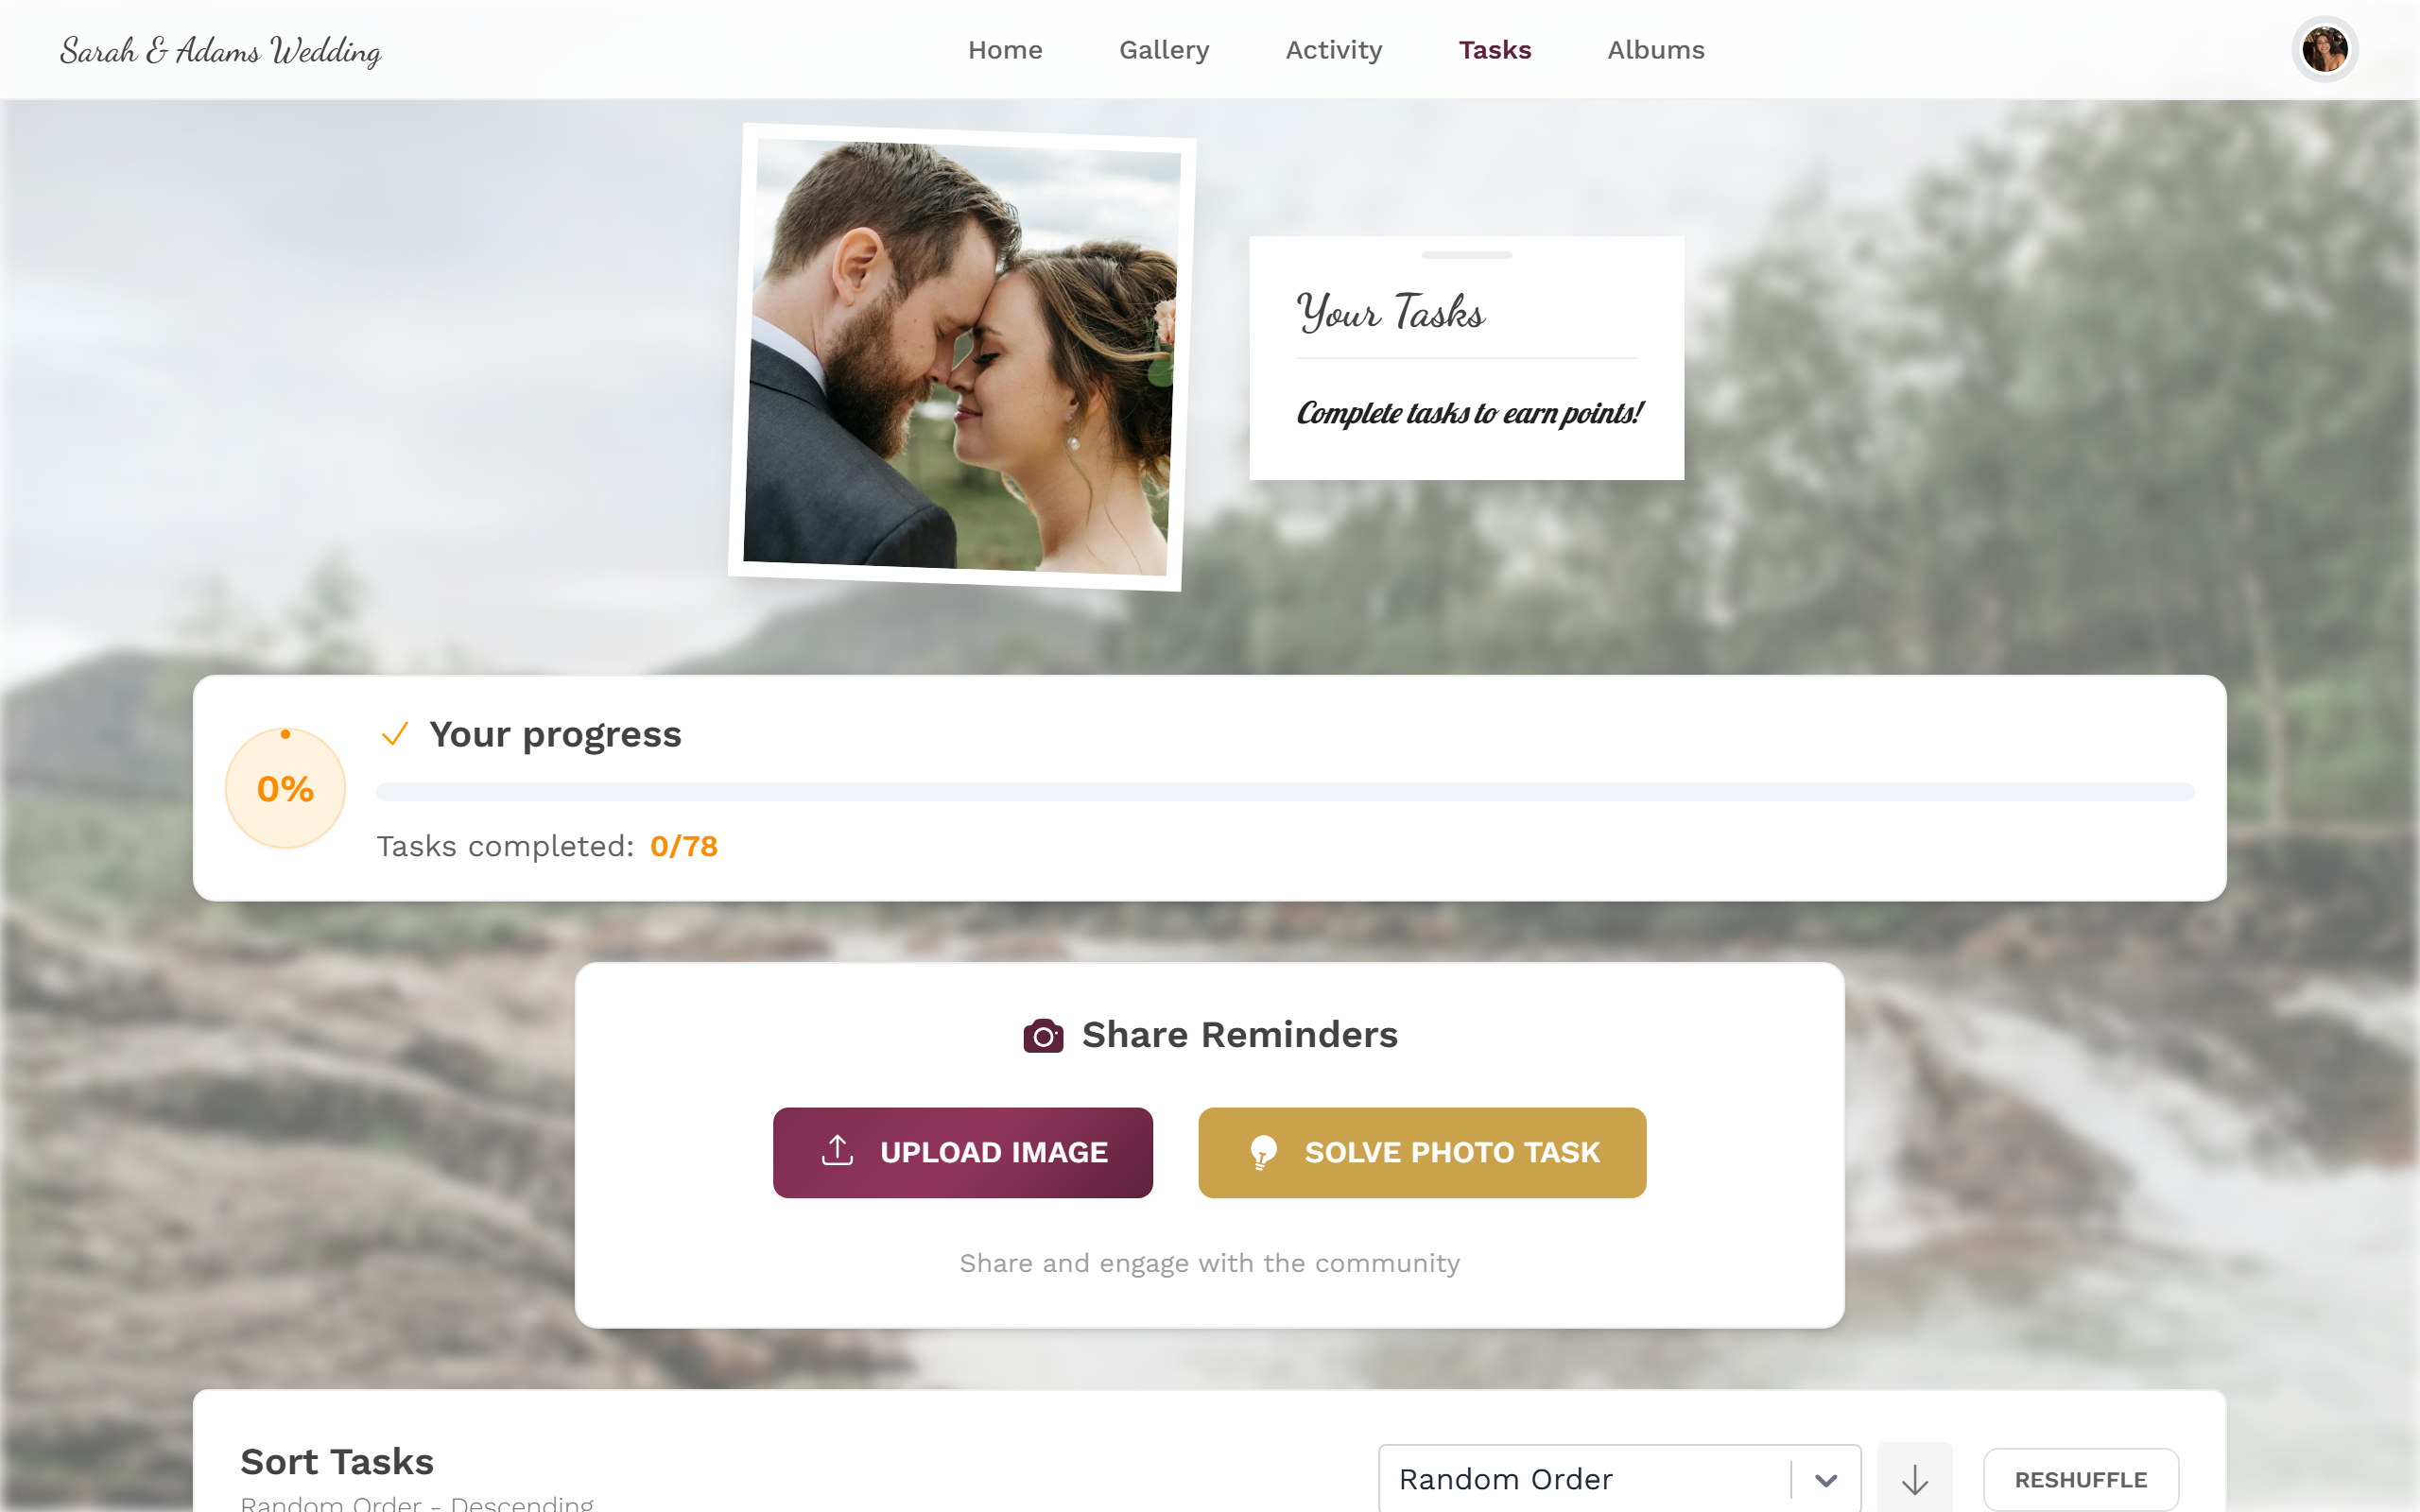
Tasks invite you to capture specific shots. -
Find photos of you (face search) – if the host has enabled AI face recognition, you can filter the gallery to the photos you appear in. Guide: Find photos of you.
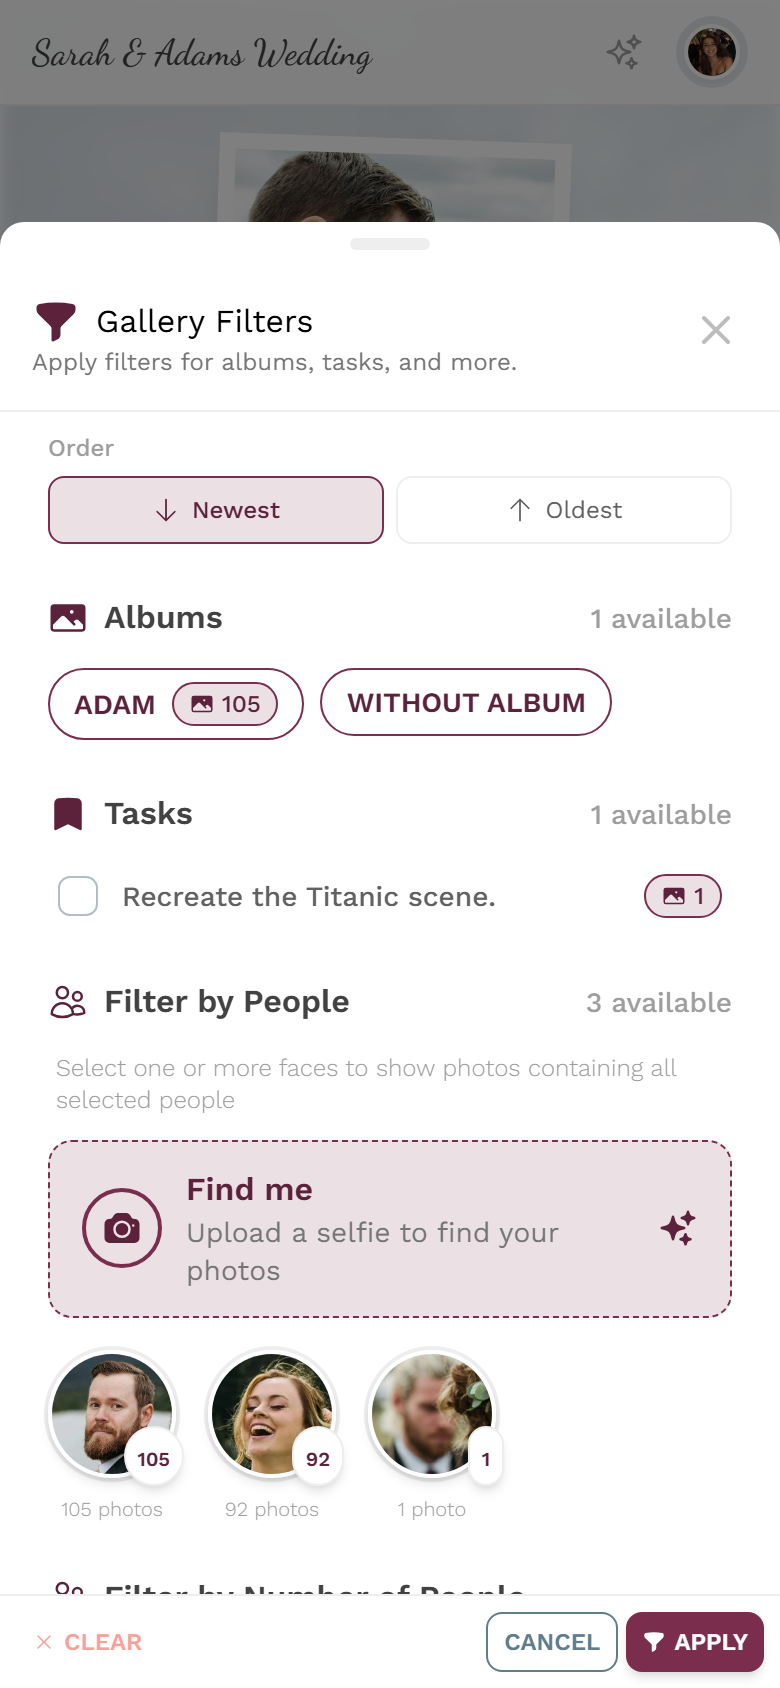
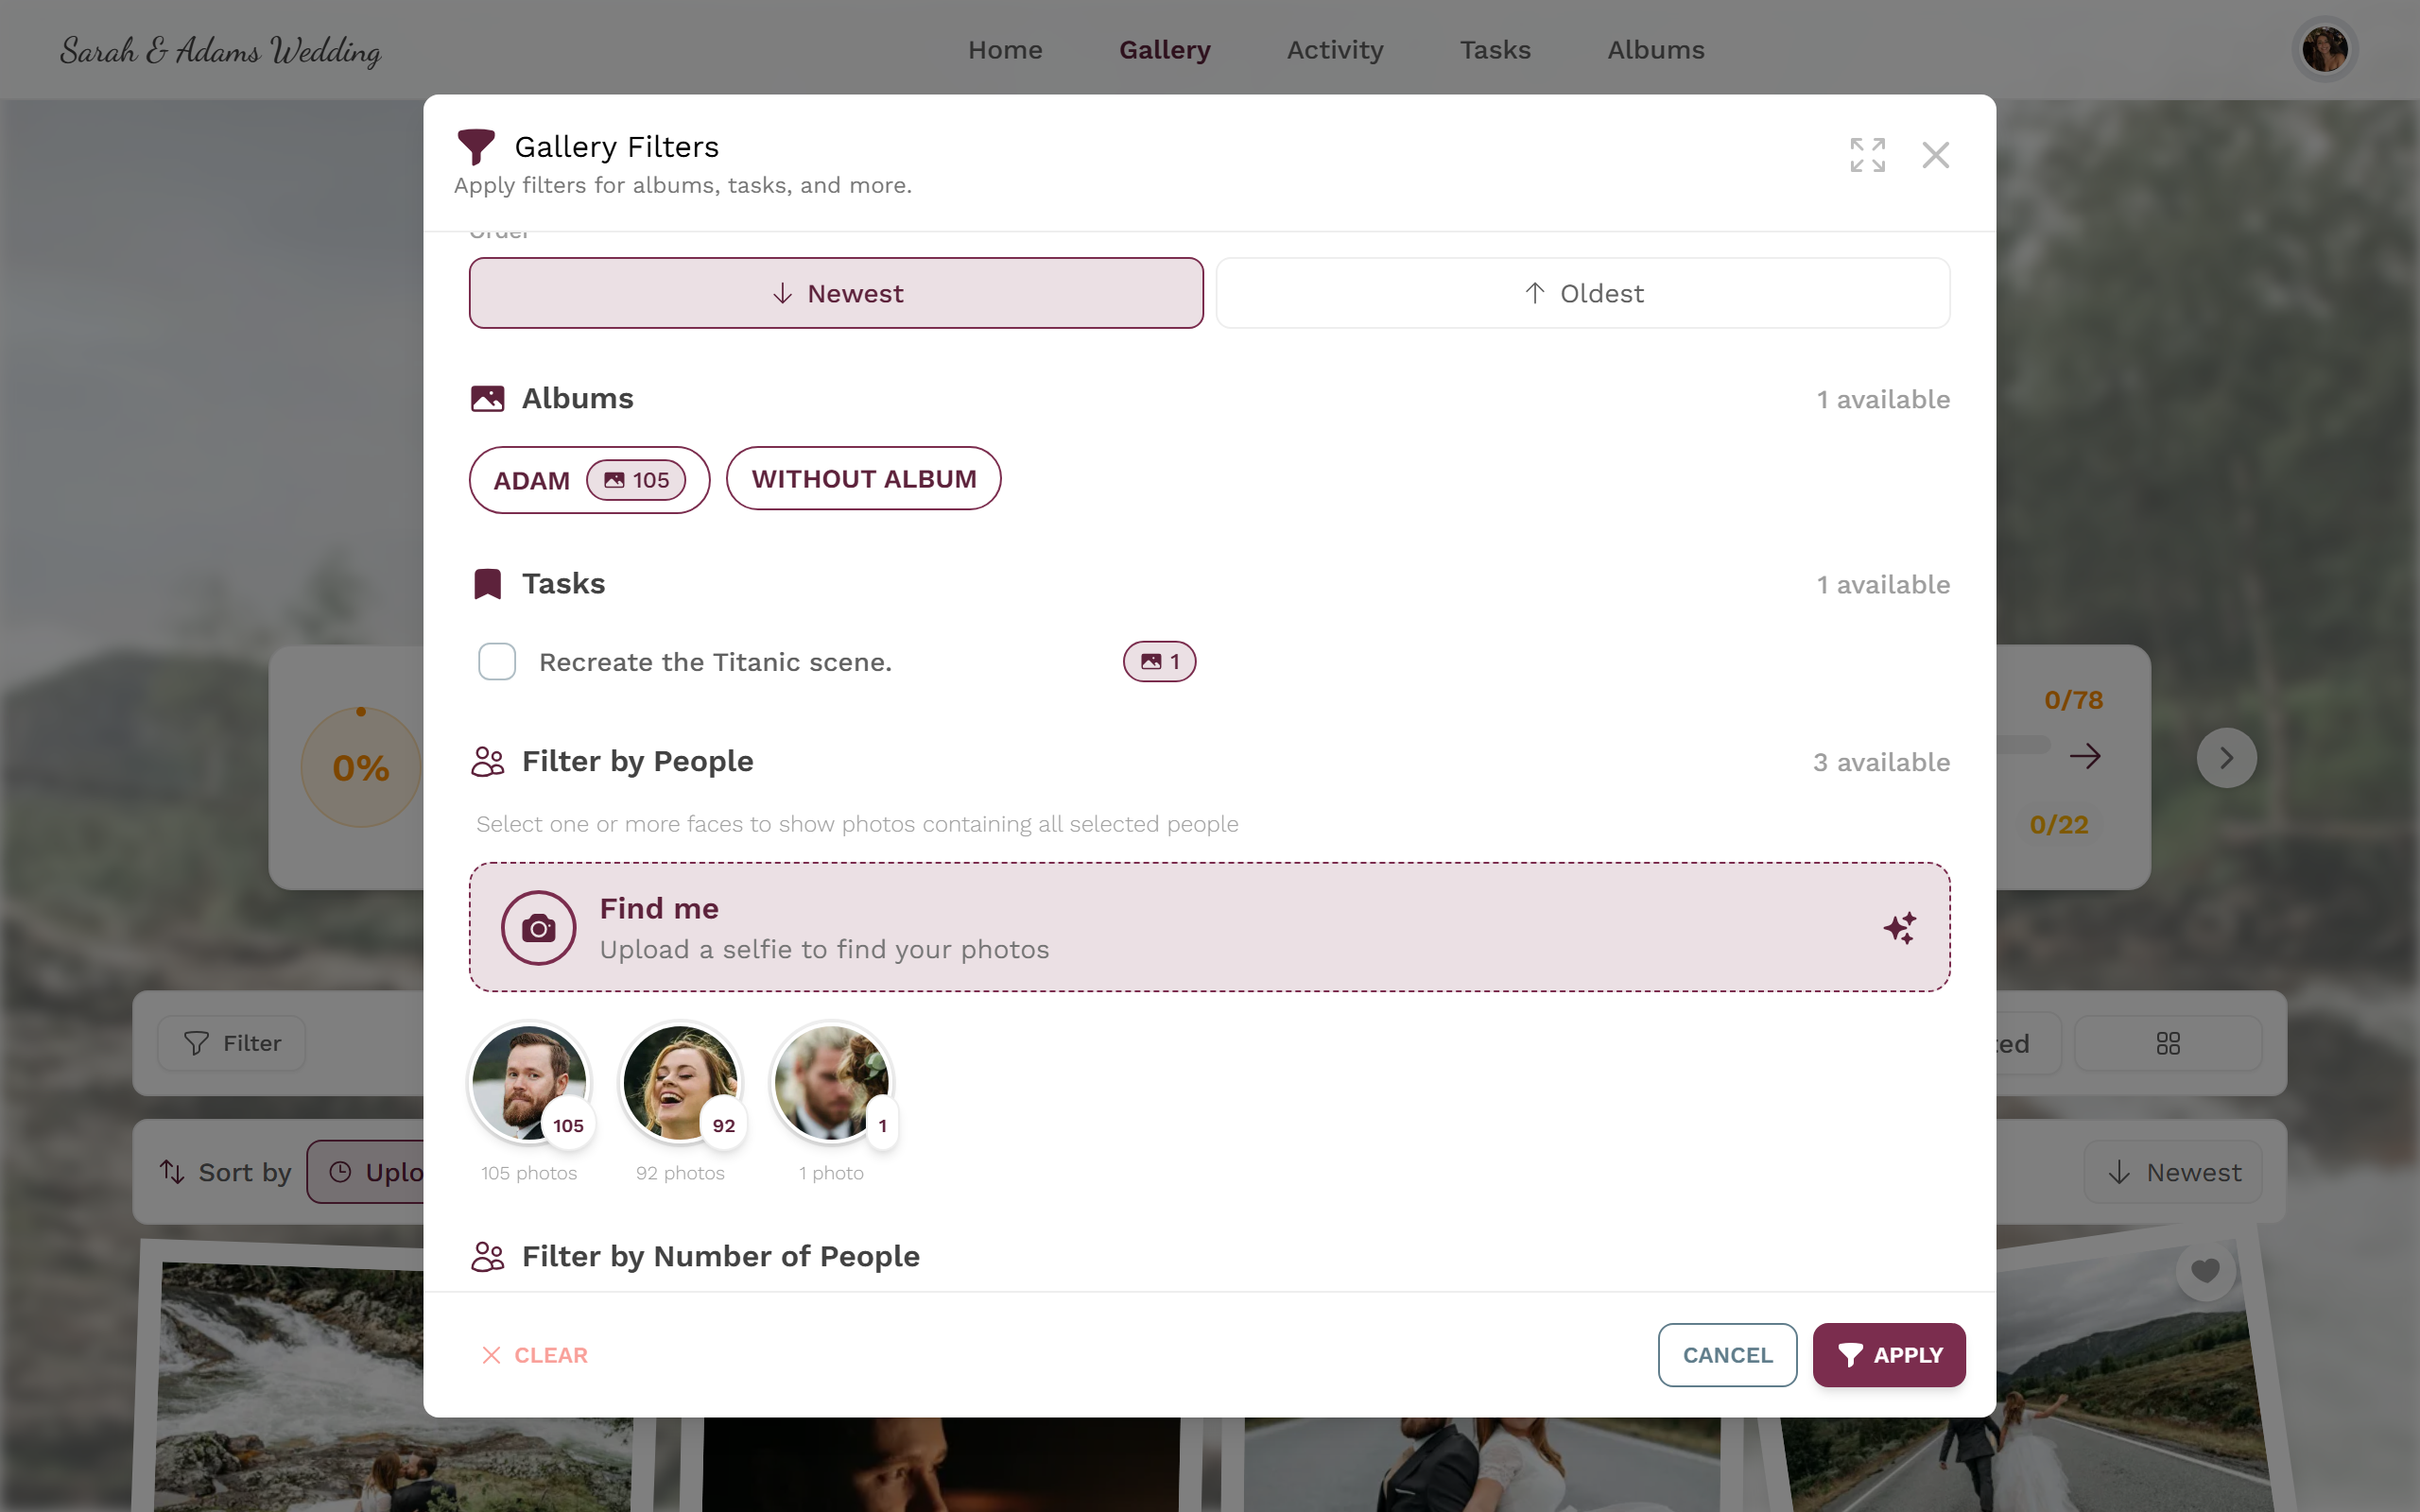
Use the filter to find photos of a specific person. -
Albums, slideshow, map and live photo wall – more ways to view your photos. Details further down. Guides: Albums, Slideshow, Map view, Live photo wall.
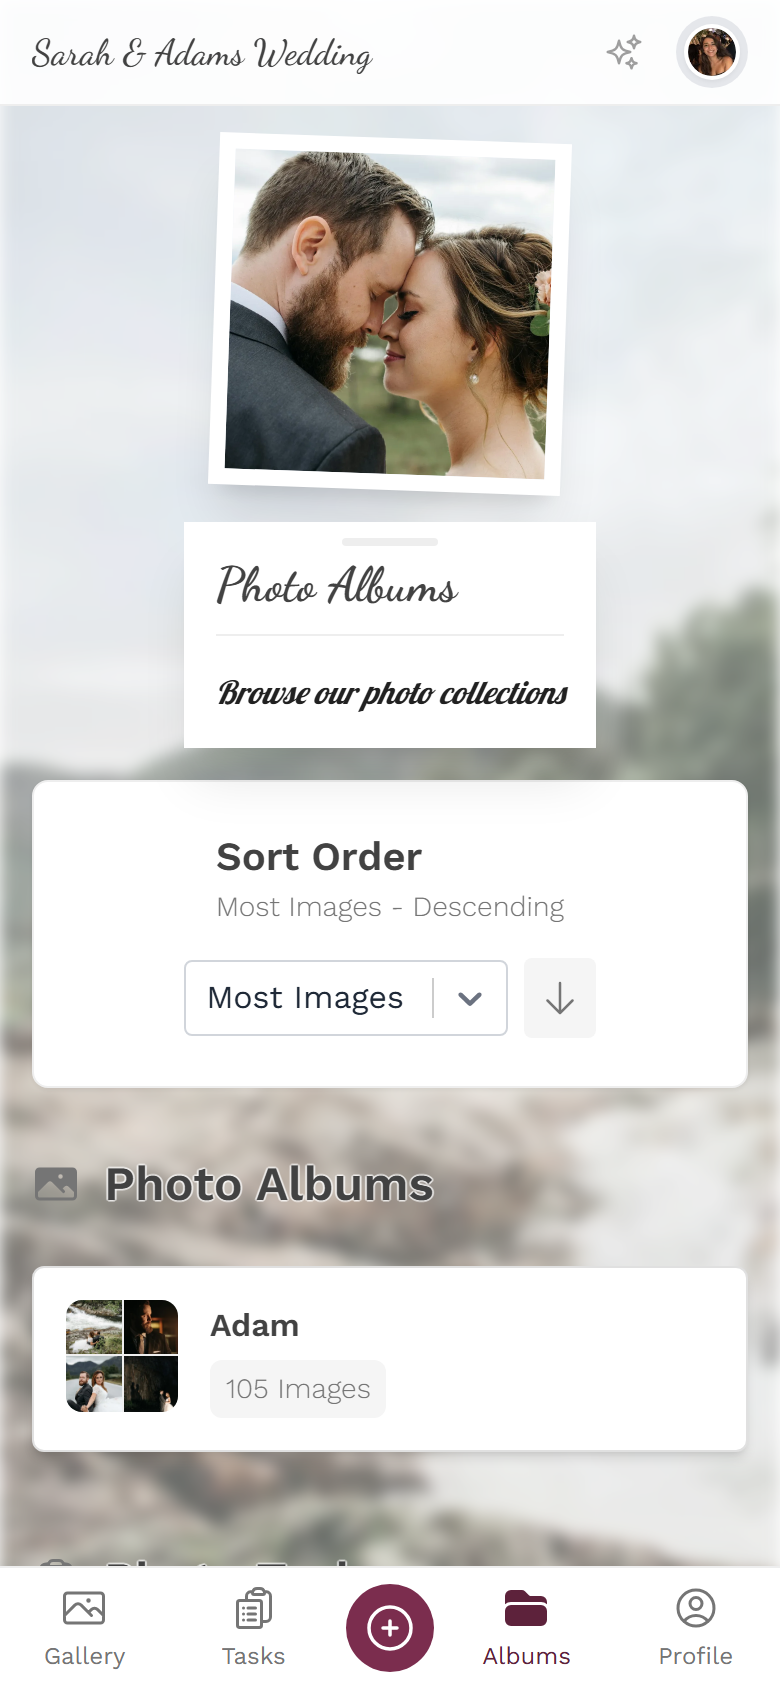
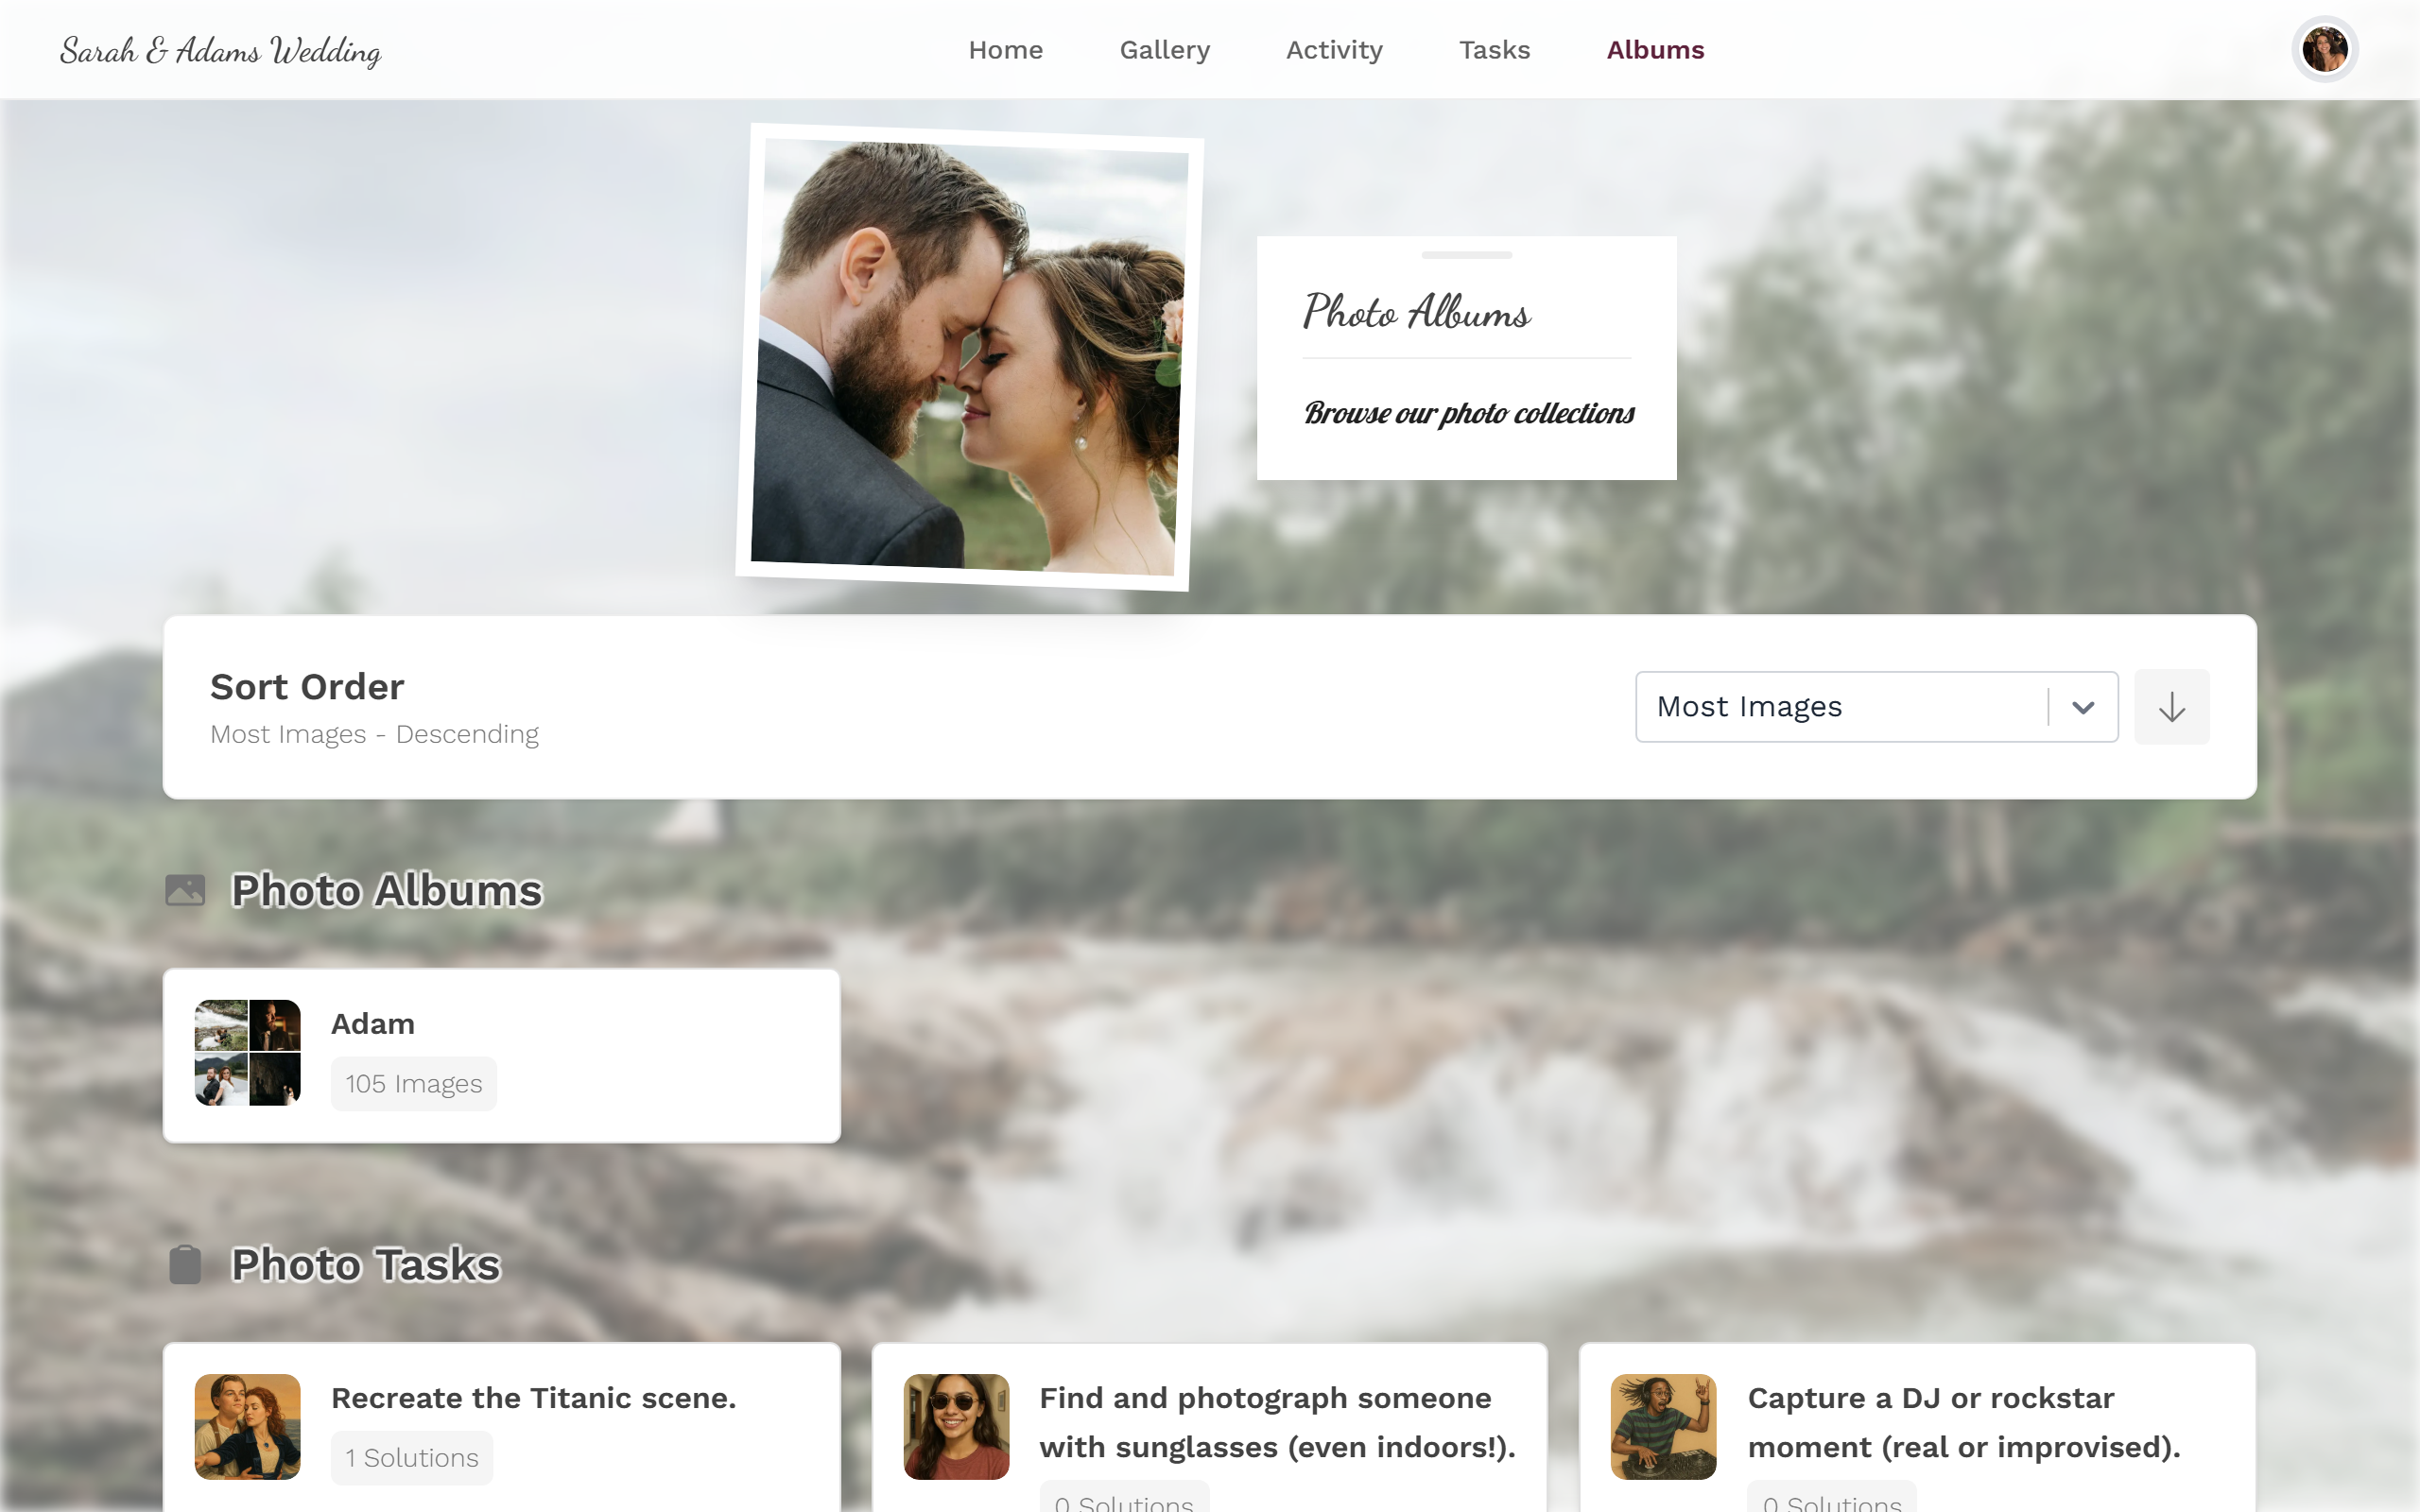
Albums group photos, e.g. by part of the program.
Rewards & account
Section titled “Rewards & account”- Points & rewards – your points total appears in the profile menu, provided the event has enabled points. Some events even hand out real rewards. Guides: Points & rewards, Real rewards.
- Profile, notifications & language – you control all of these via the profile menu at the top right. Guides: Your profile, Notifications, Change the language.
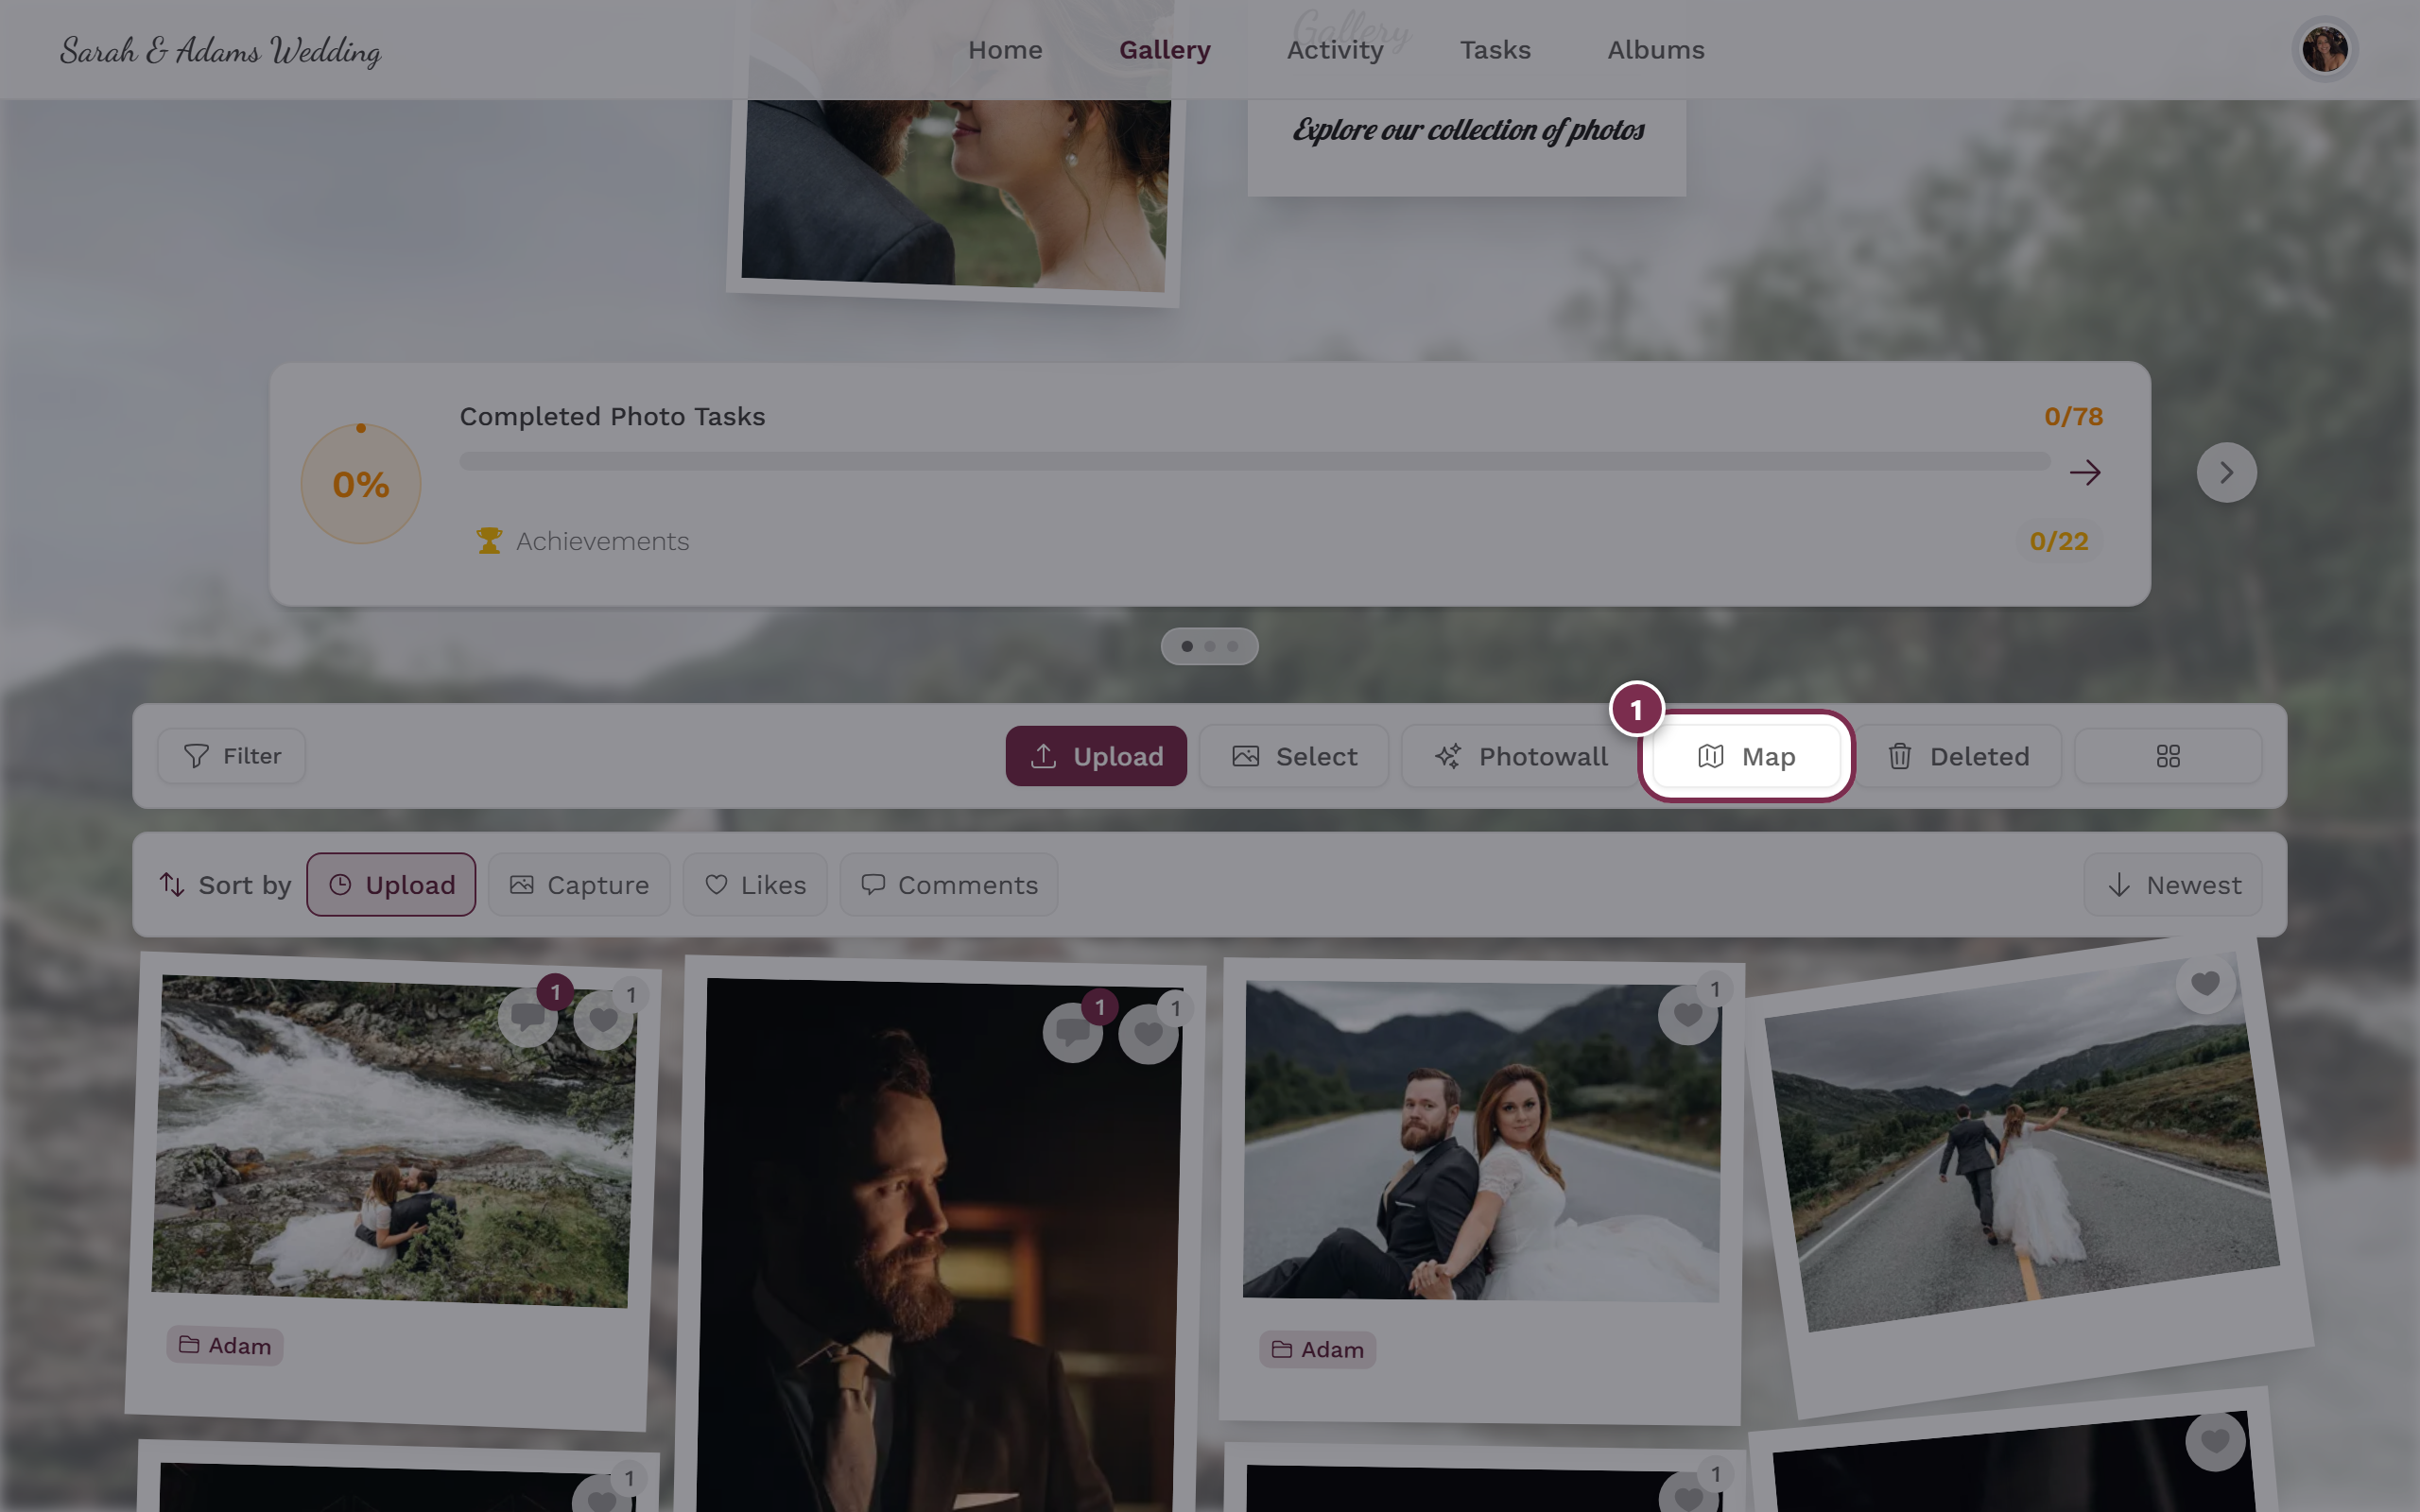
Understanding the map view
Section titled “Understanding the map view”The map is not a separate page in the navigation, but a toggle inside the gallery. At the top of the gallery toolbar you switch between Grid, Timeline and Map.
Understanding the slideshow
Section titled “Understanding the slideshow”The slideshow has no menu item of its own. It opens as soon as you tap a photo and it appears in full screen – from there you control previous/next and playback.
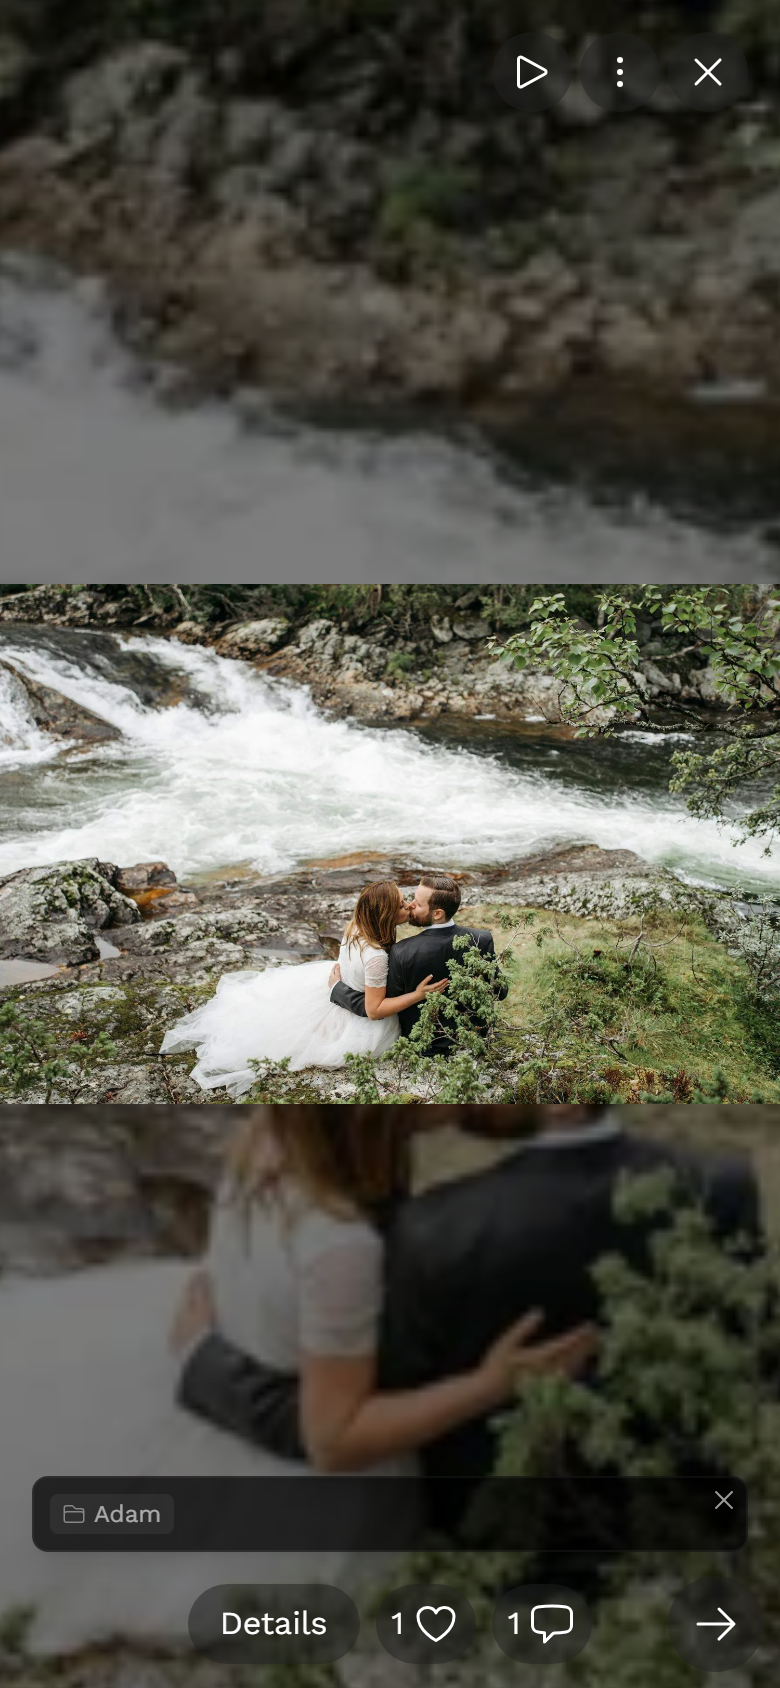
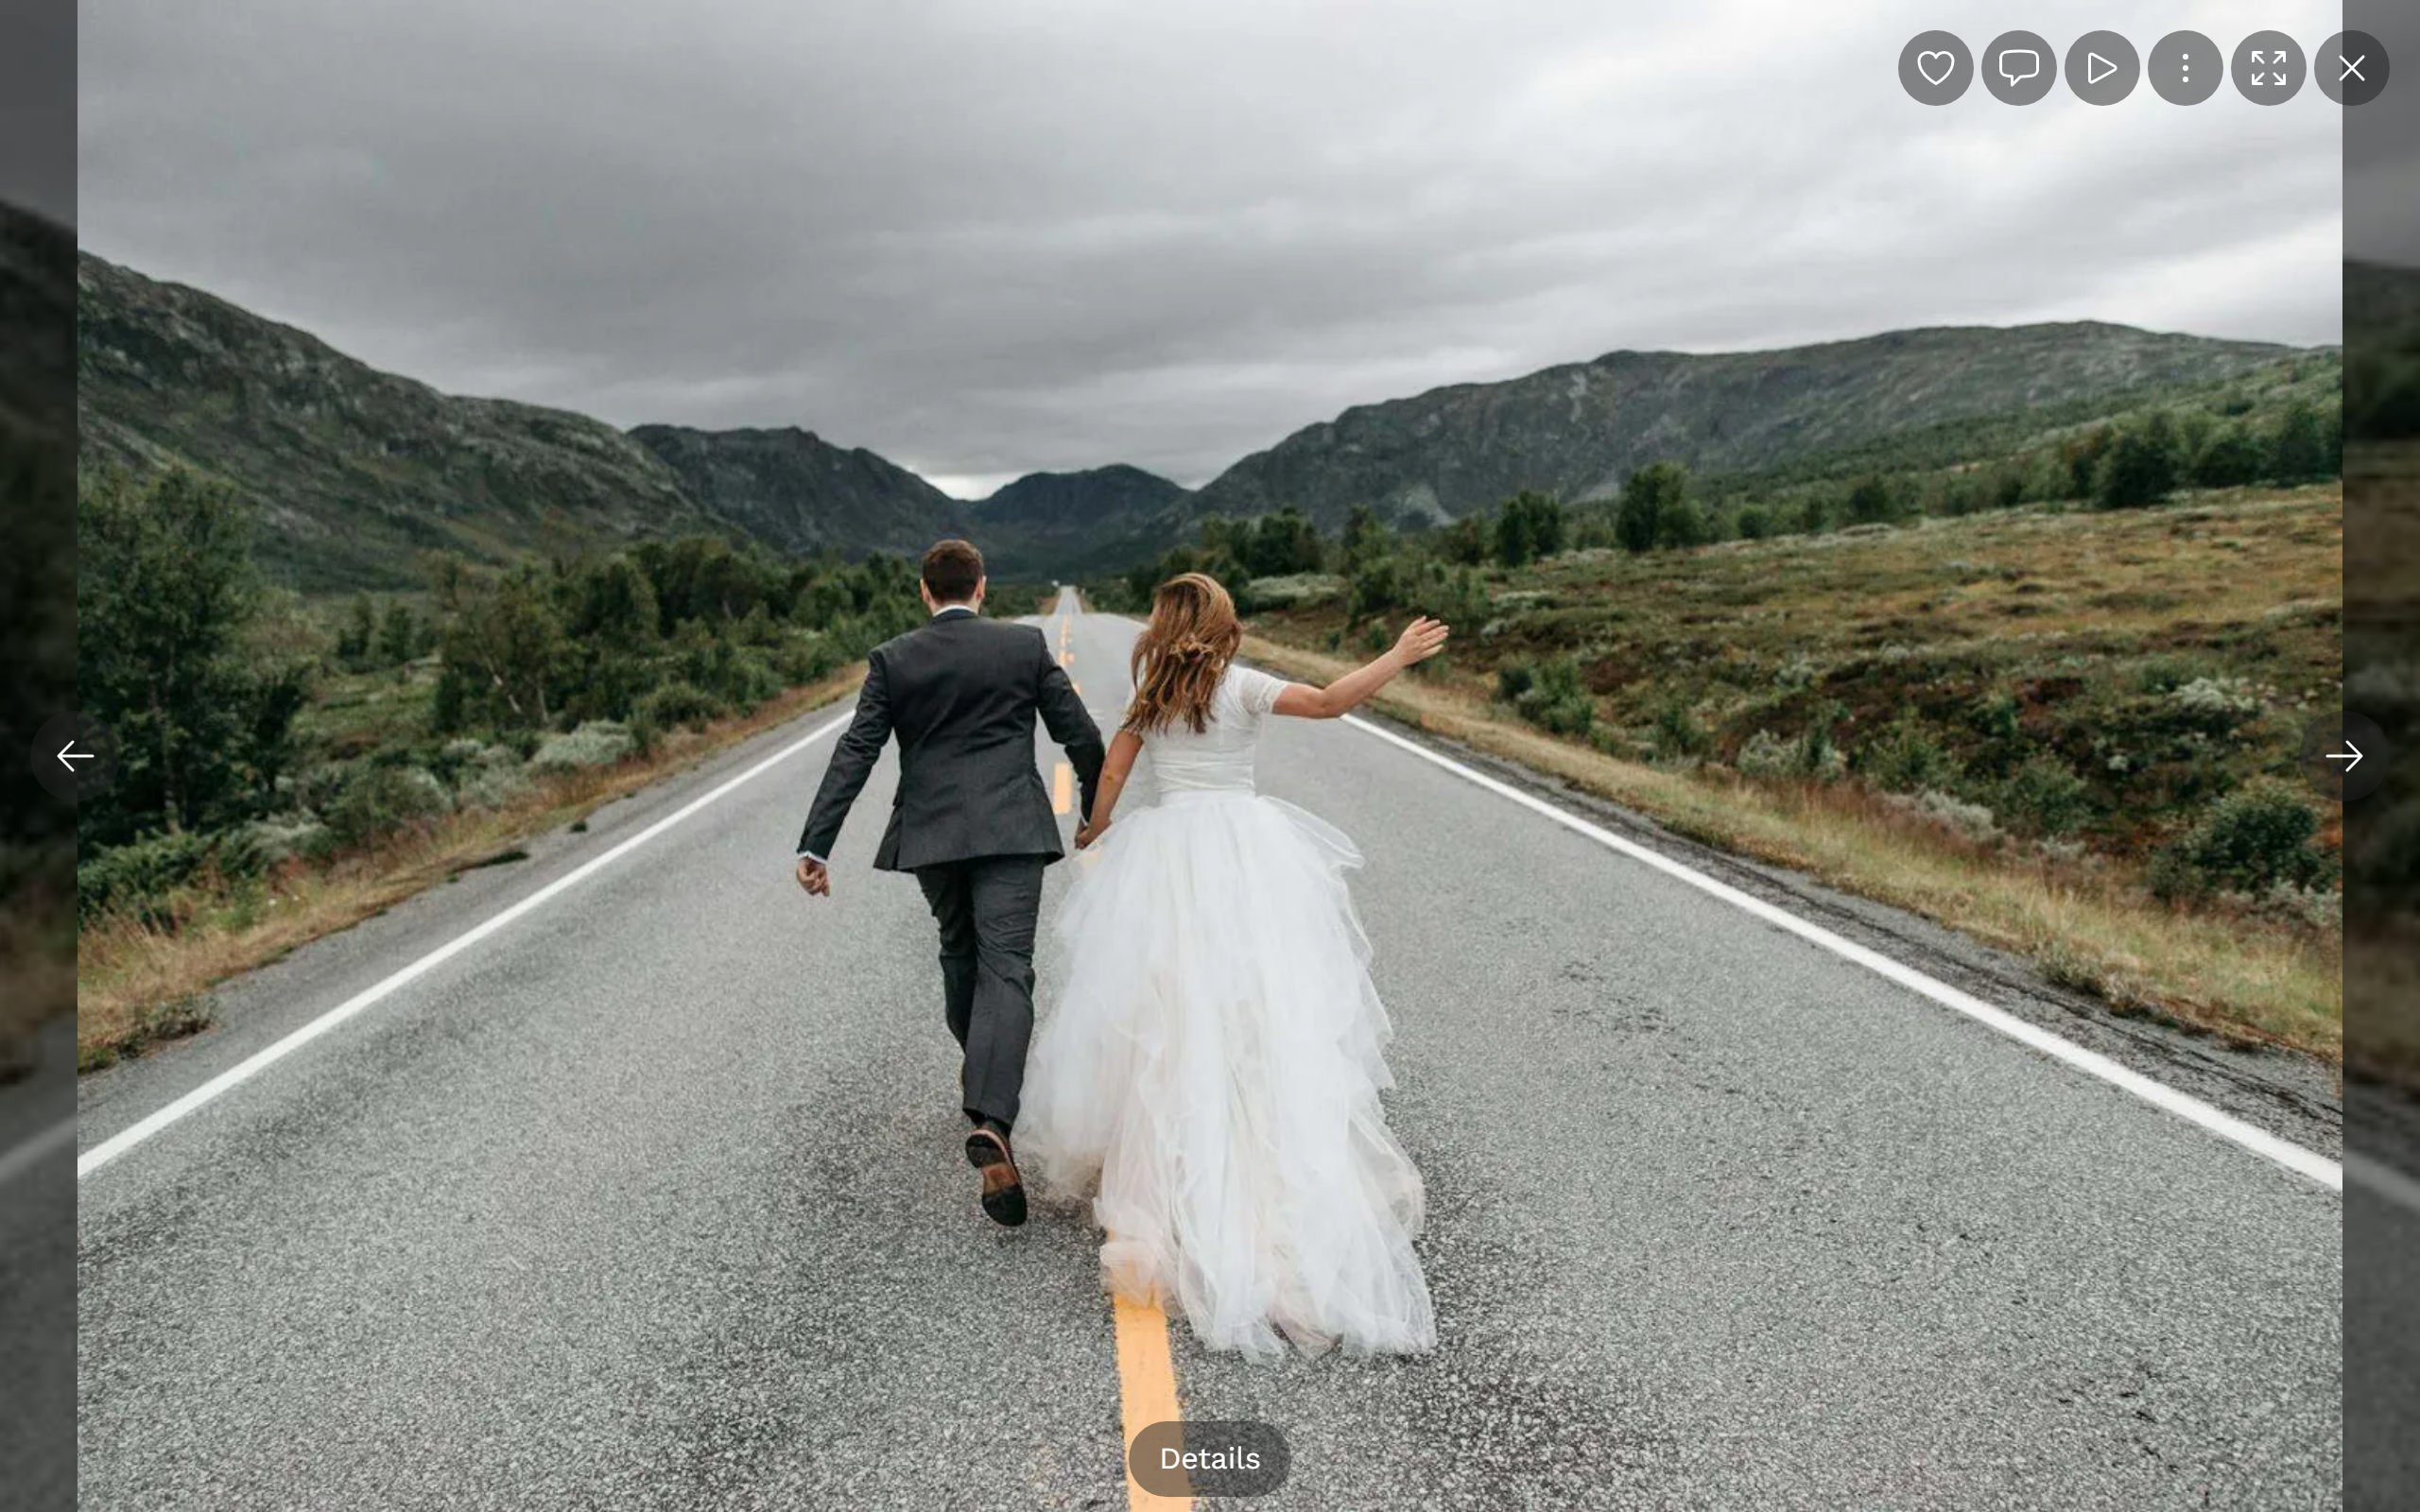
In full screen, the three-dot menu (⋮) leads to further actions such as download, share, report and the photo details. More on this: Slideshow.
Understanding the live photo wall
Section titled “Understanding the live photo wall”The live photo wall is meant as a large display for TVs or projectors – new photos appear there automatically. It is not an ordinary guest tab, but a separate view the host opens on the big screen.
More on this: Live photo wall.
The profile menu – your second hub
Section titled “The profile menu – your second hub”The avatar at the top right opens the profile menu. Almost all account and role features live here.
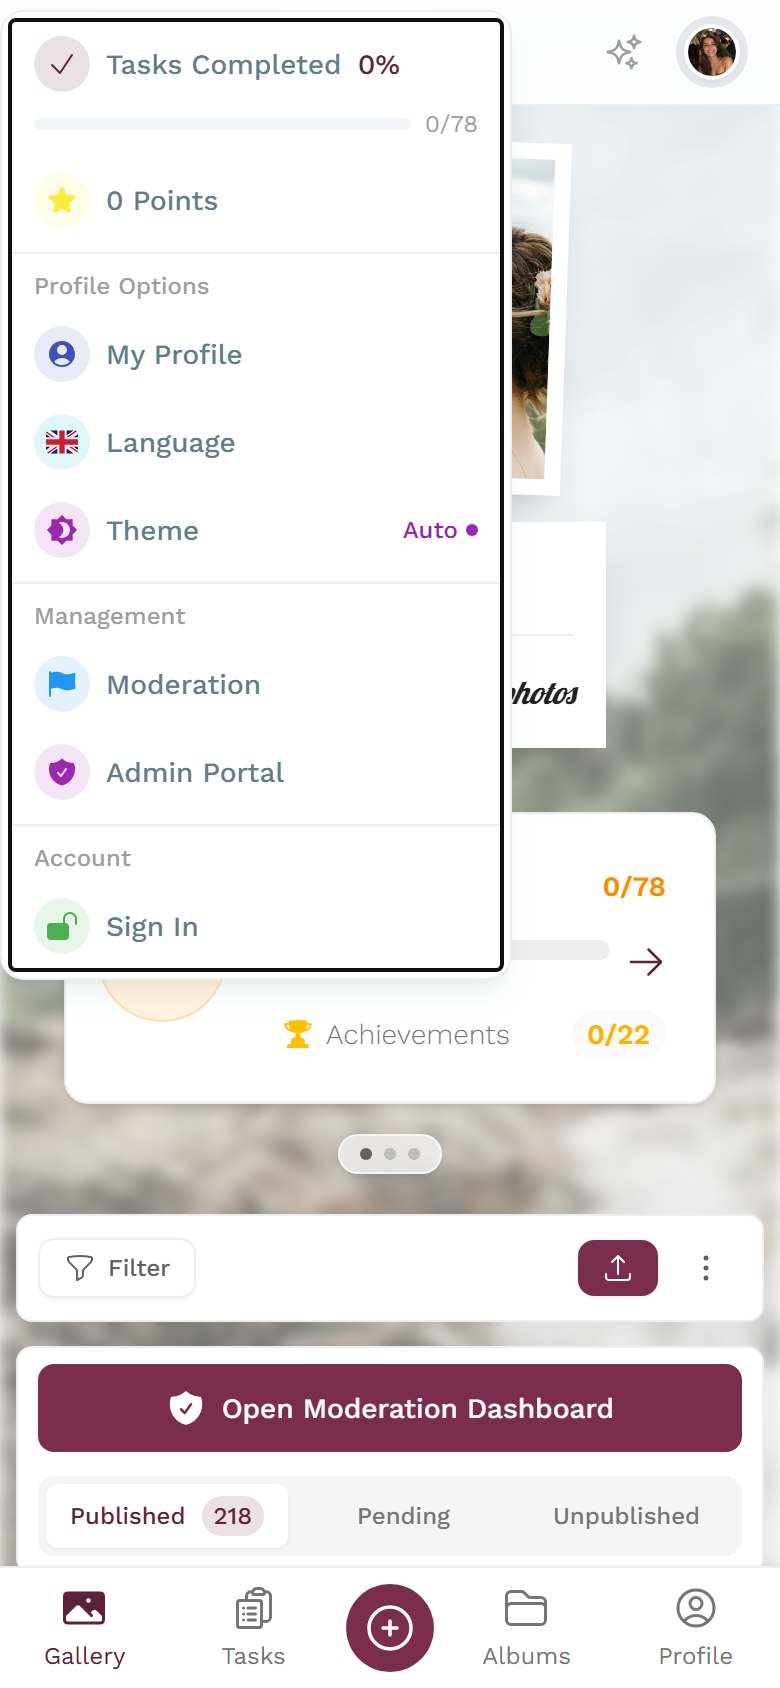
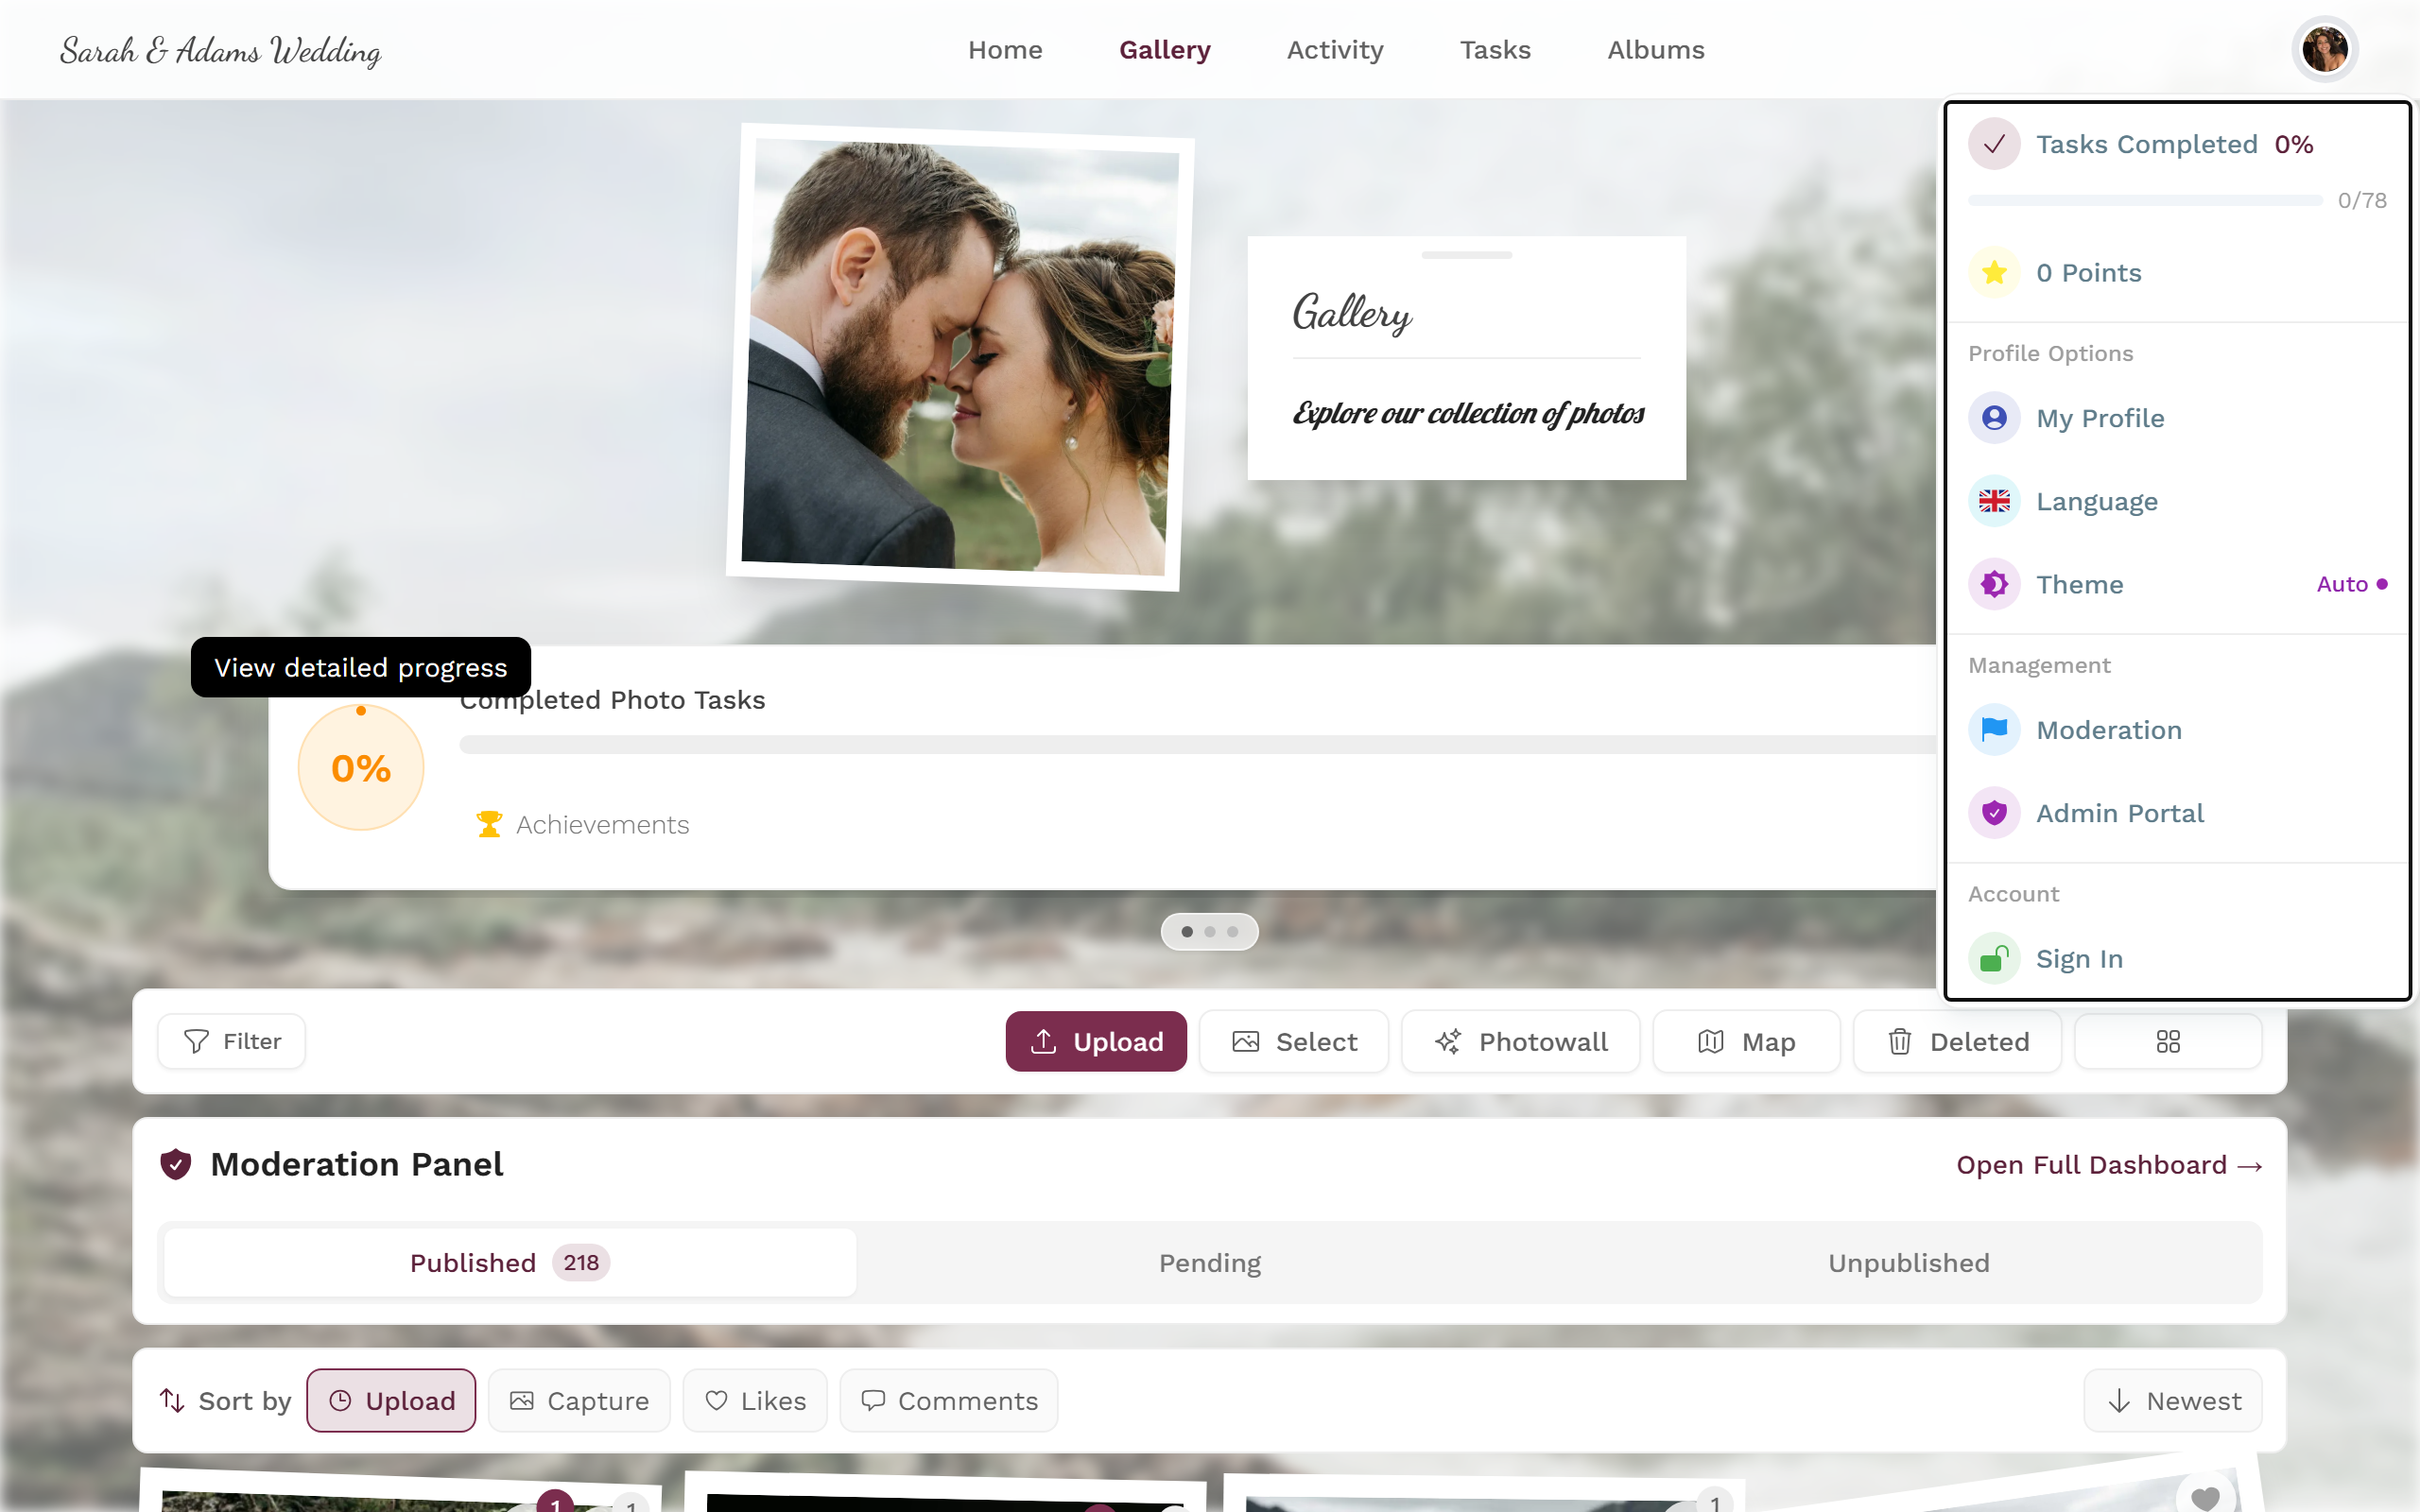
Depending on what is enabled and your role, you find here:
- Task progress – a ring around your avatar and a progress bar when tasks are active.
- Points – your current points total when points are enabled.
- Profile options: My Profile, Language and – if enabled – Theme/Dark Mode.
- Management (only with the matching role): Account Settings, Moderation (for moderators, possibly with a red badge = open reports) and Admin Portal for hosts.
- Account: Sign Out, or Sign In if you are here as a guest.
Notifications (the bell)
Section titled “Notifications (the bell)”The bell sits next to your avatar. A red counter shows unread notifications; a click opens the list.
Roles in brief
Section titled “Roles in brief”Because the visibility of many features depends on your role, here is a short legend:
- Viewer – view only, no uploading or commenting.
- Contributor – upload, like and comment. Most guests are contributors.
- Moderator / Admin / Owner – additionally access to moderation or the admin area.
What exactly you are allowed to do is set by the host. More on this: Roles & permissions.
Are you organizing the event?
Section titled “Are you organizing the event?”Then the admin area is your starting point – from setup and approving photos to backing up all photos. You reach it via the avatar at the top right → Admin Portal.