Roles & permissions
You don’t have to run your event alone. With roles you give other people exactly the permissions they need – no more and no less. That way you share the work and still keep control.
The key principle in PhotoGala: roles live on the invitation code. Whoever joins with a particular code automatically gets the role you assigned to that code. So there is no separate “make this user an admin” list – you control everything through the codes in invitation management.
The five roles at a glance
Section titled “The five roles at a glance”PhotoGala has five assignable roles. From limited to broad, these are:
| Role | Symbol | What the role can do |
|---|---|---|
| Viewer 👀 | Eye, grey | View the gallery and like photos. No uploads. Ideal for anyone who just wants to watch along. |
| Contributor 📸 | Camera, green | Upload photos, complete tasks, join challenges. The default role for guests. |
| Moderator 🛠️ | Wrench, blue | Approve and reject content (moderation) and manage basic event settings. |
| Admin ⚙️ | Cog, purple | Full configuration and user management. But may only invite Moderator and lower. |
| Owner | – | Full control. Can delete the event and assign any role – including Admin and Owner. That’s usually you. |
The exact descriptions shown in the role dropdown are:
- Viewer – “Can view photos and like them”
- Contributor – “Can upload photos, complete tasks, and participate in challenges”
- Moderator – “Approve/reject content and manage basic event settings”
- Admin – “Full configuration access and user management capabilities”
- Owner – “Full access and ultimate control over the event”
Important: who may assign which role?
Section titled “Important: who may assign which role?”Not everyone can hand out every role. PhotoGala enforces a clear hierarchy:
- Owner may assign any role – including Admin and Owner.
- Admin (the event admin, not the global PhotoGala admin) may assign Moderator and lower only. An admin cannot create Admin or Owner codes and cannot edit existing Admin/Owner codes.
This rule shows up in several places in the interface. When you create an invite code as an admin, you’ll see a yellow notice at the top of the dialog:
“Event admins can create Moderator and lower invites. Only owners can create Admin or Owner invites.”
If you try, as an admin, to edit someone else’s Admin or Owner code, a red notice appears:
“Only owners can edit existing Admin or Owner invites.”
In the role dropdown, roles you cannot assign appear as a disabled option with the suffix “(Owner only)”. And in the list of custom codes, an admin only ever sees the codes they’re allowed to manage – Admin and Owner codes stay hidden.
Getting to advanced invitation management
Section titled “Getting to advanced invitation management”You assign roles in advanced invitation management (advanced mode). Here’s how to reach it:
-
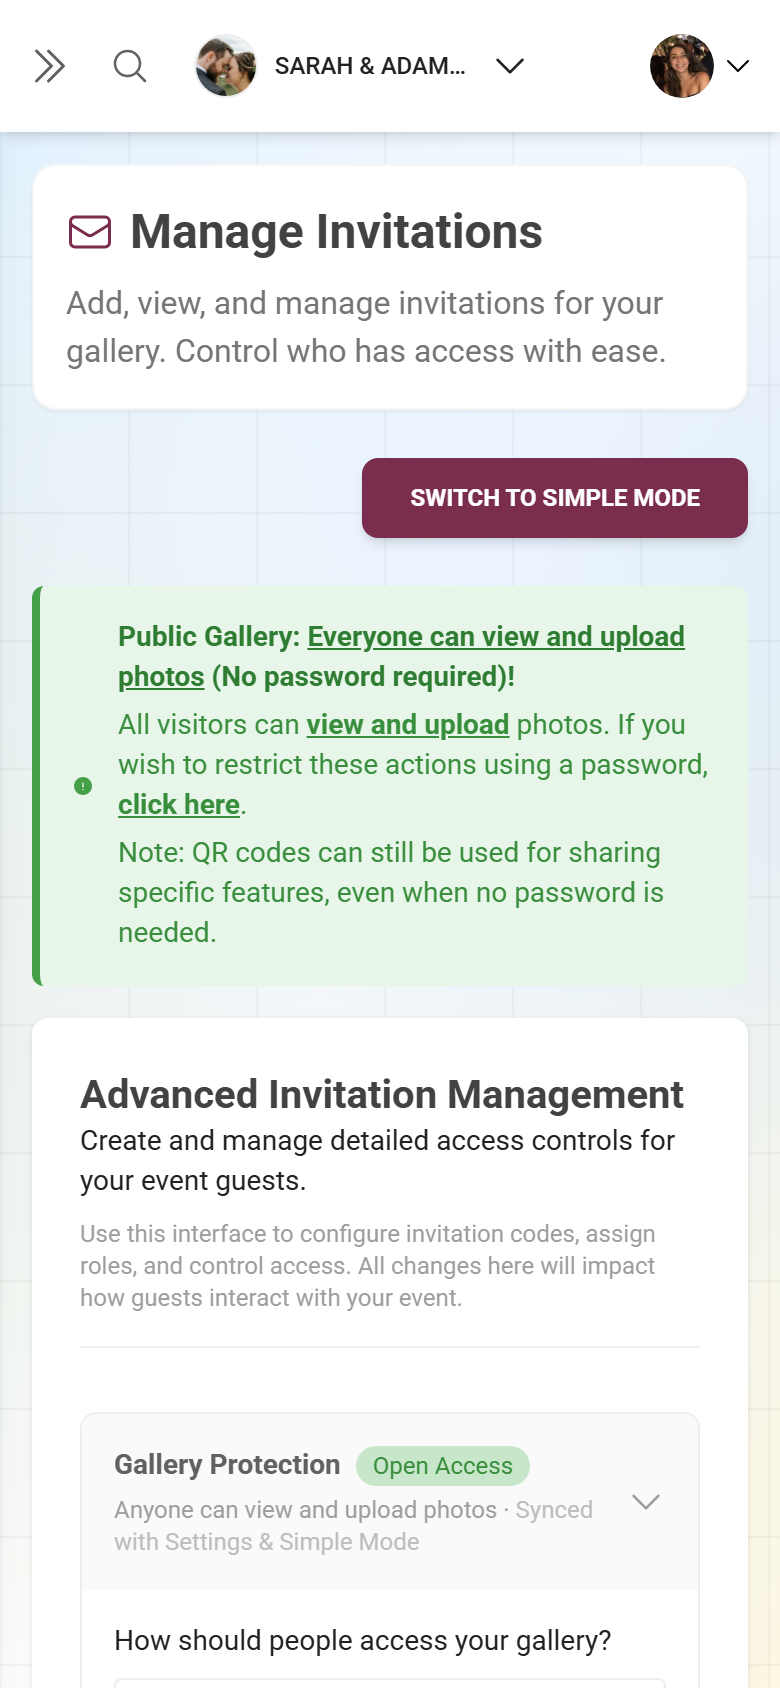
Open your event’s admin area and pick Manage Invitations in the sidebar (route
/admin/manage-invitations). You land in the simple default view first.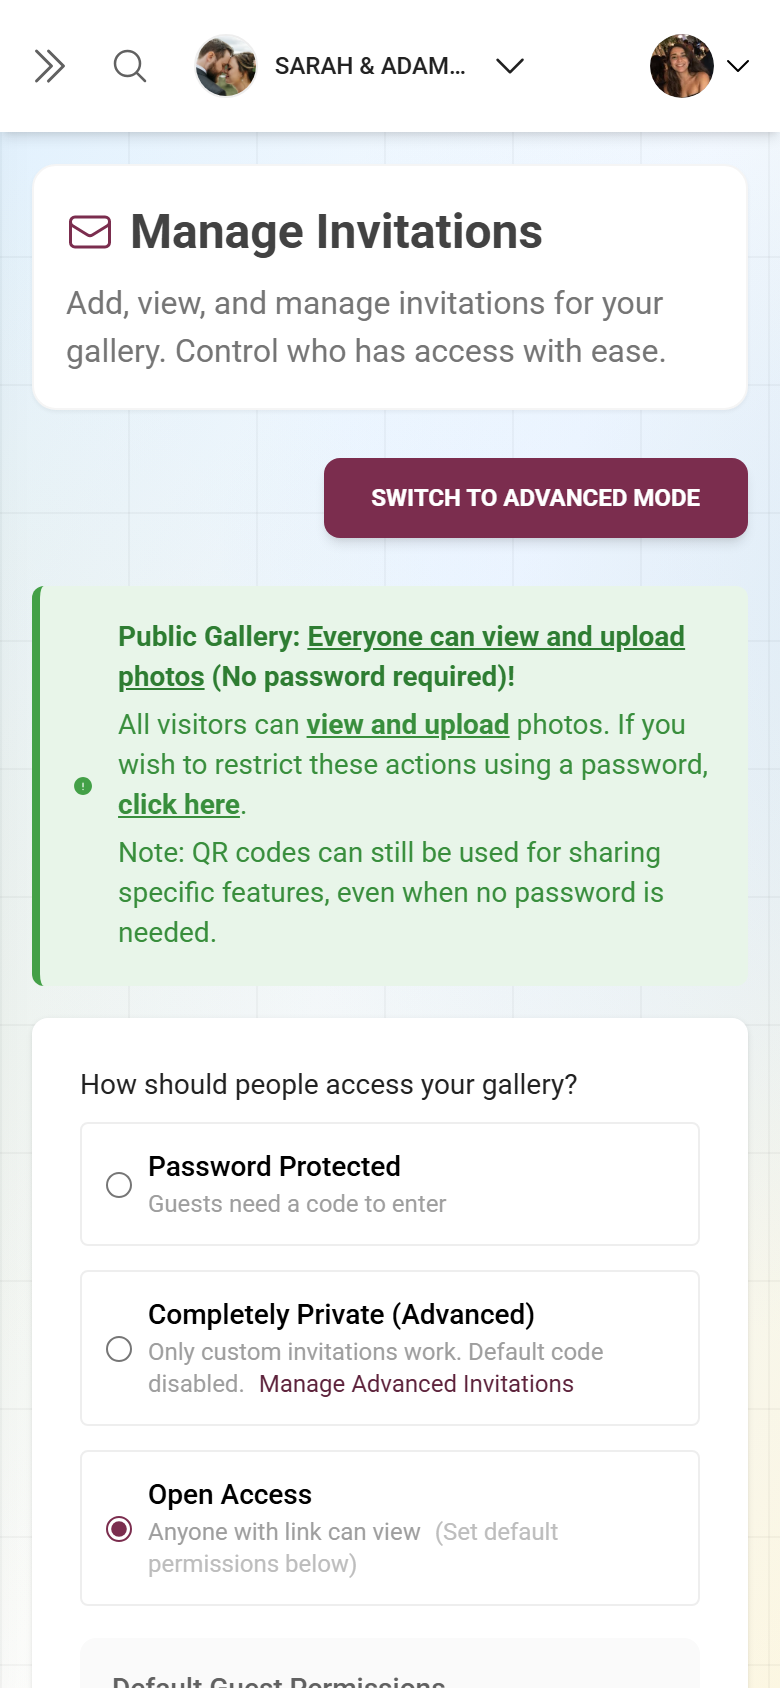
The simple view of invitation management. Switch to advanced mode in the top right. -
Click “Switch to Advanced Mode” in the top right. The view switches to advanced mode and the URL gains
?mode=advanced. You can return any time via “Switch to Simple Mode”. -
In the advanced view, create your own codes each with its own role (see below).
Special case: Completely Private
Section titled “Special case: Completely Private”If your event has “Completely Private” mode active, advanced mode is forced – the toggle disappears and a purple banner appears instead:
Completely Private Mode Active – “Only custom invitations you create here will grant access. The default invitation code is disabled.”
In other words: the default access code is disabled, and only the custom codes you create here grant any access at all. You change this setting under Settings → Privacy (/admin/settings?tab=privacy), see Privacy & moderation.
Reading the banners at the top
Section titled “Reading the banners at the top”Depending on the access mode, invitation management shows a coloured banner at the top:
- Green – “Public Gallery: Everyone can view and upload photos (No password required)!” Your gallery is open, no code is needed, and the default role is Contributor.
- Blue – “Password-Protected Gallery: A code is required to view or upload.” Your gallery is password protected; only people who know the code can get in.
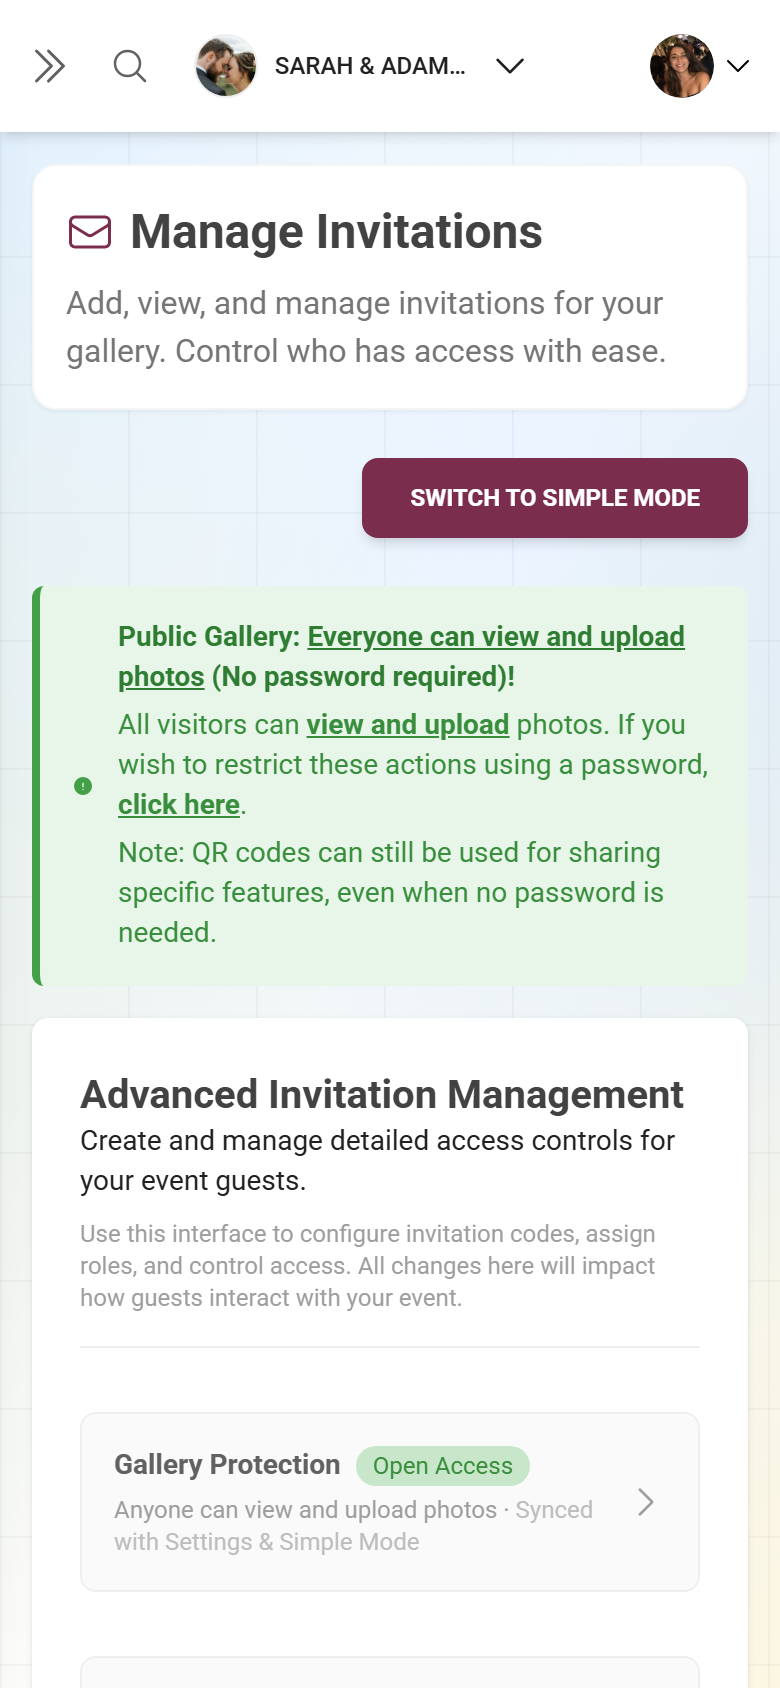
Advanced invitation management in detail
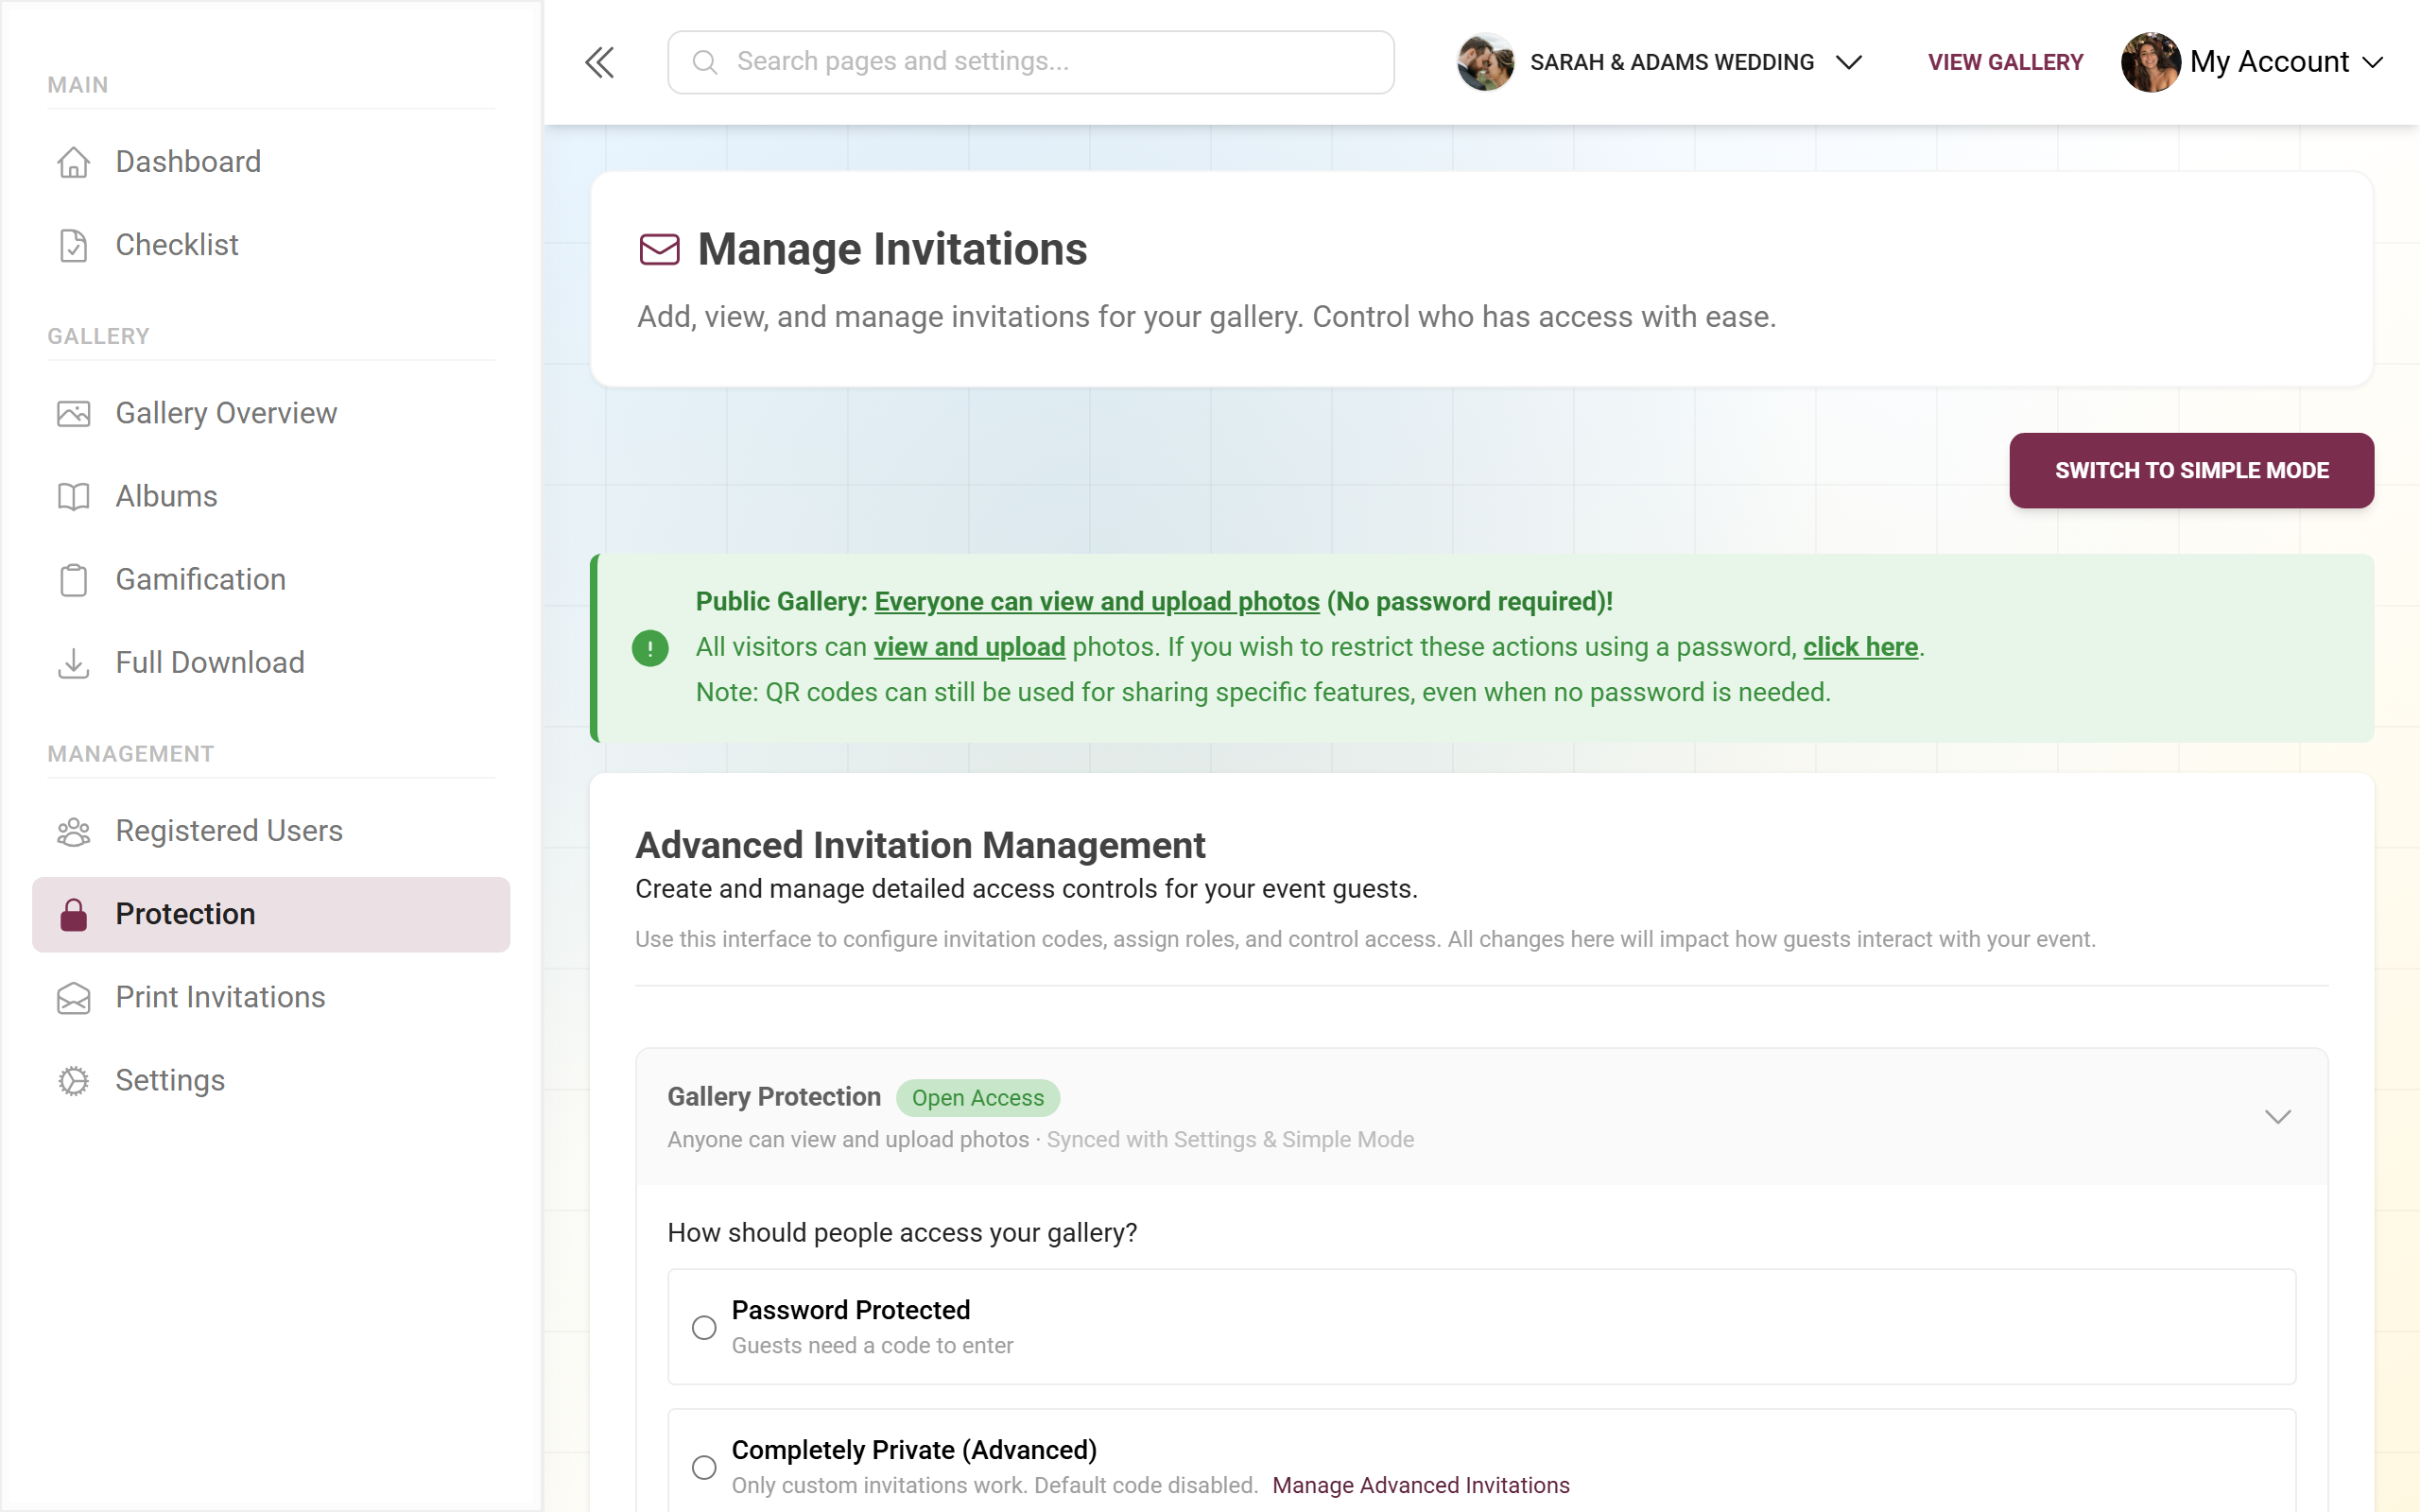
Section titled “Advanced invitation management in detail”In advanced mode you see the heading “Advanced Invitation Management” with the subtitle “Create and manage detailed access controls for your event uploaders.” The view has three areas.
The “Gallery Protection” area
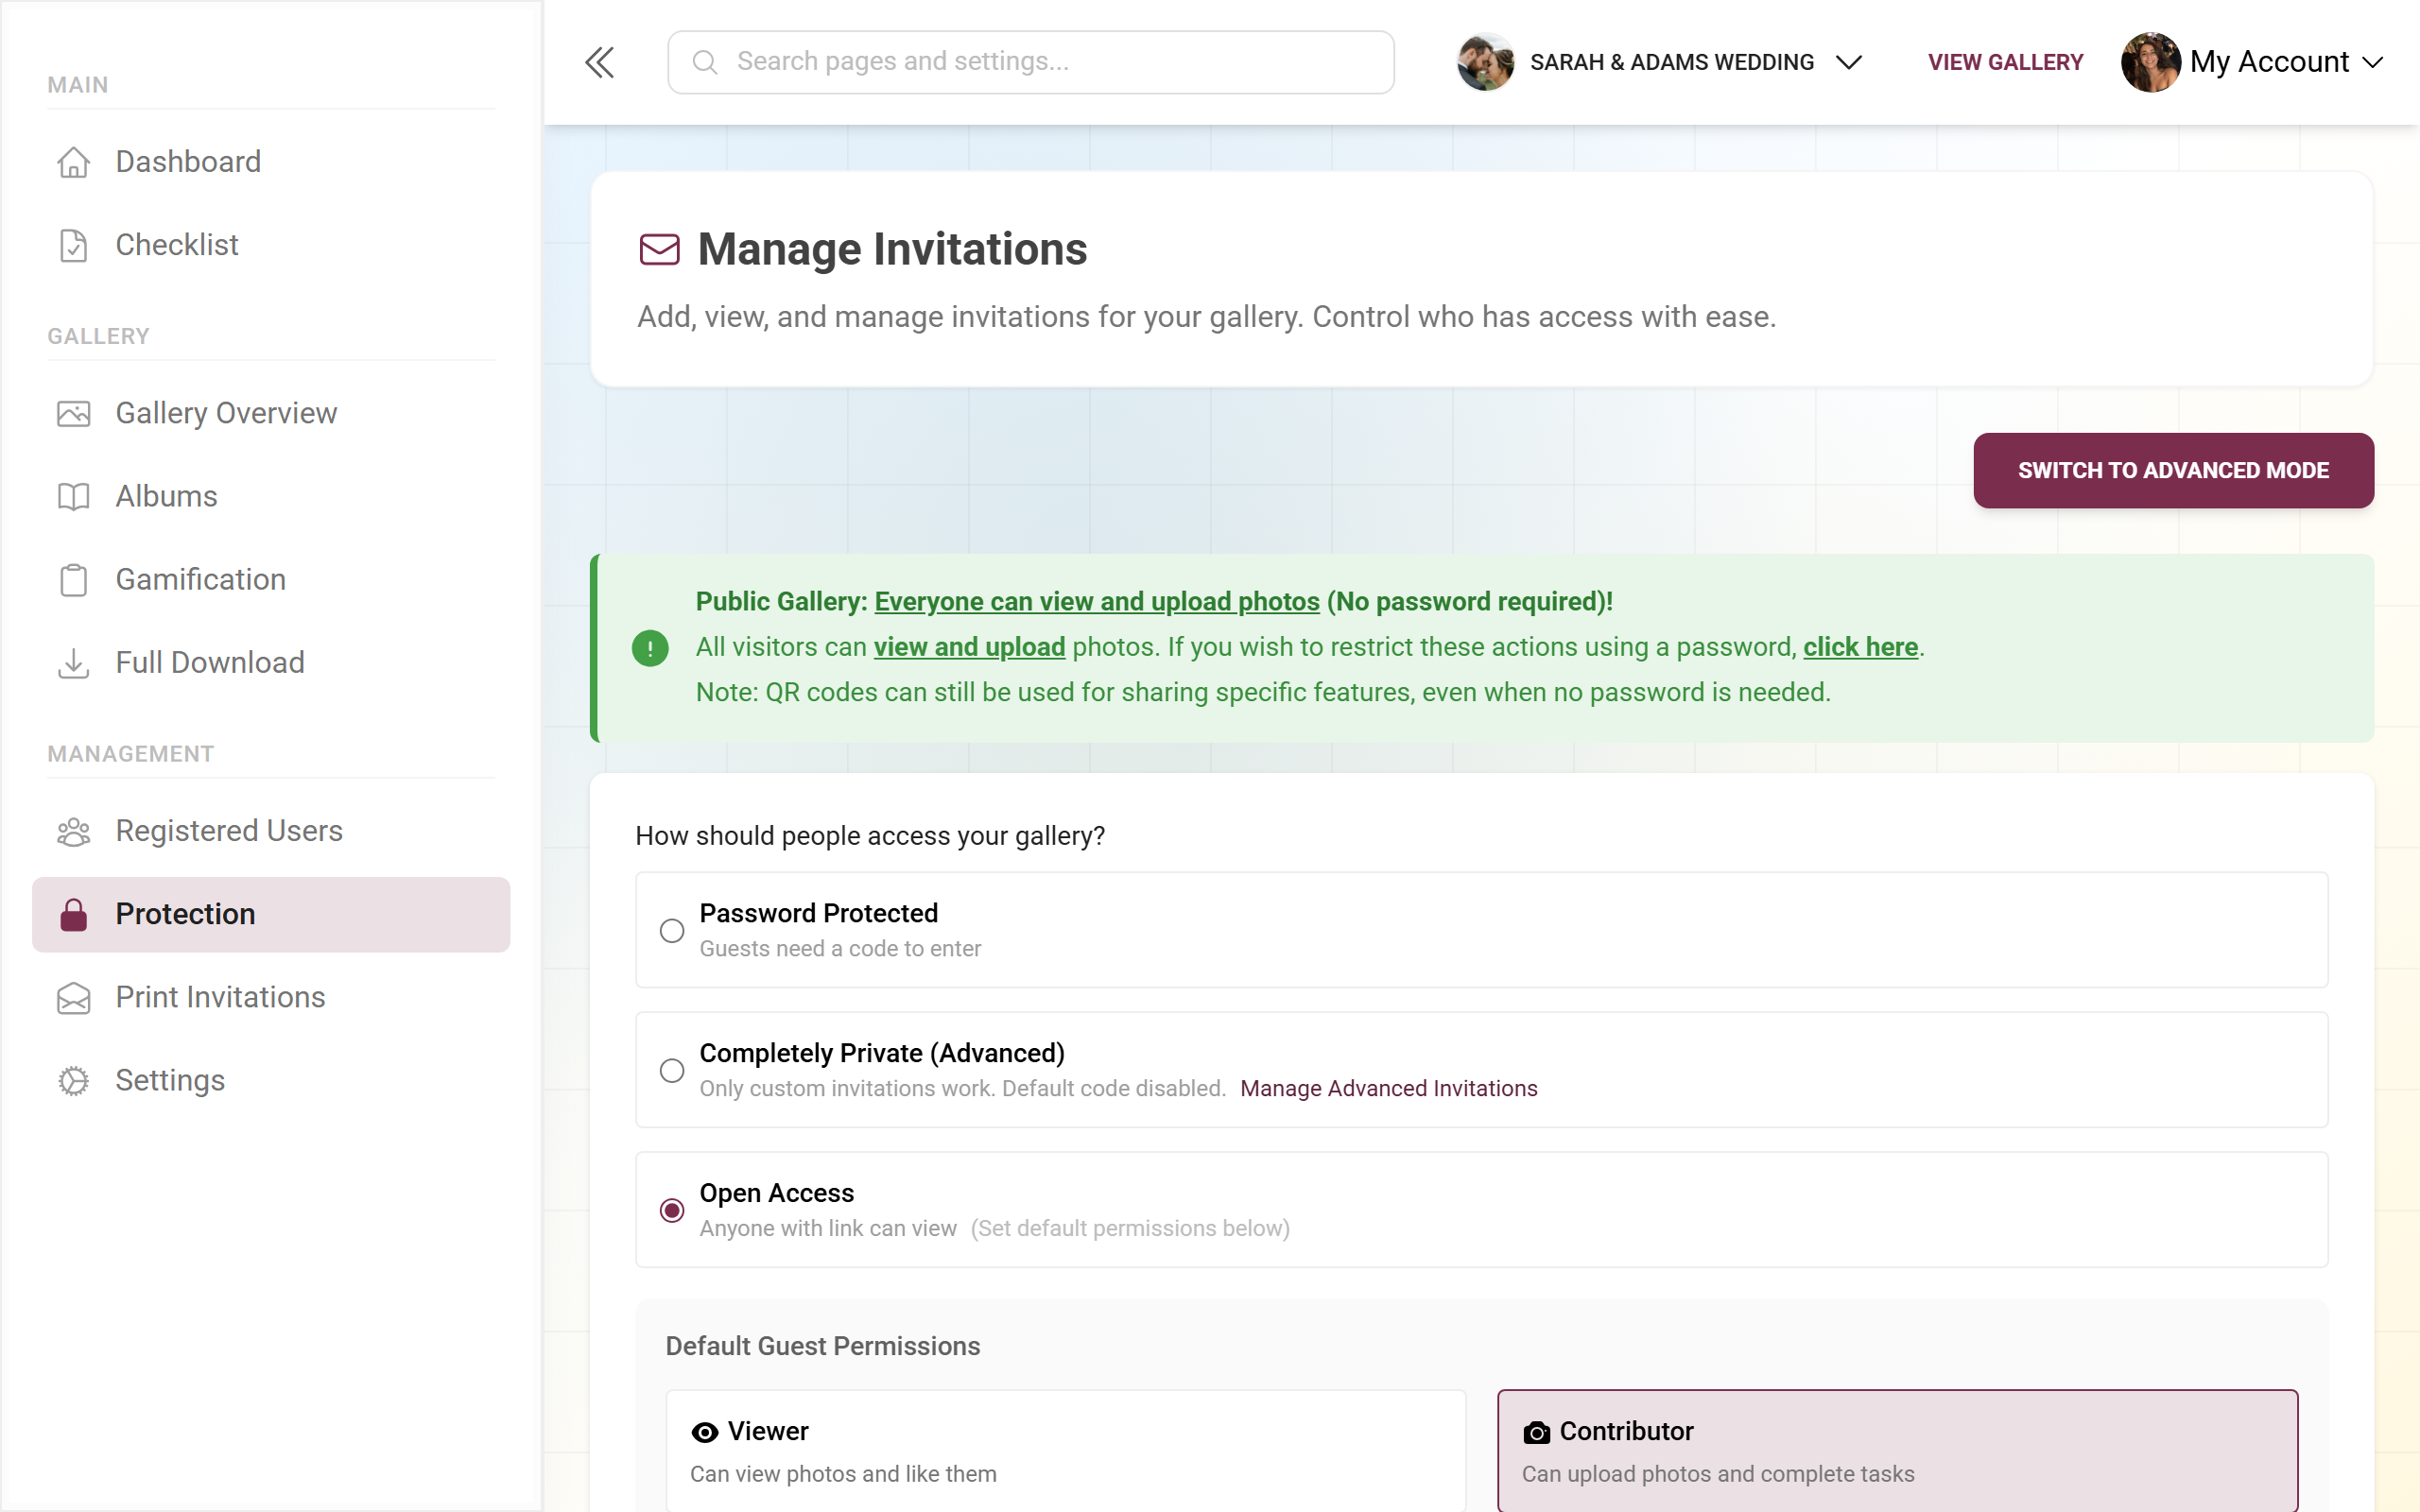
Section titled “The “Gallery Protection” area”This collapsible area shows the current access mode as a badge – Completely Private, Password Protected or Open Access. Here you also set the default role for the default access code: two cards to choose from –
- Viewer – joiners may only view and like.
- Contributor – joiners may additionally upload and take part.
The note “Synced with Settings & Simple Mode” means: this default role is the same setting as under Settings → Privacy and in the simple view. Save changes with “Save Protection Settings”.
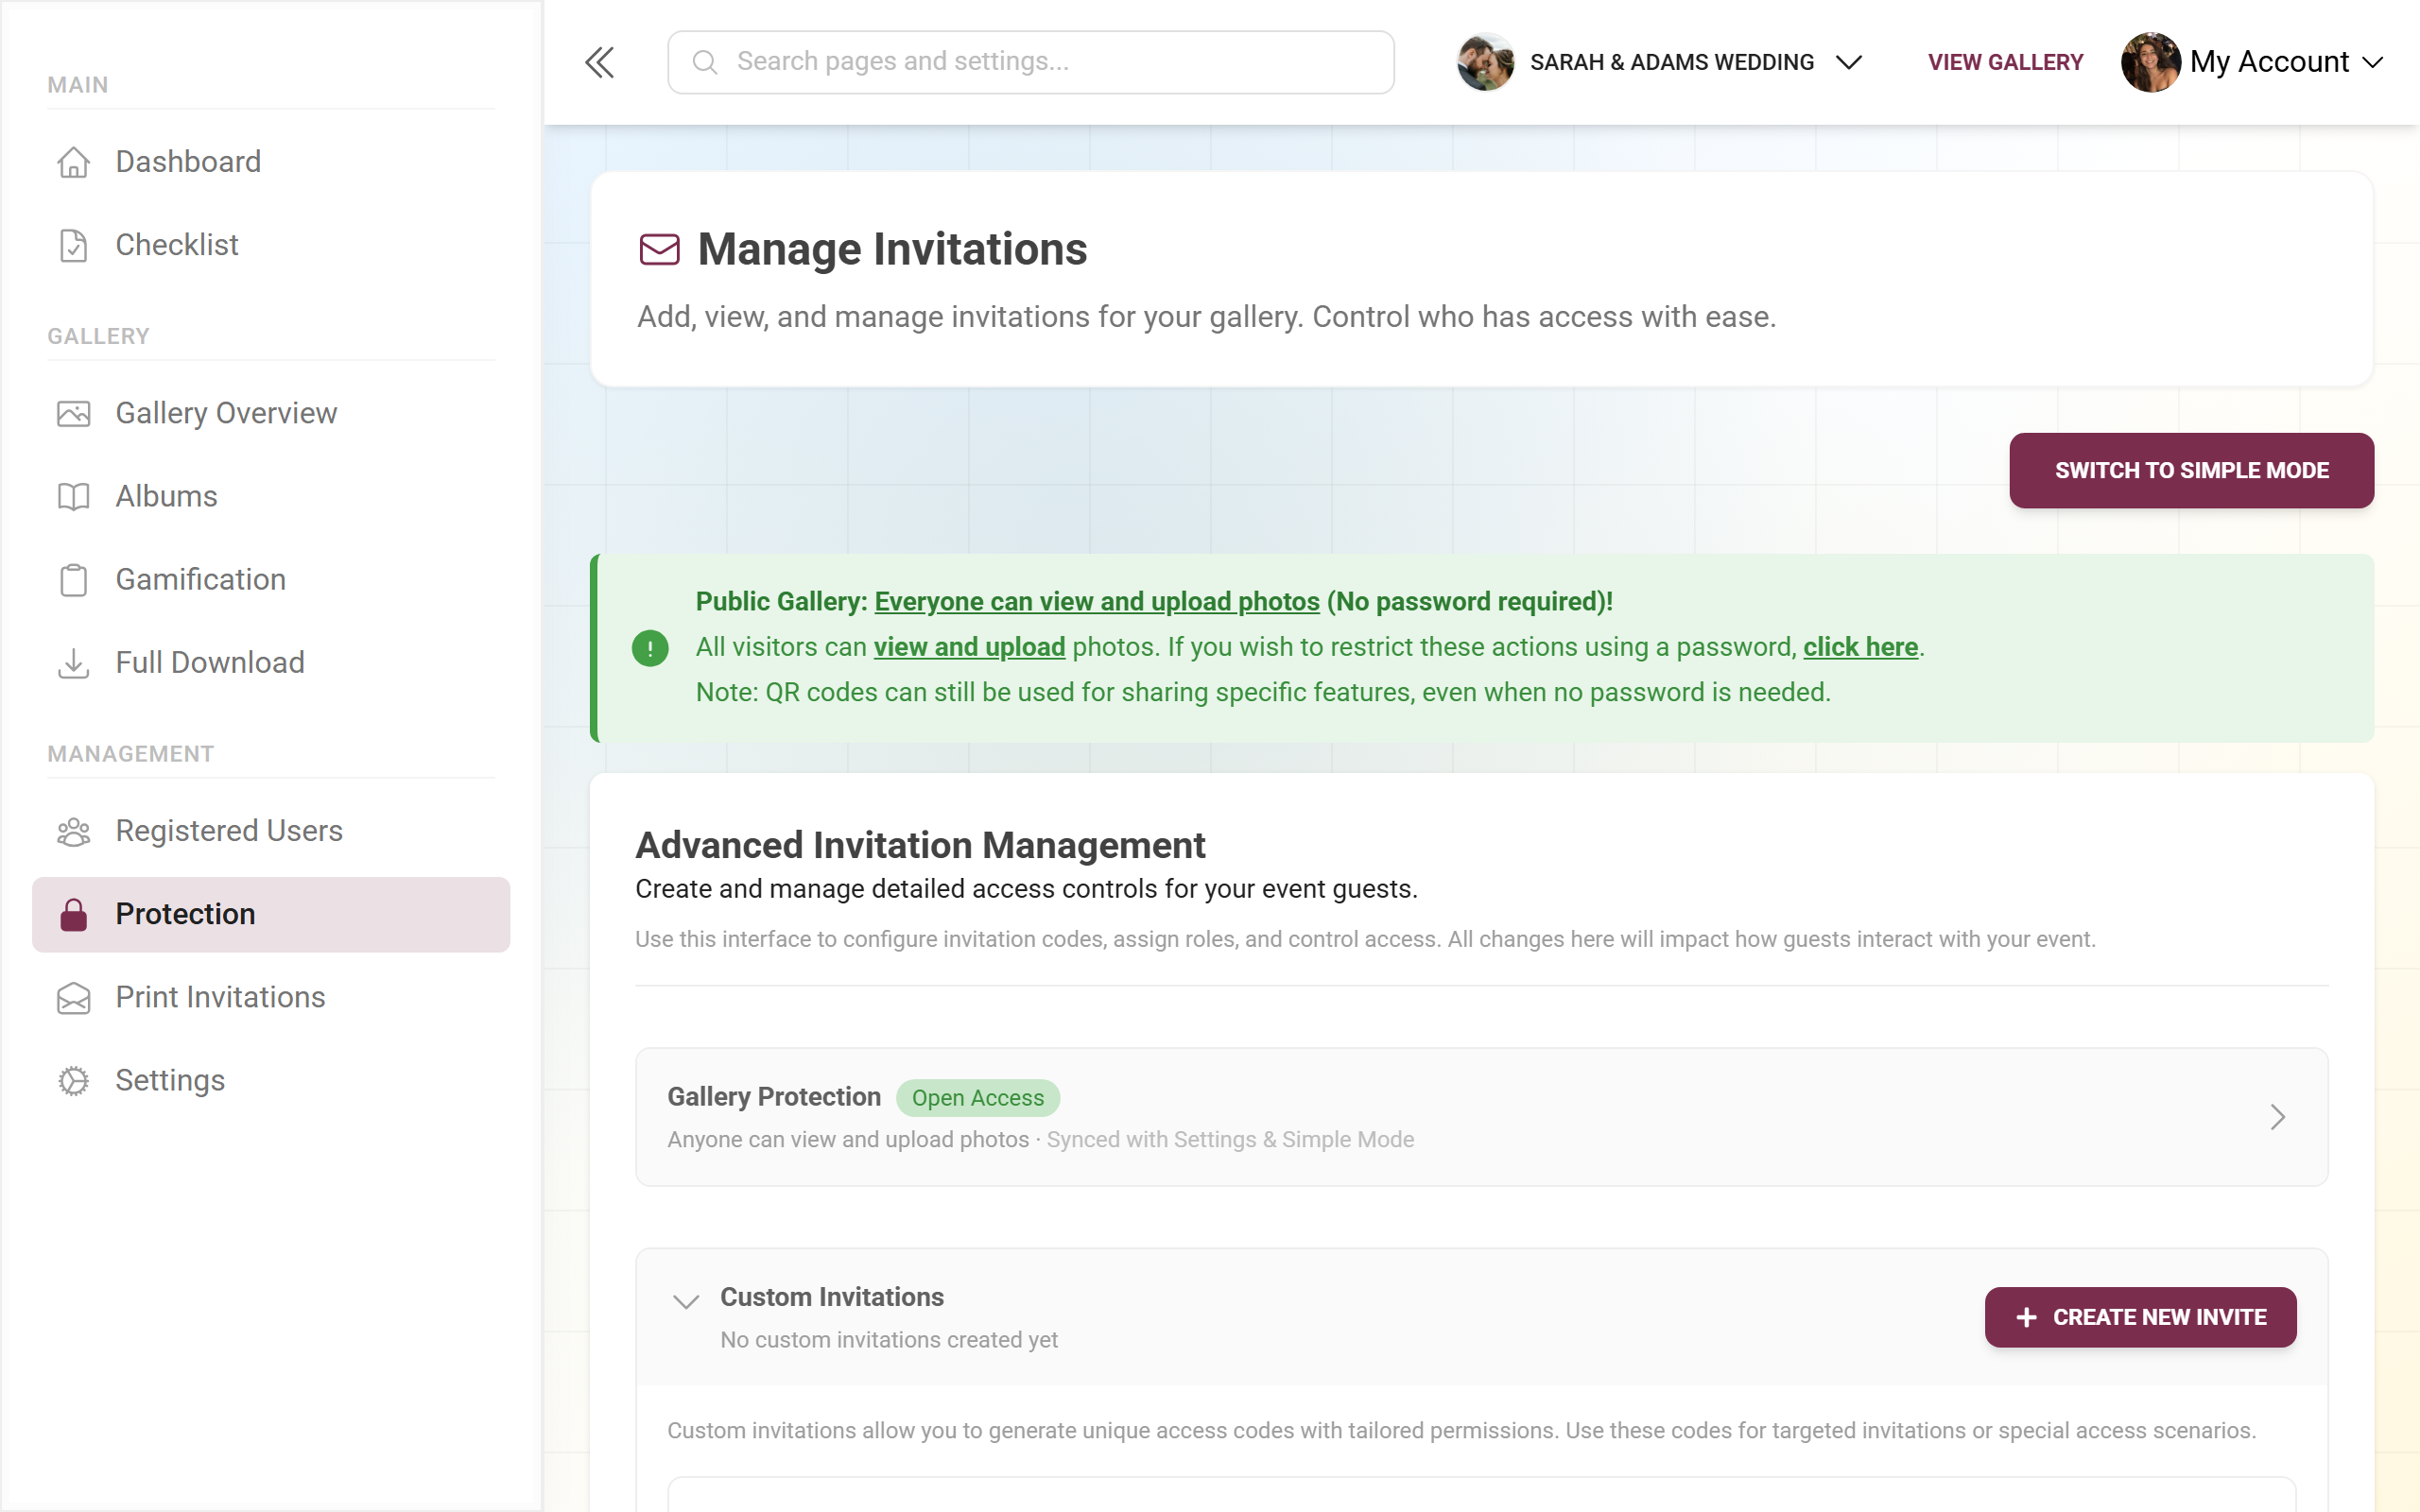
The “Custom Invitations” area
Section titled “The “Custom Invitations” area”The heart of it. Here you create as many access codes as you like, each with its own role. The “Create New Invite” button (the very first time it reads “Create Your First Invite”) opens the create dialog. Existing codes appear in a table with these columns:
- Code & Status – the code itself plus an Active or Inactive chip.
- Description – your internal description.
- Role – the role with a coloured symbol (eye, camera, wrench, cog).
- Usage – a bar
used / maxUsage, or “∞” for unlimited. When the limit is reached, a red “Limit reached” appears. - Actions – the action menu (see below).
Above the table you’ll find:
- A “Search invites…” field.
- A “Filters” menu: filter by role (All Roles / Viewer / Contributor), by status (All / Active / Inactive), and sort (Date Created / Usage Count / Role).
The action menu (⋮ at the end of a row, or right-click / long-press) per code offers:
- Edit Invite – edit the code.
- Deactivate / Activate – disable or re-enable the code.
- Use within Template – use the code in a template / QR card (see Design Studio).
- Share Invite – share the invitation.
- Delete Invite – delete the code (with a “Confirm Delete” prompt).
Select several codes via the checkboxes and bulk actions appear: Activate, Deactivate or Delete Selected.
Pro-tip box at the bottom
Section titled “Pro-tip box at the bottom”At the foot of the advanced view sits a note: “Pro Tip: As a moderator/admin, you can unpublish images to maintain content quality. Use this feature responsibly!” – a reminder that moderators and admins can pull images from the gallery.
The “Create New Invite” / “Edit Invite” dialog – field by field
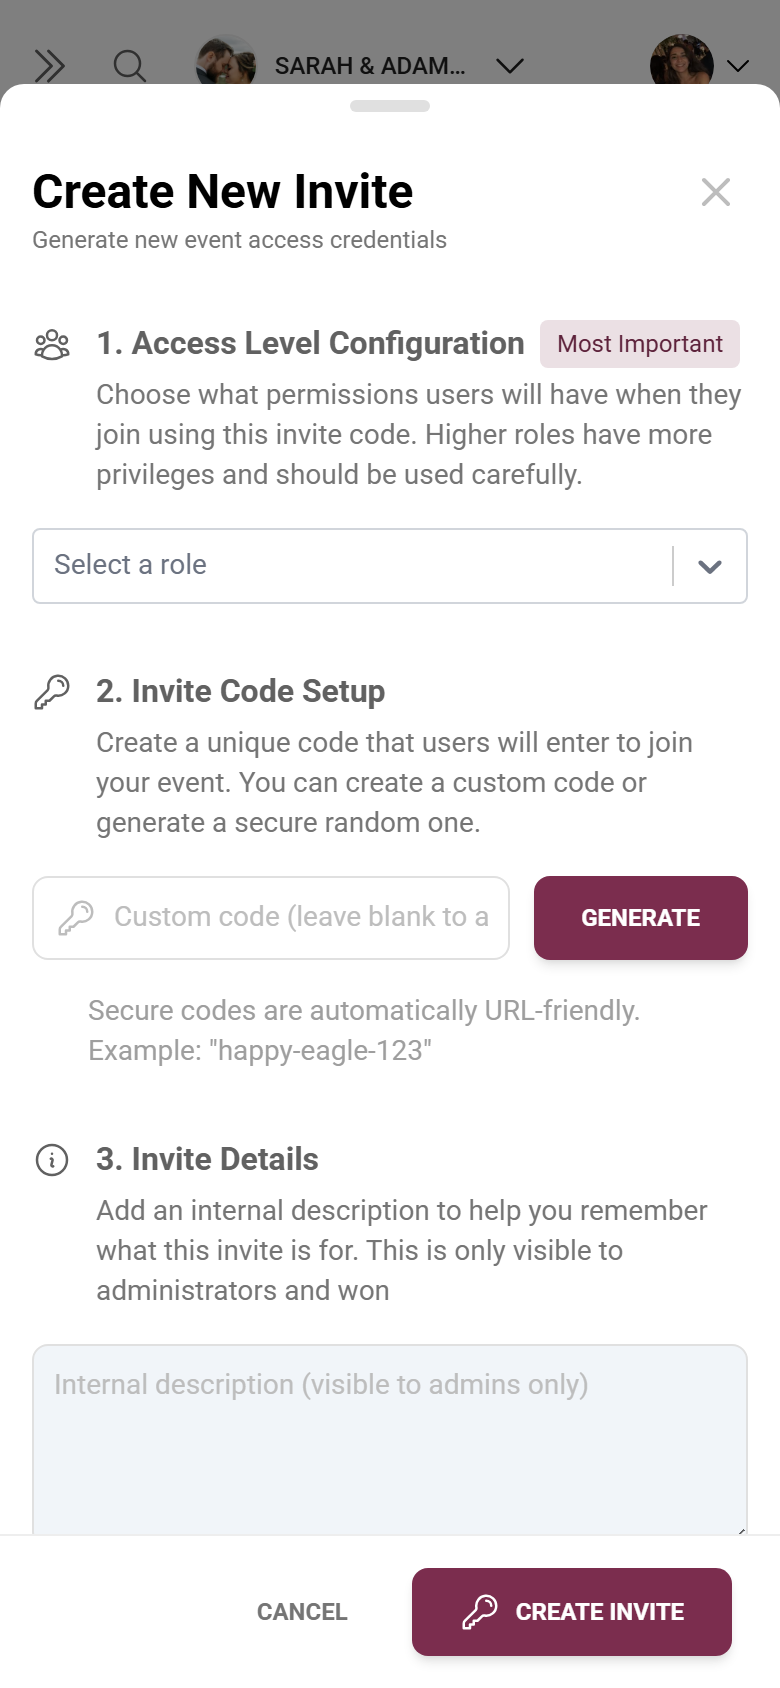
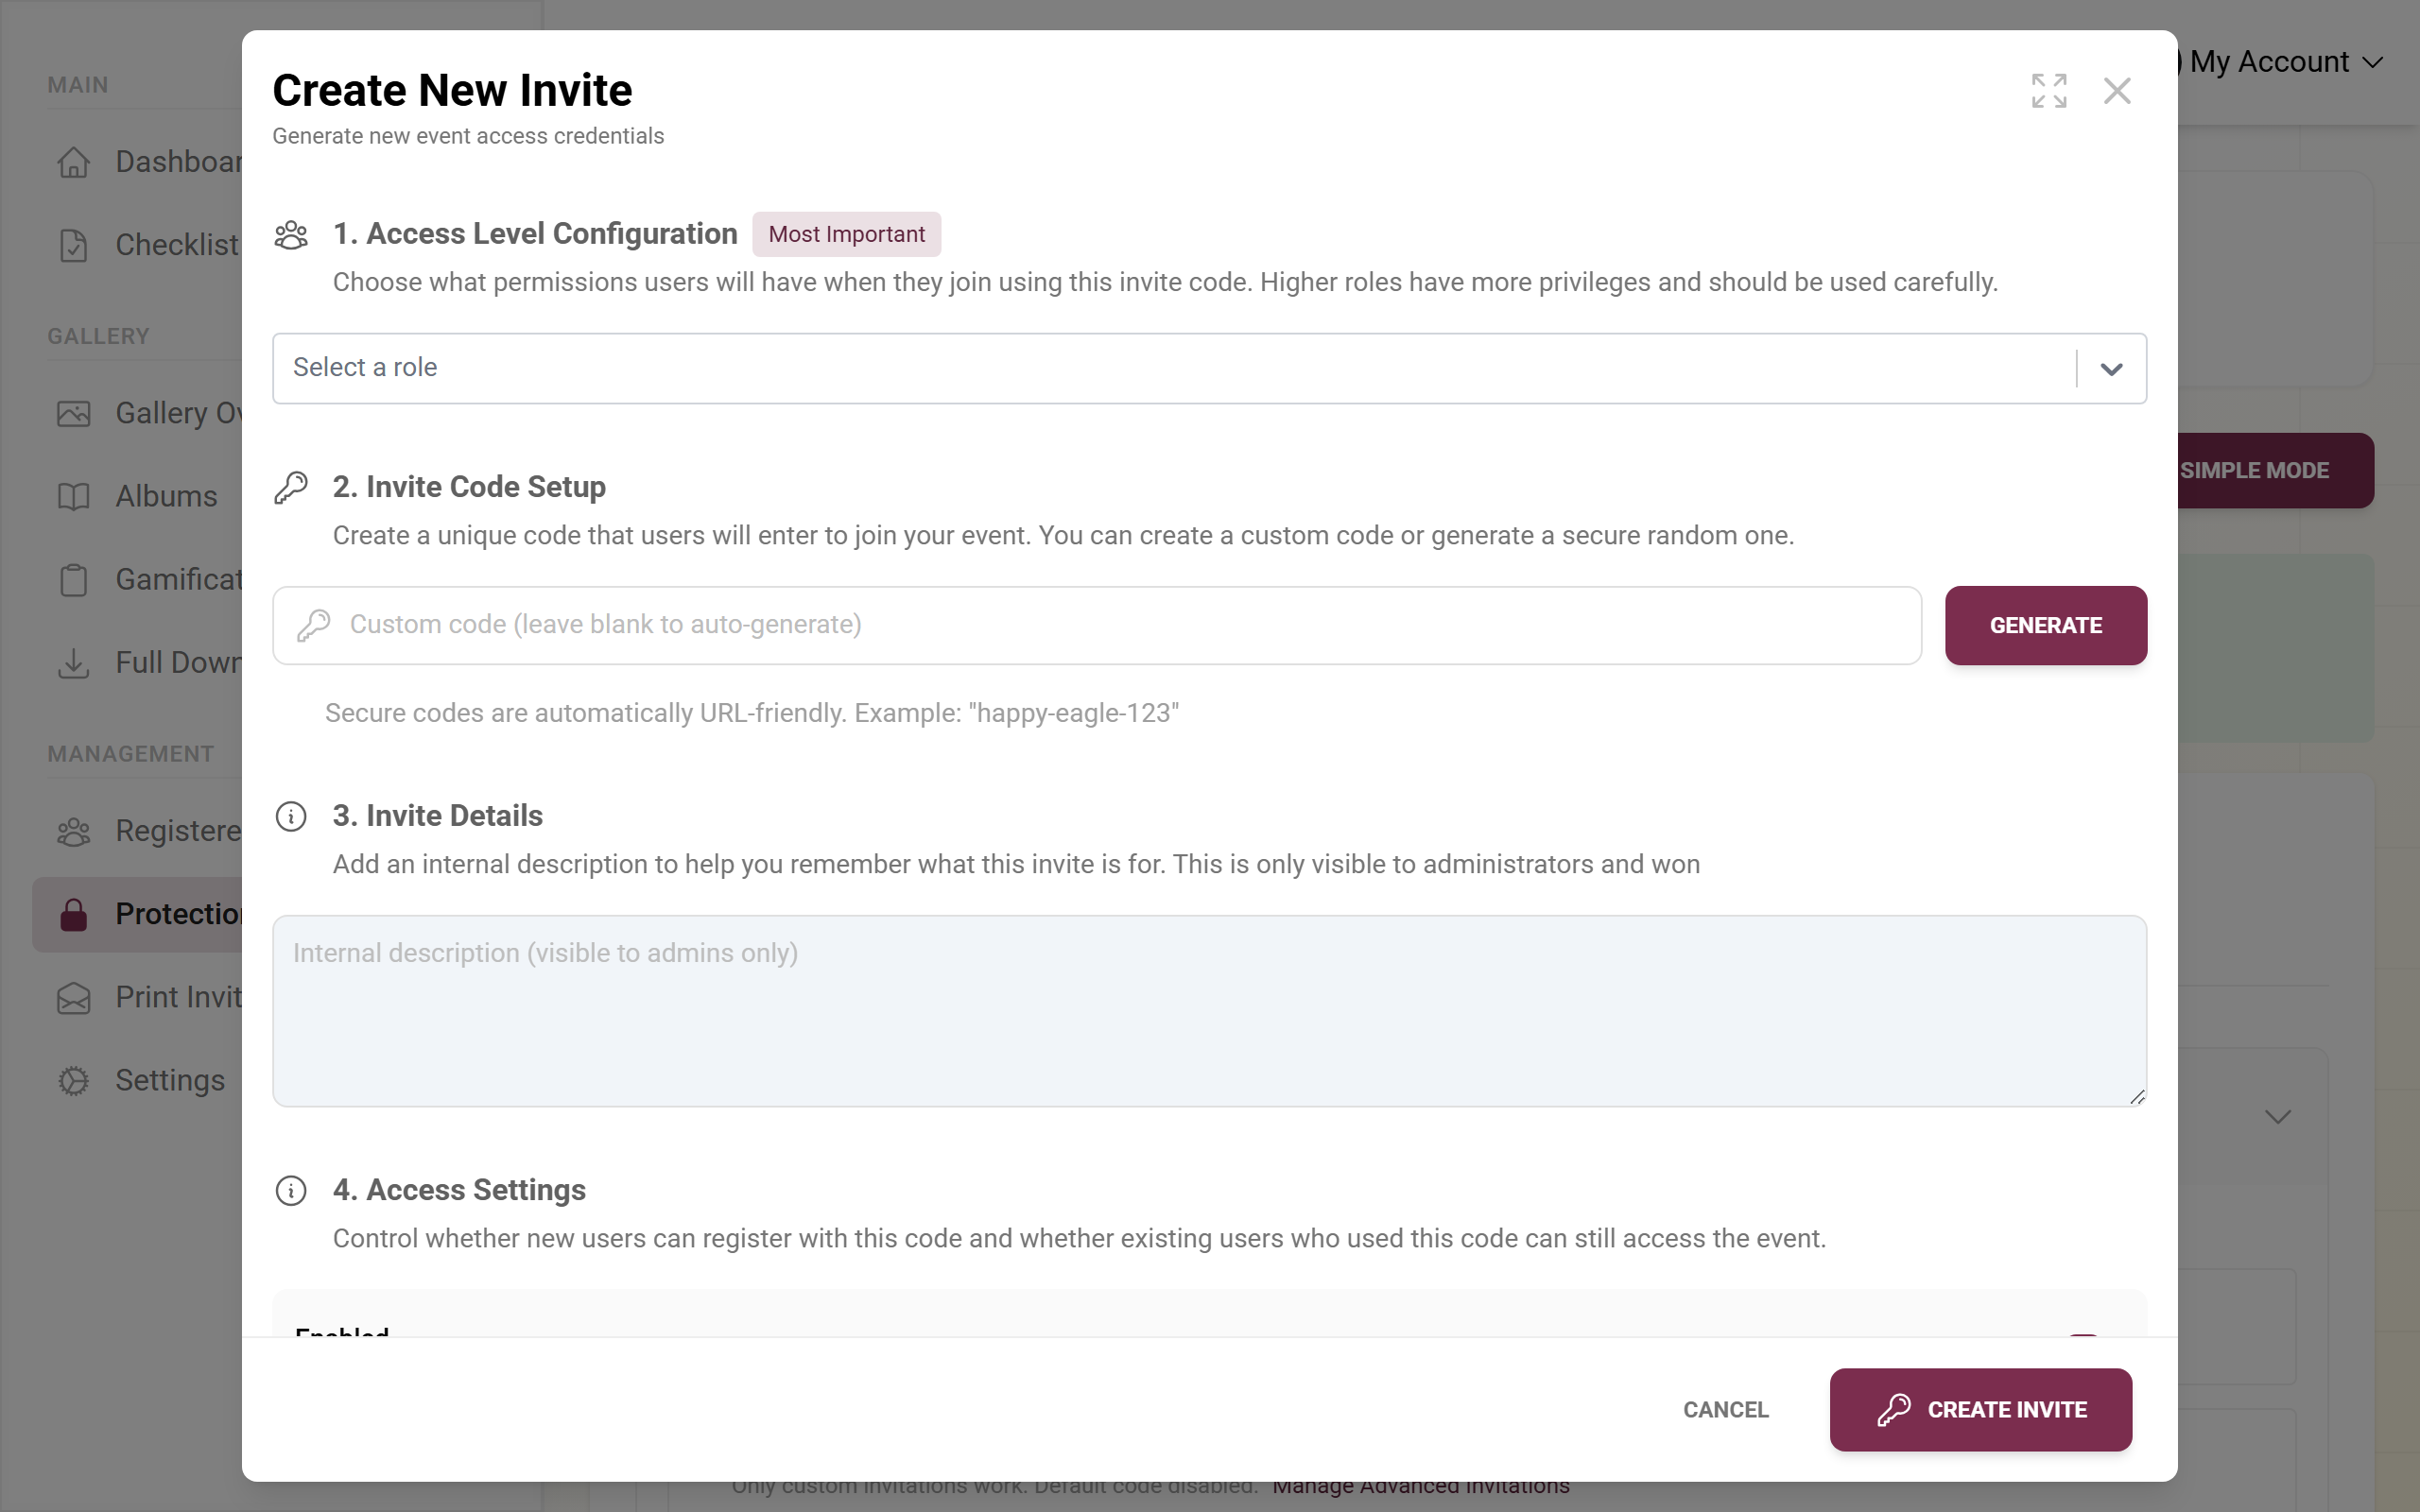
Section titled “The “Create New Invite” / “Edit Invite” dialog – field by field”“Create New Invite” (or “Edit Invite” when editing) opens the most important dialog. It carries the subtitle “Generate new event access credentials” (new) or “Update existing access code” (editing) and is split into six numbered sections.
-
1. Access Level Configuration (with the “Most Important” badge). Here you pick the role in the dropdown that joiners get with this code. If you choose a privileged role (Moderator, Admin or Owner), a red security note appears: “Security Note: For privileged roles, it is recommended to set max usage to 1 for better security.” Roles you cannot assign are disabled and marked “(Owner only)”.
-
2. Invite Code Setup. In the Code field, enter your desired code (placeholder “Custom code (leave blank to auto-generate)”). Leave it blank and a code is generated automatically on save. The “Generate” button instantly creates a readable, URL-friendly token – for example “happy-eagle-123”.
-
3. Invite Details. In the Description field (textarea, placeholder “Internal description (visible to admins only)”) write an internal note about what the code is for. Only admins see this description, never guests.
-
4. Access Settings. Two switches whose difference matters:
- Enabled – “When enabled, new users can register using this invite code.” Controls whether new people can still join with this code at all.
- Active – “When active, users who previously used this code can still access the event.” Controls whether people who already used the code keep their access.
In short: Enabled = door open for new people; Active = those already let in stay in. So you can close a code to new joiners (Enabled off) without locking out existing guests (Active on).
-
5. Expiration Settings. In the expiresAt field (date + time) you set when the code stops working. “Leave blank for no expiration. Times are in your local timezone.” – blank means it never expires; the time is in your local timezone.
-
6. Usage Limits. In the maxUsage number field, enter how often the code may be used (placeholder “0 = unlimited uses”, so 0 = unlimited). For privileged roles with a value other than 1, a red “Security Recommendation” box appears advising you to allow at most one use for such roles.
Saving. At the bottom are “Cancel” and “Create Invite” (new) or “Update Access Code” (editing). Two automatic behaviours to know:
- As soon as you pick a privileged role (Moderator/Admin/Owner), PhotoGala sets maxUsage to 1 automatically, if no value was set yet.
- If you still save a privileged code with a different maxUsage value, a confirmation dialog appears: “Security Warning: … it is recommended to set max usage to 1 … Do you want to proceed with a higher max usage?” – so you have to actively agree.
Co-hosts for bigger events
Section titled “Co-hosts for bigger events”When your event grows, it’s worth sharing the responsibility. Co-hosts as admin or moderator take a lot of work off your shoulders:
- During the party, someone can handle moderation so you can join the celebration yourself.
- With lots of uploads, several moderators keep the gallery tidy.
- A second admin can adjust settings at short notice if you’re not reachable right then.
For co-hosts, it’s best to create one dedicated code each with the right role – and for privileged roles with maxUsage = 1, so the code doesn’t accidentally travel further.
Edge cases & troubleshooting
Section titled “Edge cases & troubleshooting”- I can’t see advanced mode / custom codes. You’re missing the premium feature for multiple roles. On the free plan there is only one default code with one role. See Plans & upgrade.
- I can’t create an Admin or Owner code. You’re an admin, not the owner. Only the owner assigns Admin and Owner roles.
- A code no longer works. Check in order: is Enabled off? Is Active off? Is the expiration date past? Is the usage limit reached (red “Limit reached”)?
- Old, printed codes stopped working. When you change the default access code, all printed codes and links become invalid (“Password changes will update all printed codes and links. Old passwords stop working.”).
- “Completely Private” is active. Then the default code is disabled – only your custom codes grant access. Change it under Privacy & moderation.
Best practices
Section titled “Best practices”- Give the Owner role only to yourself or someone you absolutely trust.
- For privileged roles (Moderator/Admin/Owner) always use maxUsage = 1 – one code, one person.
- Create a dedicated code per audience or role (photographers, best man/maid of honour, kids’ table …). That keeps you in control.
- Use the internal Description consistently so you can identify every code at a glance.
- Set an expiration date for temporary helpers so their access closes by itself.
- Agree with your co-hosts in advance on who handles which task – that way you don’t step on each other’s toes.
Related help
Section titled “Related help”- Inviting guests – the full invitation flow with link, QR code and codes.
- Moderation – approve, hide content and handle reports.
- Privacy & moderation – access modes, “Completely Private” and the default role.
- Registered users – who is currently in the event.
- Joining an event – the guest side of entering a code.