Finding photos of you
At a big event, hundreds or thousands of photos pile up fast. But you only want the pictures of you. With face search you find them in seconds – no scrolling through the whole gallery.
There are three ways to get there:
- Way A – tap a face: Pick a detected person from the face picker.
- Way B – combine several people: Show only photos where all of you appear together (for example as a couple or group).
- Way C – Find me: Upload a selfie or use your profile image; PhotoGala marks your photos automatically.
Step 1 – Open the filter
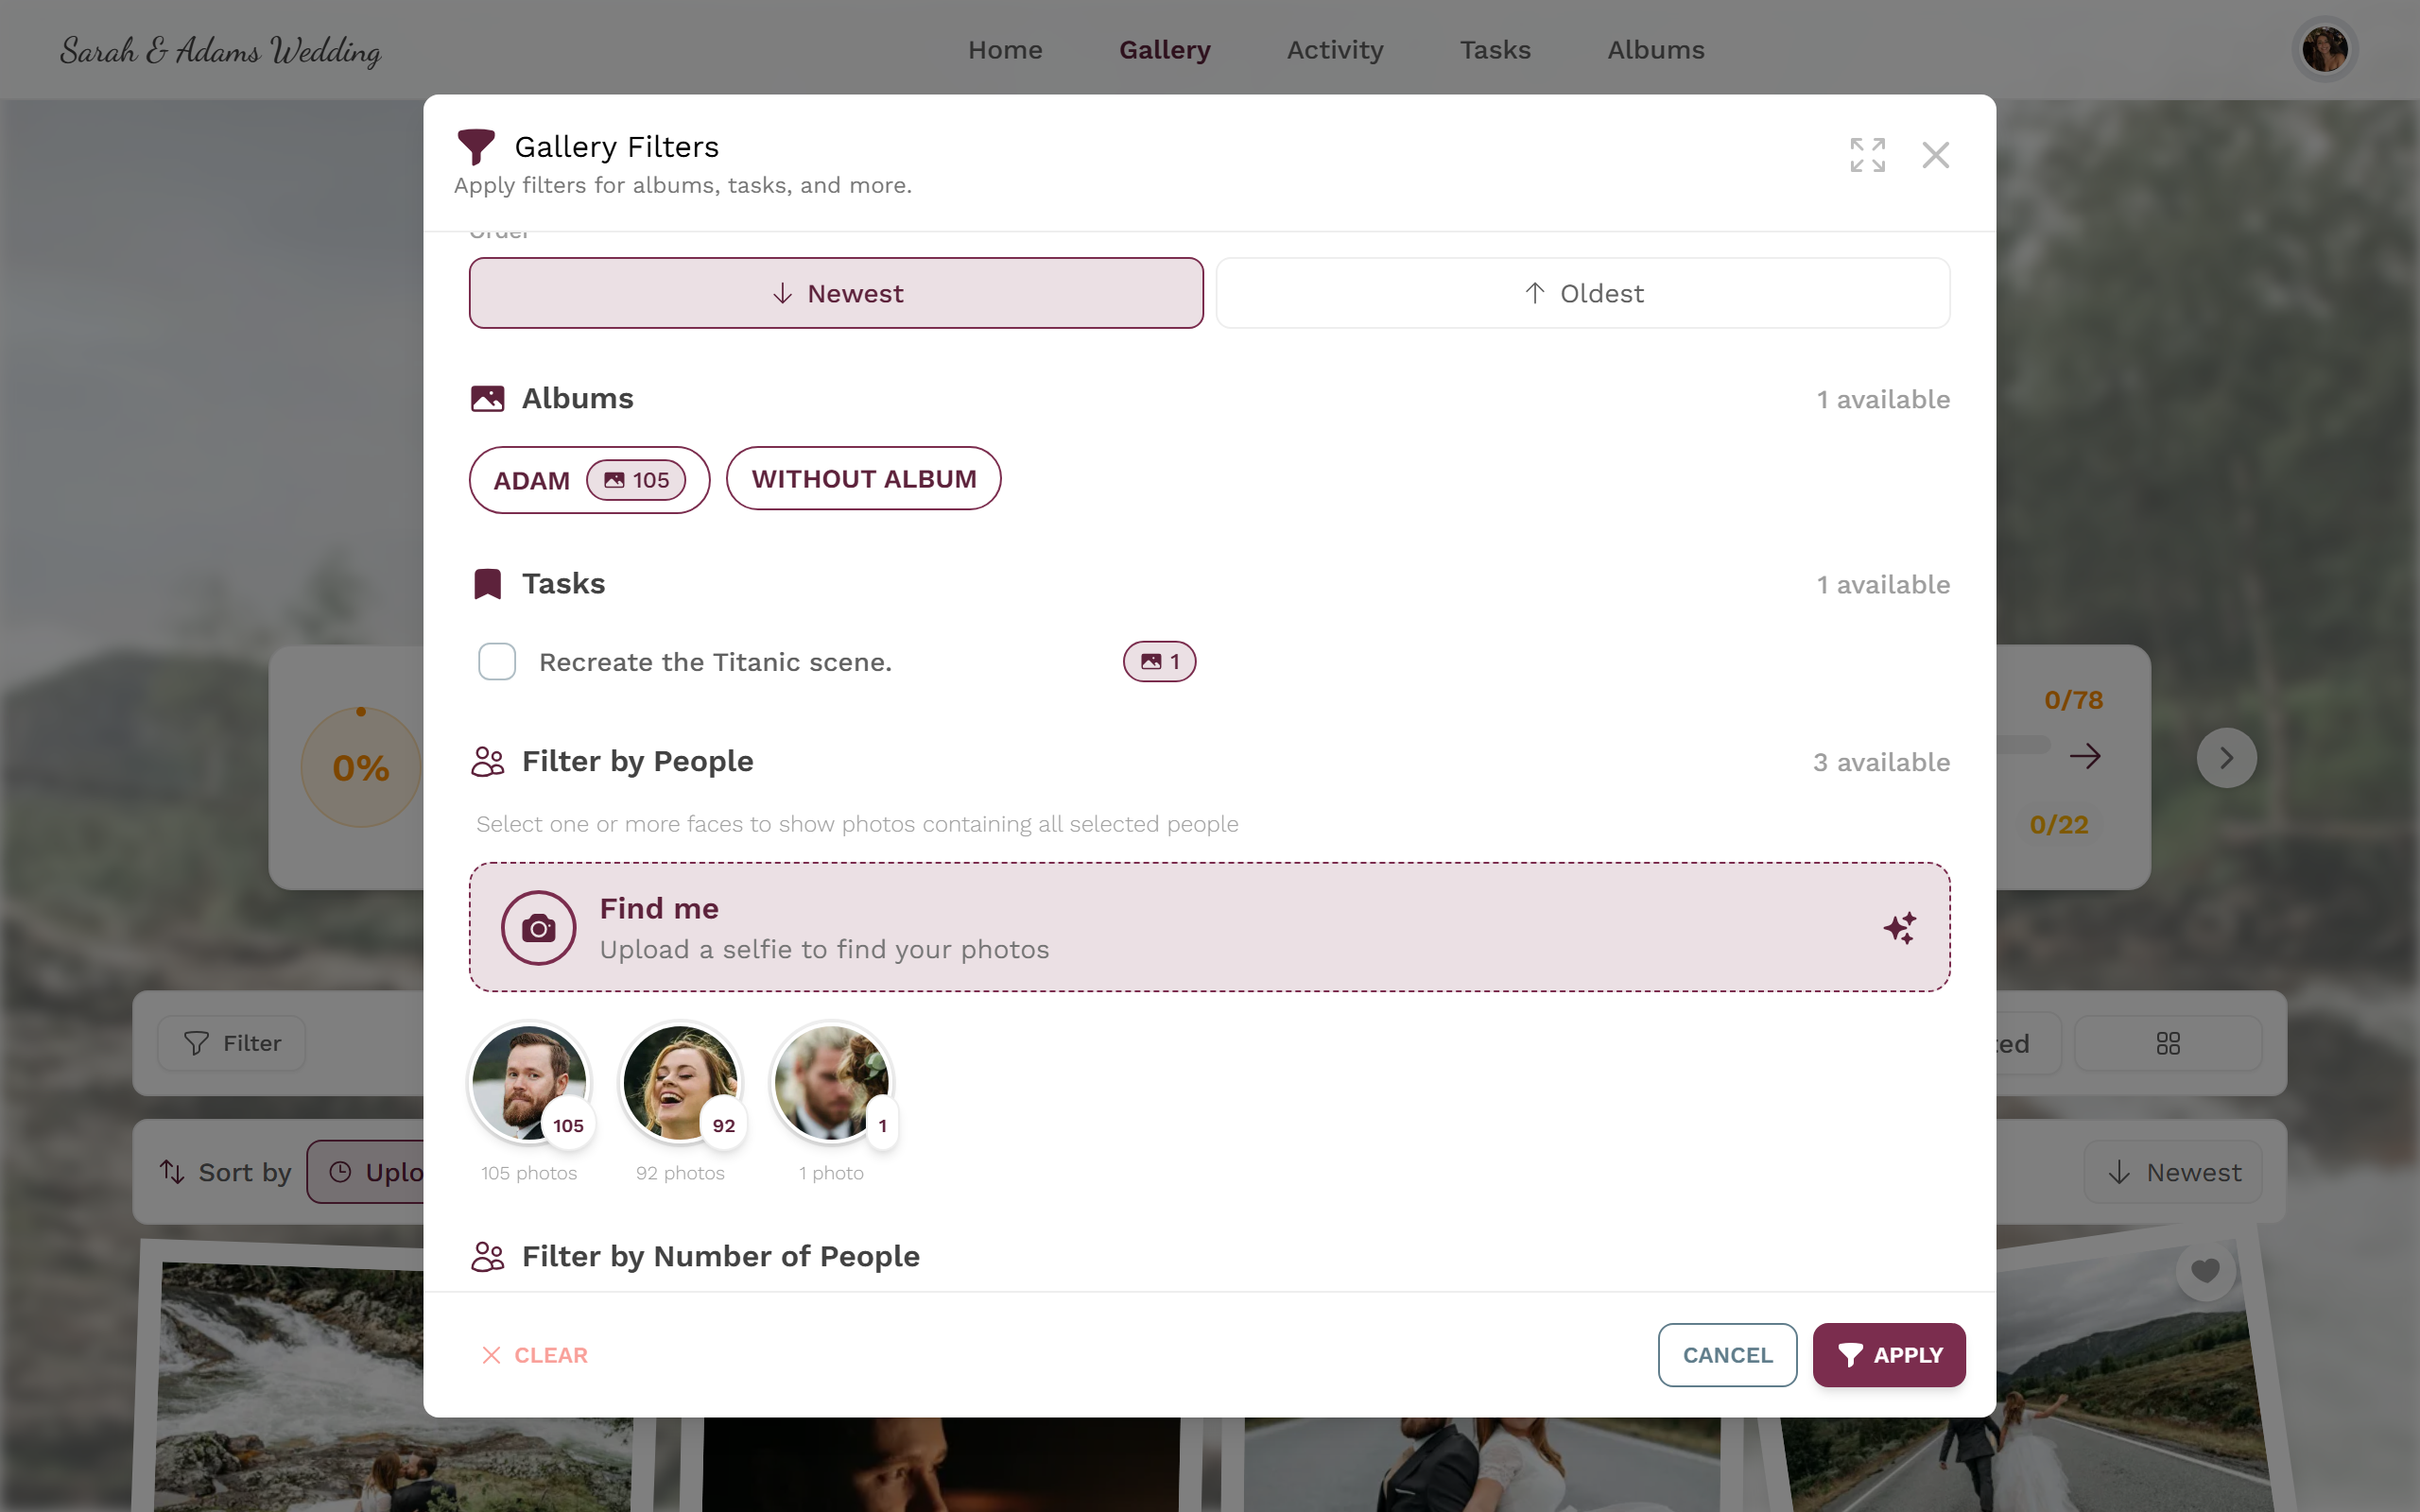
Section titled “Step 1 – Open the filter”All people and face features live inside the Filter dialog.
-
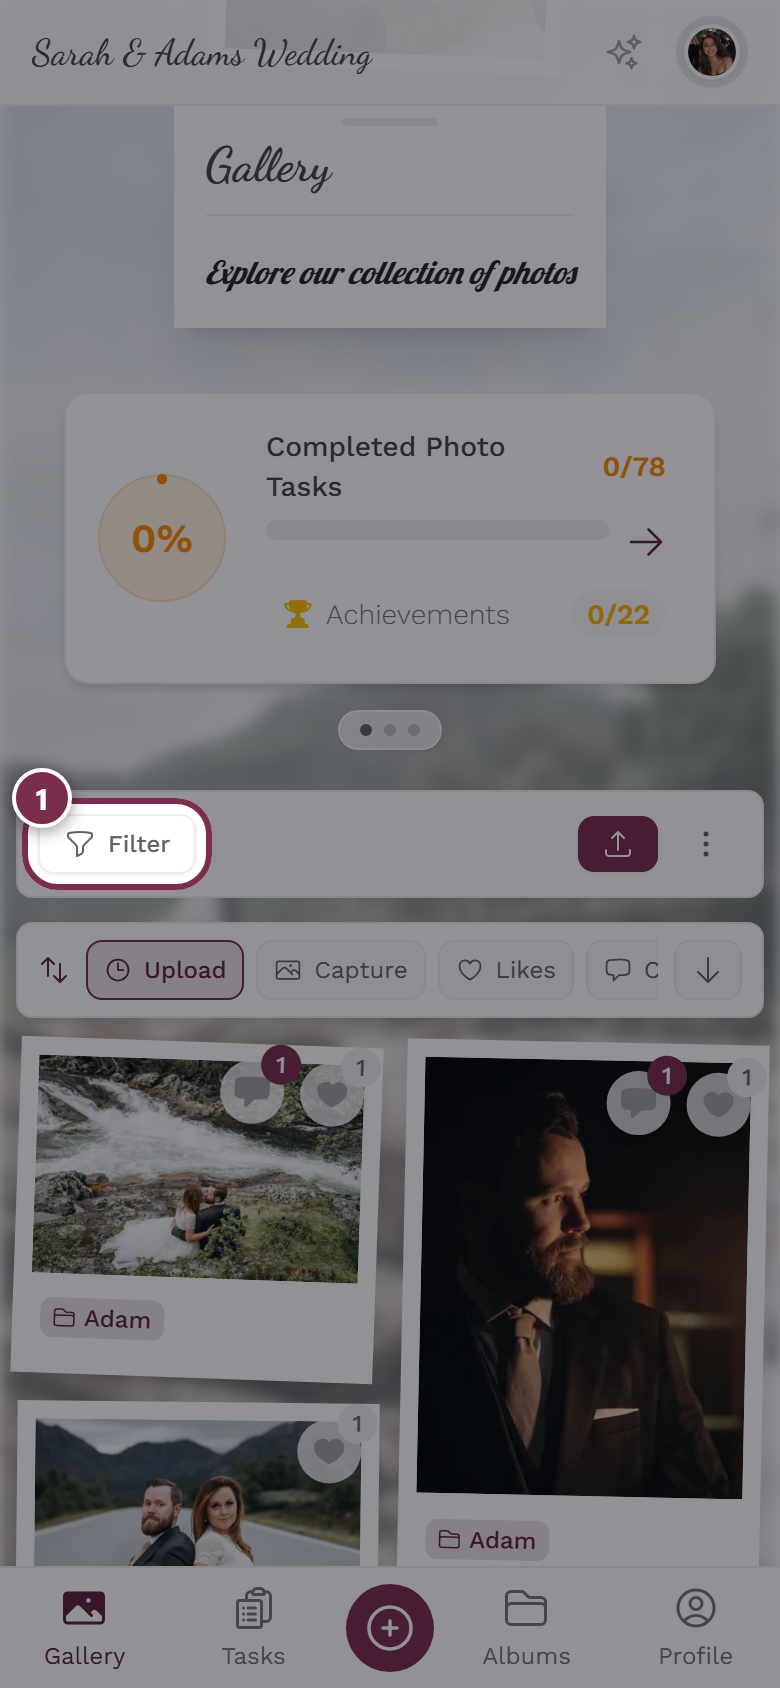
Tap Filter in the gallery toolbar. If filters are already active, the button shows a small count and a filled funnel icon.
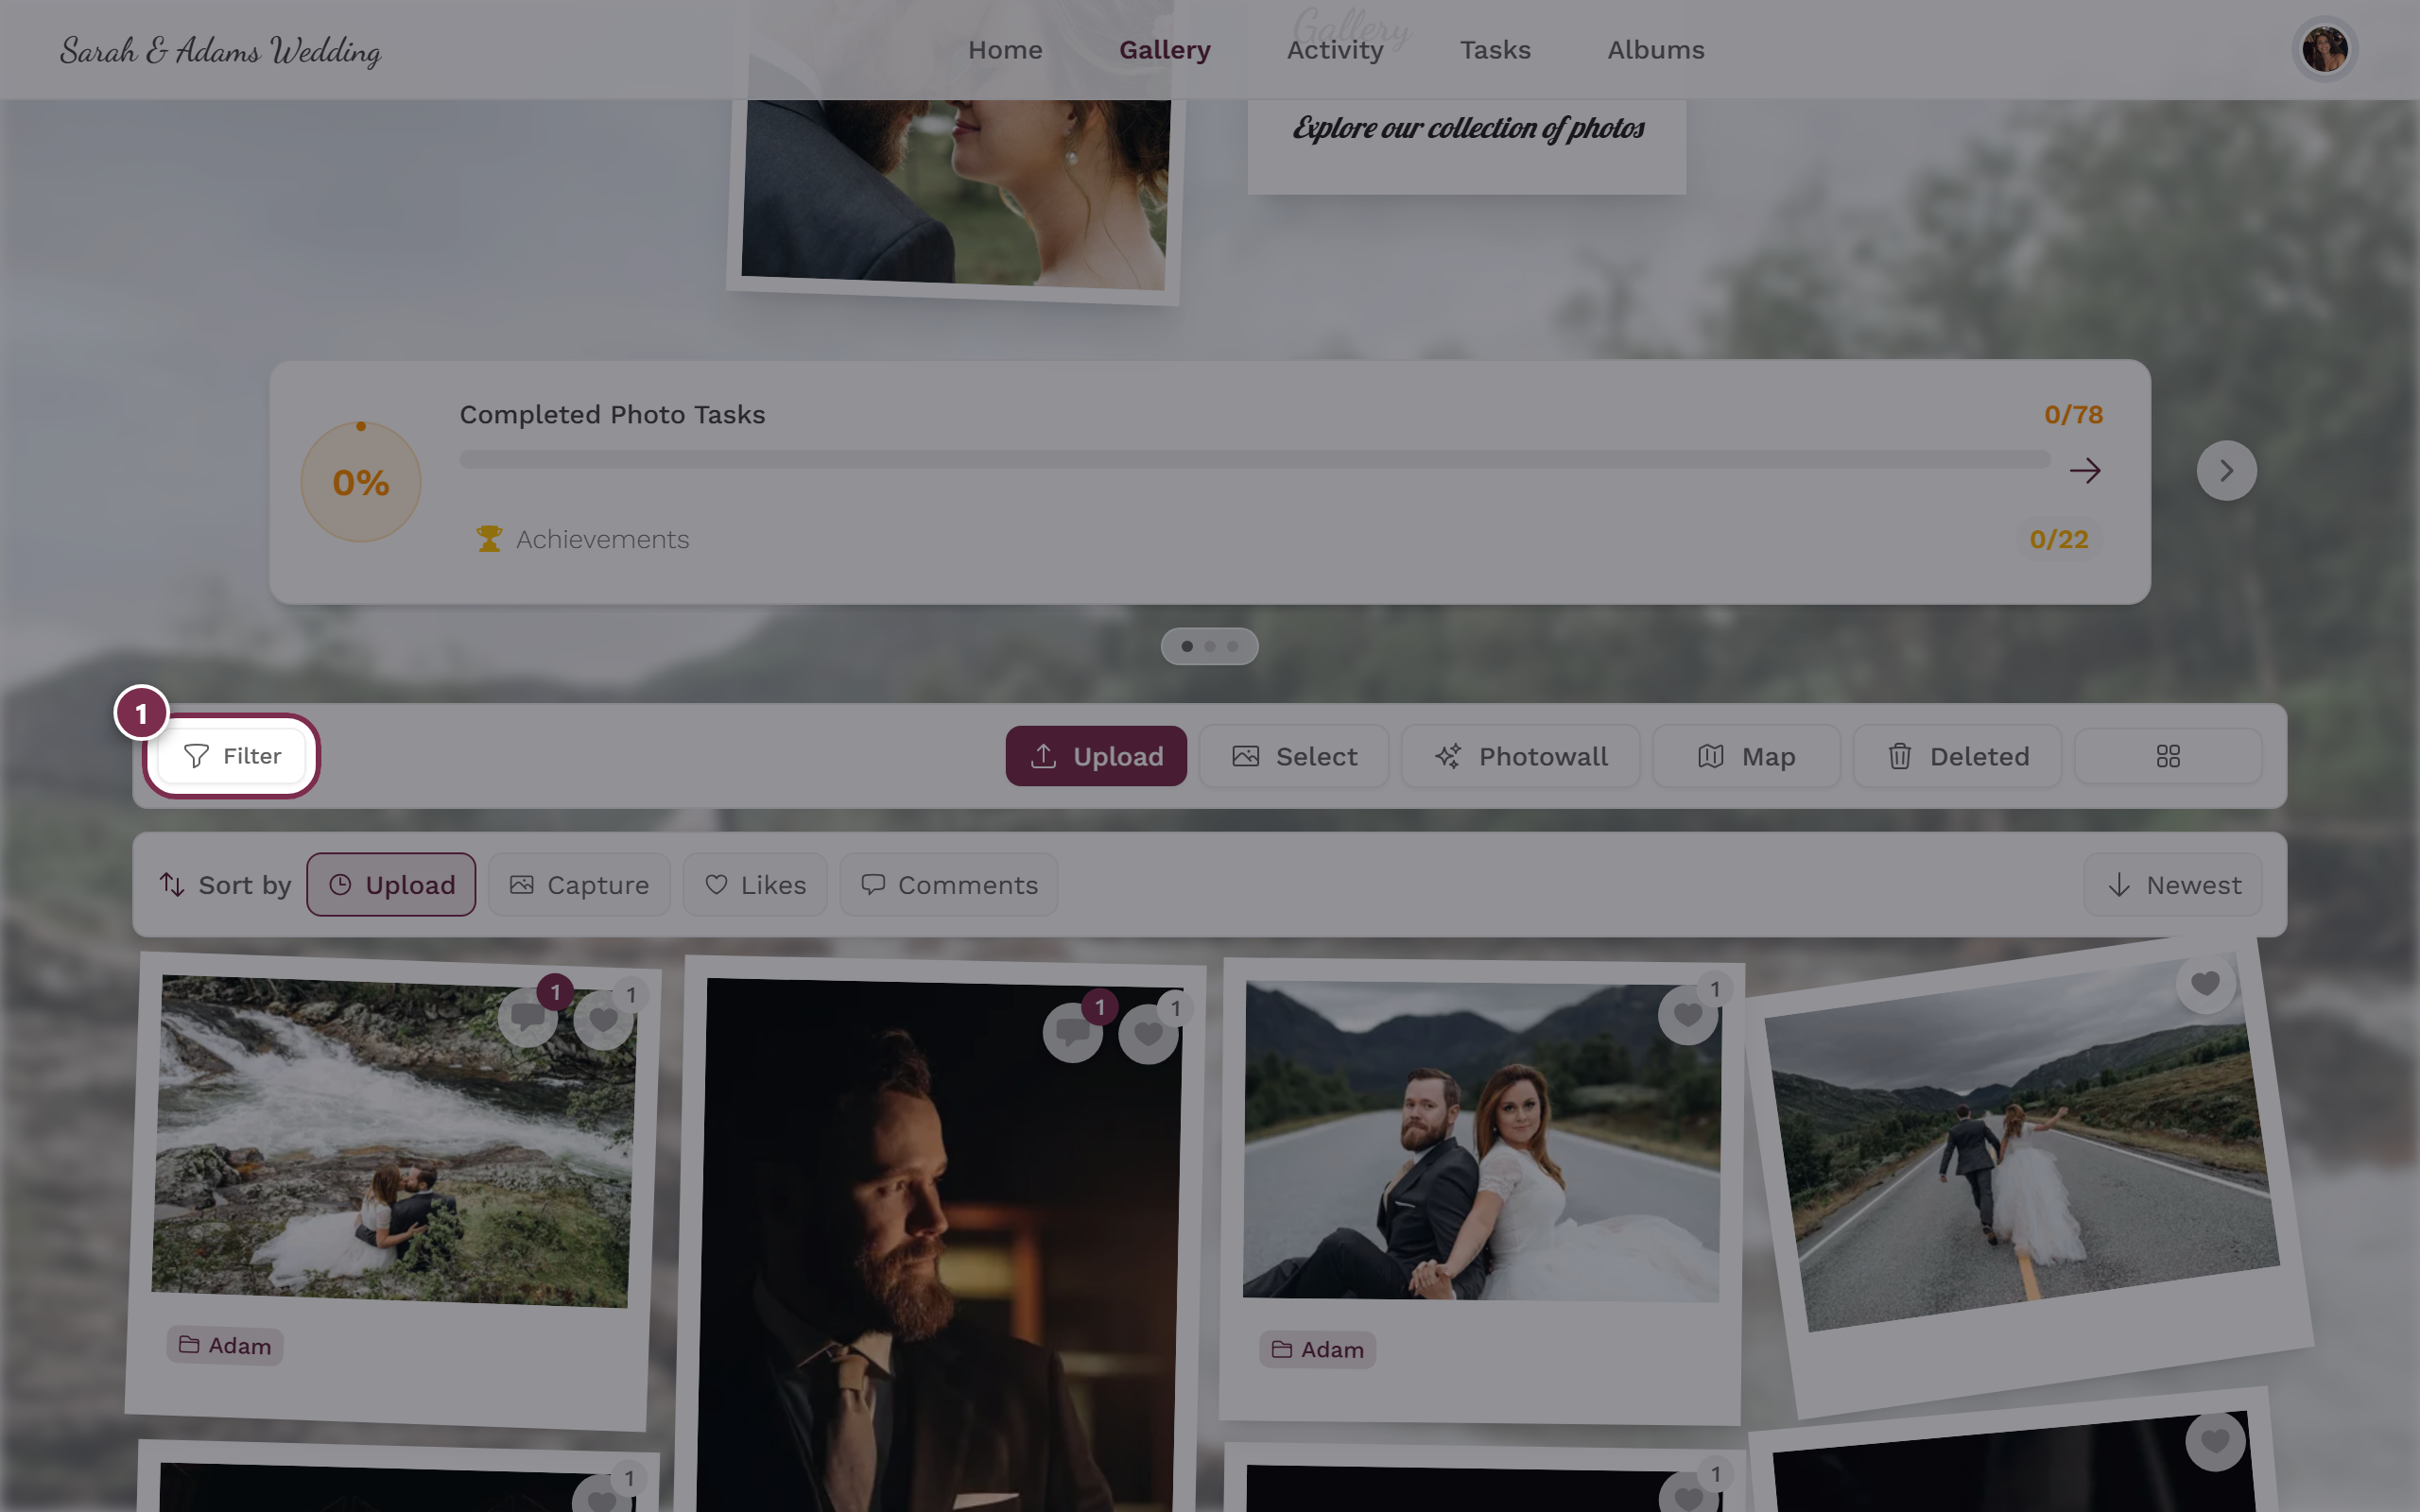
Open the dialog with Filter in the toolbar. -
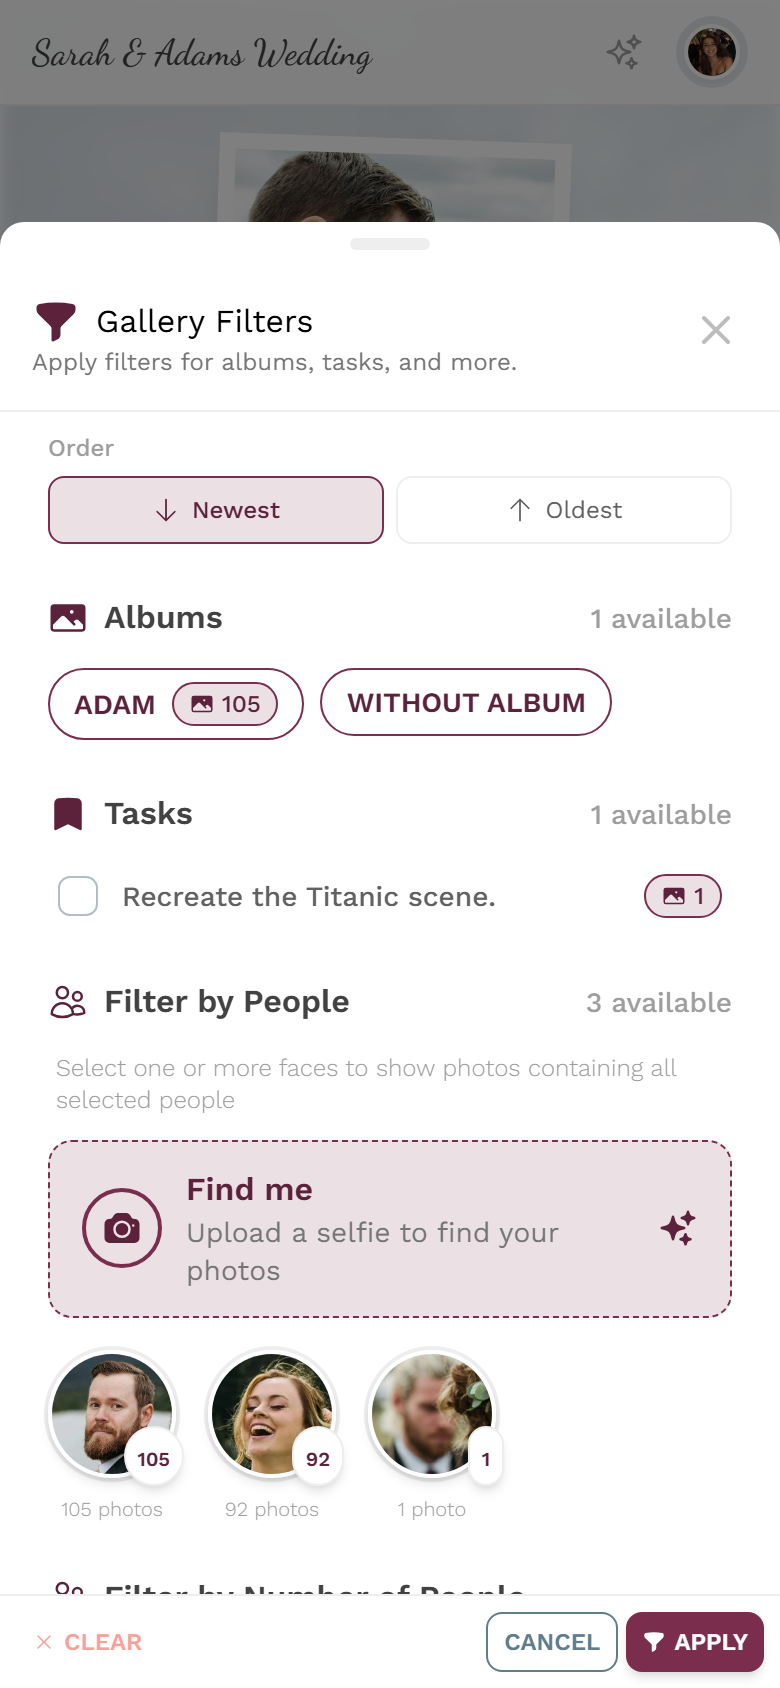
The Gallery Filters dialog opens (subtitle “Apply filters for albums, tasks, and more”). Besides people, you can filter by album, task, media type, date, likes and more.

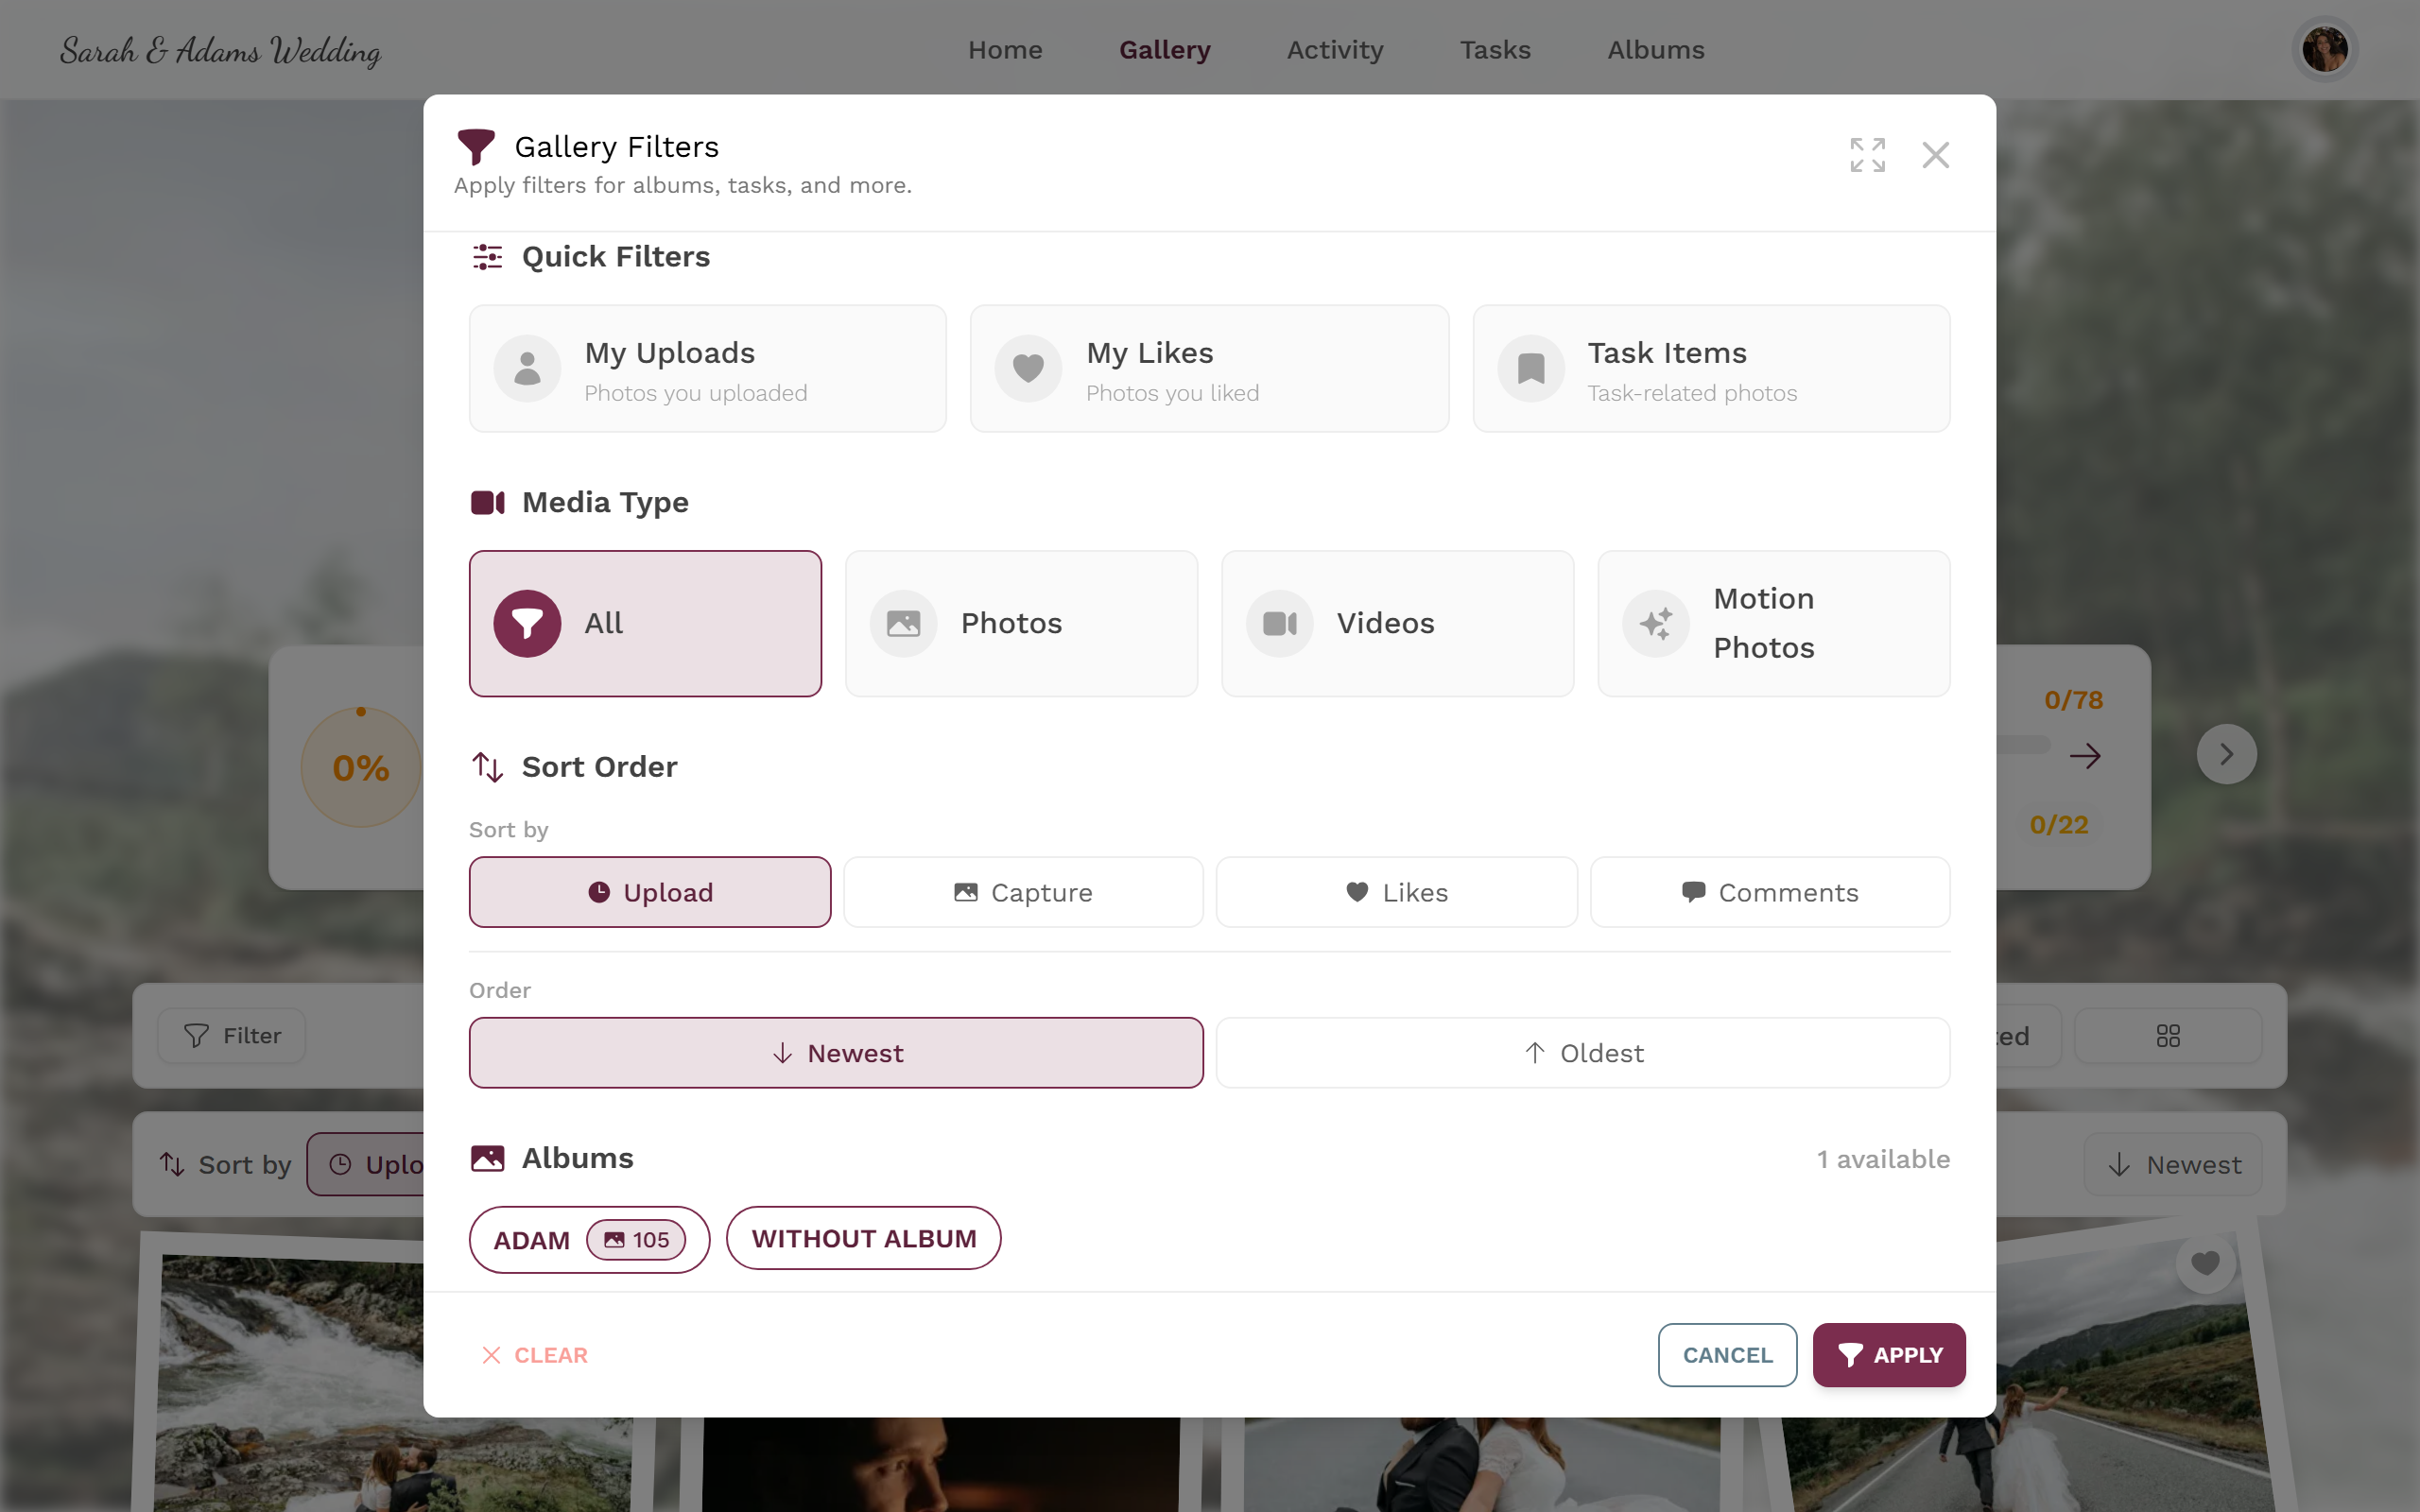
The filter dialog with all its sections.
Way A – Tap a person by face
Section titled “Way A – Tap a person by face”Scroll to the Filter by People section. There you see small tiles with the faces detected at the event. The count next to the title is the number of faces. The hint reads: “Select one or more faces to show photos containing all selected people”.
-
Tap a tile. It gets a thick selection ring in the brand color and a checkmark in the top right. The photo count appears in the bottom right.
-
Below the tile you see – if available – the person’s name and the number of photos (“n photo/photos”). Most tiles are nameless; that’s normal (see the box below).
-
Confirm at the bottom with Apply. The gallery now shows only that person’s photos. Clear resets the people selection (only active when something is selected).
-
If there are more faces than shown, load the next 12 tiles with View More (n) – the number in brackets tells you how many are already loaded.
Way B – Combine several people (AND logic)
Section titled “Way B – Combine several people (AND logic)”You can select several tiles at once. Important: this is AND logic – only photos where all selected people appear are shown, not the sum of their photos.
-
Tap the tiles you want one after another – each gets a ring and checkmark.
-
Tap Apply. The gallery shows only the photos where all selected people appear together – ideal for finding the two of you or a group.
Way C – Find me via selfie or profile image
Section titled “Way C – Find me via selfie or profile image”Instead of hunting for the right tile, you upload a selfie. PhotoGala matches your face against every event photo and marks your hits automatically.
1. Start
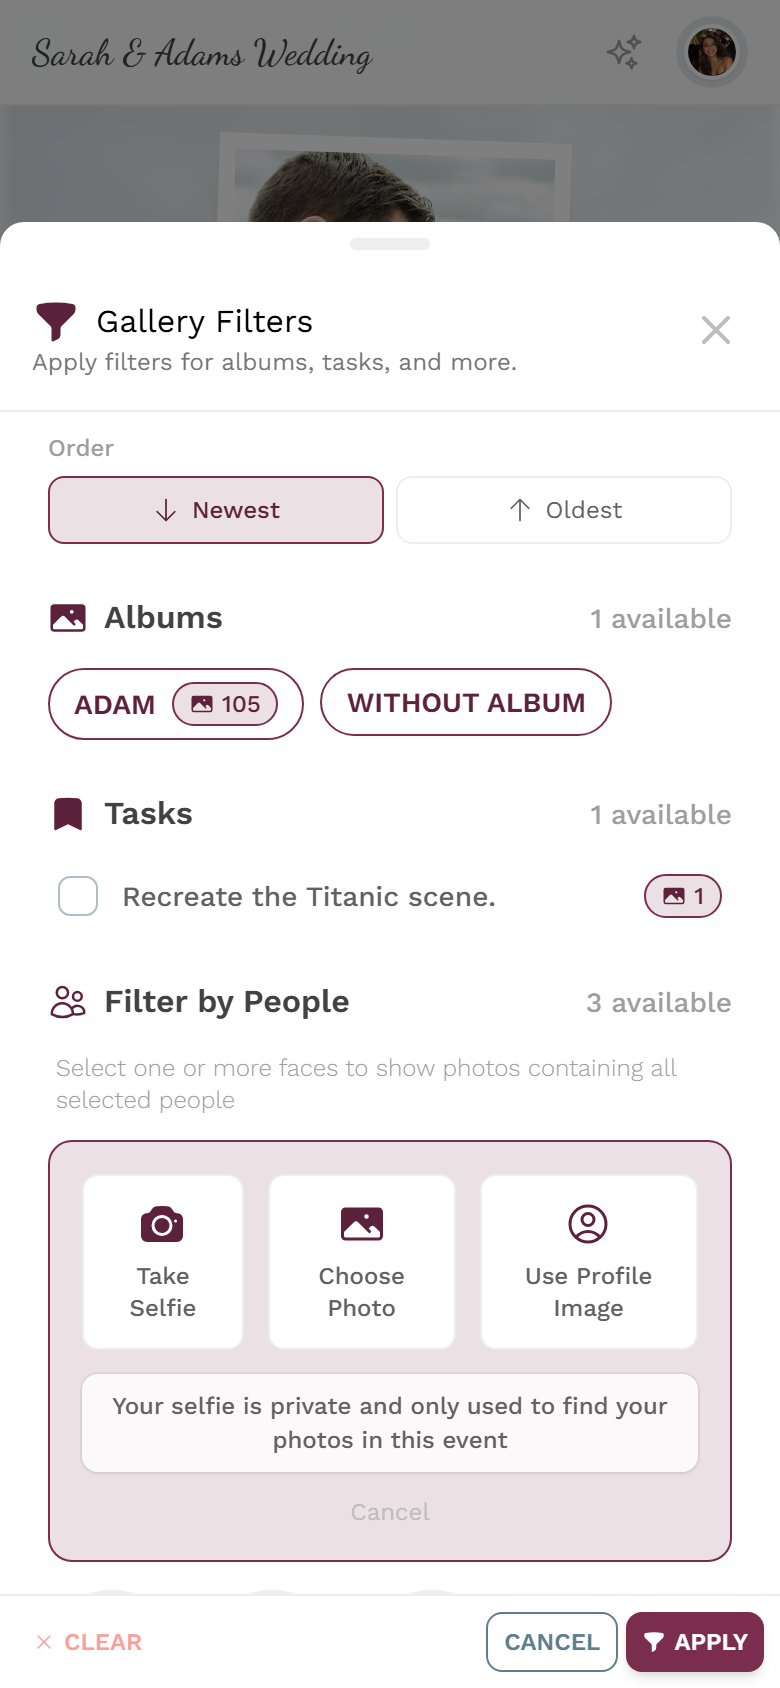
Section titled “1. Start”In the Filter by People section, tap the Find me card – “Upload a selfie to find your photos”.
2. Choose a source (three options)
Section titled “2. Choose a source (three options)”You then have up to three options:
- Take Selfie – opens the (front) camera. Fastest on a phone.
- Choose Photo – pick a file from your device. Allowed formats: JPEG, PNG, WebP and HEIC/HEIF.
- Use Profile Image – appears only if you already set a profile image. Uses it directly, without a new upload.
Below the buttons there’s always a privacy notice: “Your selfie is private and only used to find your photos in this event”. Use Cancel to leave the picker.
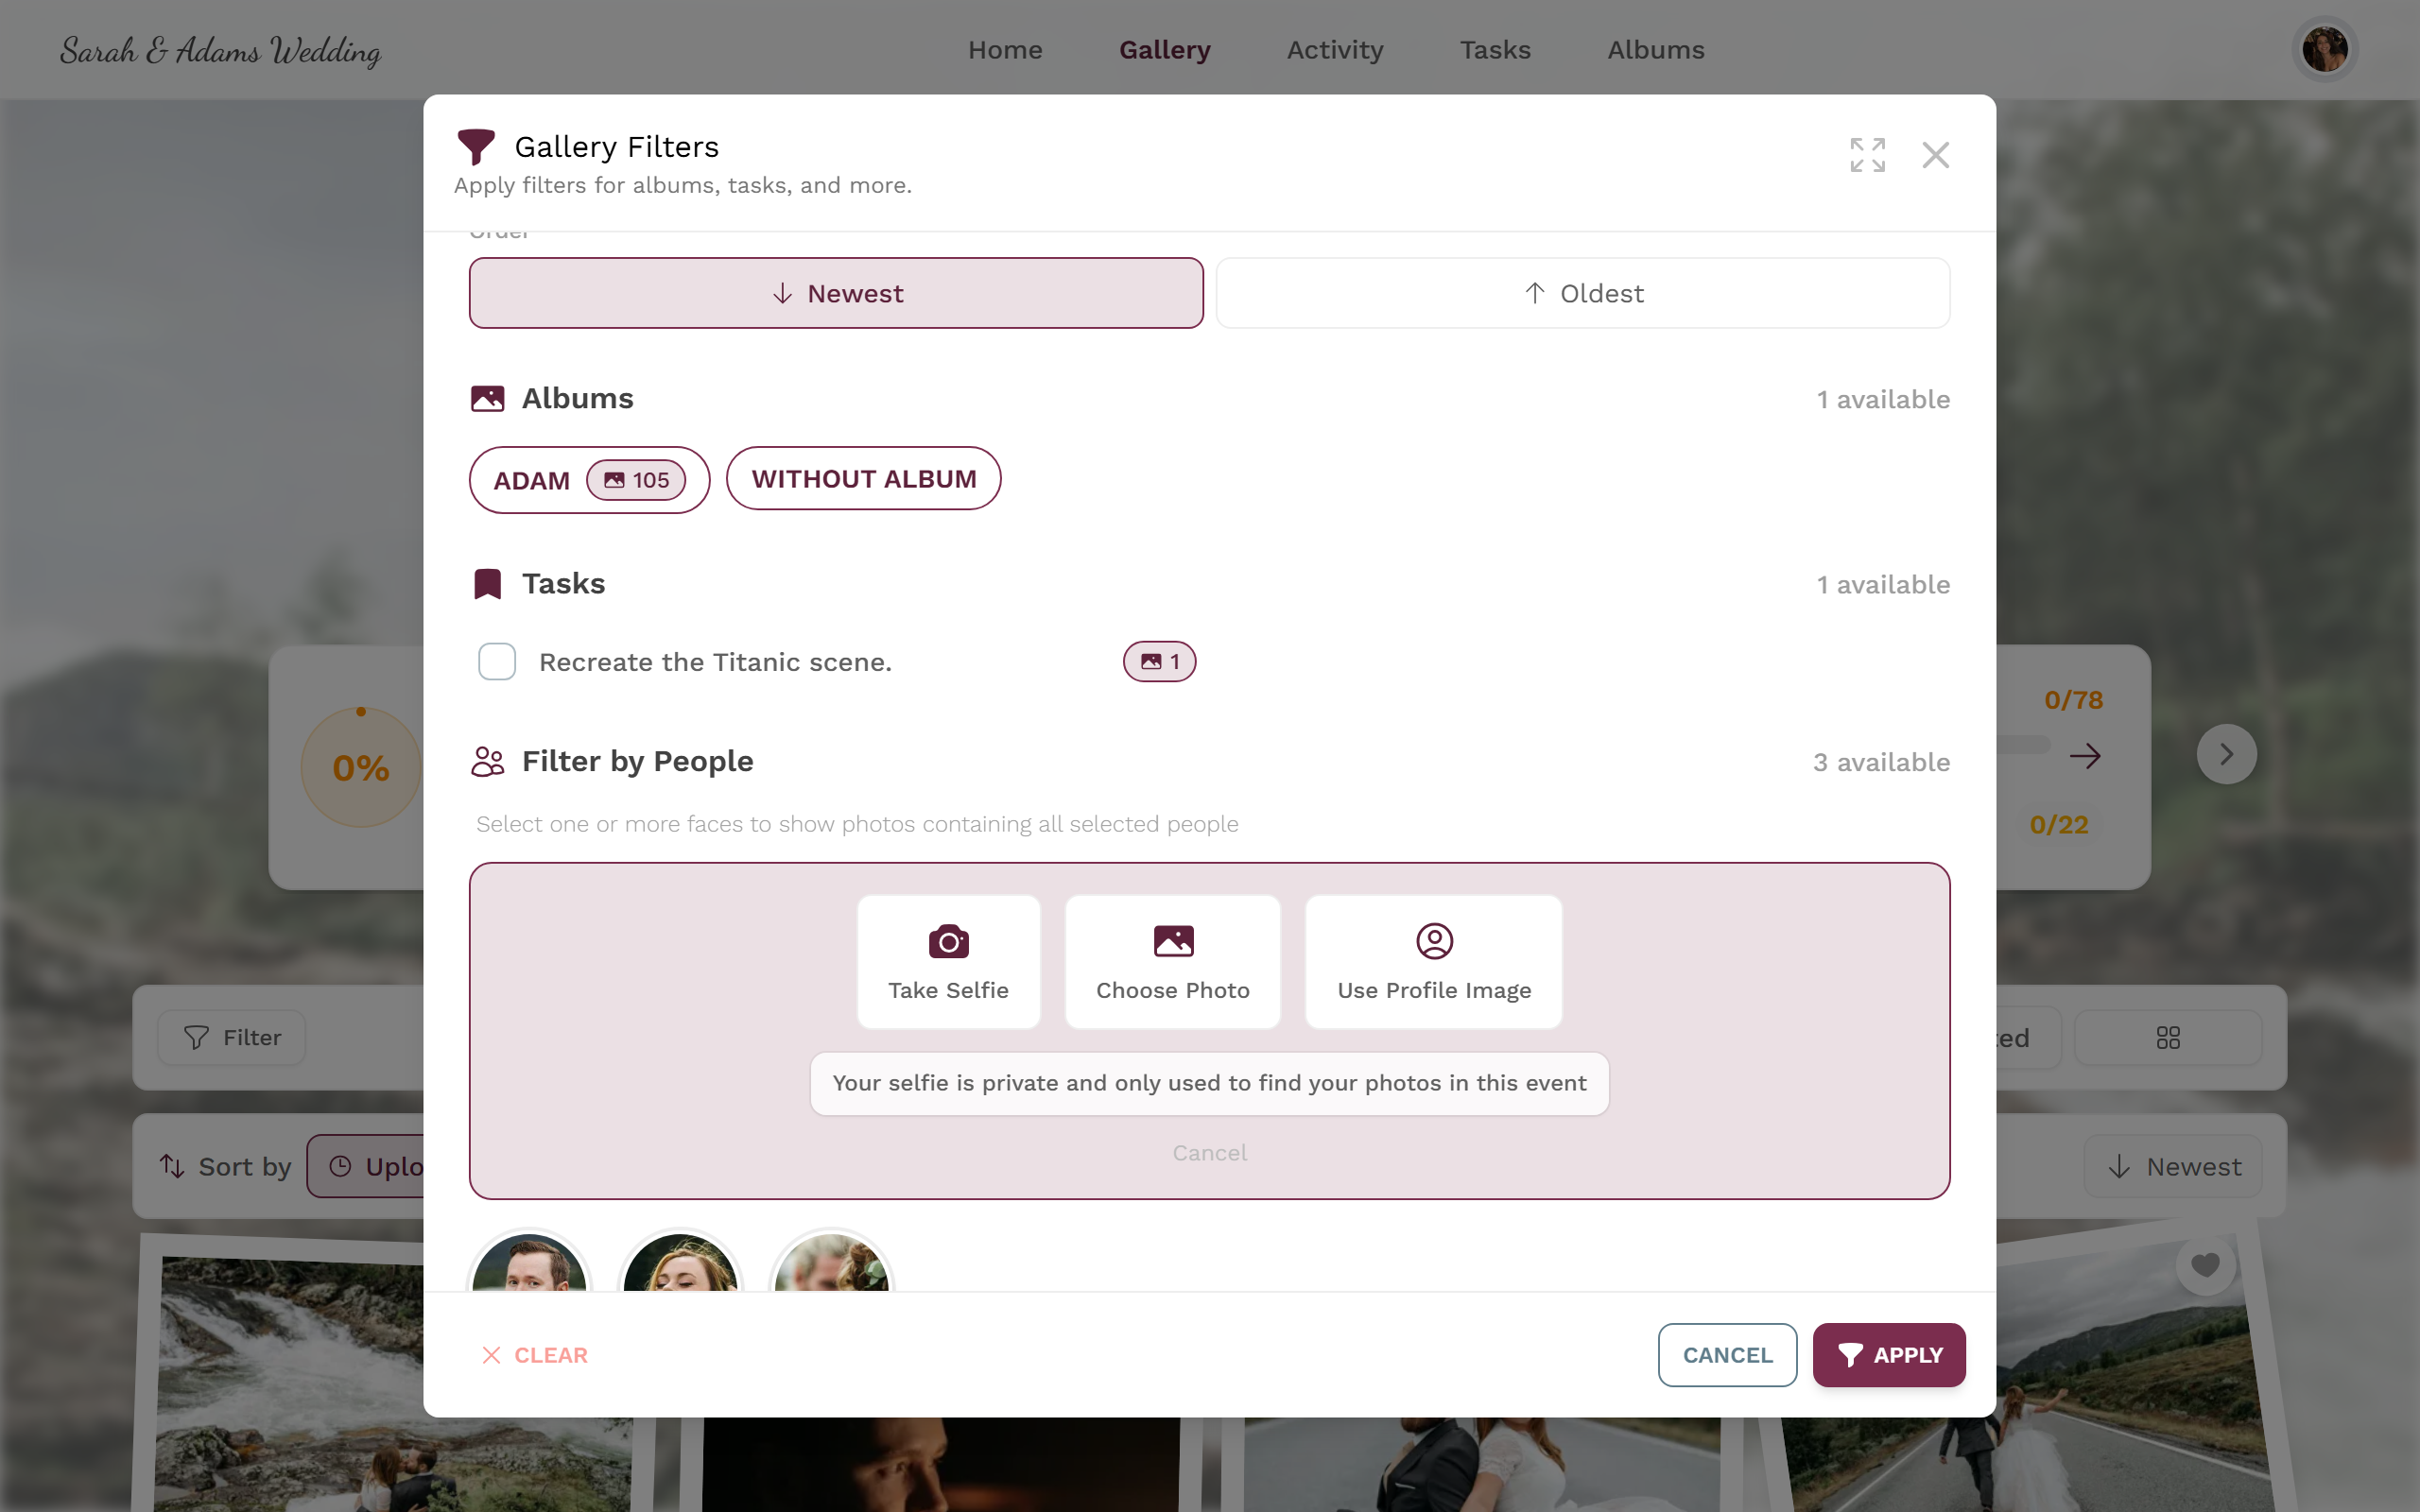
For camera or file, you first see a round preview. Start the search with Find me, or discard the image with Cancel.
3. Processing
Section titled “3. Processing”A short scan animation runs with the hint “Searching …”. On a weak connection it can take a moment longer (PhotoGala uses live updates and, if needed, background polling). Use Cancel to abort; that also deletes the selfie you just uploaded.
4. Success
Section titled “4. Success”On a match a green flash appears: “Found in N photos”. Then something handy happens automatically:
5. Re-apply later
Section titled “5. Re-apply later”Once your selfie is saved, the section shows a Find me button next time with “Found in N photos” and a magnifier. Tapping it re-applies your personal filter and closes the dialog – no need to upload a new selfie.
6. No match
Section titled “6. No match”If the search finds nothing, the grey hint “We couldn’t find you in this event’s photos” appears. Possible reasons: there are no or too few photos of you yet, the event photos are still being processed, or the selfie was poorly lit. Try again later or with a better photo.
7. When something goes wrong (error messages)
Section titled “7. When something goes wrong (error messages)”8. Remove selfie (opt-out / privacy)
Section titled “8. Remove selfie (opt-out / privacy)”Next to the Find me button there’s a trash icon. Tapping it opens the confirmation “Remove selfie” – “This will remove your selfie and face data for this event”.
Filter by number of people
Section titled “Filter by number of people”When face clusters exist, there’s an extra Filter by Number of People section. It filters by how many faces are detected in a photo:
- Minimum People – e.g. at least 3 for group photos only.
- Maximum People – e.g. at most 1 for portraits / single shots.
More filters (always available)
Section titled “More filters (always available)”The dialog can do much more than faces. These filters work independently of the AI feature and combine freely:
- Quick Filters: My Uploads; My Likes (only if likes are enabled); Task Items (only if tasks are enabled).
- Media Type: All / Photos / Videos / Motion Photos.
- Sort Order: by upload time, capture date, likes (if likes are on) or comments (if comments are on) – each Newest/Oldest or Most/Least.
- Albums plus Without Album (only photos with no album).
- Tasks (only if photo tasks are on).
- Filter by Number of Likes (minimum/maximum).
At the very bottom sit Clear, Cancel and Apply. Active filters appear at the top as Active Filter chips and can be removed individually.
For moderators and hosts
Section titled “For moderators and hosts”-
Enable the feature (host): Open the Admin Portal from the profile menu in the top right and go to Settings → Features → AI Processing → Face Recognition. There you confirm a GDPR consent checkbox; an info dialog explains what guests see.
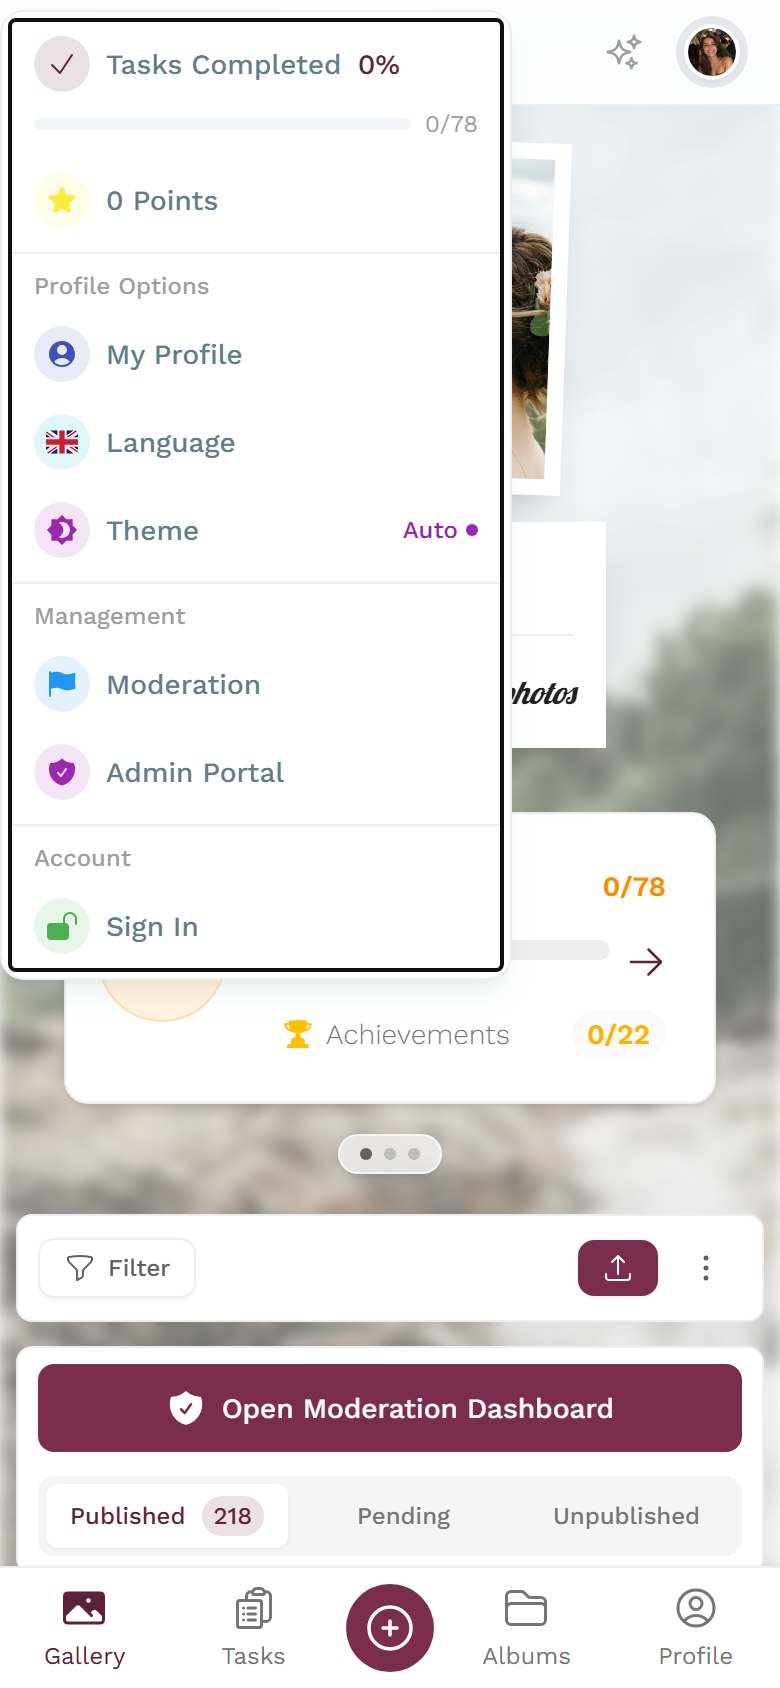
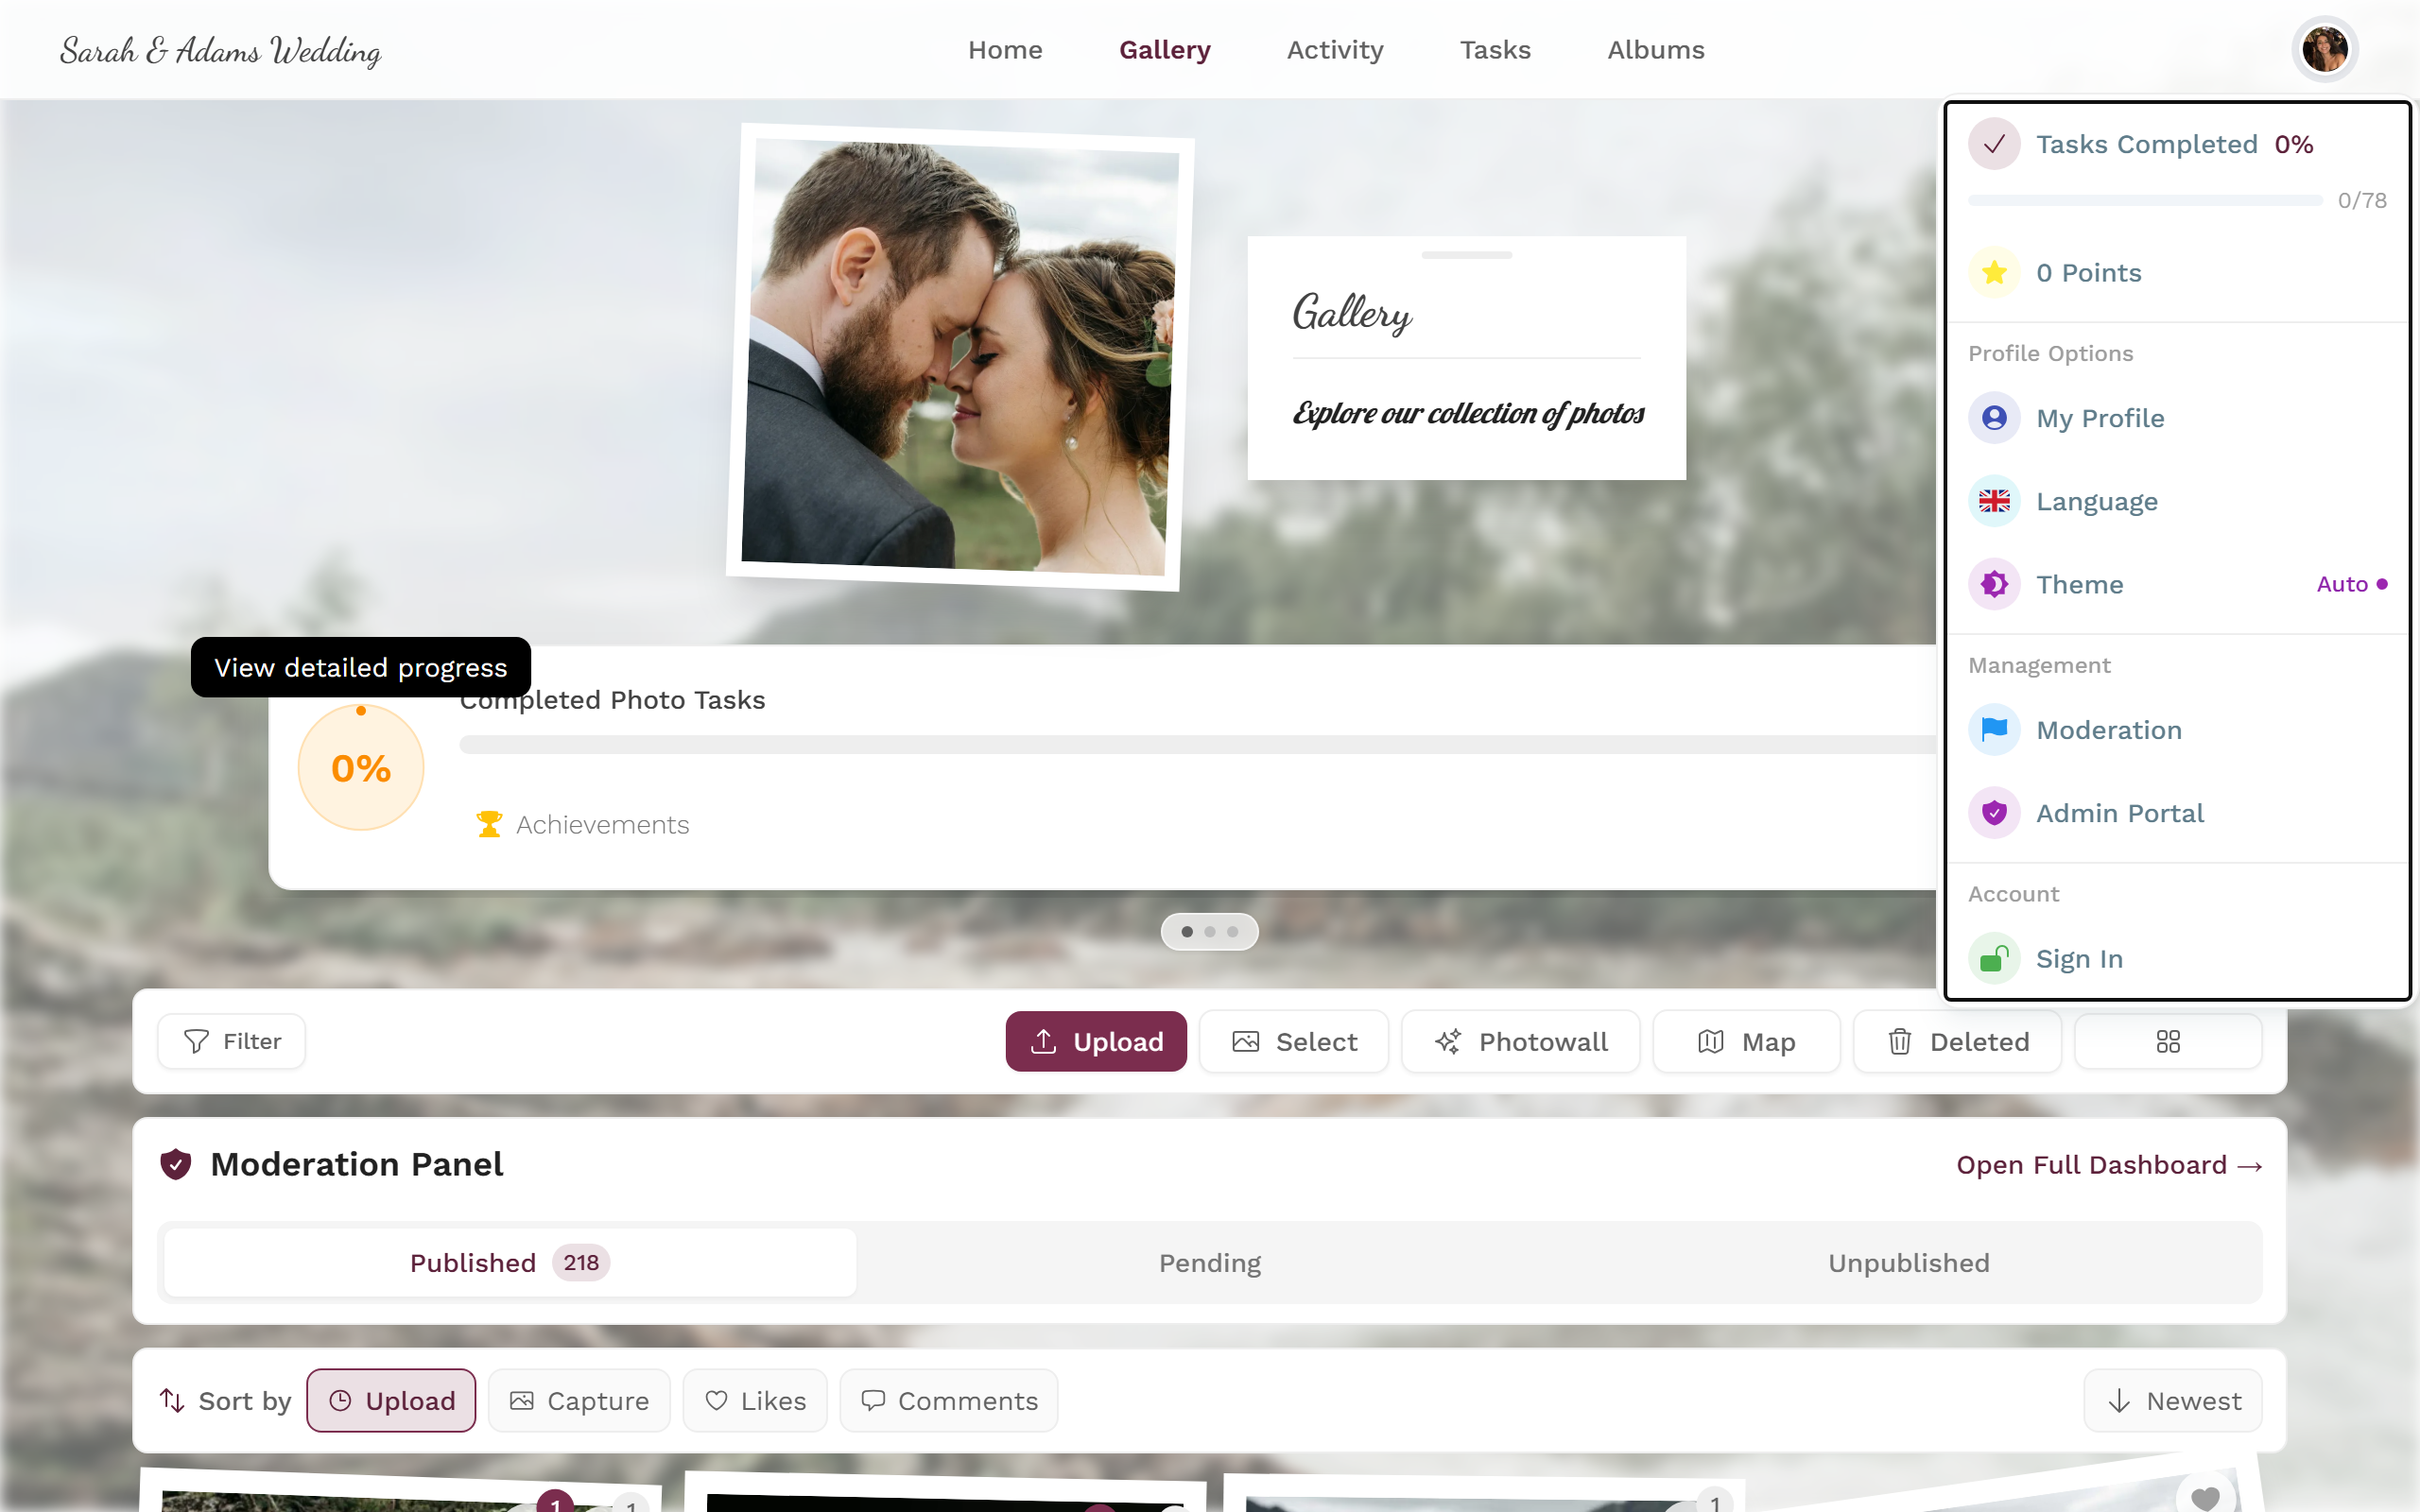
The profile menu leads to moderation and the admin portal – visible only with the matching role. -
Name people (moderators): Naming, merging or splitting clusters happens in the moderation / admin view. Once a name is set, guests see it on the tile and the filter chip too.
Troubleshooting
Section titled “Troubleshooting”Related help
Section titled “Related help”- Using the gallery – basics, likes, selection, fullscreen.
- Getting around & navigation – profile menu, moderation and admin areas.
- Your profile – set a profile image (unlocks “Use Profile Image”).