Browsing albums
At larger events, hundreds or thousands of photos pile up quickly. Albums group related photos together so you don’t have to scroll endlessly through the whole gallery – for example all photos from the ceremony, all pictures of one particular person, or all contributions to a photo task.
The albums overview is a start page made of tiles. One thing to understand up front: an album has no separate detail page. When you open an album, you land in the gallery, filtered to that one album – so you only see the photos that belong to it.


Where do I find albums?
Section titled “Where do I find albums?”There are two ways to reach albums: the Albums menu item in the navigation (the full overview with every album) and the Albums section inside the filter (jump straight to a single album).
Way 1 – The “Albums” menu item in the navigation
Section titled “Way 1 – The “Albums” menu item in the navigation”-
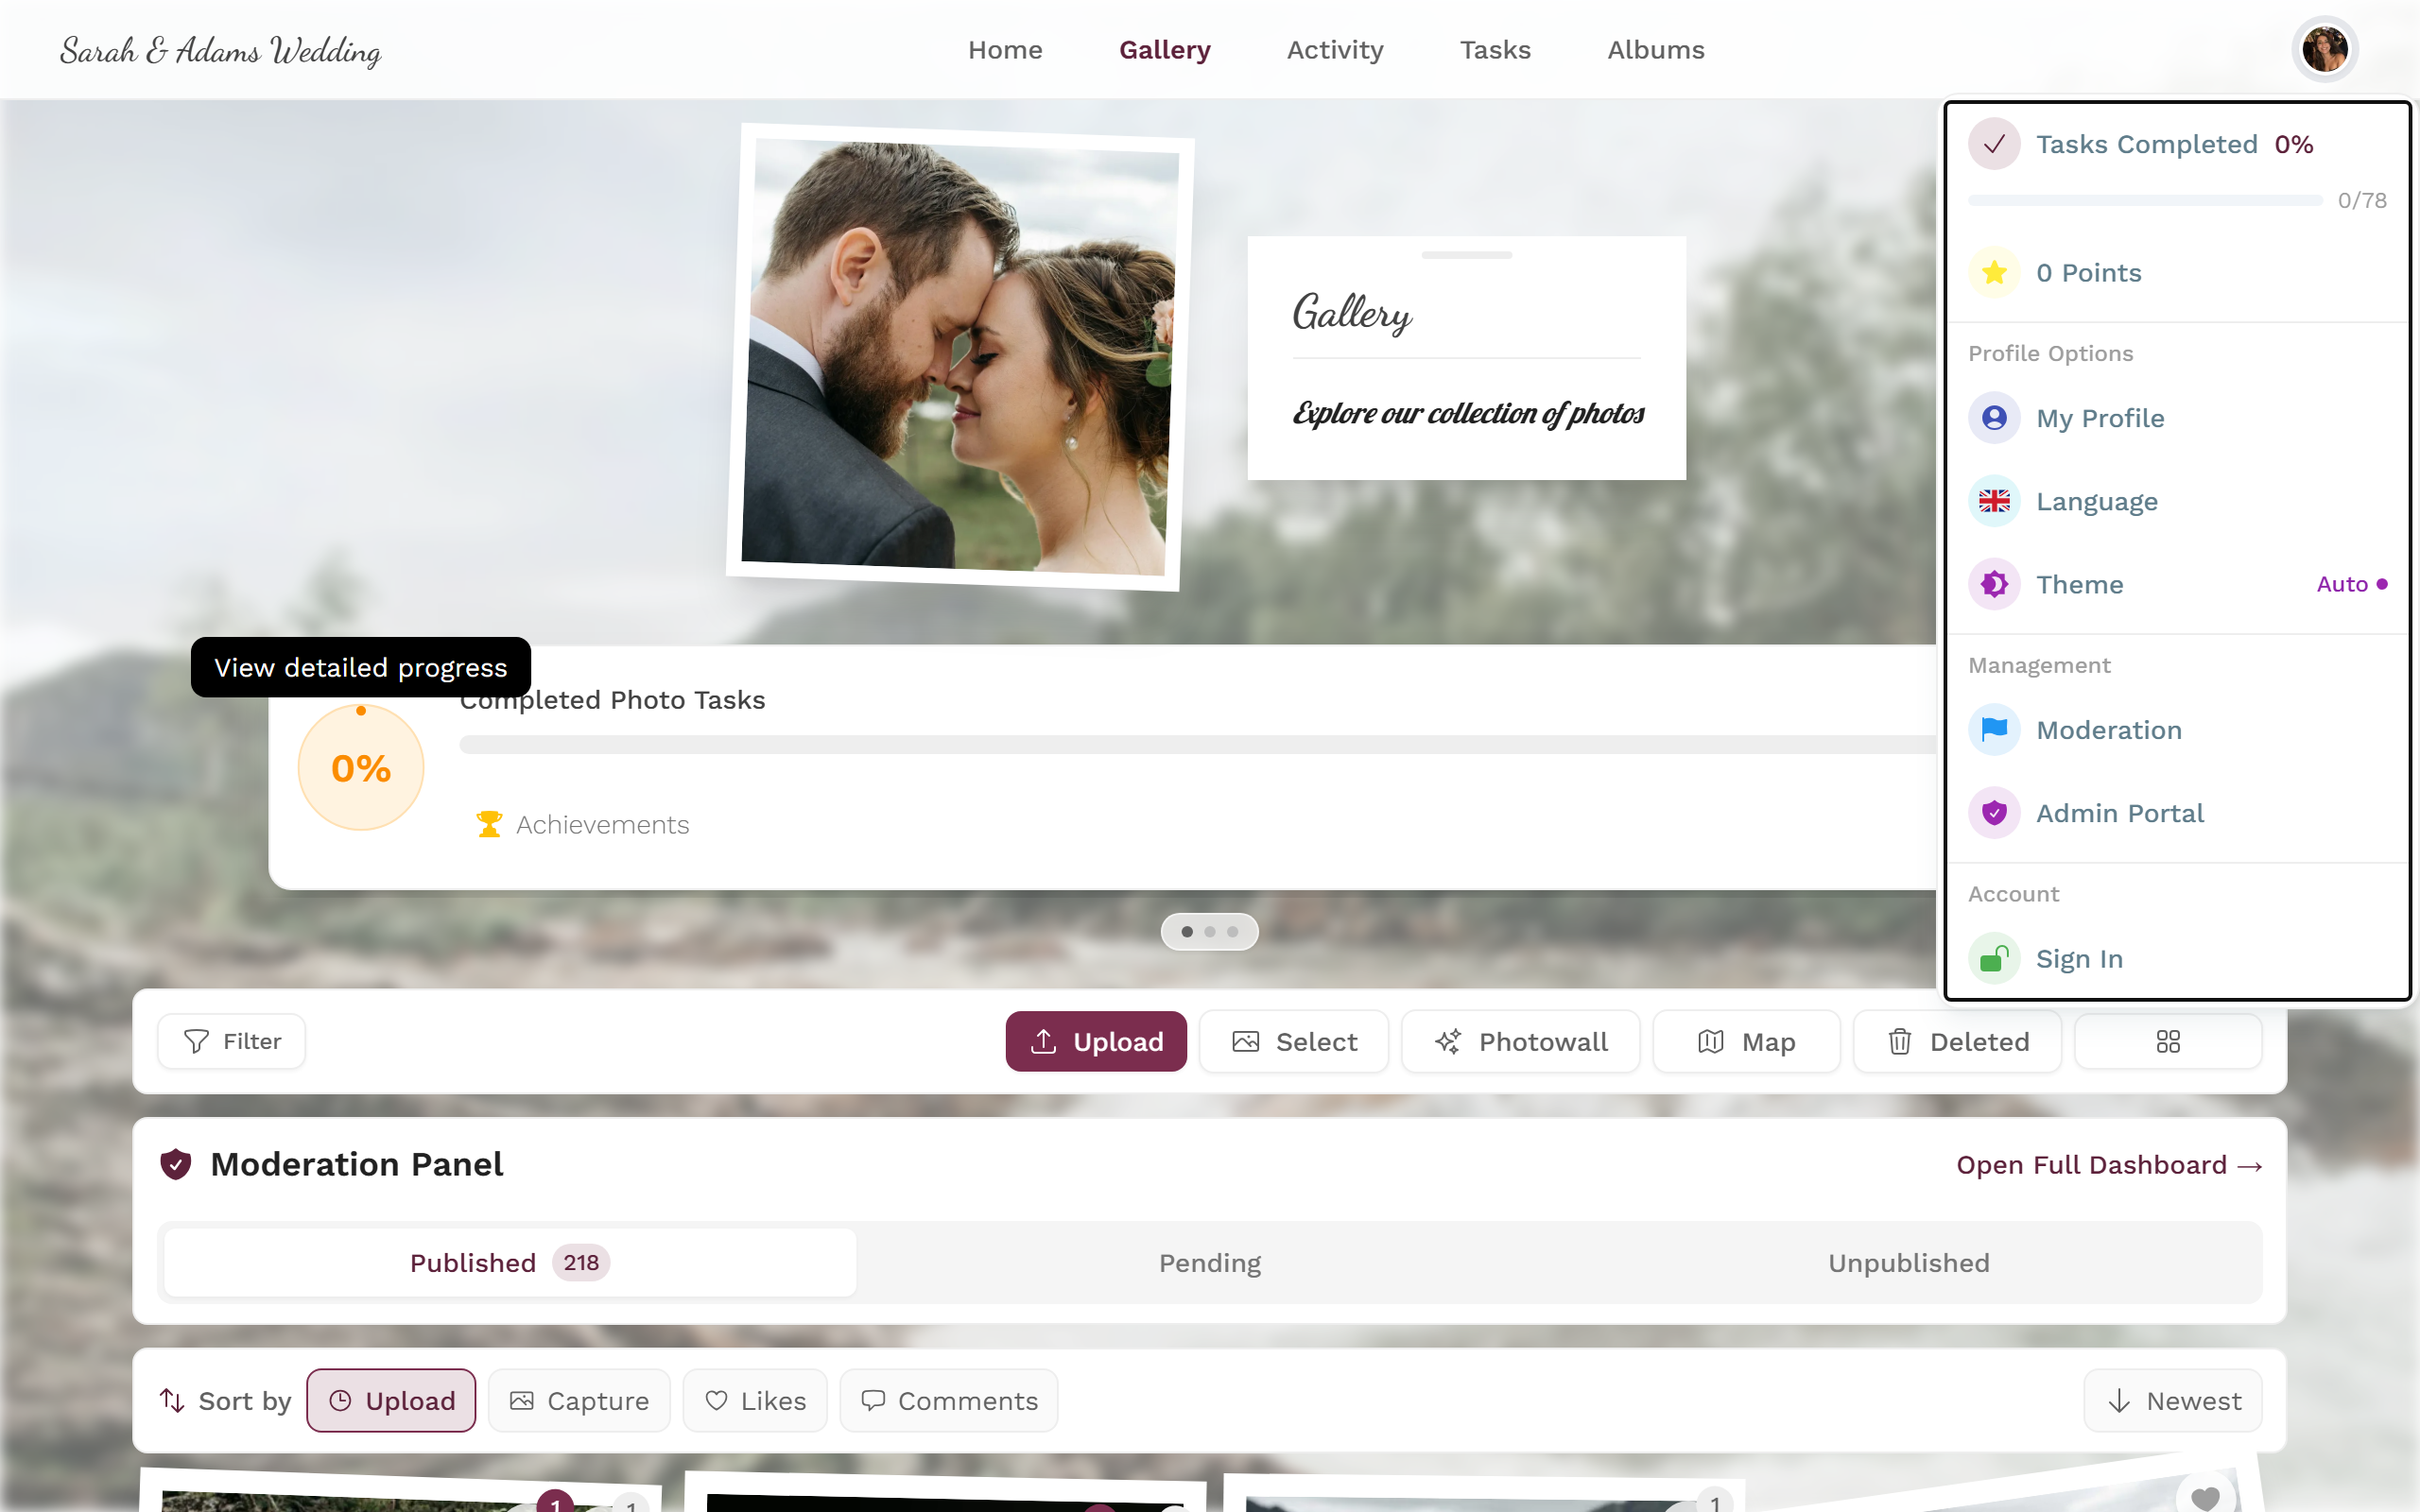
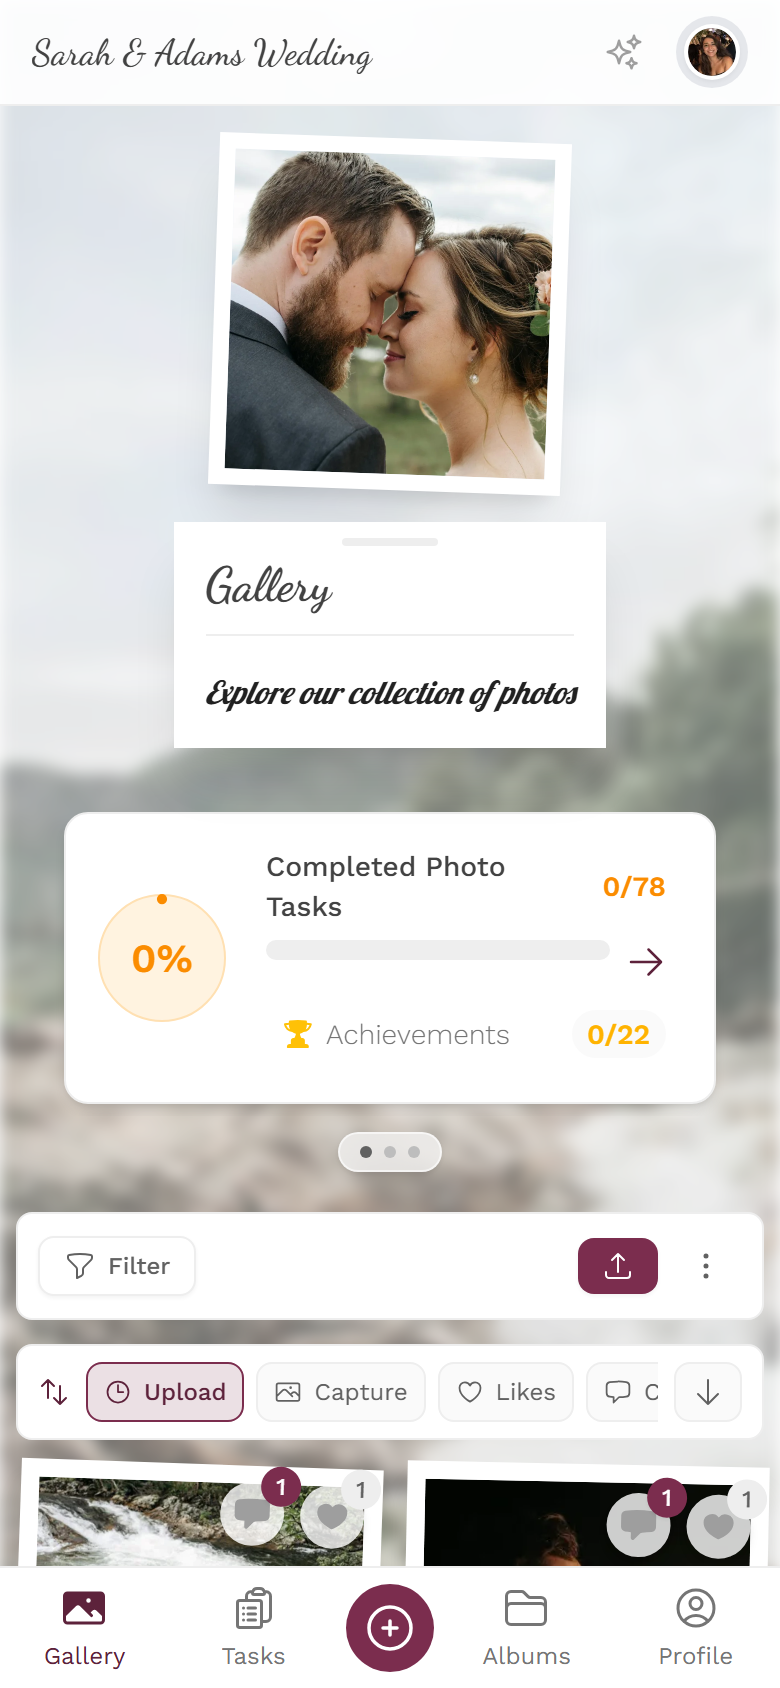
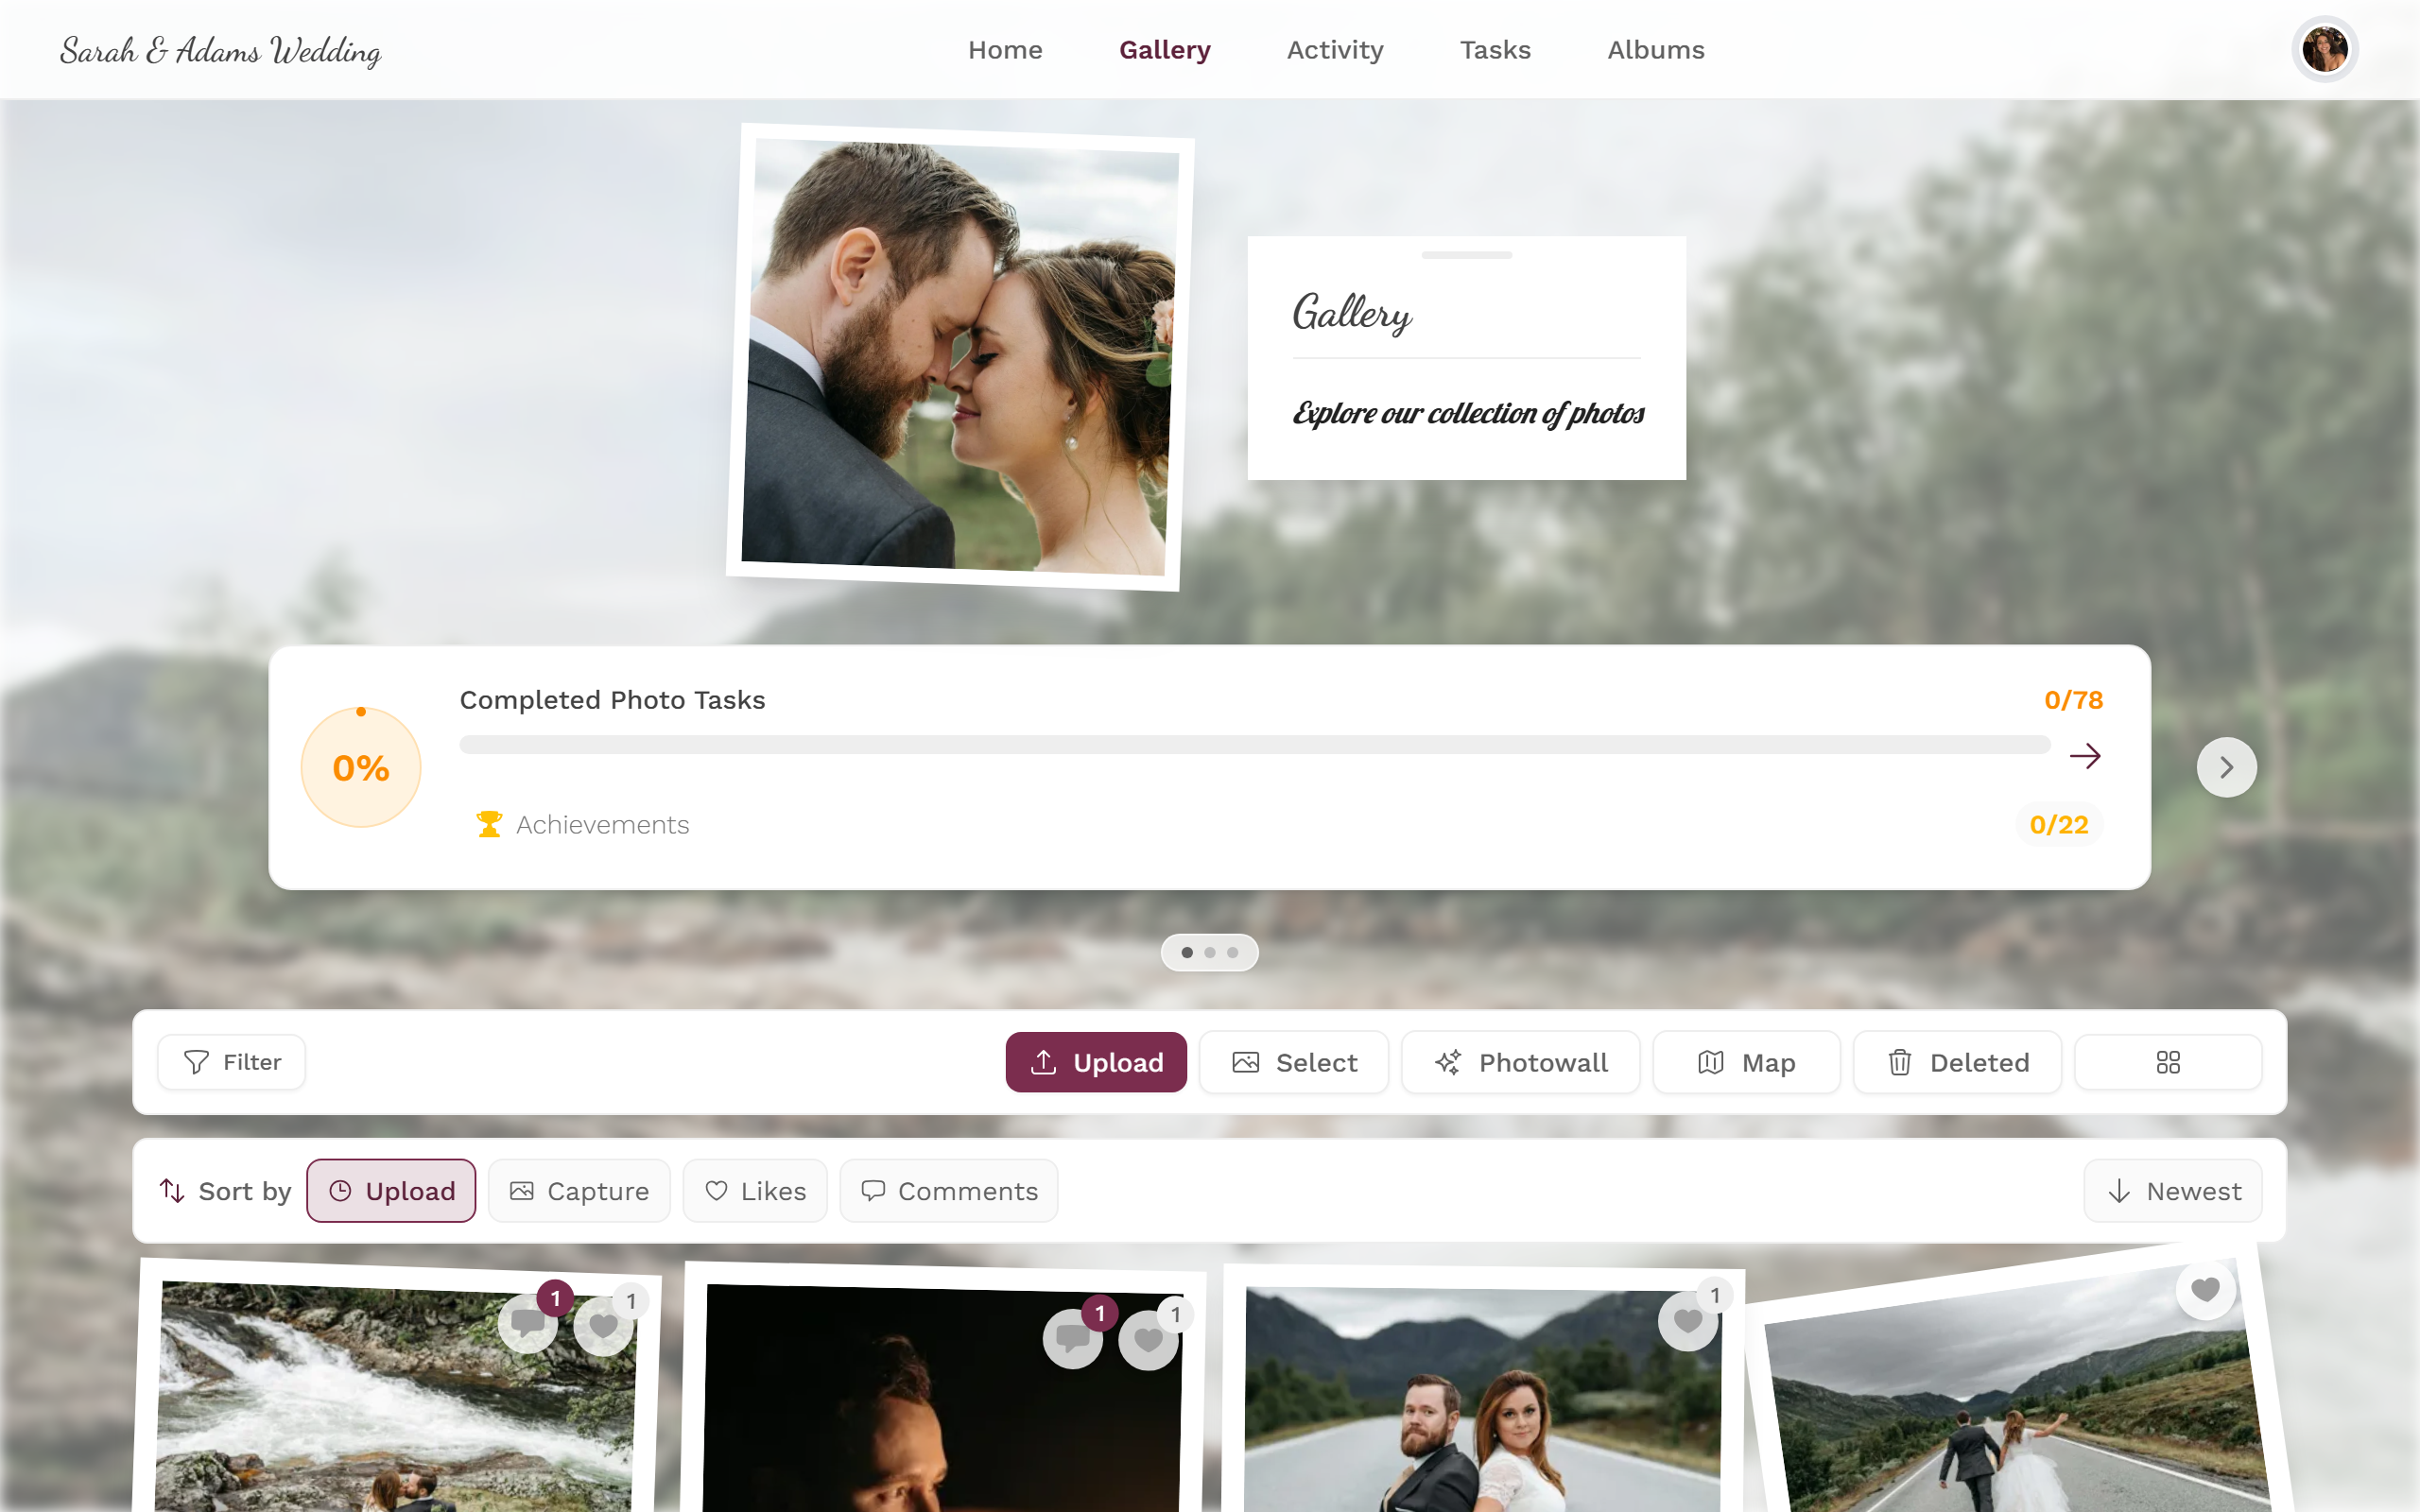
Open your event’s navigation. On desktop, Albums sits in the top header; on mobile it’s in the bottom tab bar or the menu.
Use the navigation to reach the gallery, albums, and other areas. -
Tap Albums. The overview opens.
Way 2 – Through the filter
Section titled “Way 2 – Through the filter”If you just want to filter to one specific album, you don’t need the detour via the overview: the gallery filter has its own Albums section.
-
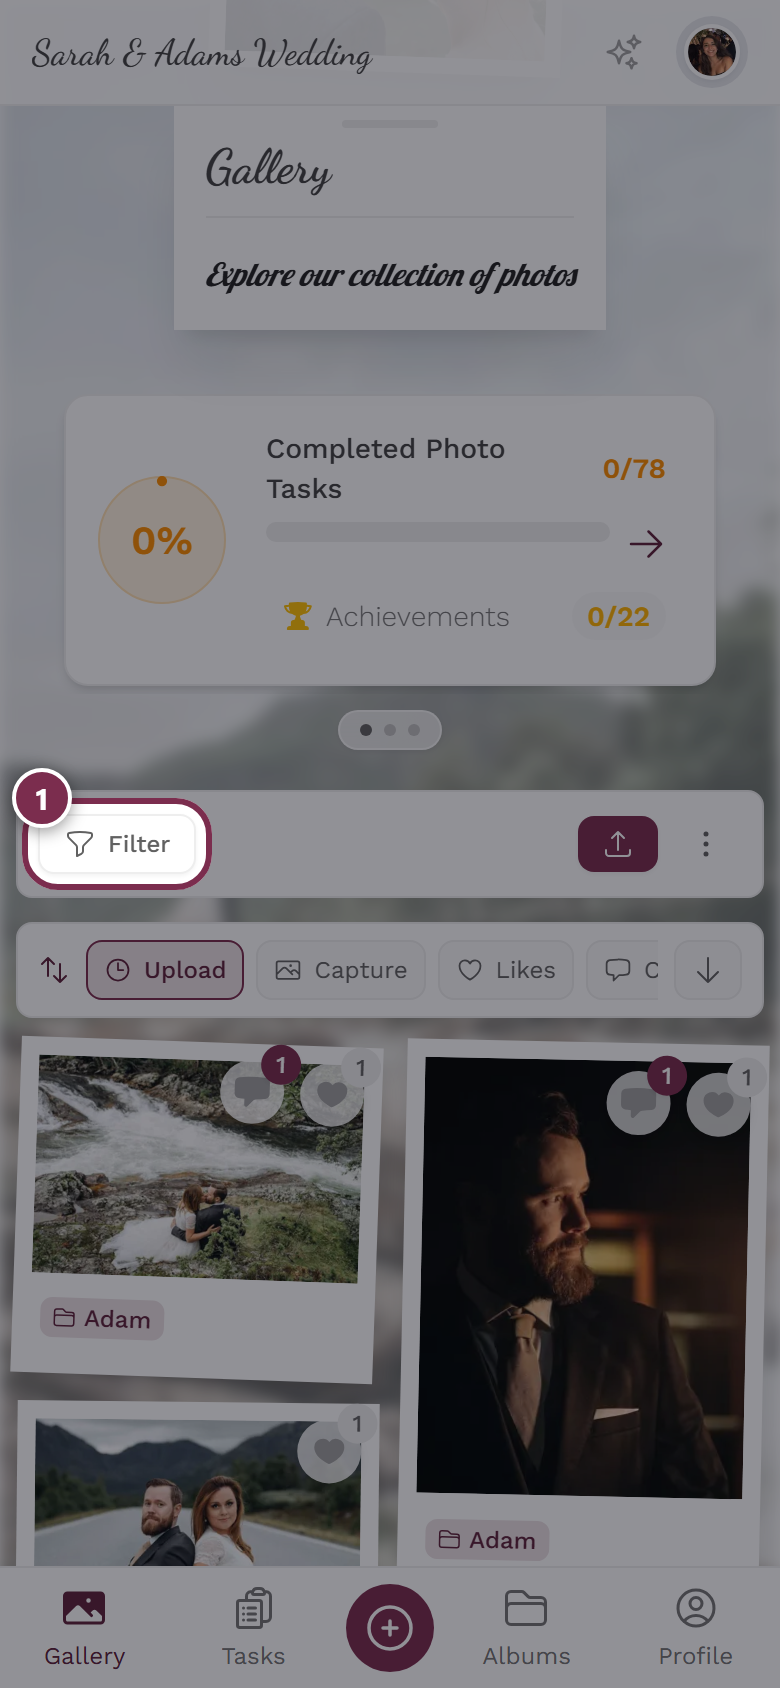
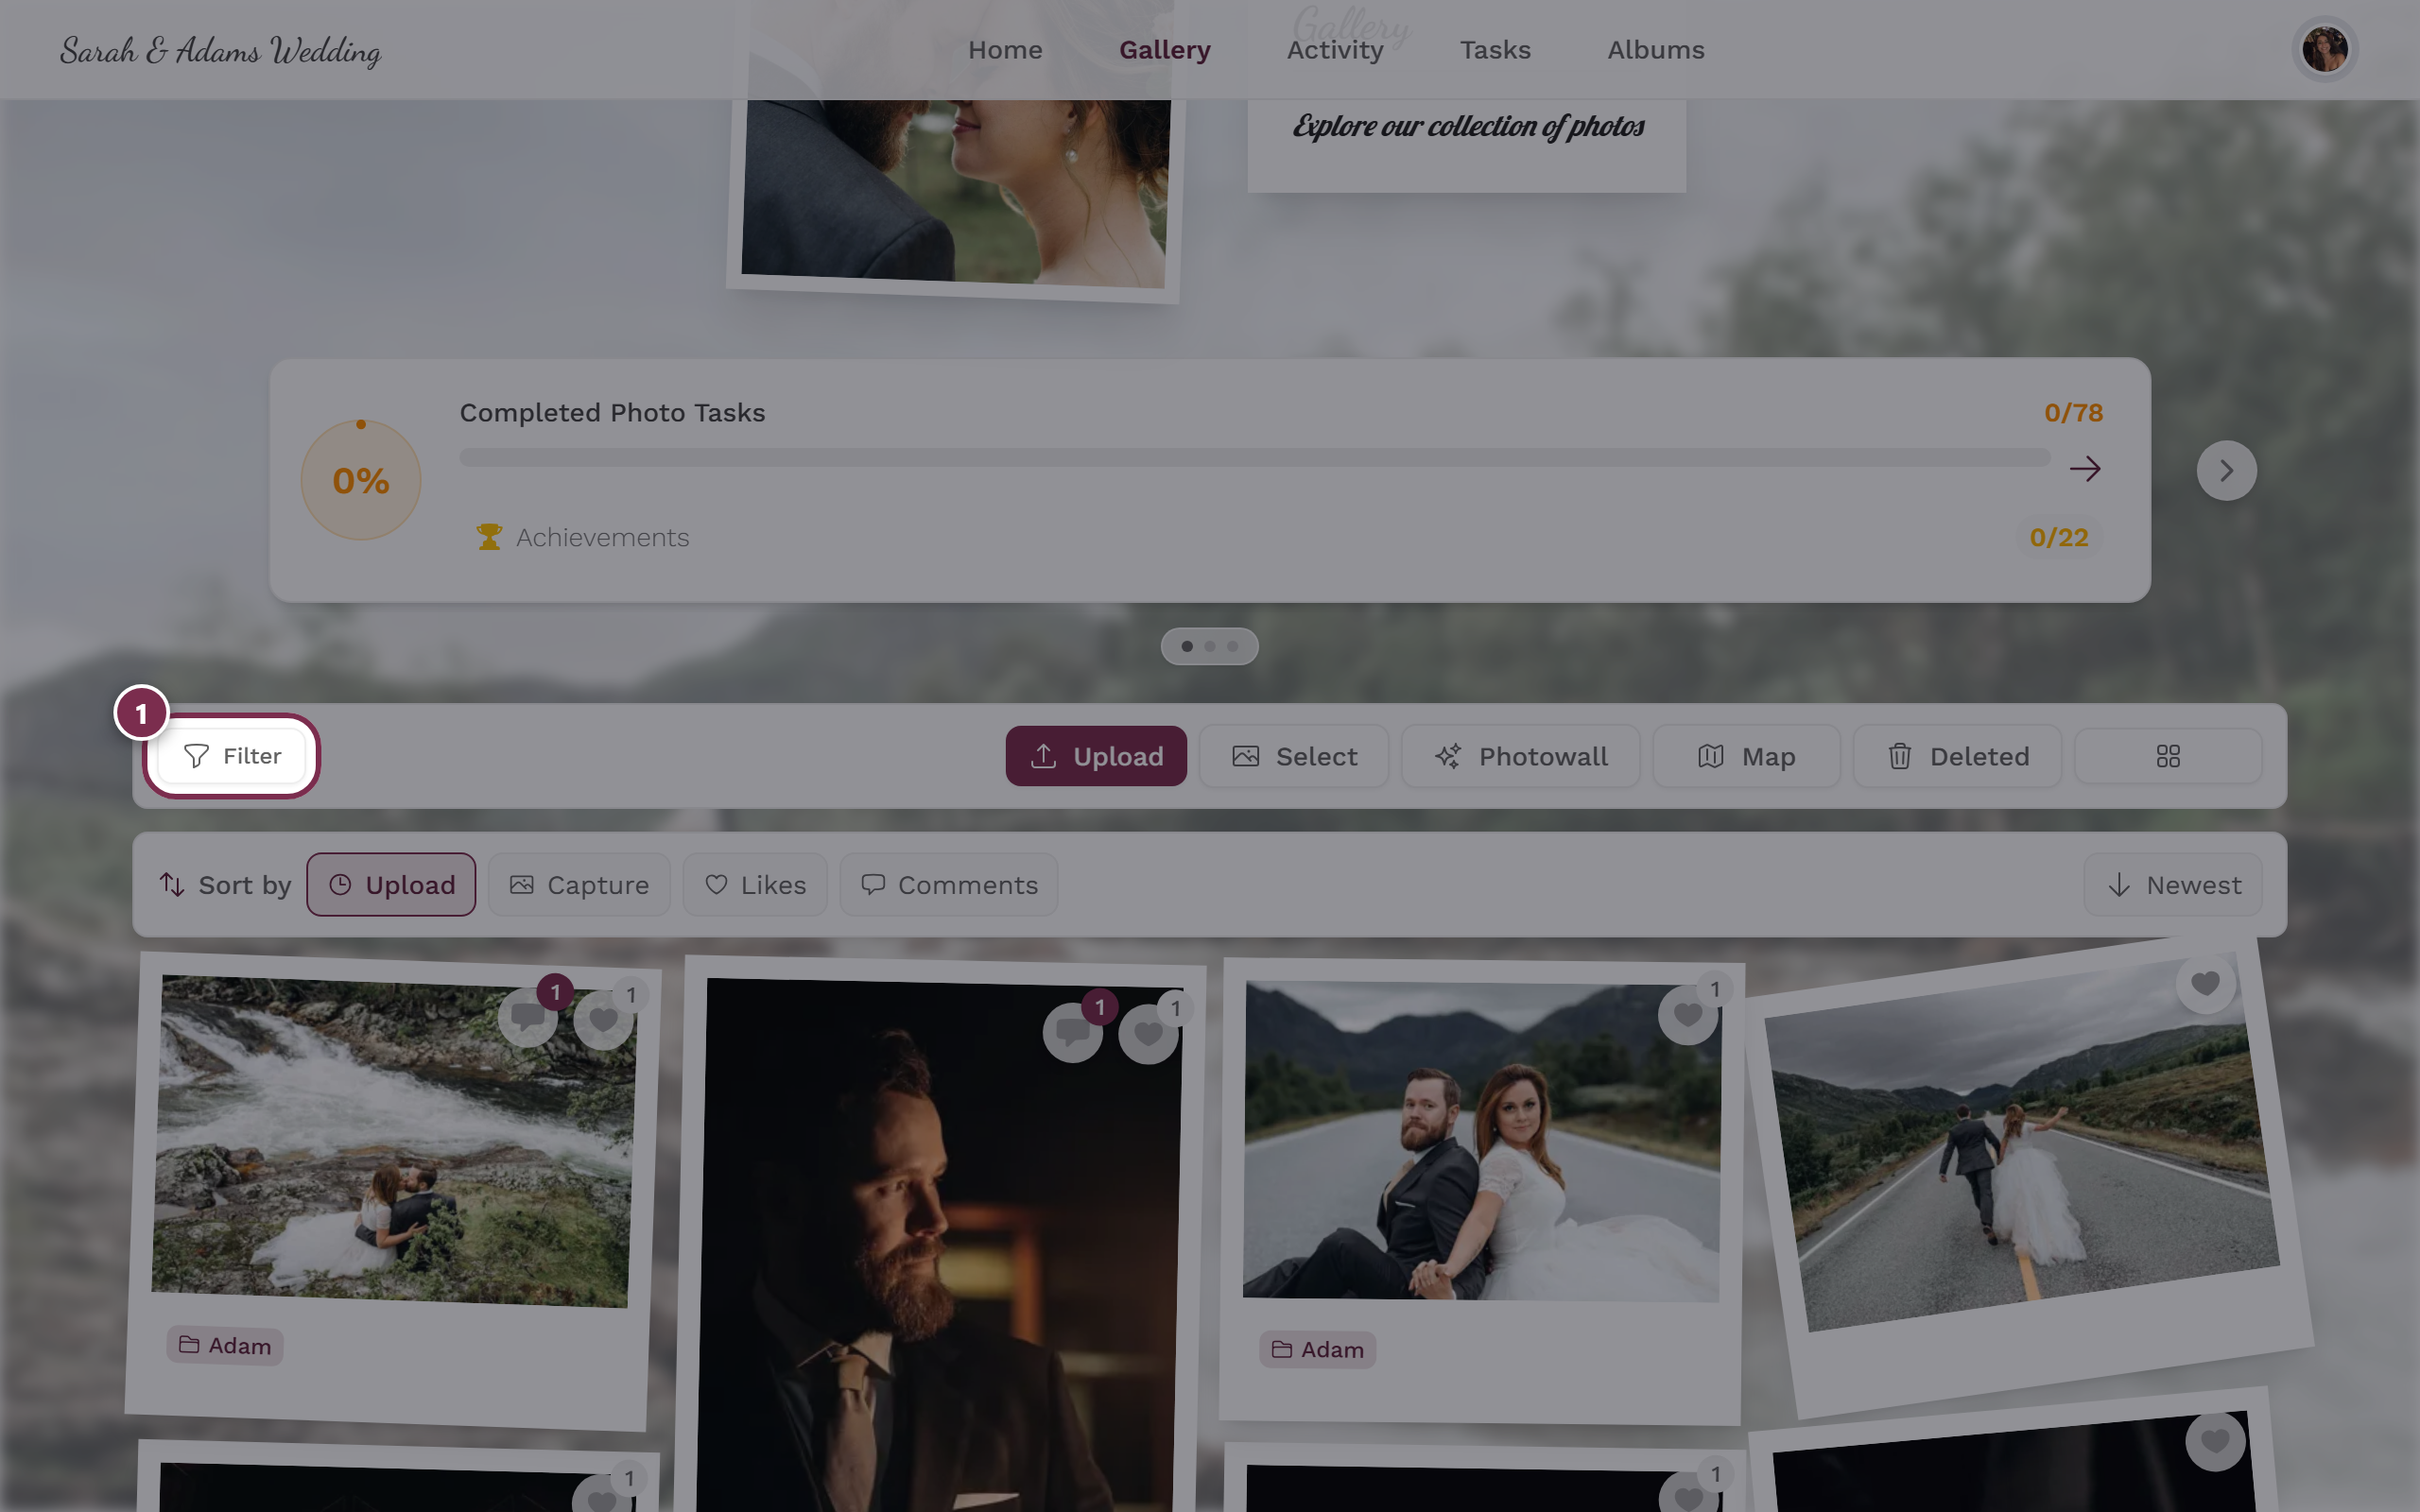
In the gallery toolbar, tap Filter.
-
Scroll down in the filter panel to the Albums section and pick the album you want – or No album for all photos without an album assignment.

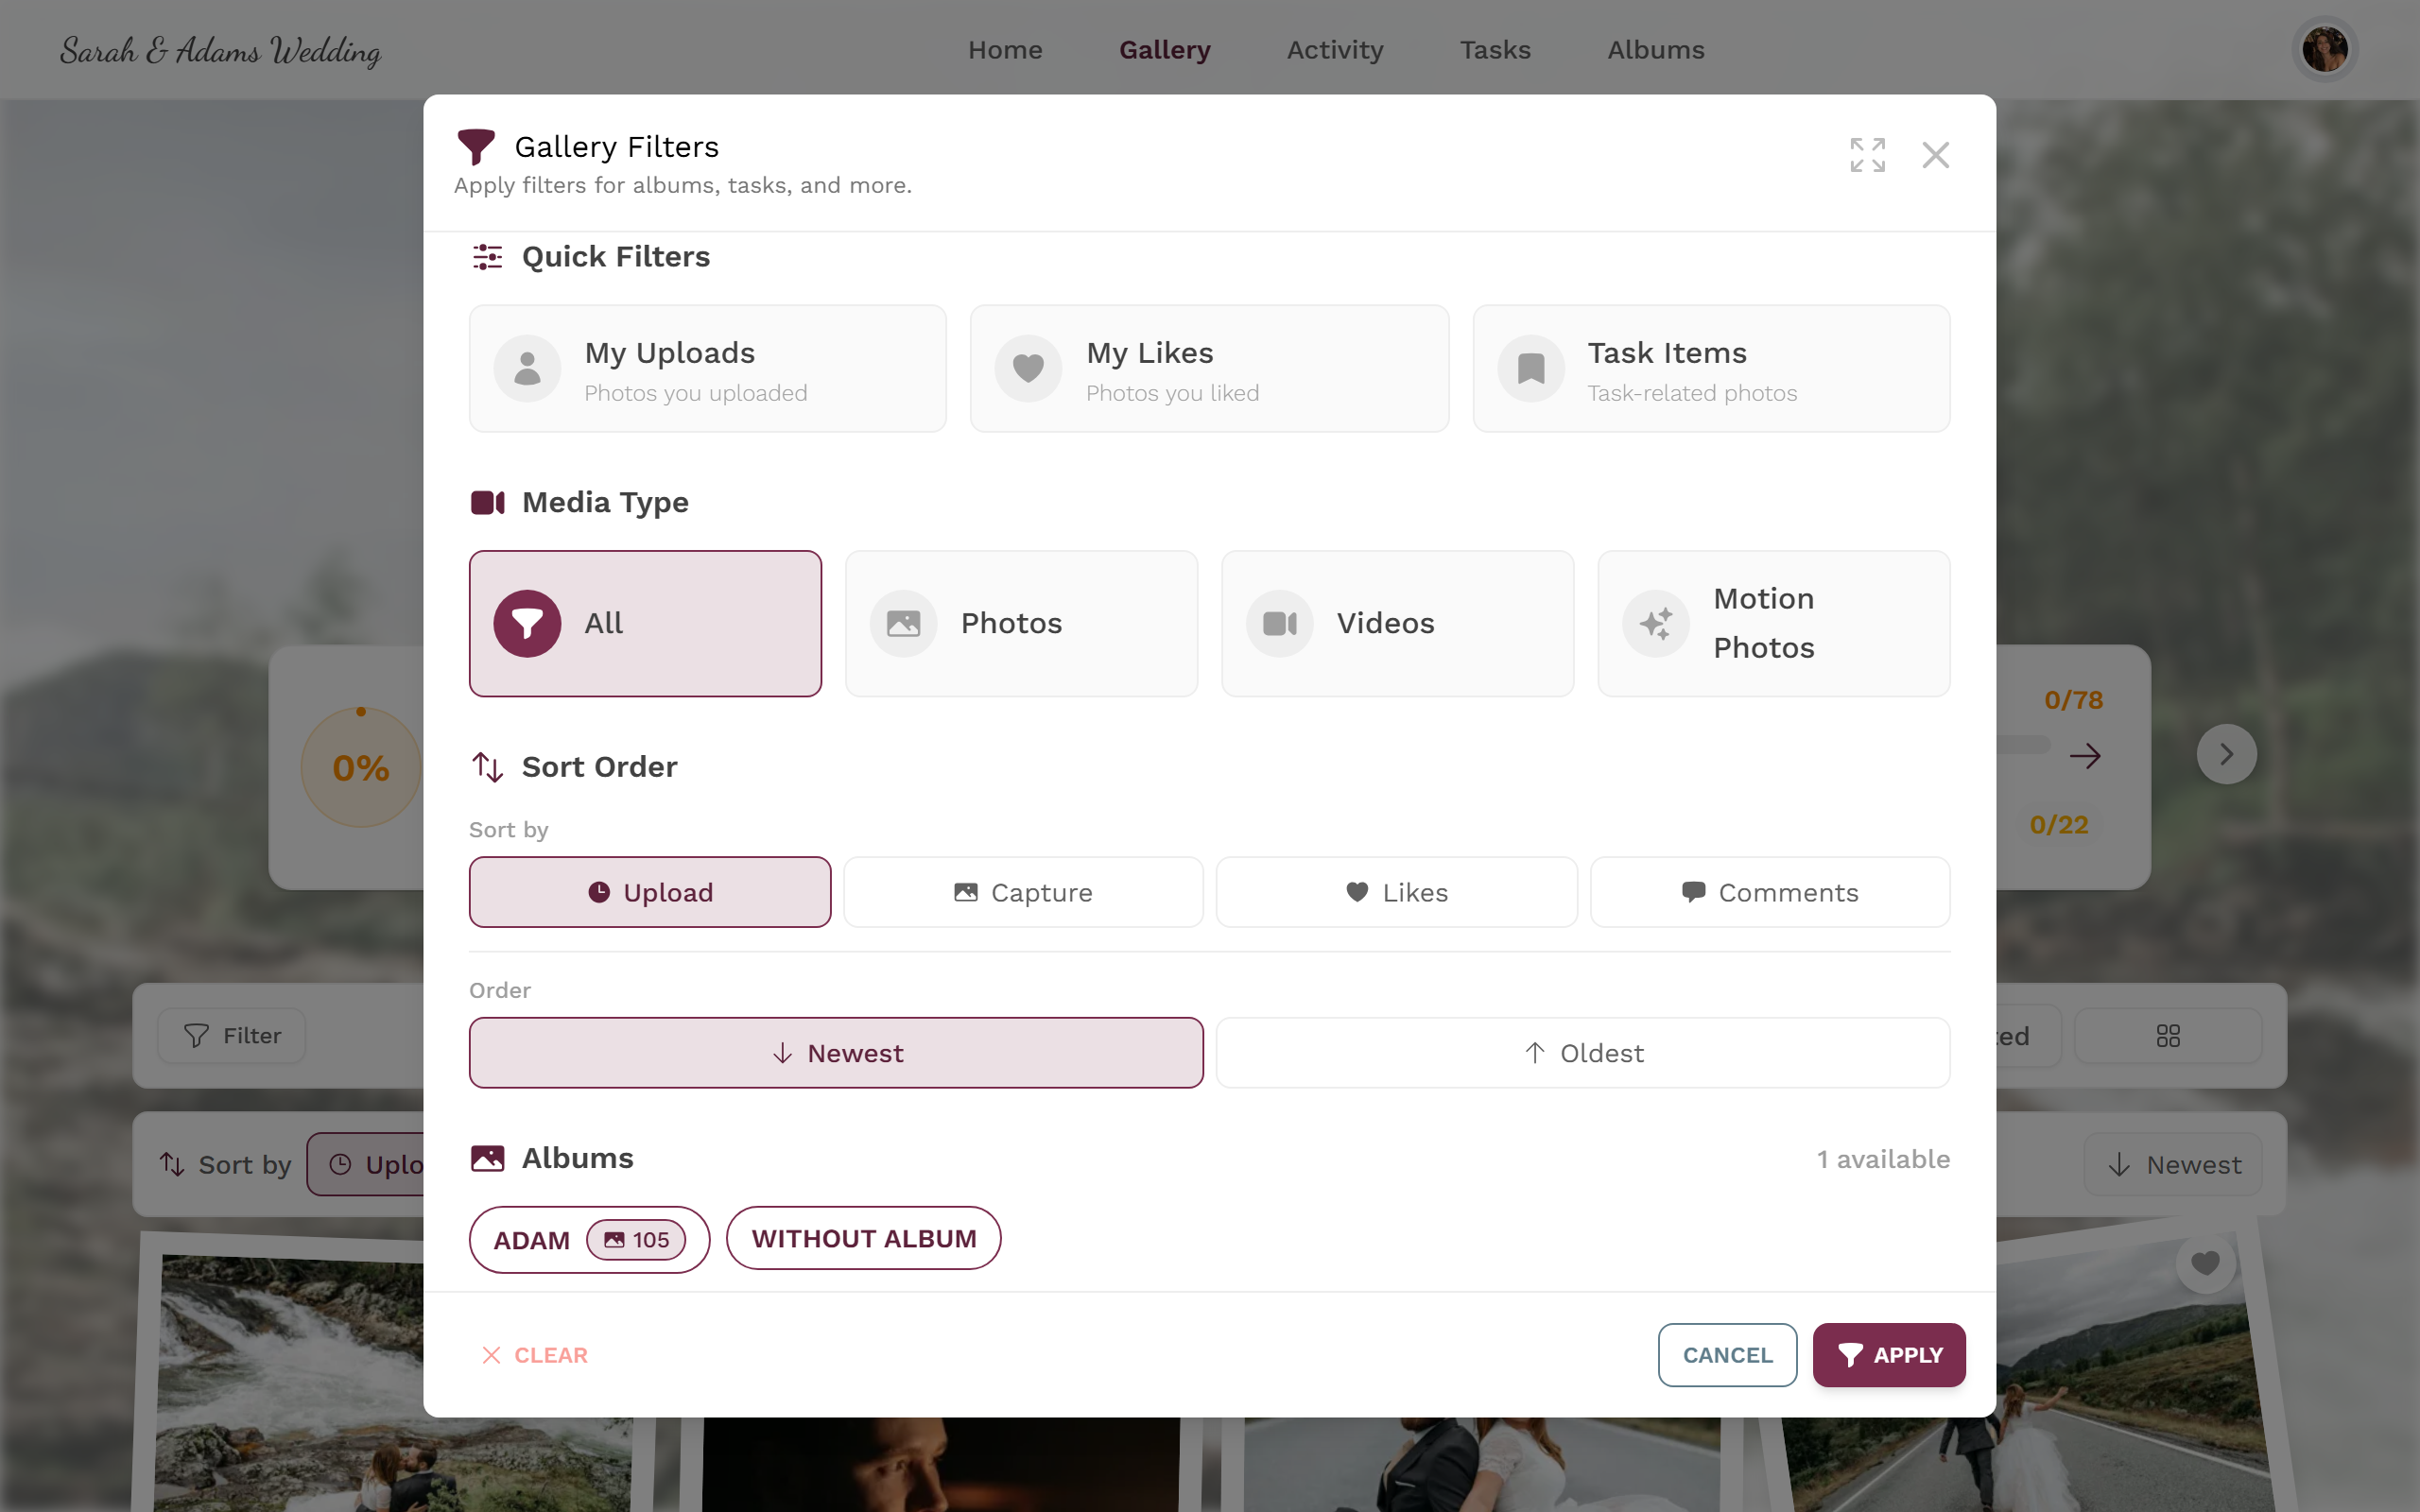
The filter panel has an “Albums” section at the bottom – filter straight to a single album from here. -
Tap Apply. The gallery now shows only that album’s photos.
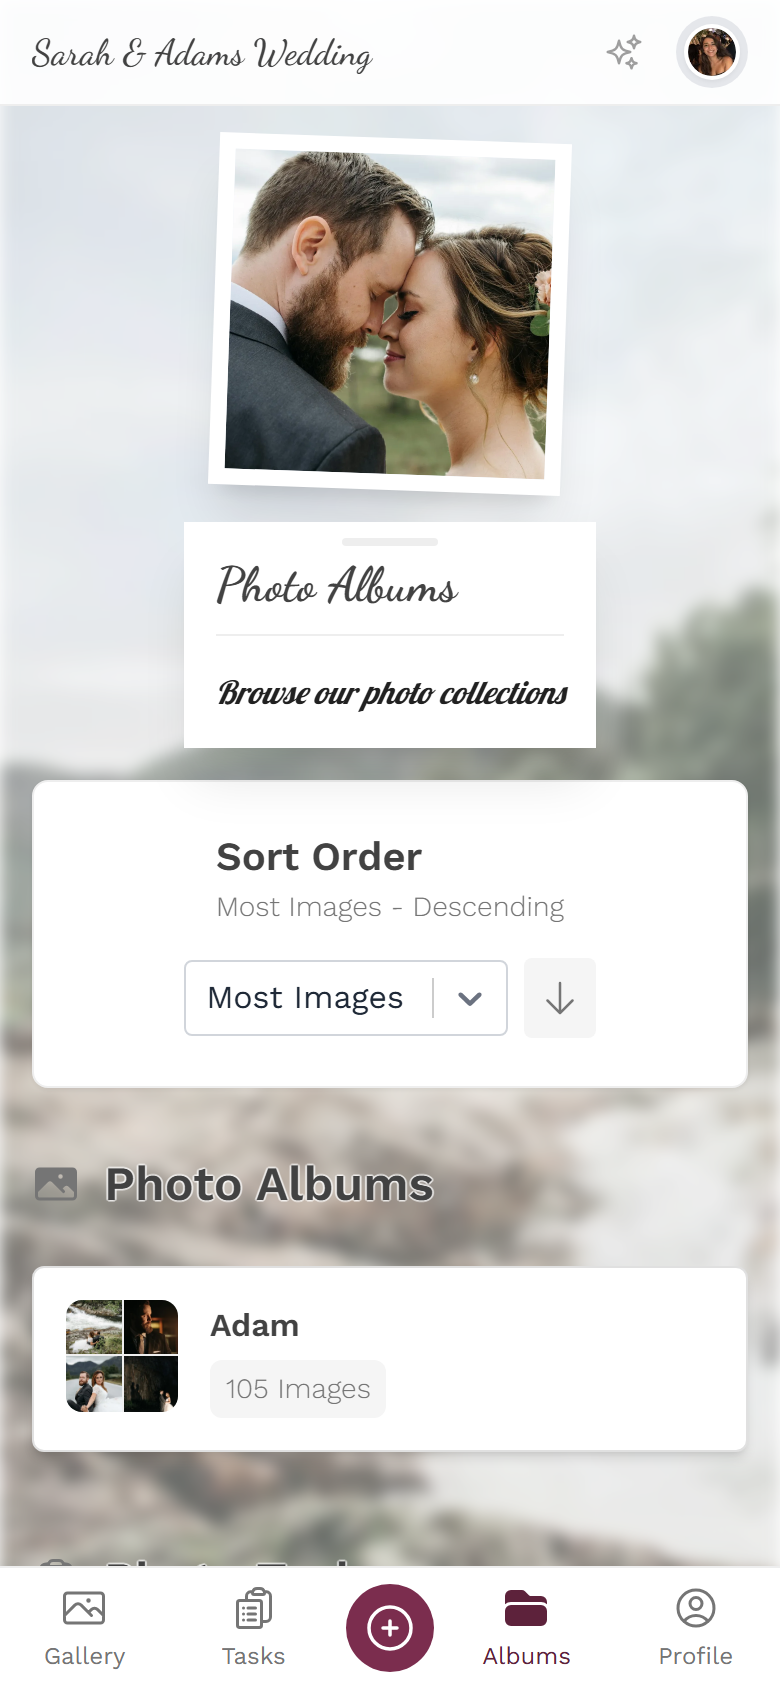
What does the overview show?
Section titled “What does the overview show?”The page has up to two sections (in this order):
- Photo Albums (with a photo icon) – the albums themselves.
- Photo Tasks (with a clipboard icon) – only shown when tasks are enabled and at least one exists. More on this below and in the photo tasks guide.
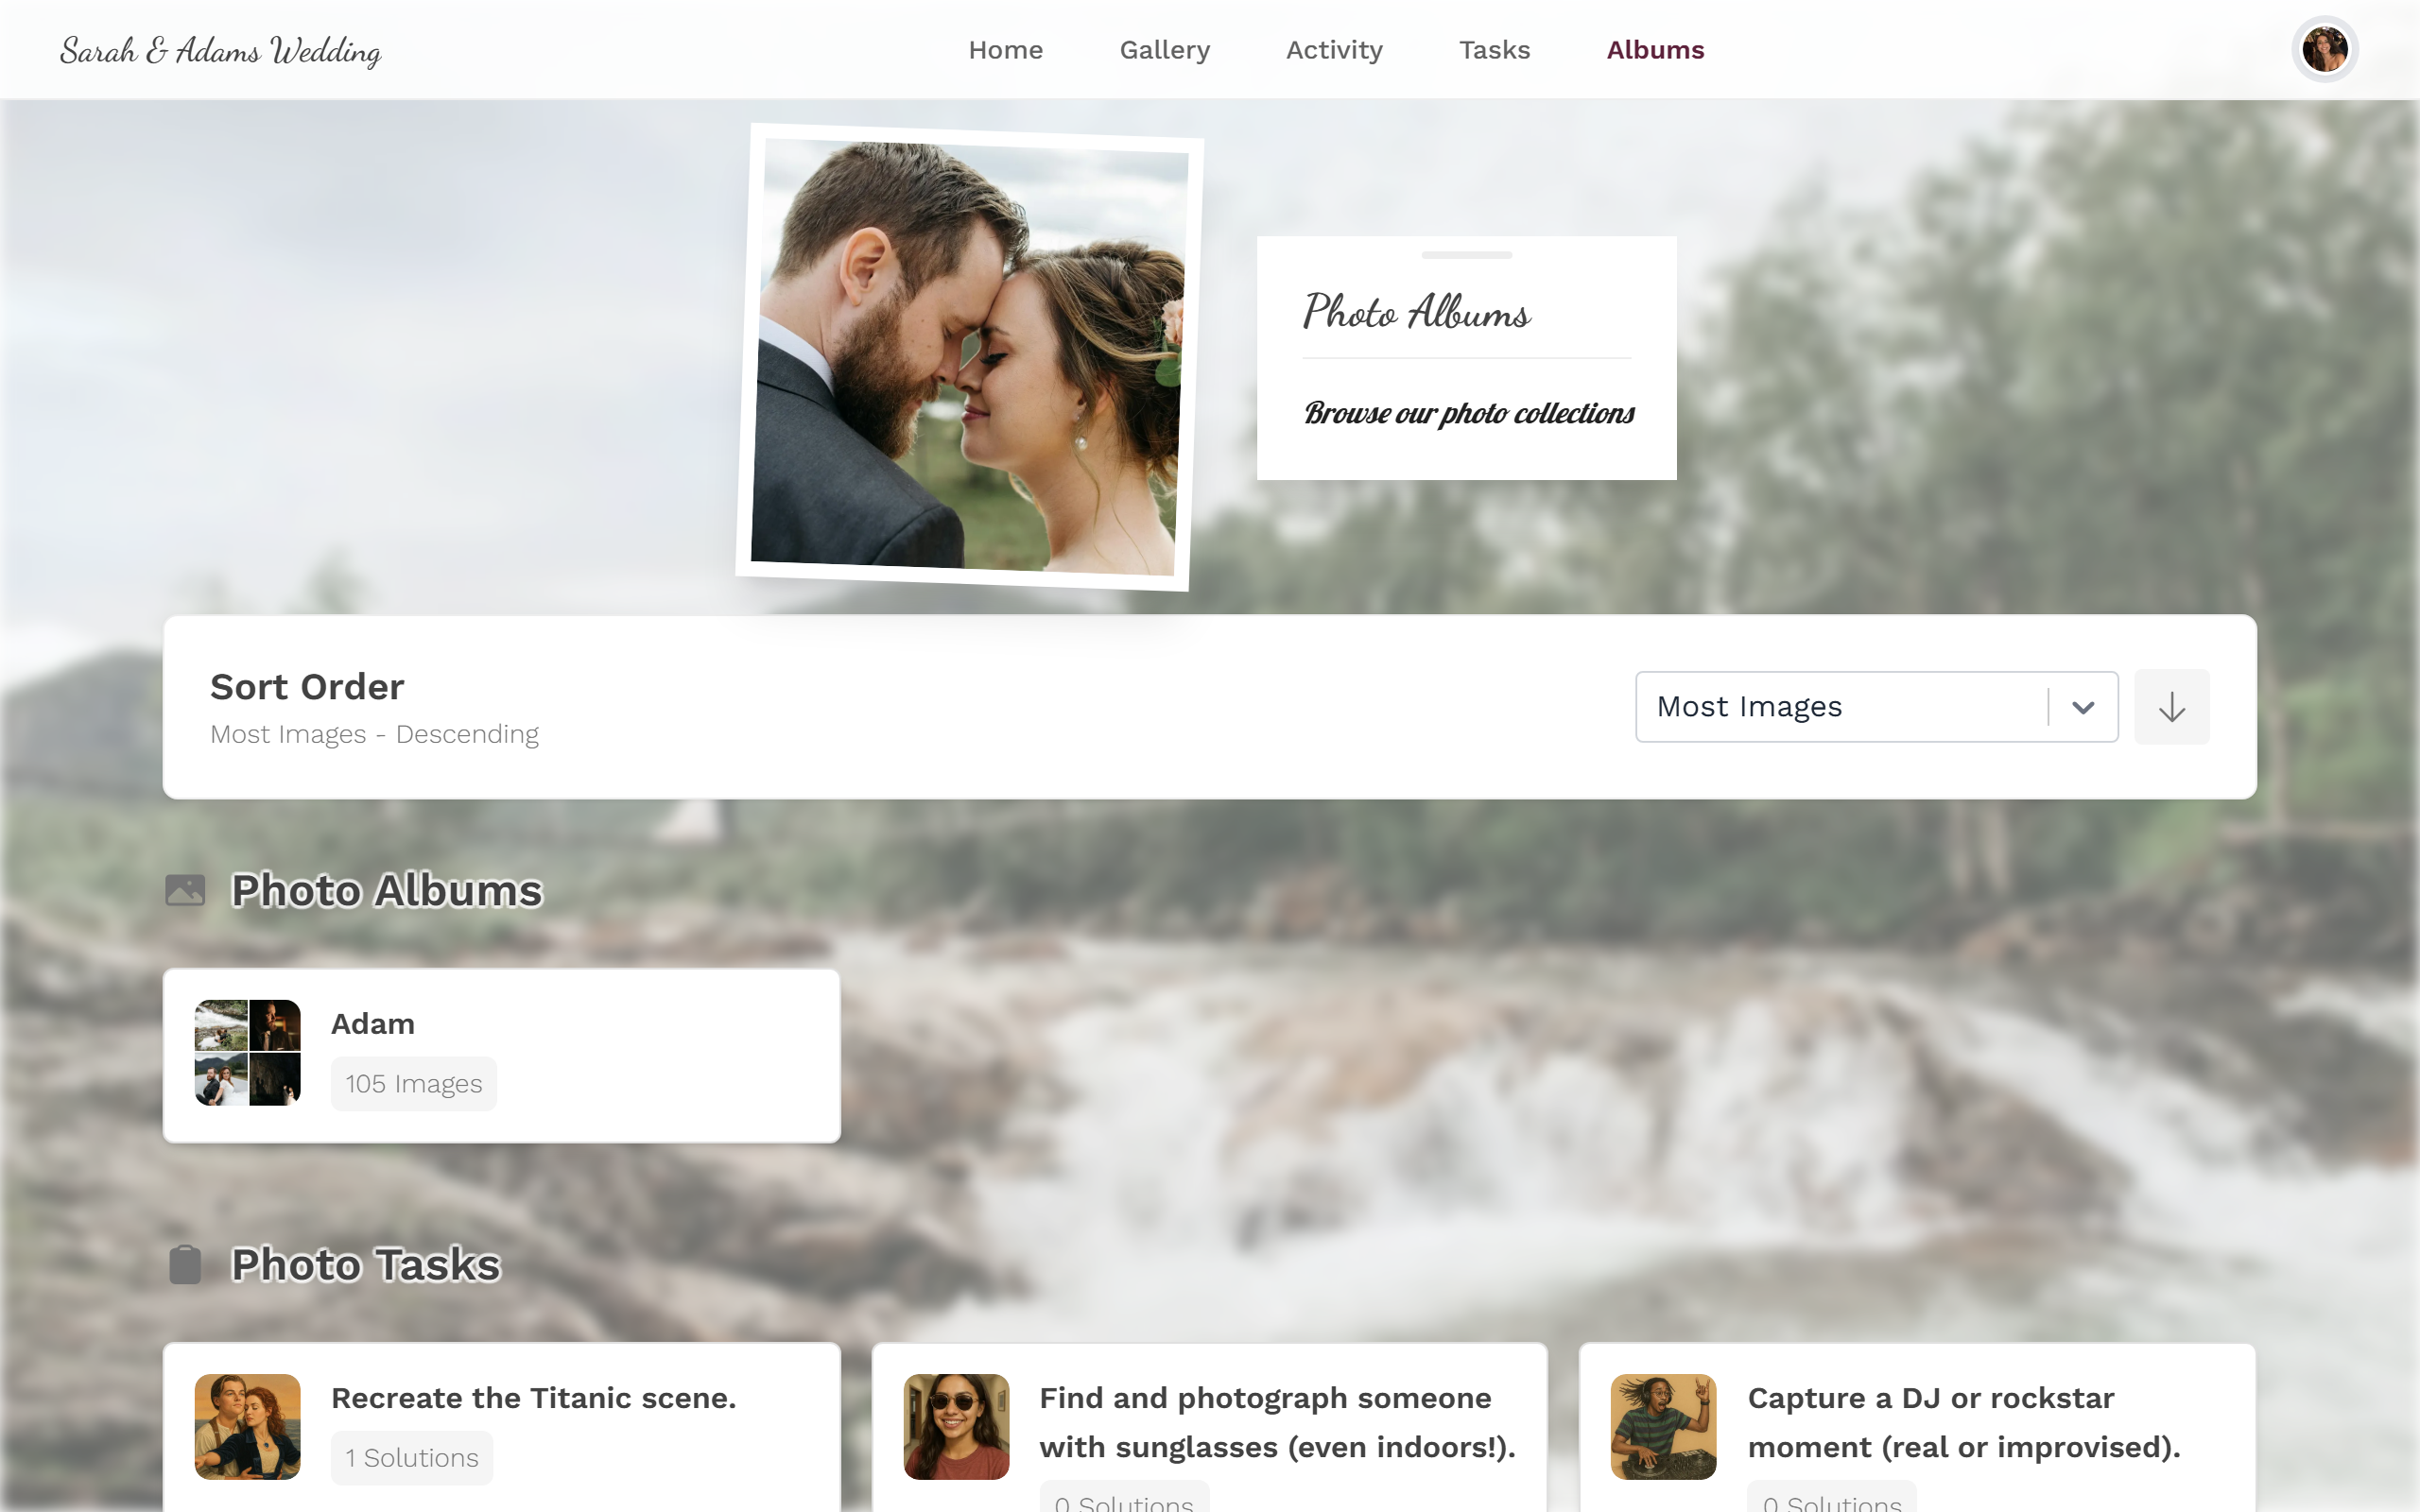
At the very top there is also the Sort Order card, which controls the order of the tiles (see Sorting).
What’s on an album tile?
Section titled “What’s on an album tile?”Each album tile shows:
- A cover image on the left: either a single cover photo, a collage of up to four photos, or – while the album has no photos yet – a placeholder with a photo icon.
- The album title.
- A badge “N Images” – the number of photos in the album.
- An extra badge “Your Uploads: N” – shown only if you have already contributed photos to this album.
A task tile works the same way, except its badge reads “N Solutions” (the number of submitted photos). A task without a title shows as “Unnamed Task”.
Only 9 tiles? Load more
Section titled “Only 9 tiles? Load more”Each section shows only 9 tiles at first. If there are more, a button appears at the bottom: “Load More Albums” or “Load More Tasks”, loading 9 more each time. So no albums are missing – they’re just not expanded yet.
Understanding album types
Section titled “Understanding album types”For you as a guest, the interaction is identical for all types: tap the tile, view the photos. The difference is only in how an album fills up:
- Manual / shared albums – collections the host assembles by hand (e.g. “Ceremony”, “Party”). The contents are fixed.
- Smart albums (premium) – fill automatically by rules, e.g. by uploader, capture time, media type, or likes. New matching photos land in them on their own once uploaded and processed.
- People albums – a special kind of smart album that collects every photo of one specific person. Technically it is virtual: when opened, the gallery filters by that person’s recognized faces rather than by a fixed album membership. To you it looks like a normal album.
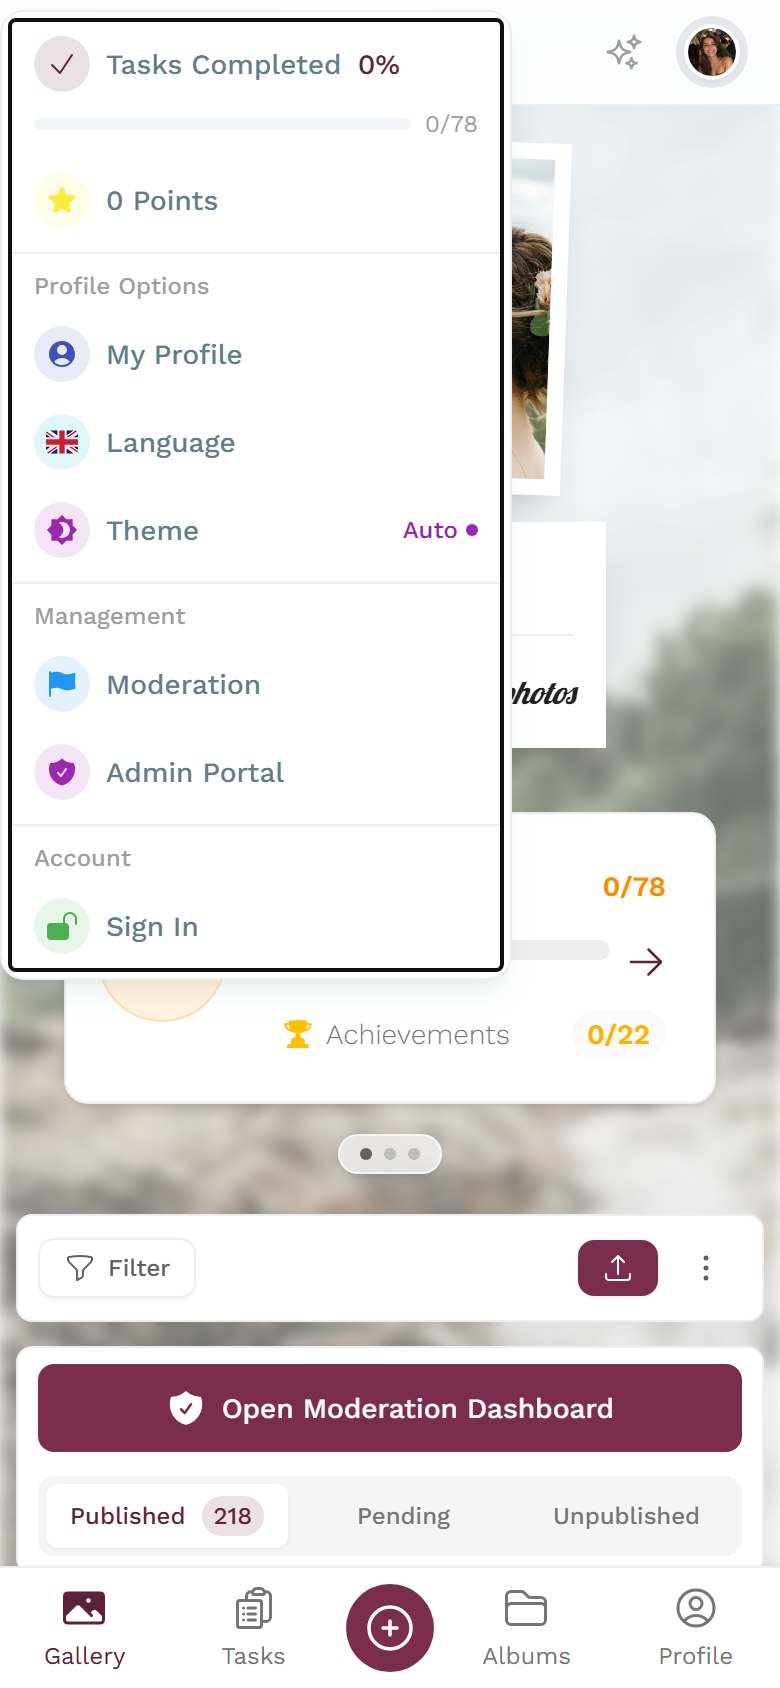
Which rules apply, or which person a people album represents, is set by the host. That belongs in the admin area – you reach it (with the right role) via the profile menu in the top right.
Opening an album
Section titled “Opening an album”Opening happens in two levels: first the album, then a photo within it.
-
In the overview, tap an album tile (the whole tile is clickable).
A tap on the tile opens the whole album, not a single photo. -
You land in the gallery, filtered to exactly that album. Only that album’s photos are shown.
The opened album as a filtered gallery grid. -
A tap on a photo opens it in fullscreen or the slideshow.
Back to the whole gallery
Section titled “Back to the whole gallery”Because an opened album is just a filter on the gallery, you’ll only see the album’s photos afterwards. To see all uploads again, clear the filter:
-
In the filtered gallery, tap the “Clear Filters to See All Uploads” button. The gallery then shows every photo again.
-
Alternatively, use the navigation to switch back to Albums or Gallery.
Sorting the overview
Section titled “Sorting the overview”The Sort Order card at the top controls the order of the tiles. The sort applies to both sections (albums and tasks) at once.
-
Open the dropdown at the top with the placeholder “Sort by”.
The sort dropdown with all five modes. -
Pick one of the five modes:
- Manual Order – the order defined by the host (no ascending/descending direction).
- Random Order – shuffles the tiles. A “Reshuffle” button also appears (a dice icon on mobile) to shuffle again. No direction.
- Alphabetical – by title.
- Most Images – by number of photos.
- Your Uploads – the albums/tasks you contributed to most come first.
-
Use the arrow button next to the dropdown to toggle between ascending and descending. This direction does not apply to “Manual Order” and “Random Order”.
Photo tasks in the overview
Section titled “Photo tasks in the overview”The second section, Photo Tasks, works like albums: tapping a task tile opens the gallery filtered to that task, where you see every submitted solution. The only visible difference is the badge “N Solutions” instead of “Images”.
This section only appears when photo tasks are enabled. How to solve a task and contribute a photo yourself is in the photo tasks guide.
For hosts and moderators
Section titled “For hosts and moderators”As an admin, the overview shows extra elements that are invisible to guests:
- An “Add” button per section (labeled “Add album” or “Add task”).
- A management menu per tile: right-click (on desktop) or long-press (on mobile) opens the actions Open / Edit / Delete. Delete asks for confirmation before running (“Delete album?”).
Creating and configuring albums (including smart-album rules and people reference photos) happens in the admin area. You reach it via the profile menu in the top right.