Creating challenges
Challenges bring energy to your event: little photo tasks motivate your guests to take creative pictures, join in, and collect points. In the task management you create these tasks, configure the points, and set up achievements. This page walks you through every tab, every dialog, and every field step by step.
How to reach the task management
Section titled “How to reach the task management”-
Open the admin area of your event from the top-right profile menu under Management (see Accessing the admin portal).
-
In the left sidebar, click Gamification. The page is titled Task Management and opens on the Tasks tab by default.
The three tabs
Section titled “The three tabs”The tabs are always visible. If you lack permission for a tab, its content is replaced by an upgrade hint (premium overlay).
- Tasks – create, edit, reorder and filter your photo tasks.
- Achievements – achievements and real rewards. Covered in detail in Achievements & rewards; handing out real prizes runs through Reward tracking.
- Points configuration – set event-wide how many points each action is worth.
The first available tab (in the order Tasks → Achievements → Points configuration) is shown automatically on open.
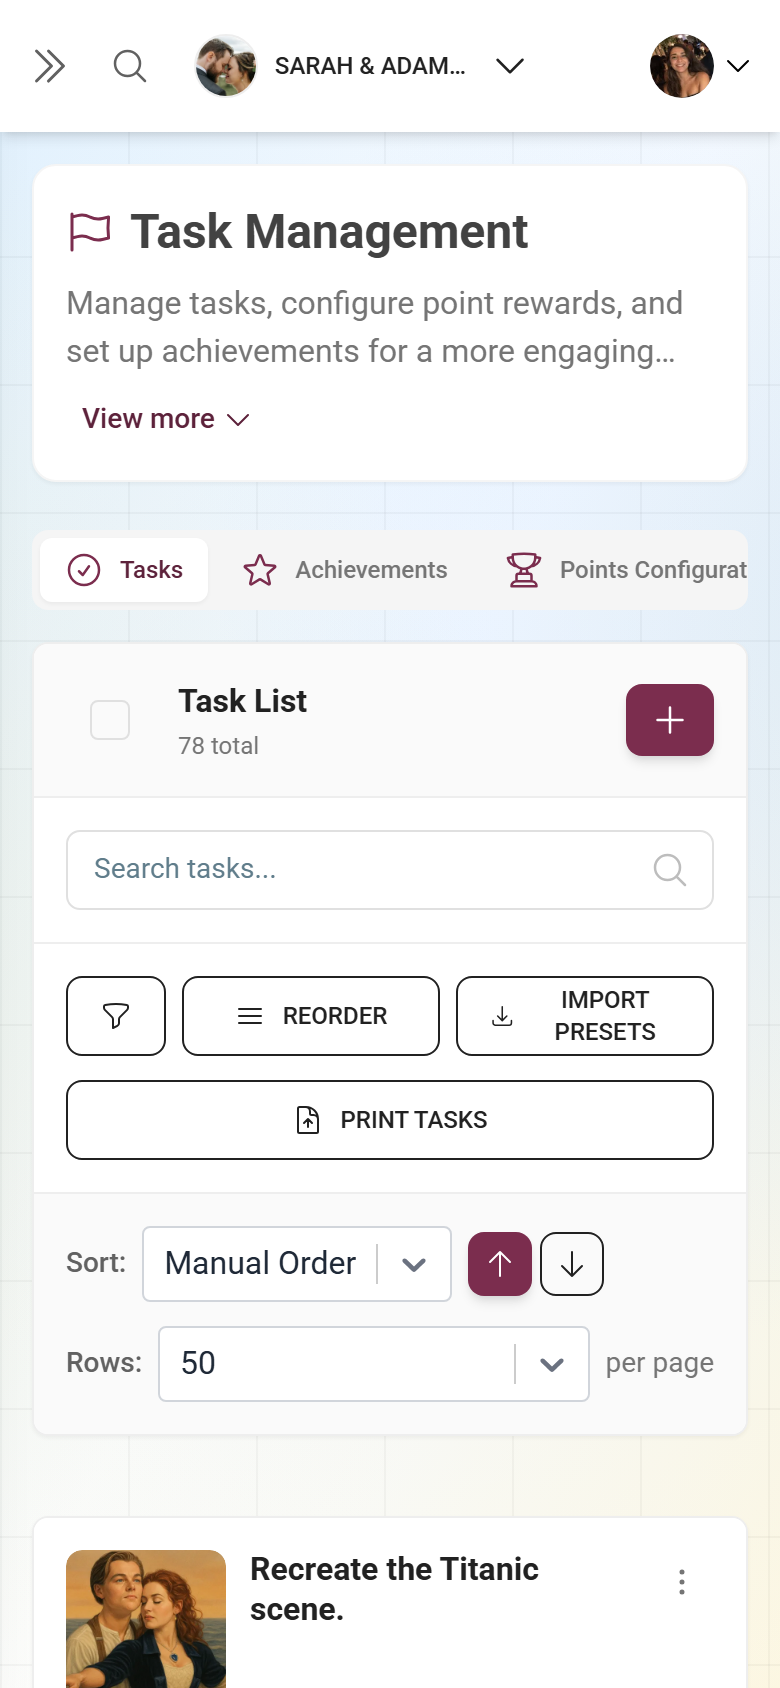
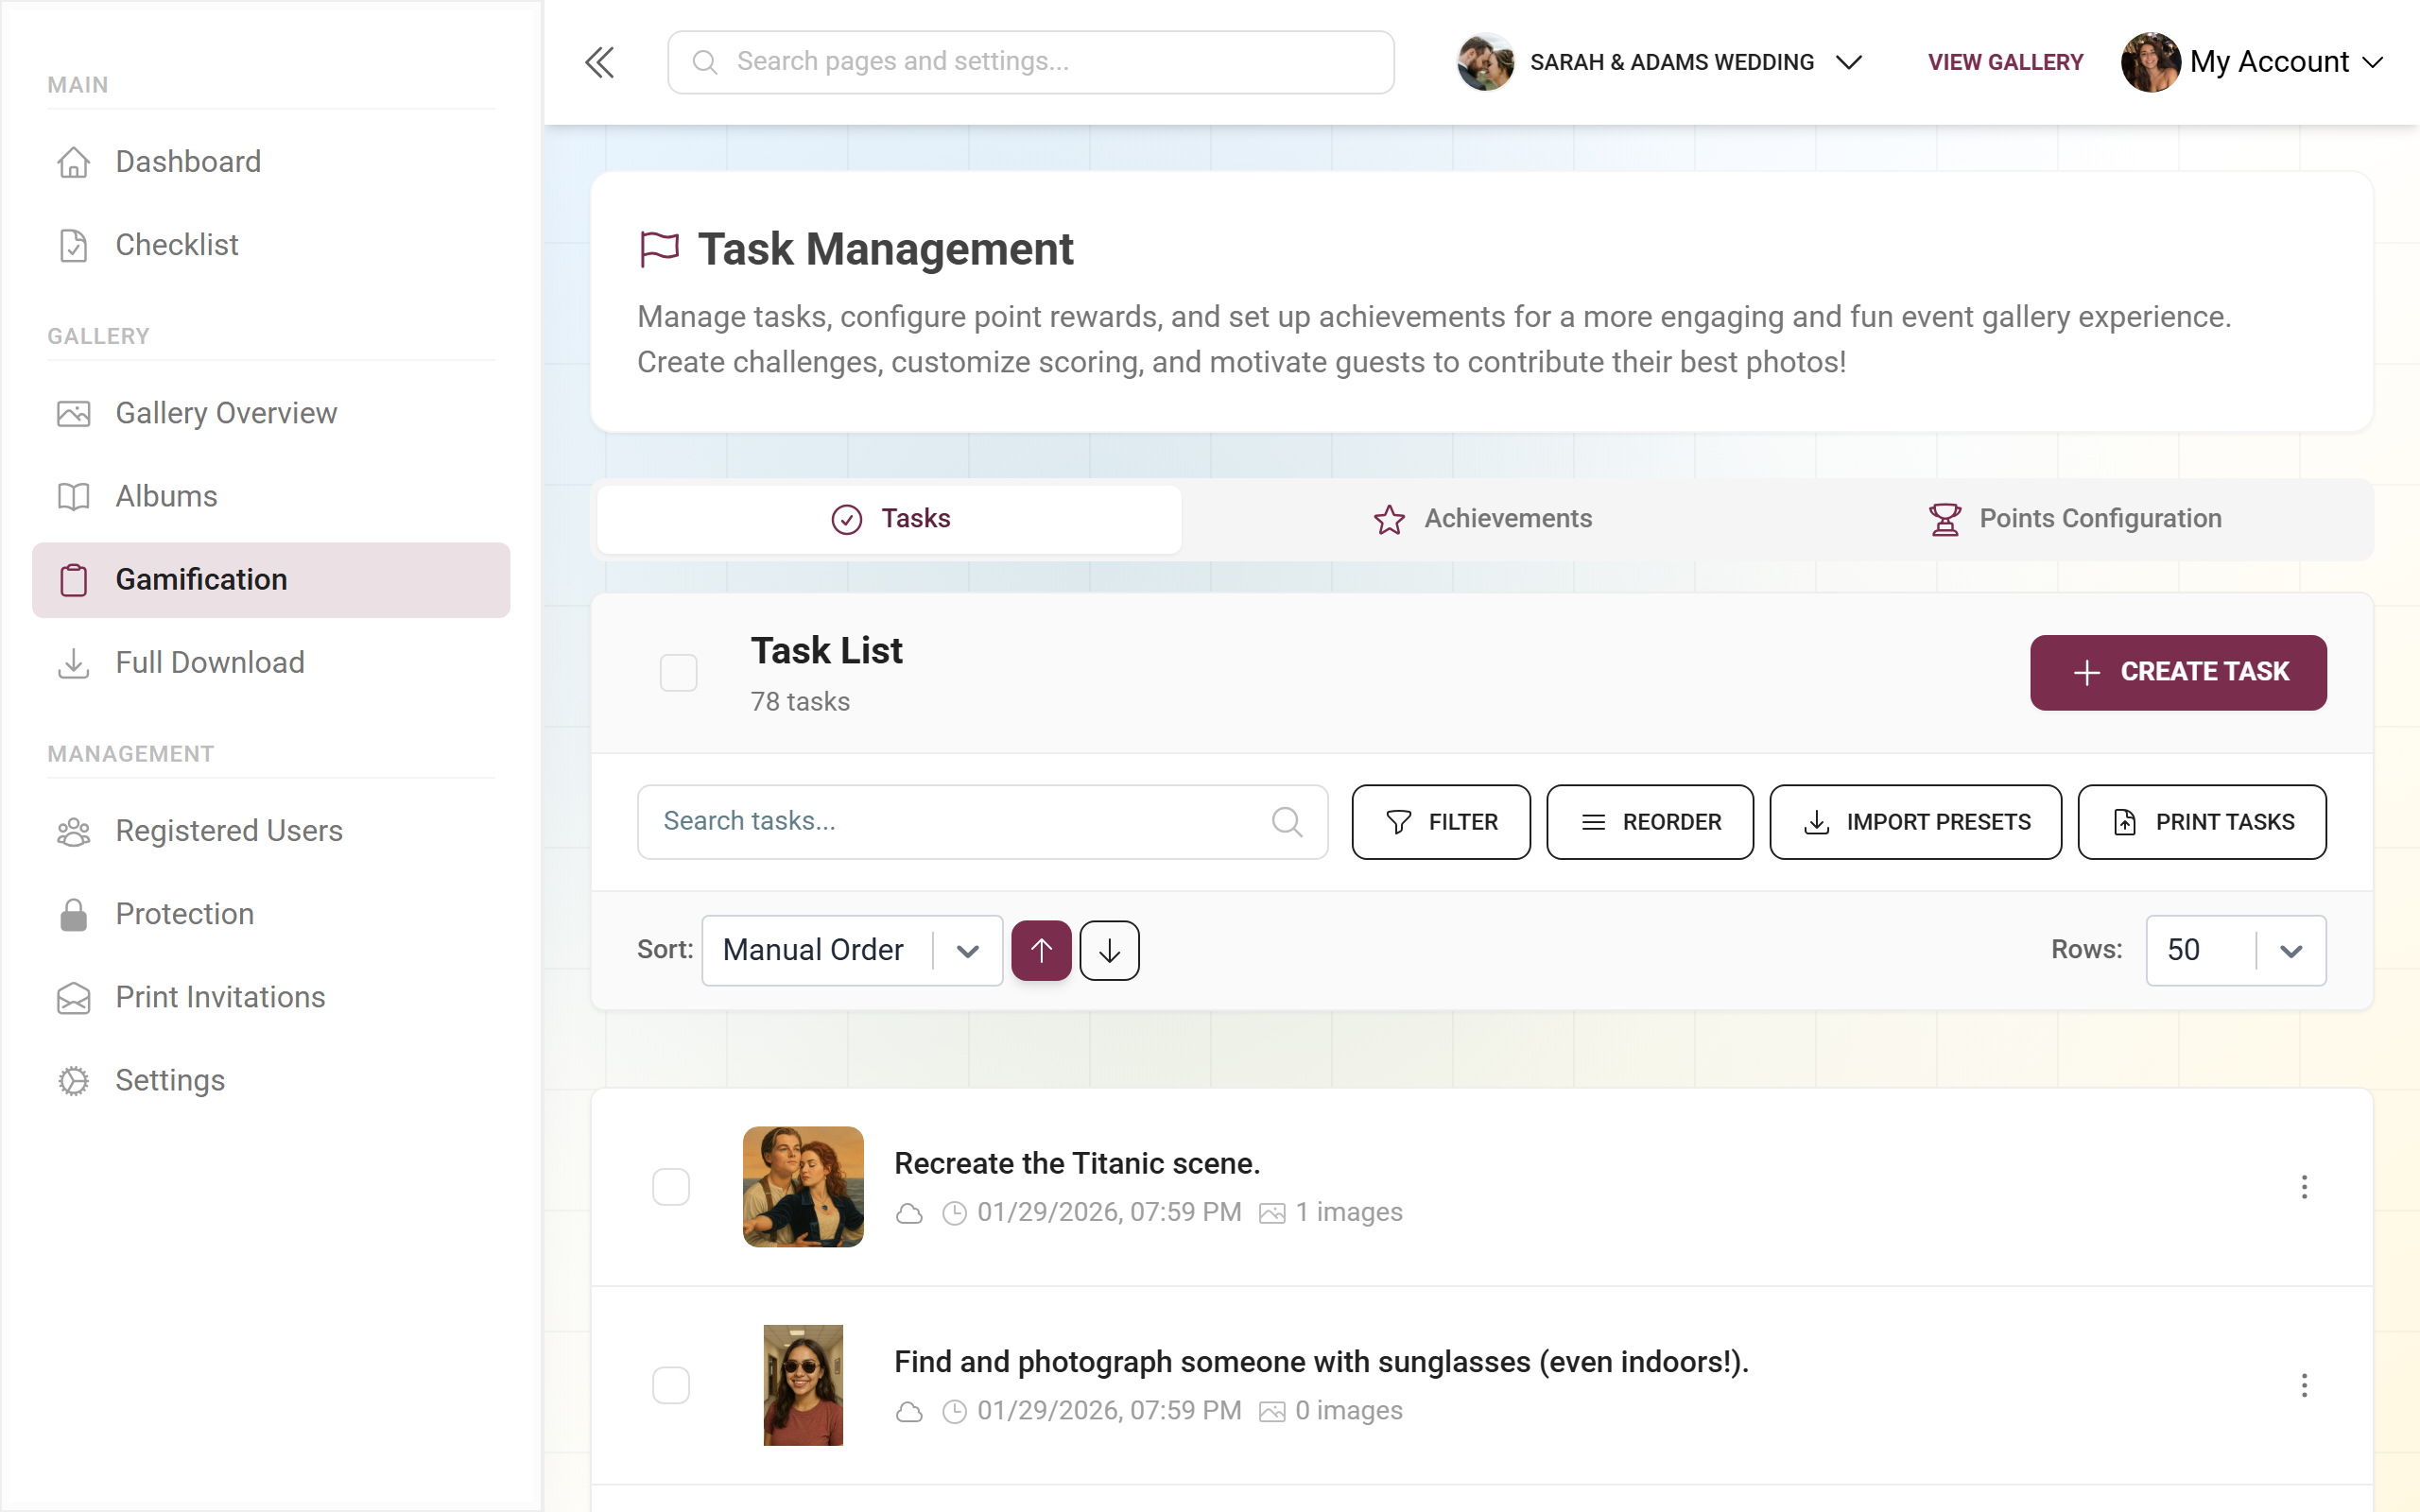
The “Tasks” tab — the toolbar
Section titled “The “Tasks” tab — the toolbar”At the top you see the title Task Manager with a counter “X tasks”. If your plan sets a limit, you instead see used/limit (e.g. 12/20); at 75 % the counter turns yellow, at 90 % red with the hint “Task limit almost reached!”.
The toolbar offers:
- New Task (blue button with a plus icon) – opens the task editor. Greyed out once the task limit is reached.
- Search field “Search tasks…” – filters the list by text.
- Filter (funnel icon) – opens the filter panel; a red badge shows the number of active filters (see Filtering, sorting, reordering & printing).
- Reorder – enables the sort mode for reordering by dragging; Done ends it.
- Import Presets – opens the template import (see Importing templates).
- Print – creates QR card PDFs for your tasks.
- Below that: Sort by: with up/down arrows and Rows per page: to adjust the list view.
Creating a task
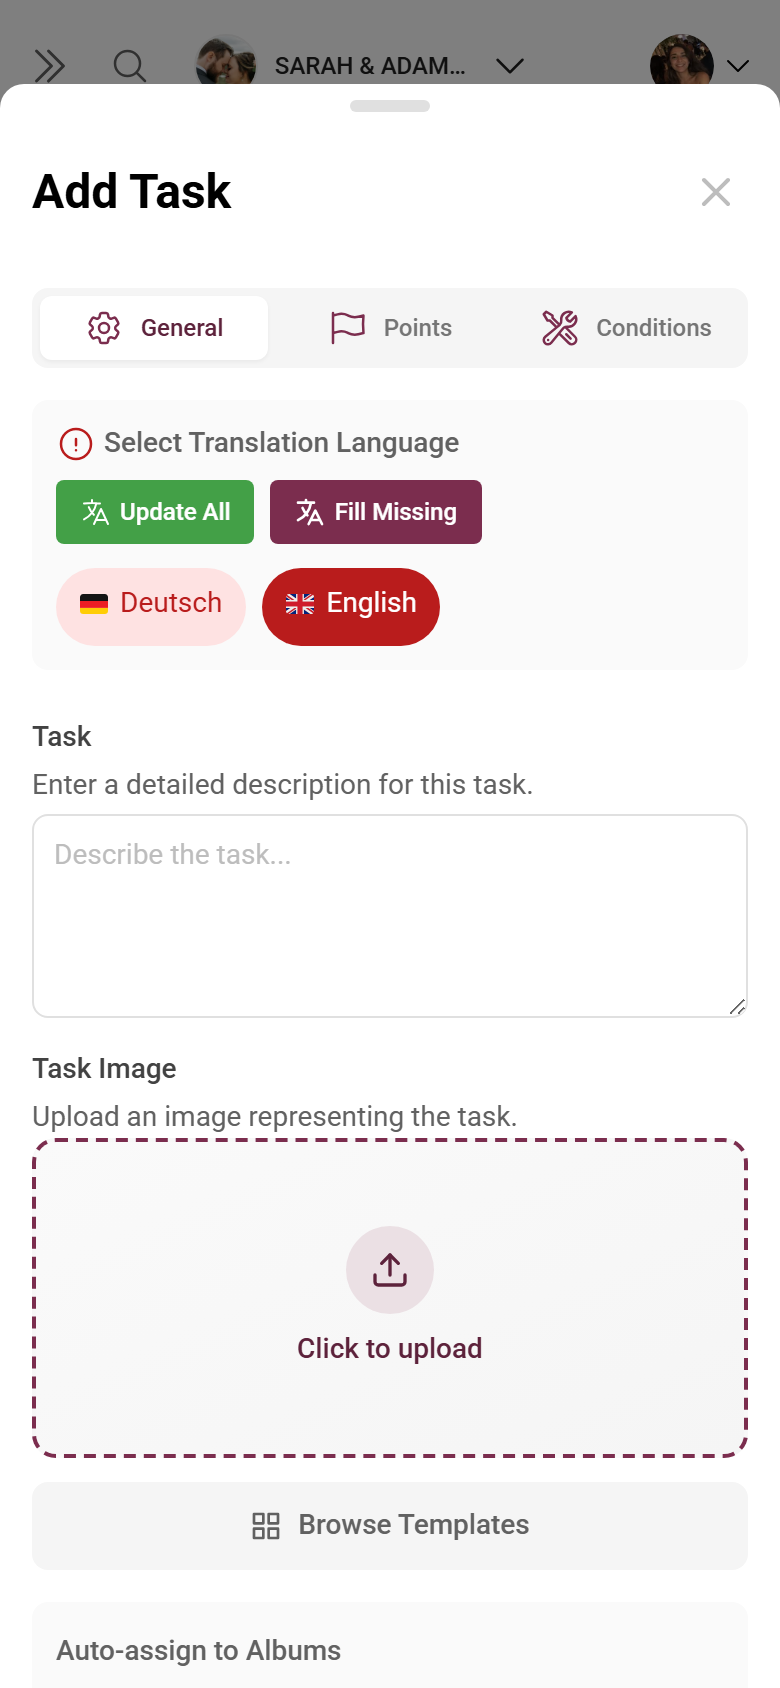
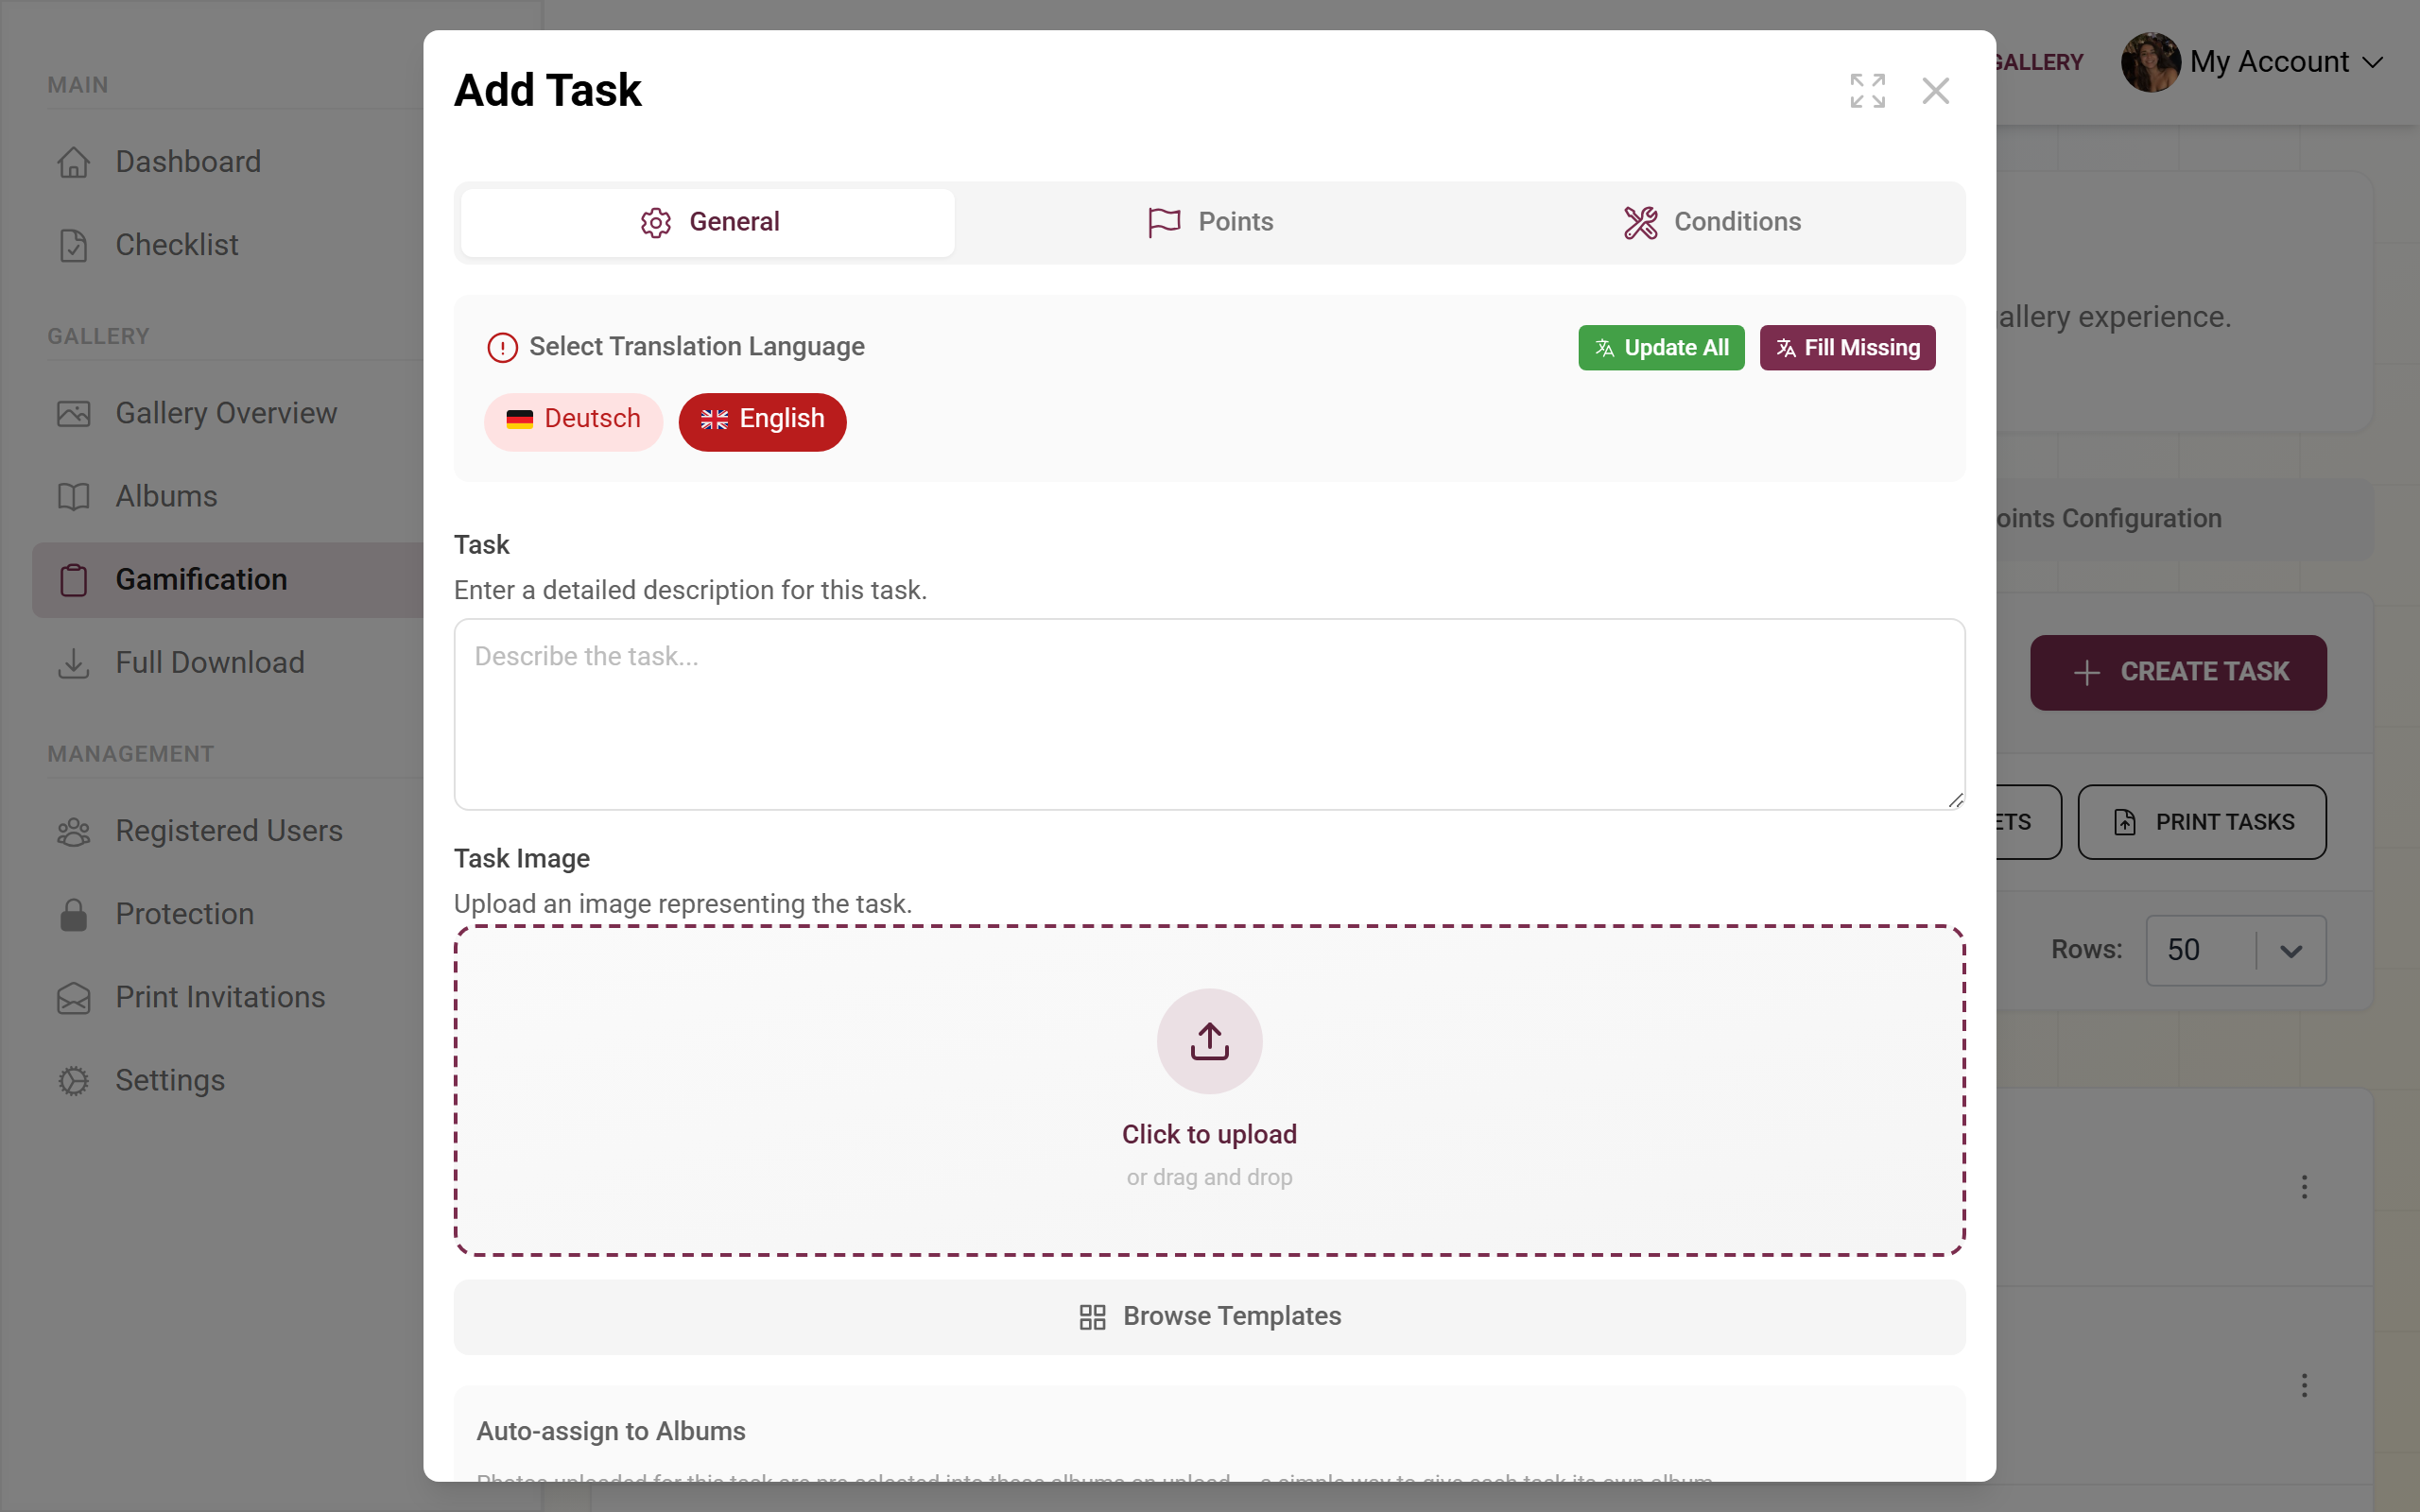
Section titled “Creating a task”Click New Task. The task editor opens, titled Add Task (or Edit Task when editing). It has up to three tabs: General, Points and Conditions. At the bottom you find Cancel and Add (or Save when editing); while saving it shows “Uploading…” or “Saving…”.
The “General” tab
Section titled “The “General” tab”Here you define what guests should photograph.
-
Language – for a multilingual event you can enter the task per language. Pick the language to edit at the top.
-
Task – the text field for the task itself (placeholder “Describe the task…”, hint “Enter a detailed description for this task.”). This text is both the name and the description. Be specific, e.g. “Photograph the bride and groom during their first dance”.
-
Task Image – optionally upload a reference image (single drop zone with a template picker). It shows guests what you are after.
-
Auto-assign to Albums – pick one or more albums; photos uploaded for this task are placed into these albums automatically. Once the task title has at least three characters, PhotoGala suggests a matching album via a one-click button (“Create album … for this task” or “Use album …”). That way every task gets its own album. See Managing albums.
-
Sort photos by / Order – set how photos appear in this task’s gallery: “Event default”, “Upload date”, “Capture date”, “Likes” or “Comments”, each “Newest first” or “Oldest first”.
The “Points” tab
Section titled “The “Points” tab”This tab appears when the points module is active for your event and included in the plan (or the task already has its own points). Here you override the event-wide default points for this task only.
- Heading “Points Configuration (optional)” with the hint “If left empty, the system defaults will apply.” – leave the fields empty and the defaults from the points configuration apply.
- Points for Initial Task Solve – points for solving it the first time.
- Points for Task Solve Repeat – points when the same task is solved again.
The “Conditions” tab
Section titled “The “Conditions” tab”Here you control when a task is available to guests. The whole tab is a premium feature. At the top you find a toggle between Basic and Advanced.
Always visible (Basic):
- Unlock At – task available only from this point (date/time with time zone). Ideal for “reveal” moments.
- Lock After – task no longer available after this point.
- Minimum Points – a guest needs this many points to see the task.
- Required Tasks – multi-select: these tasks must be solved first. This lets you build a story/progression.
- Required Albums – the guest must have contributed to these albums.
- Min Tasks Completed, Min Images Uploaded, Required Invitations – a minimum number of solved tasks or uploaded images, or visibility only for specific invitations.
Additionally in Advanced mode:
- Points & Achievements: Max Points, Min Achievements, Required Rewards (which rewards the guest must already hold).
- Task Progression: Max Tasks Completed (locks after this many solves), Min Unique Tasks, Max Images Uploaded.
- User Engagement: Min Received Likes, Min Media Shares, Min Media Downloads, Min Album Contributions.
- For “Required Tasks”/“Required Albums” a Minimum Contributions Per Task/Album field appears – one number field per entry (at least 1).
Refresh from Template
Section titled “Refresh from Template”If a task was imported from a template, the editor shows a blue banner at the top with the Refresh from Template button. Clicking it reloads the original template – after a confirmation. Careful: your own changes (name, conditions, points, image) are overwritten. Only confirm with Yes, Refresh if that is what you want, otherwise Keep Current.
Importing templates
Section titled “Importing templates”Instead of writing every task yourself, you can take over ready-made challenges from categories. Click Import Presets.
-
The Photo Challenges dialog opens with a search field “Search challenges…” and several collapsible categories.
-
Expand a category. Pick individual challenges via checkbox, or use Select All / Deselect All per category. A chip at the top counts “X selected”.
-
Click Add Selected at the bottom. Tasks already in use are hidden; if nothing is left, it shows “No tasks are left to import.”
The “Points configuration” tab
Section titled “The “Points configuration” tab”Here you set the event-wide default points (the “Points” tab in the editor overrides these per task). Changes apply only to future actions, not retroactively.
-
Enter the points: Points for Each Image Upload (default 5), Points for Each Task Completion (default 20) and Points for Each Photo Like (default 1).
-
The Award Full Points for Repeated Task? toggle decides whether repeated solves award full points. When off, the Points for Repeated Task field appears (default 10).
-
Click Save Changes.
Filtering, sorting, reordering & printing
Section titled “Filtering, sorting, reordering & printing”- Filter – click the funnel icon. Under “Select filter conditions:” pick the filter types (among them Initial Points, Repeat Points, Unlock Time, Lock Time, Task Dependencies, Achievement Requirements, Min/Max Upload, Creation Date), set a “Has/No” toggle or range per type and confirm with Apply Filters. Reset clears all filters.
- Sorting – via “Sort by:” and the up/down arrows.
- Reordering – enable Reorder, drag tasks into order, finish with Done.
- Printing – Print creates a QR card for each task that takes guests straight to it on site. You design the layout in the Design Studio.
Who can do what? (plan & roles)
Section titled “Who can do what? (plan & roles)”- Page visible: as soon as one gamification feature (points, tasks or achievements) is in the plan.
- Custom tasks & points: part of the standard.
- Advanced conditions, template import and QR printing: depend on your event plan.
- Creating and editing is designed for the host (owner role); moderators only see the area with the corresponding rights.
Troubleshooting
Section titled “Troubleshooting”- The Tasks tab only shows an upgrade overlay: the feature is not in your plan – upgrade your plan.
- No Points tab in the editor / points have no effect: enable the points module under Feature settings.
- Conditions seem lost: empty fields and zero values are dropped on save by design – only the conditions you set count.
- Task limit reached: the counter turns yellow/red and New Task is disabled – upgrade your plan if needed.
- “Refresh from Template” overwrites your own changes: consider this beforehand.
Tips for strong challenges
Section titled “Tips for strong challenges”- Word the task text concretely and upload a reference image – this noticeably boosts participation.
- Use “Auto-assign to Albums” with the album suggestion so every task gets its own album.
- Set time conditions for “reveal” moments (e.g. a task only from 8 pm).
- Build a story with “Required Tasks”; reach for Advanced conditions only when you really need them.
- Prefer 3–5 strong tasks over 20 half-hearted ones. The template import is a good starting point.
- Post the QR cards at the entrance or on the tables.
Related topics
Section titled “Related topics”- Guest view: Challenges & tasks
- Points & rewards and Real rewards (guest)
- Achievements & rewards and Reward tracking (admin)
- Managing albums, Feature settings, Design Studio, Invitations