Managing face clusters
When face recognition is on, PhotoGala automatically groups photos by person – each detected person becomes a cluster. As a moderator you organise these clusters: you give people a name, merge duplicate clusters, split wrongly grouped ones, hide irrelevant clusters and set a cover image. Well-kept clusters make the guest “Filter by People” accurate.
Reaching the cluster manager
Section titled “Reaching the cluster manager”-
Open Moderation (profile menu top right → Moderation).
-
At the top, choose the Face Clusters tab.
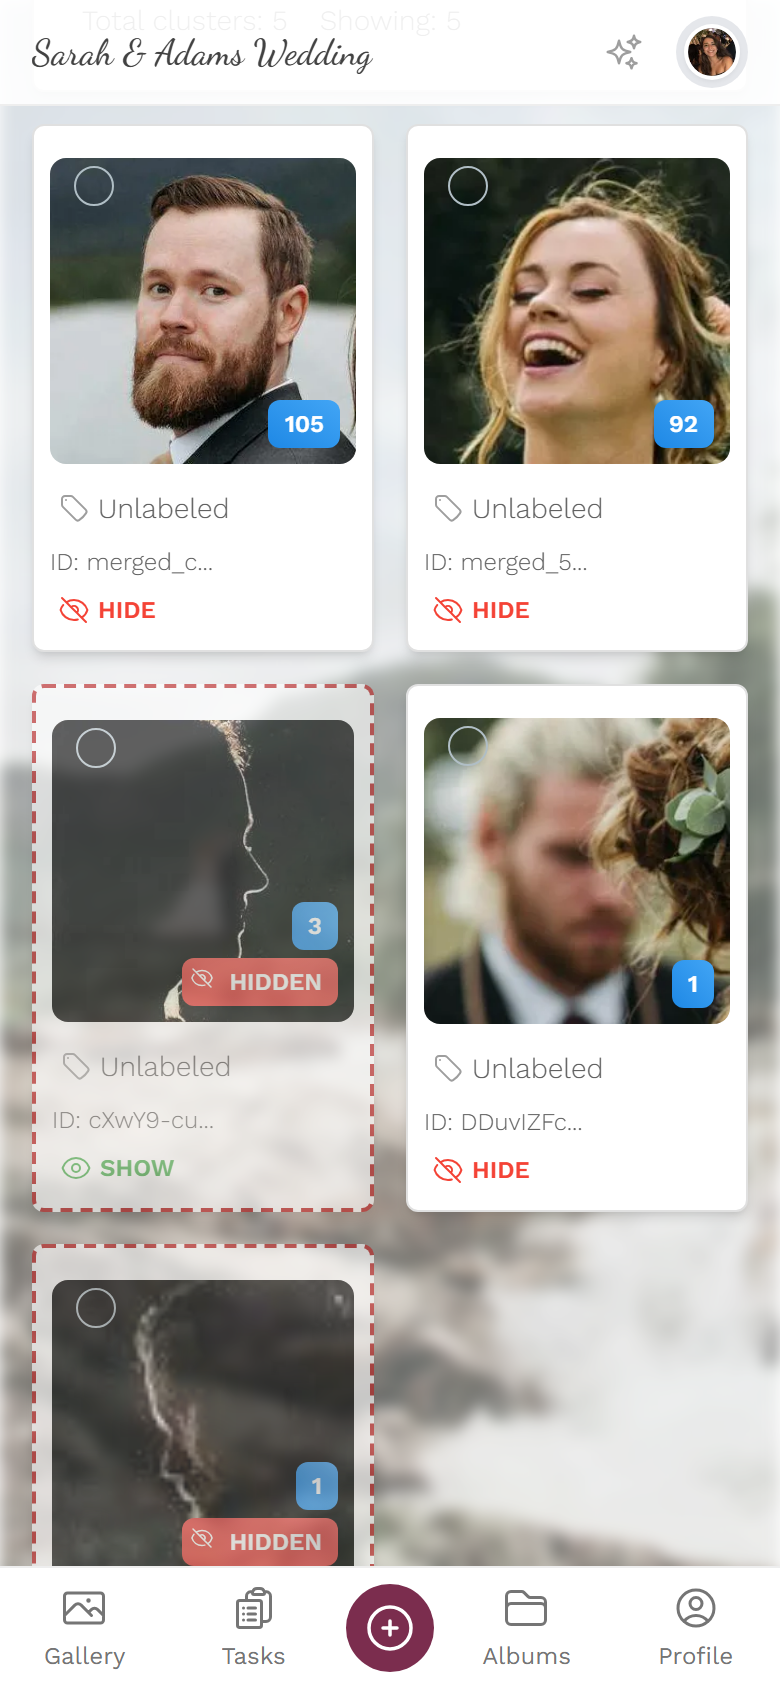

Understanding the cluster overview
Section titled “Understanding the cluster overview”The top row controls the display:
- Search by name or ID – filters the clusters live by name or cluster ID.
- Only unlabeled – hides every already-named cluster so you can focus on the open ones.
- Total clusters / shown – how many clusters exist and how many are visible after filtering.
Each cluster tile shows:
- a preview face and, top right, the number of faces in the cluster (e.g. 105);
- a selection checkbox top left (for merging, see below);
- the name – Unnamed at first – and the cluster ID;
- a Hide or Show button. Hidden clusters carry a red HIDDEN badge and a dashed border.
Naming a person
Section titled “Naming a person”A name makes the cluster clear for you and for the guest filter.
-
Open the cluster (tap the tile or the face). The Cluster details dialog opens.
-
At the top, tap “Unnamed – click to name” (pencil icon) and enter the person’s name. Confirm – the name now appears on the tile and in the people filter.
Merging clusters
Section titled “Merging clusters”When the AI detects the same person as several separate clusters (different lighting, glasses, angle), merge them.
-
Tick the checkbox on at least two tiles of the same person. A bar appears at the top with the number of selected clusters.
-
Choose Merge. You can optionally give the merged cluster a person name right away.
-
Confirm – the clusters are merged into one; a success toast confirms it.
Splitting a cluster
Section titled “Splitting a cluster”If the AI put two people into one cluster, extract the wrong faces into a new cluster.
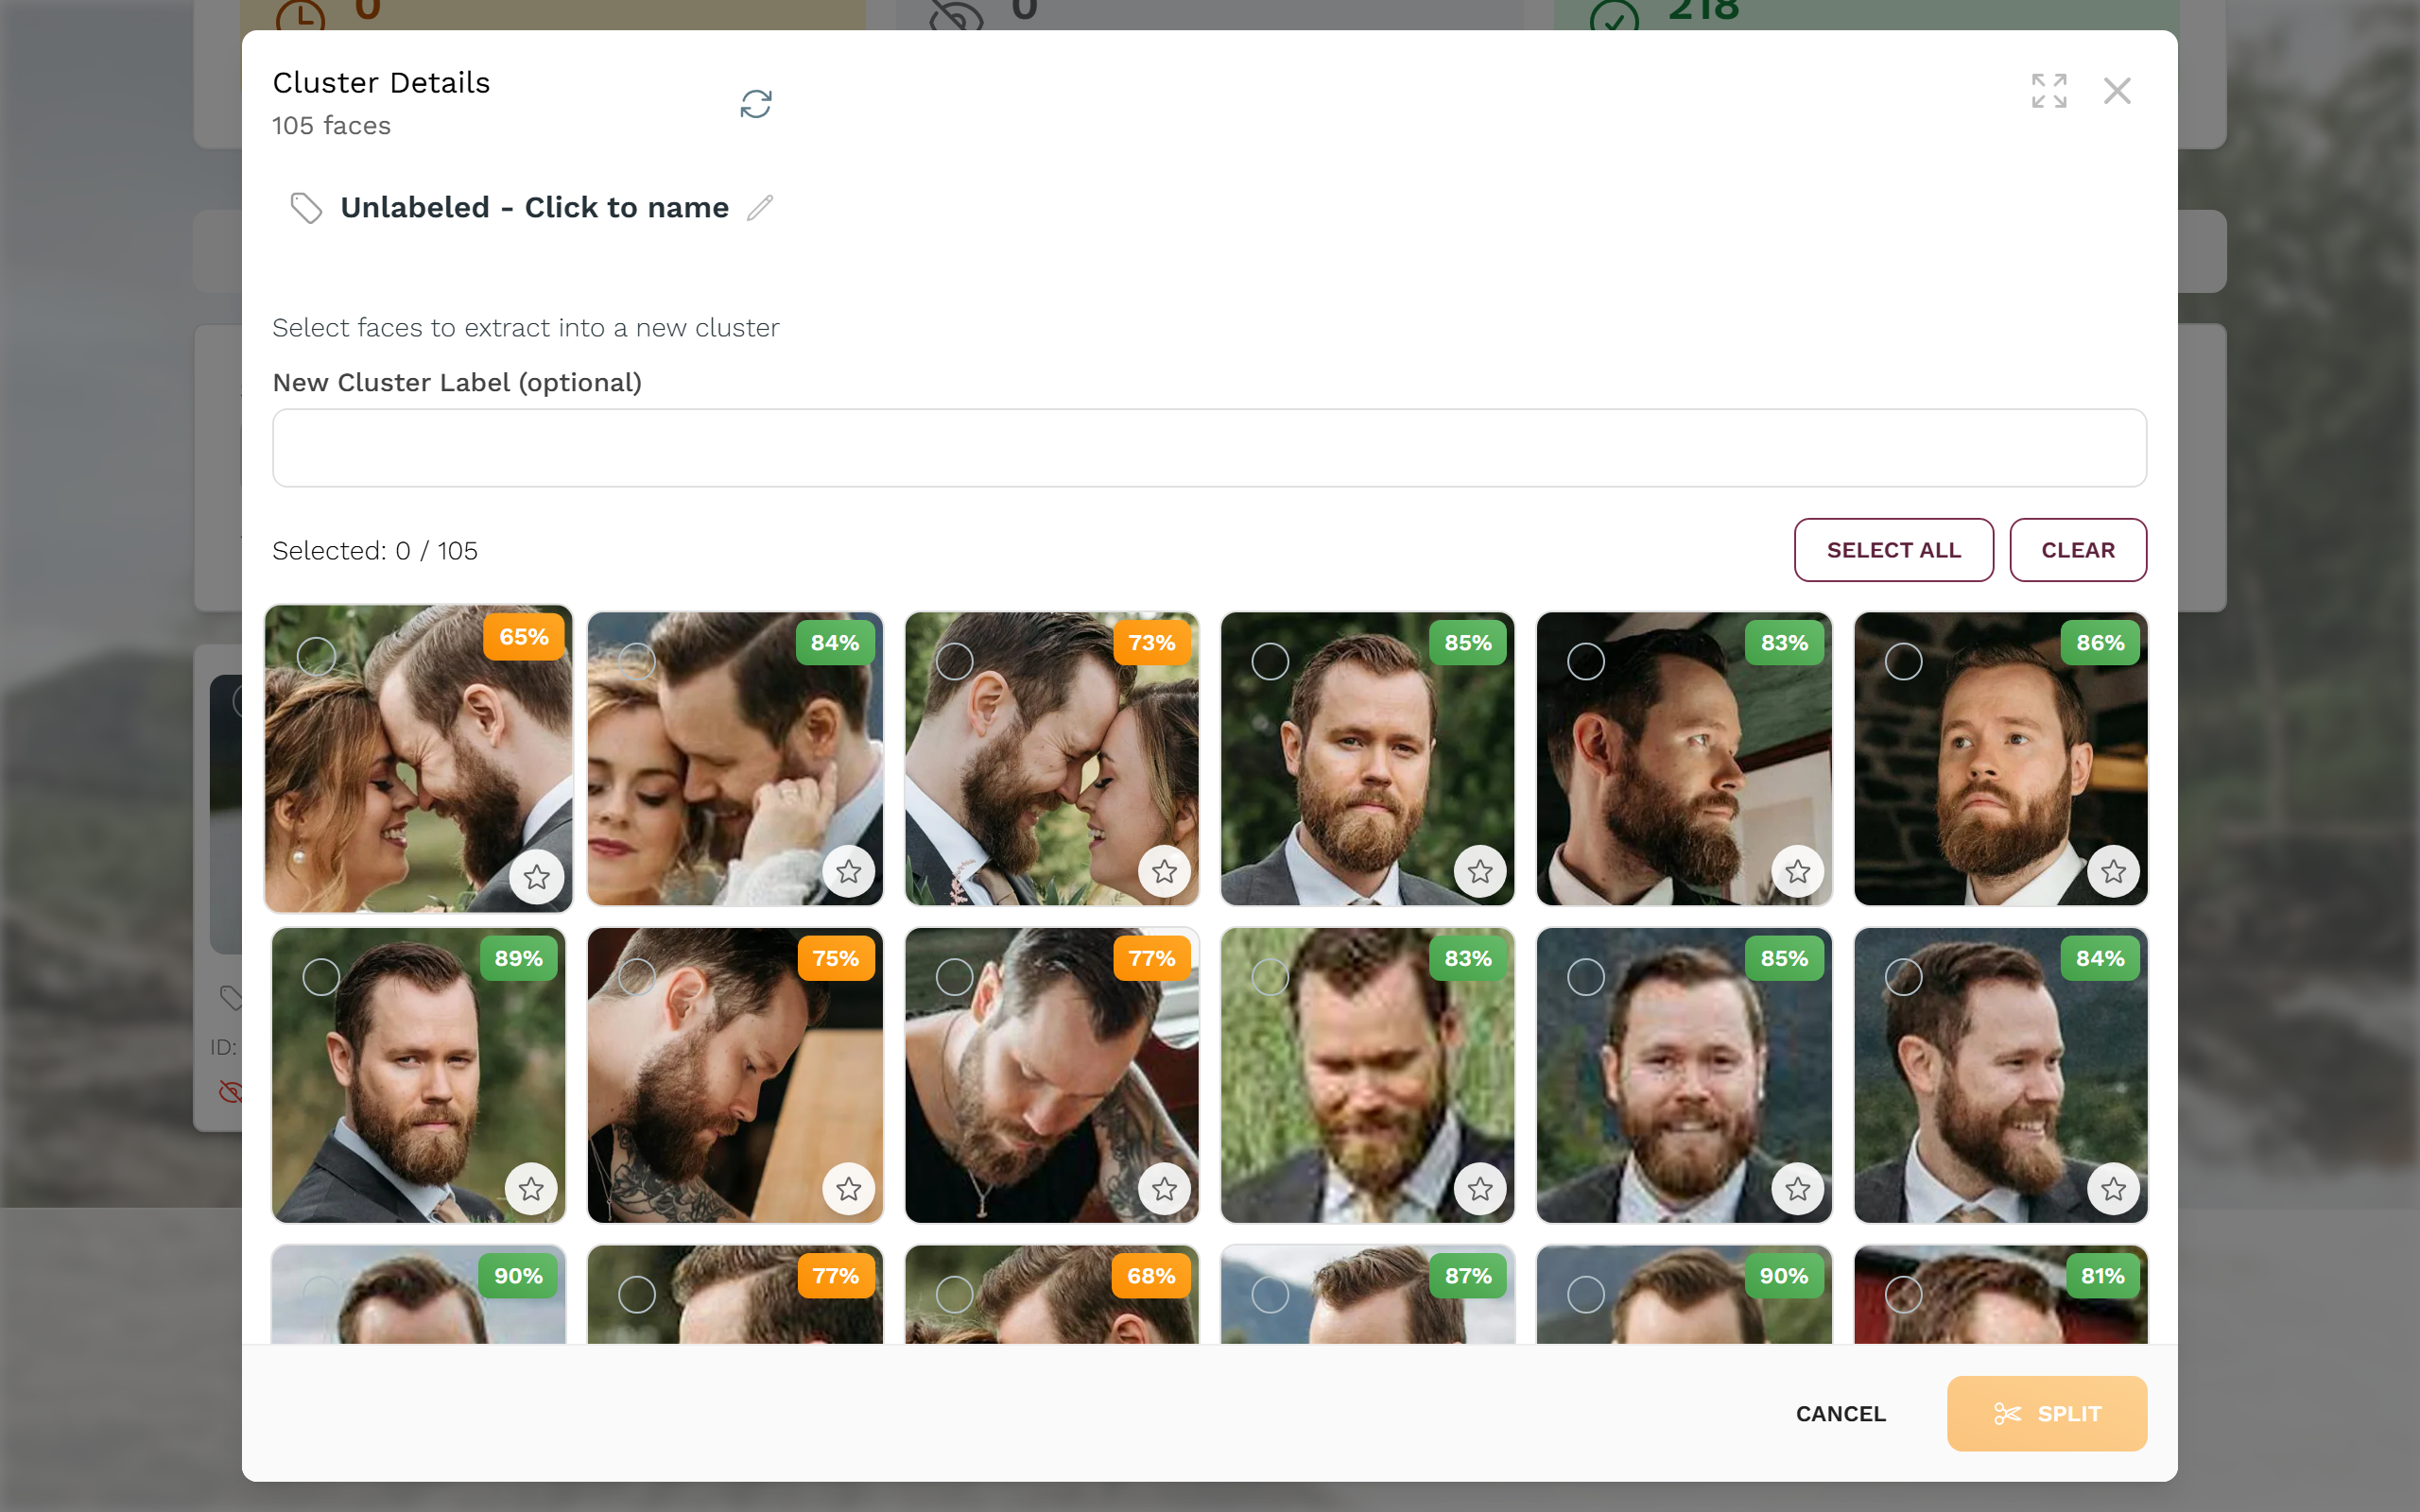
-
Open the cluster. In the Cluster details dialog you see every face with a confidence percentage (how sure the match is – low values are good candidates to sort out).
-
Select the faces that don’t belong to this person (a checkbox per face; Select all / Clear selection help). The counter shows Selected: N / total.
-
Optionally enter a new cluster name and tap Split at the bottom. The chosen faces form their own cluster.
Setting a cover image
Section titled “Setting a cover image”In the Cluster details dialog every face carries a star icon in its bottom-right corner. A click makes that photo the cluster’s preview / cover image – handy when the automatic preview is blurry or not descriptive.
Hiding and showing clusters
Section titled “Hiding and showing clusters”Not every cluster is relevant (background guests, blurry faces, strangers).
- Hide removes the cluster from the guest “Filter by People” without deleting any photos. The cluster stays here with a HIDDEN badge.
- Show makes a hidden cluster available again.
Privacy
Section titled “Privacy”Face data is biometric, especially sensitive data. Guests have a right to erasure and can remove their selfie and face data themselves – see Your privacy. As the host you must enable face recognition deliberately and provide a contact for data-subject rights; background under AI processing.
Troubleshooting
Section titled “Troubleshooting”- No “Face Clusters” tab → AI face processing not in your plan, or face recognition off for the event.
- No or few clusters → processing runs while photos are uploaded. New faces appear gradually; use Refresh to reload.
- “Merge” does nothing → fewer than two clusters are selected. Tick at least two tiles.
- Wrong person in a cluster → use Split to extract the foreign faces into a new cluster.
Related help
Section titled “Related help”- Moderator: Approving & moderating photos
- Guests: Finding photos of you (face search) · Your privacy
- Host: AI processing (face recognition, GDPR)