Turning features on & off
The Features tab is your event’s central control panel. Here you decide what your guests can do and see in the gallery: likes, comments, activity feed, sharing, downloads, photo wall, map, video uploads, gamification (challenges, achievements, points, leaderboard) and AI face recognition.
How to reach the features
Section titled “How to reach the features”-
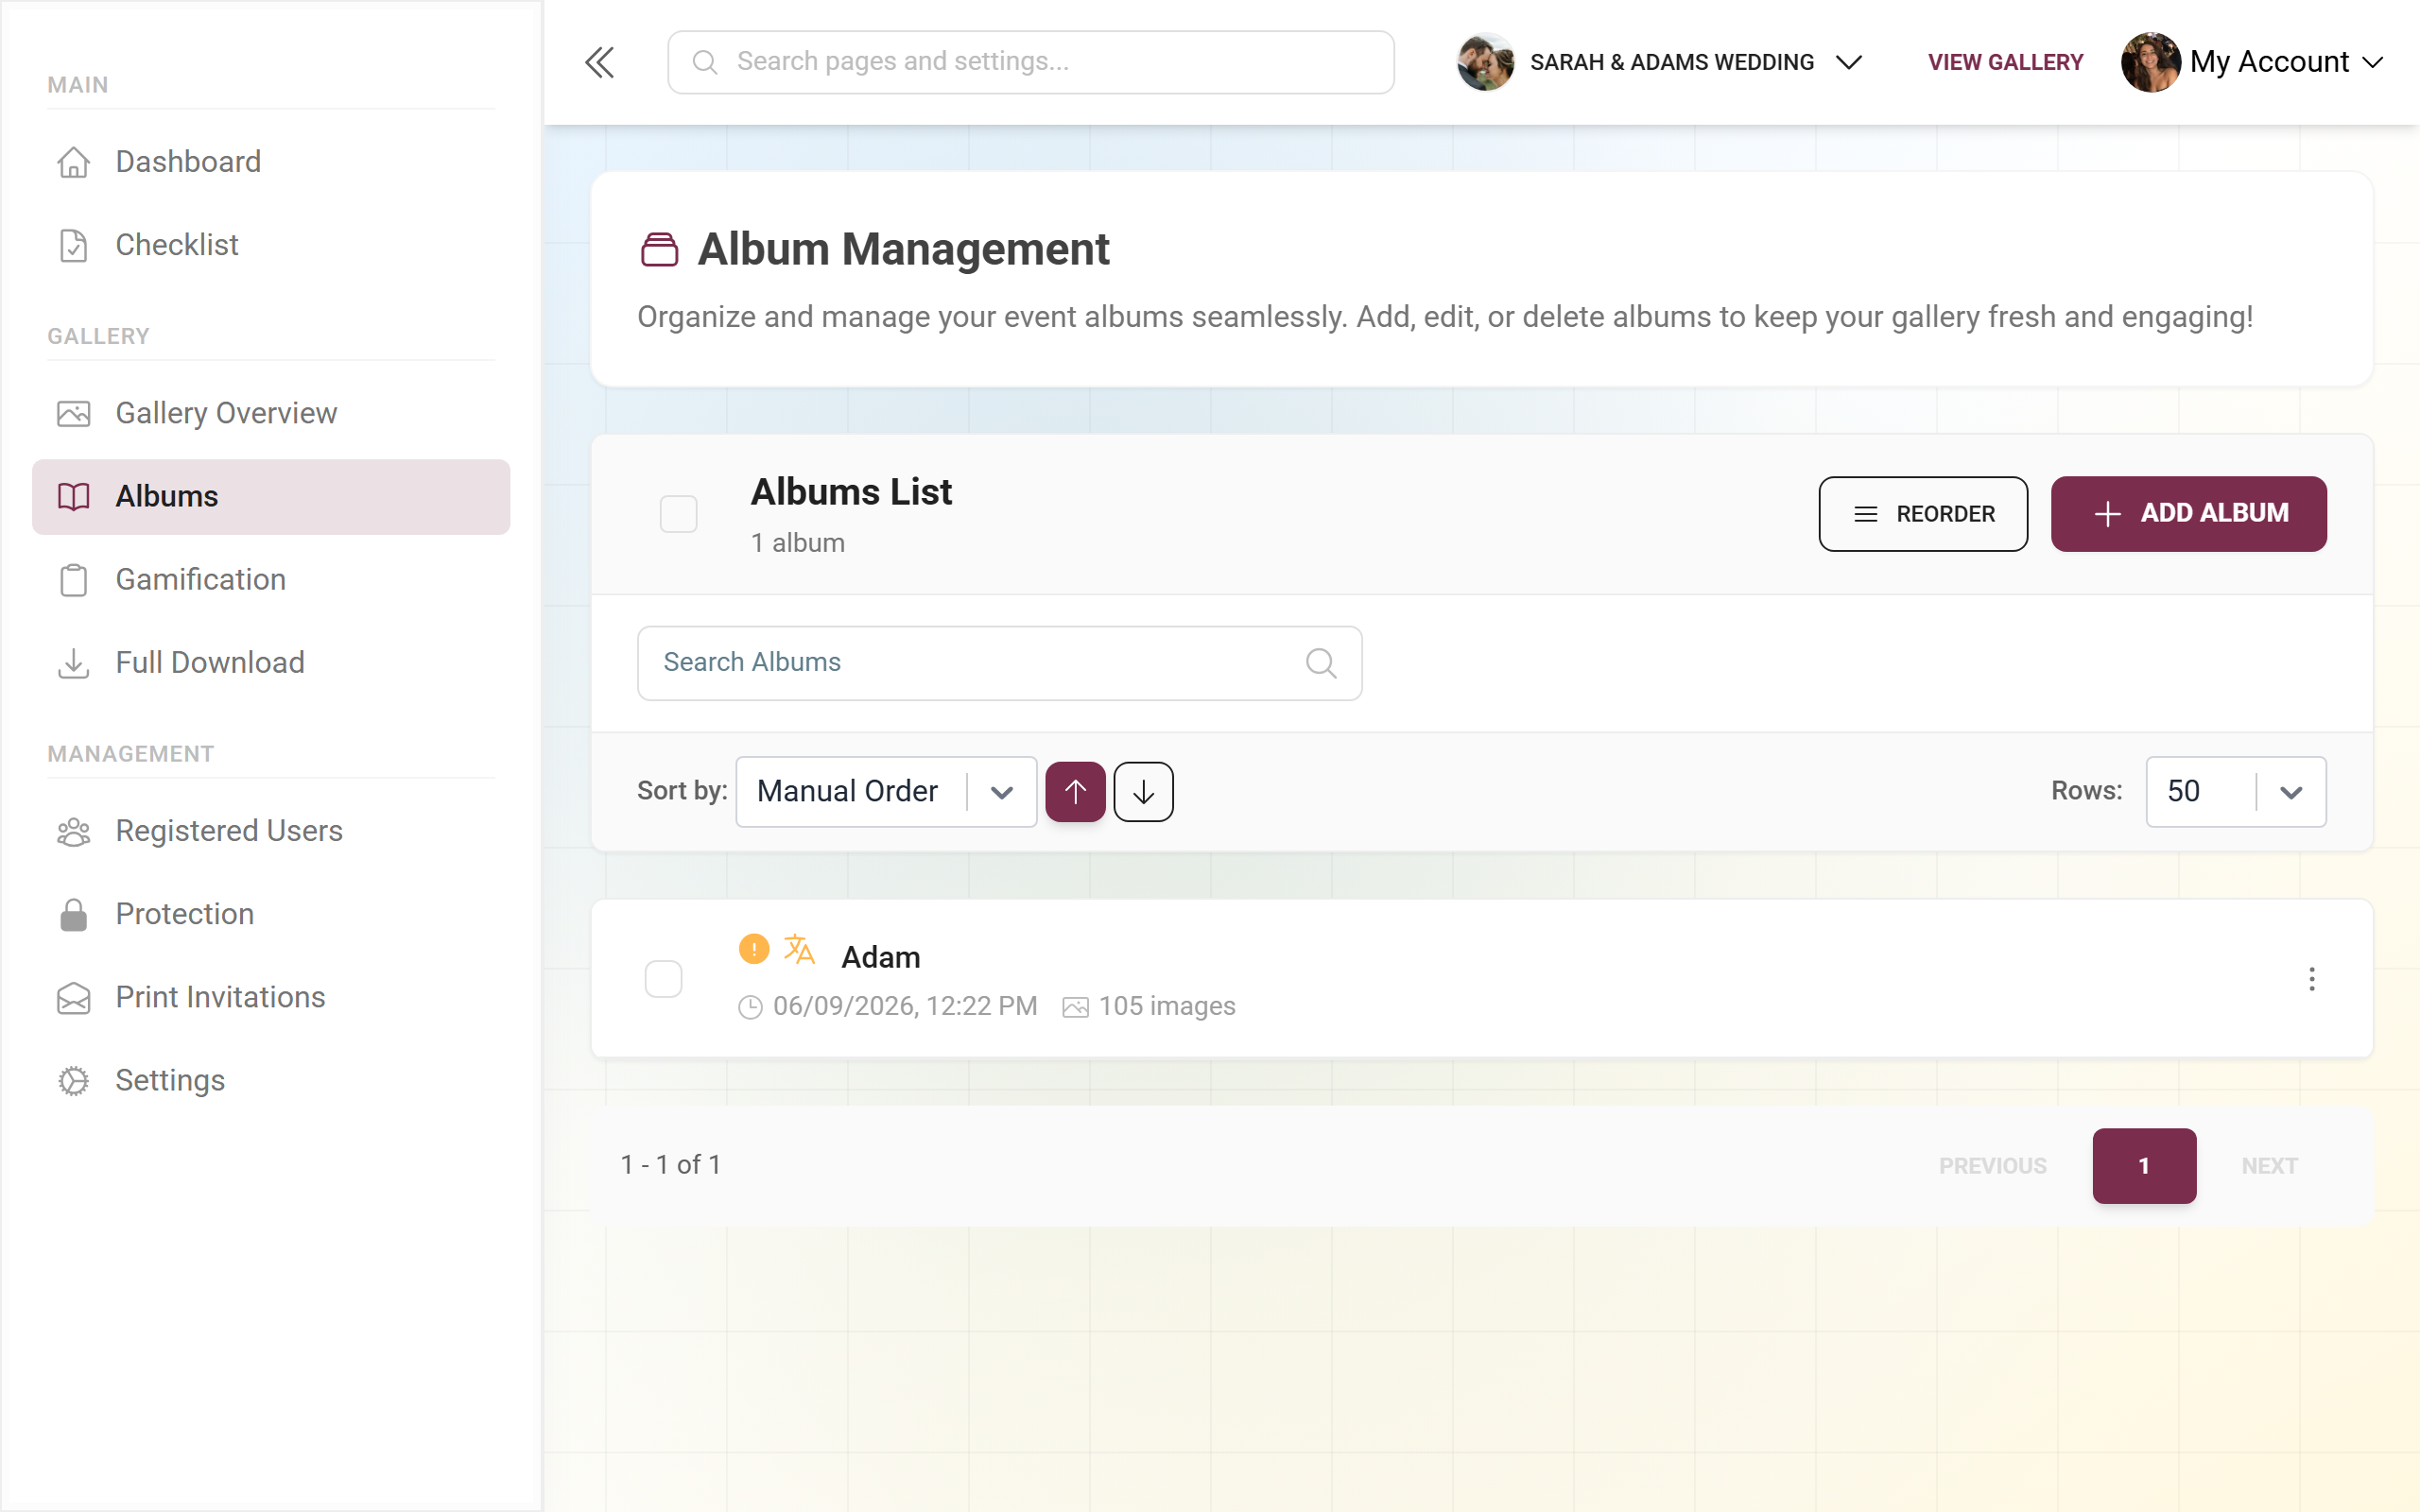
Open your event’s admin area. As a guest you reach it via the profile menu at the top right under Management → Admin Portal.
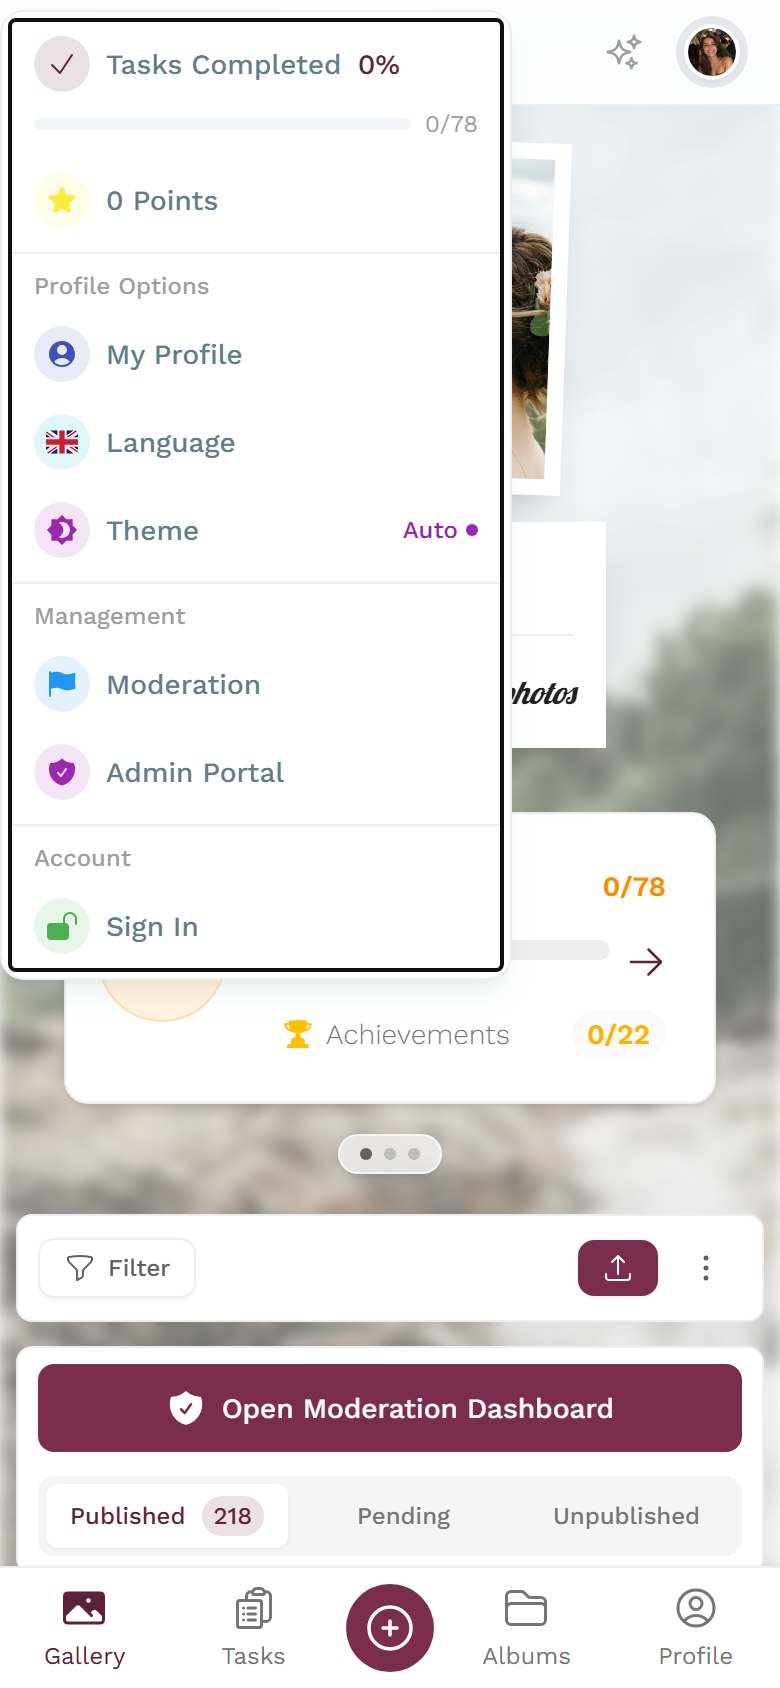
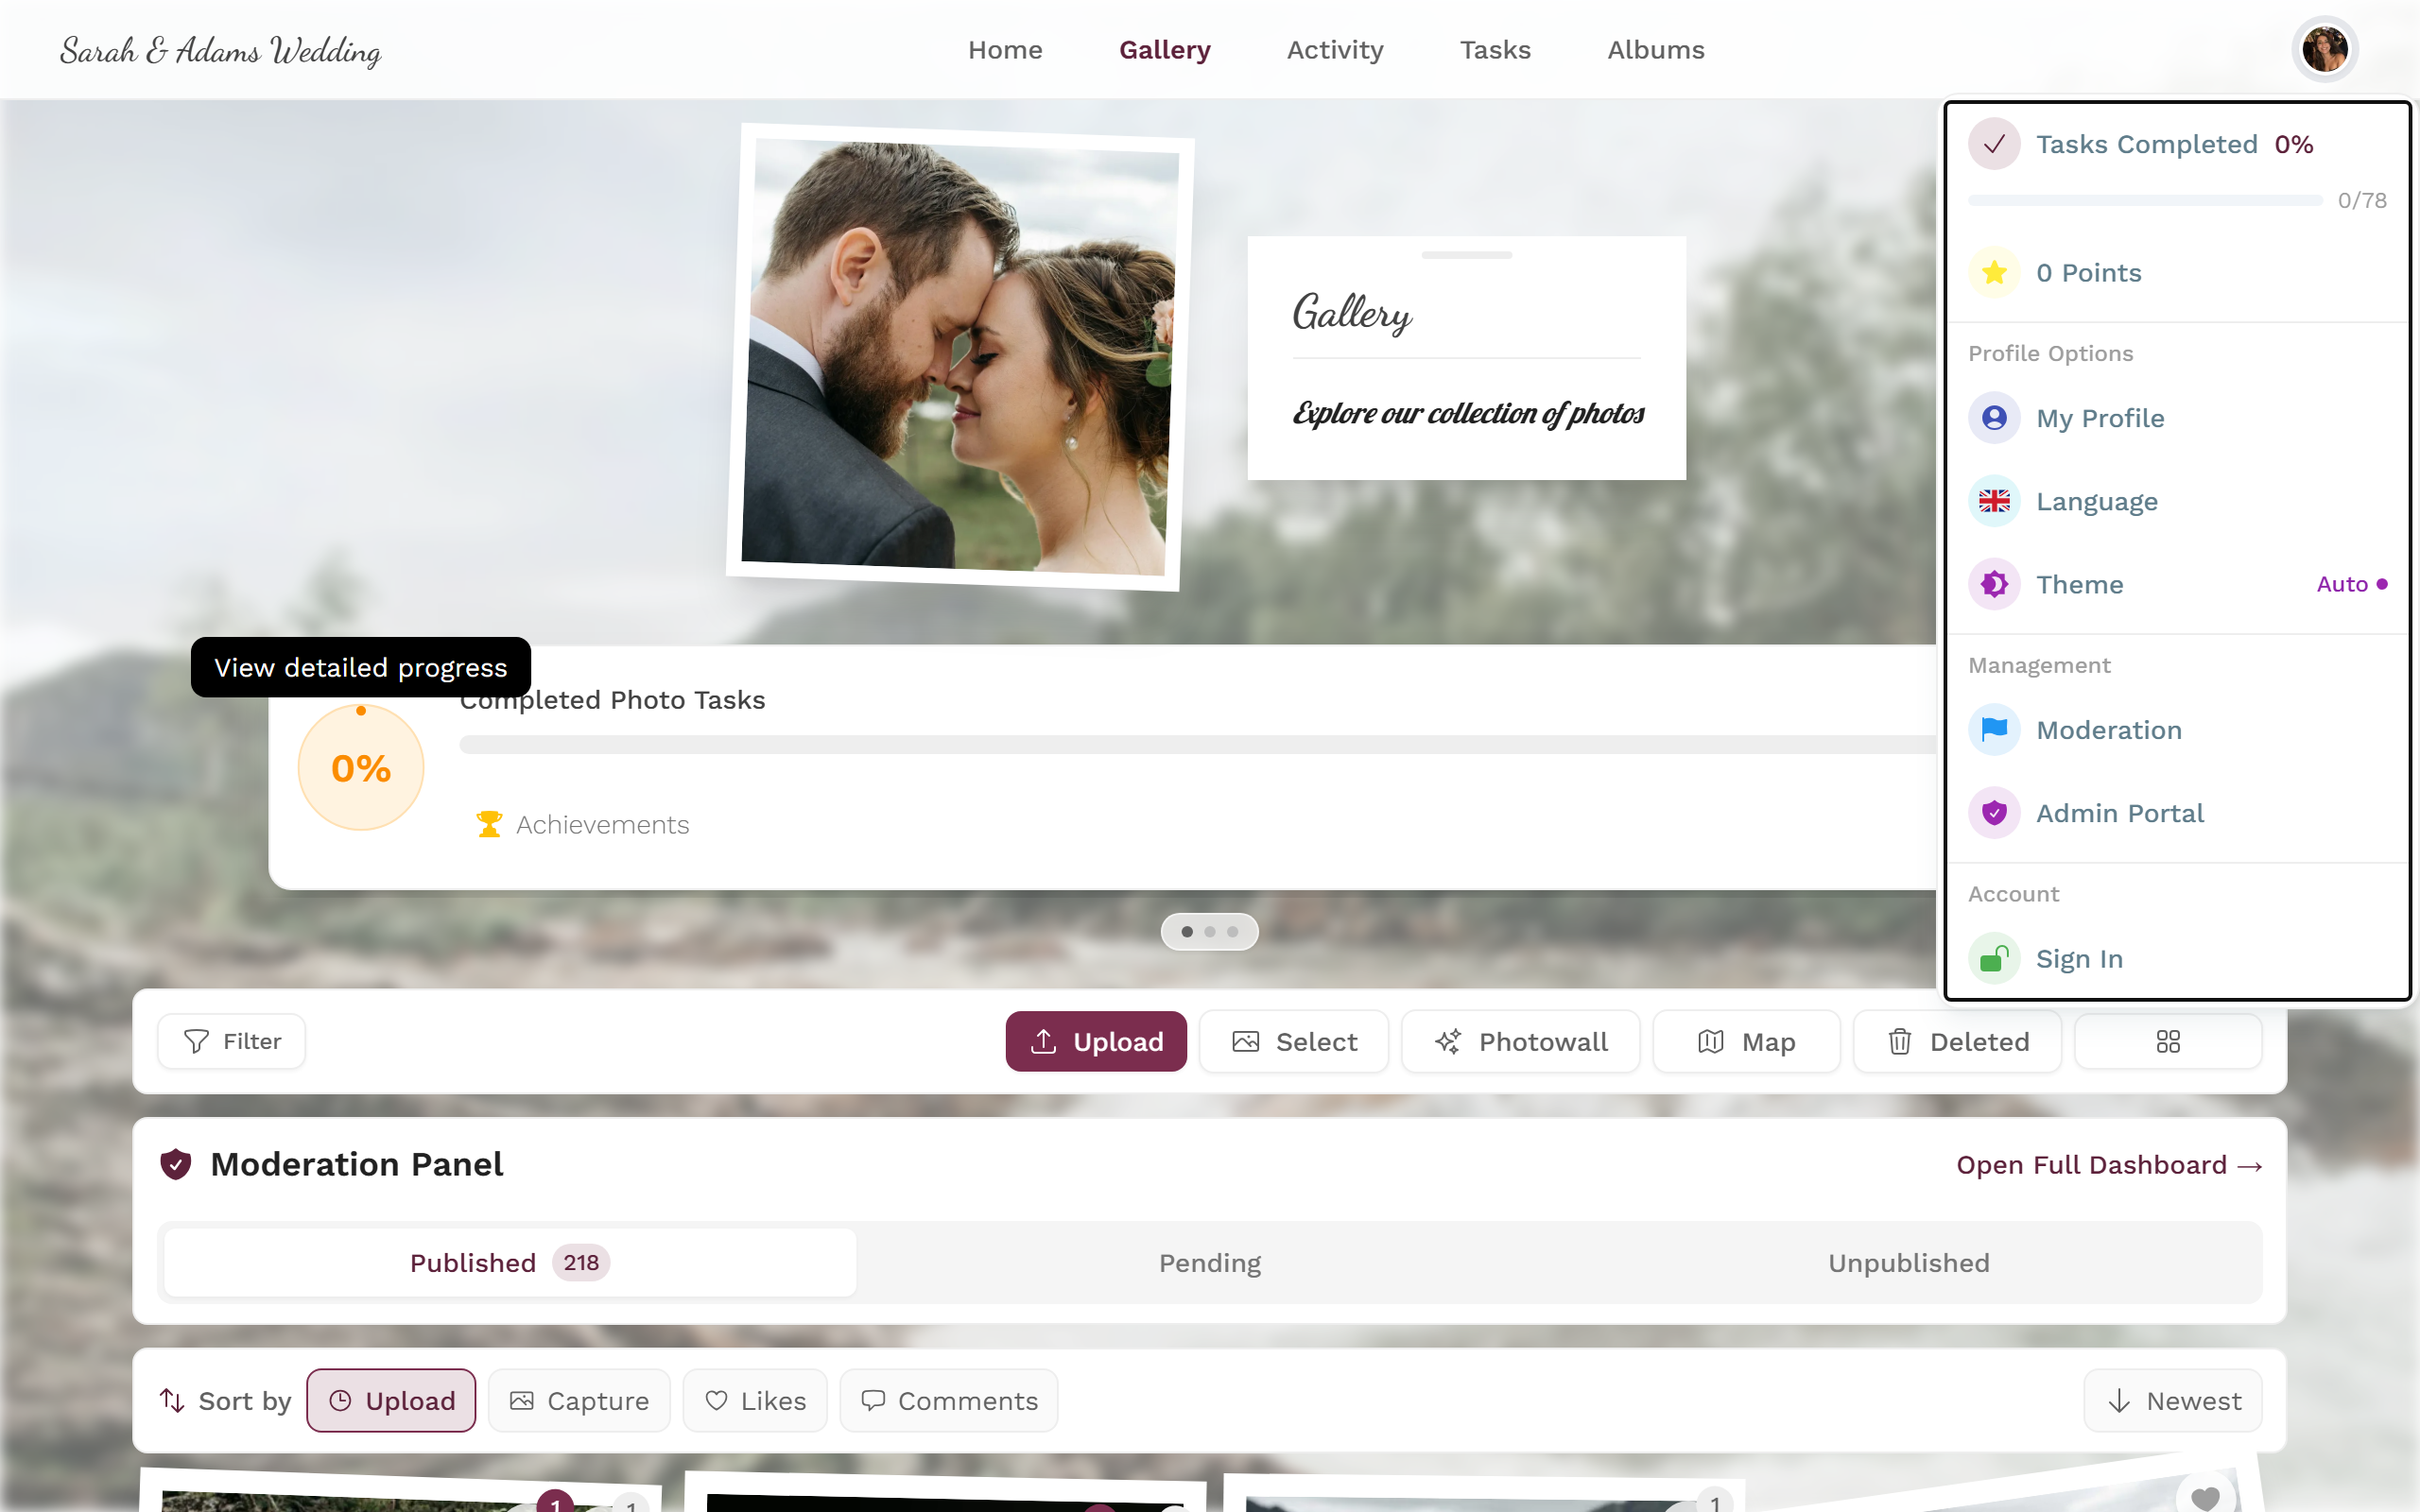
Use the profile menu at the top right to reach Management and the Admin Portal. -
In the left sidebar, under Management, choose Settings (the cog icon).
-
At the top, click the Features tab (the rocket icon). The tab order is: General → Image Quality → Style → Features → Privacy & Moderation → Photo Wall.
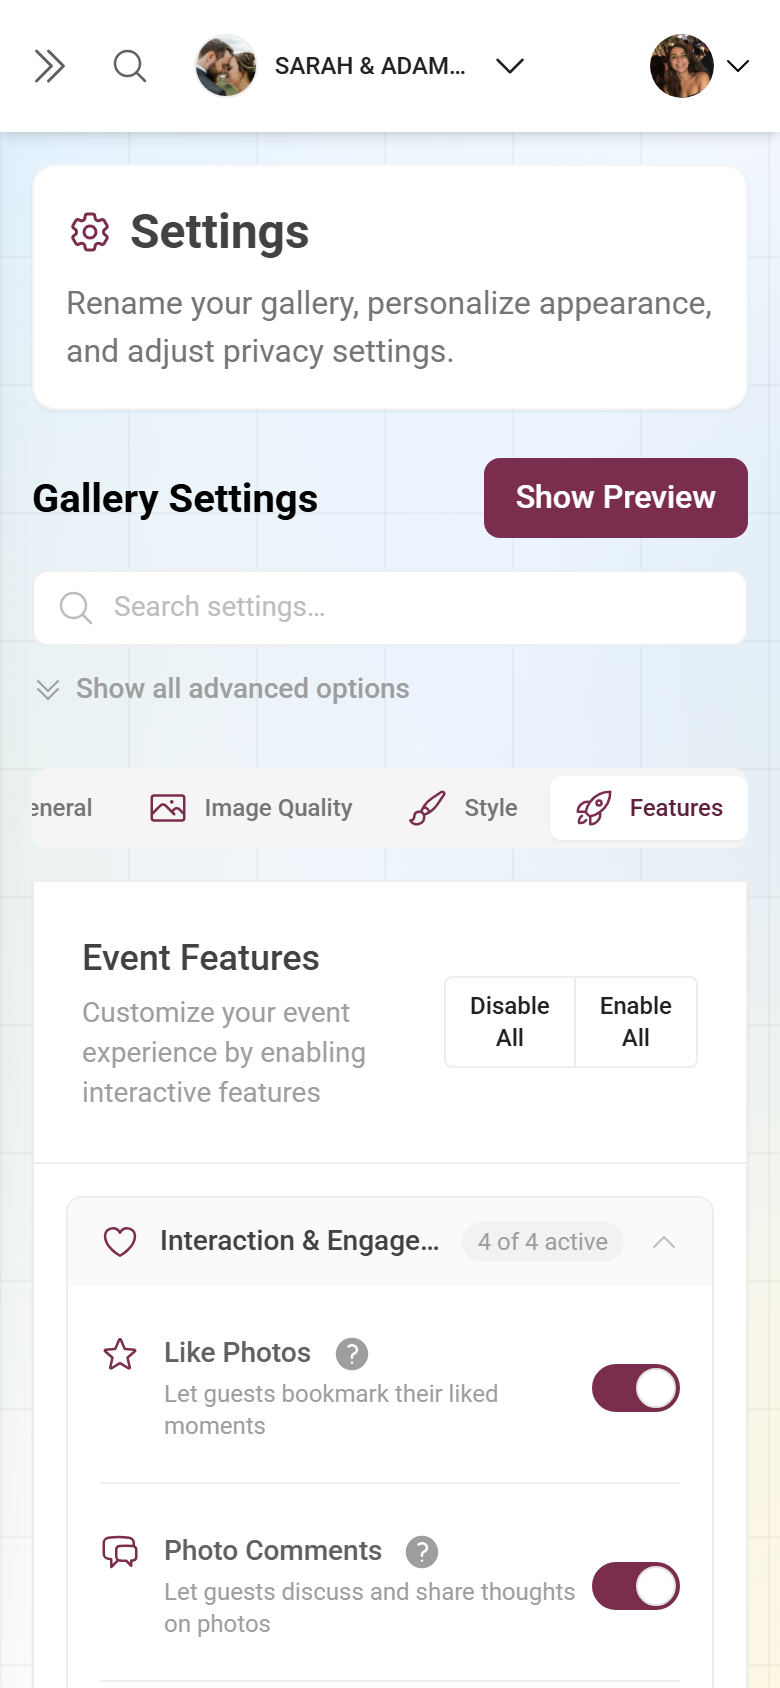
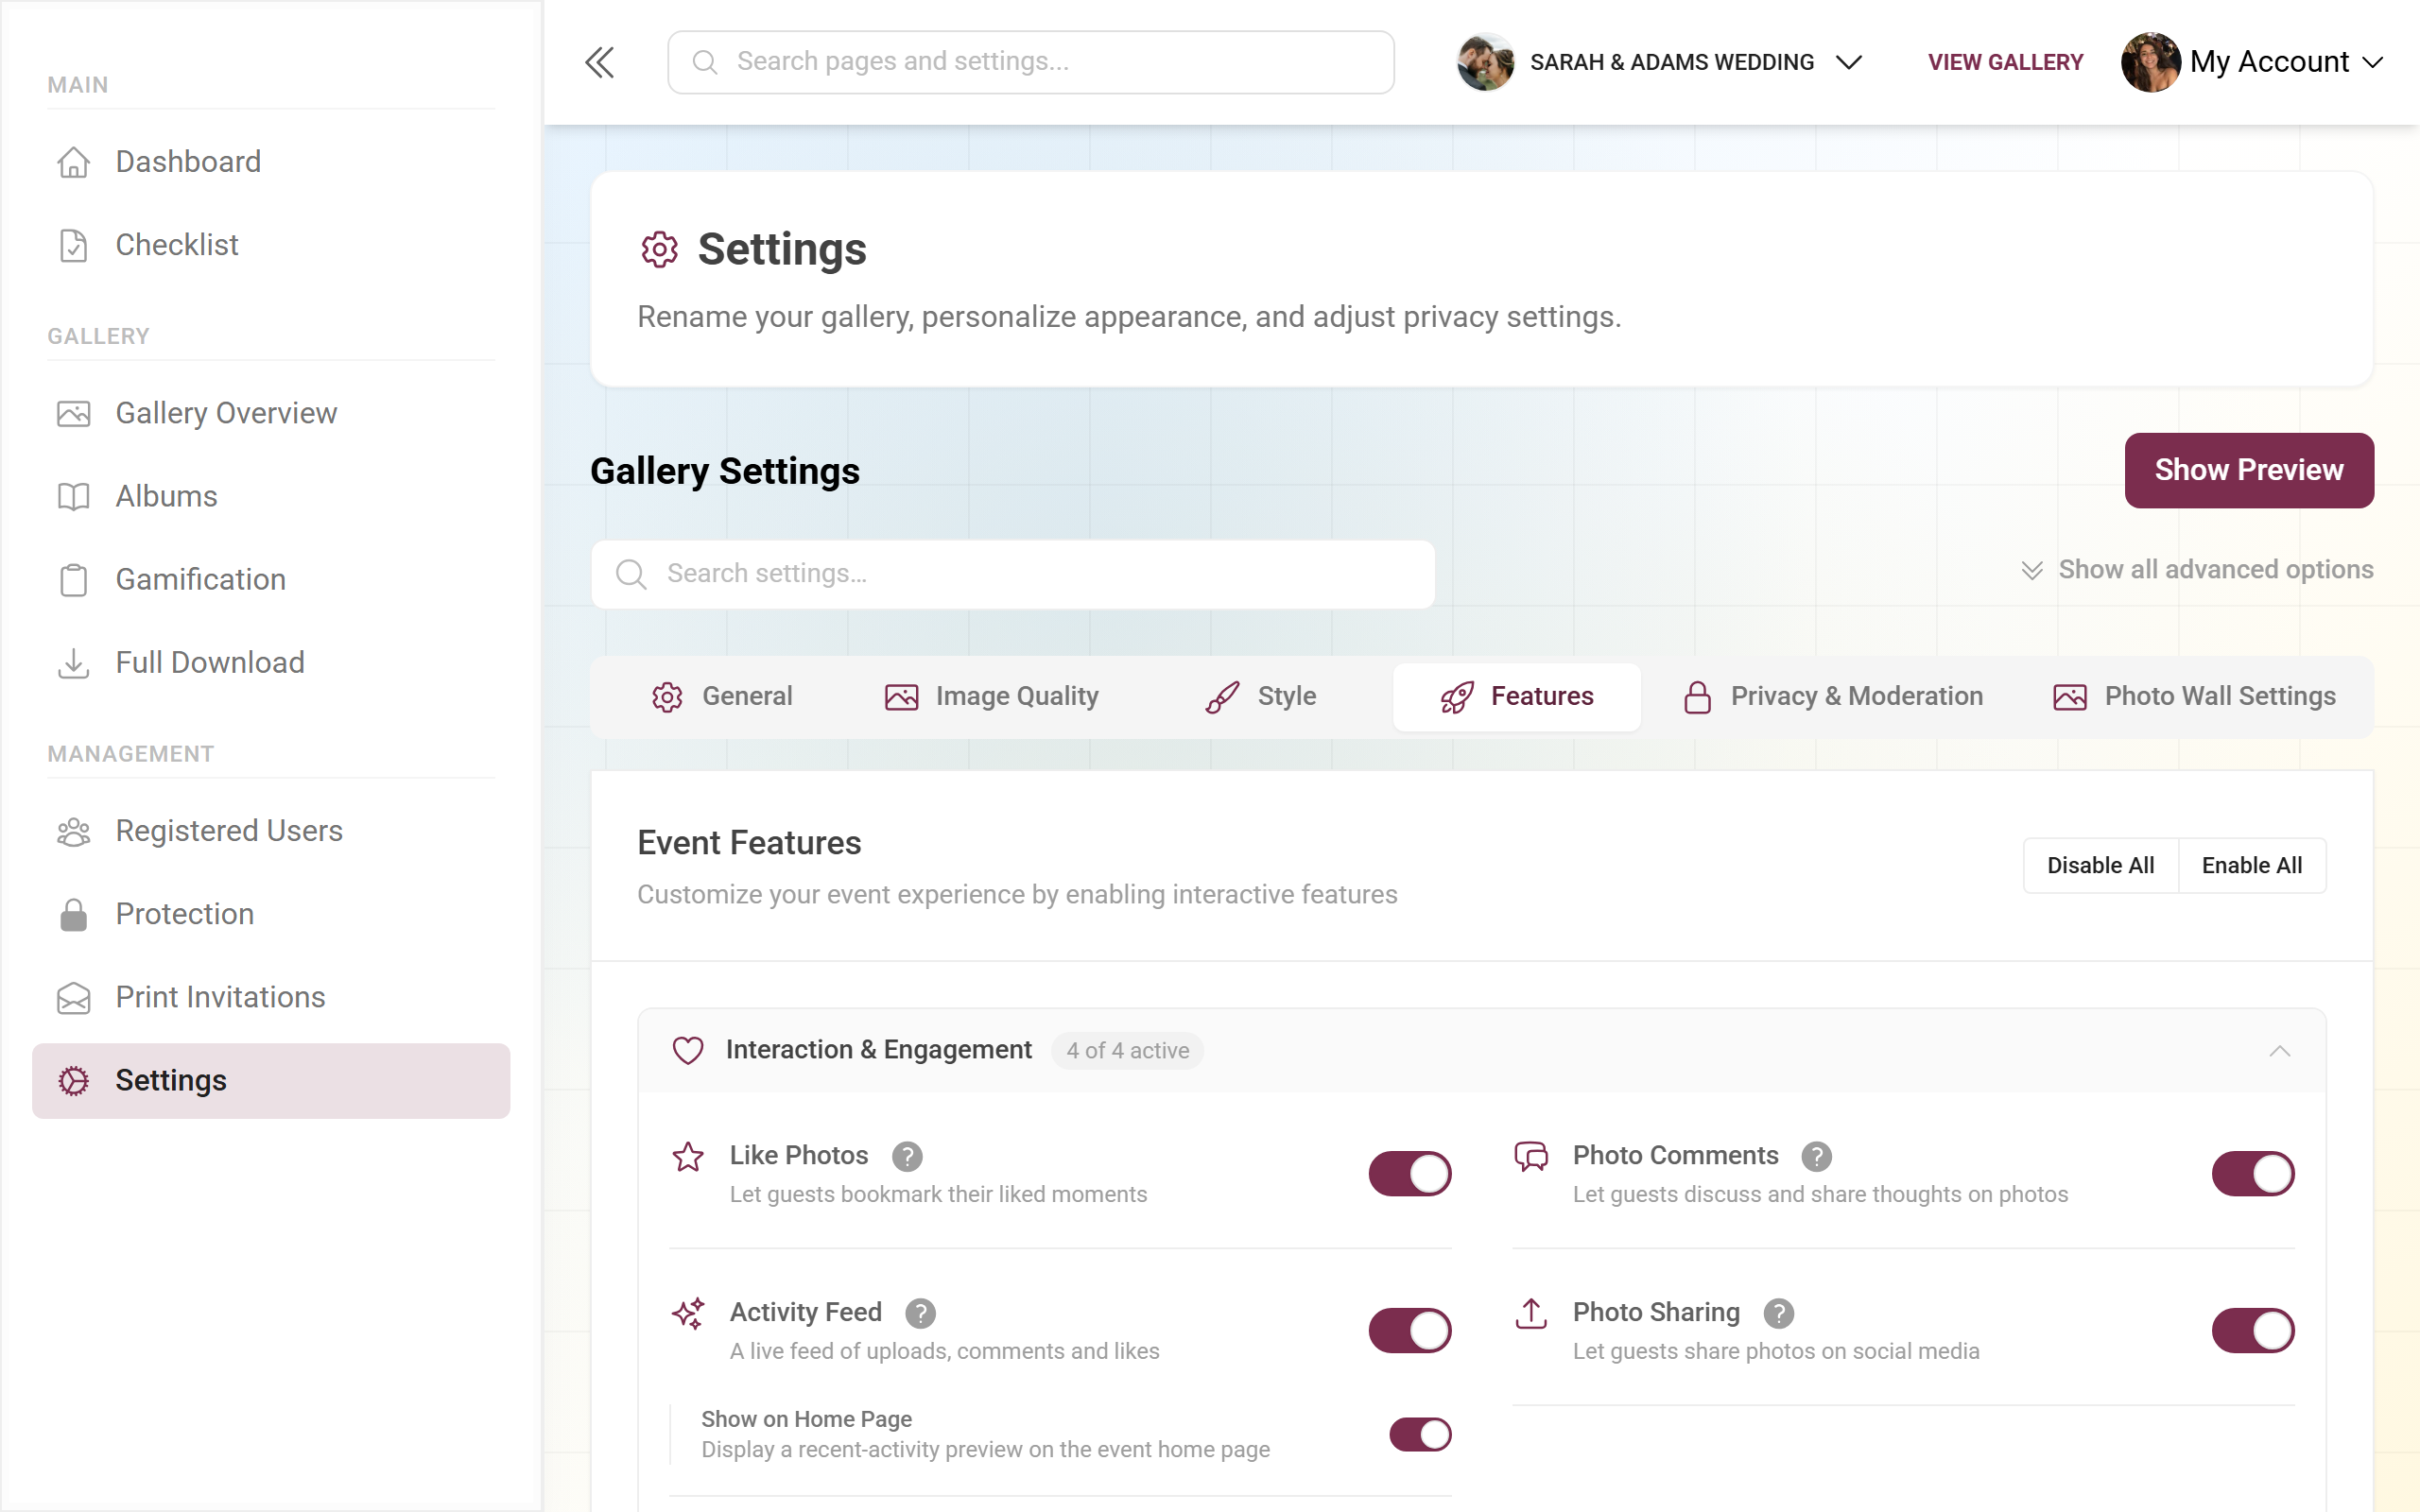
Settings → Features: each section holds feature cards with a toggle.
At the top of the tab you’ll see the title Event Features with a short description. In the top right there are two bulk switches:
- Disable All – turns everything off in one go.
- Enable All – turns on every main and sub-feature plus all leaderboard categories. When all main features are on, the note All Features Enabled appears.
Understanding saving
Section titled “Understanding saving”How the page is structured
Section titled “How the page is structured”The tab is an accordion of collapsible sections. Each section shows a counter of active cards. Every feature card has an icon, a title, a short description, an info icon with a tooltip, and a toggle. If a feature isn’t part of your plan, you’ll see a premium hint instead of the toggle (on branded white-label events a locked card is hidden entirely).
Interaction & Engagement
Section titled “Interaction & Engagement”This section is open by default.
-
Like Photos – guests can mark photos with a heart and collect their favourites.
-
Photo Comments – guests can write below photos and join the conversation.
-
Activity Feed – a live feed of uploads, comments and likes. This feature is always available (not plan-dependent). When the feed is on, you can additionally enable Show on Home Page.
-
Photo Sharing – guests can share photos on social media.
For what these features mean for guests, see Liking & Commenting, Activity Feed and Sharing.
Downloads
Section titled “Downloads”-
Single Downloads – guests can download individual photos.
-
Bulk Downloads – guests can download entire albums or a selection as a ZIP file.
From the guest side: Download and Select & Download. As a host you export all photos via Download & Export.
Gallery Views
Section titled “Gallery Views”-
Photowall Display – shows live-uploaded photos on a big screen and adds the photo-wall button to the gallery search bar. Setup is covered in Photo Wall Setup.
-
GPS Map View – guests explore photos on an interactive map. Sub-toggle Approximate positions (GPS fallback): photos without GPS data appear at the location of the nearest photo in time.
-
Moderation Panel on Gallery – shows moderation status tabs right on the gallery page.
-
Quick Sort Bar – shows a sort bar above the gallery.
-
Album Quick Select – shows album chips below the sort bar so guests can switch between albums quickly.
-
Memories Counter – a live counter of the total photos shared.
From the guest side: Map, Albums and Photo Wall.
Media & Upload
Section titled “Media & Upload”Video Uploads – lets guests upload videos. This card depends on whether your plan includes video uploads.
From the guest side, uploading photos and videos is described in Uploading Photos.
Gamification
Section titled “Gamification”-
Photo Challenges – “Capture a group photo” type activities. Sub-toggles: Show Task Progress on Gallery and Show Achievement Progress on Tasks (only active when both achievements and task progress are on).
-
Digital Achievements – “First photo upload” type rewards. Sub-toggle: Show Next Achievement on Gallery.
-
Points System – awards points for guest actions.
-
Activity Leaderboard – shows a ranking of the most active guests. Below it the Leaderboard Categories area appears with up to 13 on/off chips: points, likes received, achievements, likes given, tasks completed, unique tasks, images uploaded, shares, downloads, views given, views received, comments and comments received.
Once enabled, you create the content: Managing Photo Challenges, Achievements and Rewards & Tracking. From the guest side: Challenges and Points & Rewards.
AI Processing: Face Recognition
Section titled “AI Processing: Face Recognition”Face Processing enables AI-powered face detection, recognition and grouping. This card is special: for data-protection reasons there is a mandatory consent step.

-
While the feature is off, you see a warning box: guests must be informed and give their consent in advance. Below it there is a mandatory checkbox “I confirm that I will inform my guests and obtain their consent”.
-
The toggle is locked until you tick the checkbox. Only then can face recognition be turned on.
-
The Learn more link opens a detailed GDPR info dialog titled Face Recognition – Guest Information. It contains the sections “Before the Event”, “At the Event”, “What to Communicate” (including a sample consent text) and “Guest Rights”. Close it with I understand.
-
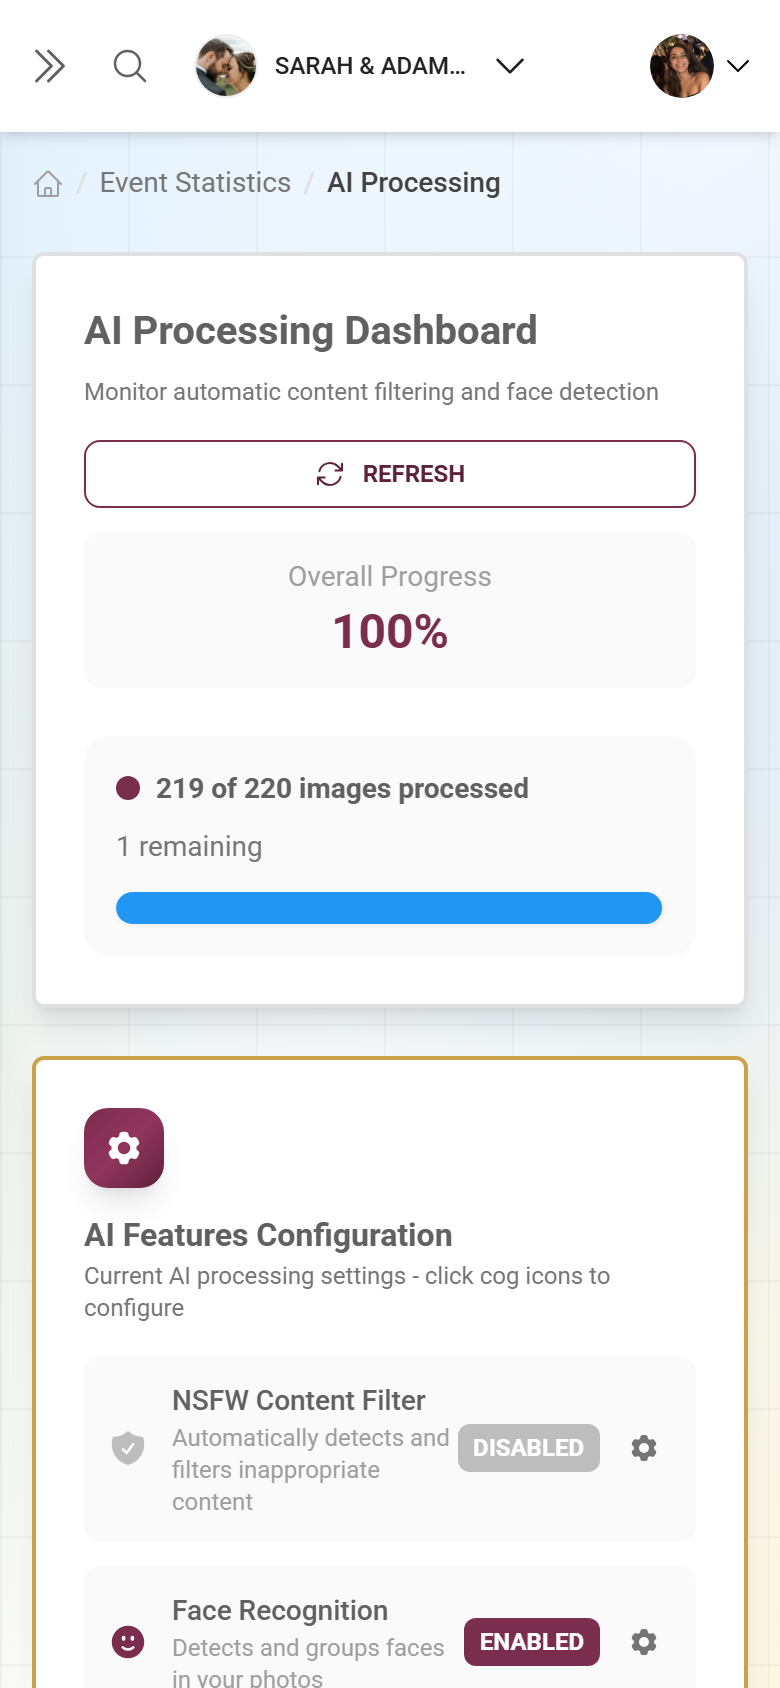
When the feature is on, an info box appears with a link to the AI Processing page, since processing existing photos can take a while.
For details on processing, see AI Processing. From the guest side: Face Search.
Creating content
Section titled “Creating content”After enabling a feature, you create the matching content in the relevant area. Here’s an overview of the key dialogs – full guides are on the linked pages.
Create an album
Section titled “Create an album”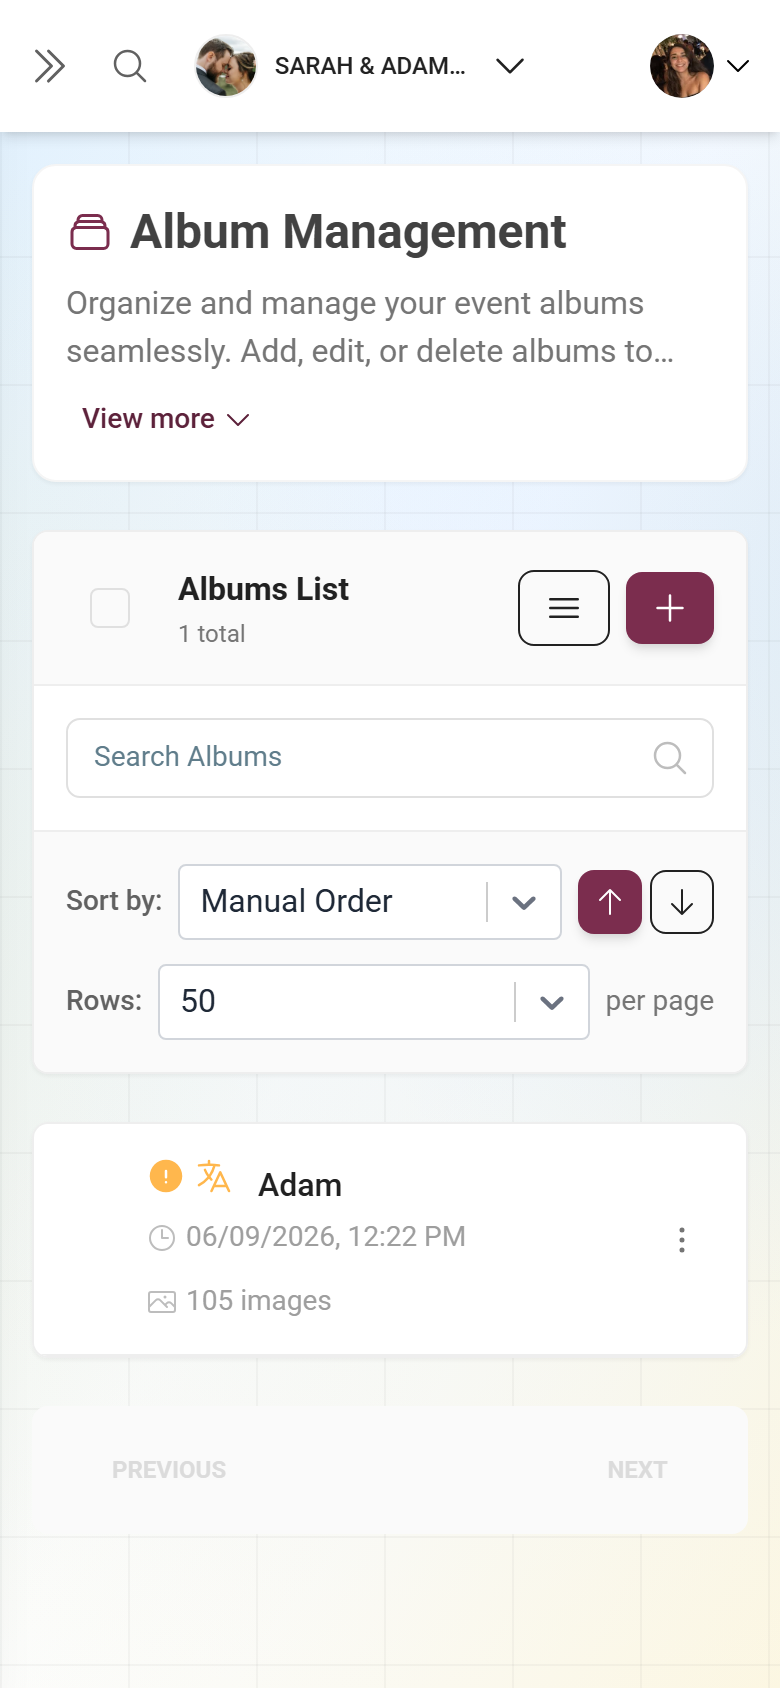
Open the Albums Manager and click New Album. In the dialog:
-
Album type: choose Manual (you add photos yourself) or Smart (photos are sorted in automatically by rules). Smart albums may be plan-dependent.
-
Language selection for multilingual titles and descriptions.
-
Title (required) and Description.
-
For smart albums: the rule builder with criteria – including “Person” (face), which requires active face recognition.
-
Sort within the album: “Sort photos by” (event default, upload date, capture date, likes, comments) and “Order” (event default, newest first, oldest first).
-
Cover: automatic, upload, or – for existing albums – choose from the gallery. The cover is applied only when you save.
Save with Save; during a cover upload you see the progress in percent. Full guide: Albums Manager.
Create a photo challenge
Section titled “Create a photo challenge”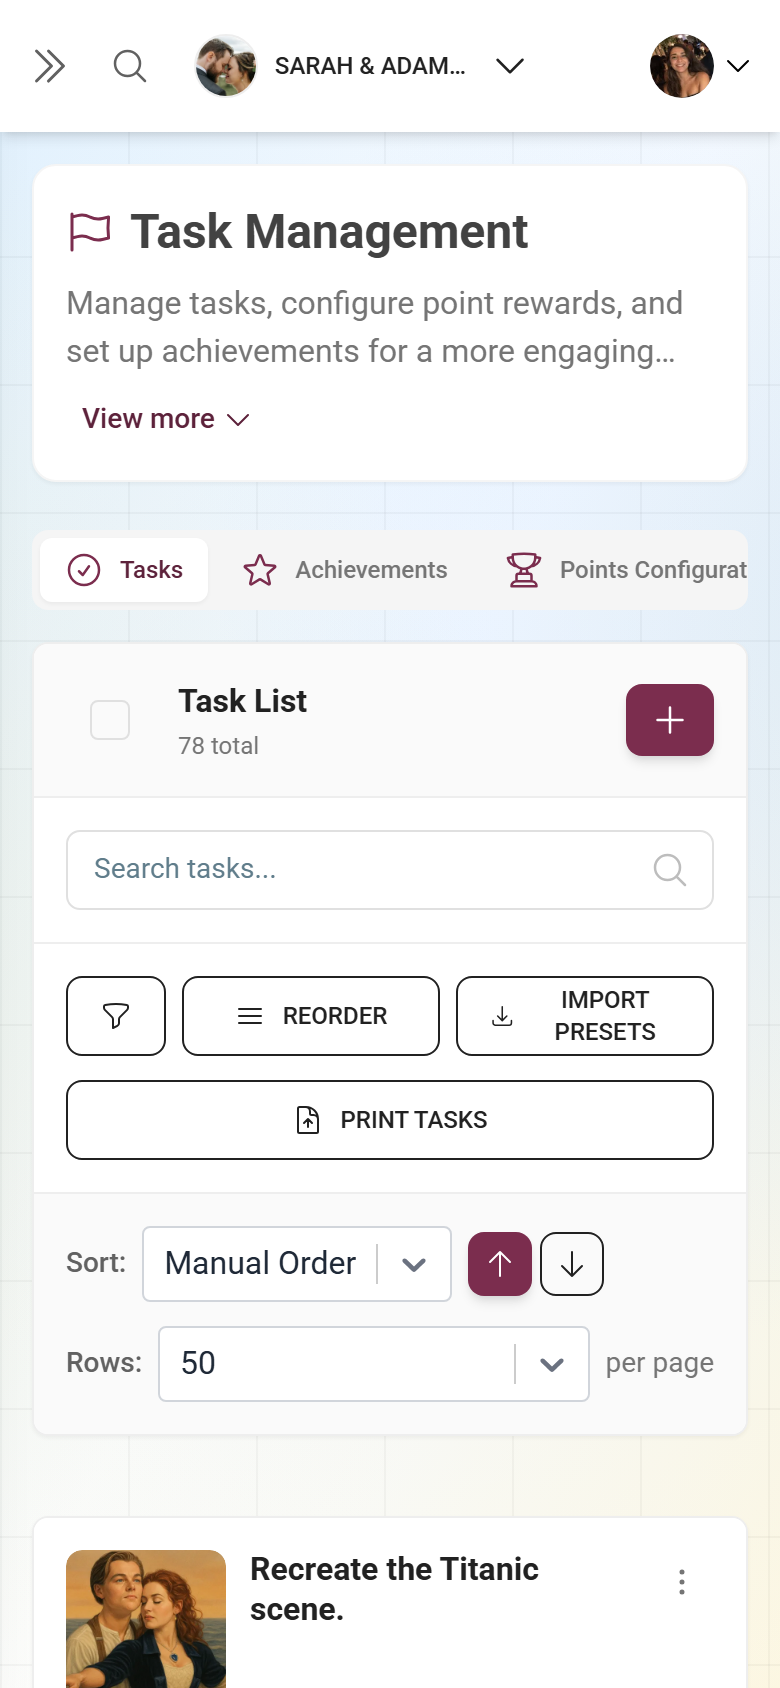
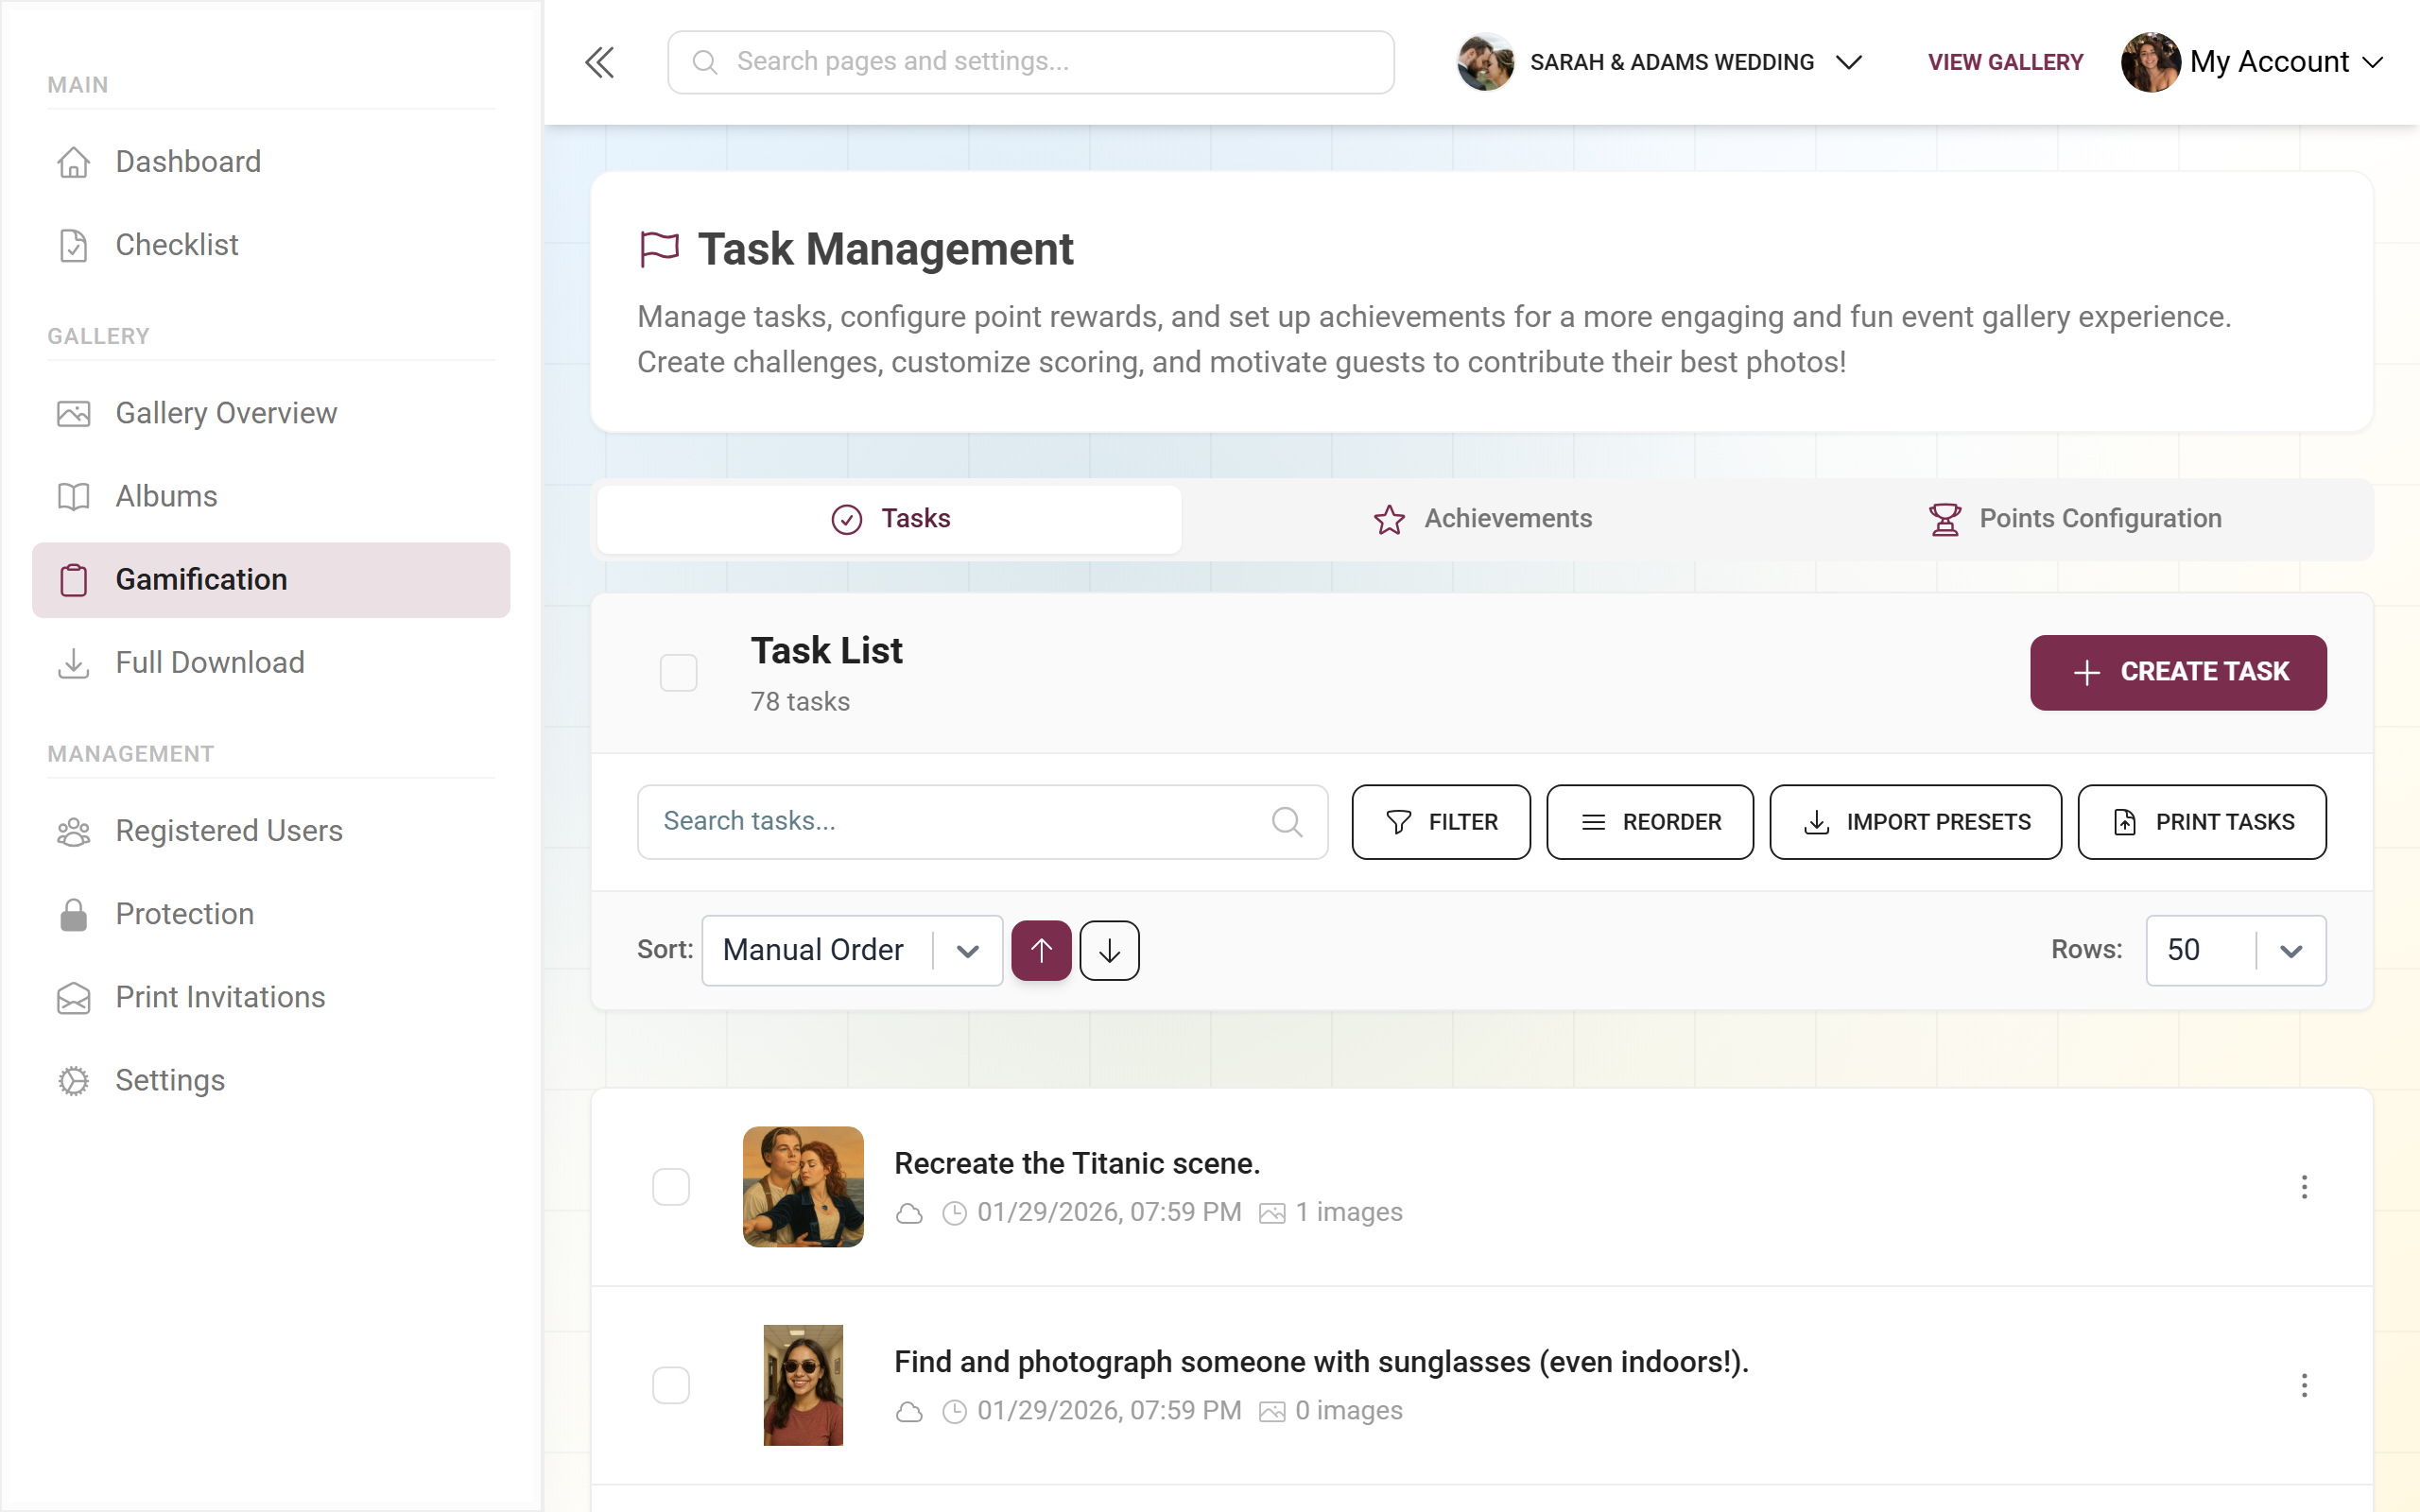
Open the Gamification area, choose the Tasks tab and click New Task. Basic fields:
-
Language selection for multilingual content.
-
Task (text field): a detailed description of the activity.
-
Task Image: a drop zone with template selection.
You also set conditions and points. Instead of writing your own, you can Import Presets. Full guide: Managing Challenges.
Create an achievement
Section titled “Create an achievement”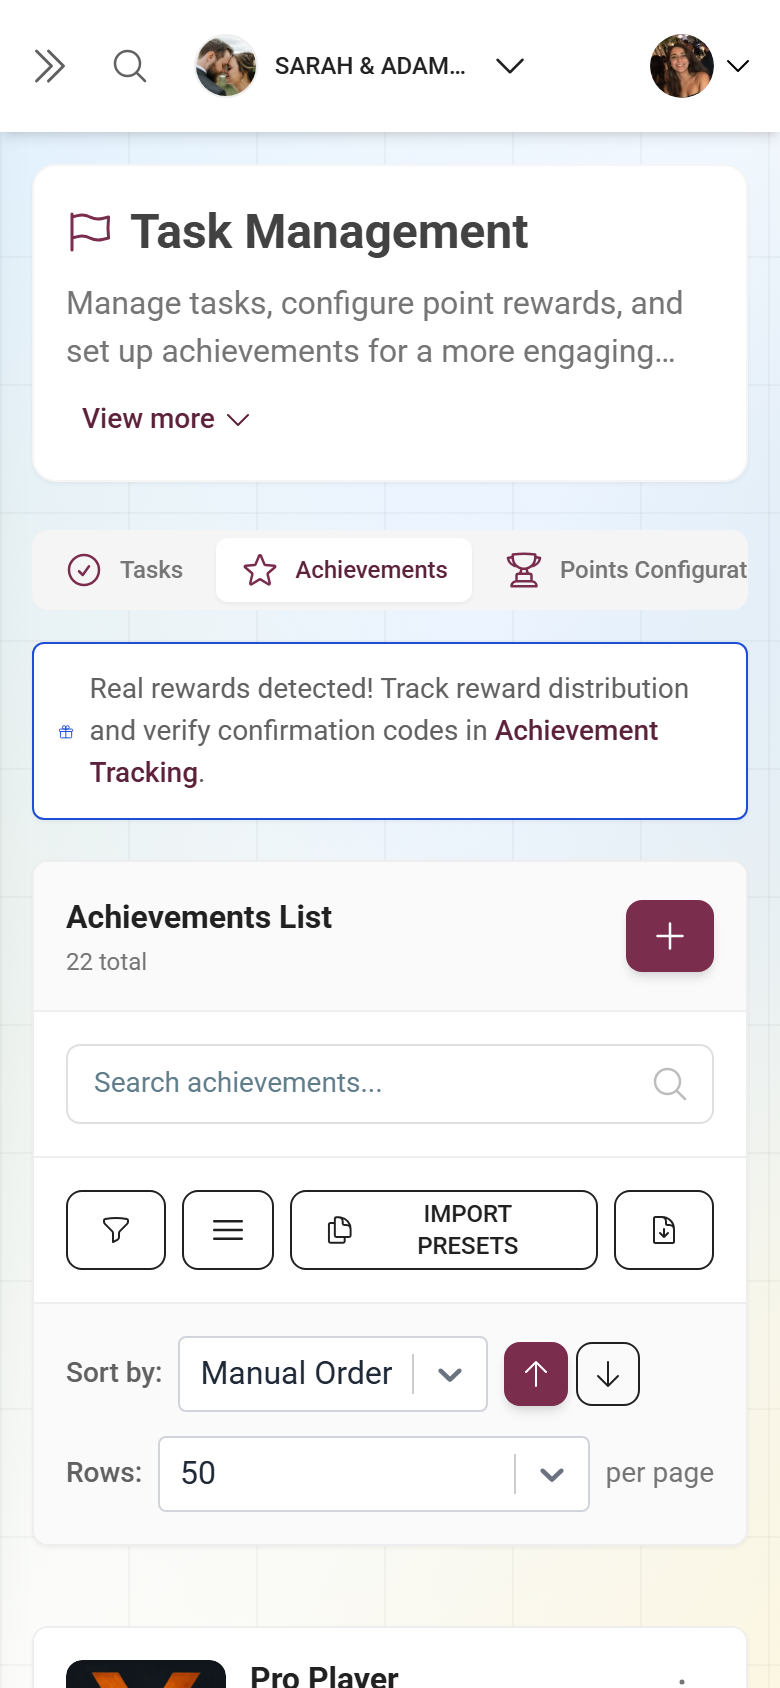
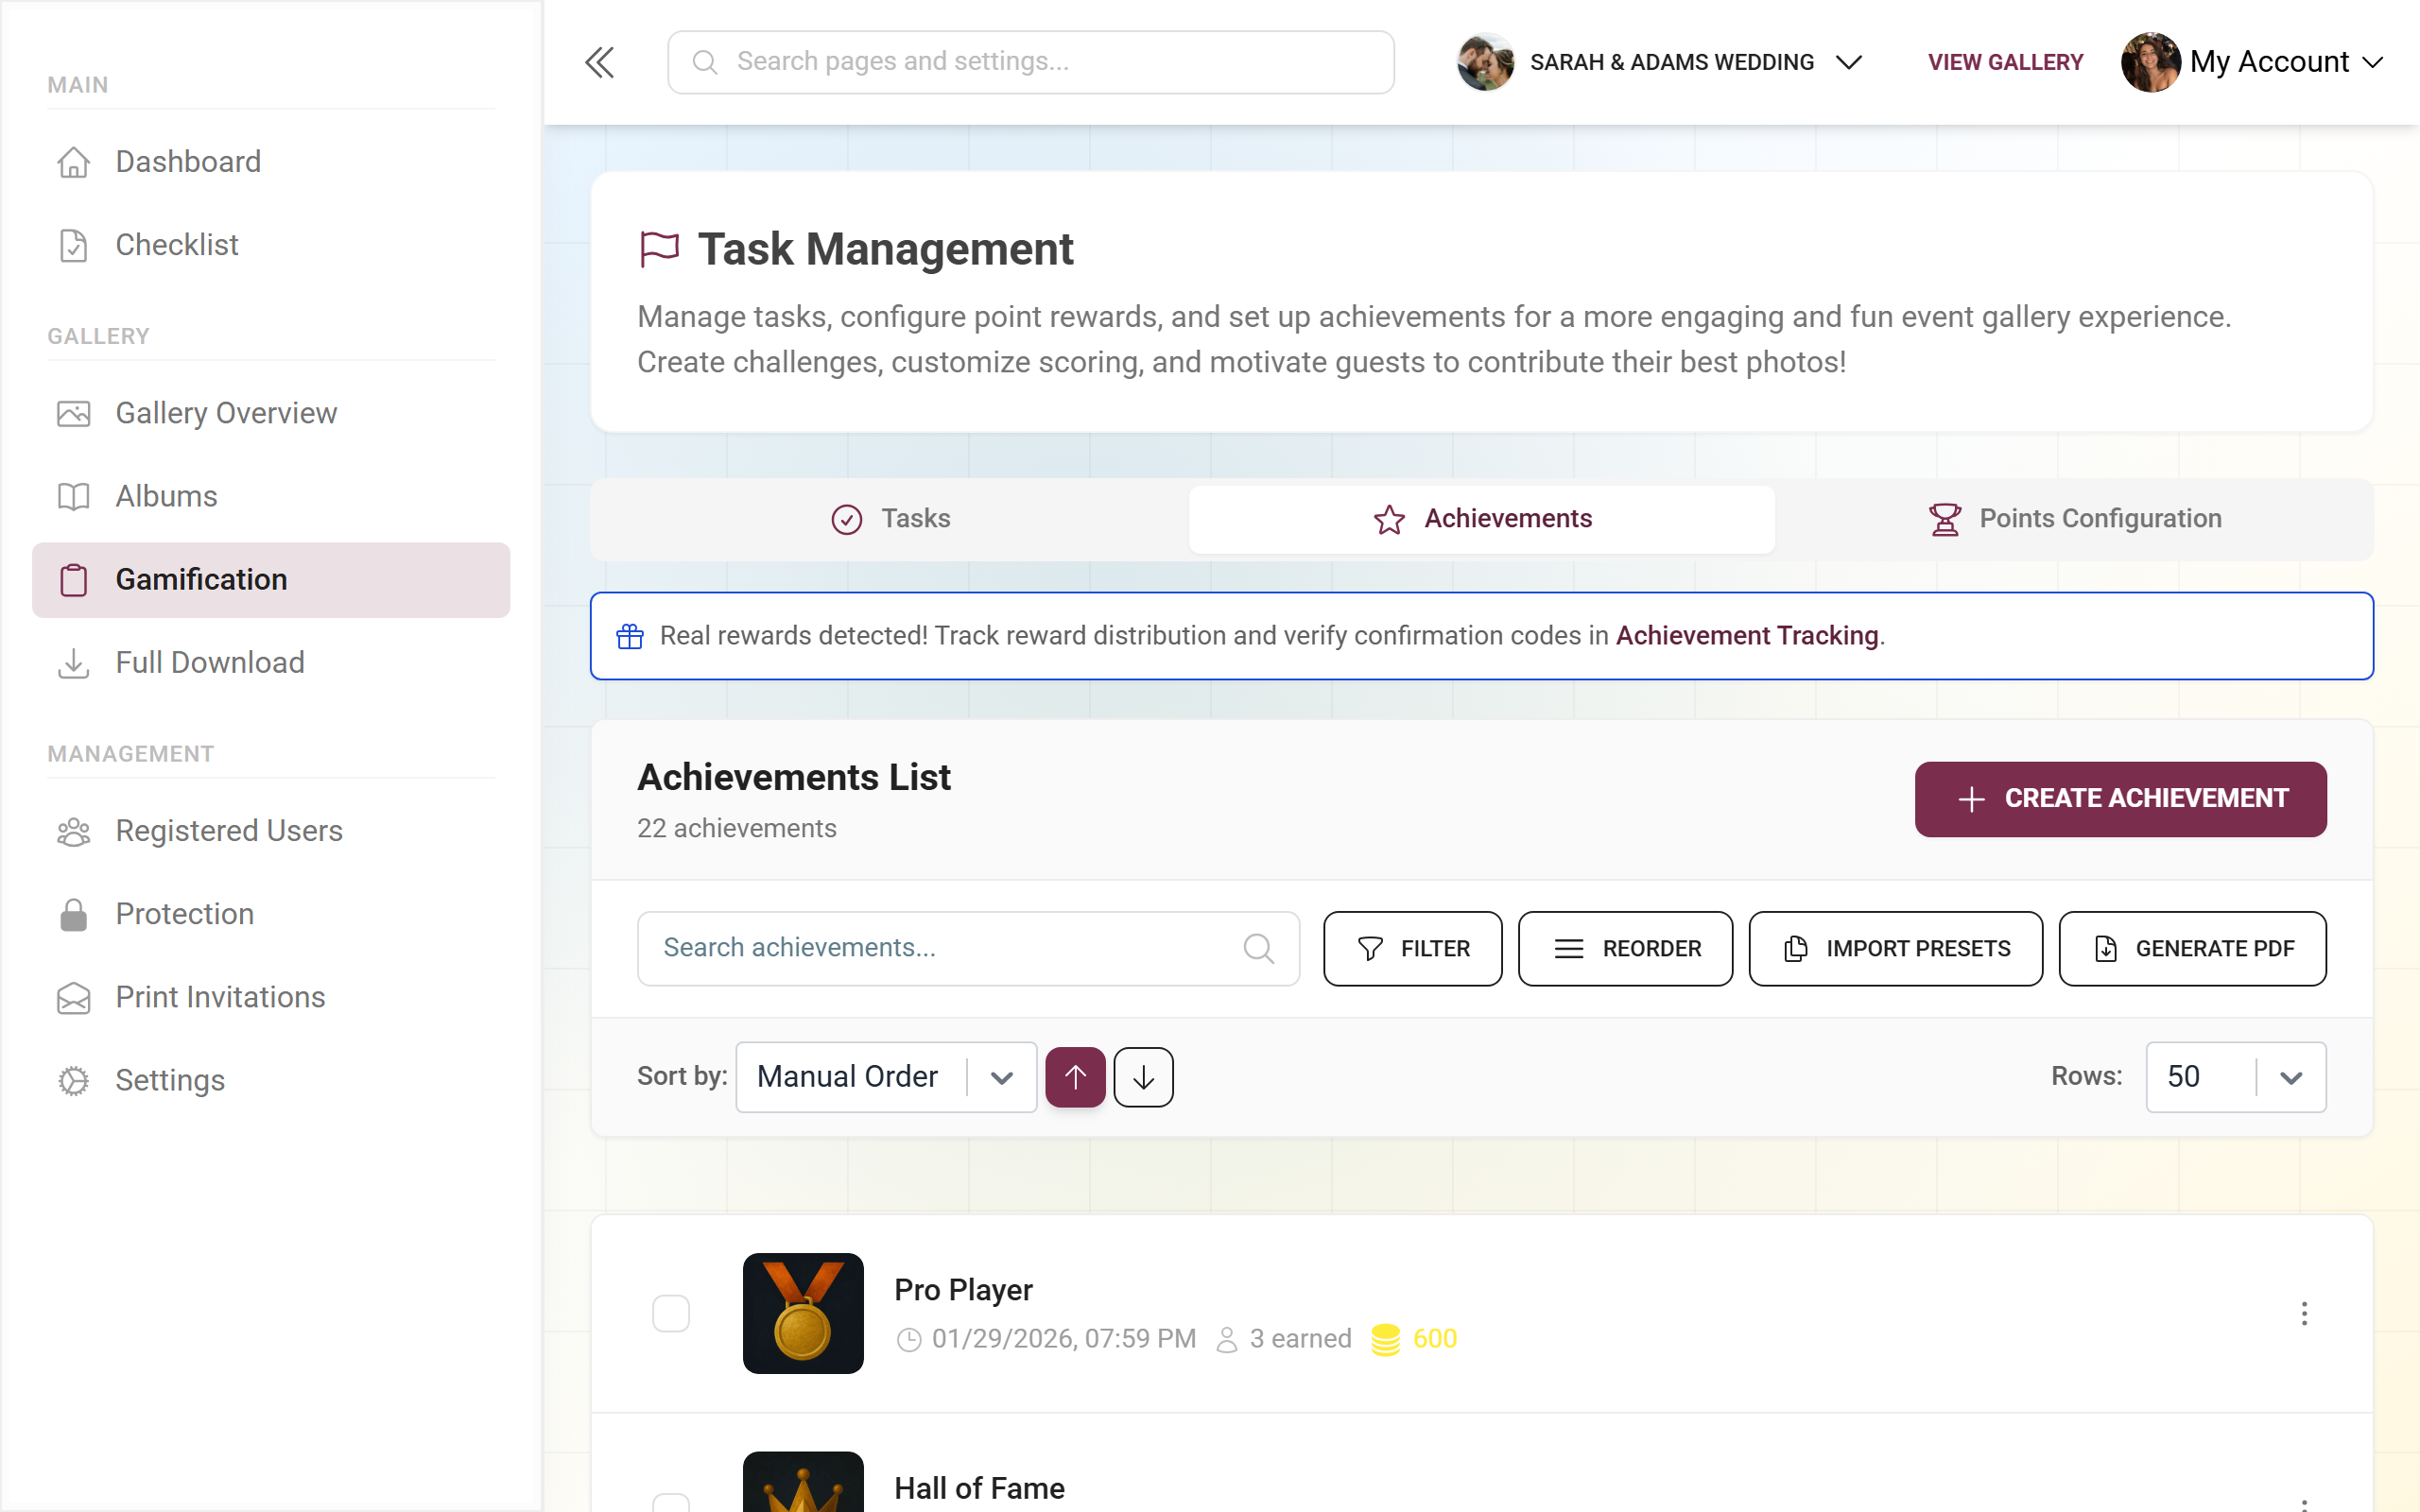
In the same area, open the Achievements tab and click Add. The dialog guides you in four steps:
-
Basic Information: Achievement Name (required, e.g. “Photo Master”) and Description (required).
-
Visual Identity, Reward Type and Unlock Conditions follow in the remaining steps.
The area also has a Points Configuration tab. Full guide: Achievements.
Premium & gating
Section titled “Premium & gating”Troubleshooting
Section titled “Troubleshooting”Tips from practice
Section titled “Tips from practice”Related help
Section titled “Related help”- Neighbouring tabs: General · Style · Privacy & Moderation · Image Quality
- Content: Albums Manager · Challenges · Achievements · Rewards & Tracking
- Display & export: Photo Wall Setup · Download & Export · AI Processing
- Terms: Glossary