Can I crop or adjust a photo?
Yes. You can crop a photo and set a focus point. These are two very different things:
- The focus point does not change the photo. It only remembers which spot should stay visible whenever the picture is shown tightly cropped somewhere.
- Cropping changes the file – and it does so permanently.
So read the warning box first before you crop anything.
Who is allowed to do this?
Section titled “Who is allowed to do this?”- Your own photos are always editable – everything you uploaded yourself.
- Moderators and hosts may edit every photo in the event.
- On someone else’s photo that isn’t yours, the Edit entry simply isn’t there.
Where the feature lives
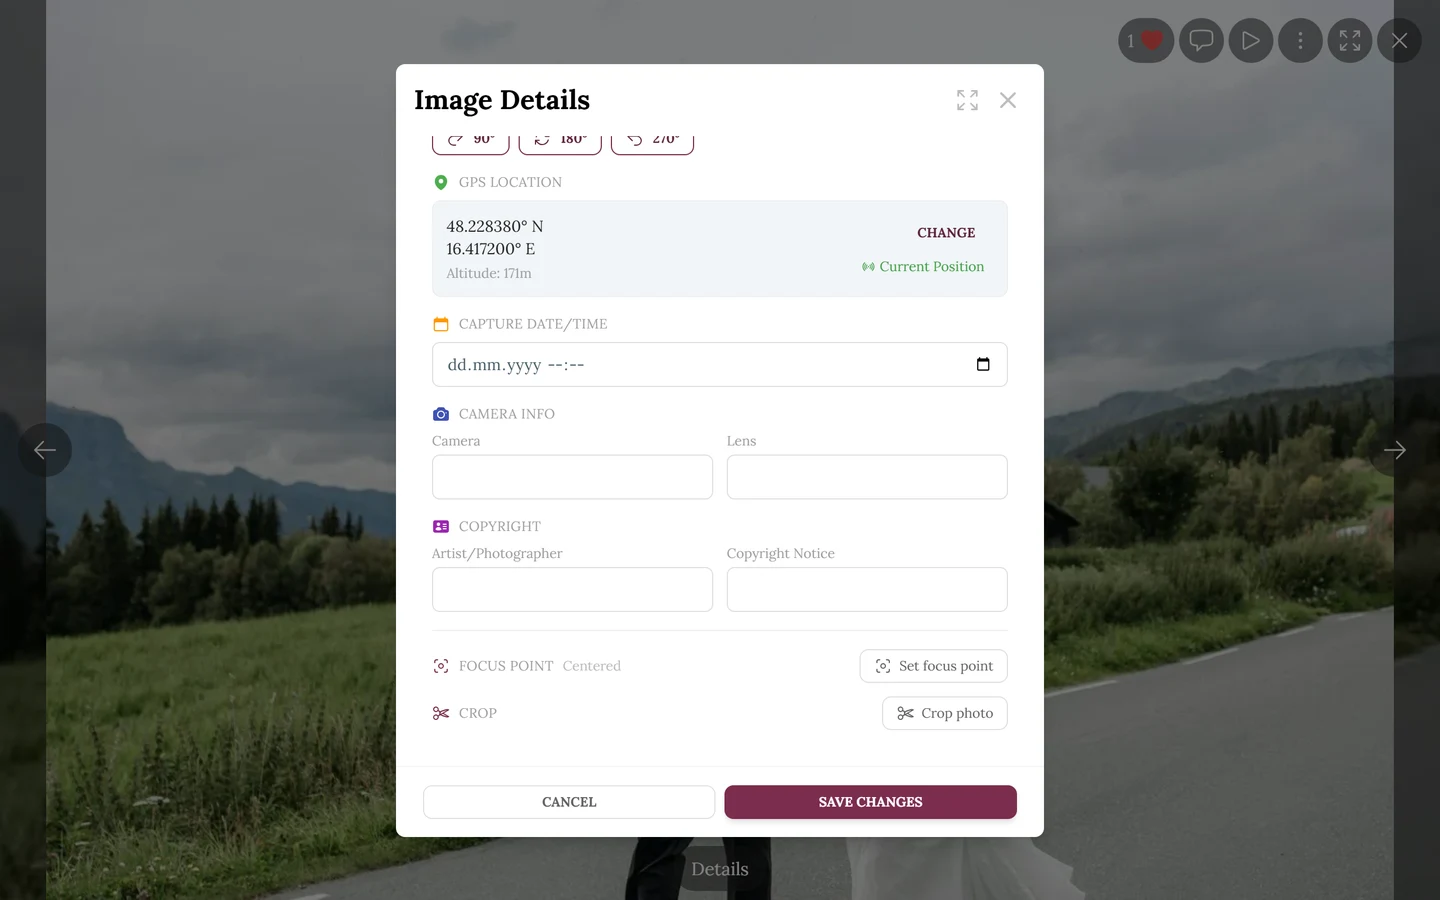
Section titled “Where the feature lives”You do not edit a photo directly in the picture view. Crop and focus point sit inside the image details dialog, and they only appear after you tap Edit there.
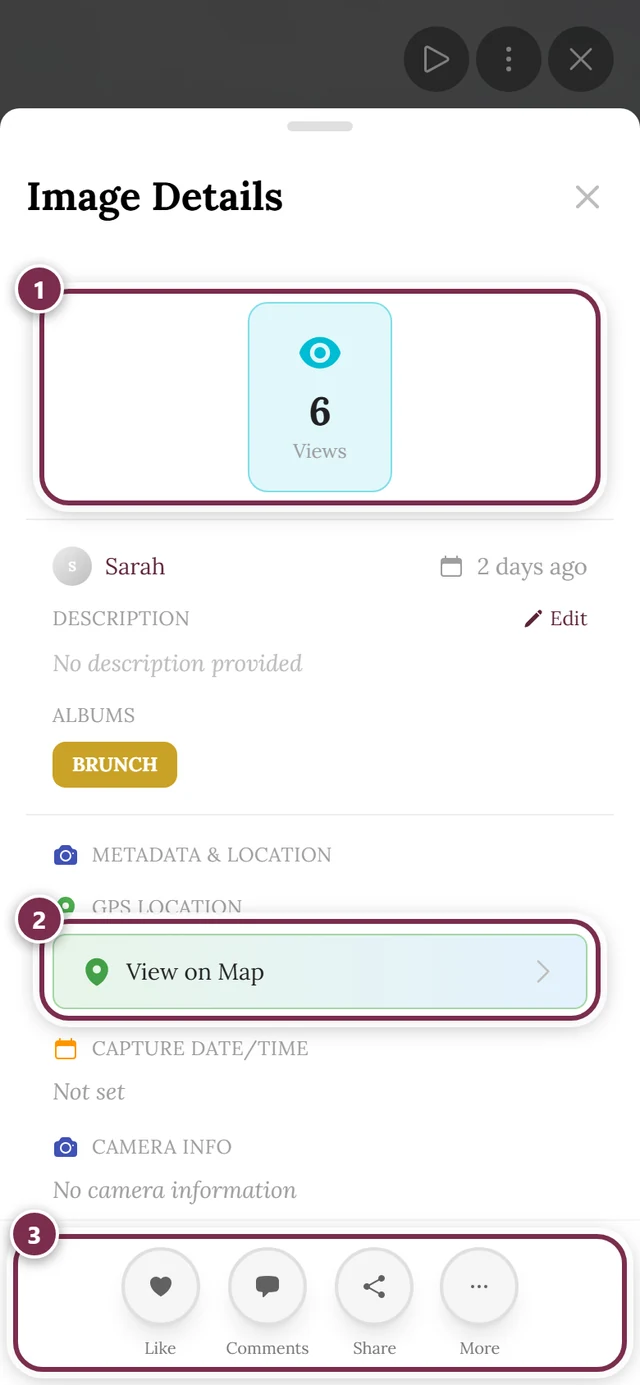
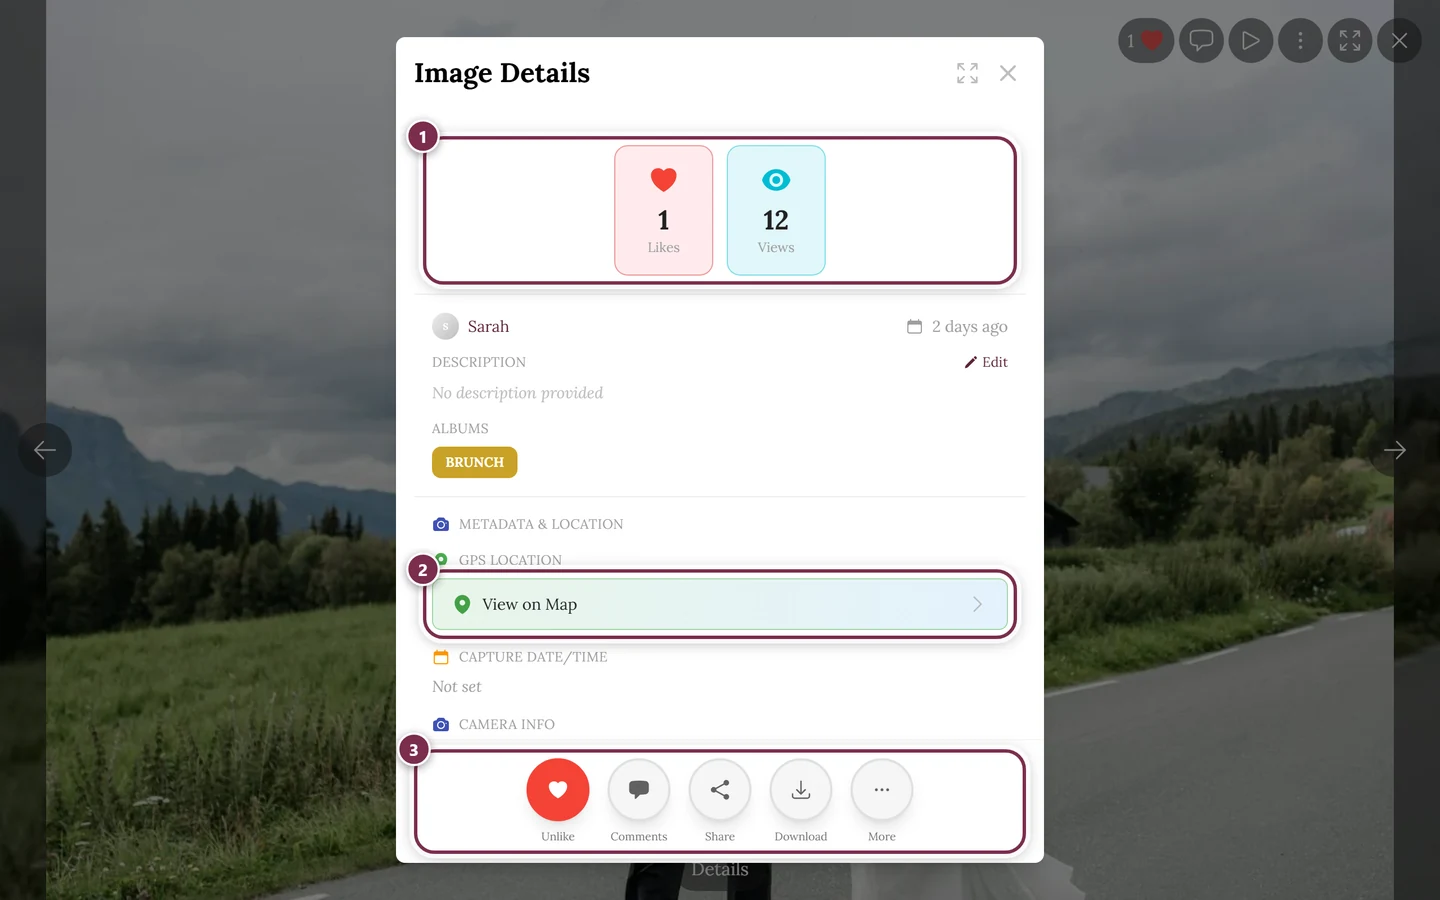
The path is always the same:
-
Open the image details.
-
Next to the Description heading, tap Edit (pencil icon).
-
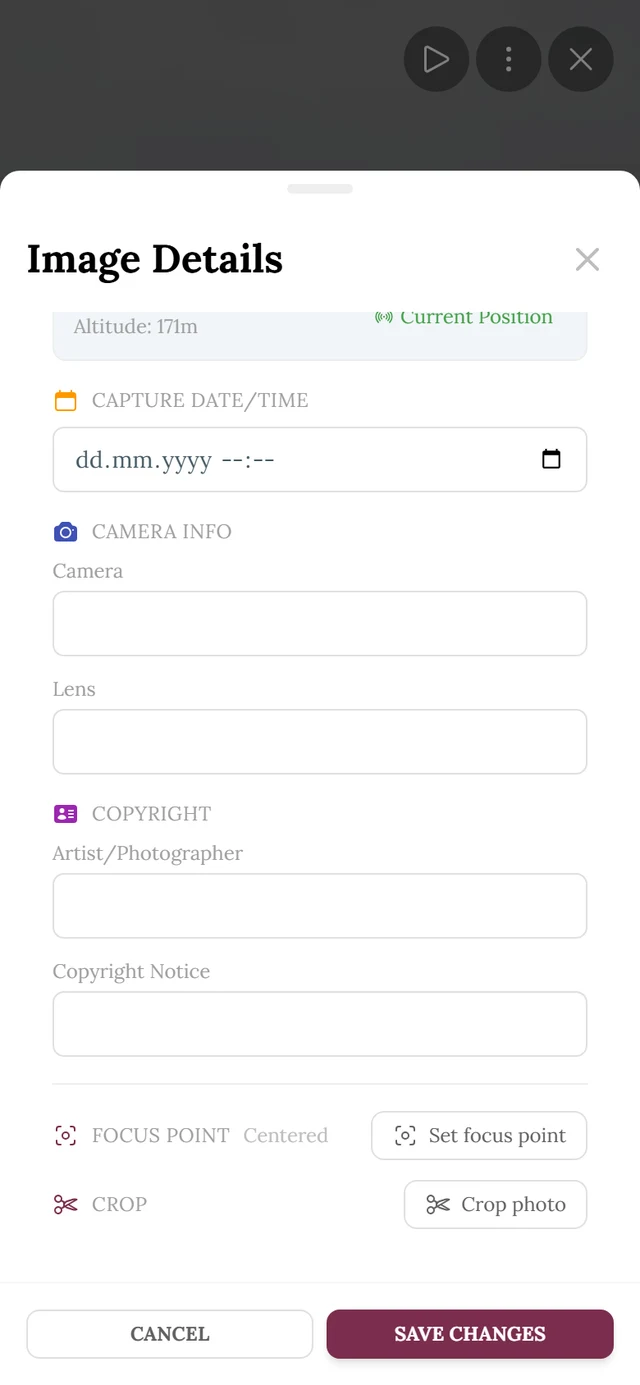
Scroll down to the Metadata & Location section. Focus point and Crop now sit at the very bottom.
Three ways into edit mode
Section titled “Three ways into edit mode”Way 1 – Open the photo and call up the details
Section titled “Way 1 – Open the photo and call up the details”-
Tap the photo in the gallery. It opens in full screen.
-
Tap Details in the control bar at the bottom. The image details dialog opens.
-
Tap Edit.
Way 2 – Swipe up on a phone
Section titled “Way 2 – Swipe up on a phone”In full screen you can swipe up on the photo on a phone instead of using the Details button – that opens the same image details. Inside real (edge-to-edge) fullscreen the gesture is deliberately disabled; use the Details button there.
Way 3 – Straight from the gallery into edit mode
Section titled “Way 3 – Straight from the gallery into edit mode”This is the fastest route when you already know which photo you want to adjust.
-
On a computer: right-click the photo in the gallery grid. On a phone: press and hold the photo.
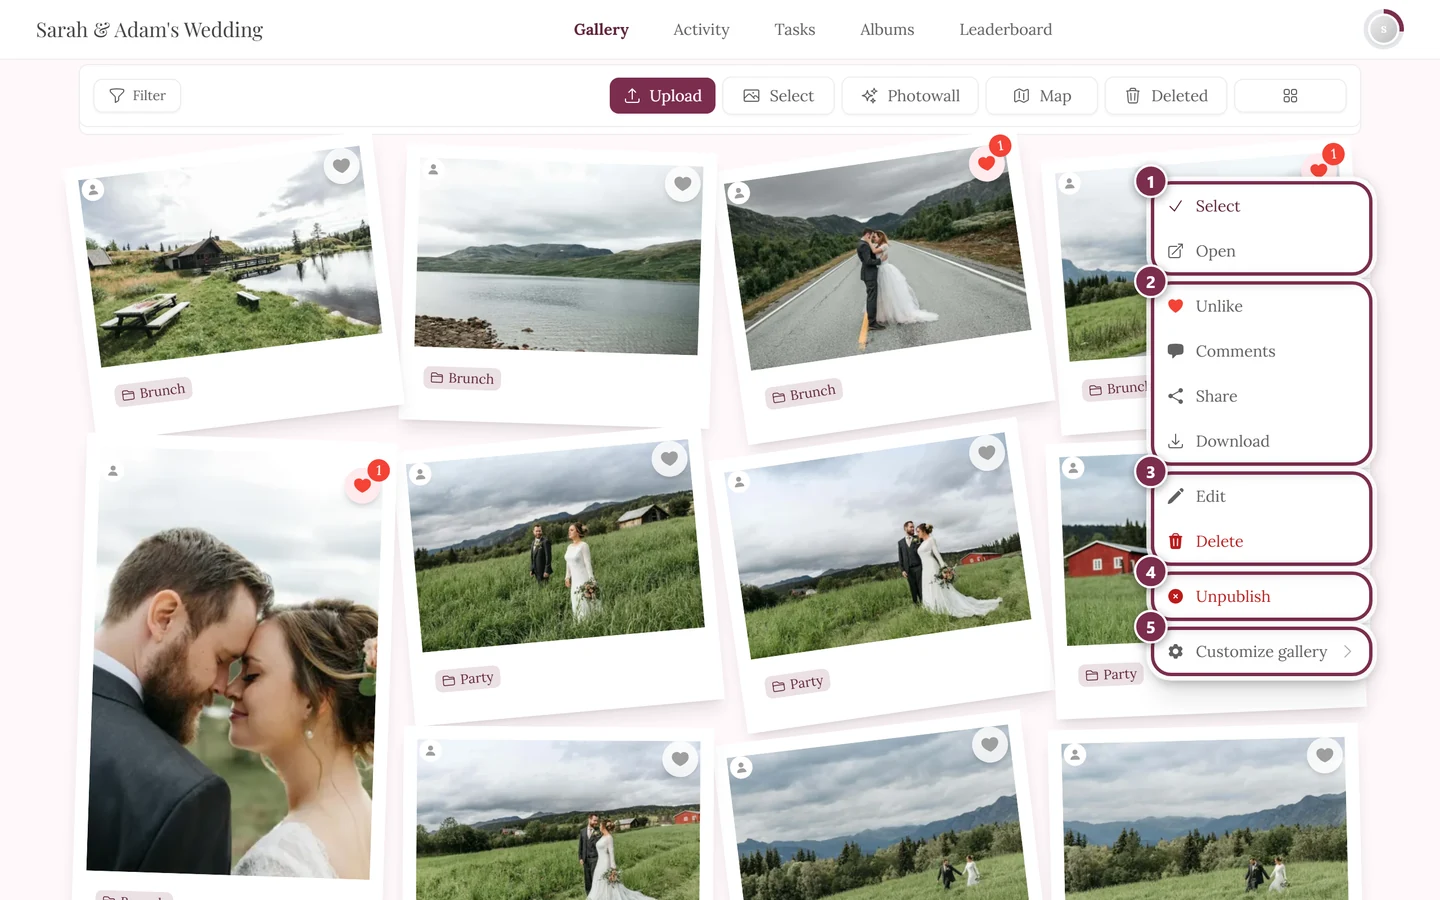
The context menu of a photo tile – the Edit entry goes straight into edit mode. ① Select and Open, ② Like, Comments, Share and Download – Share only appears when sharing is switched on for the event, Download only when single downloads are allowed, ③ Edit and Delete – on your own photos, on other people’s only with moderation rights, ④ Unpublish – only with moderation rights; on a photo that is not approved yet the entry reads Publish, ⑤ Customize gallery – for hosts and admins only. -
Choose Edit. The image details dialog opens directly in edit mode – the extra step via the Edit link is skipped.
Cropping a photo
Section titled “Cropping a photo”-
In edit mode, tap Crop photo at the bottom. The Crop photo dialog opens with the hint “Drag the frame to choose the visible area.”
-
Pick an aspect ratio at the top:
- Free – the frame can be dragged completely freely. Only here do you get edge handles in addition to the four corner handles.
- 1:1 – square.
- 16:9 – wide format.
- Original – keeps the photo’s own aspect ratio.
-
Drag the frame by its round handles, or move the whole frame by grabbing its middle. A grid of guide lines helps you line things up.
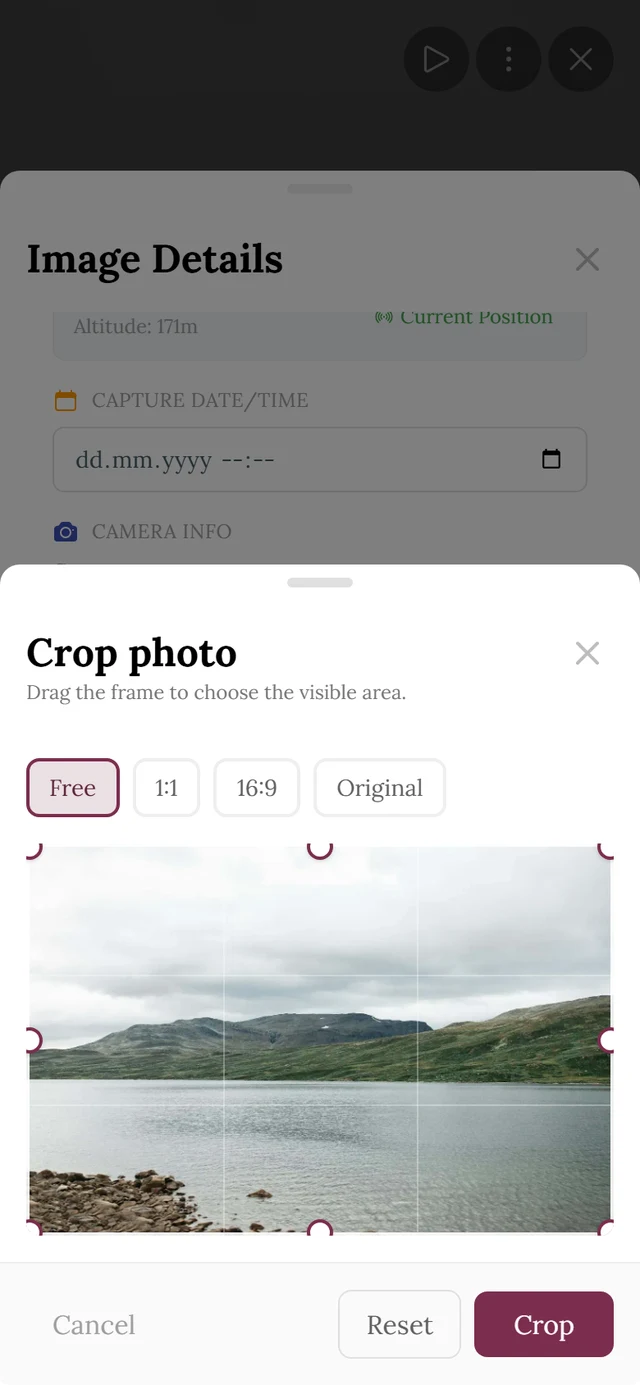
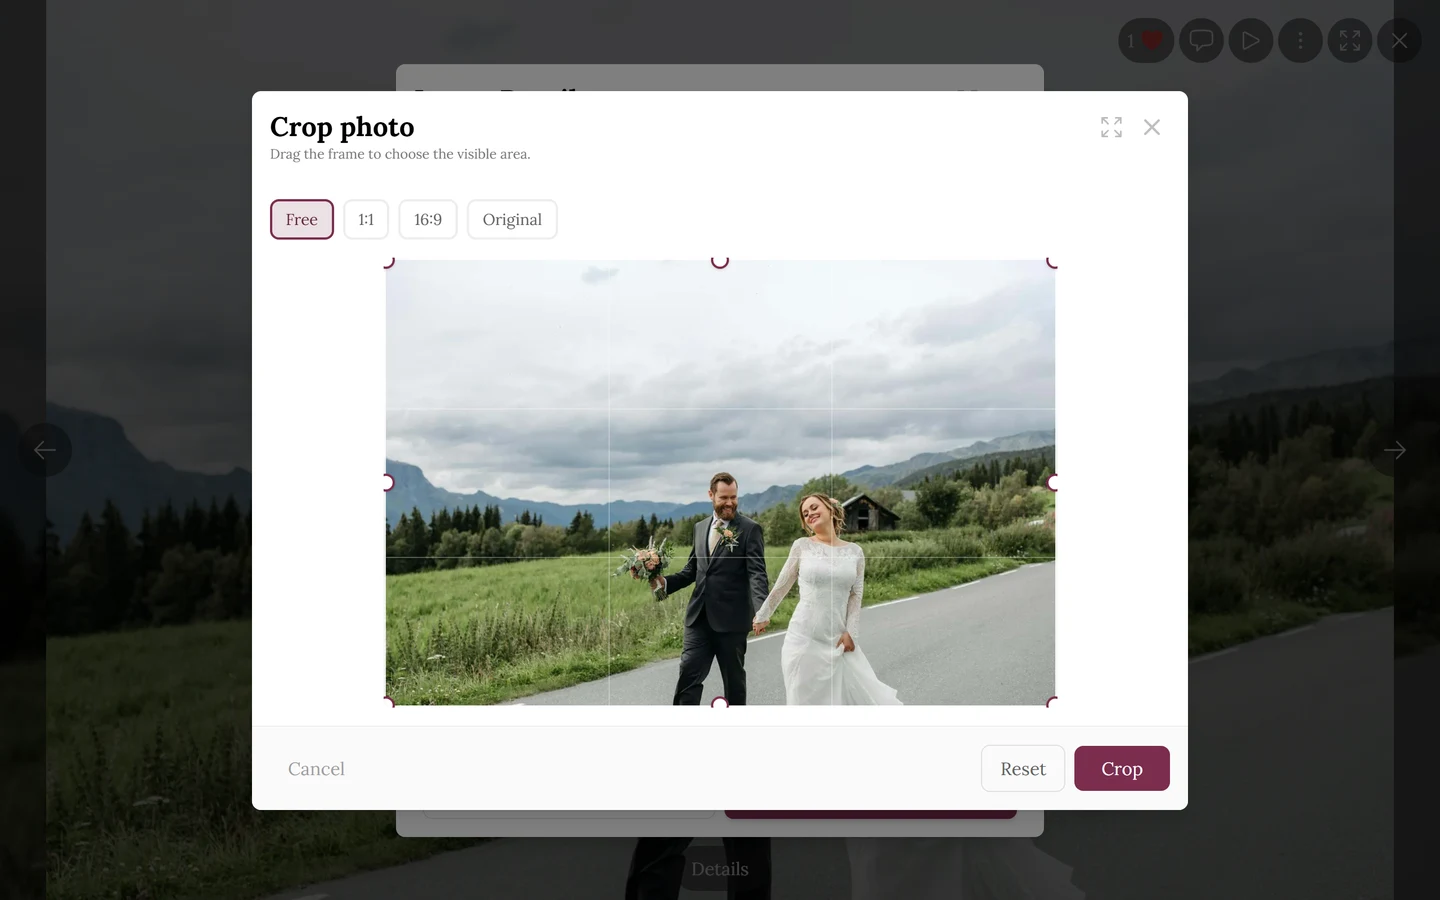
The Crop photo dialog: the four aspect ratios at the top (Free here), the round handles and the rule-of-thirds grid on the image, and Cancel, Reset and Crop at the bottom. The safety prompt only comes after Crop. -
Reset restores the full frame, Cancel discards everything.
-
Tap Crop. Now the Crop photo? confirmation appears – confirm with Yes, crop.
Setting a focus point
Section titled “Setting a focus point”Preview thumbnails are often cropped more tightly than the full photo. The focus point decides which spot stays visible. The hint in the interface names exactly the places this affects: “Tap the spot that should stay visible when this photo is cropped (covers, headers, grid tiles).”
-
In edit mode, tap Set focus point. Next to the Focus point heading you can see the current state – either Centered or the position in percent.
-
Free tap: tap directly on the important spot in the preview – a face, for example. A marker jumps there.
-
Presets: to the right sits a grid of nine fields (top/middle/bottom × left/center/right). Tapping one puts the focus on that corner or edge.
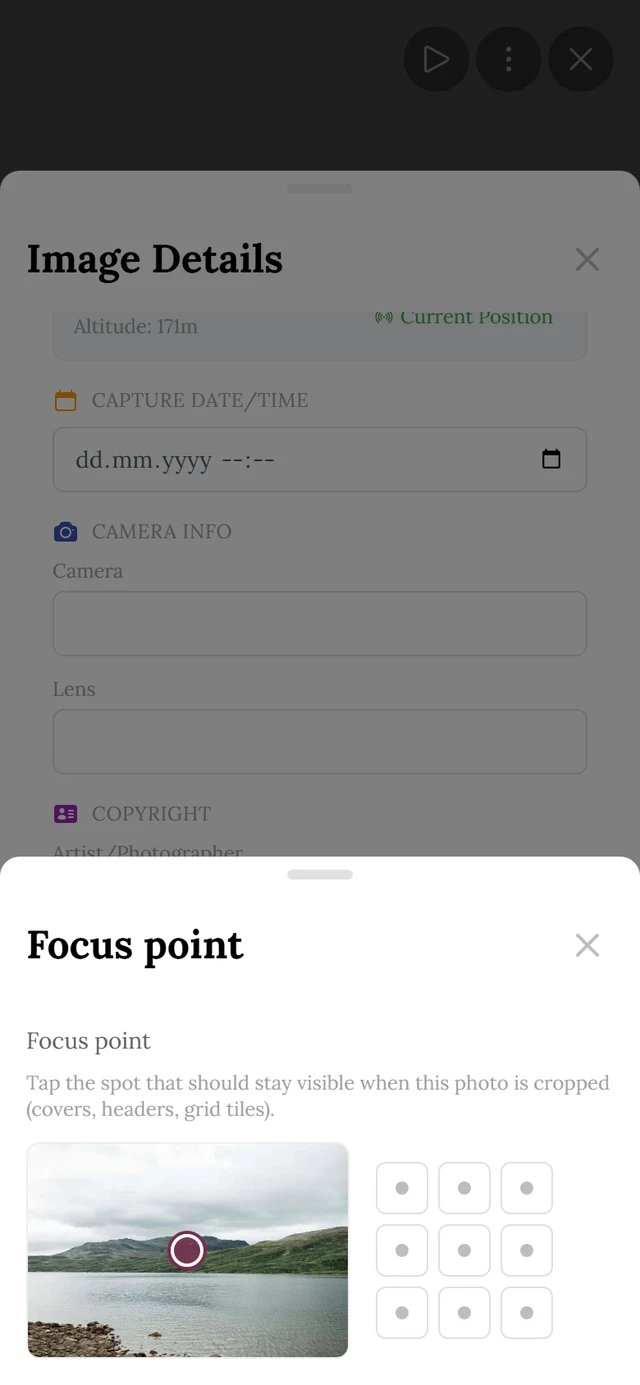
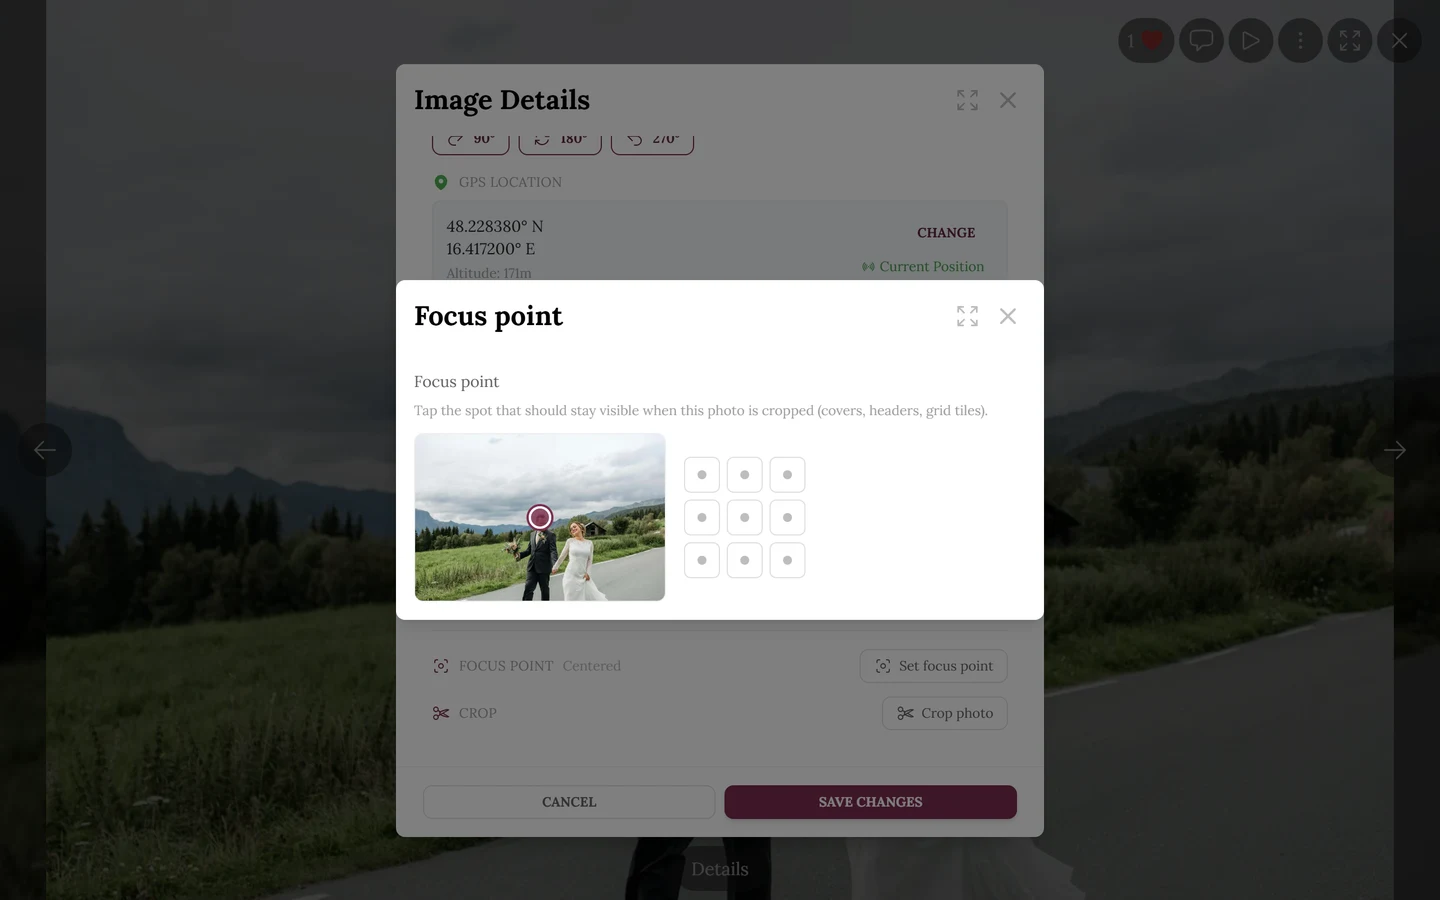
The Focus point popup: the preview with its marker on the left, the nine presets on the right. Center is missing here – this photo is still Centered. -
Center resets the focus point. The entry only shows when one has been set.
What else edit mode contains
Section titled “What else edit mode contains”In the same dialog you can also change:
- Description – a free text field for the caption.
- Albums – assign the photo to one or more albums (only when albums exist). See Browsing albums.
- Task – assign the photo to a photo task or remove that assignment (only when tasks are on).
- Rotation – Rotate right (clockwise), Rotate left (counter-clockwise) and Flip (180°).
- Metadata & Location – GPS Location (incl. Current Position), Capture Date/Time, Camera Info (camera, lens) and Copyright (artist/photographer, copyright notice).
These changes only take effect with Save Changes; Cancel discards them. A rotation is queued on save and then carried out in the background.
What works for videos and motion photos?
Section titled “What works for videos and motion photos?”Many photos at once
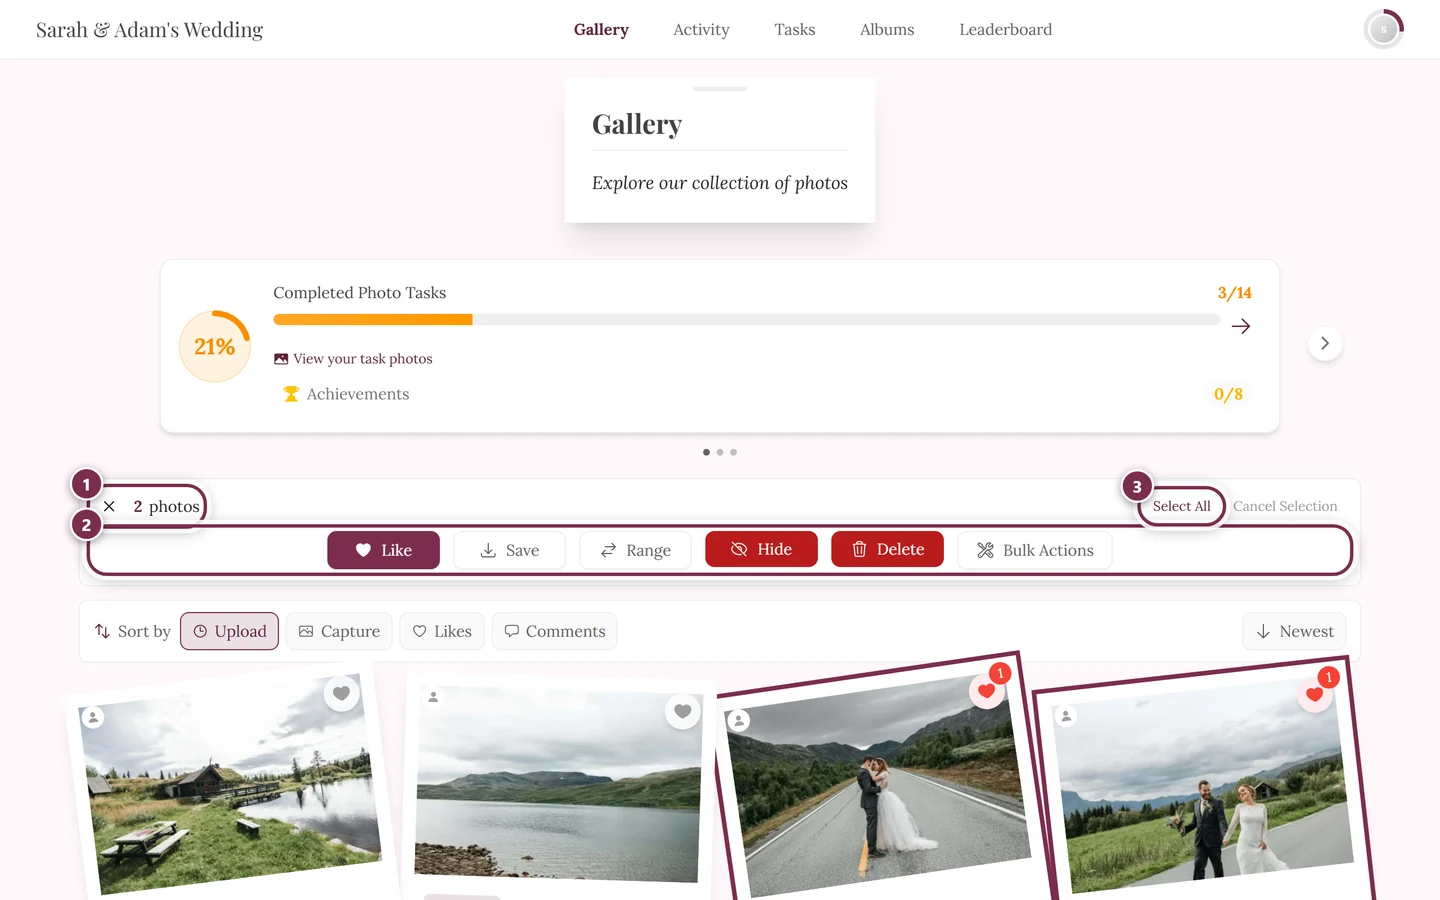
Section titled “Many photos at once”Cropping one by one is tedious for a whole series. That’s why Rotate and Metadata are available as Bulk Actions: select the photos in the gallery, then tap Bulk Actions in the action bar. The dialog has the tabs Task, Album, Description, Rotate and Metadata.