Slideshow & fullscreen
Tap a photo or video in the gallery and it opens in fullscreen – the best way to browse your event in peace. Fullscreen does far more than just display: browse, zoom, like, comment, share, download, view details and start an automatic slideshow.
1. Opening & closing
Section titled “1. Opening & closing”You can open fullscreen in several ways:
- Tap a photo or video in the gallery.
- From the activity feed or via a shared link – the photo opens directly in fullscreen.
To close you have several options – pick whatever is quickest:
-
Swipe down (fastest on a phone). The image follows your finger, shrinks slightly, and the gallery shows through behind it. Past about 100 pixels or with a quick flick it closes. Pull the image back up and the gesture cancels.
-
Tap the ✕ in the top right (labelled “Close slideshow”).
-
On a computer press Esc.
-
On a phone/browser the back gesture or back button usually closes it too.
2. Browsing (moving between photos)
Section titled “2. Browsing (moving between photos)”There are several ways to move on:
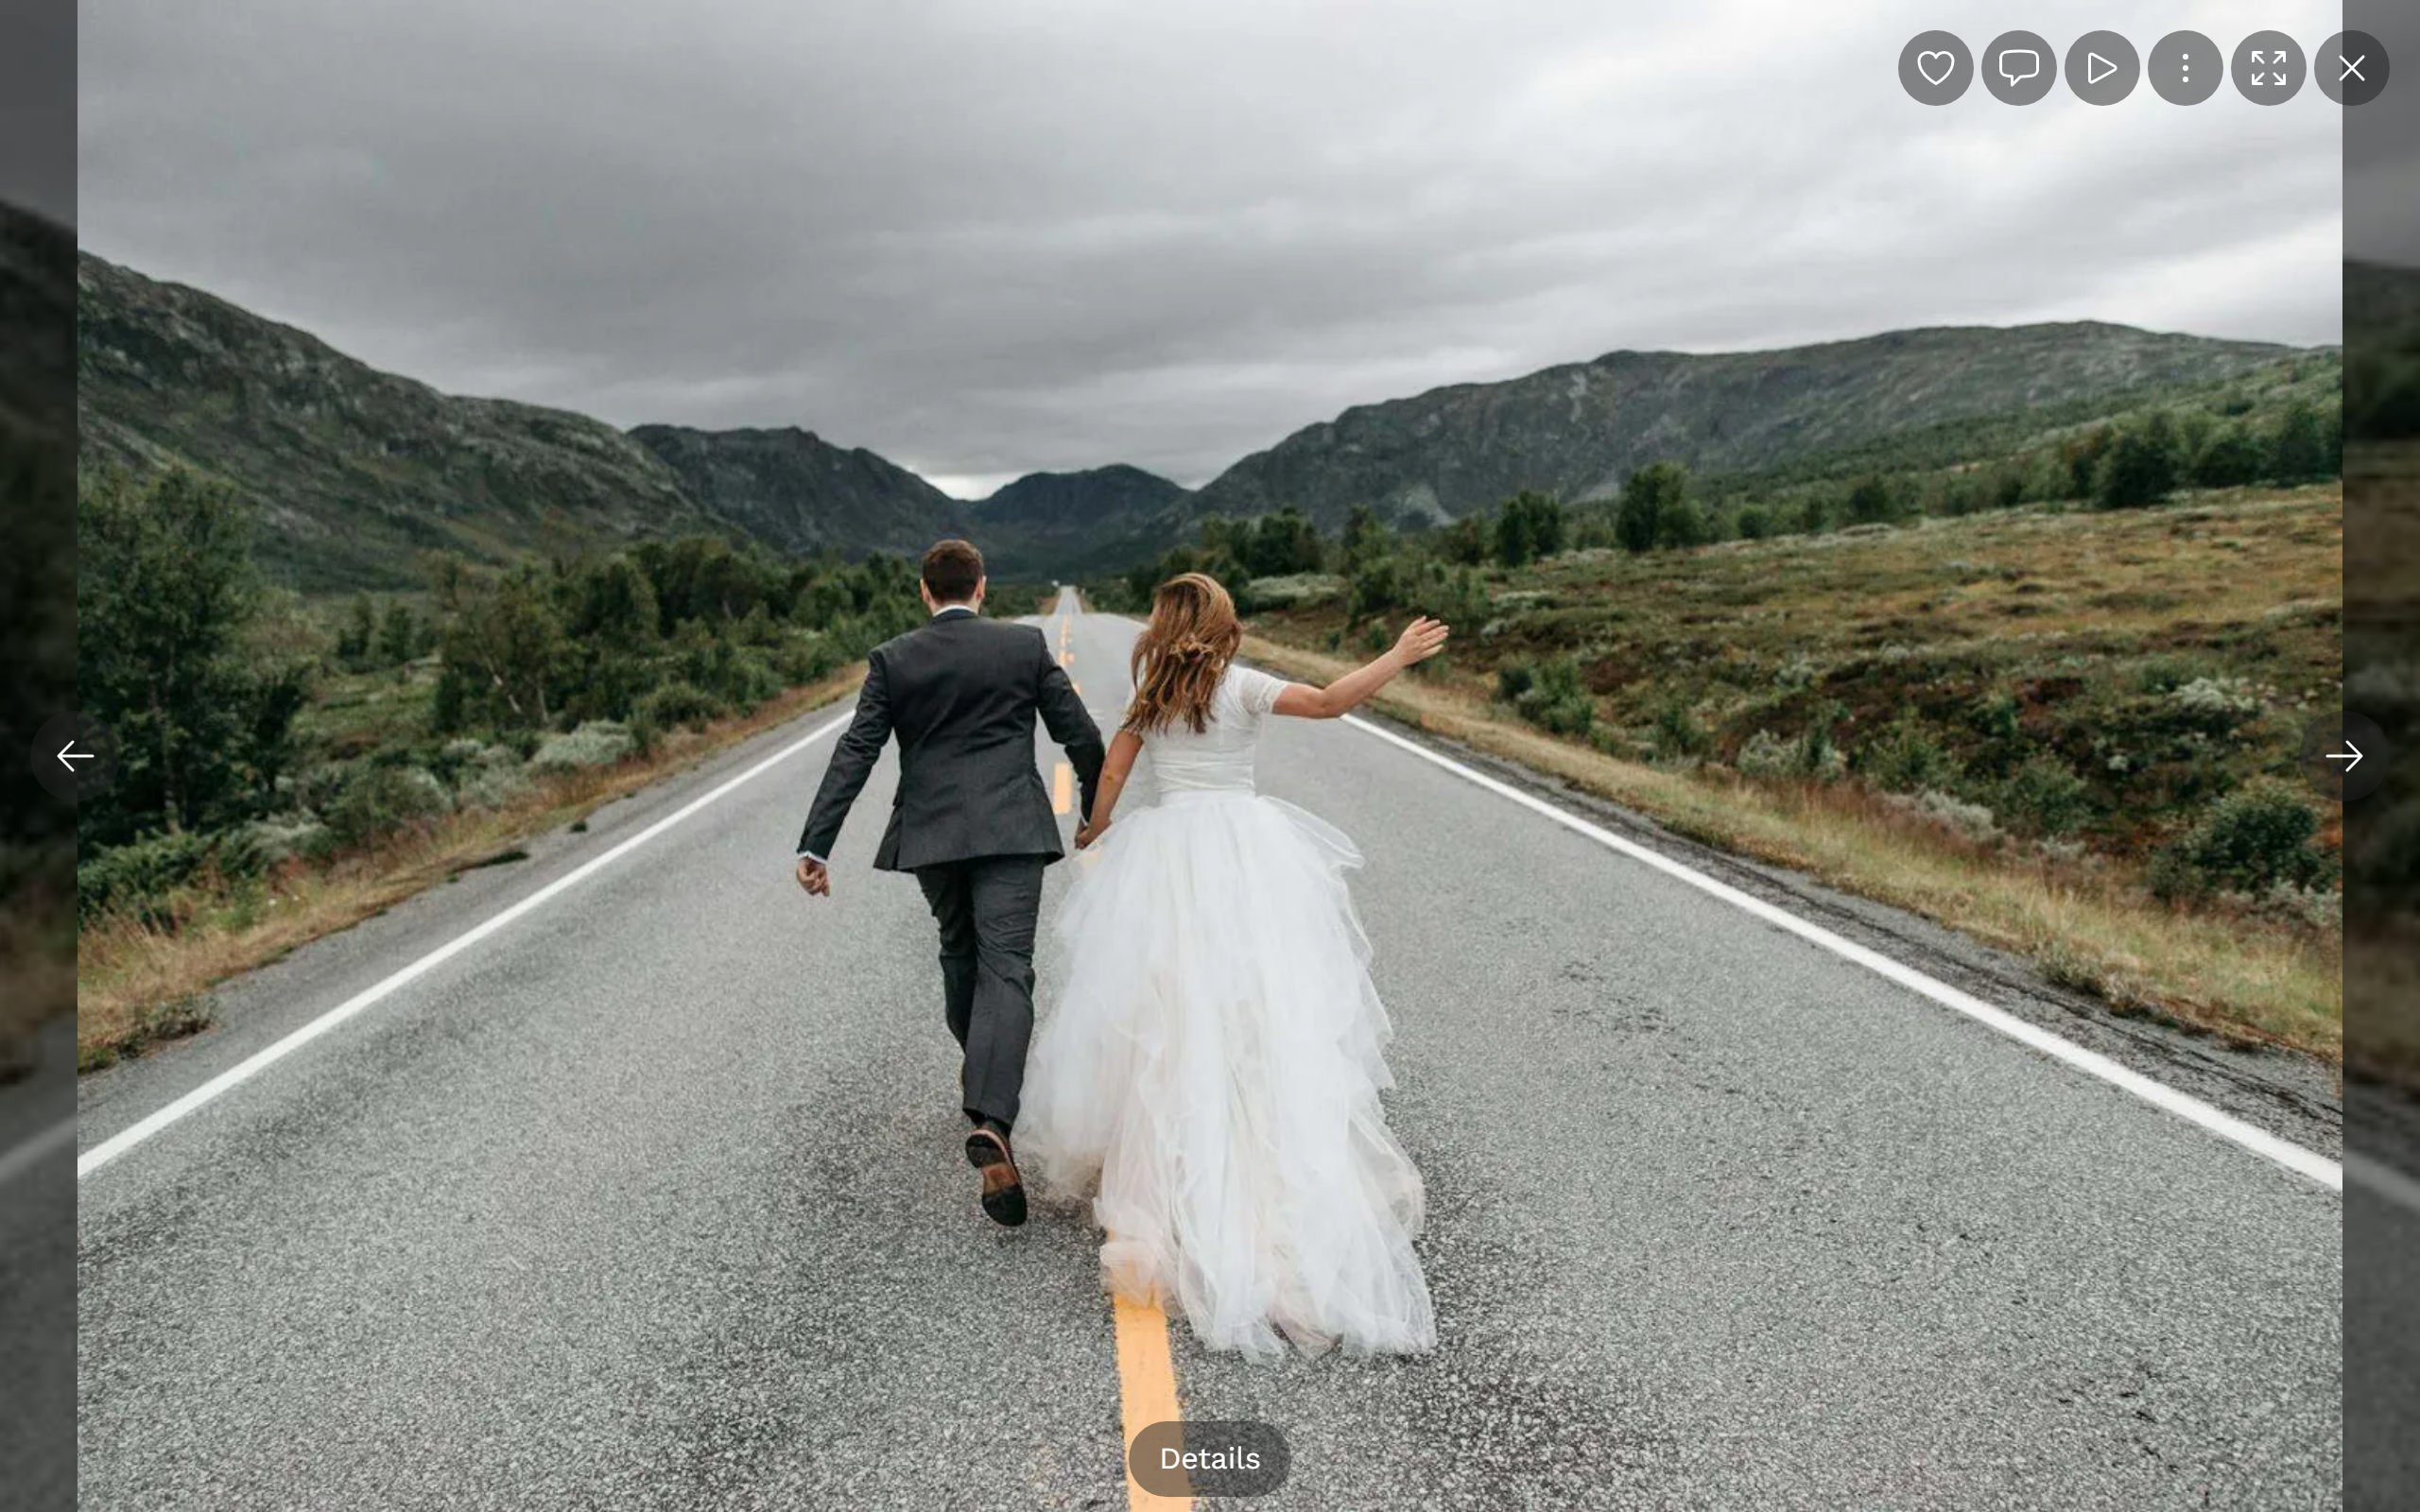
- Swipe left or right (on a phone). The image follows your finger; past roughly a third of the screen width (at most about 160 pixels) or with a short, quick flick it jumps to the next or previous photo.
- Arrow buttons: on a computer centred at the left and right edges, on a phone at the bottom left and right (labelled “Previous image” / “Next image”). An arrow is hidden when there is no previous or next image.
- Arrow keys ← → on a computer.
- Dragging with the mouse button held down on desktop also changes the image.
3. Showing & hiding the controls (distraction-free view)
Section titled “3. Showing & hiding the controls (distraction-free view)”For undisturbed viewing you can hide the top and bottom bars:
- A single tap on the photo hides or shows the bars again. (On videos a tap toggles between play and pause instead.)
- Via the eye icon (“Hide controls” / “Show controls”) or in the ⋮ menu under View Options.
- On a computer, the H key.
4. Zooming
Section titled “4. Zooming”- Pinch with two fingers on a phone – up to 5× magnification.
- Ctrl + mouse wheel or a touchpad pinch on a computer.
- While zoomed, drag with your finger or the mouse to move around the image (pan).
- Double-tapping an already zoomed image resets the zoom to normal size.
5. Opening the details
Section titled “5. Opening the details”Here is how to reach the full information about the current photo:
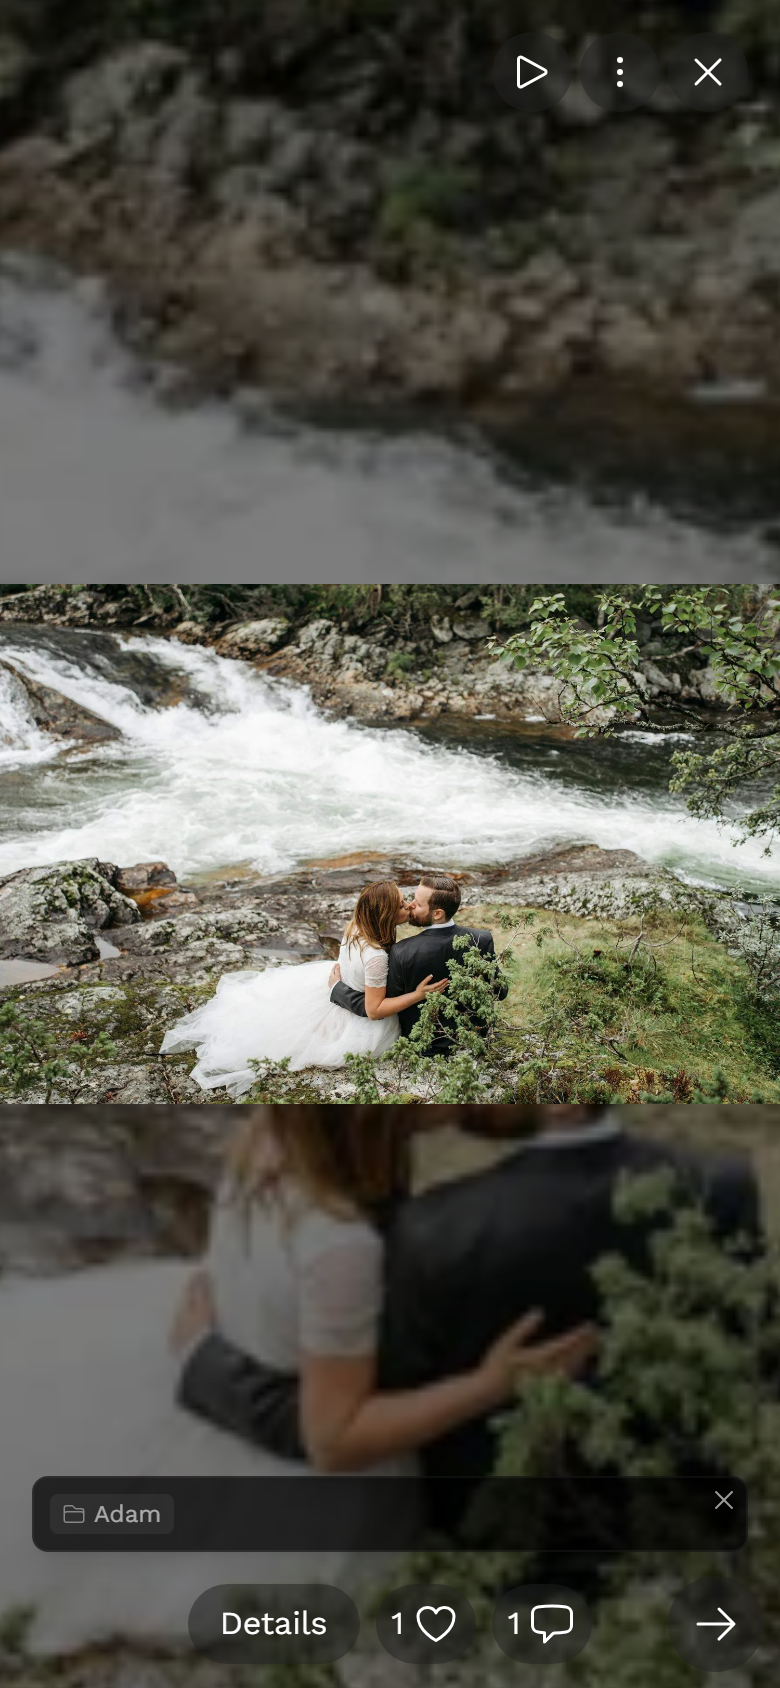
- Swipe up (on a phone) opens the photo details Instagram-style.
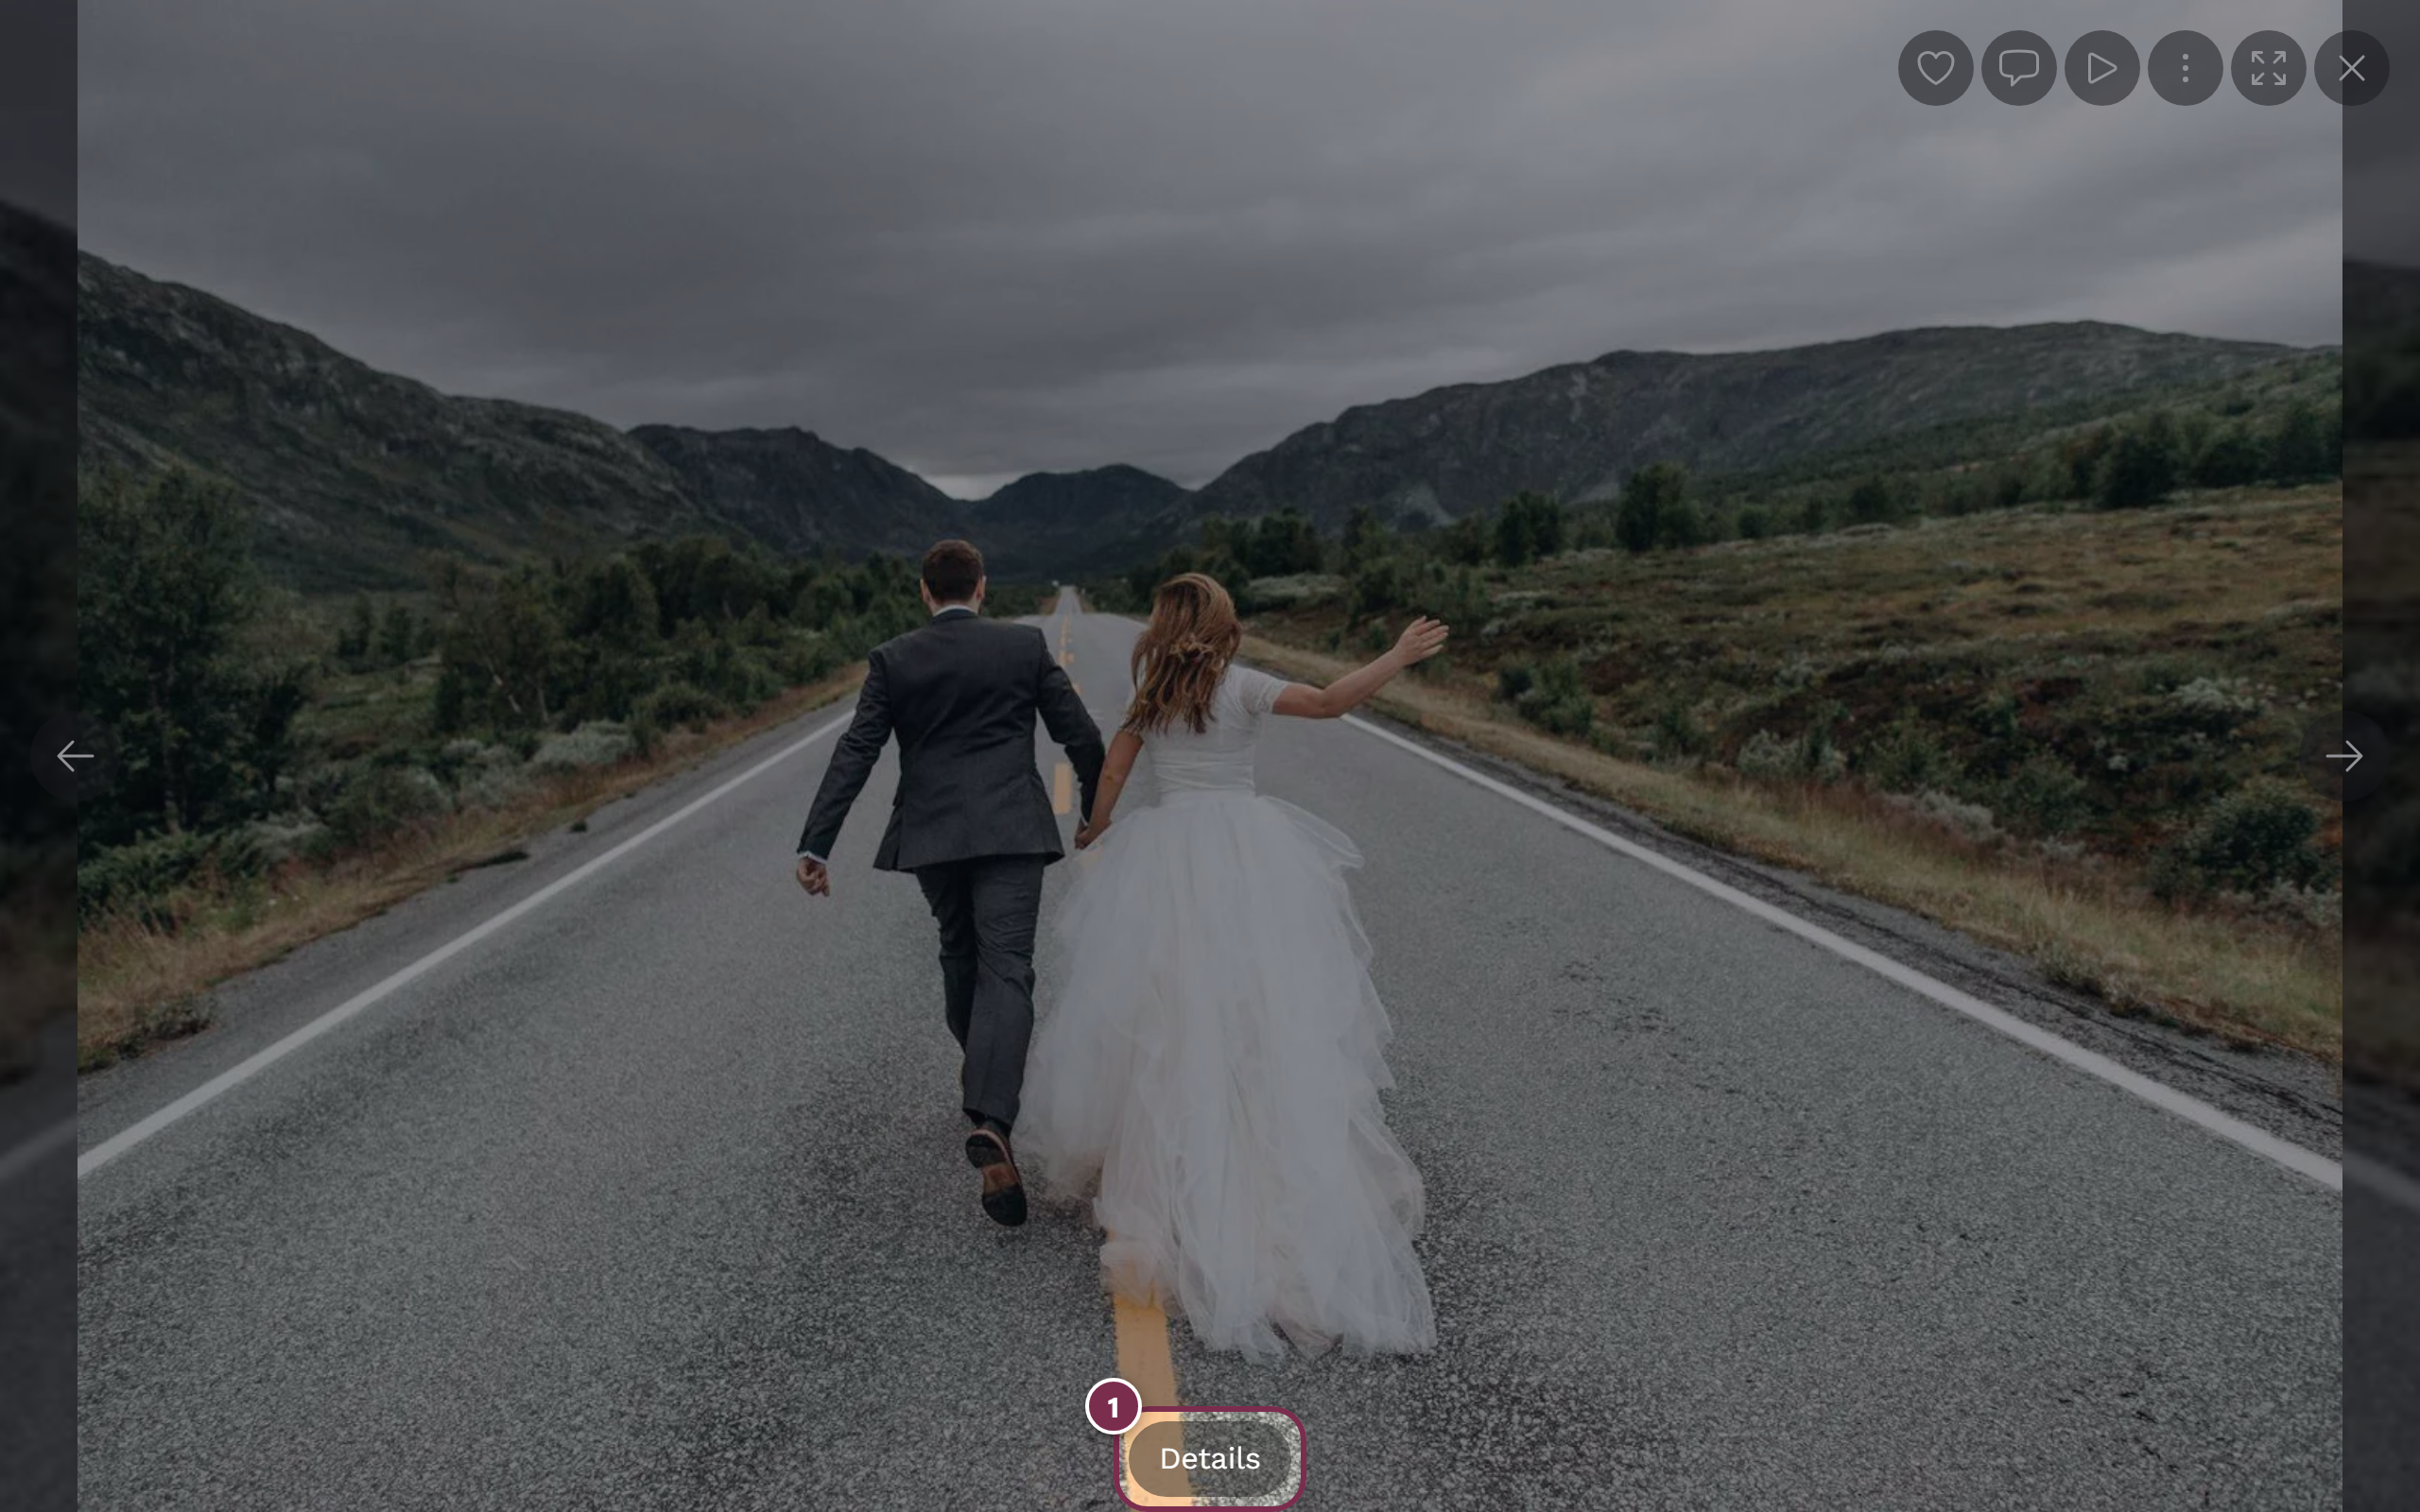
- The Details button in the bottom bar.
- The small (i) info button next to it – it only appears when there is extra information such as a description, album or task.
6. The details dialog – what’s inside
Section titled “6. The details dialog – what’s inside”The Image Details dialog gathers everything about a photo:
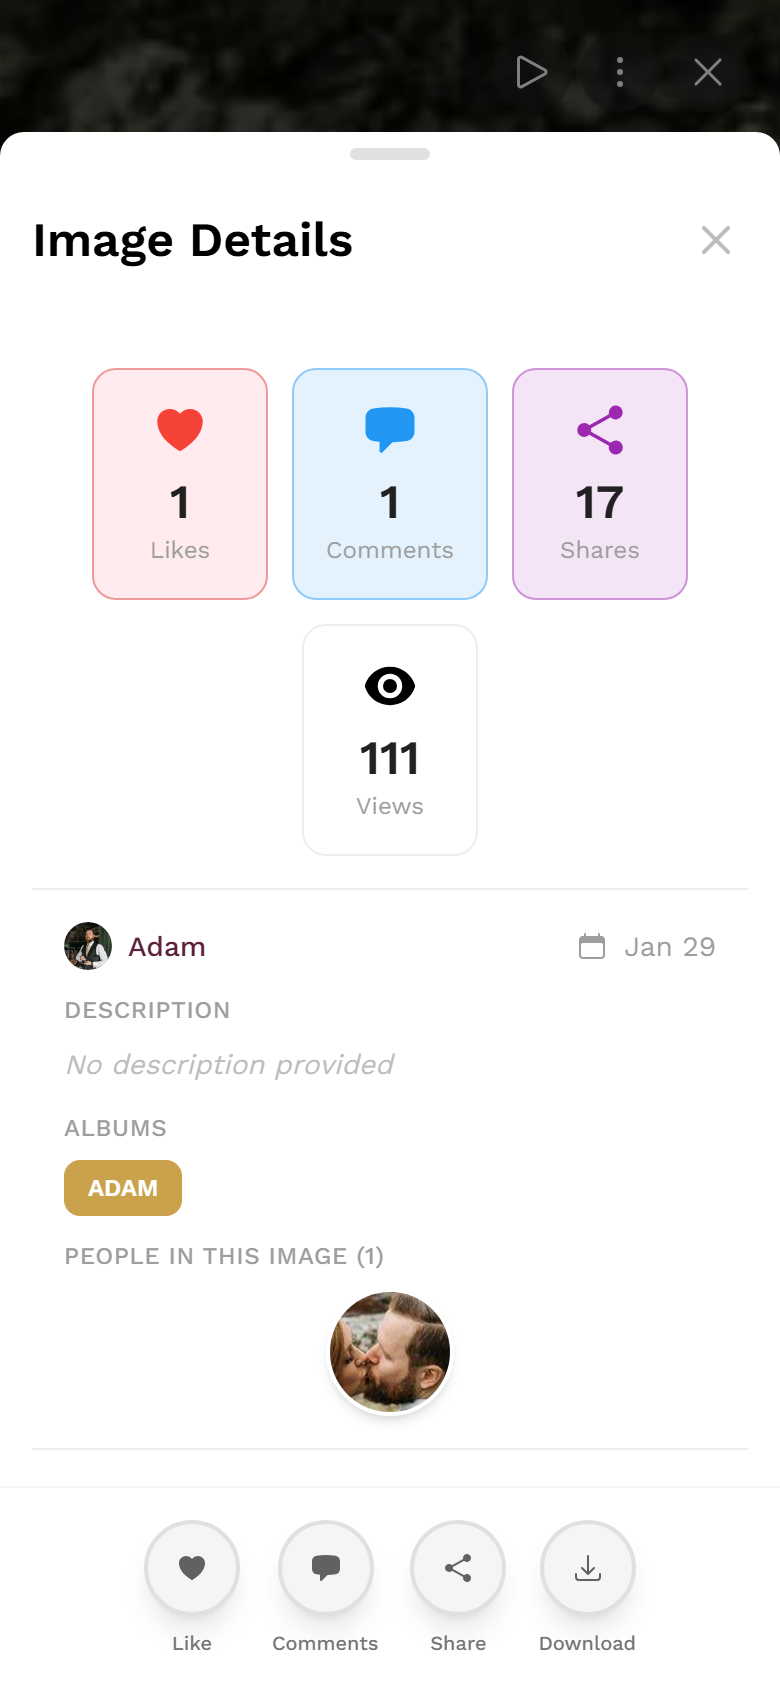
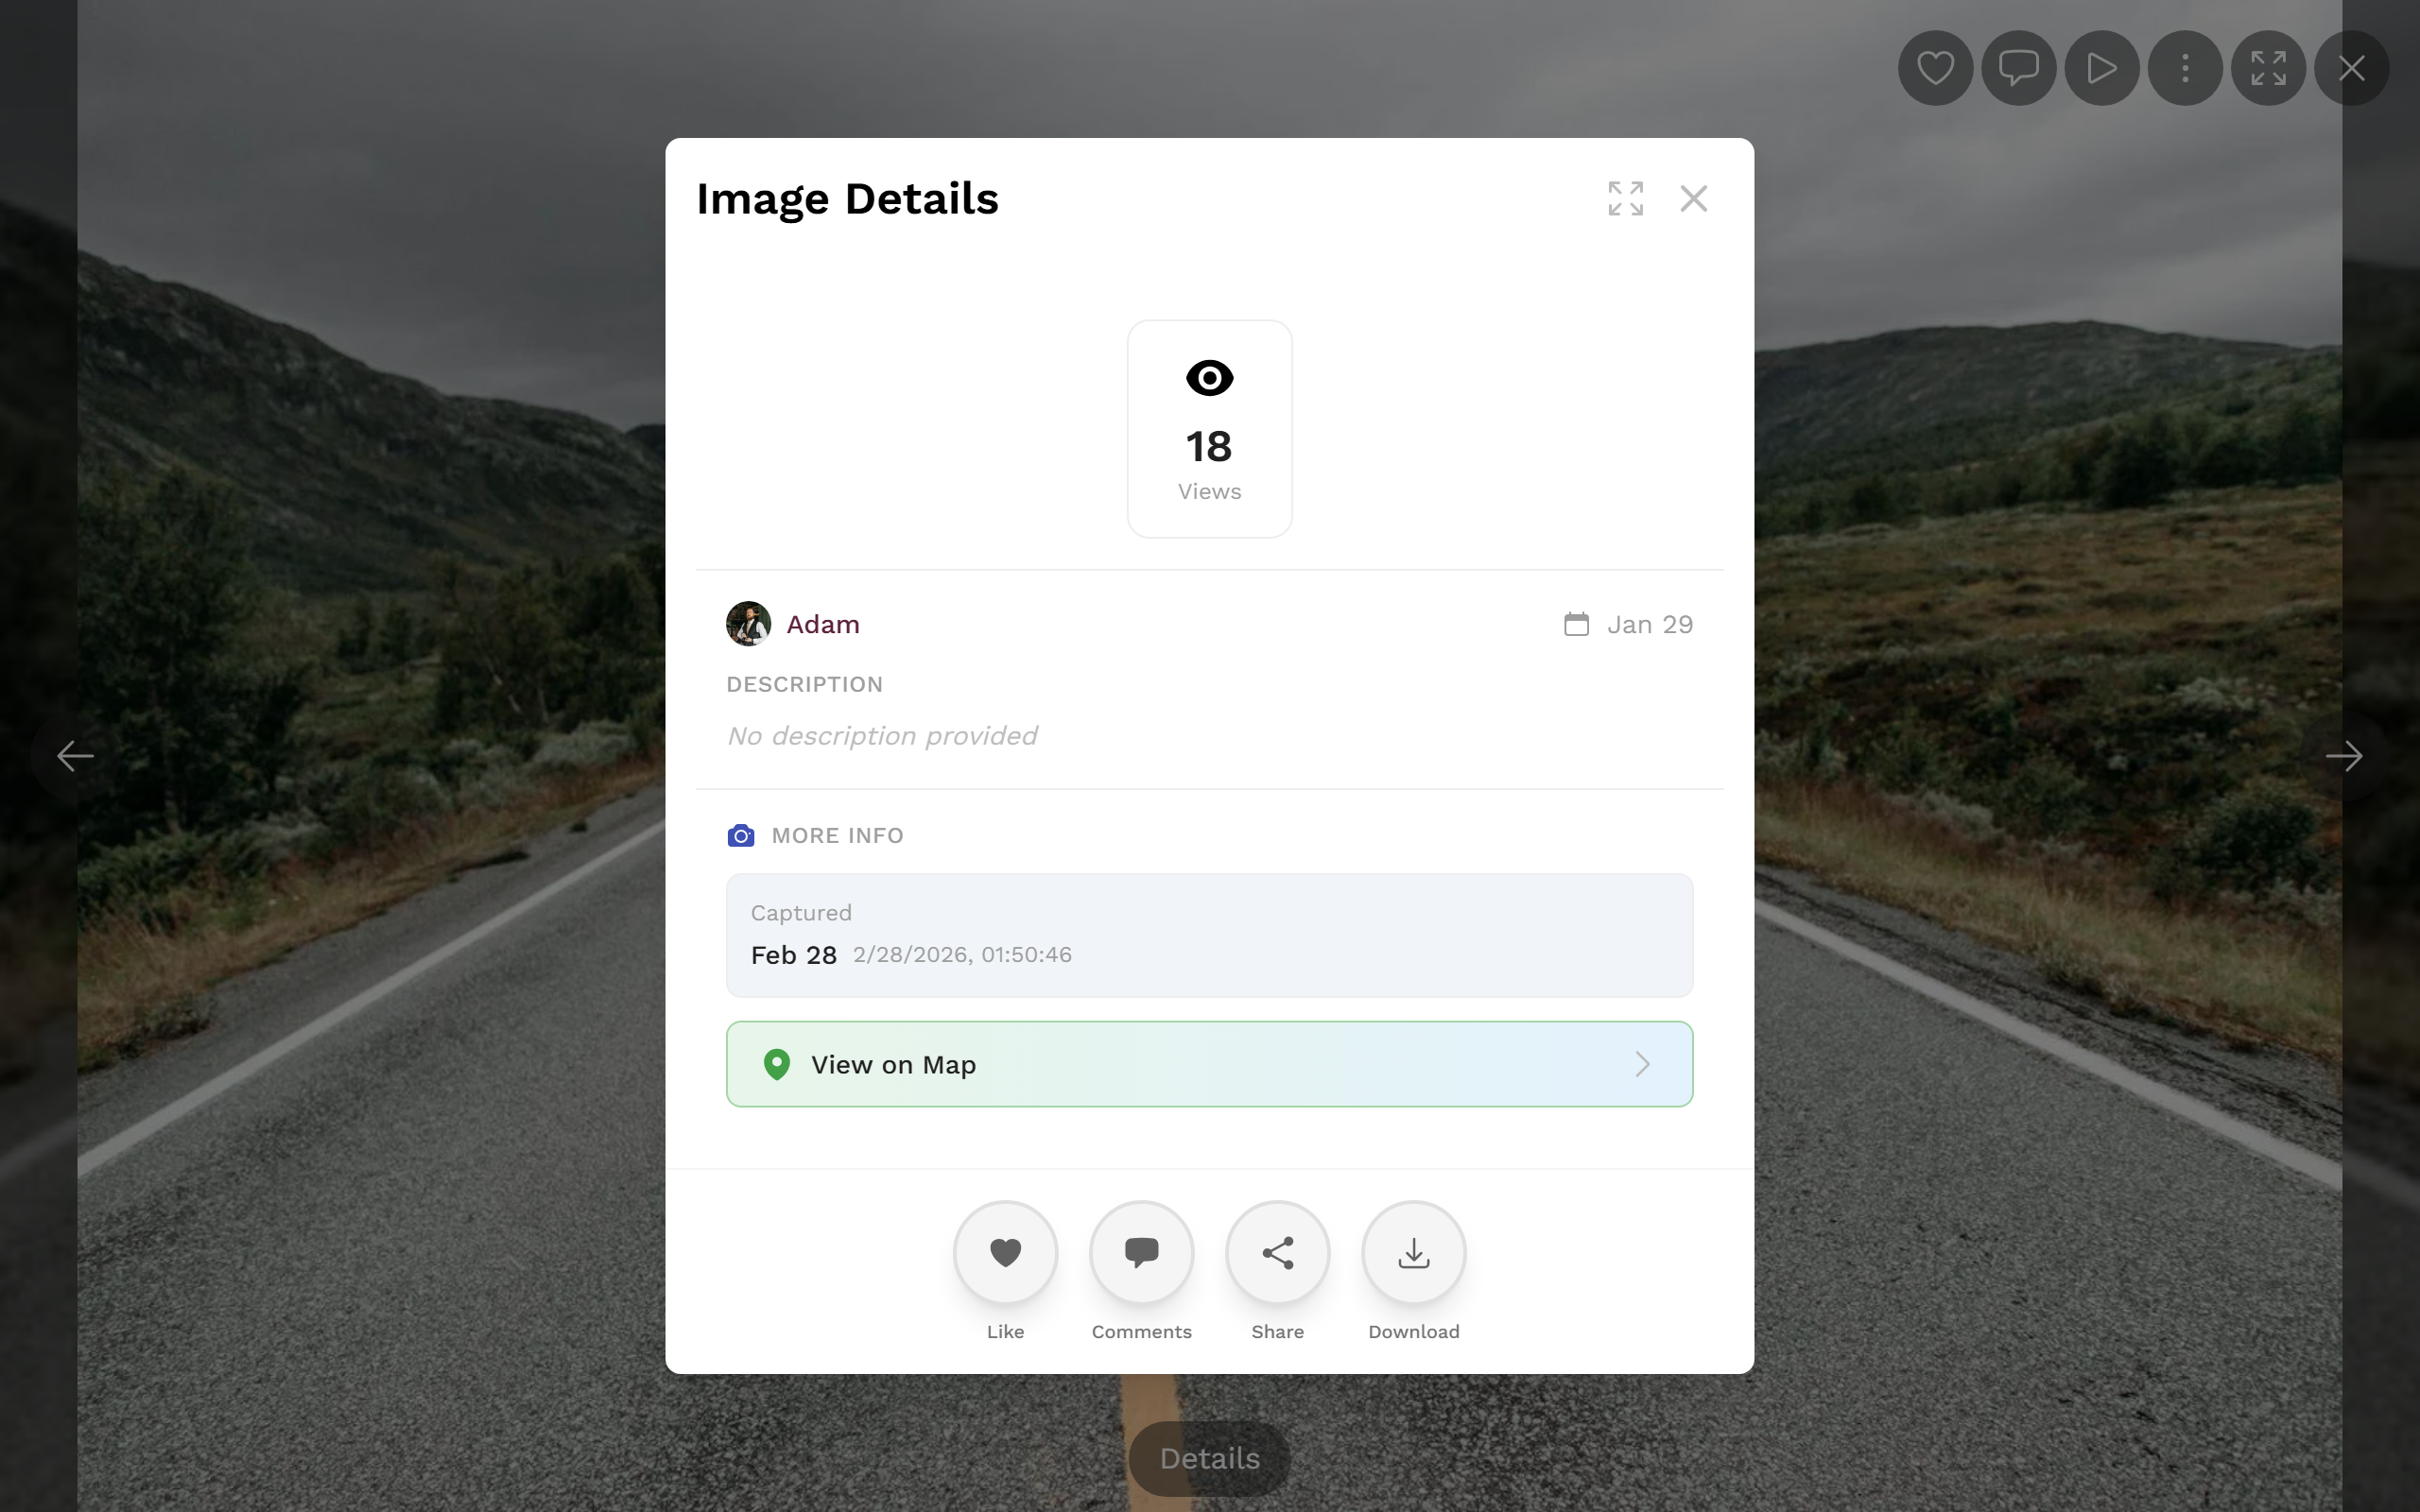
- Statistics bar at the top: likes, comments, shares, downloads and views – each shown only when the feature is active for the event. Clicking the likes shows who liked; clicking the comments opens the comment dialog.
- Uploader & date: the uploader’s avatar and nickname (or “Anonymous”). A click opens their profile. Plus the relative date, e.g. “2 hrs ago”.
- Status note: if the image is not yet published you see a warning note.
- Description, albums and task: albums and tasks appear as clickable chips – a click filters the gallery to that album or task and closes fullscreen.
- People (faces): only when face recognition is enabled for the event. Clicking a face filters the gallery to that person. More on this: Face search.
- Camera & location: camera model, lens, capture time and location – only if stored in the photo. Clicking the location opens the map view.
- Action buttons at the bottom: like, comments, share and download (depending on what’s enabled). If there are too many, the rest move into a More submenu.
7. Fullscreen & immersive mode
Section titled “7. Fullscreen & immersive mode”True fullscreen is ideal for presenting on a big screen.
- On a computer: the double-arrow button in the top right (“Enter fullscreen” / “Exit fullscreen”) or the F key.
- On a phone: there is no separate button in the bar – find the entry in the ⋮ menu under View Options (“Enter fullscreen”). On iPhone Safari, which has no real fullscreen mode, an immersive mode is used instead: the bars disappear and the image fills the screen.
- Exit: press F again, the double-arrow button, Esc (exits only fullscreen, not the slideshow) or a swipe down.
8. Actions on the current photo – every way
Section titled “8. Actions on the current photo – every way”Most actions offer several equivalent ways – via the bar, the ⋮ menu, a gesture, a right-click (on a computer) or the details dialog.

Like – only when enabled for the event:
- Double-tap the photo (a heart animation appears right at the tap point).
- The heart button in the bar (top right on a computer with a counter, in the bottom bar on a phone).
- Right-click the photo → Like.
- The like button in the details dialog.
- Triggering it again removes the like. More on this: Likes & comments.
Comment – only when enabled for the event:
- The speech-bubble button (top right on a computer, in the bottom bar on a phone); the counter shows the total.
- The Comments entry in the details dialog. More on this: Likes & comments.
Download – only when allowed for the event:
- ⋮ menu → Actions section → Download.
- Right-click → Download.
- The details dialog → Download. More on this: Downloading photos.
Share – only when allowed for the event:
- ⋮ menu → Actions → Share.
- Right-click → Share or in the details dialog.
- Where possible your device’s native share dialog opens, otherwise a dialog with the link. A brief “Preparing image for sharing…” hint may appear. More on this: Sharing photos.
Report – always available, for everyone:
- ⋮ menu → Information section → Report.
- Right-click → Report. More on this: Reporting content.
9. The ⋮ menu in detail
Section titled “9. The ⋮ menu in detail”The ⋮ button (three dots) in the top right gathers the remaining actions.
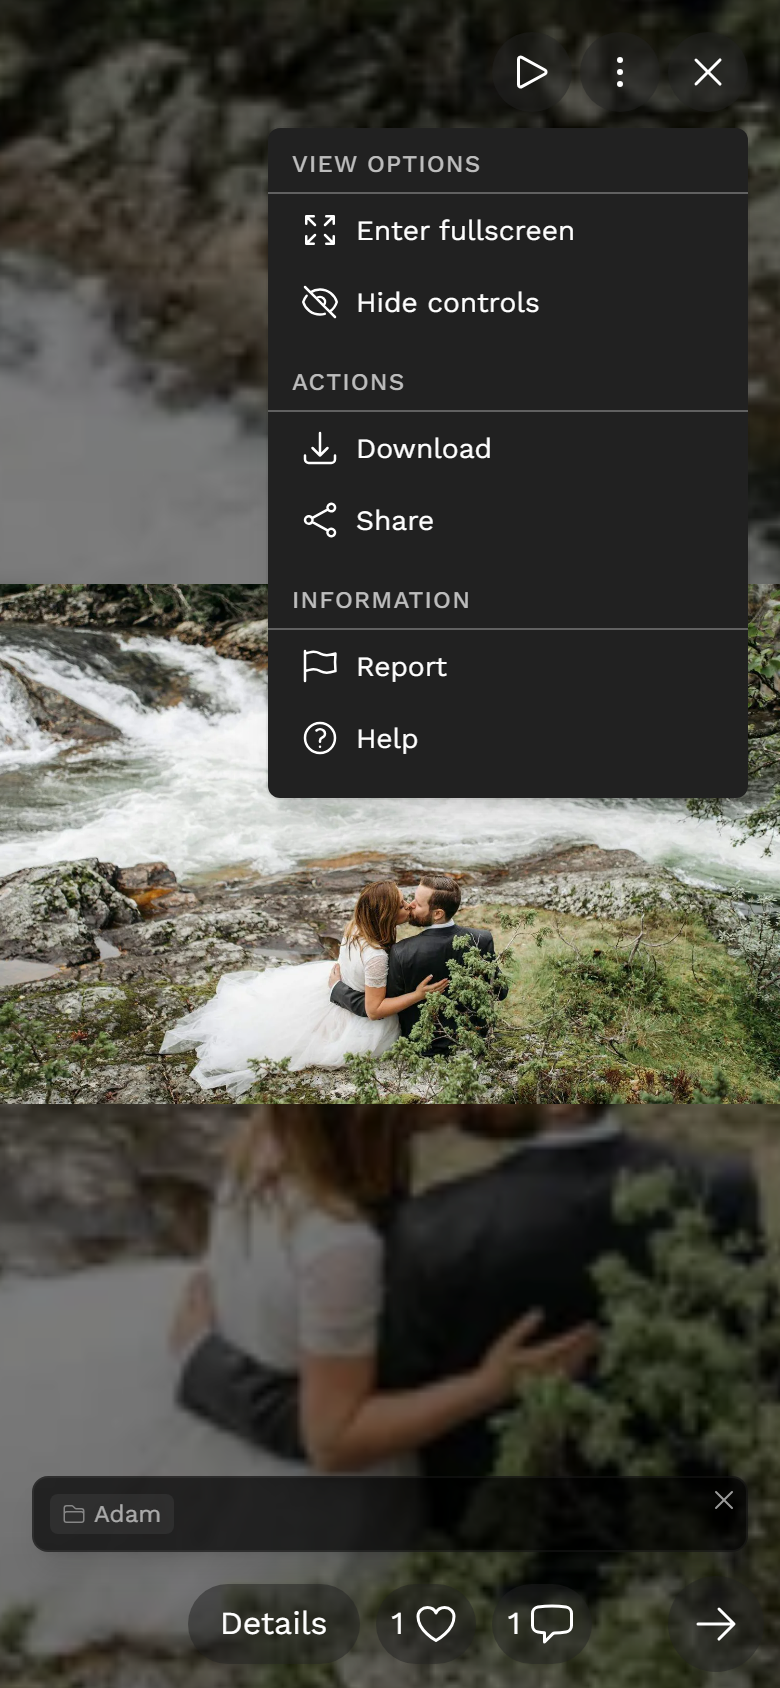
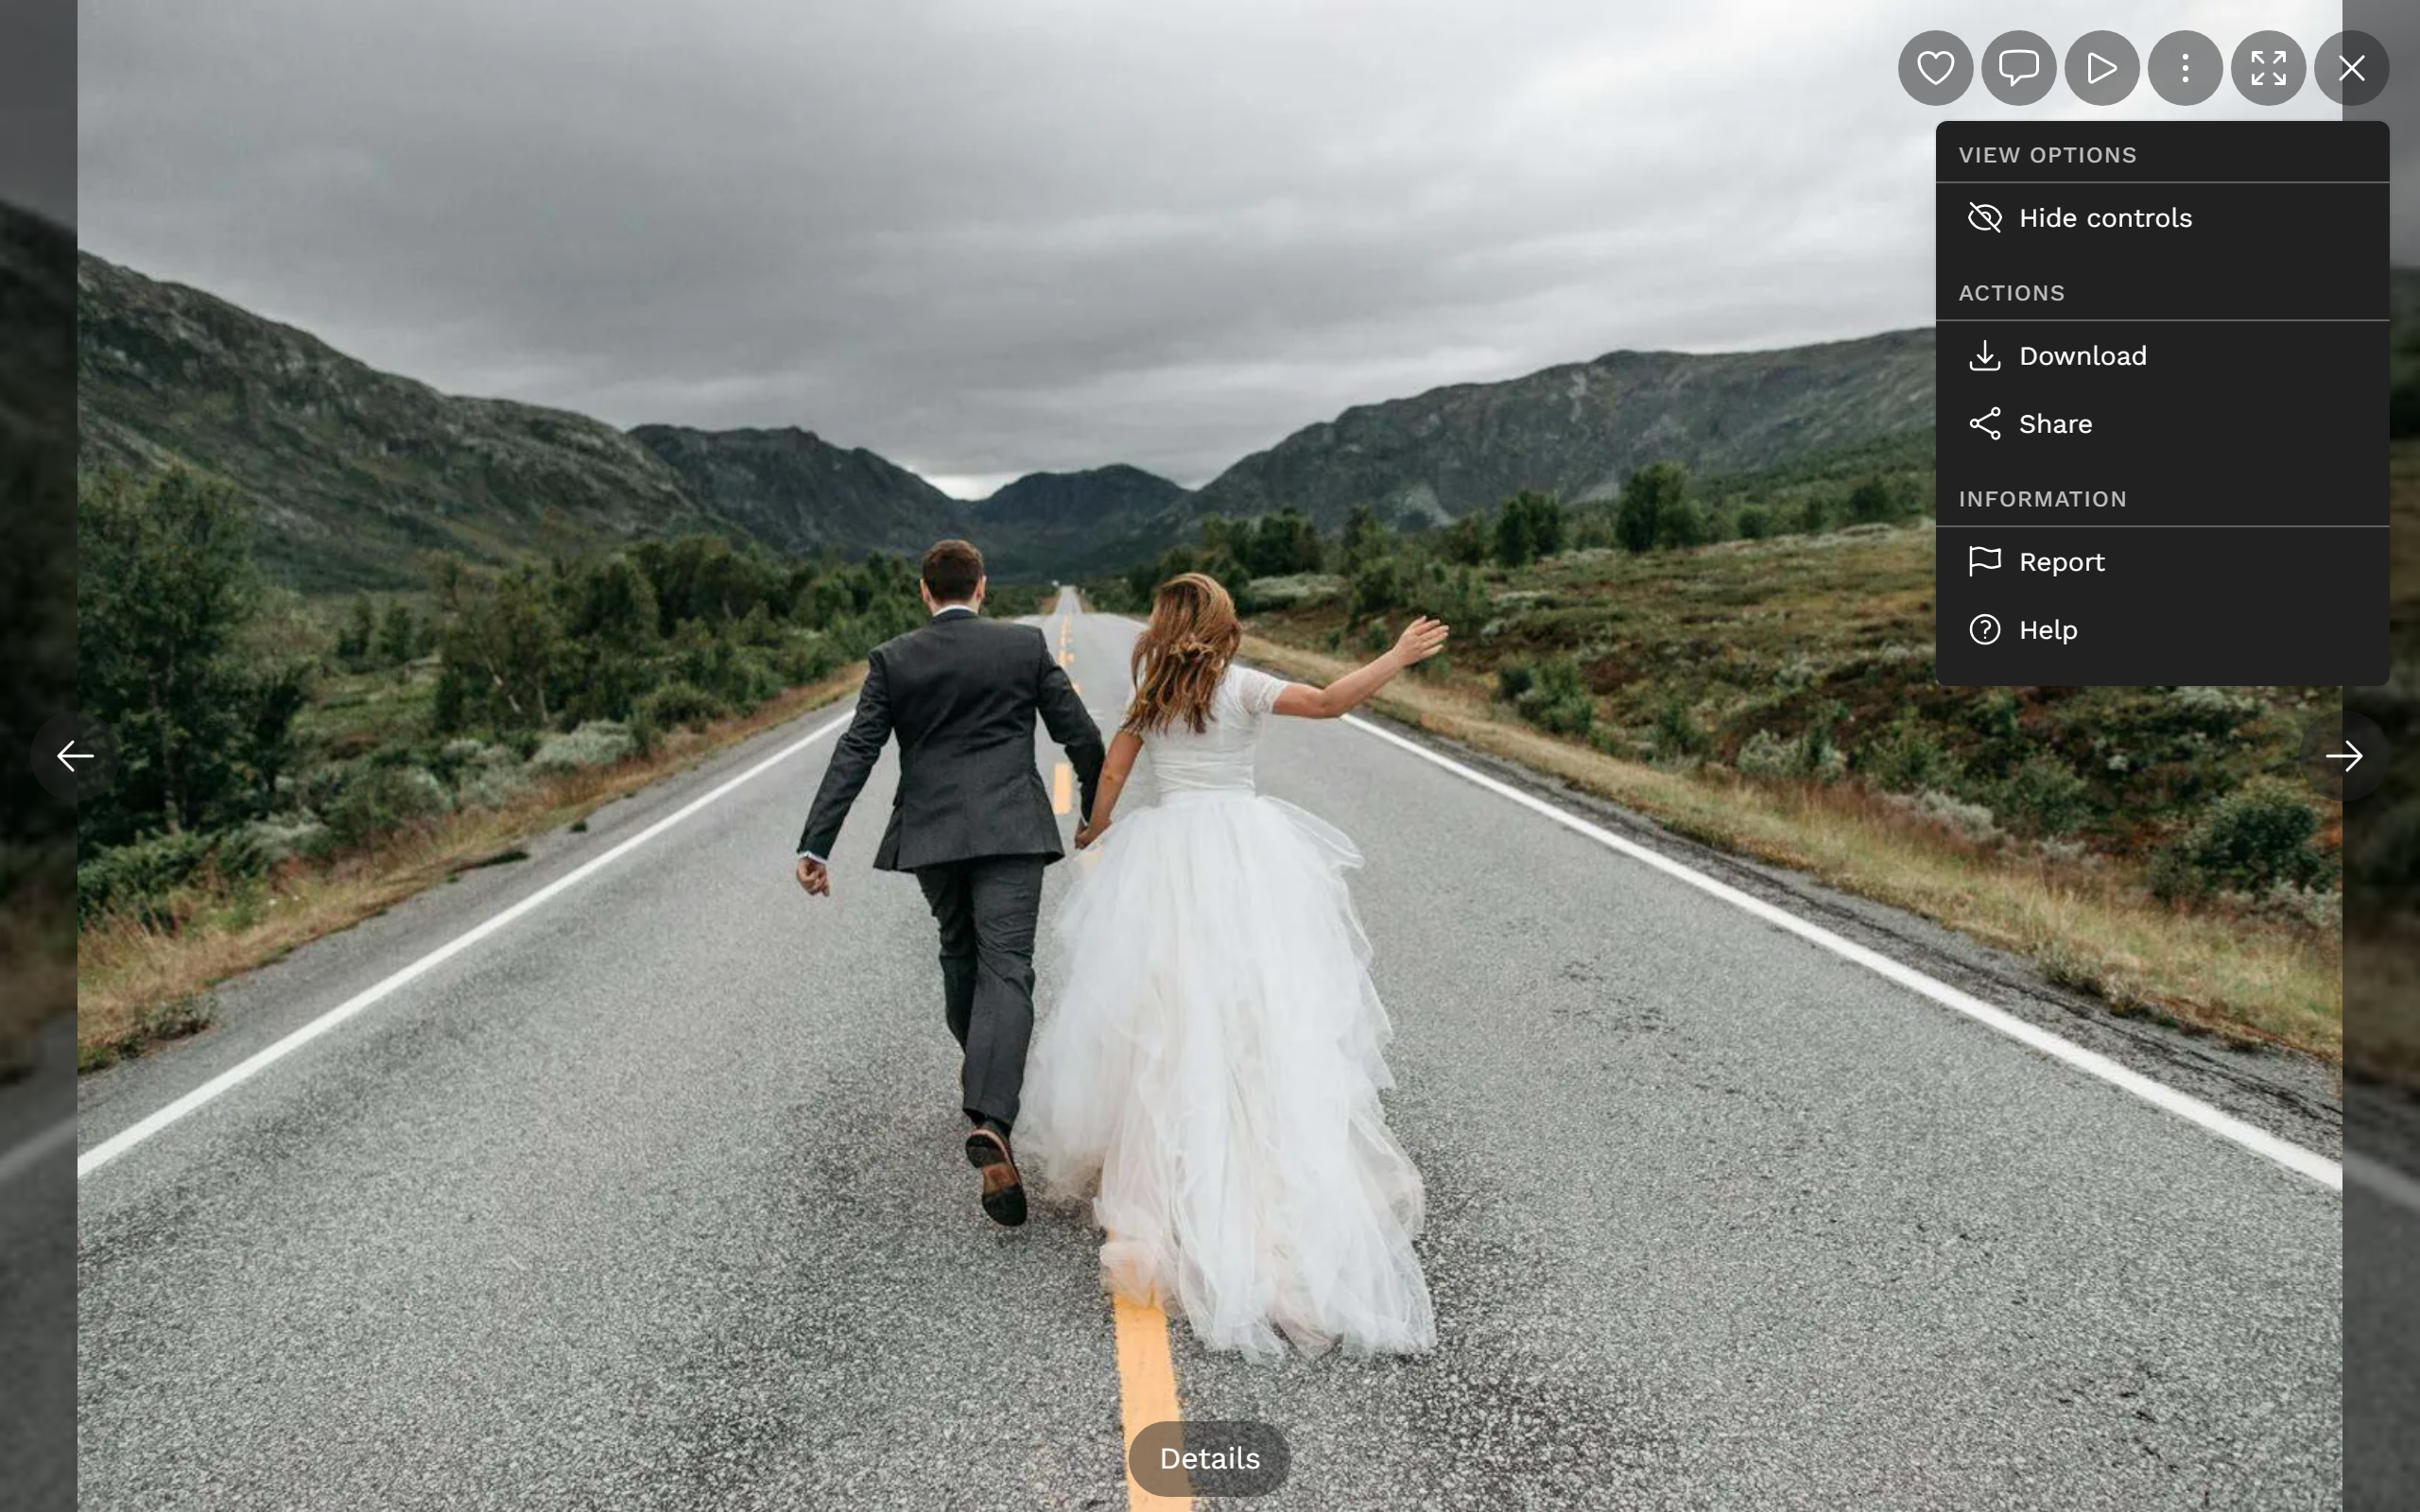
- View Options: turn fullscreen on/off (phone only), hide/show controls.
- Actions: Download, Share (only when allowed).
- Information: Report (always), Help (gesture overview).
- Management (moderator/owner/admin only): Publish/Unpublish, Delete (with confirmation – deleted images stay in the trash for 30 days and can be restored).
10. Automatic slideshow
Section titled “10. Automatic slideshow”The round play button starts automatic playback. A countdown ring shows the time left until the next image (default: 3 seconds). Tap again to pause. While the slideshow runs, the other bars are minimised – only the play ring stays.
11. Videos & motion pictures
Section titled “11. Videos & motion pictures”- Videos play right in fullscreen. A tap on the video toggles between play and pause.
- In the bottom bar you’ll find a play/pause button and a progress bar (click, tap or drag to jump to a spot, with an mm:ss time). The sound button in the top right mutes or unmutes. The mute state applies to all videos together.
- Motion pictures (live photos / animated photos) carry a small badge in the top left and loop automatically – without sound.
12. Gesture overview
Section titled “12. Gesture overview”The gesture overview sums up all finger gestures:
- Swipe left/right – navigate between images.
- Swipe up – view image details.
- Tap – show or hide the controls.
- Double-tap – like at normal size; reset when zoomed in.
- Pinch – zoom in/out.
- Drag when zoomed in – move around the image.
- Swipe down – close.
13. Keyboard shortcuts (on a computer)
Section titled “13. Keyboard shortcuts (on a computer)”| Key | Function | Note |
|---|---|---|
| ← / → | previous / next photo | not while Alt/Ctrl/Meta is held |
| F | fullscreen on/off | |
| H | hide/show the controls | |
| Esc | in fullscreen: exit fullscreen only; otherwise close the slideshow | may need two presses |