Upload Photos
Contributing photos only takes a few seconds – right in the browser, no app needed. This guide covers every way to upload: from picking files on your device to capturing directly, plus reviewing, sorting and controlling the upload. Where the entry point lives depends on your screen – on a computer there is a fixed upload bar, on a phone you start from the bottom navigation or from buttons in the gallery.
The quick way (in 4 steps)
Section titled “The quick way (in 4 steps)”-
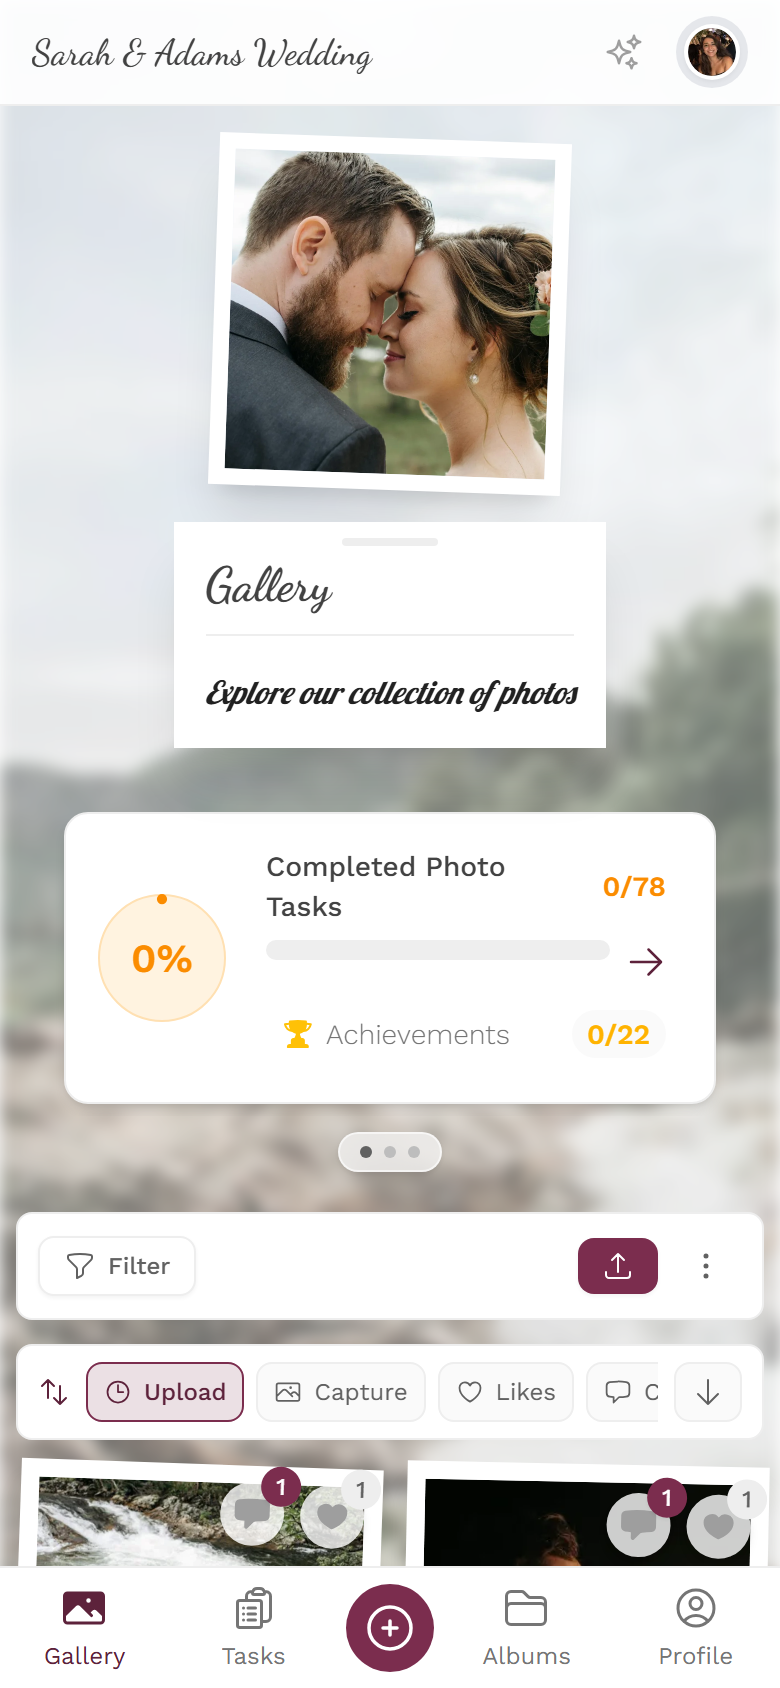
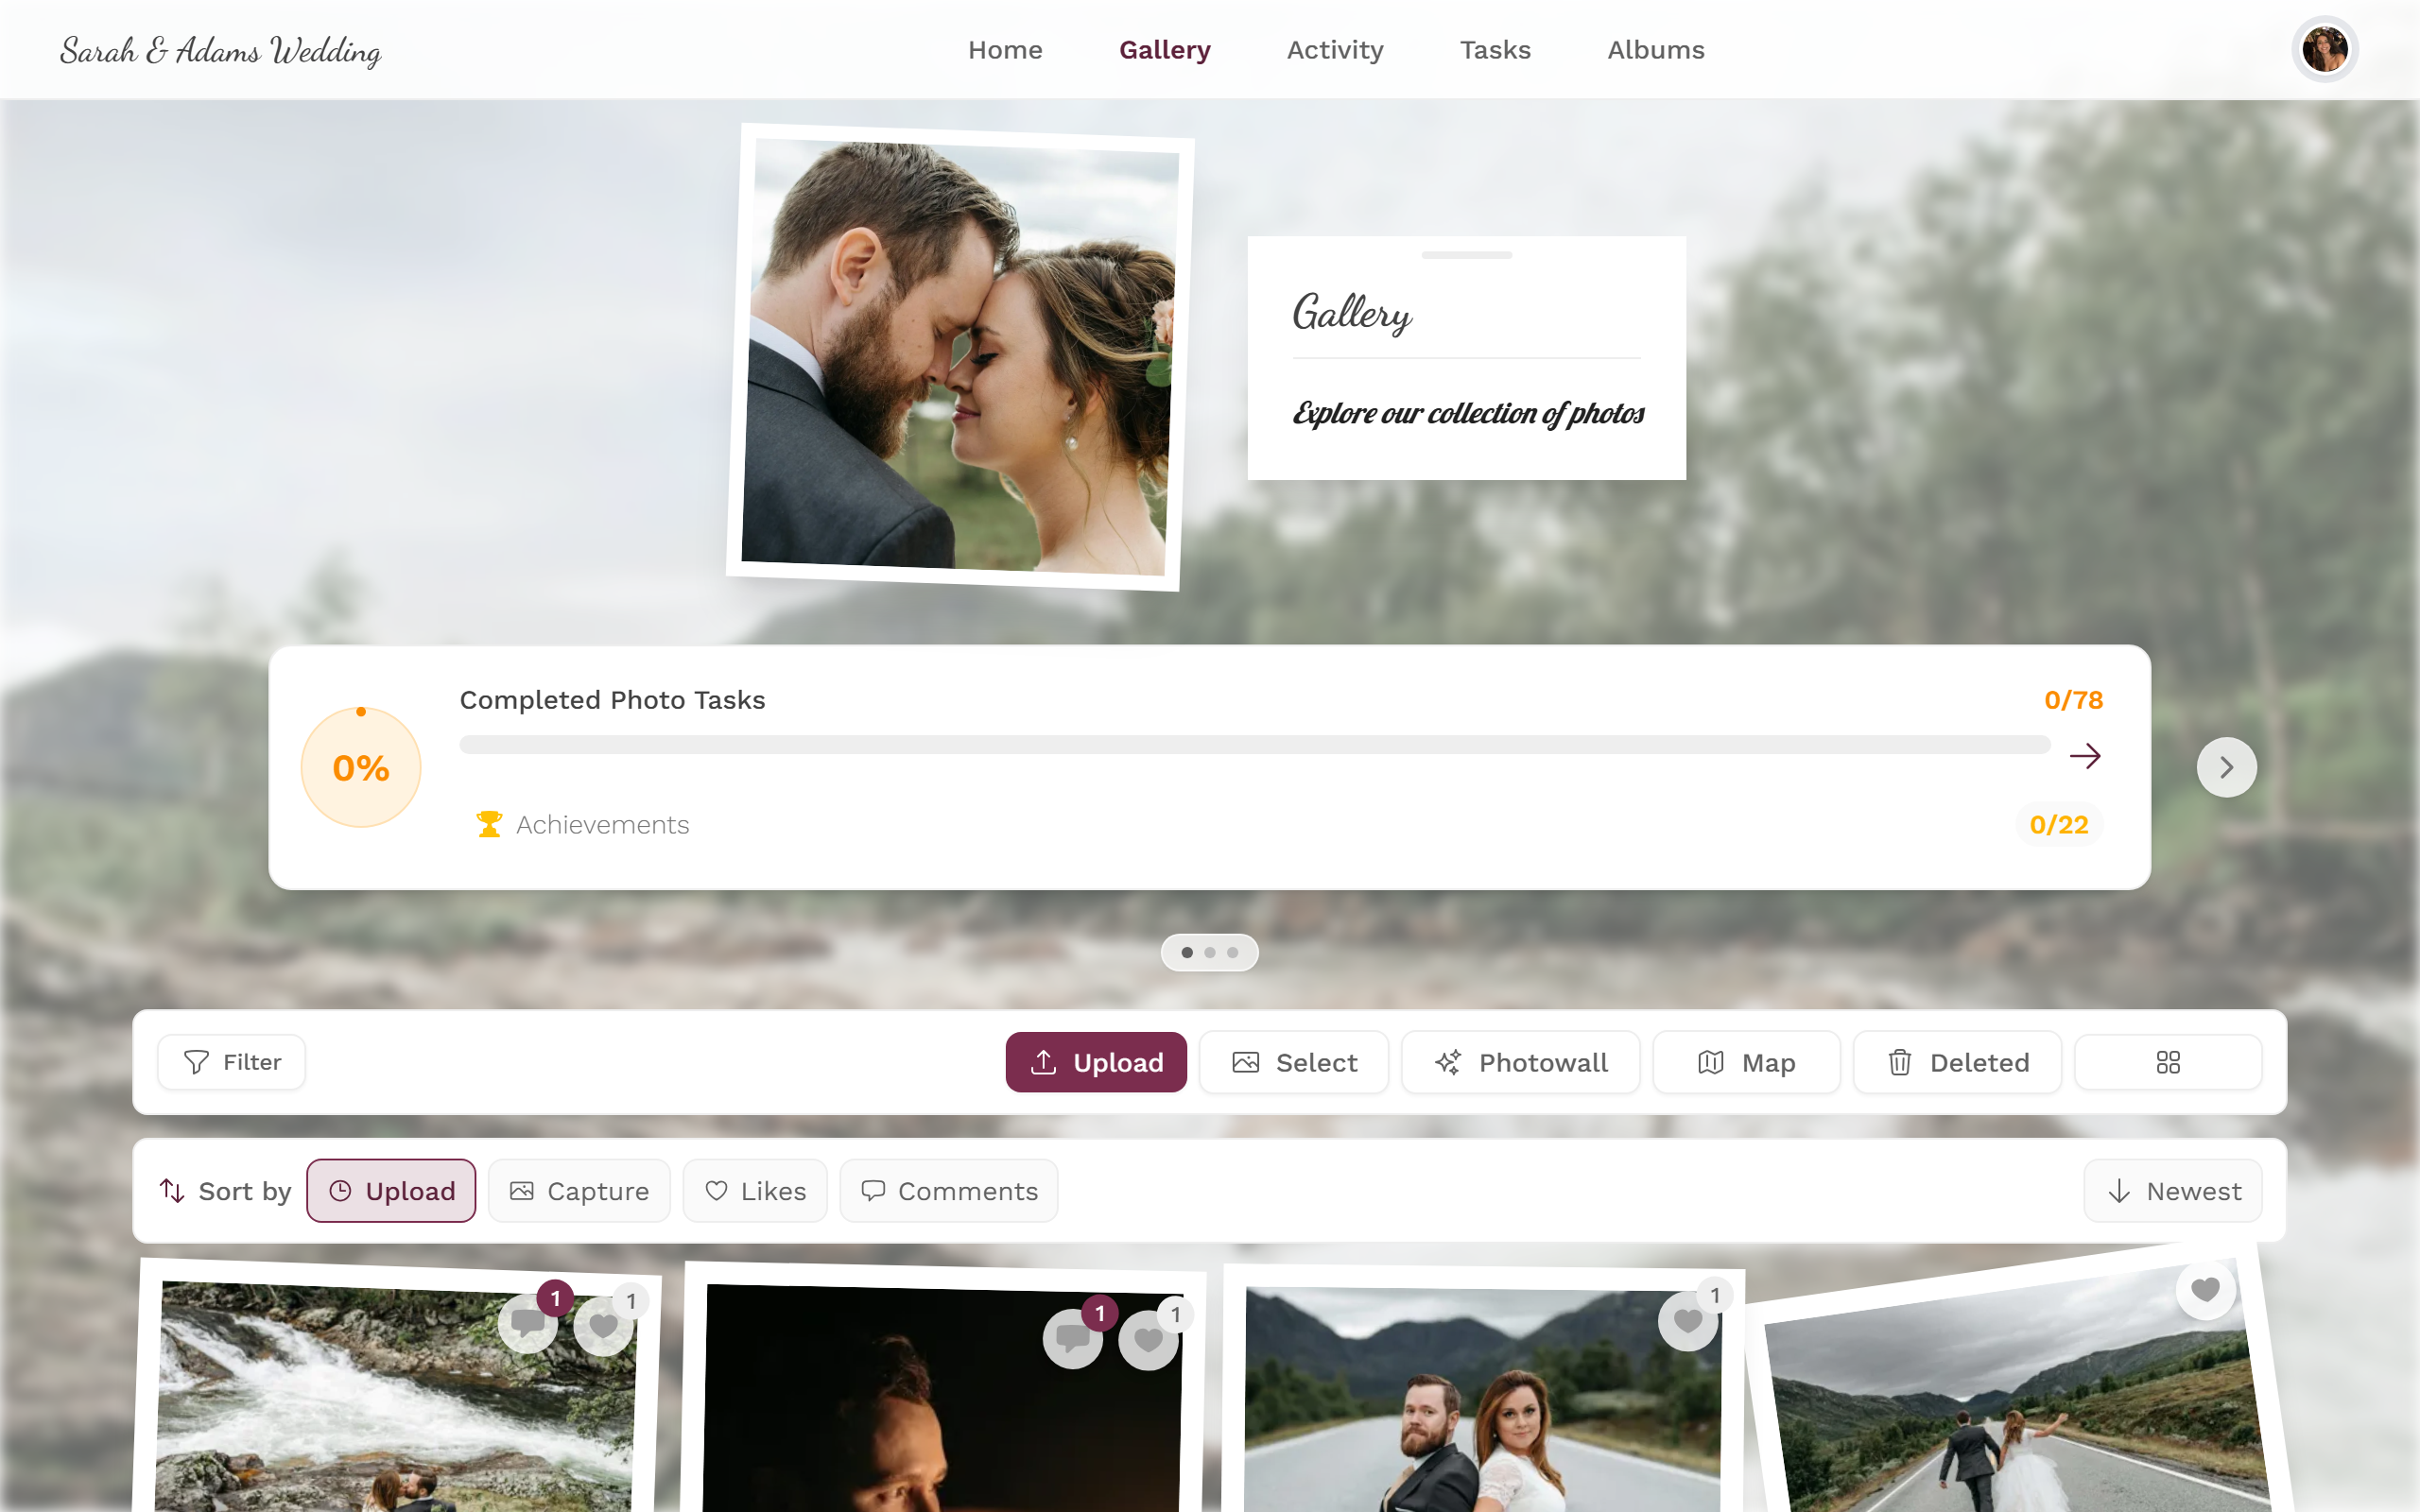
Open the gallery via the event link or the QR code.
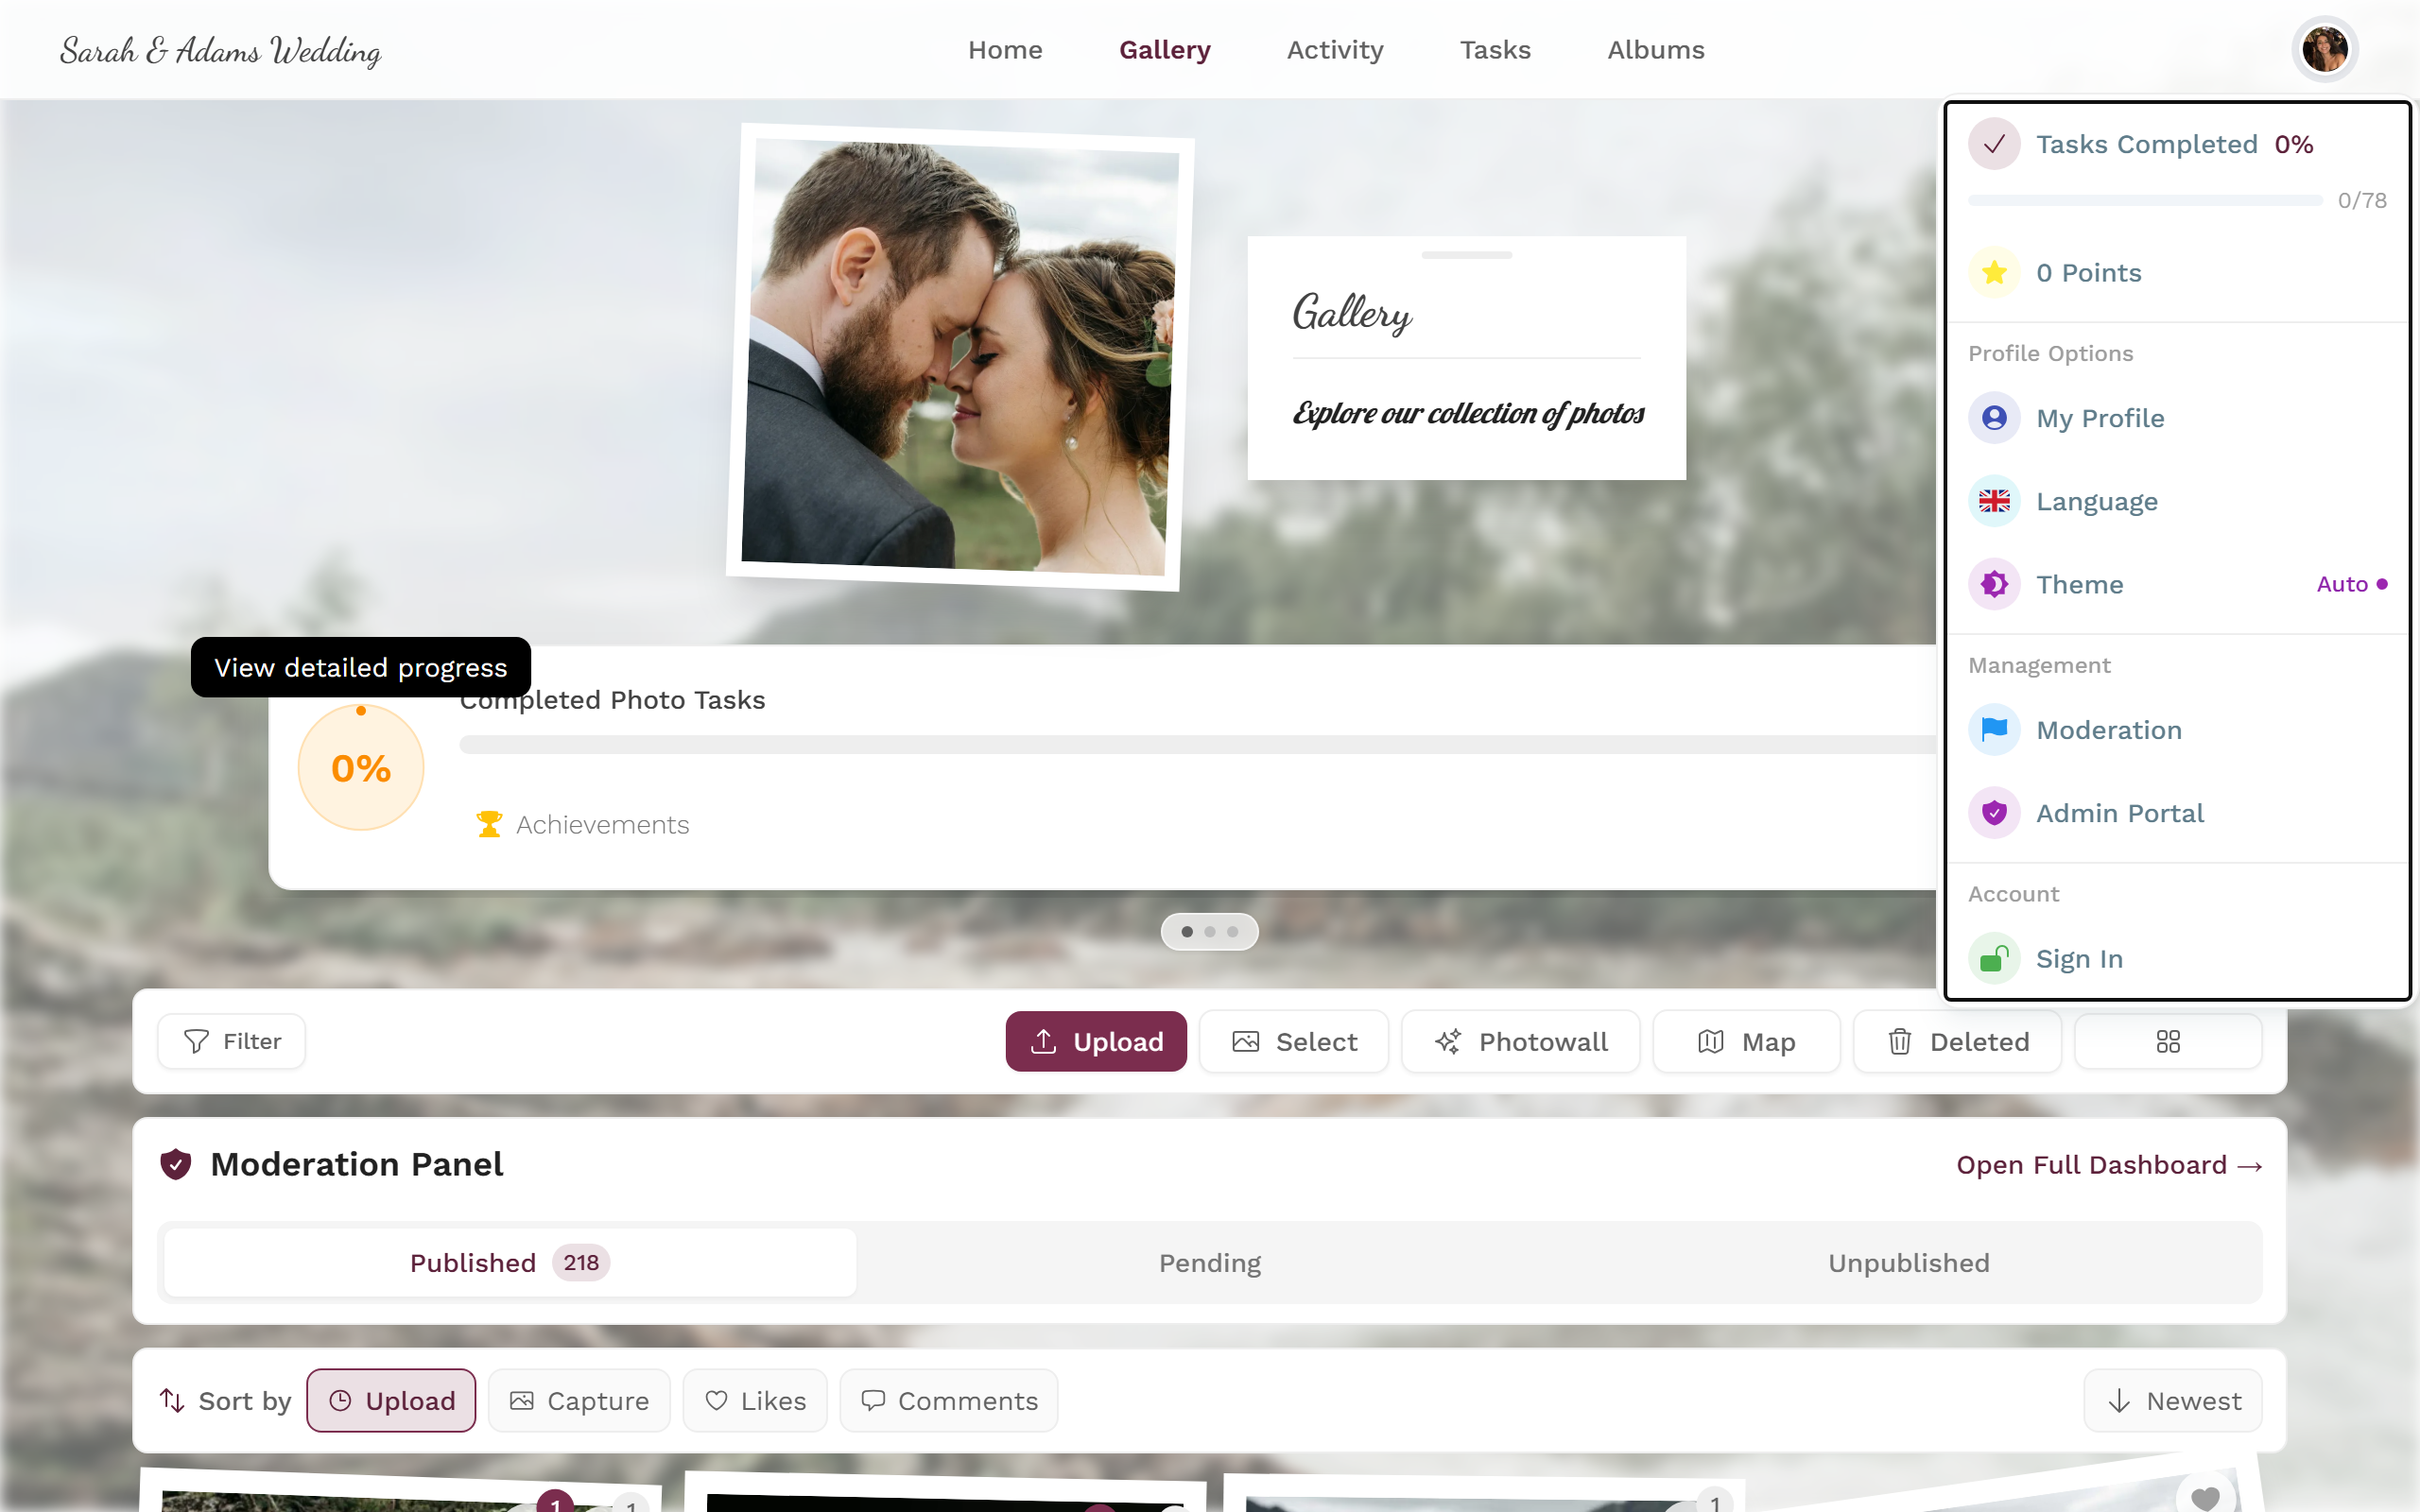
The event gallery right after opening. -
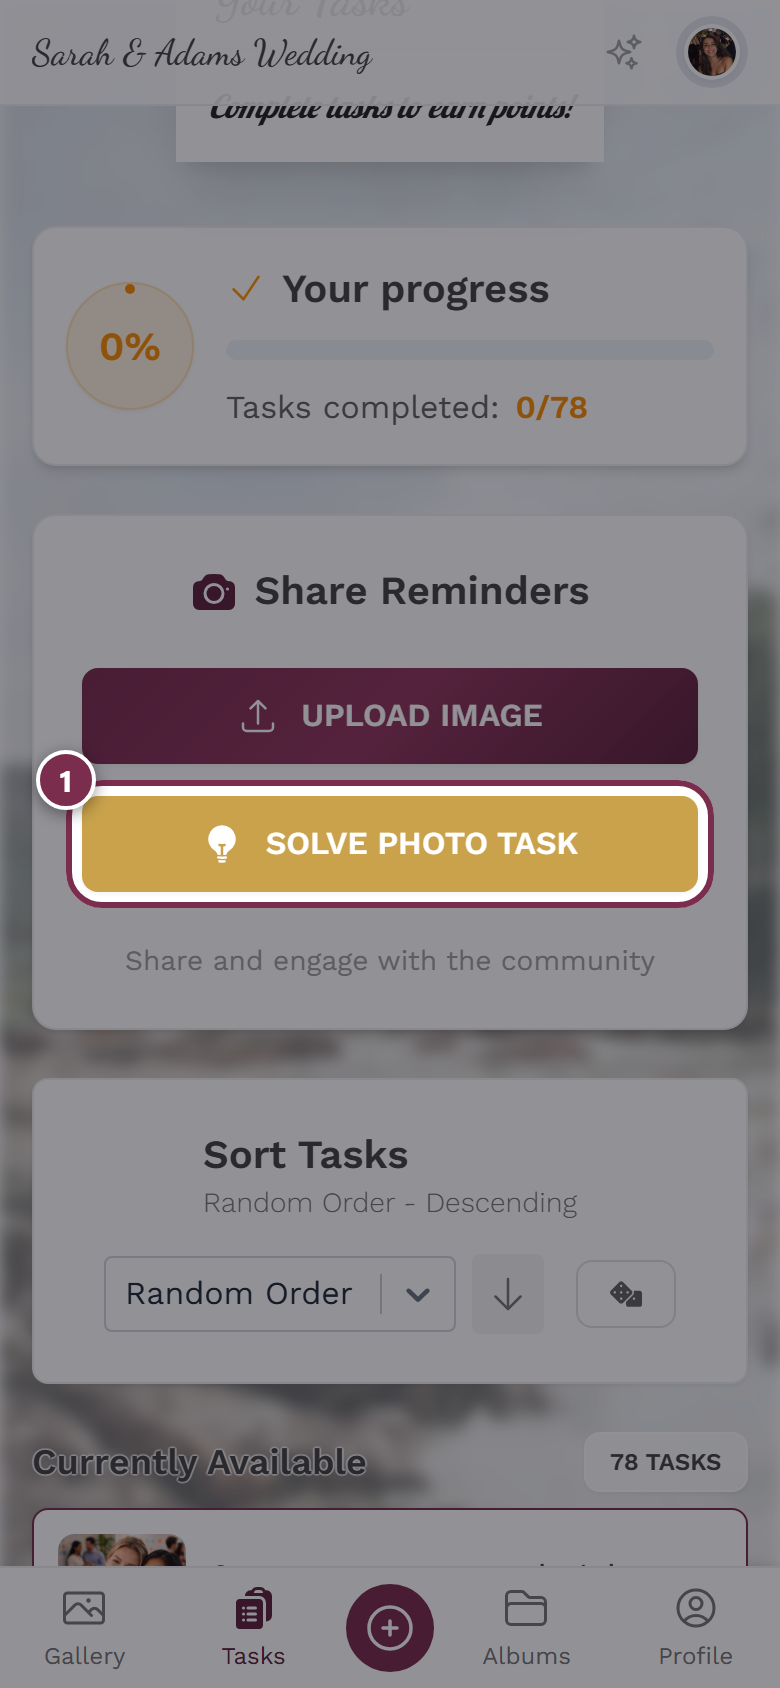
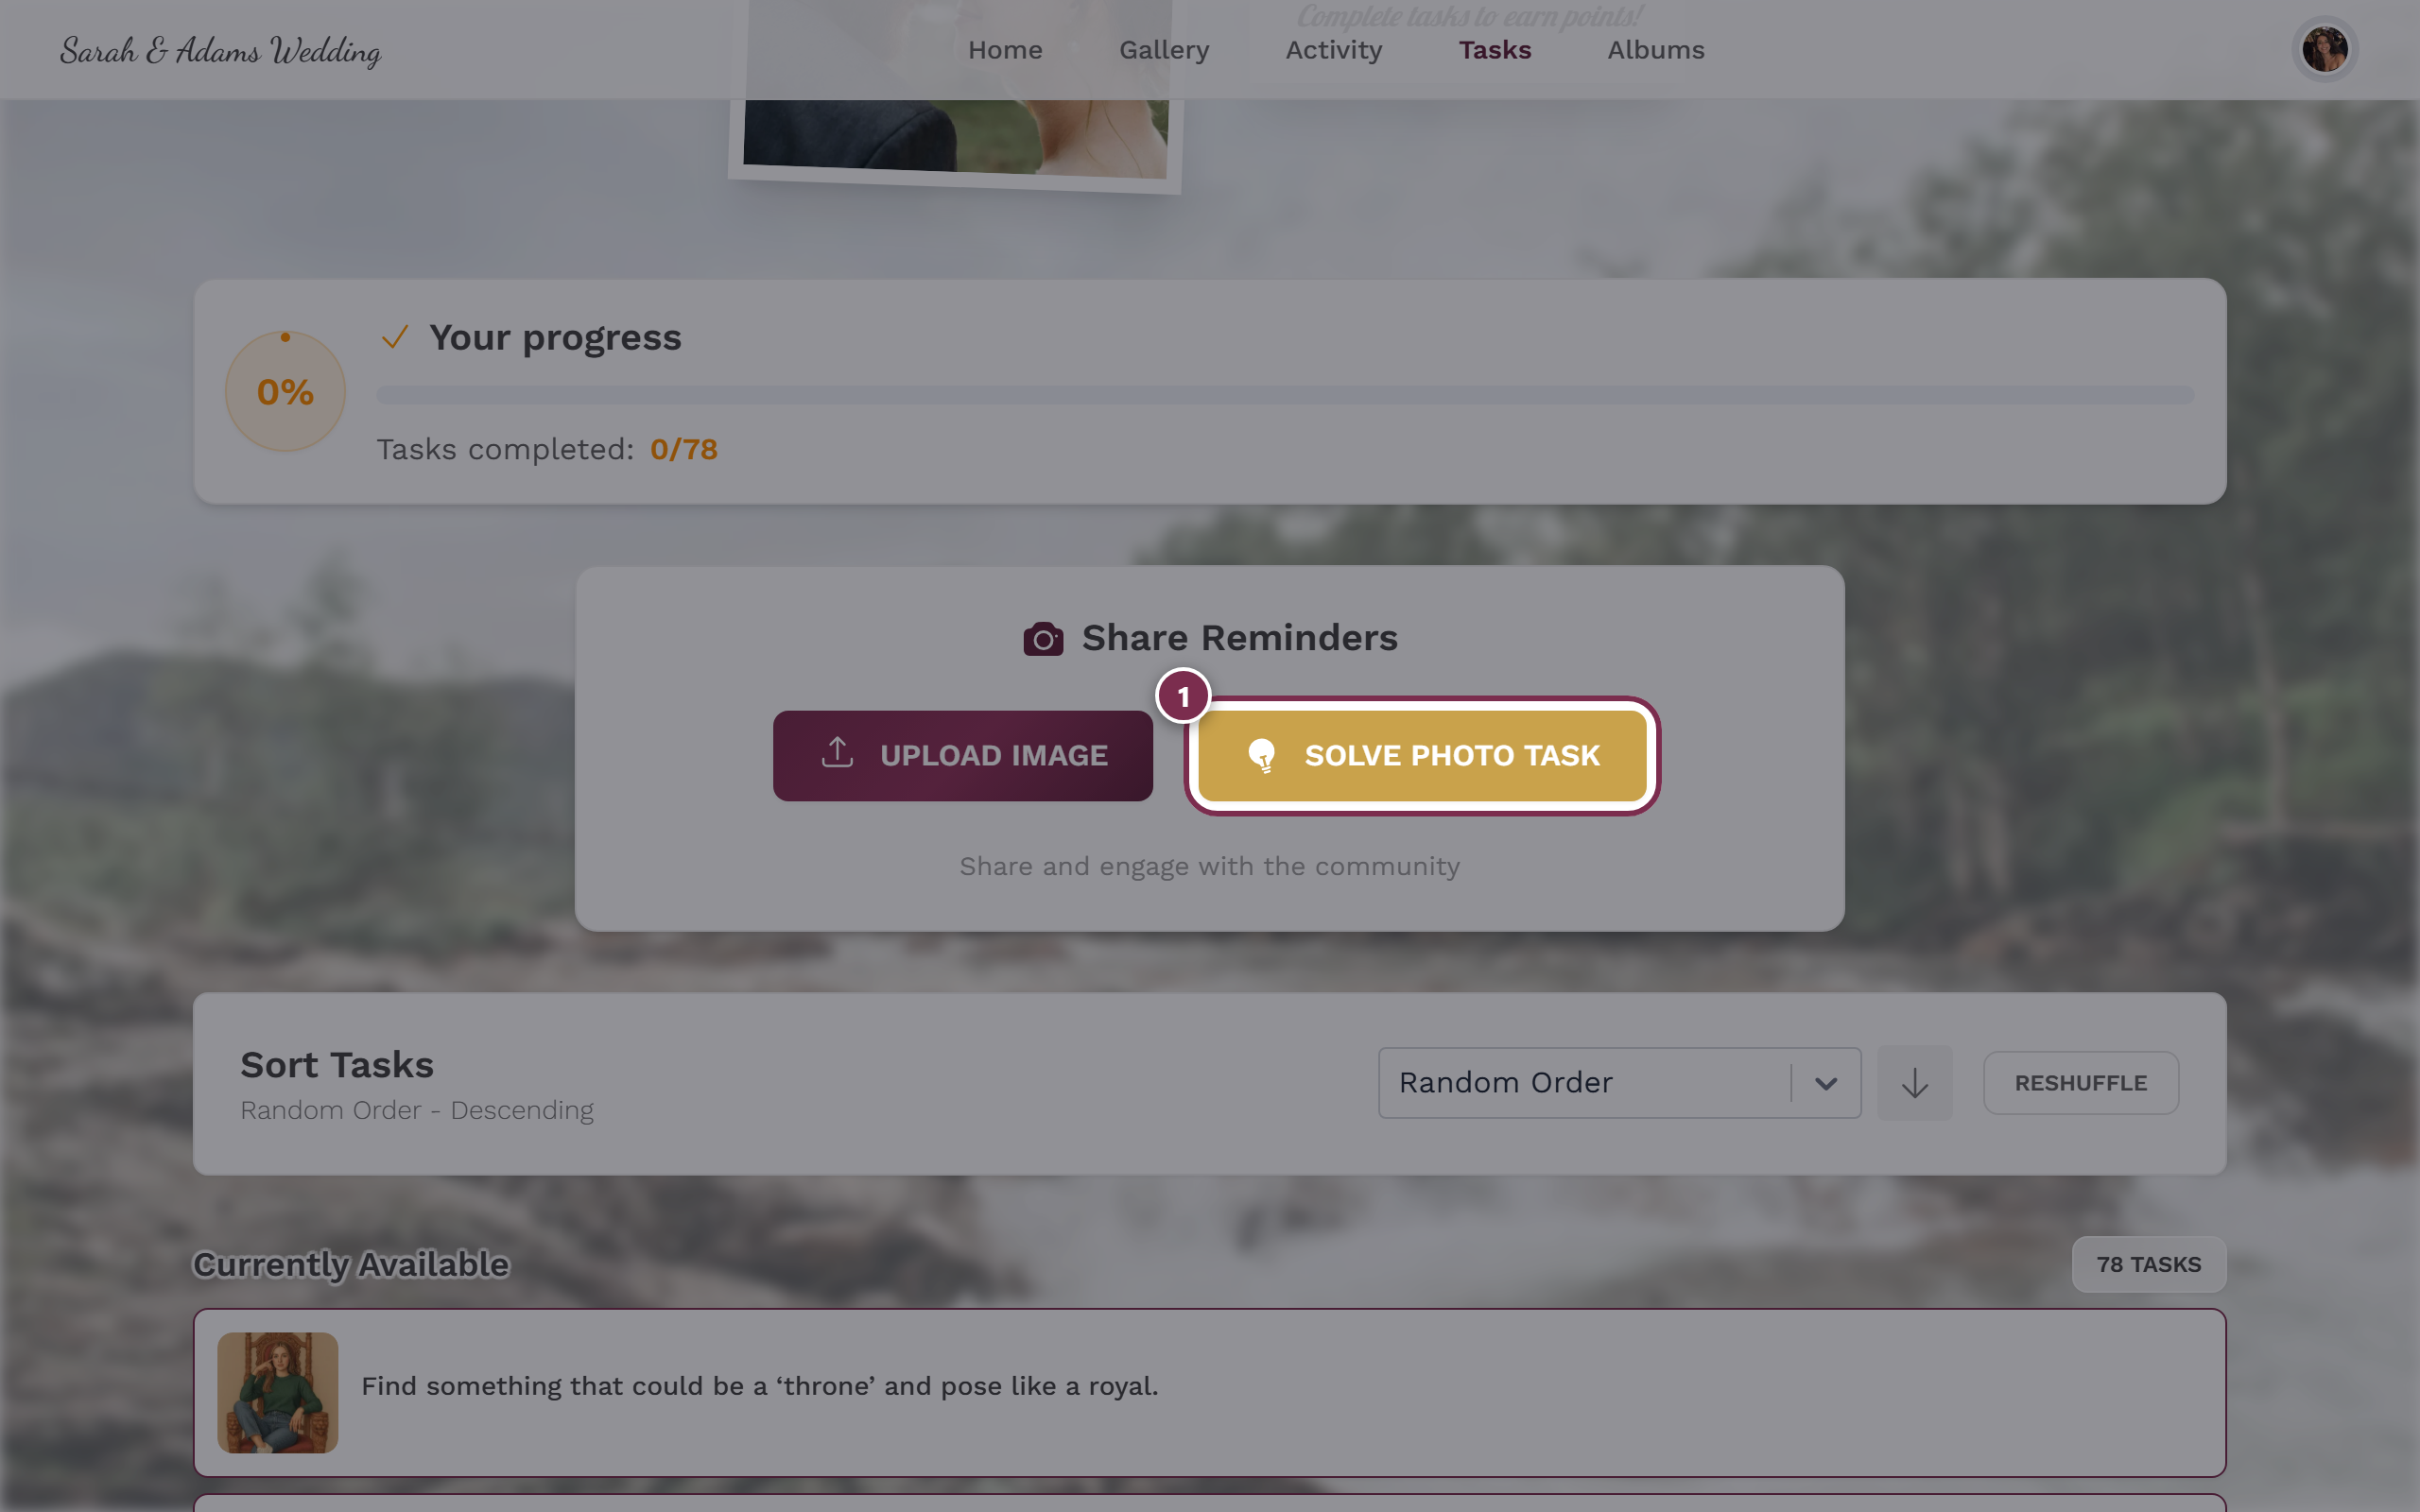
Tap the Upload button.
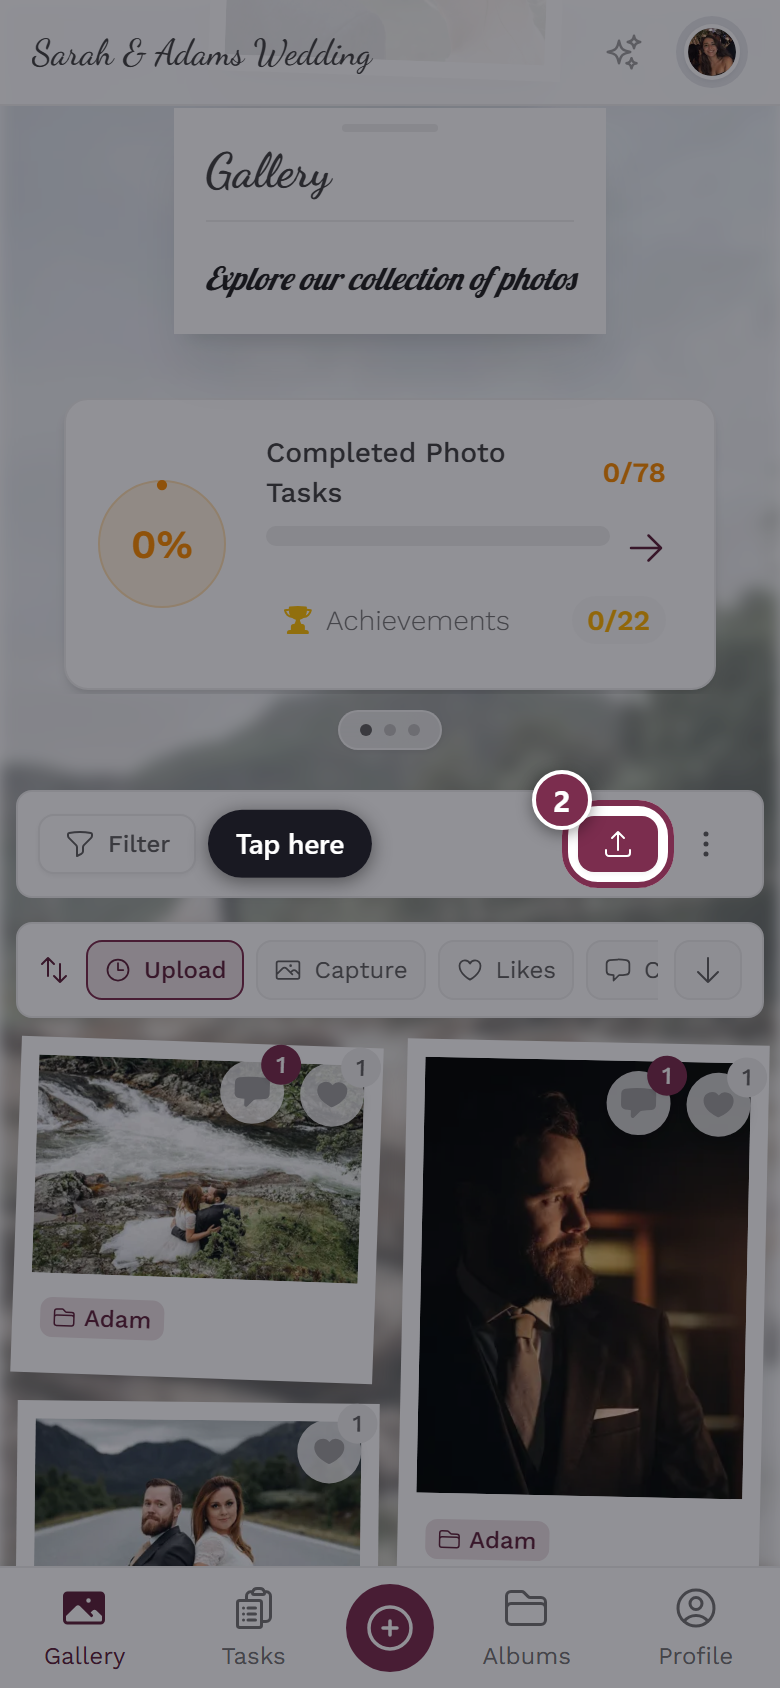
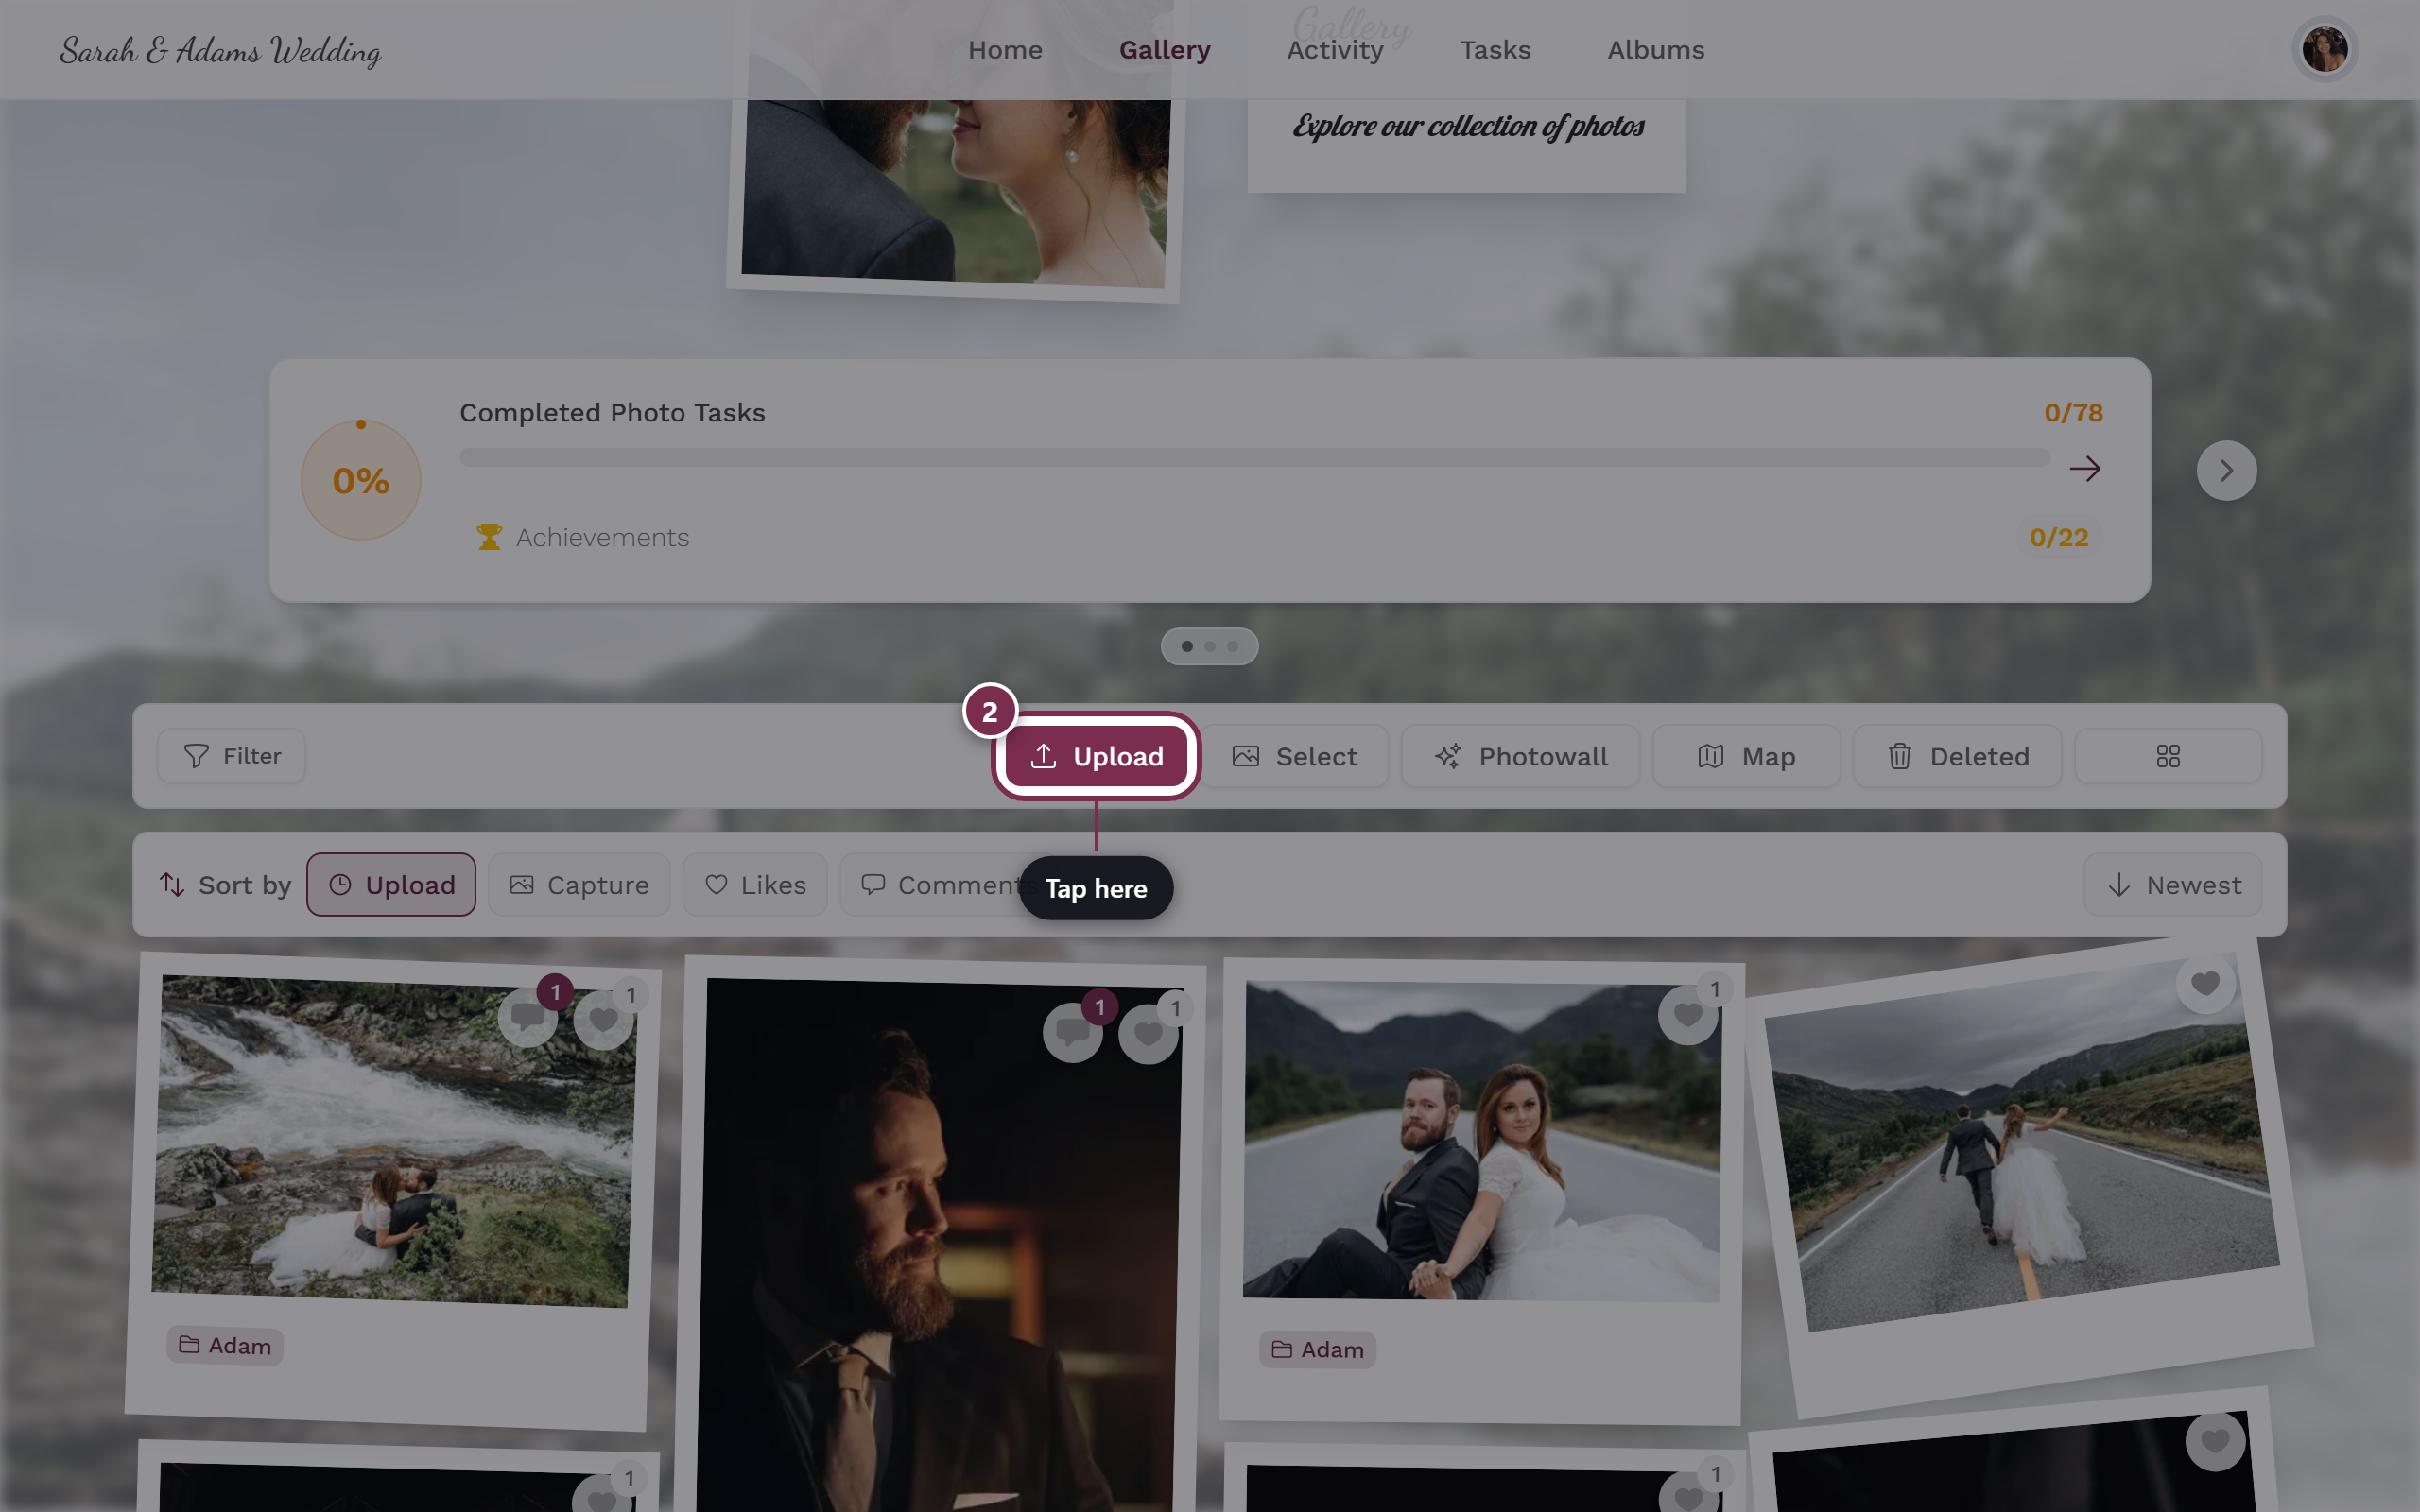
The upload button is highlighted – tap here. -
In the dialog choose Upload Images and pick photos or videos – multi-select is supported.
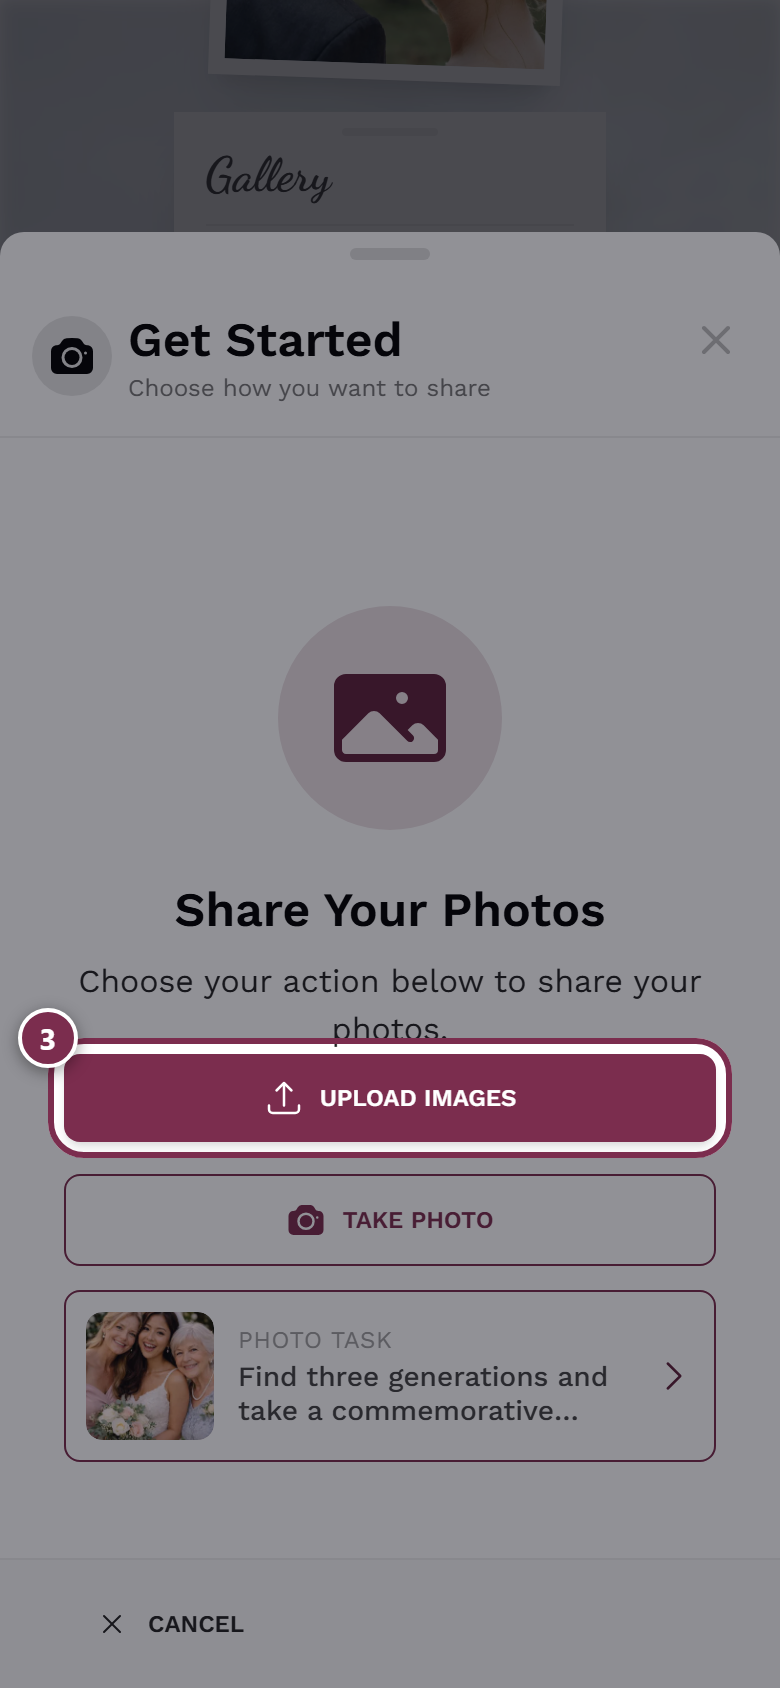
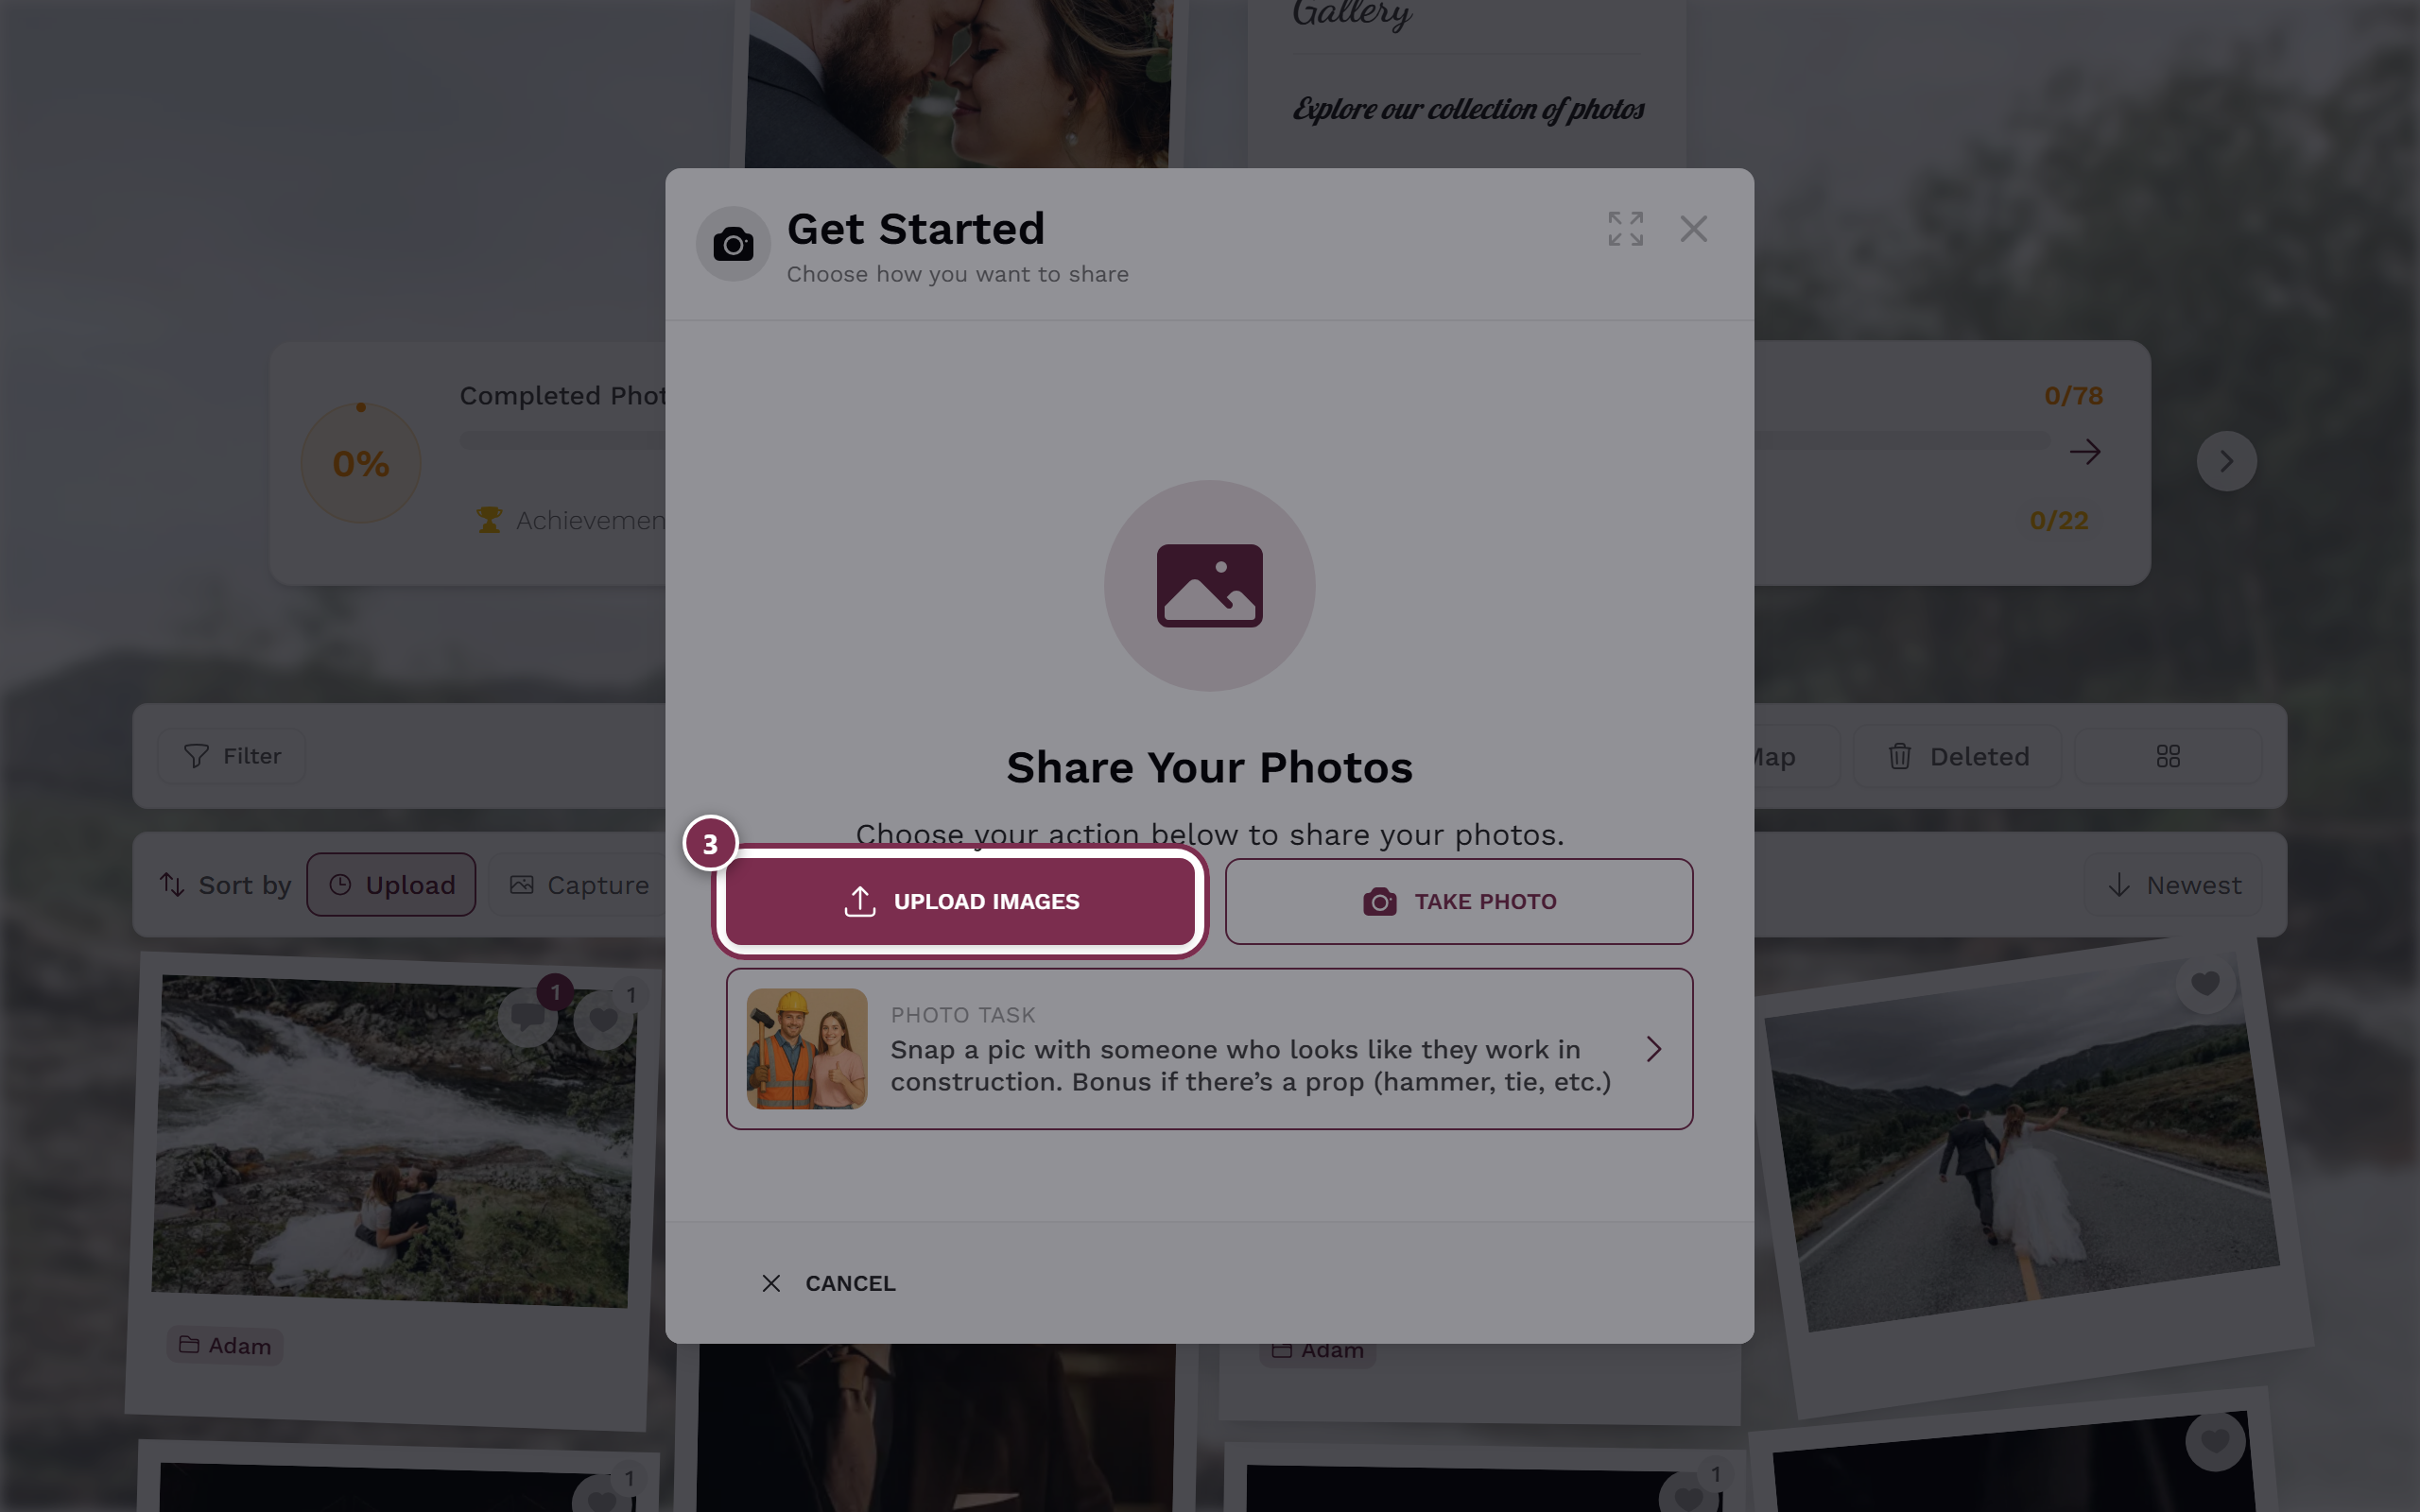
Start your selection in the upload dialog. -
Review your selection and tap Start Upload. The upload runs; you can minimize the window and keep browsing.
The remaining sections explain each of these steps in detail – including every alternative, edge case and error message.
Where to start the upload (all entry points)
Section titled “Where to start the upload (all entry points)”Several paths lead to the same upload window. Just use whichever is currently visible:
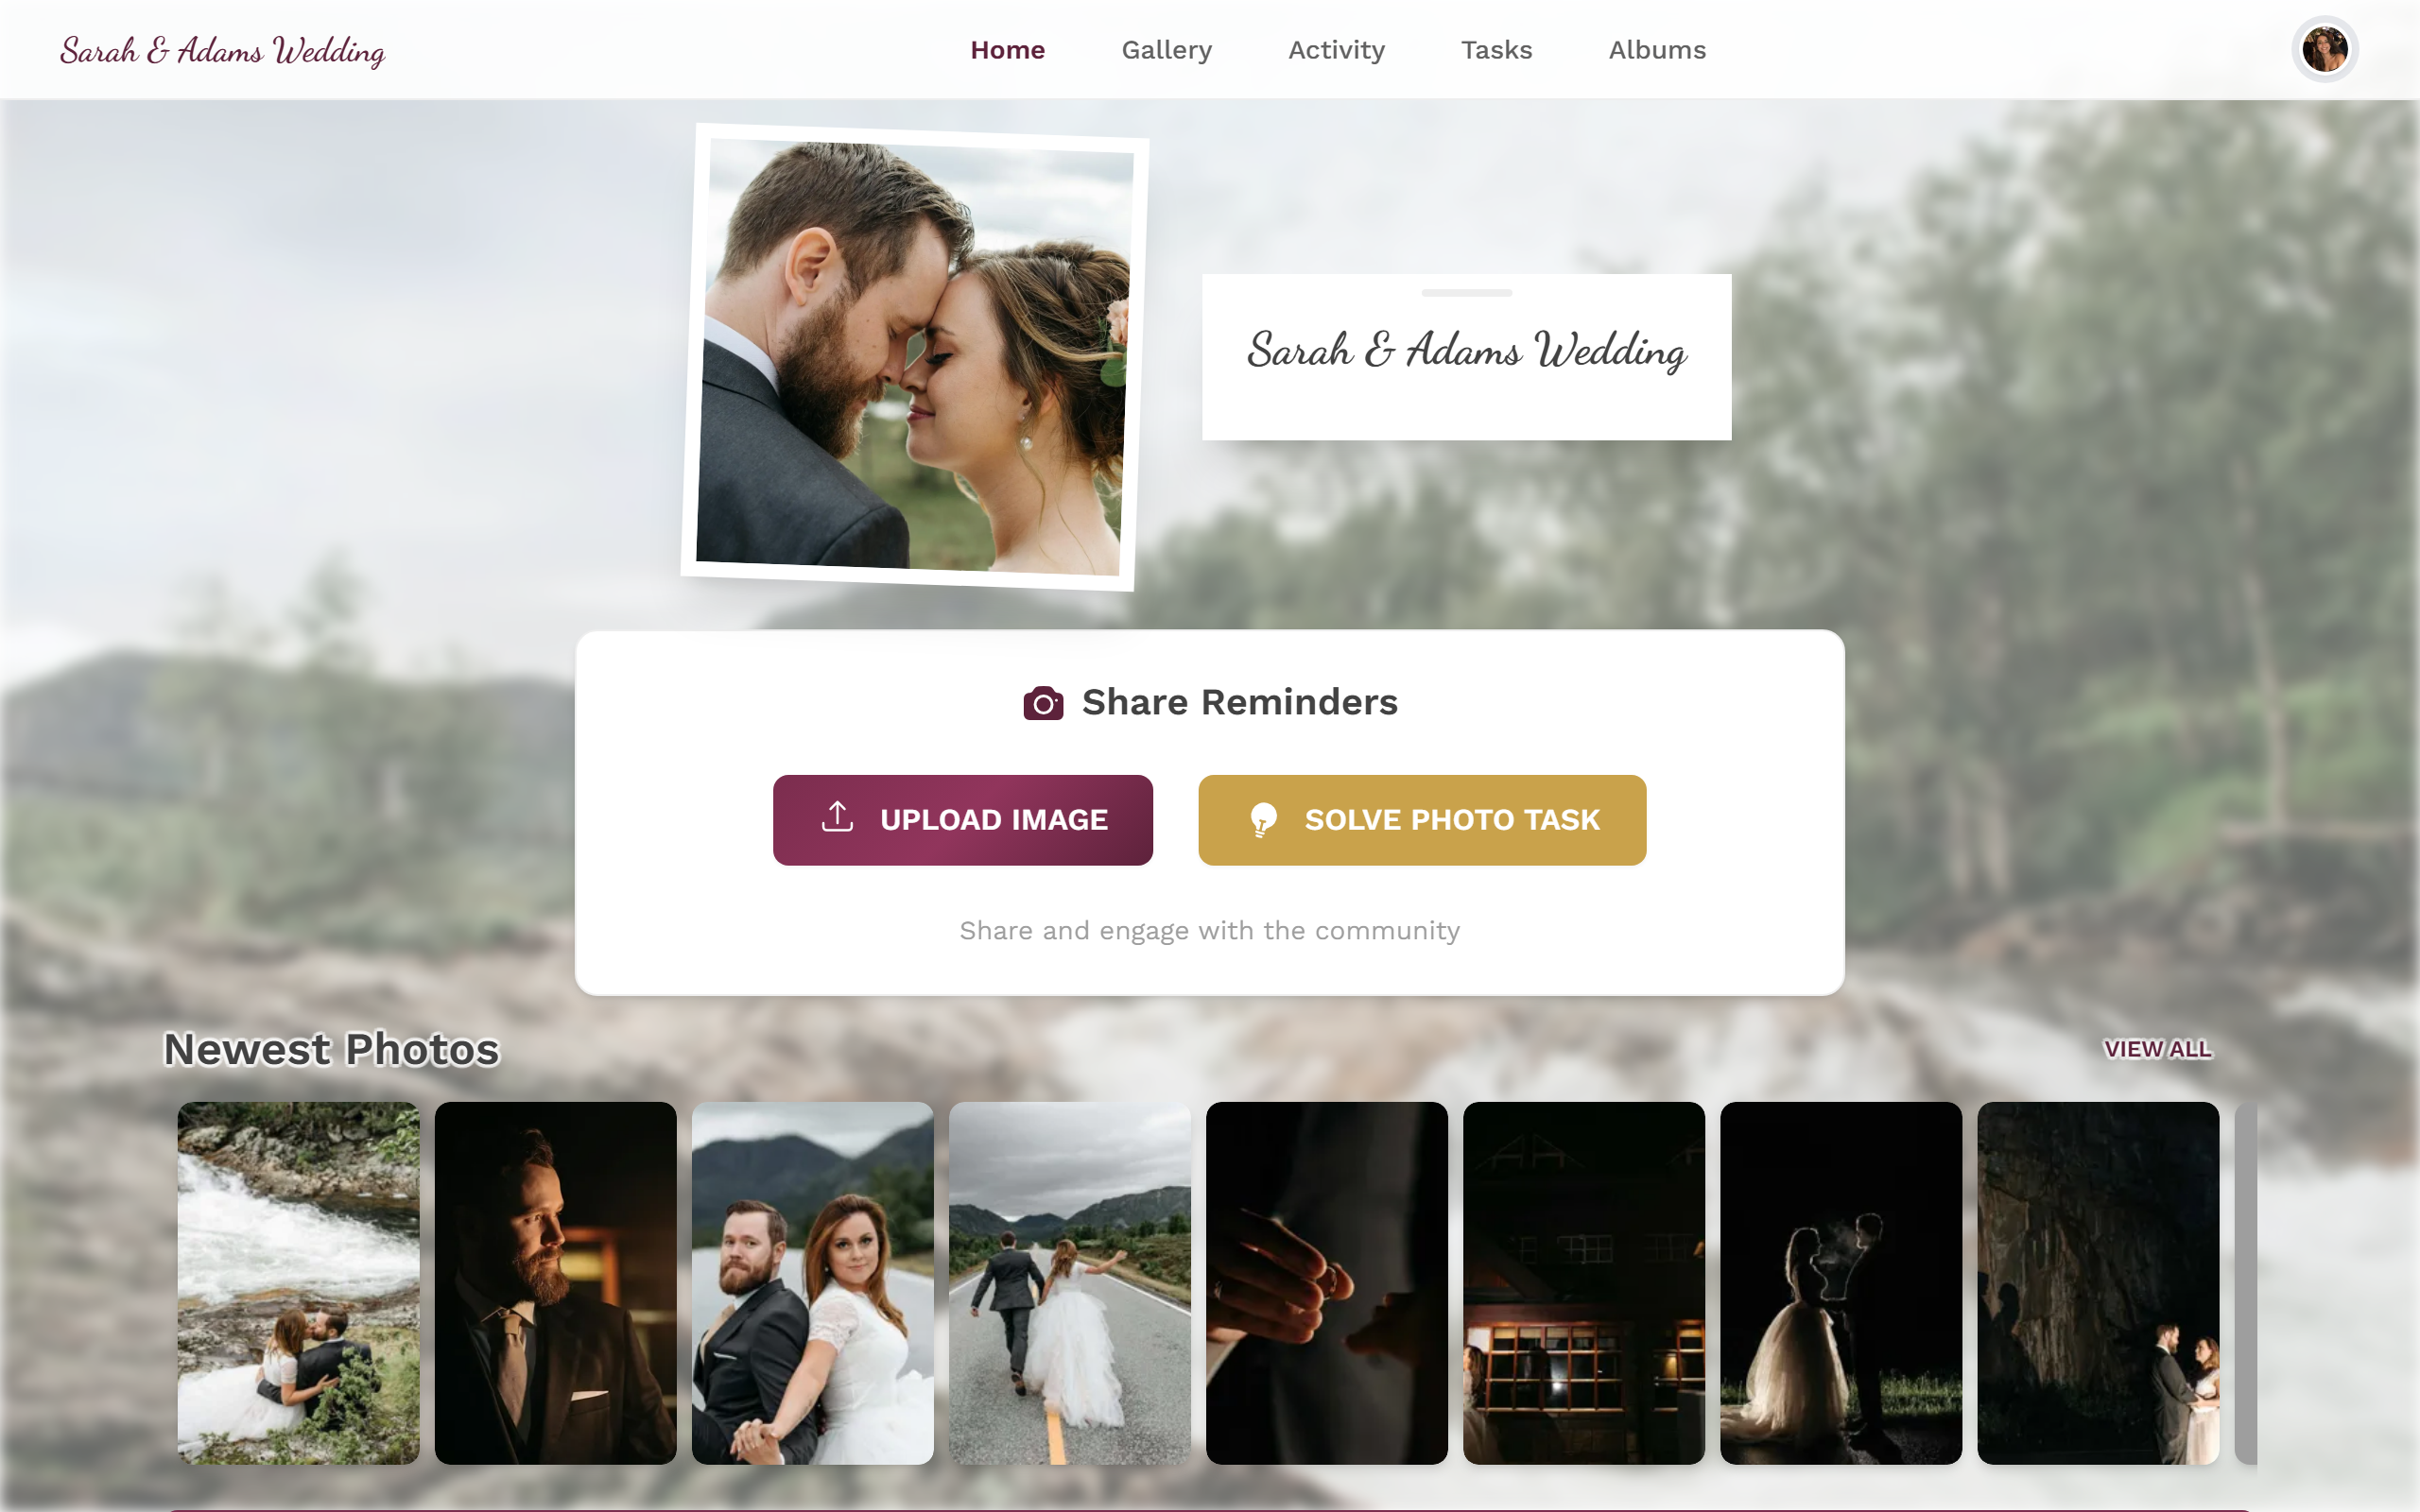
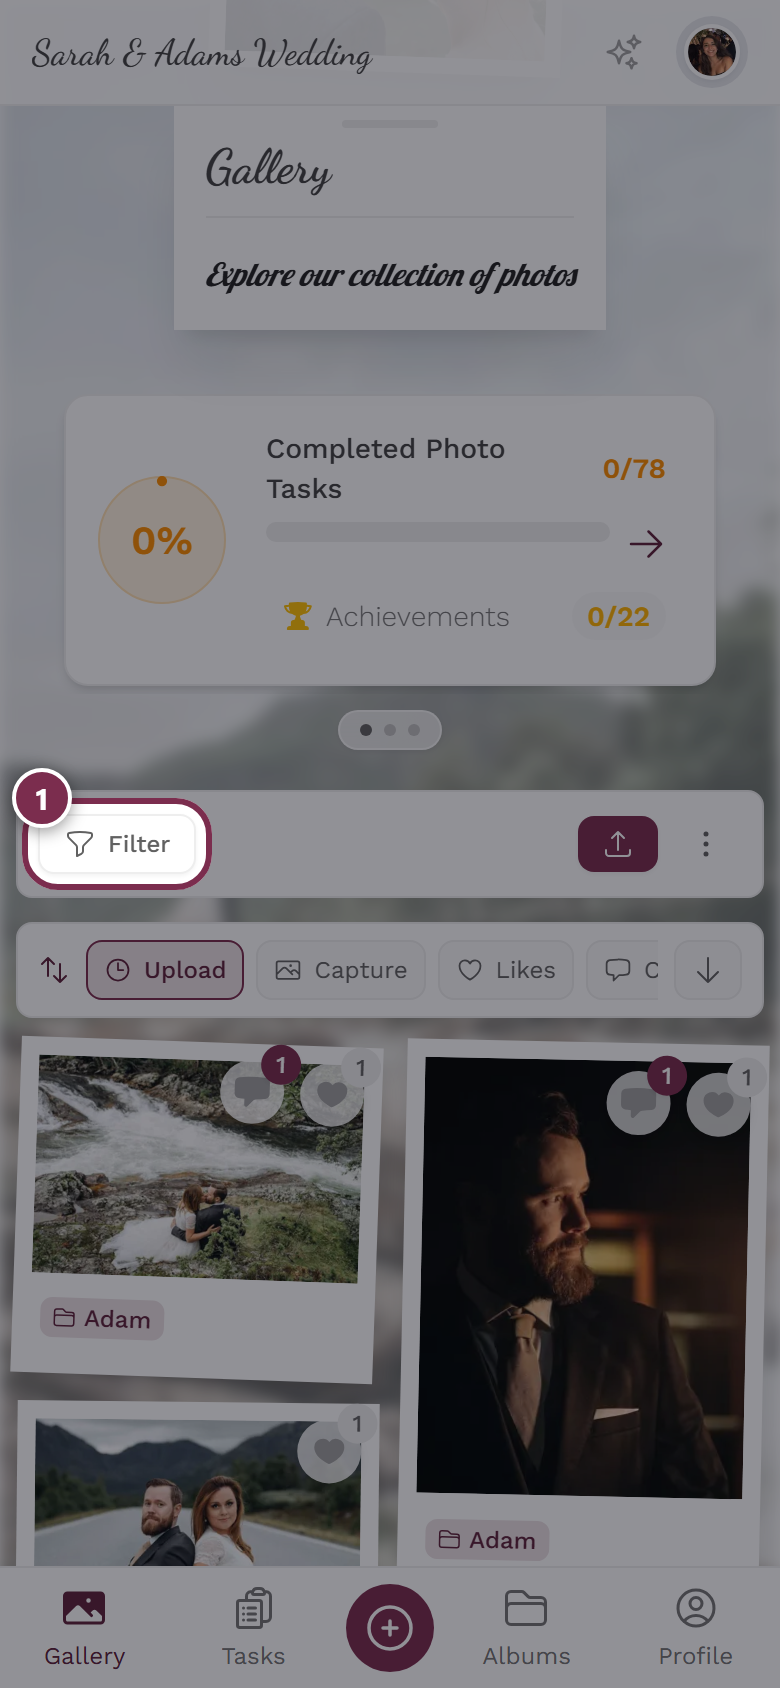
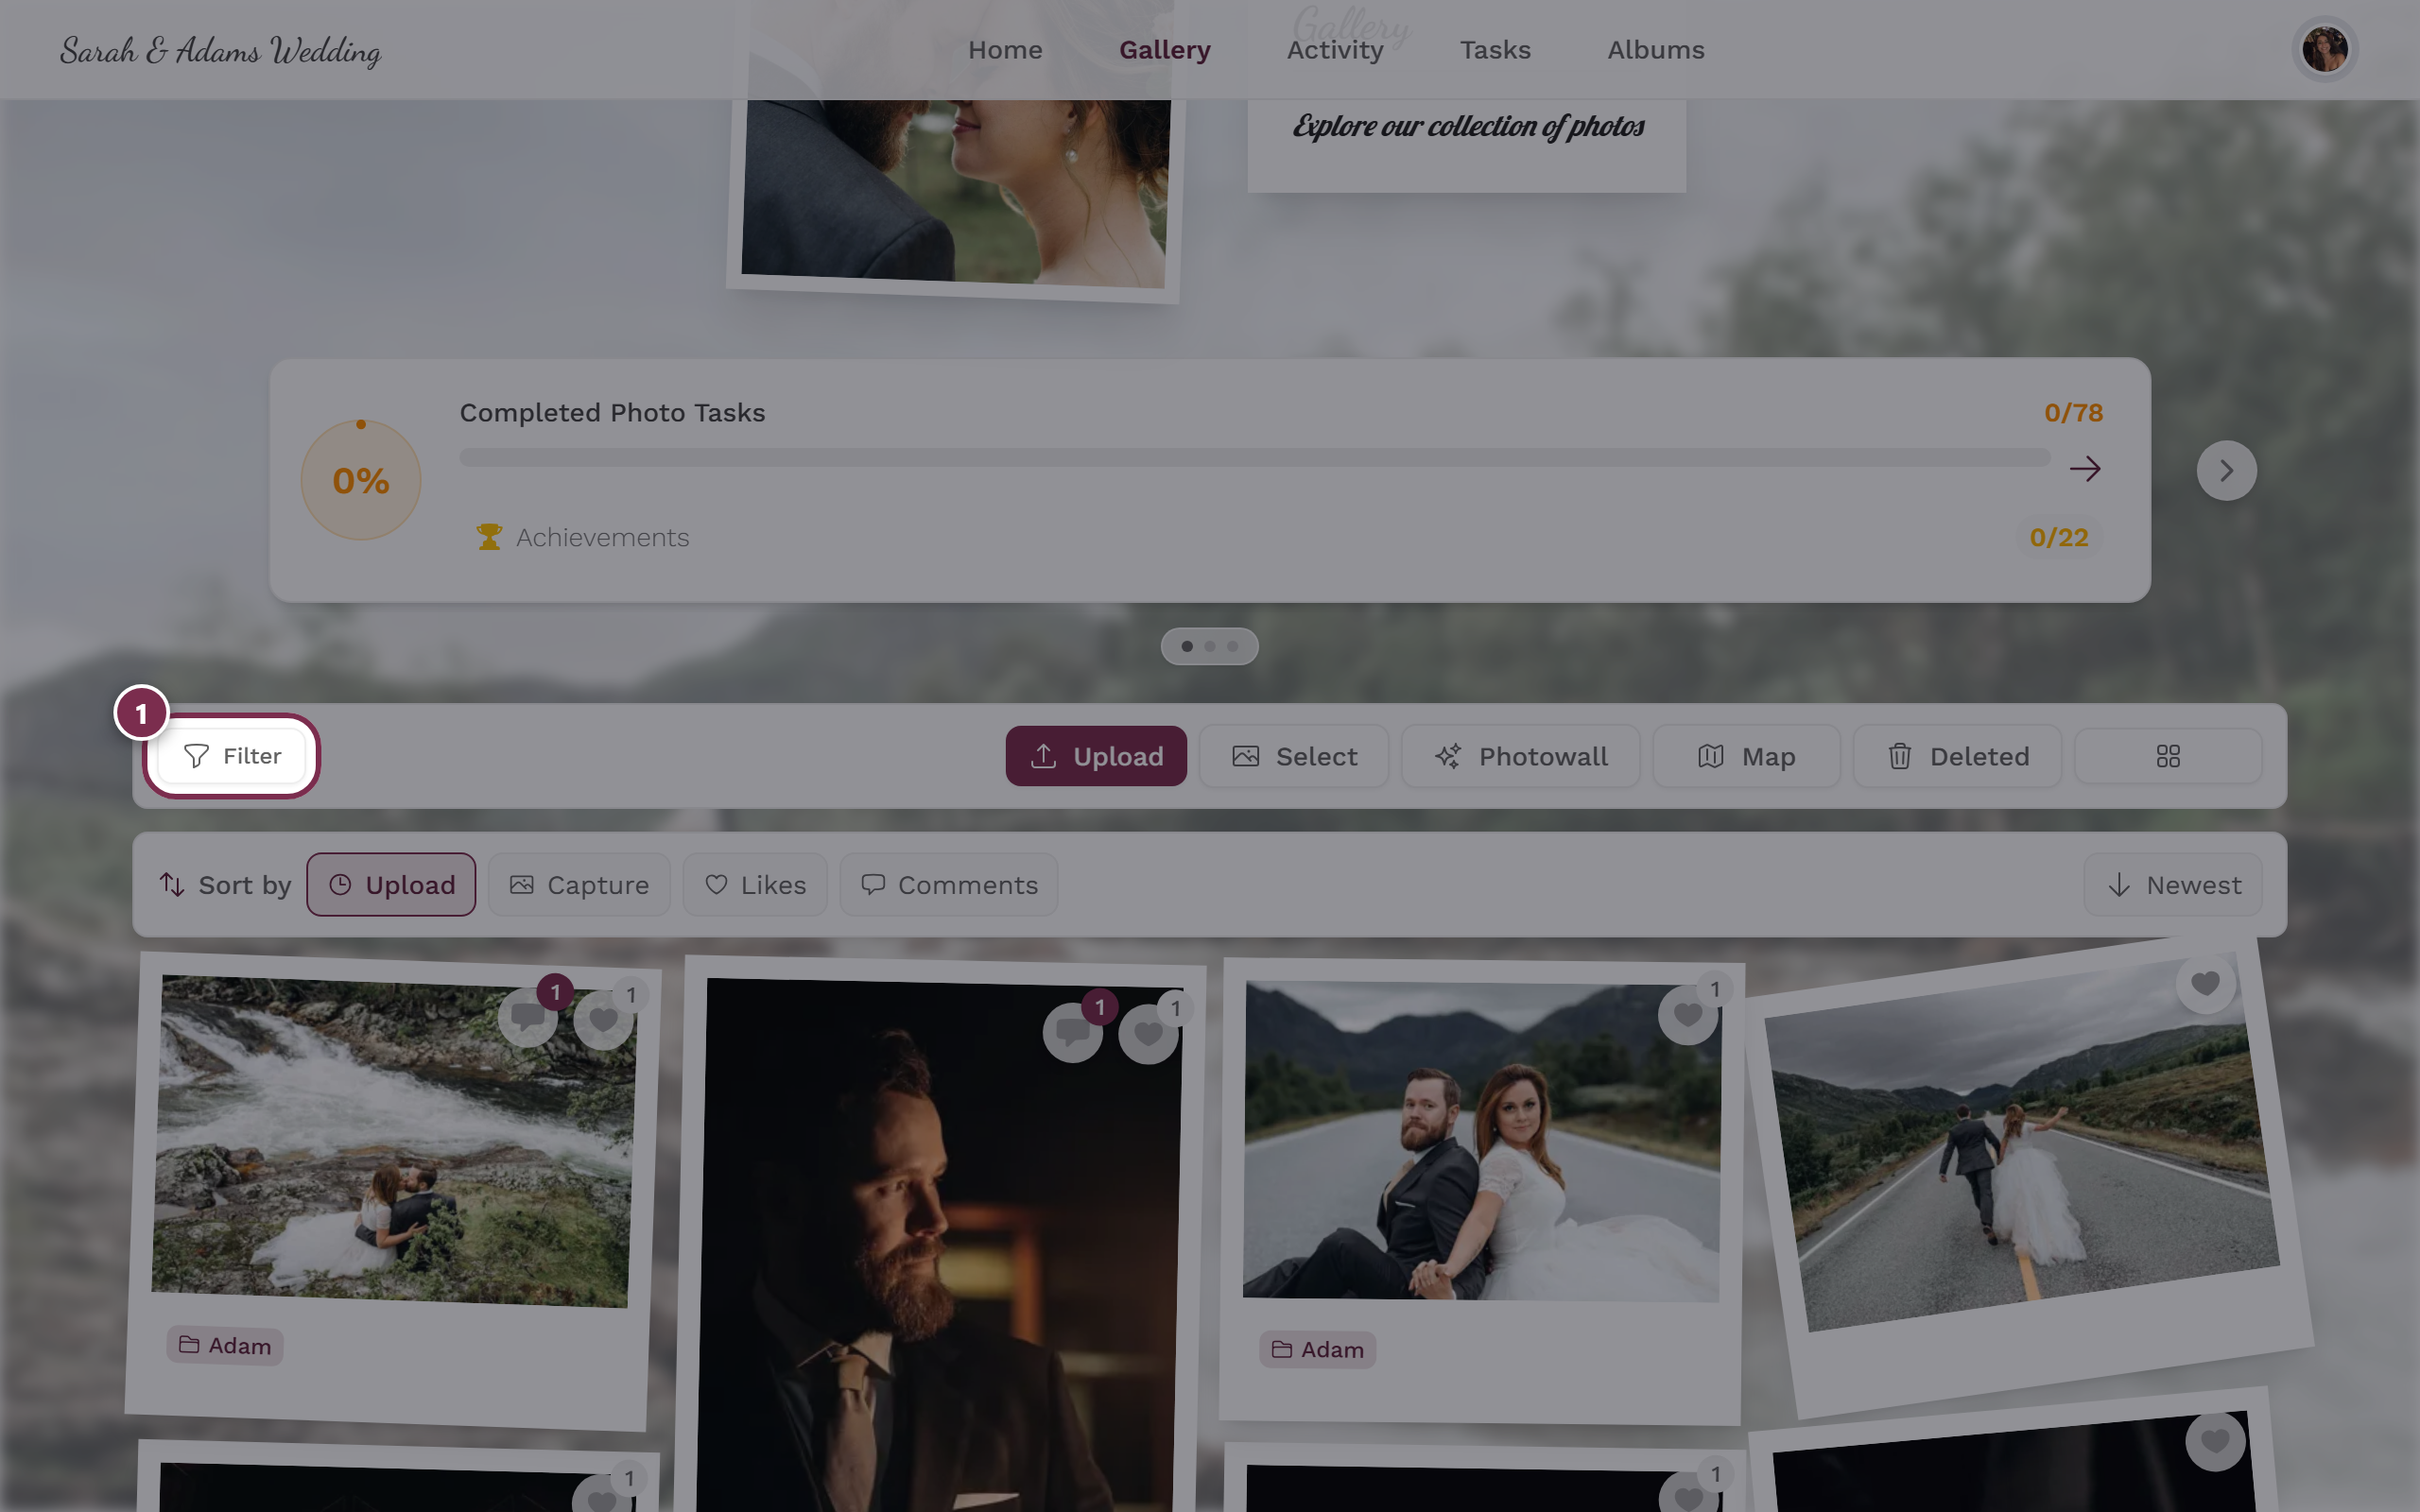
- Computer – upload bar at the bottom. A fixed bar with the text “Upload your photos!” and the Upload button. This bar only appears on large screens. A small X (“Dismiss Upload Bar”) hides it until the next reload.
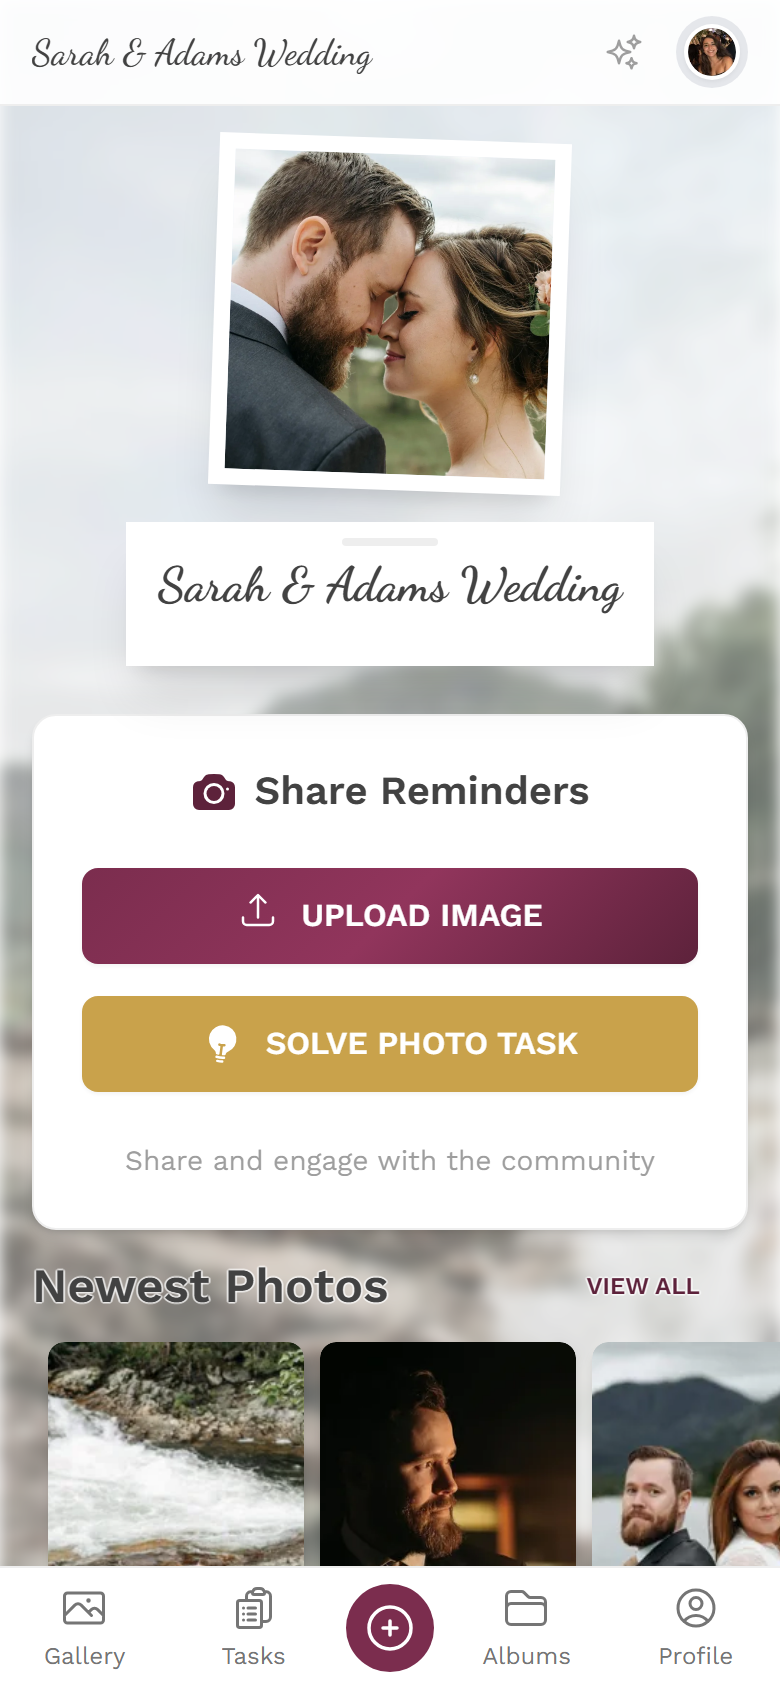
- Phone – bottom navigation bar. The large upload button in the middle of the bottom bar opens the dialog.
- Empty or filtered gallery. If nothing is there yet (or your current filter hides everything), an Upload Images button (or a +) appears in the center.
- From a photo task. From the tasks area you start an upload with the task already pre-selected (see Solve photo tasks).
When NO upload button appears
Section titled “When NO upload button appears”Sometimes uploading is blocked for guests. That is always the host’s decision, not the app’s. In those cases the first step shows a notice instead of the sources:
- No Upload Permission – the host disabled guest uploads.
- Event Has Ended or Event Has Expired – the event no longer accepts new photos.
- Upload Banned – your access was blocked from uploading. Contact an event admin.
If photo tasks exist, View Photo Tasks often stays available anyway.
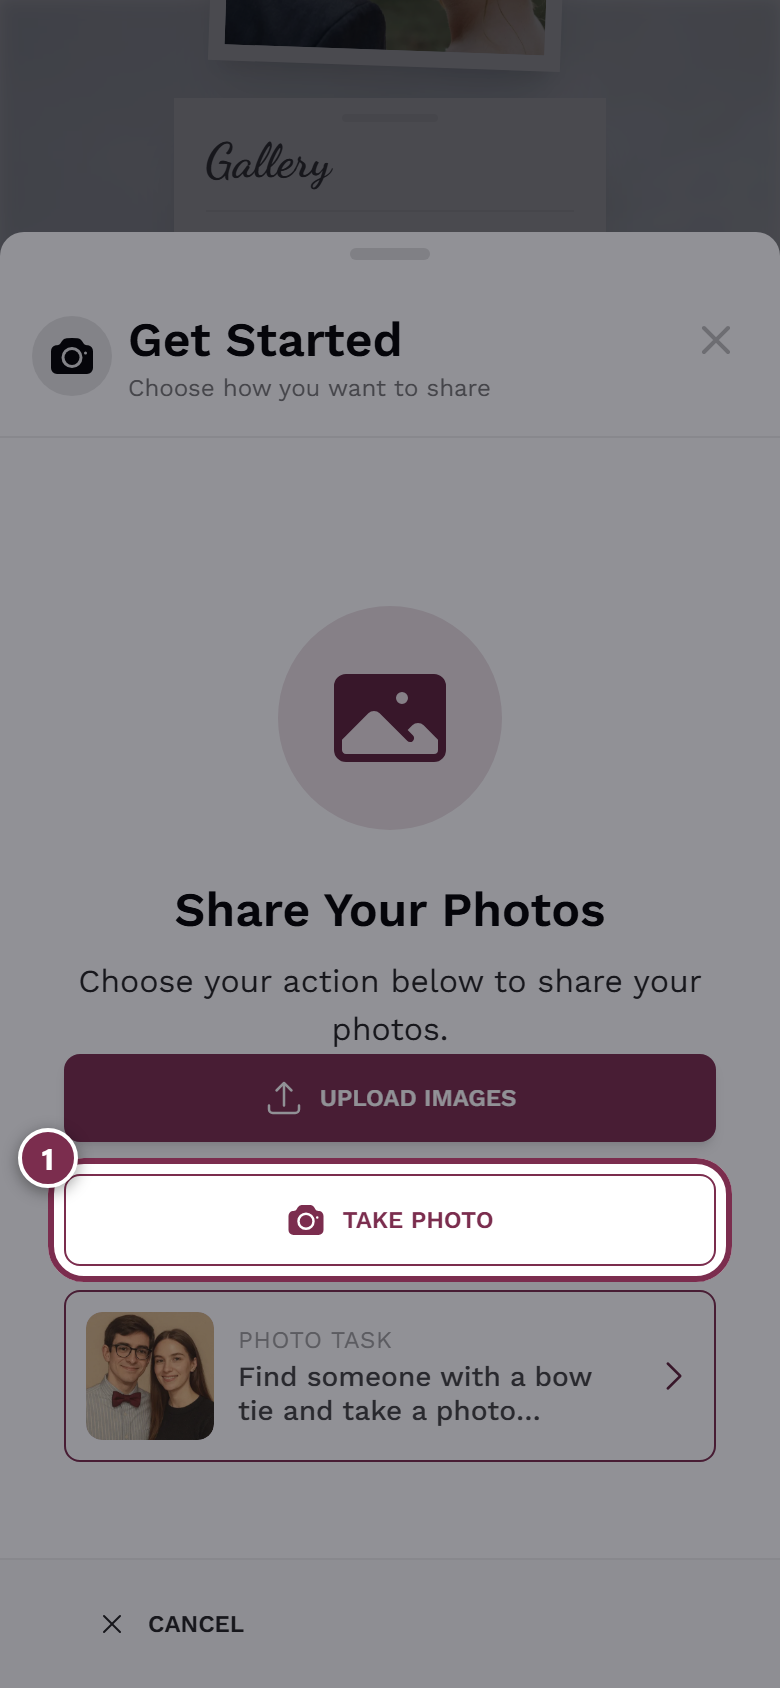
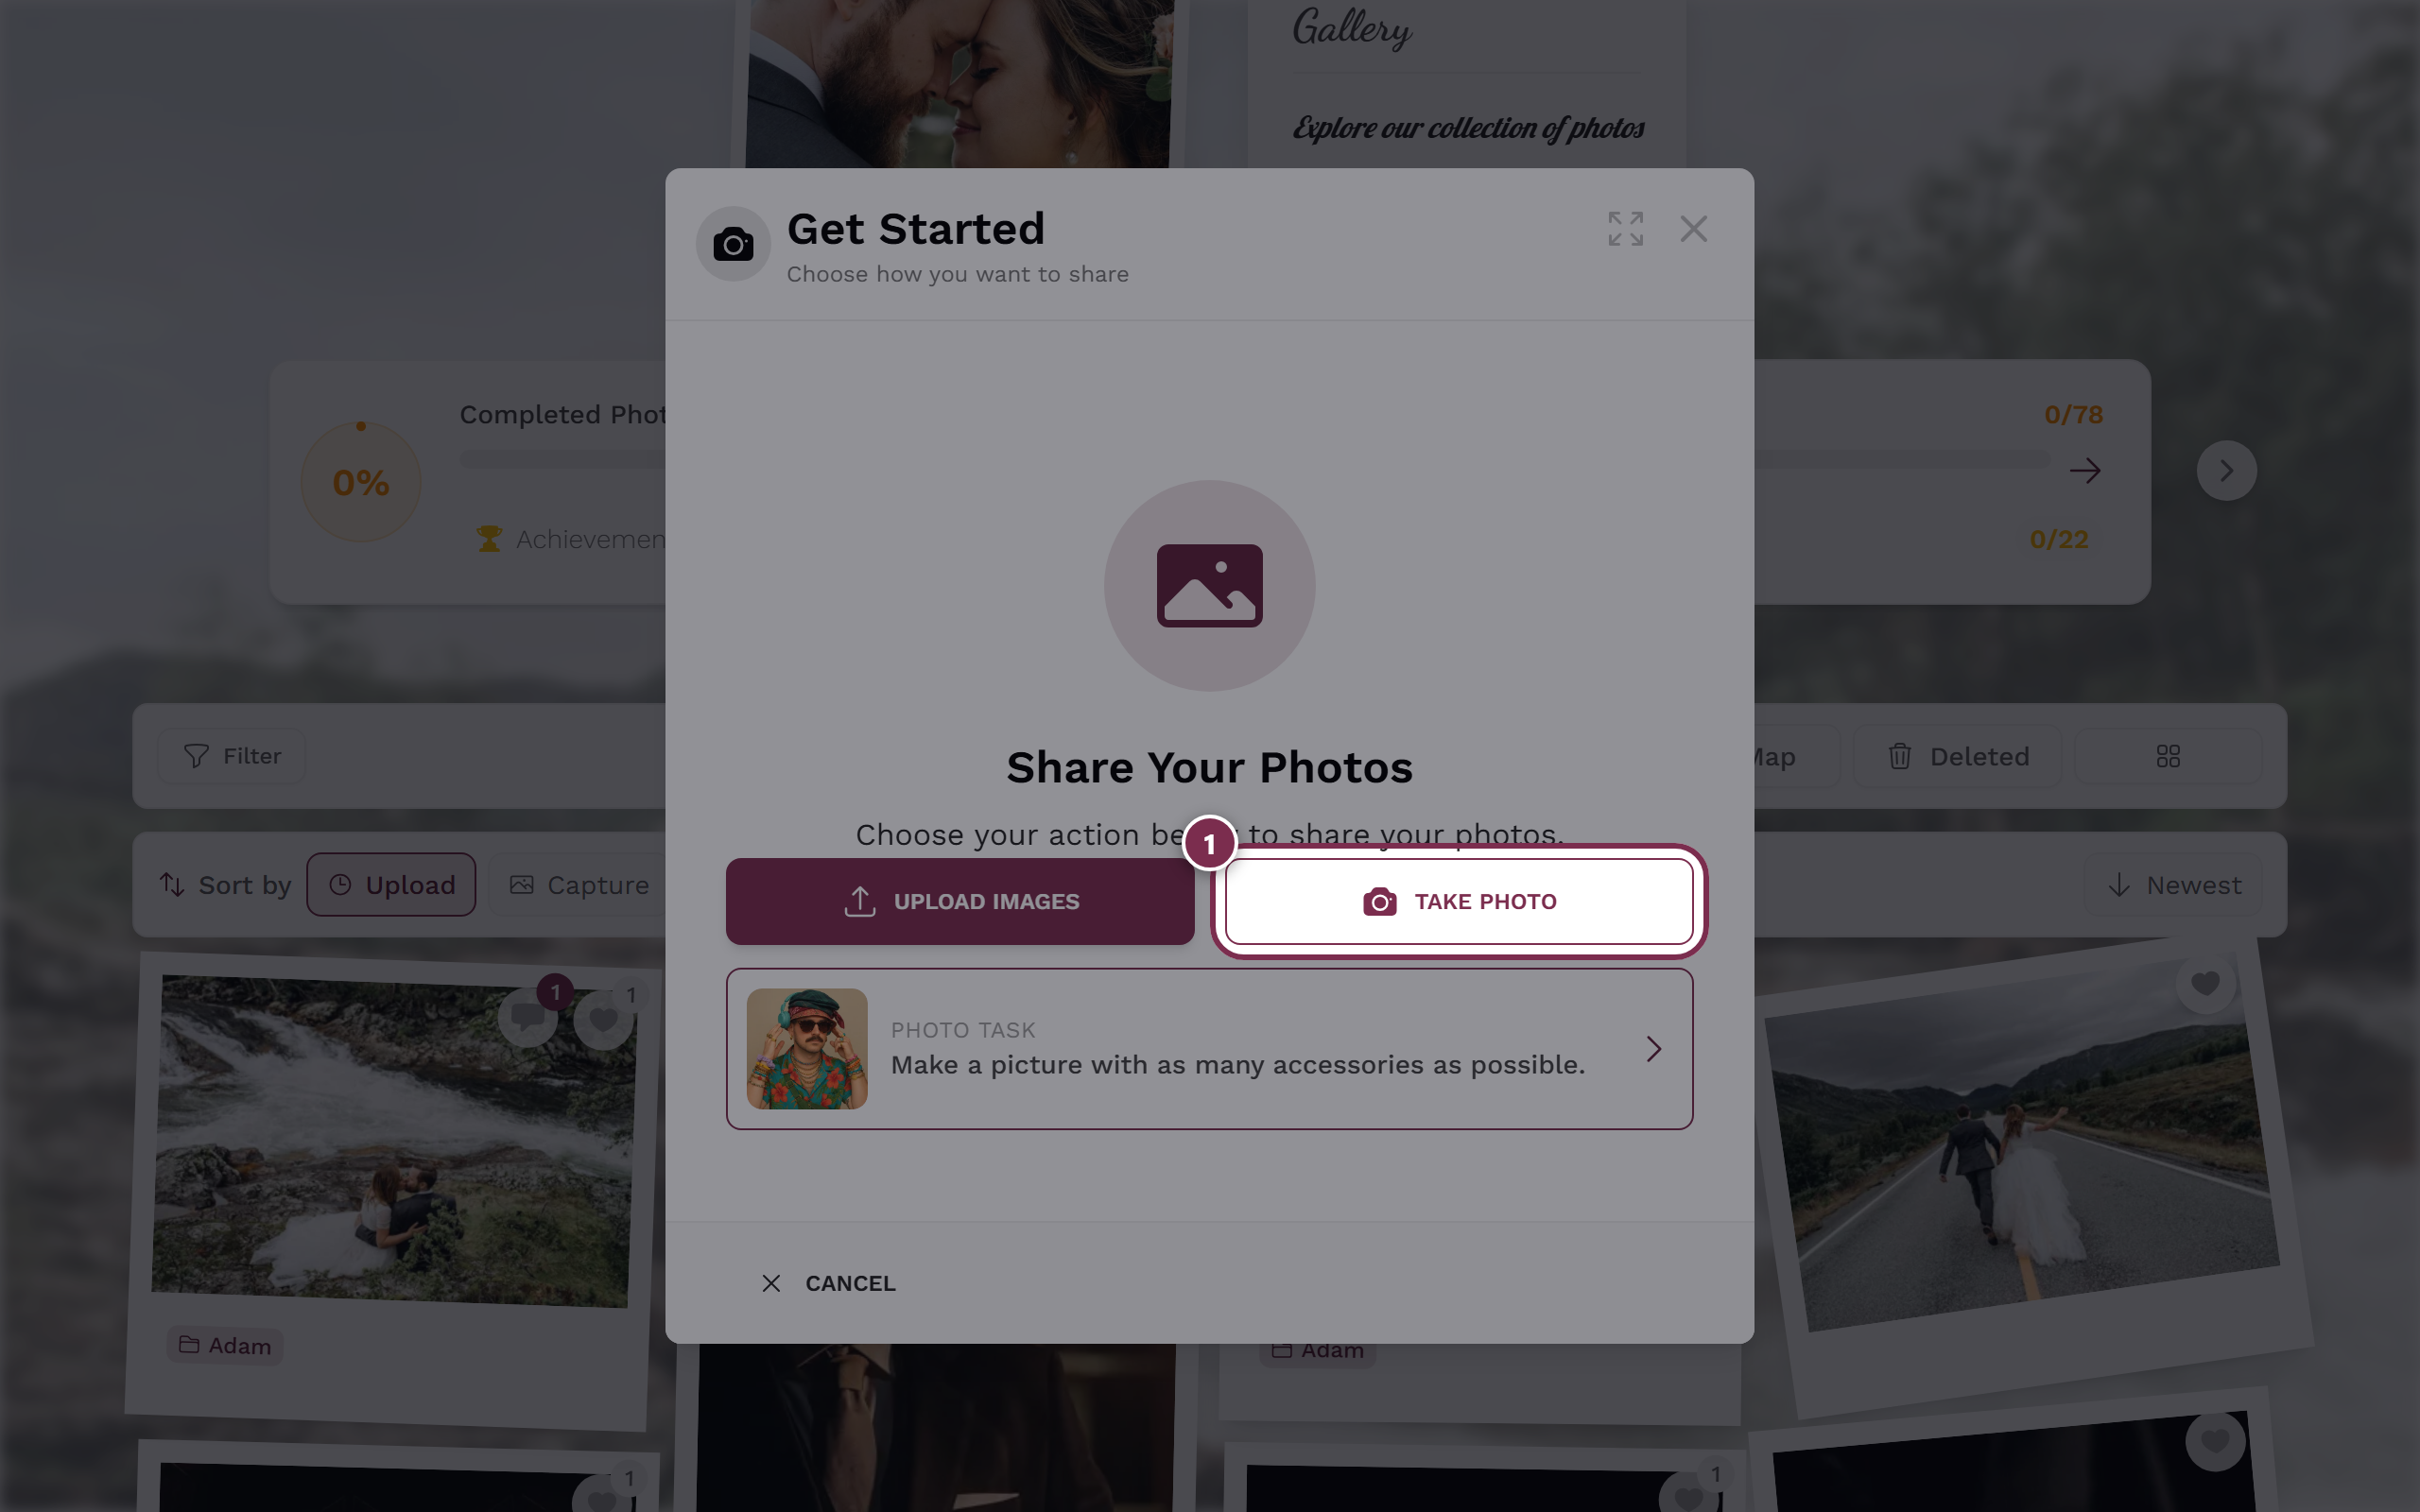
Step 1 – Choose a source
Section titled “Step 1 – Choose a source”The upload dialog opens with the heading “Share Your Photos”. Here you decide where the photos come from:
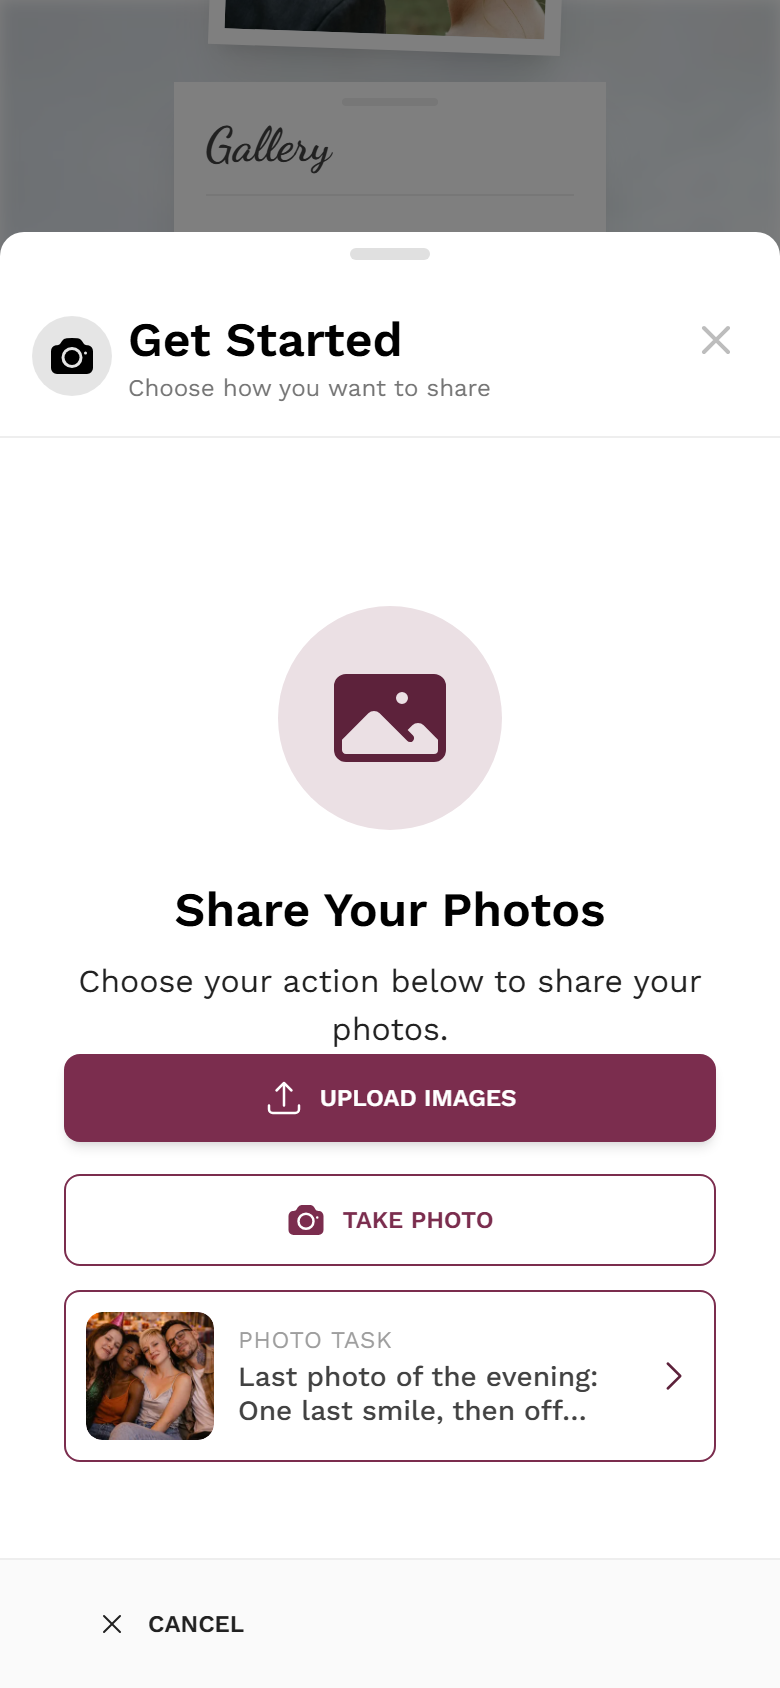
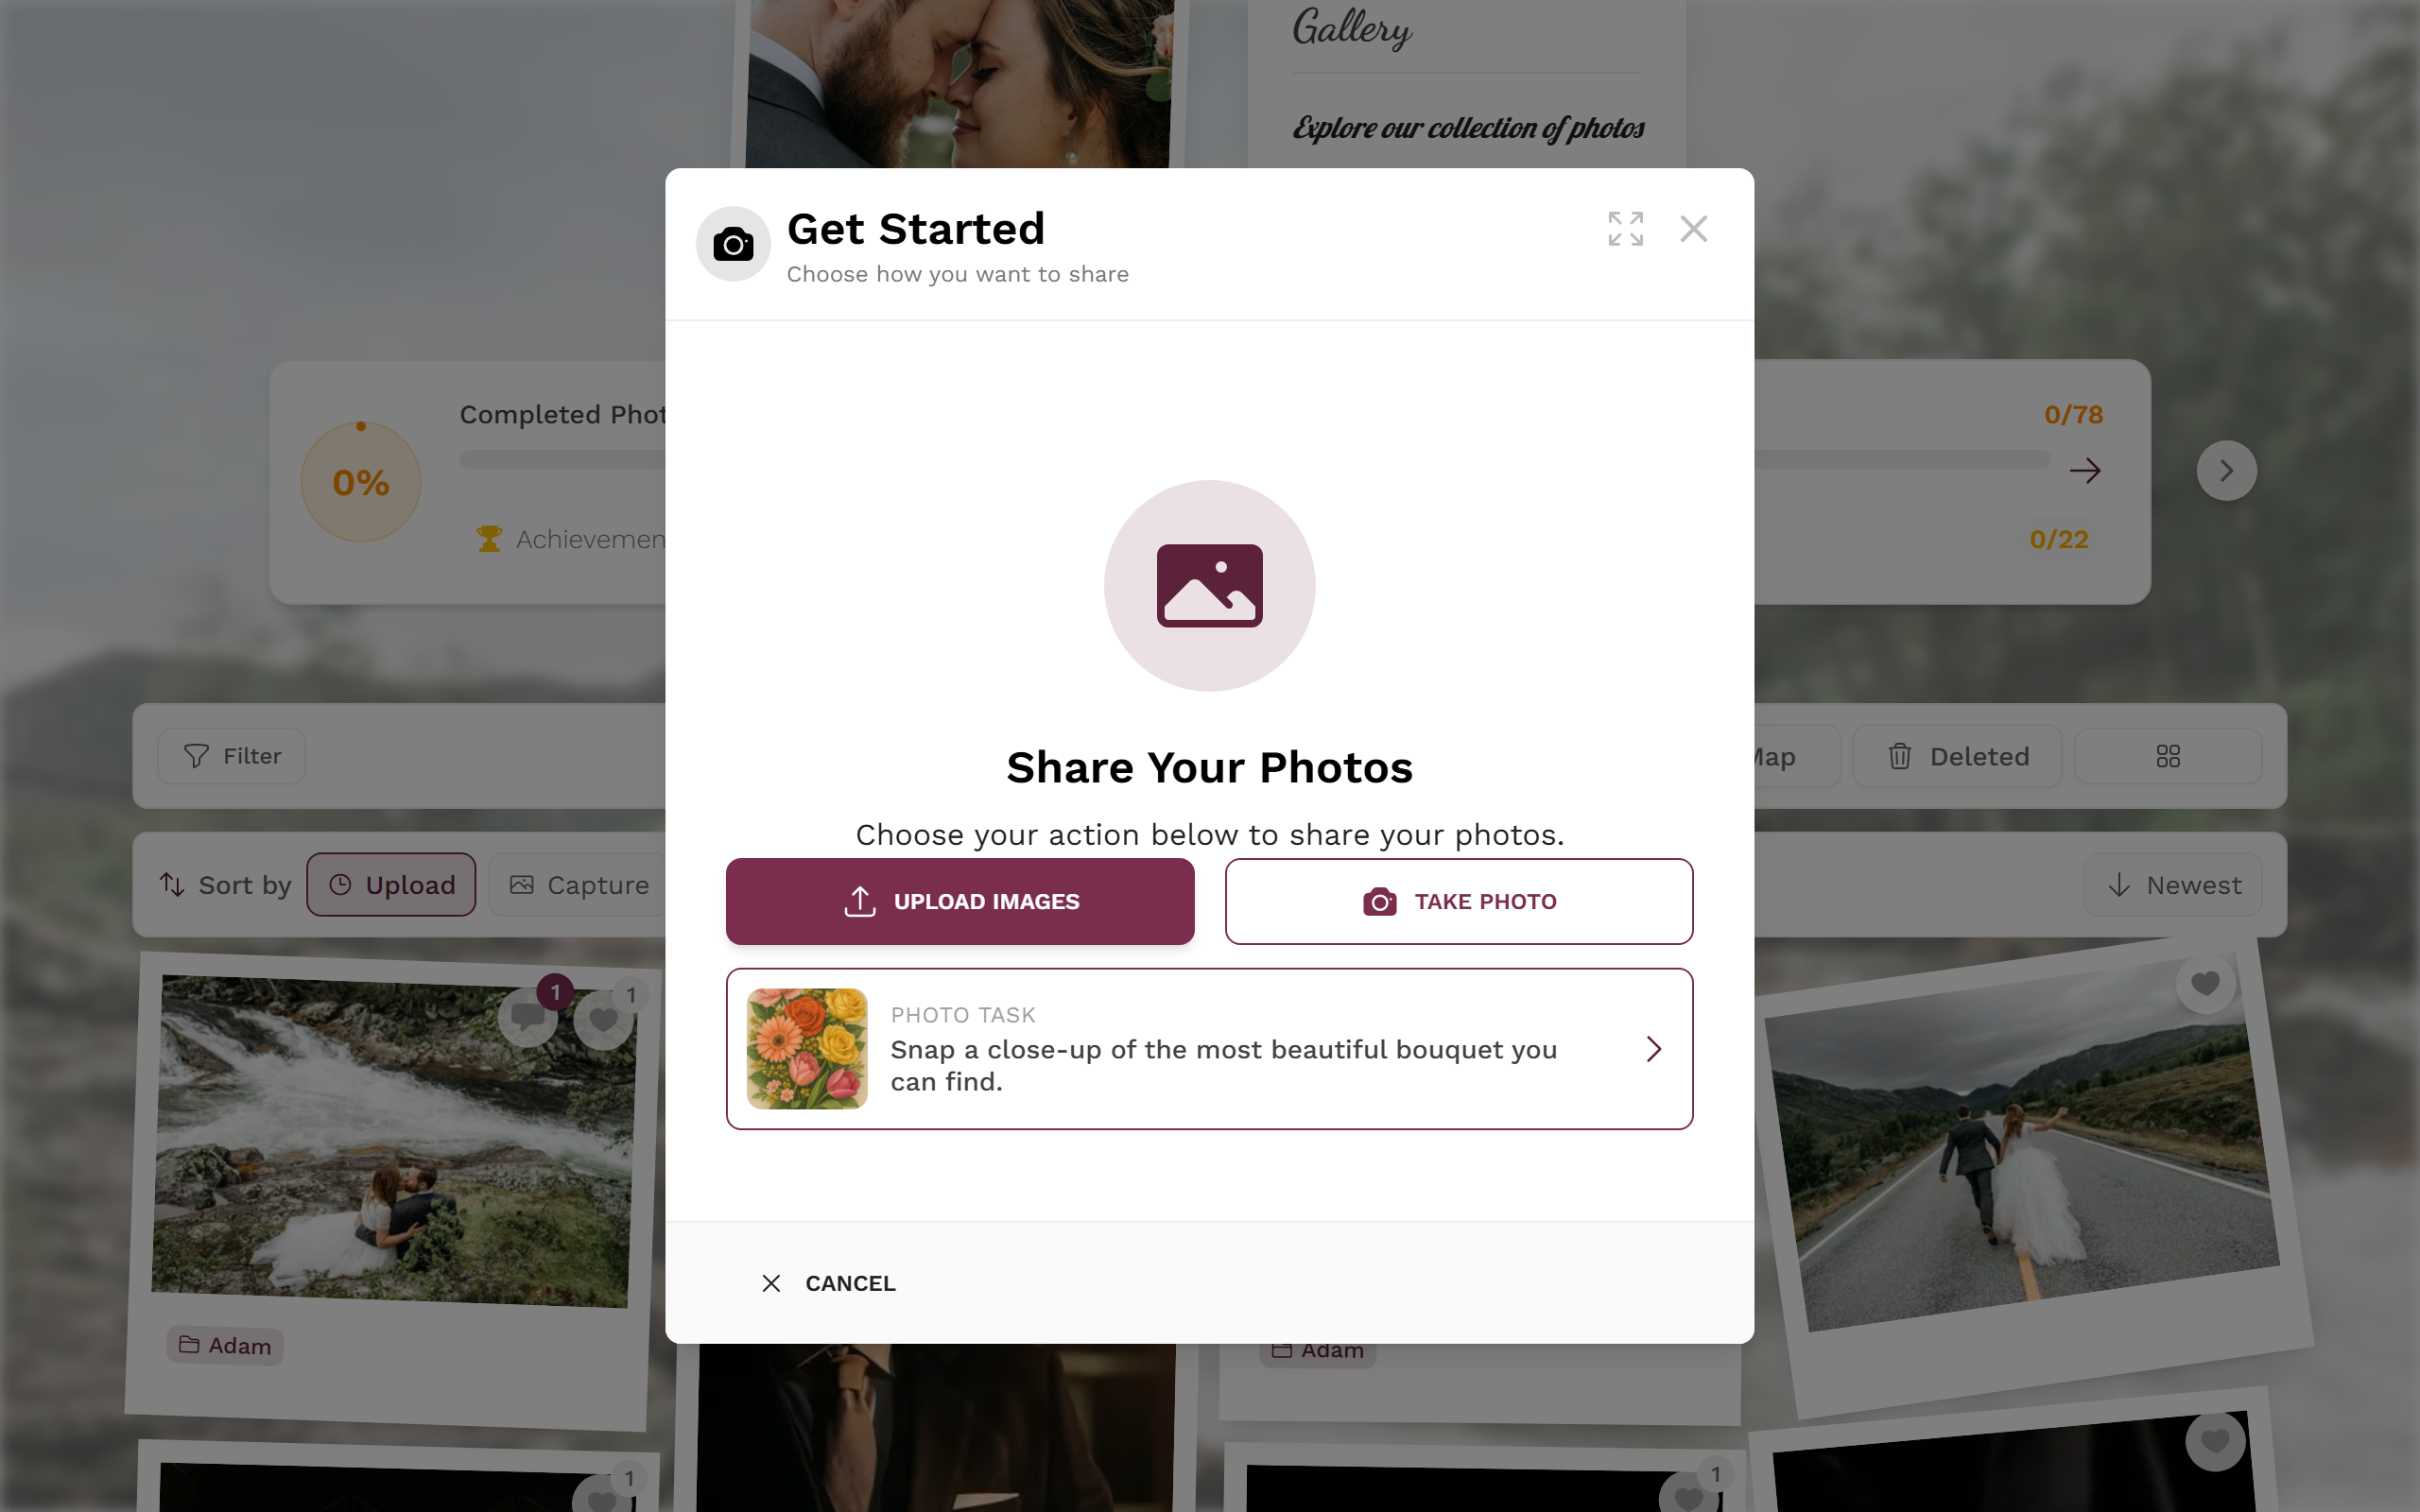
- Upload Images – opens your device’s file picker. You can select several photos or videos at once.
- Take Photo – opens the camera directly. Details under Take a photo directly.
- Photo task – if tasks exist, a task preview or the Solve a Photo Task button also appears. See Solve photo tasks.
Which files work? (formats & videos)
Section titled “Which files work? (formats & videos)”Images. PhotoGala accepts far more than just JPG and PNG. HEIC/HEIF (iPhone), WebP, AVIF, TIFF, BMP, SVG, animated GIF as well as many RAW formats (Canon CR2/CR3, Nikon NEF, Sony ARW, Adobe DNG and more) are supported too. Exotic, unlisted types are skipped during upload as “Unsupported types”.
Videos are a separate matter – they depend on the event:
Step 2 – Assign to a task (task path only)
Section titled “Step 2 – Assign to a task (task path only)”If you started from a photo task, the task selection comes next. It only appears when tasks are active – otherwise the dialog skips this step.
- Browse the task carousel with Previous task / Next task.
- Completed tasks carry a Solved chip; not-yet-unlocked ones show Locked Task.
- Under “Points:” you see how many points the task is worth.
- Some tasks add your photos to specific albums automatically. Then it reads “Your photos will be added to: …”.
- Upload Images and Take Photo are available here too.
More on task logic, points and unlocking under Solve photo tasks.
Step 3 – Review & sort your photos
Section titled “Step 3 – Review & sort your photos”Before the actual upload you land in the review view. This is your last chance to add, remove, caption and assign albums.
-
Look through the selection. At the top you see a large preview, below it a thumbnail strip with all selected files. Tap a thumbnail to view it large.
-
Add more photos. The + in the thumbnail strip reopens the file picker. On a computer you can also simply drag & drop files into the window.
-
Remove individual photos. A photo you don’t want after all can be removed from the selection here, before the upload.
-
Write a caption. Each photo has a “Caption for item #n” field. Optional, but nice for context.
-
Assign albums. Use Select Albums to choose which albums the photos go into. The chosen albums appear as chips under “Selected albums:”.
-
Start the upload. Tap Start Upload.
After the upload your photos appear in the gallery grid.
Step 4 – The upload runs
Section titled “Step 4 – The upload runs”Now the files transfer. You stay in full control:
- Progress. A bar shows “X of Y files done” plus an estimated time remaining.
- Pause / resume. Pause Upload stops briefly; Continue Uploading resumes.
- Cancel everything. Stop & Cancel All aborts the whole batch.
- Speed details. “More info” opens details; on a computer there is a slow-to-fast slider, on a phone it says “Mobile optimized”.
- Minimize & keep browsing. You can minimize the window (don’t close it!) and keep browsing the gallery. A small progress indicator stays visible while the upload continues.
When individual files don’t go through
Section titled “When individual files don’t go through”Some files get skipped rather than uploaded. The reason shows right on the file:
- Duplicate – this photo is already in your gallery. It gets skipped (toast “Duplicate Files Detected”). Selecting the same photo twice does not produce a second upload.
- Unsupported – the file type is not accepted.
- Videos disabled – the host does not allow videos.
- Task locked – the assigned task is locked. With Skip Task you upload without a task.
- Limit reached (photo, video, storage or participant limit) – only the host can fix this. Confirm with Understood.
Step 5 – After uploading
Section titled “Step 5 – After uploading”Finally a success screen shows what happened – e.g. “Upload Complete!”, “Partially completed” or “Files skipped”.
- For multiple files there is an Upload Summary listing successfully uploaded and skipped files (broken down by duplicates, disallowed videos, unsupported types …).
- Then you can choose View Gallery, Upload More or – in the task path – Solve Another Task.
- Red limit warnings with “Please contact the event organizer …” mean an event limit is reached. As a guest you can’t fix this yourself.
Limits & sizes
Section titled “Limits & sizes”- There is no fixed maximum file size in the front-end. Very large photos are passed through; on a phone the app briefly prepares large selections (see below).
- Event-wide limits are set by the plan/host: photo limit, video limit, storage limit, participant limit. When reached, further uploads are skipped and the success screen warns you. As a guest: contact the organizer. As a host: upgrade your plan (see Upgrade & pricing).
- Duplicates are detected by the file fingerprint (name, size, modified date) and skipped.
- Large batches are explicitly supported – the preview list is optimized for them.
More detail on limits: Upload limit and Upload a video.
Phone vs. computer & common pitfalls
Section titled “Phone vs. computer & common pitfalls”- Computer: fixed upload bar at the bottom, drag & drop into the window, visible speed slider.
- Phone: entry via the bottom navigation or buttons in the gallery; Take Photo uses the camera directly; the speed is “Mobile optimized”.
Roles: hosts & moderators
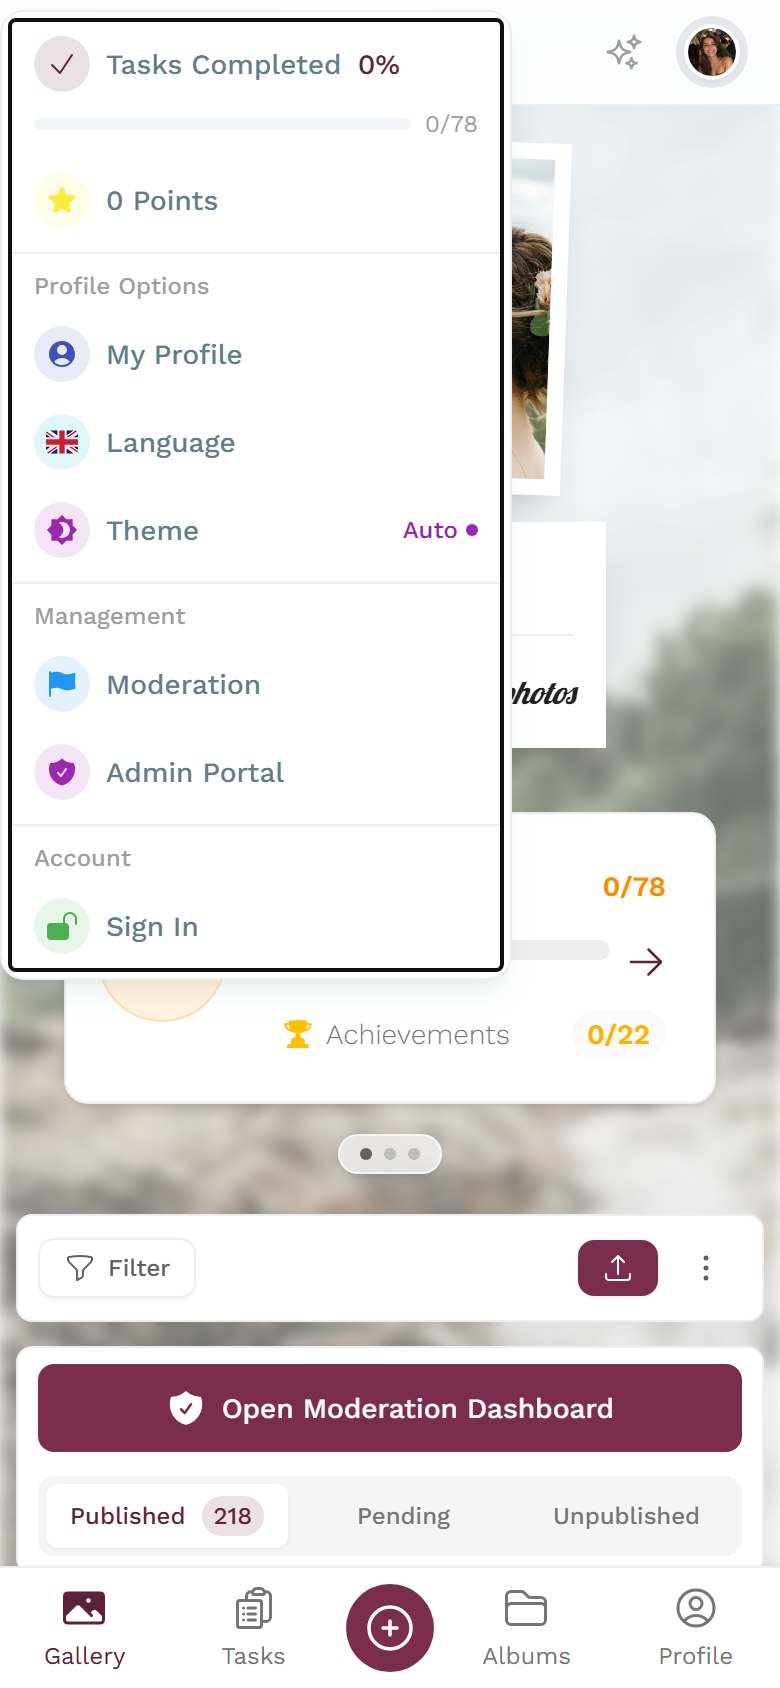
Section titled “Roles: hosts & moderators”As a guest the host settings only affect you indirectly (whether uploads/videos/tasks are allowed, which limits apply). If you are a host or moderator yourself, you reach the controls via the profile menu at the top right → Management (Moderation or Admin Portal).
Useful management pages:
- Enable features – allow videos, turn tasks on/off.
- Manage albums – create new albums (guests cannot).
- Moderation and Ban users – allow/block guest uploads, lift bans.