General settings
The General tab is the first content tab of your gallery settings – right behind the Overview the settings now open on – and the first thing you fill in as a host. Here you set the basics of your event: event type, event date, languages, gallery title, gallery description and your custom event URL (slug). The title and description are exactly what guests see first when they open the gallery, so it is worth a moment of your time.
At the very end of the tab sits the danger zone: the archive download and the permanent deletion of the gallery. Both used to live under “Privacy & Moderation” and belong here now – with the event’s own data, next to its name and date.
How to reach this area
Section titled “How to reach this area”-
Open the admin area of your event. You get there from the profile menu in the top right (Manage → Admin portal) or via the gear / manage icon.
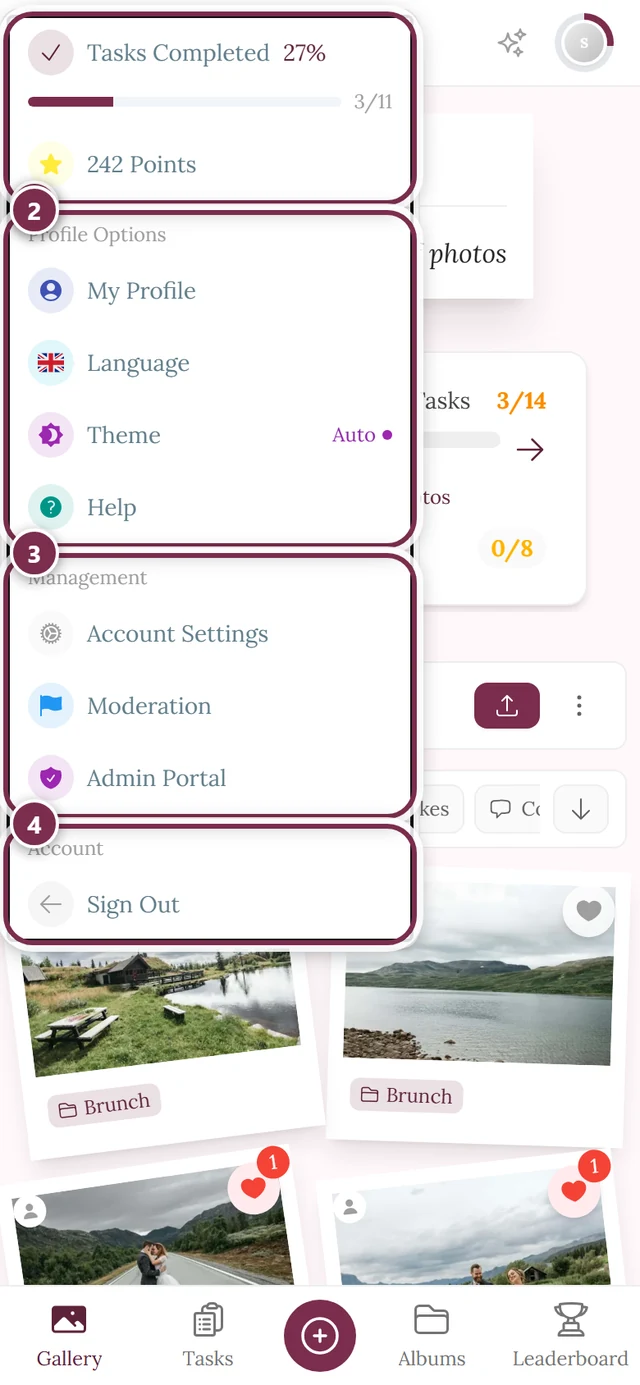
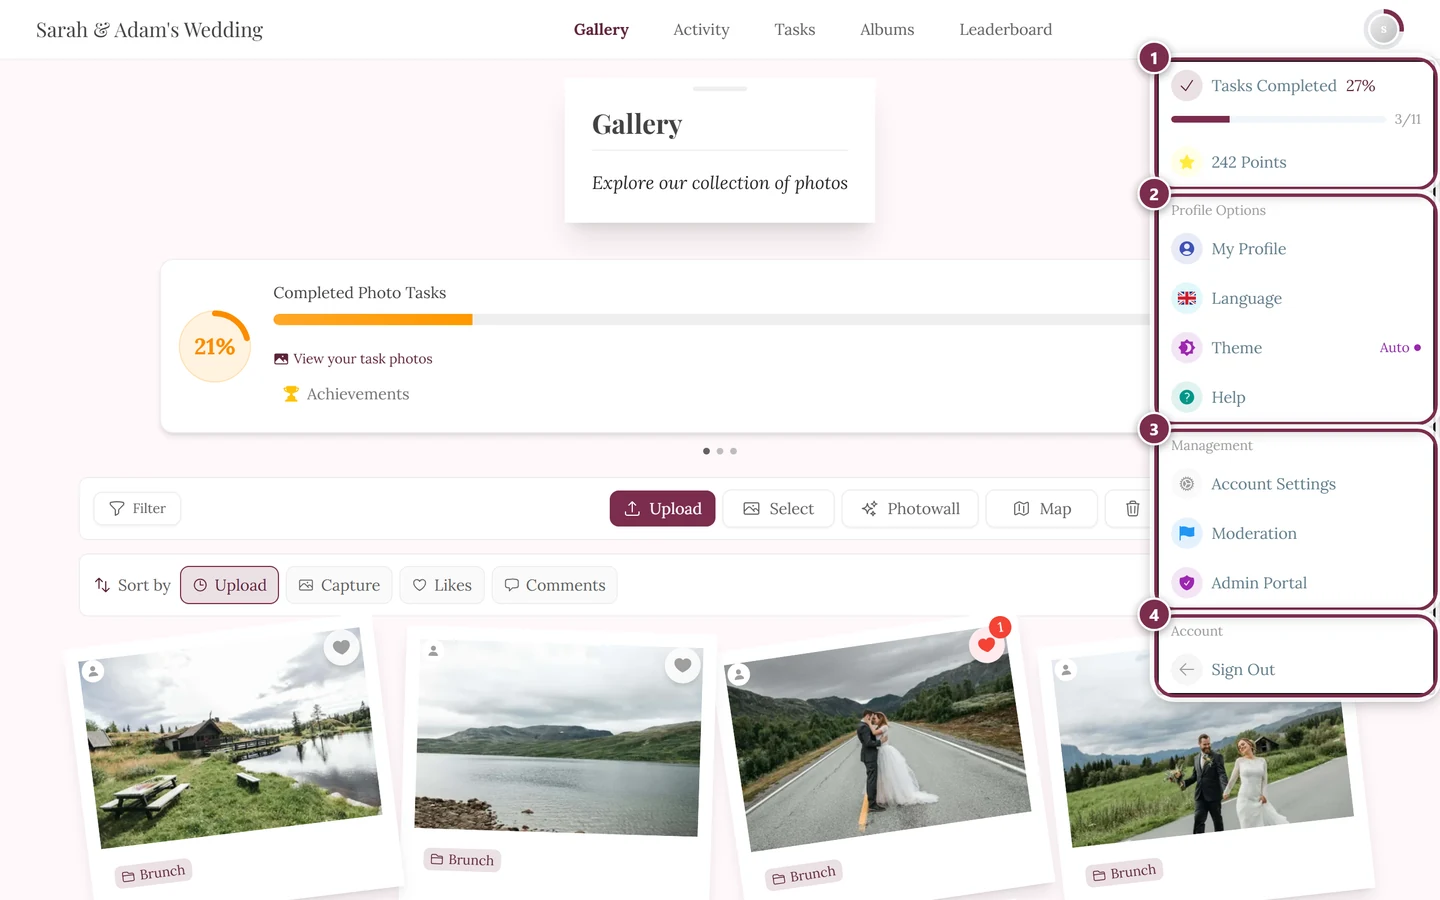
Reach the admin area from the profile menu in the top right. ① your points and solved tasks, ② Profile options with My Profile, Language, Theme and Help, ③ Management with Account Settings, Moderation and Admin Portal – this section is missing until you hold a role for it, ④ Account with Sign out. -
In the left sidebar, under the Event group, choose Settings. Above the tabs you will see the heading Gallery settings.
-
You land on the Overview tab first – a grid of cards describing every area in one sentence. Click the General card (or General in the tab bar).
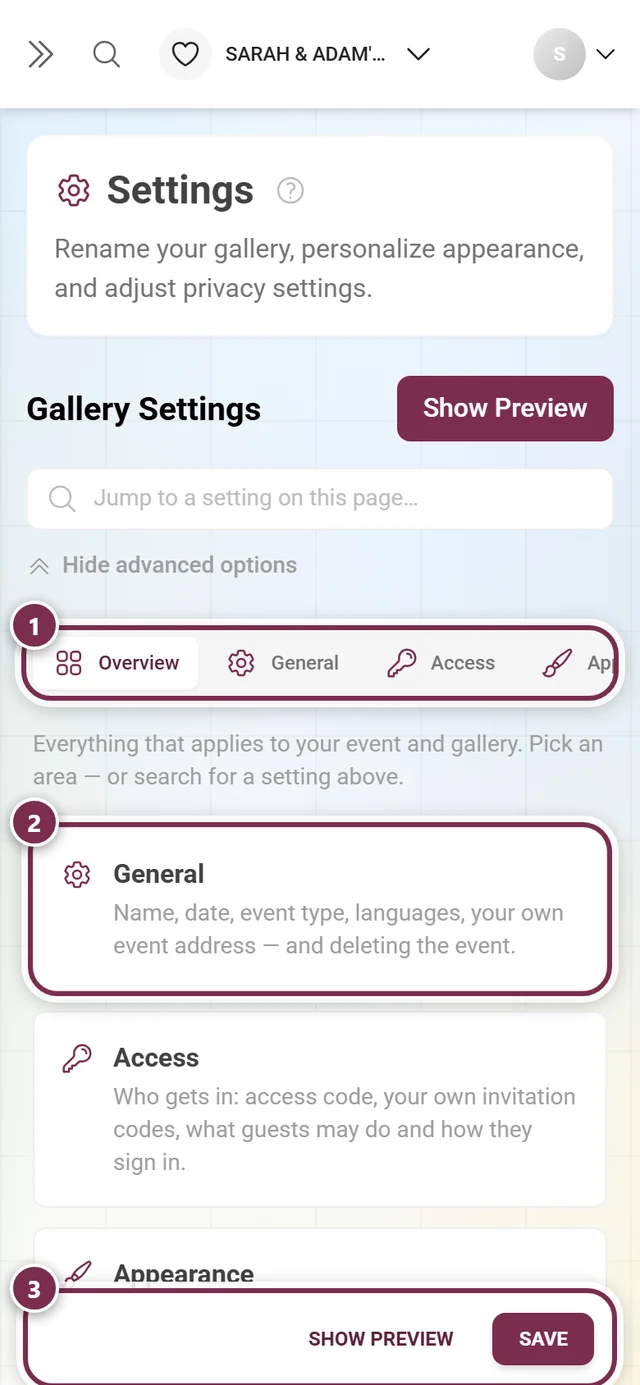
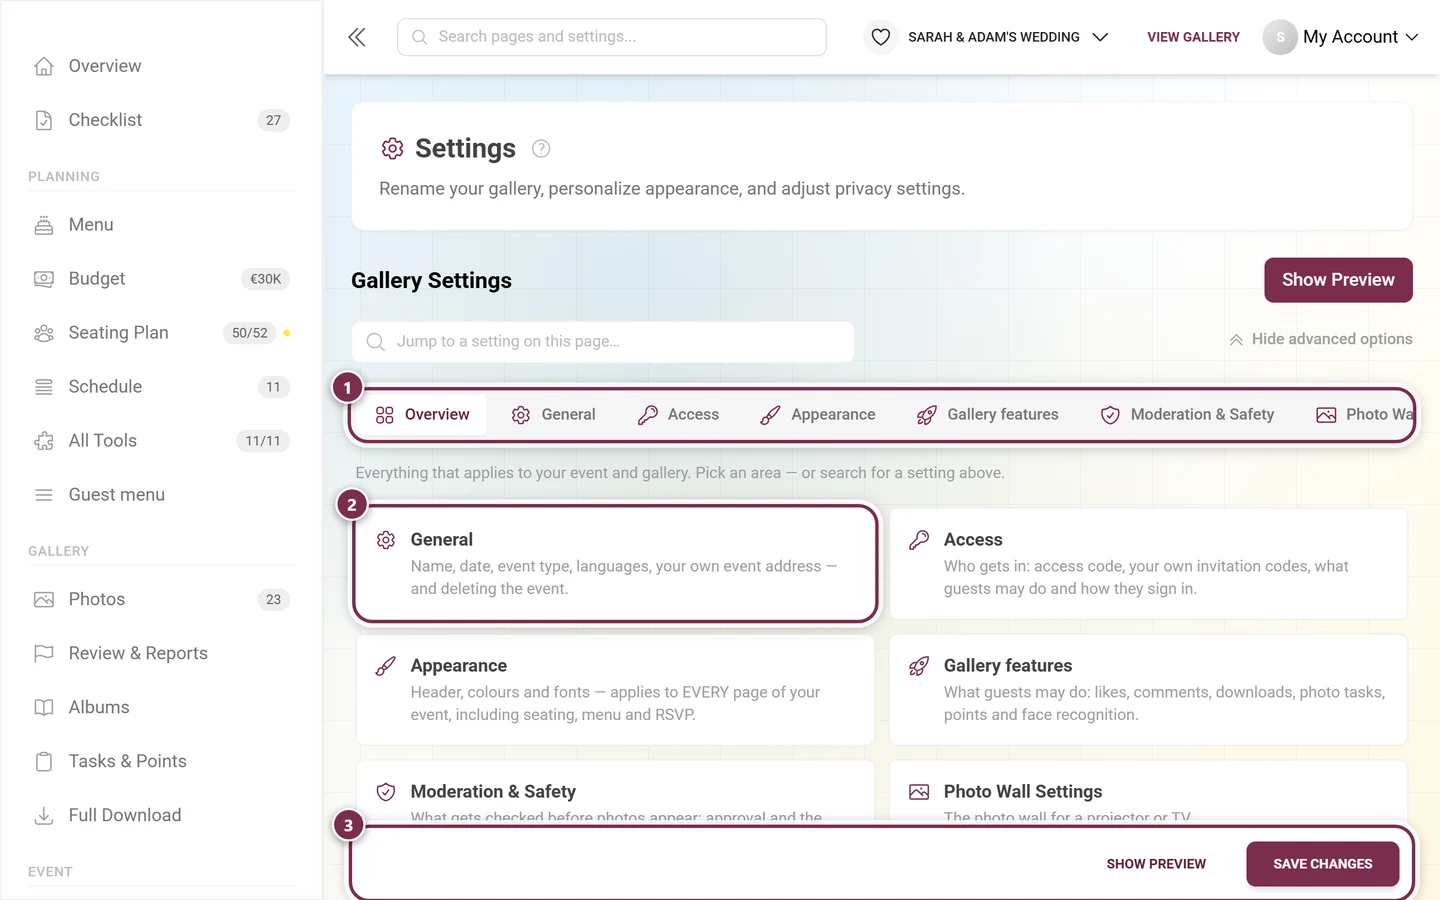
Settings open on the Overview: one card per area, each with a line about what it holds. ① the tab row with every area – it is wider than the window and scrolls sideways; on a phone only three tabs fit at once, ② one card per area, each with a line about what it holds, ③ the bar that stays at the bottom: Show Preview opens the gallery with your changes, Save Changes (just Save on a phone) commits them. -
Now the General tab is in front of you.
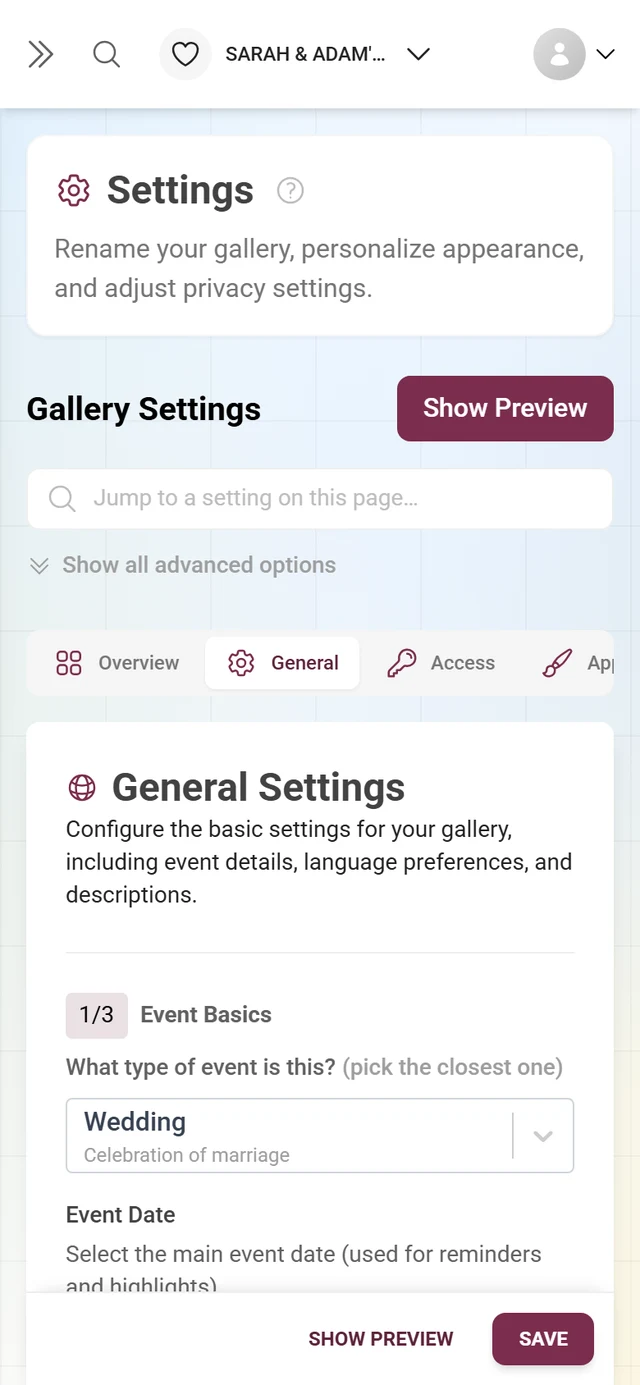
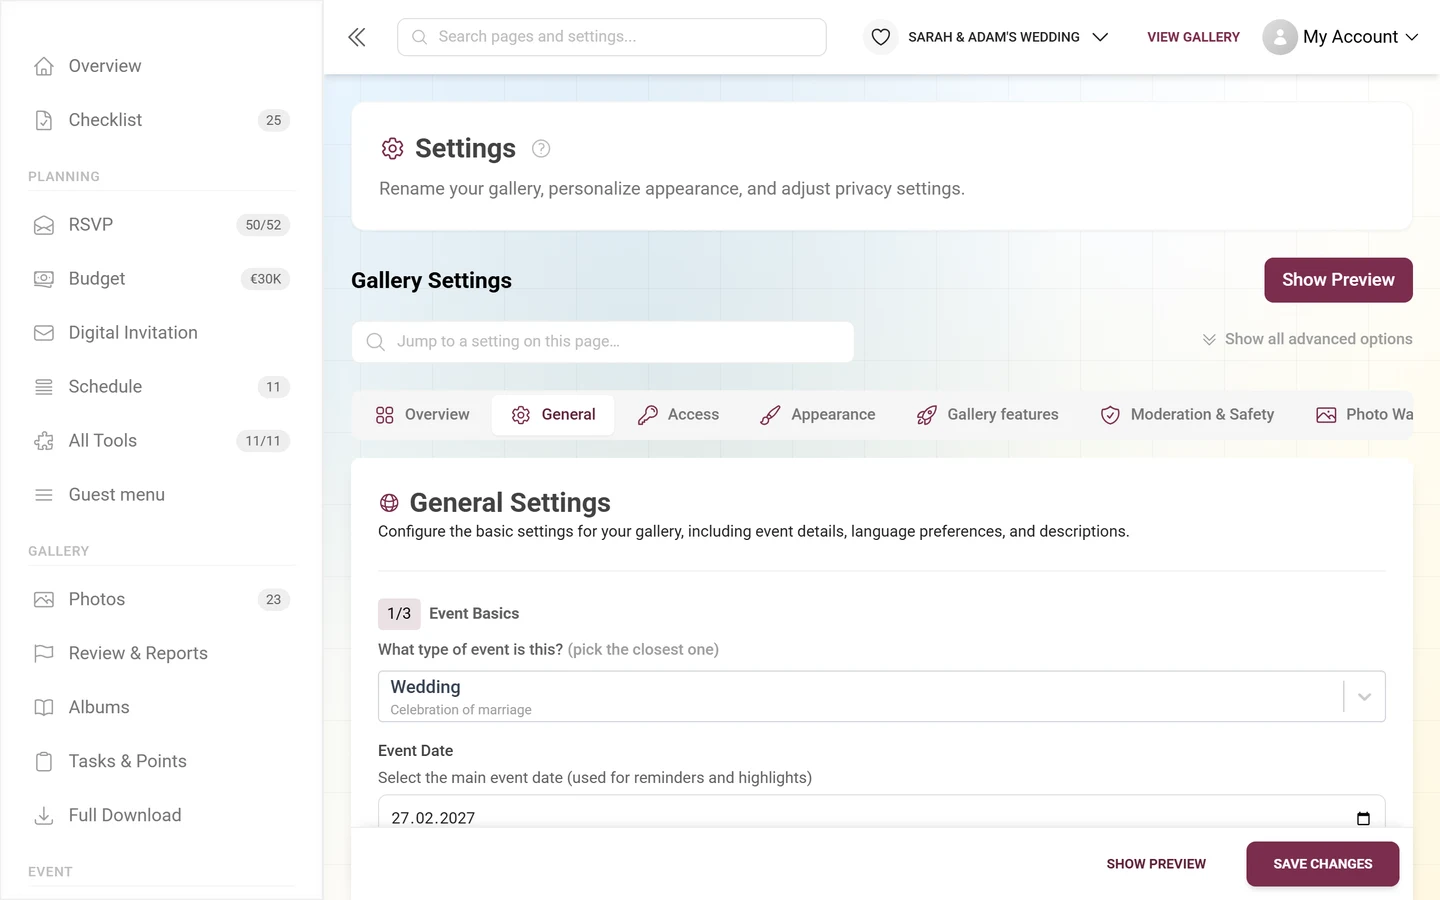
Settings → General: this is where you maintain the basics of your event.
Above the tabs on the right you also find a Preview button, below it the Jump to a setting on this page… field that spans all tabs, and a Show all advanced options toggle. The General tab has exactly one fold-away section that toggle opens: the Dangerous Actions at the very bottom.
The settings tabs at a glance
Section titled “The settings tabs at a glance”Since the August 2026 rework there are eight areas, and they open on the Overview instead of “General”. A red dot on a tab label means that tab has unsaved changes (tooltip “Unsaved changes”). In order:
- Overview – the card grid the settings open on
- General – this page
- Access – access code, your own invitation codes, what guests may do; see Inviting guests
- Appearance – formerly “Style”; see Style & design
- Gallery features – with the sub-entry Joining in & points; see Features
- Moderation & Safety – formerly “Privacy & Moderation”; see Moderation & safety
- Photo Wall Settings – see Set up the photo wall
- White-Label – only with the matching plan, see Custom domain
Section 1/3 – Event Basics
Section titled “Section 1/3 – Event Basics”The General tab is one long scrolling page with three numbered sections (1/3, 2/3, 3/3) plus a closing block for the custom URL. The first section is Event Basics.
-
Choose the event type. Under “What type of event is this? (select closest match)” open the dropdown and pick the best match. Each option has a subtitle:
- Wedding – Celebration of marriage
- Birthday – Personal anniversary celebration
- Conference – Professional gathering
- Party – Social celebration
- Festival – Cultural or community event
- Workshop – Educational session
- General – Other type of event (default)
-
Set the event date. Under Event Date open the date picker and choose the main event date (“used for reminders and highlights”). It is displayed as YYYY-MM-DD.
The event date is a single field
Section titled “The event date is a single field”There is deliberately exactly one event date – no second field, no list of multiple dates. That date is the anchor everything else refers to.
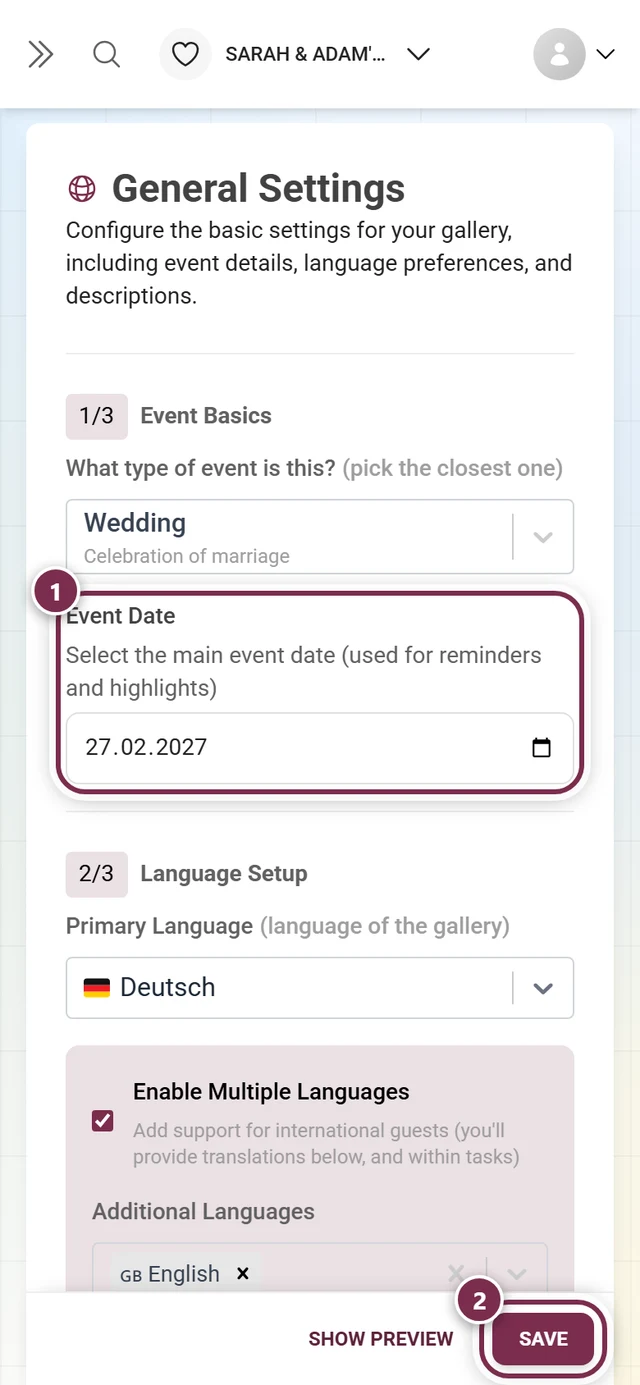
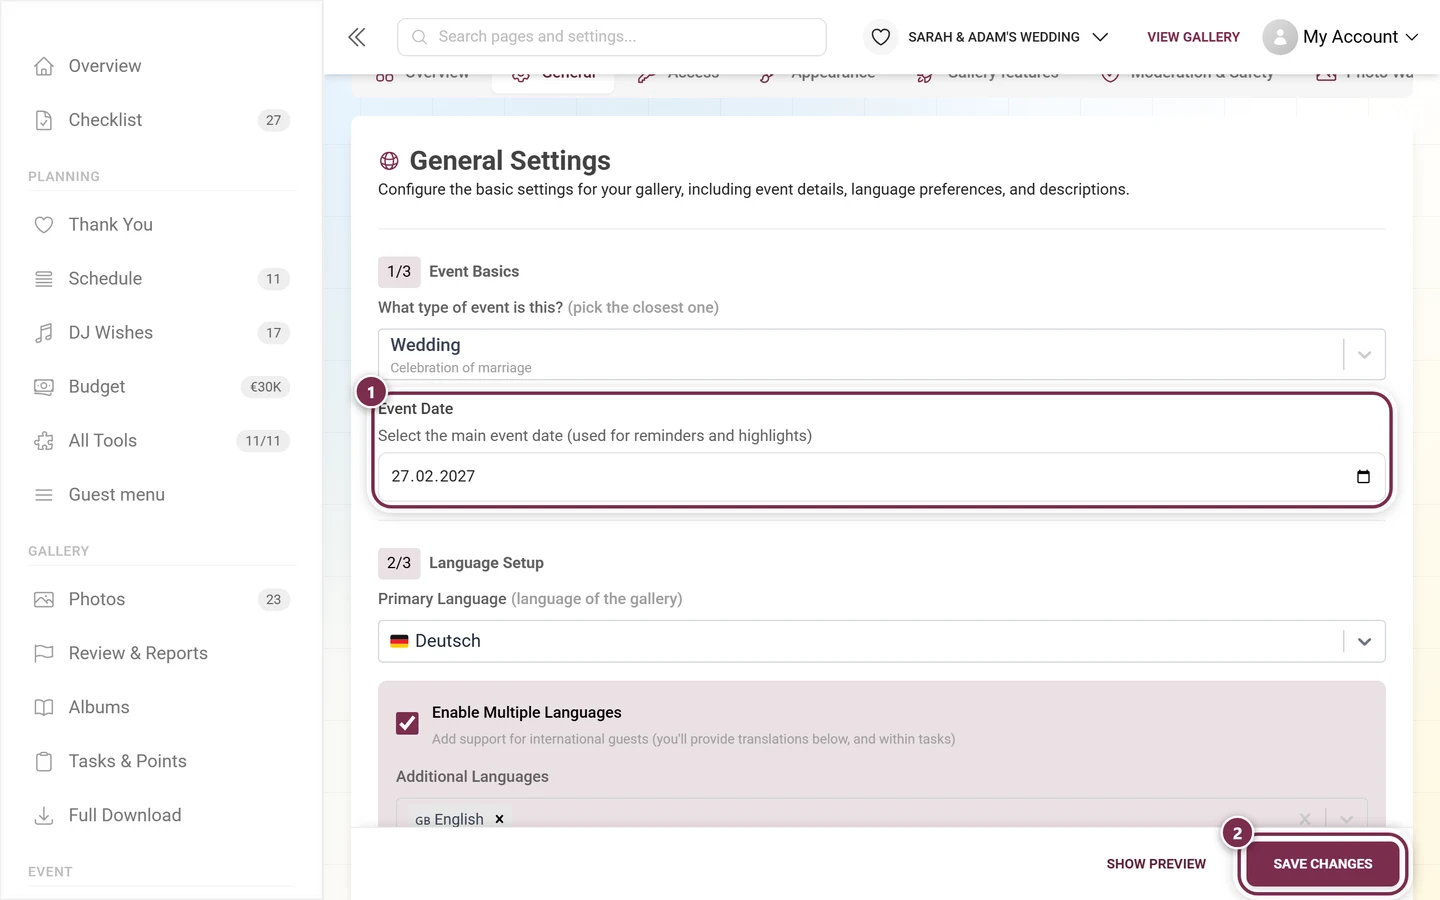
- Model several moments with the schedule tool. Ceremony, reception, dinner, party or a second day belong there – you can add as many programme items, and even several schedules, as you like. See Schedule tool.
- Many tool editors show this date. In the invitation, menu, RSVP and timeline editors as well as the seating export and the Design Studio, a small line with a calendar icon reads Event date:
<your date>followed by the link Change. That link jumps straight into this tab and highlights the date field for you – no hunting required. - If no date is set yet, the line reads “No event date set yet.” with the link Set now.
Section 2/3 – Language Setup
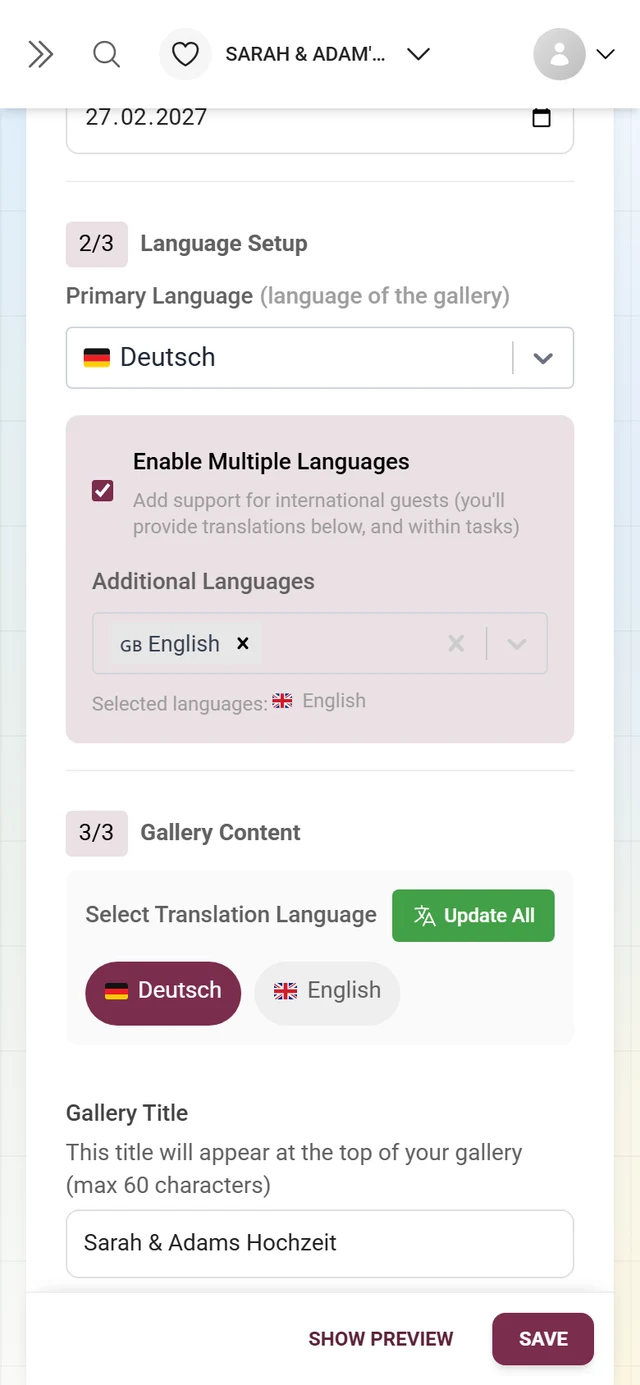
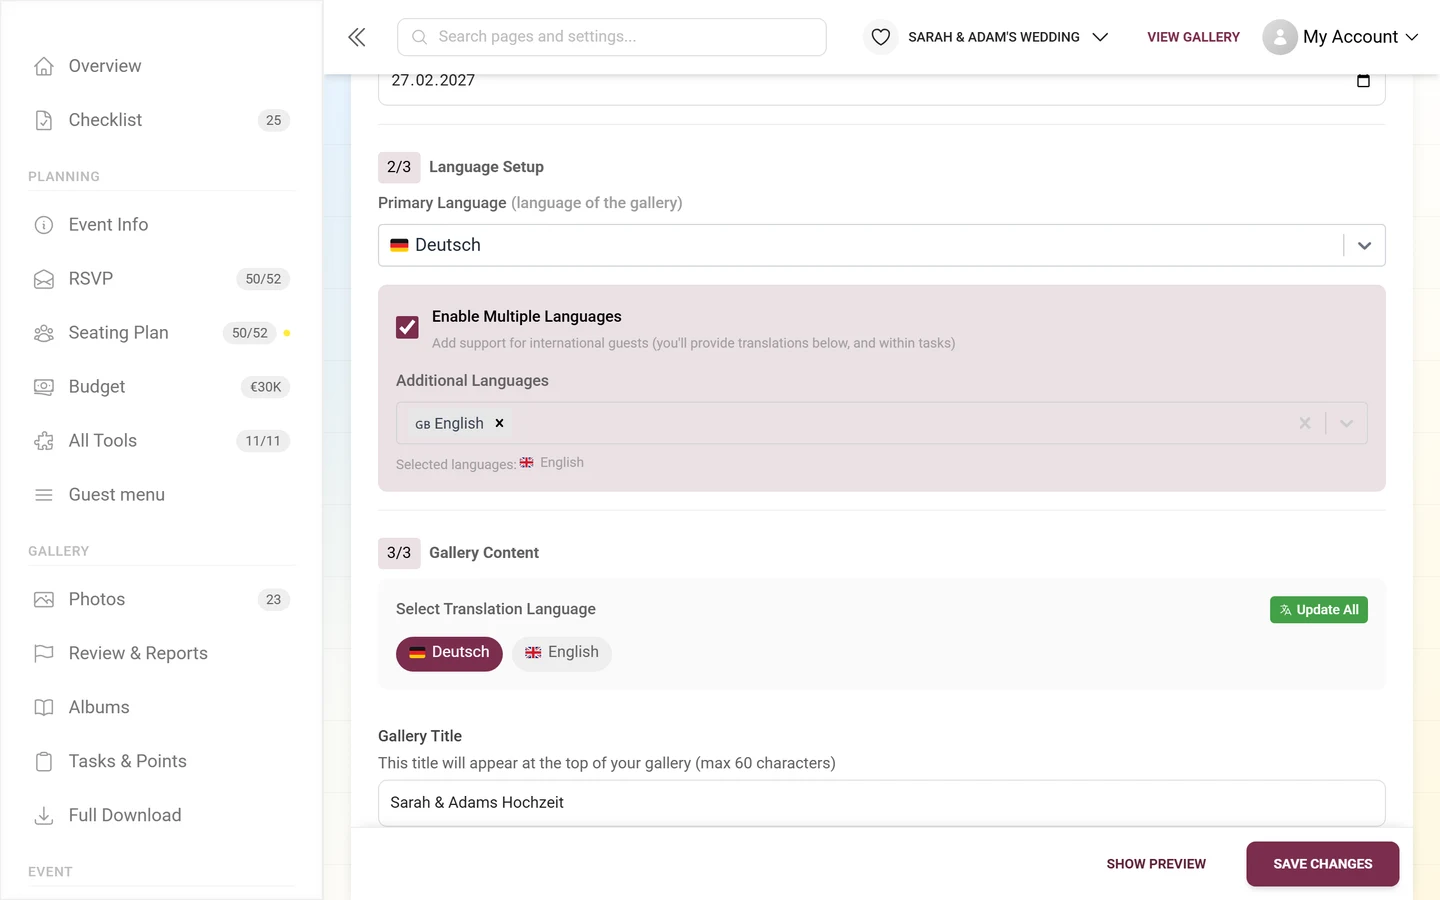
Section titled “Section 2/3 – Language Setup”Here you decide which languages your gallery appears in.
-
Choose the primary language. Under “Primary Language (main interface language)” pick the default language of your gallery from the dropdown with country flags. This is the language guests see when their browser language does not match.
-
Enable multiple languages (optional). Tick Enable Multiple Languages to support international guests. You then provide translations further down (and within tasks).
-
Select additional languages. After enabling, the multi-select field Additional Languages appears with the hint “Select languages to add…”. Below it the line Selected languages: lists your choice with flags.
Section 3/3 – Gallery Content
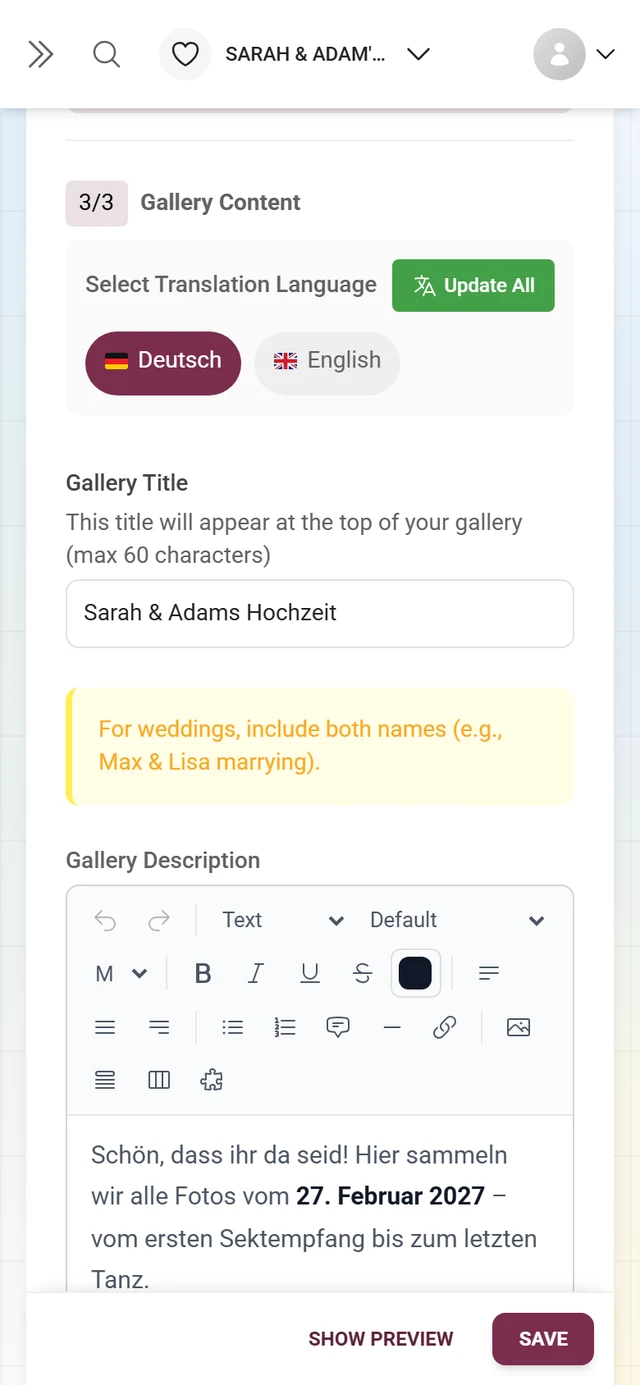
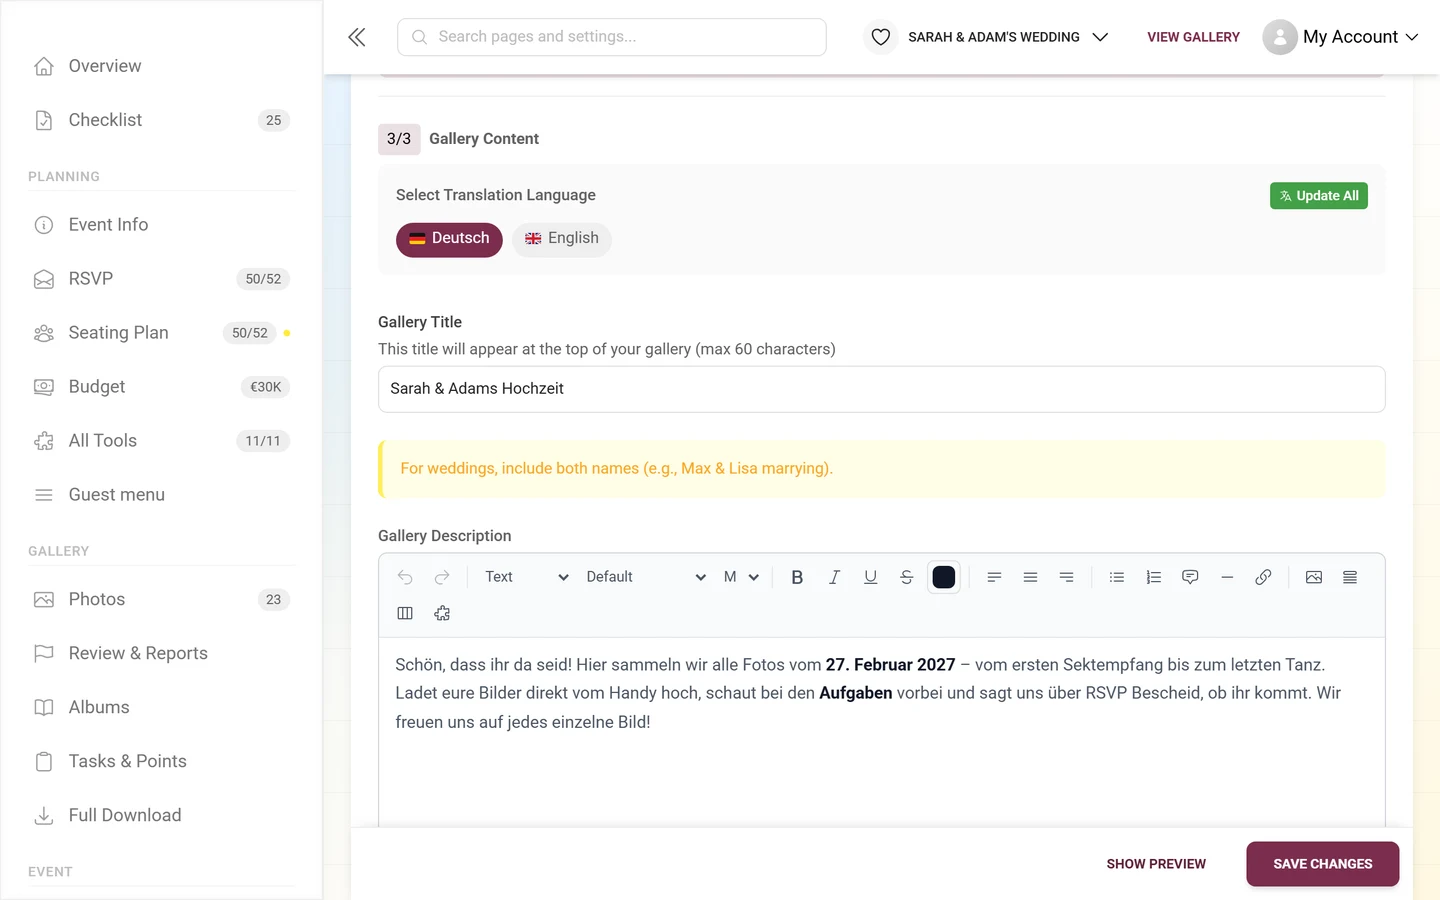
Section titled “Section 3/3 – Gallery Content”This section holds your gallery title and description – and, with multiple languages, the translation tools.
Select Translation Language
Section titled “Select Translation Language”The Select Translation Language block sits above the title and description:
- Language pills show your languages color-coded: red = a required translation is missing, yellow = an optional translation is missing, brand color = complete. Click a pill to enter the title and description for that language.
- Update All button – auto-translates all languages from the text of the currently selected language (overwrites existing translations).
- Fill Missing button – auto-fills only the still-empty fields (appears only when something is missing).
How it works: the title and description are entered per language. Pick the language above, type the text – or let it translate automatically. Auto-translating the description works segment by segment and keeps formatting, photos and embedded tools intact.
Gallery title
Section titled “Gallery title”The Gallery Title field holds up to 60 characters. The placeholder depends on the event type (e.g. wedding: “E.g.: Anna & Mark’s Wedding”, birthday: “E.g.: Sarah’s 30th Birthday Bash”, otherwise “E.g.: Tech Summit 2024 Gallery”). This title appears at the top of your gallery. A small status icon before the label shows whether all translations are present. Directly below it, for every event type except “General”, the yellow tip box shows a concrete example.
Gallery description – a full editor
Section titled “Gallery description – a full editor”The Gallery Description is no longer a plain text field and has no character limit. It is the same rich-text editor as in the tool editors: a welcome page that sits at the top of your gallery. The caption under the editor puts it this way: “This welcome message appears at the top of your gallery — with formatting, photos, accordions and embedded tools.”
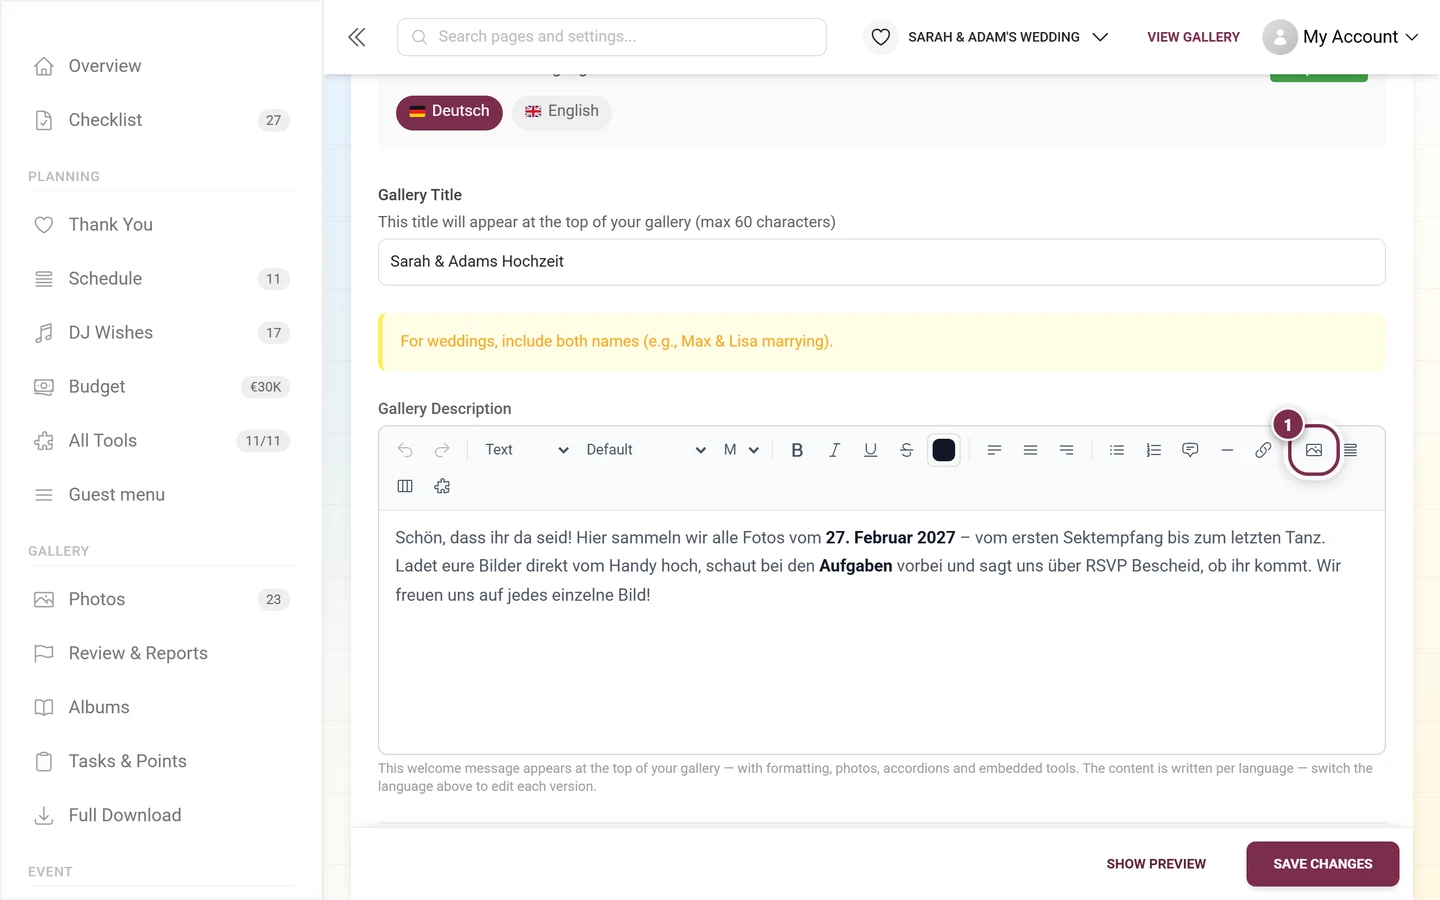
What you can build with it:
- Formatted text – bold, italic, underline, strikethrough, headings via Paragraph style, bullet and numbered lists, blockquotes, horizontal rules, alignment, plus Font, Font size and Text color.
- Links via the Link button.
- Images via Insert image – the file is uploaded right away and can be resized inside the text.
- Collapsible sections (Insert collapsible section) and tabs (Insert tabs) – ideal for long details like directions, dress code or FAQs without cluttering the page.
- QR codes via Insert QR code.
- Embedded tools via Embed tool: Schedule, Menu, Seating Plan and DJ Wishes then appear right inside the description. Under Custom pages you can additionally pick any of your published custom pages – see Custom pages.
- Undo / redo for every step.
Custom event URL (slug)
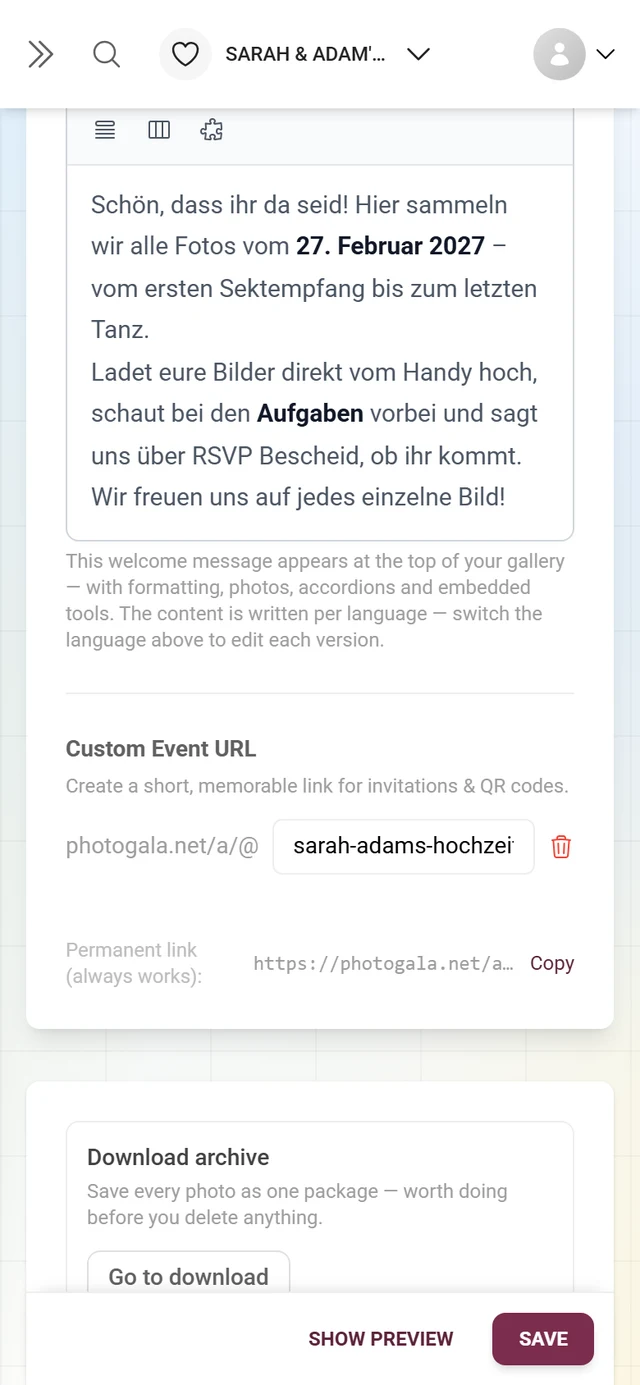
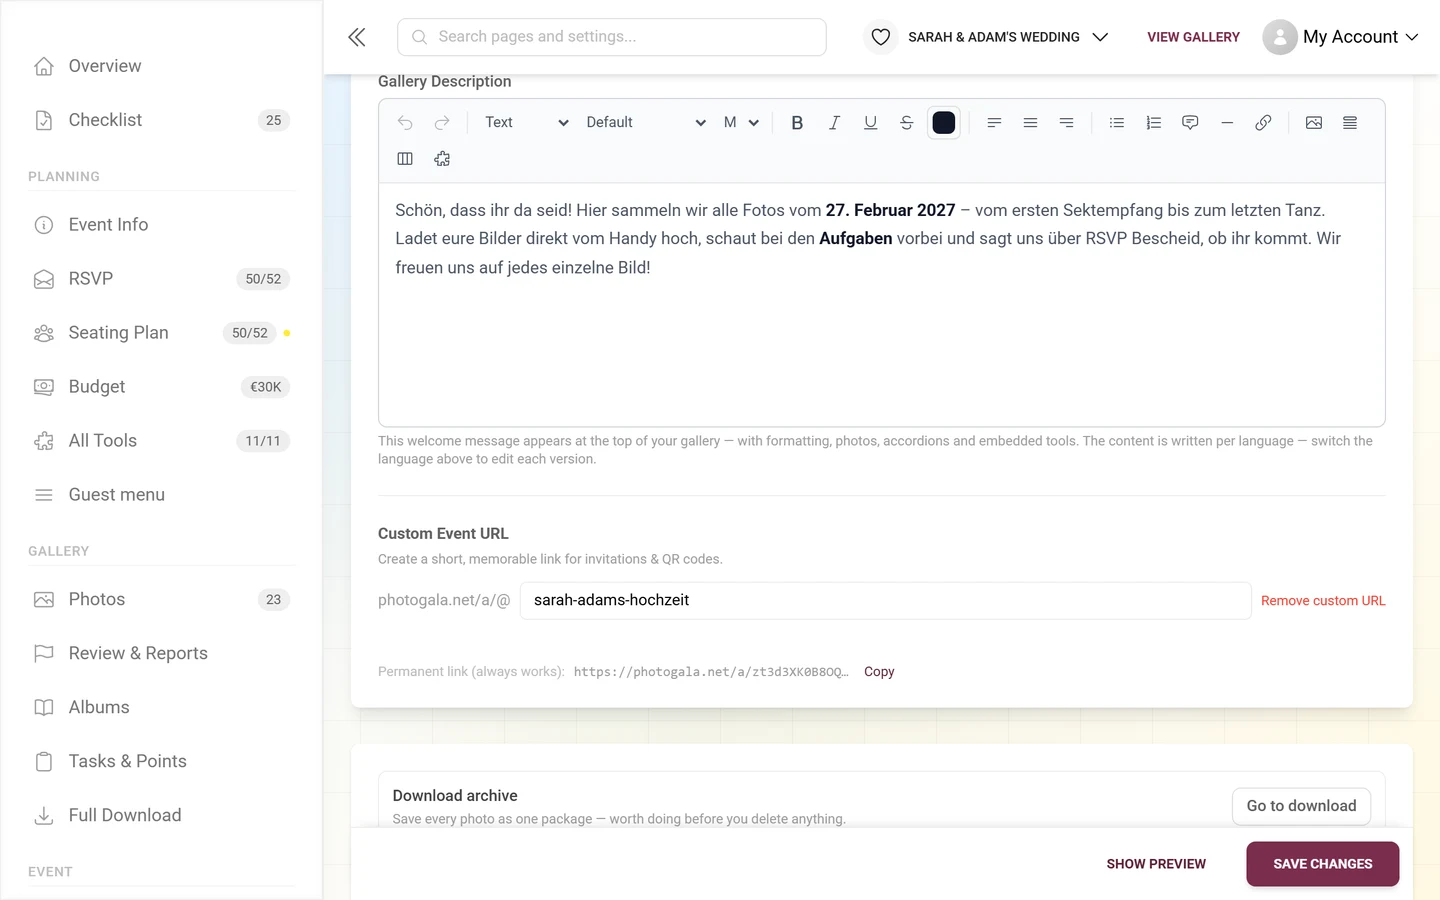
Section titled “Custom event URL (slug)”At the very bottom, under Custom Event URL, you set a short, memorable link for invitations and QR codes.
-
Enter your desired address. The field is prefixed with the fixed
photogala.net/a/@. Type your desired name after it (placeholder “my-event-name”). Input is cleaned live: only lowercase letters, numbers and hyphens are allowed. -
Mind the rules. The slug must be 3 to 42 characters long and start and end with a letter or a number.
-
Check the live status. A message appears under the field immediately:
- Checking… while availability is being verified
- green Available when free
- red This URL is already taken when in use
- red on format errors: “Must be at least 3 characters”, “Must be 42 characters or fewer” or “Only lowercase letters, numbers, and hyphens allowed”
-
Copy the permanent link. Below you find “Permanent link (always works):” with the address
photogala.net/a/YOUR-EVENT-IDand a Copy button (briefly turning to Copied!). This link always works – even if you change the slug.
Partner and brand blocks at the end of the page
Section titled “Partner and brand blocks at the end of the page”Two extra blocks can appear at the very bottom. They only show up when they actually apply to your event – on a normal event you see nothing there.
- Support access – appears on events looked after by a brand (reseller / white-label) as soon as your event provider has requested or been granted access. You see which areas are granted (e.g. Full access (admin)) and can remove everything instantly with Revoke access. The checkbox Don’t send me access requests for this event stops future requests. When nobody currently has access, the block reads “No support provider currently has access to this event.”
- Brand link – appears when your event is linked to a brand: Managed by
<brand>. That brand’s branding and its privacy and support details then apply to your gallery. Leave this brand unlinks it; your event returns to standard branding and the brand cannot re-add it without asking you again.
Save the archive & delete the gallery (danger zone)
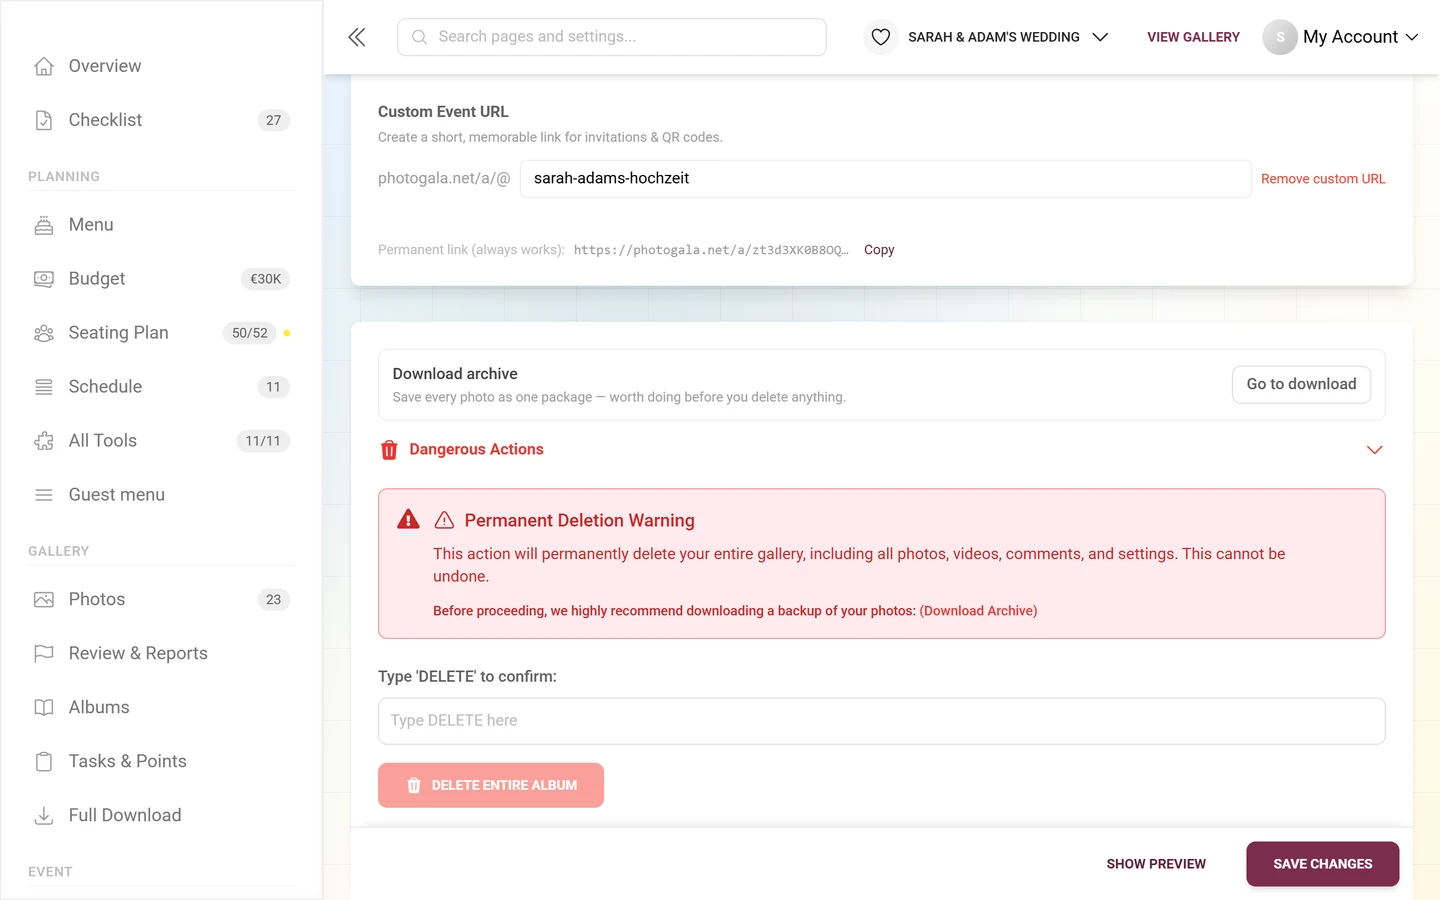
Section titled “Save the archive & delete the gallery (danger zone)”At the very bottom of the tab – after every other block – sits the danger zone. It has only lived here since the August 2026 rework; before that it was on the “Privacy & Moderation” tab. Only the owner sees it.
First: download the archive
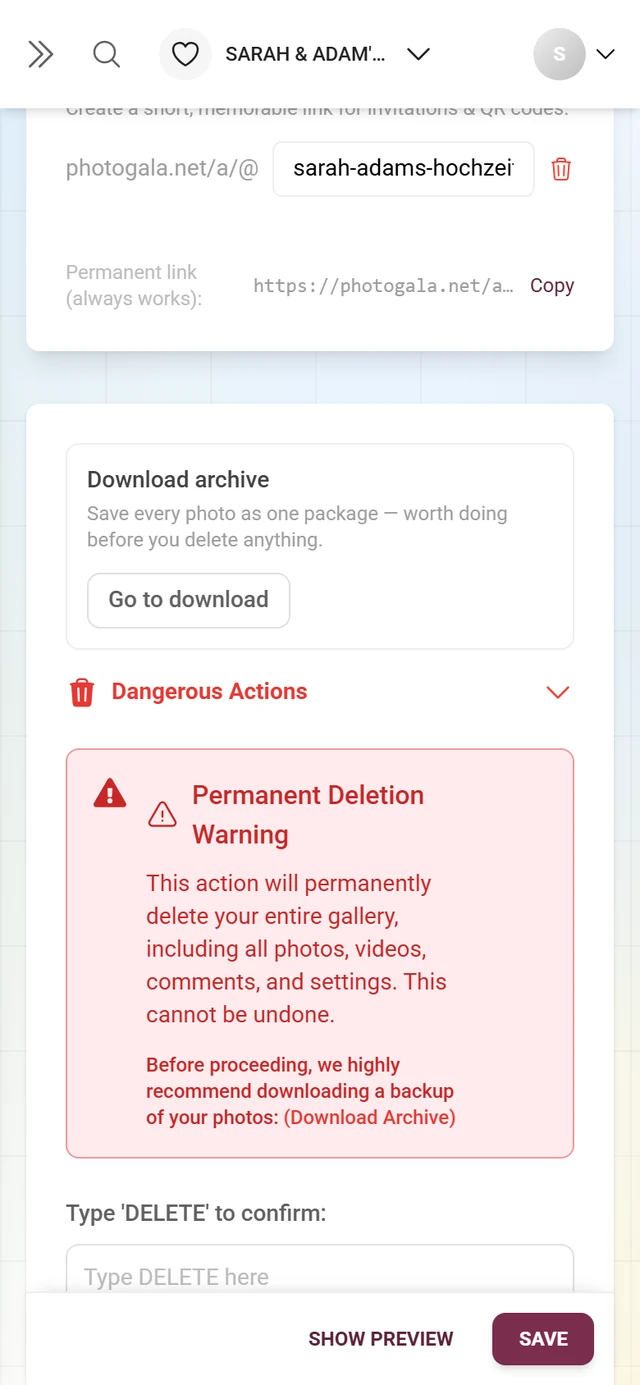
Section titled “First: download the archive”Above the danger zone sits a separate box Download archive with the line “Save every photo as one package — worth doing before you delete anything.” and the button Go to download, which leads to the download area. This box is deliberately out in the open rather than buried in the warning: anyone who just wants to save their photos should not have to unfold the deletion feature first.
Then: Dangerous Actions
Section titled “Then: Dangerous Actions”-
Unfold it. The red row Dangerous Actions (trash icon) is a fold-away section. One click opens it – or use Show all advanced options at the top.
-
Read the warning. The red box Permanent Deletion Warning explains: “This action will permanently delete your entire gallery, including all photos, videos, comments, and settings. This cannot be undone.” Below it, the (Download Archive) link once more.
-
Type the confirmation word. Under “Type ‘DELETE’ to confirm:” type DELETE into the field. If it does not match, a red “Please type ‘DELETE’ exactly as shown…” appears and the button stays locked. If it matches, a green Ready to delete shows up.
-
Delete and confirm in the dialog. The red button opens the Final Confirmation dialog (“This action cannot be undone”). It names the gallery and lists what disappears: all photos and videos, all comments and reactions, all gallery settings, all invitation codes. Yes, Delete Forever does it; Cancel backs out.
Saving & applying changes
Section titled “Saving & applying changes”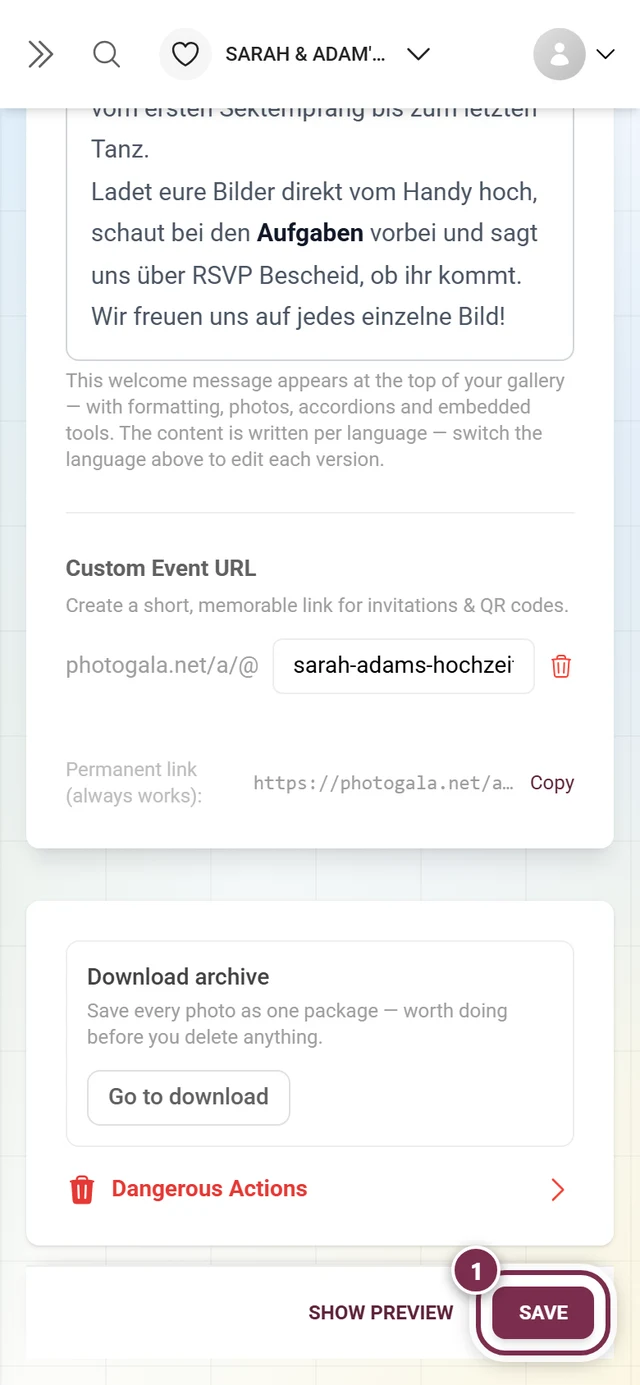
-
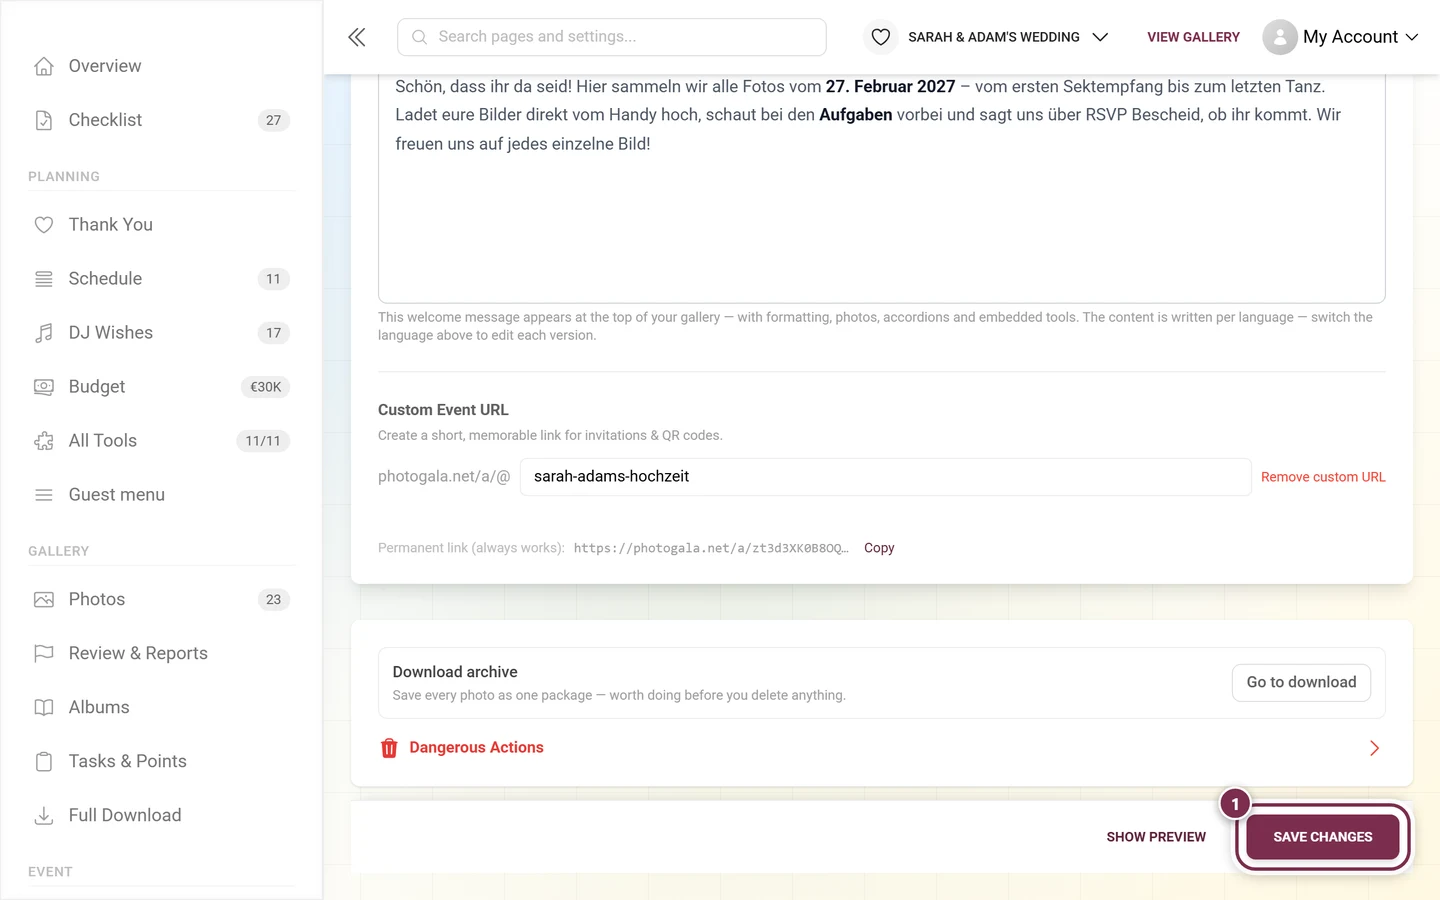
Save changes. At the very bottom sits a shared Save changes button. It saves every tab with unsaved changes at once (not just the General tab). While saving it shows “Uploading…”.
-
Confirm success. On success you see “Event settings saved successfully!”. On error the message offers to try again.
-
Use the preview. The Preview button in the top right shows live how the title, description and language look in the real gallery.
Troubleshooting
Section titled “Troubleshooting”- The multi-language checkbox cannot be enabled. Your plan does not include multi-language support. An upgrade unlocks it – see Plan & term.
- The slug shows “already taken”. Choose a different name. The check runs server-side with a short delay.
- An old QR code or link stops working after changing the slug. That is intentional. As a fallback use the permanent link
photogala.net/a/YOUR-EVENT-ID, which always works. - Translations are missing. Colored pills and warning icons in the translation block show it. Use Fill Missing or enter the text manually.
- The title gets cut off. The title is capped at 60 characters – shorten it and move the details into the description. The description itself has no character limit.
- My description looks empty in another language. The editor only ever shows the version of the selected translation language. Switch the language above and write (or translate) it there.
- I need two event dates. There is only one event date. Model the run of the day with the Schedule tool.
- I cannot find the danger zone. It is at the very bottom of this tab and shown to the owner only. As an admin or moderator you do not see it. It used to be under “Privacy & Moderation” – it is no longer there.
- I am looking for image quality. It is not a tab any more: Gallery features, fold Media & Upload.
Related topics
Section titled “Related topics”- Change language (guest view)
- Joining an event
- Inviting guests
- Schedule tool – model several moments and programme items there
- Managing tasks – where you provide further translations
- Neighbouring areas: Appearance · Gallery features · Moderation & safety · Access
- Download & export – the archive you should save before deleting