Reseller basics
As a reseller you sell events yourself. You buy credits up front, turn them into setup links and hand those to your clients. The gallery appears in your brand, you decide the price and you keep the margin.
Reseller or affiliate?
Section titled “Reseller or affiliate?”Both programs live in one partner account — in the Partner Hub you choose between Open Affiliate Dashboard and Open Reseller Dashboard.
- Affiliate: you refer, the customer buys directly from Photogala, you earn a commission. Details in Getting started as an affiliate.
- Reseller: you buy credits, hand out events under your own brand and invoice the client yourself. The application page sums it up as Buy credits in bulk at a discount, White-label events under your brand and Set your own prices, keep the margin.
The seven sections of the reseller portal
Section titled “The seven sections of the reseller portal”At the top of the sidebar sits your Credit Balance as a total across all tiers, followed by seven entries. The menu labels are short while the pages behind them carry longer headings — both are listed here:
- Overview (page: “Reseller Overview”) — getting-started checklist, key figures, quick actions and your latest events.
- Setup Links — where you create, send and track your setup links. The page address is still
/partner/reseller/events, which is why you also see “Events & Keys”. - Devices (page: “Device Fleet”) — photo booths and cameras that upload into client events via FTP/WebDAV. See Managing your device fleet.
- Credits (page: “Credits & Billing”) — balance and purchase.
- Brand & Domain — brand identity, addresses, client permissions, default design and legal documents. See Setting up brand & domain.
- Billing — your invoices and payments with a one-click download, the billing portal and a short FAQ.
- Settings — business details.
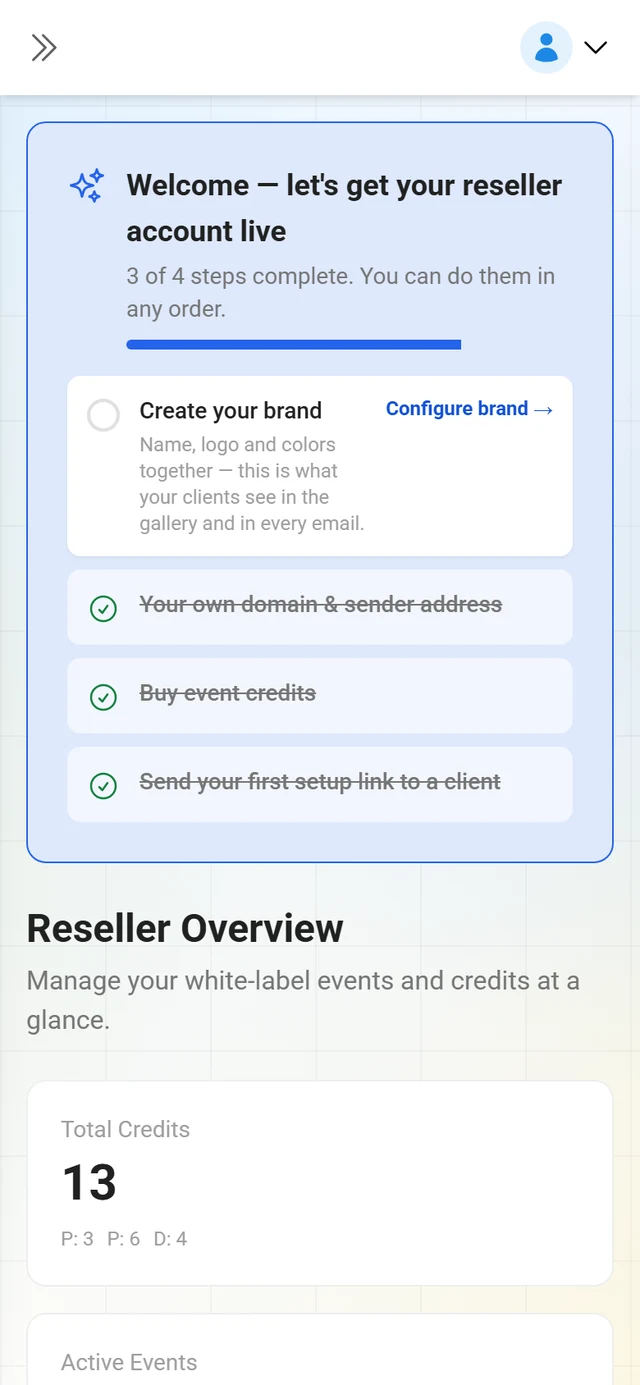
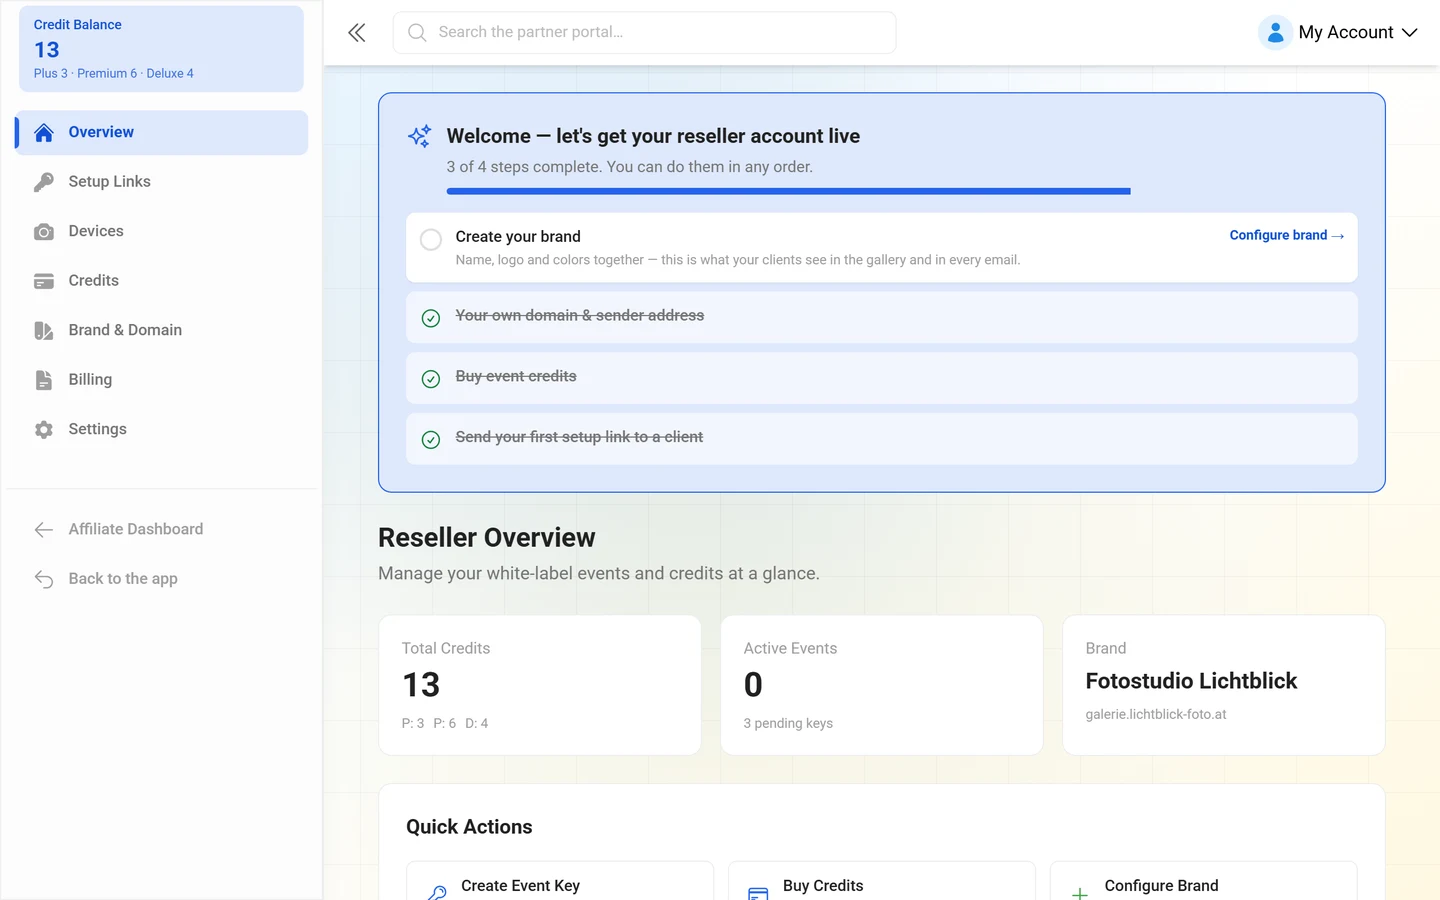
At the bottom two links lead back out: Affiliate Dashboard and Back to Photogala.
The overview
Section titled “The overview”While your account is not fully set up yet, the checklist Welcome — let’s get your reseller account live sits at the top with four steps (do them in any order):
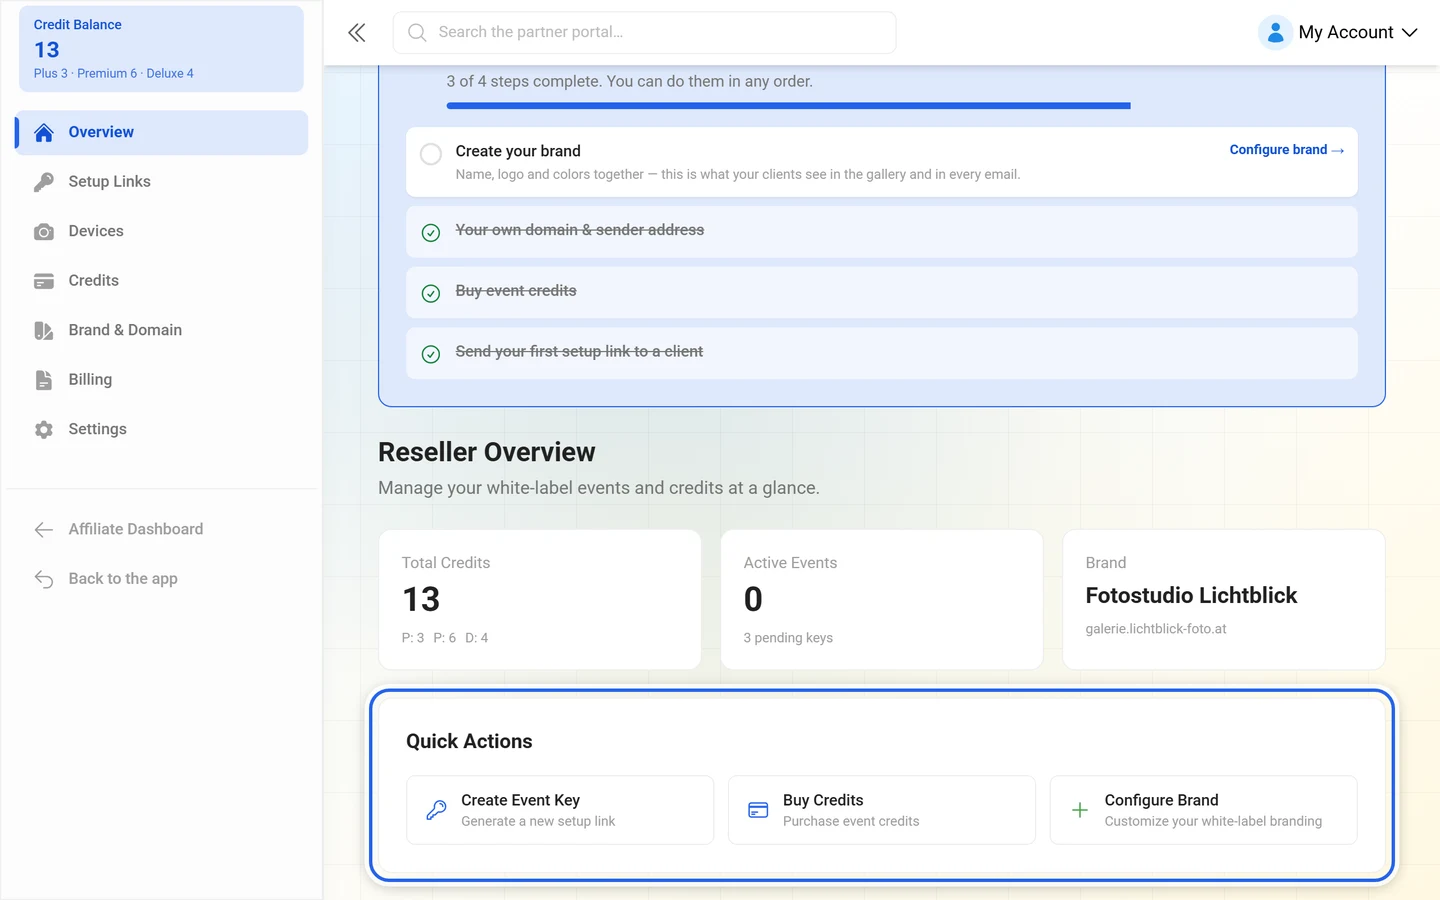
- Set up your brand — add your business name, logo and colors so client galleries look like yours.
- Upload your logo — logos appear in the gallery header and in emails sent to your clients.
- Buy event credits — each credit unlocks one client event.
- Create your first event key — send the setup link to a client.
Once all four are done the checklist disappears. Below it sit three key figures — Total Credits, Active Events (with the number of pending keys underneath) and Brand (name plus the current domain, otherwise No custom domain) — plus the Quick Actions Create Event Key, Buy Credits and Configure Brand. The Recent Events table lists event, owner and tier of the most recently claimed keys.
Setup links (Events & Keys)
Section titled “Setup links (Events & Keys)”A setup link is the voucher your client uses to unlock their event. The explainer box How setup links work on that page names four steps:
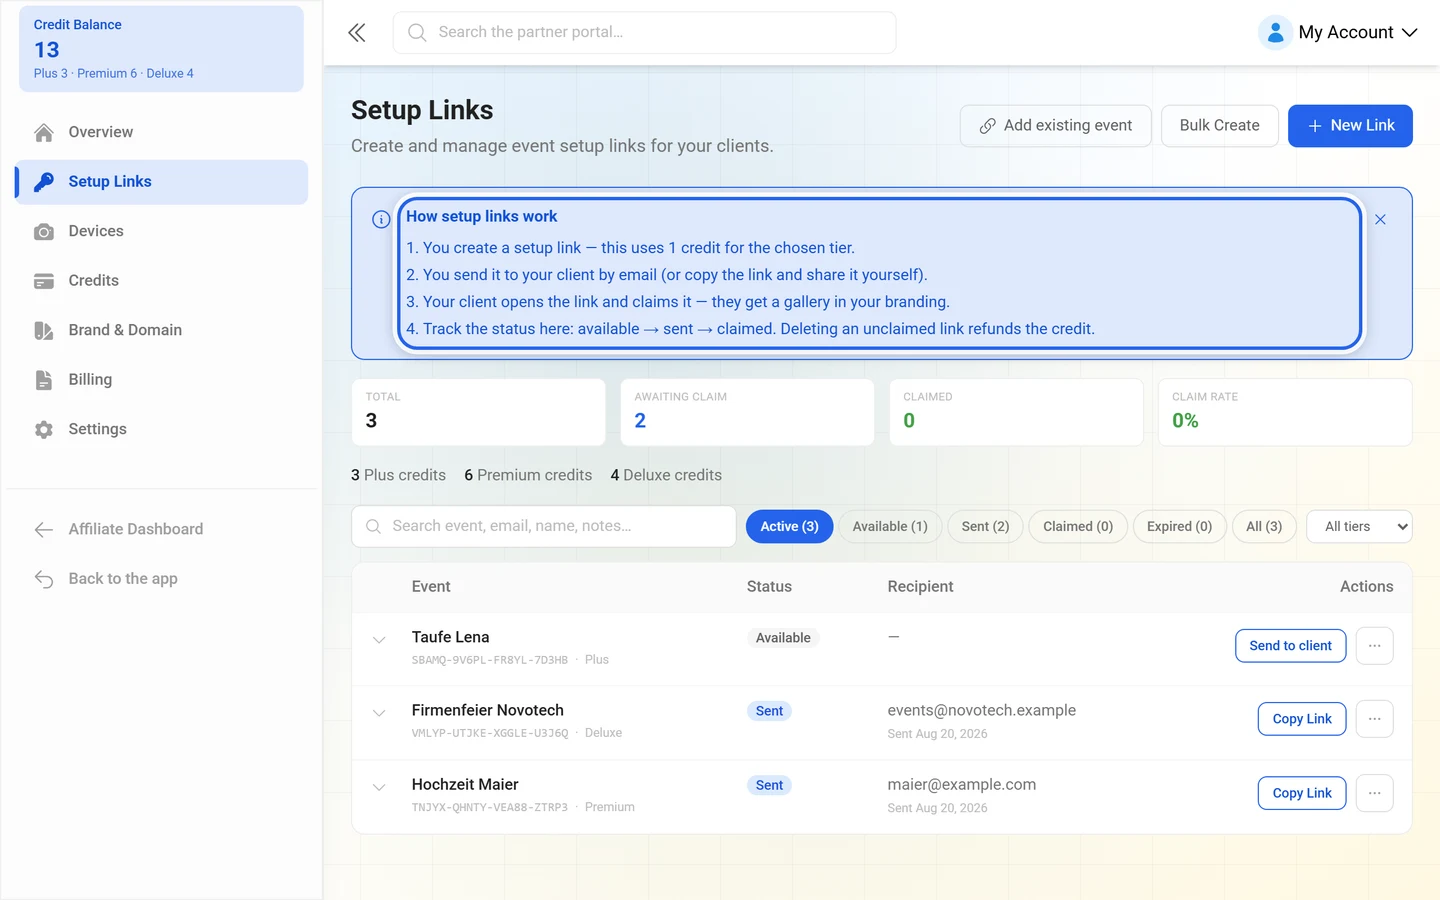
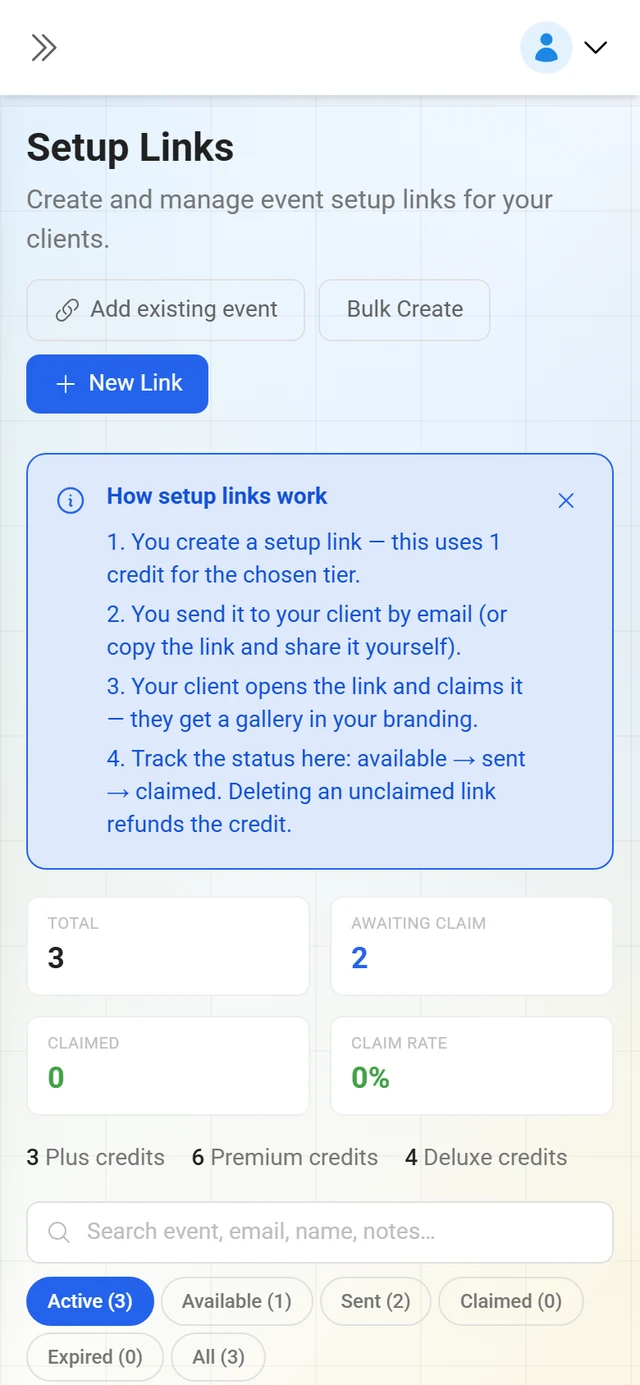
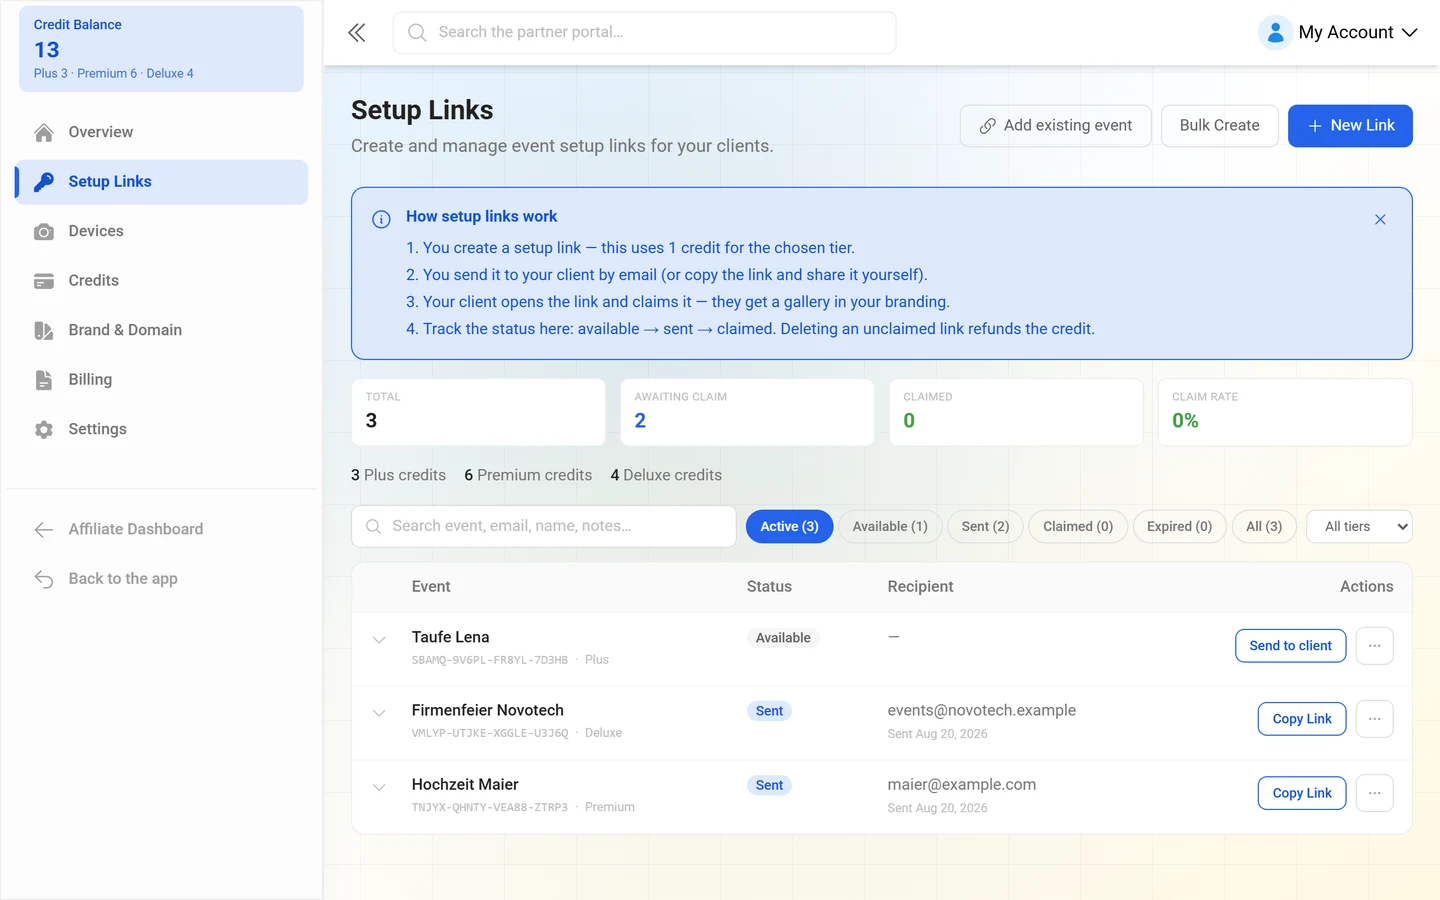
- You create a setup link — this uses 1 credit for the chosen tier.
- You send it to your client by email (or copy the link and share it yourself).
- Your client opens the link and claims it — they get a gallery in your branding.
- Track the status here: available → sent → claimed. Deleting an unclaimed link refunds the credit.
Creating a setup link
Section titled “Creating a setup link”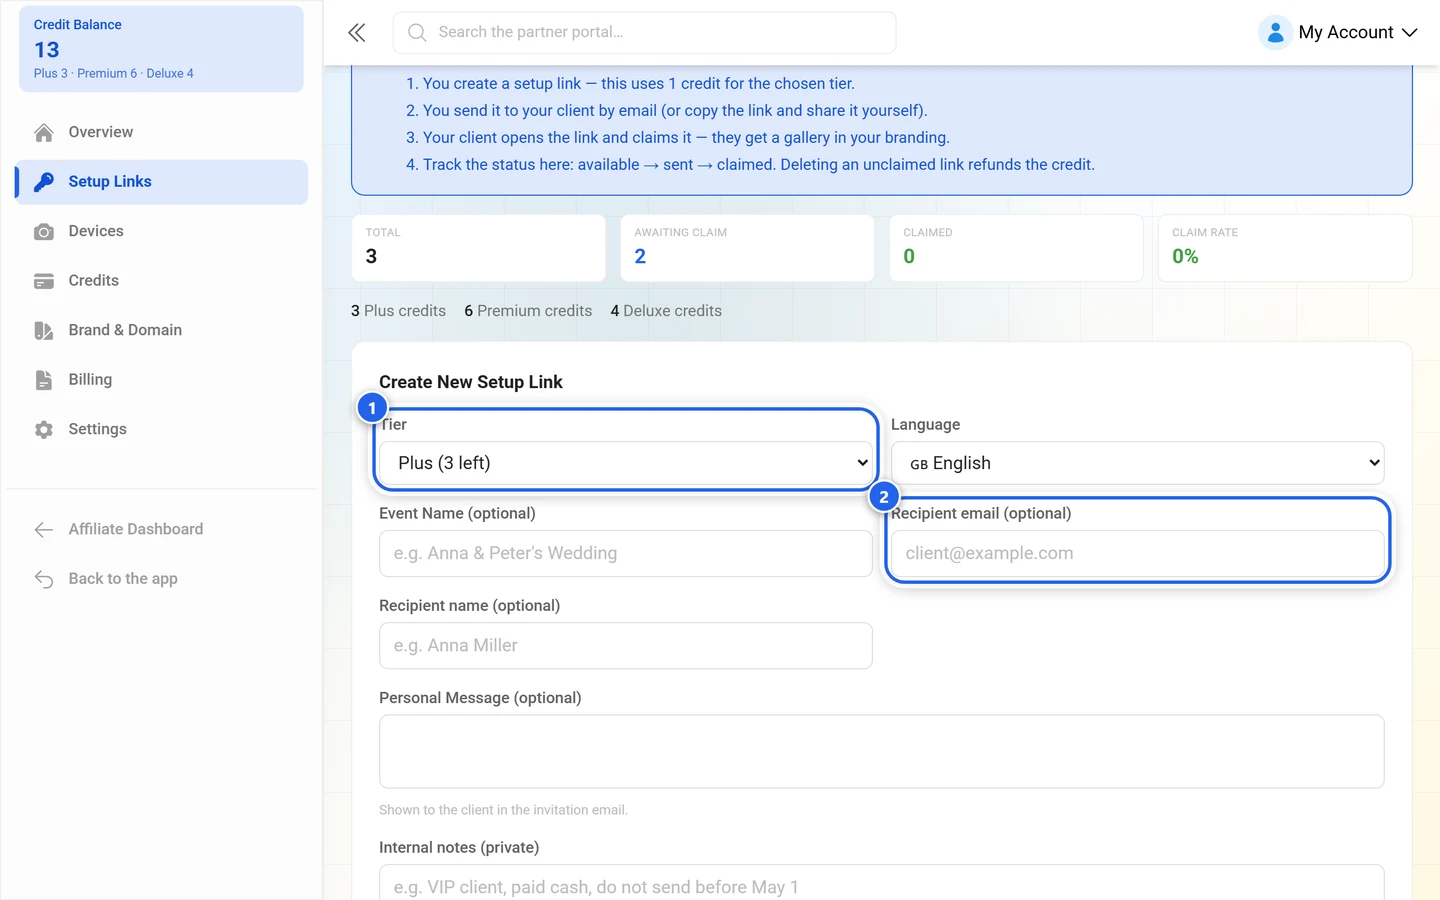
-
Open Events & Keys. Three buttons sit at the top right: Add existing event, the bulk creation and the creation of a single setup link.
-
In the create form, pick the Tier. Tiers without balance cannot be selected — the remaining balance is shown behind each entry.
-
Choose the language the invitation is sent in and optionally enter an event name.
-
Optional: fill in Recipient email (optional) and Recipient name (optional), and write a personal message — it is Shown to the client in the invitation email.
-
Optional: add an Internal note (private). The hint says: Only you see this — never sent to the client.
-
Before you create it, the form tells you which host the link will use: either Setup link uses your domain: … or the blue note that the link uses photogala.net because no own domain or subdomain is set up yet.
For several links at once there is the Bulk create setup links form: pick a tier, enter a quantity, create. The quantity must be between 1 and 50, and you need as many credits of that tier as you create links.
Sending and reminding
Section titled “Sending and reminding”- Copy Link puts the setup link on your clipboard — you then send it yourself.
- Send opens Send Setup Link with Recipient Email and Recipient Name (optional). Under Sent from you see which address the mail goes out from: Your own domain, Your subdomain or the Photogala address.
- Without your own email domain you get the note No email domain set up. You can still Send from the Photogala address — your branding stays inside the email — or set up your own domain first.
- Send Reminder sends a follow-up. Afterwards a cooldown applies, shown as Reminder available again in ….
- Sending is rate limited: To prevent spam, sending is rate limited. Too many emails produce a message with a waiting time.
Status and filters
Section titled “Status and filters”Four figures sit above the list: Total, Awaiting claim, Claimed and Claim rate. Below them the remaining balance per tier.
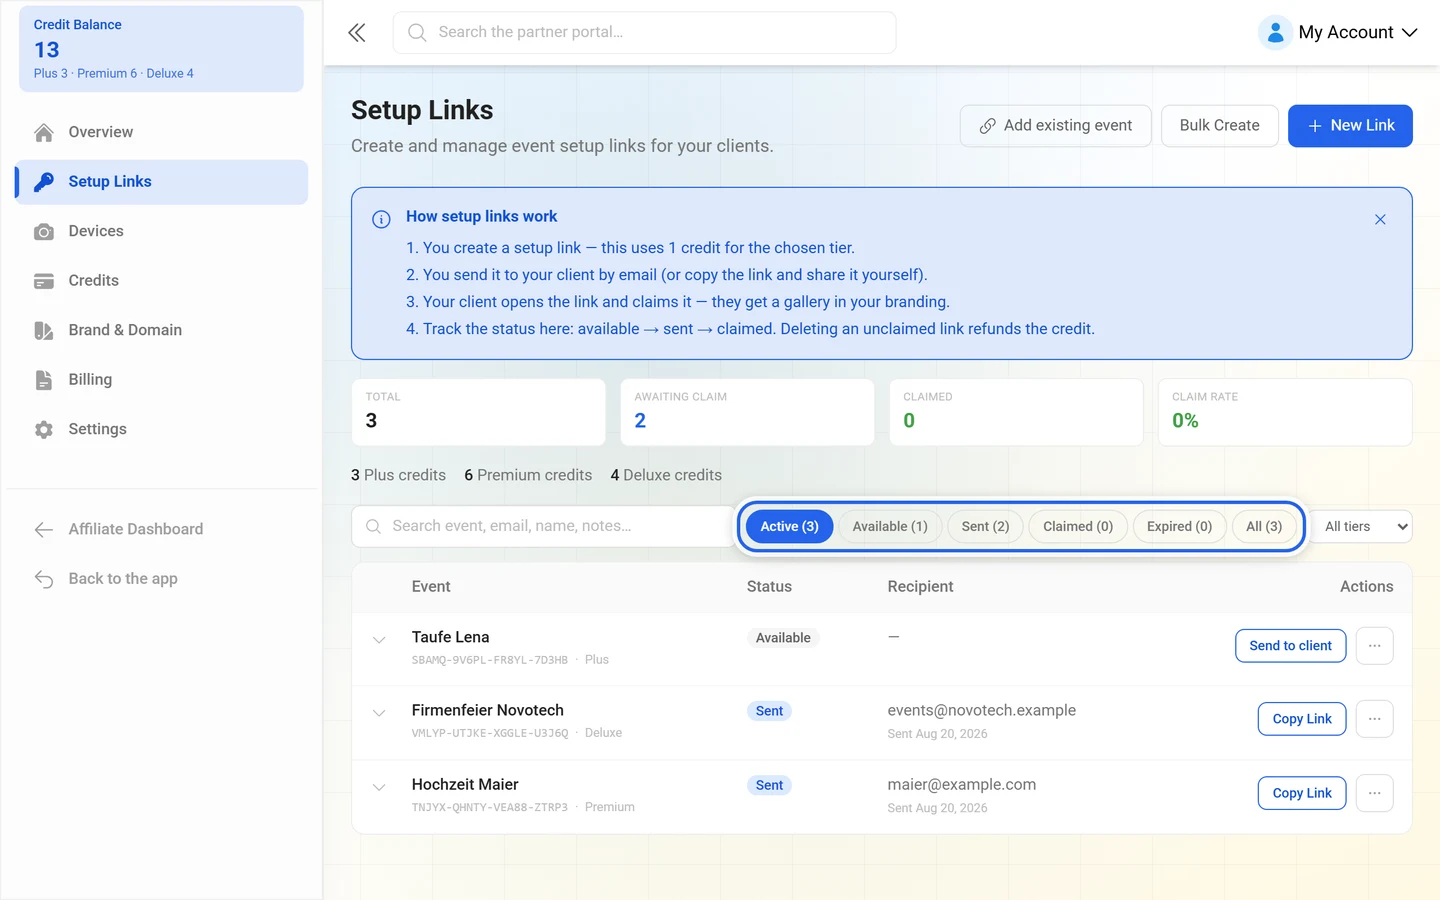
A key passes through these states:
- Available — created but not sent yet.
- Sent — emailed, waiting to be claimed.
- Claimed — the client has claimed the event.
- Expired — no longer claimable.
Filter with All, Available, Sent, Claimed and All tiers; the search box searches event, email, name, notes. Details expands a timeline with Created, Language, Sent, Reminded, Claimed and Event date. For claimed keys, Open claimed event and Event settings take you straight into the event.
Deleting and getting credits back
Section titled “Deleting and getting credits back”Deleting a setup link that has not been claimed returns the credit: “The setup link will be removed and its credit refunded to your balance.” The confirmation reads Setup link deleted — credit refunded.
Events without a setup link
Section titled “Events without a setup link”Directly linked events lists events that belong to your brand without a setup link — via a subdomain claim, for instance. On top of that, Add existing event lets you link an existing event afterwards: you enter an event link, slug or ID. If the event is yours it is linked immediately; otherwise the event owner receives a request to confirm, which shows up as Awaiting confirmation among the pending requests.
Credits
Section titled “Credits”Credits are the currency of the reseller program. The explainer How Credits Work names three steps:
- Purchase credits for the event tier you need.
- Create event keys from your credits — each key allows one client to claim an event.
- Send the setup link to your client. They claim it and get a branded event.
What a credit is spent on:
- One setup link costs exactly one credit of the chosen tier — at creation time, not when it is claimed.
- A deleted, unclaimed link returns the credit.
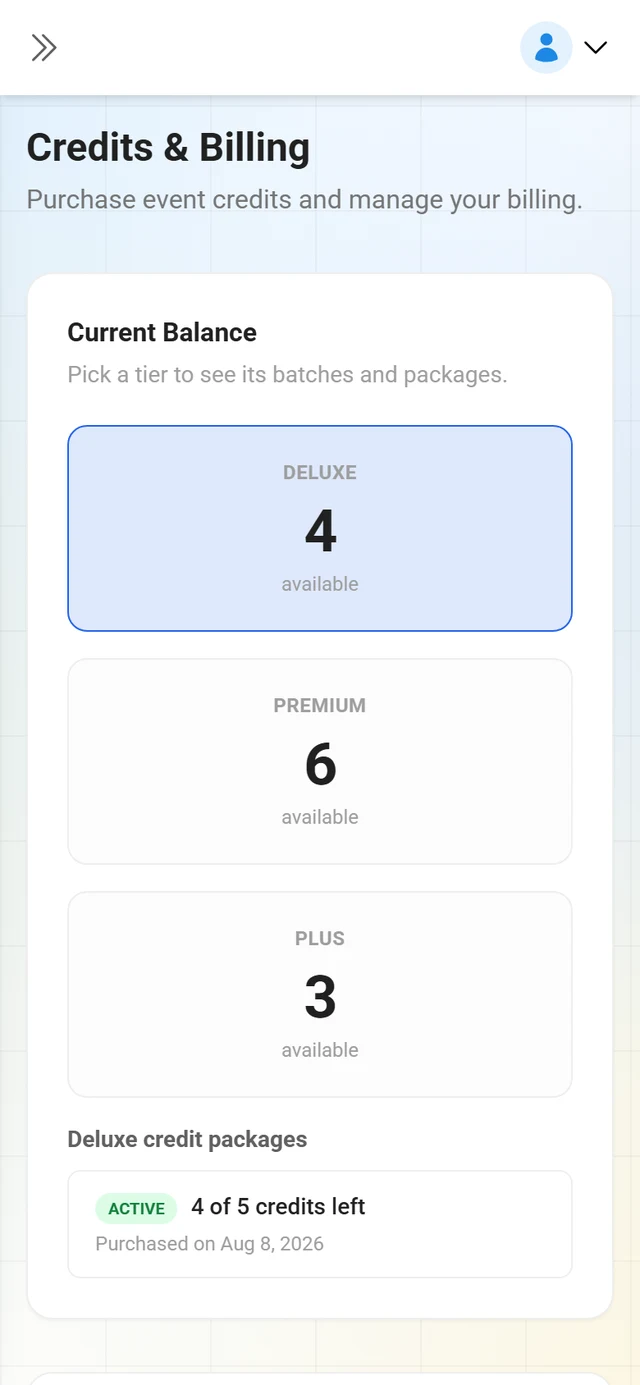
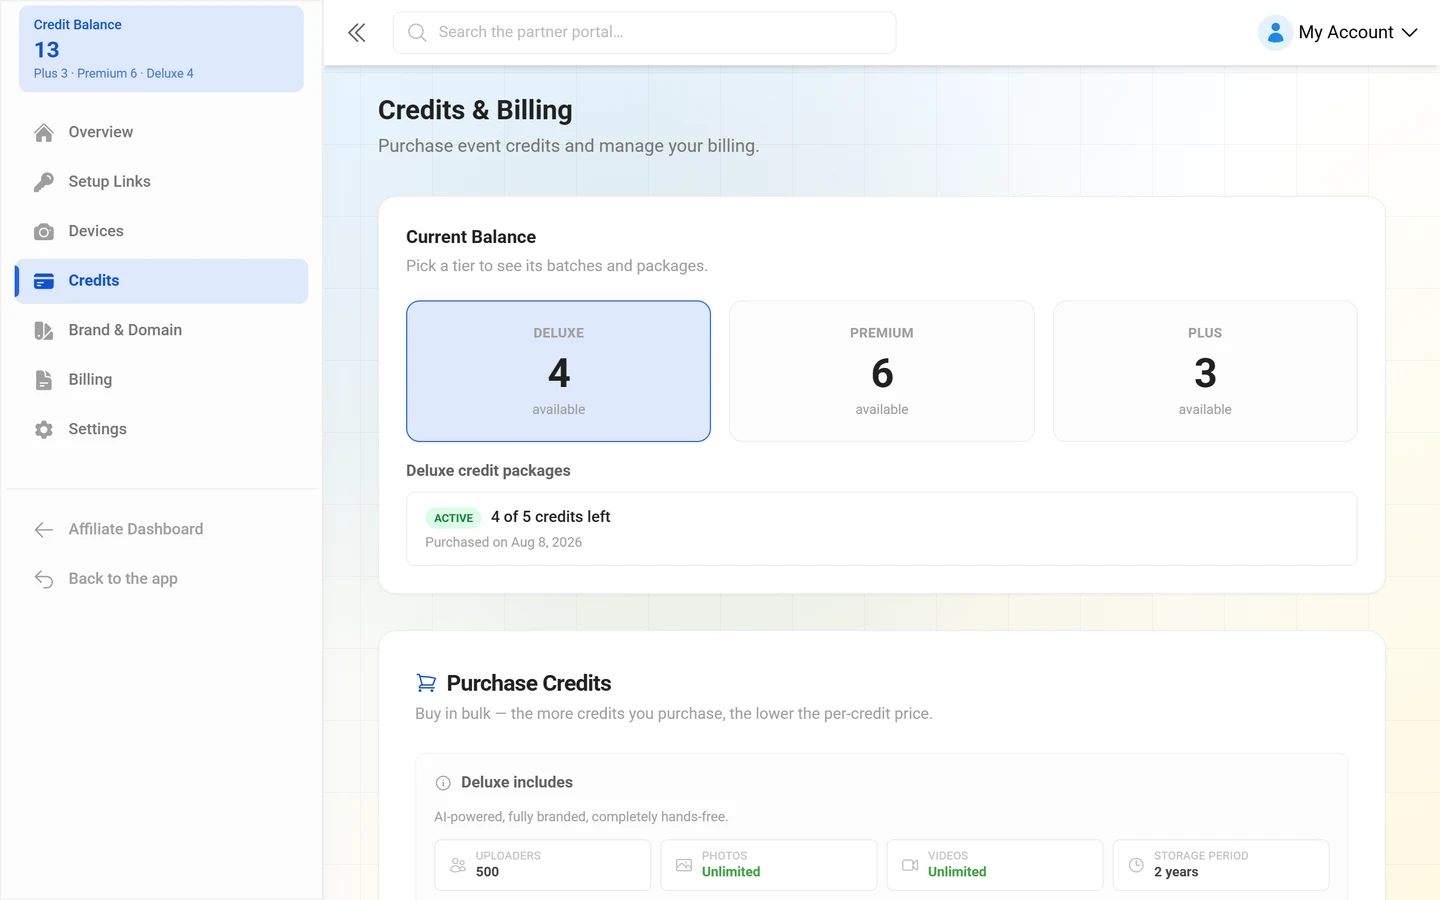
- Credits are kept per tier. A credit of one tier does not help you with another tier.
Where you see the balance
Section titled “Where you see the balance”- In the sidebar as Credit Balance (total across all tiers).
- On the Overview as Total Credits with a per-tier breakdown.
- On Events & Keys as a line with the remaining balance per tier, and again inside the tier picker when creating a link.
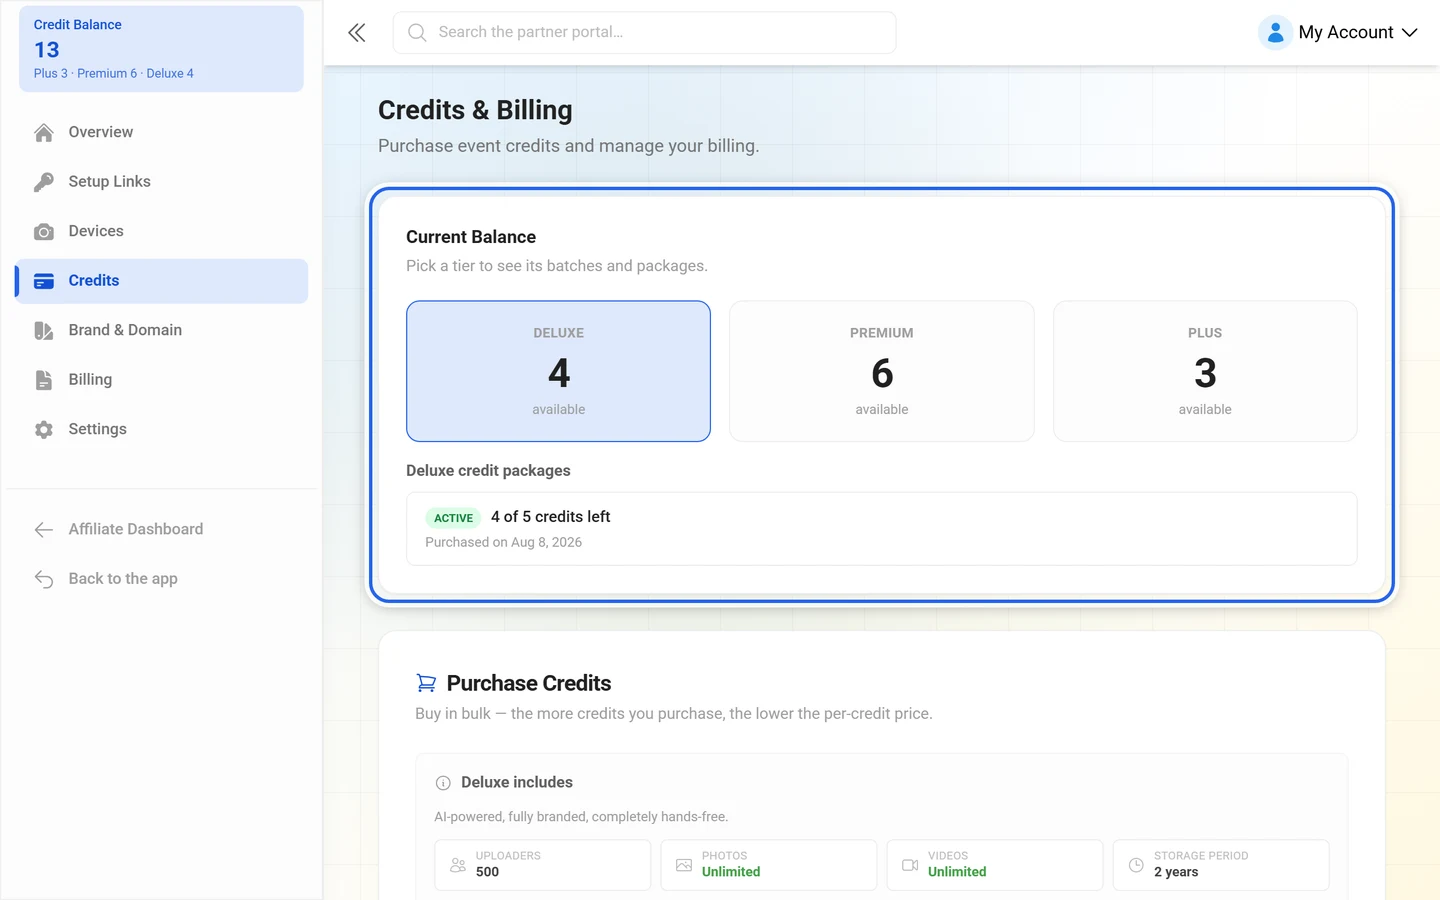
- Under Credits as Current Balance per tier with the label available.
When the balance runs low
Section titled “When the balance runs low”As soon as a tier only has a few credits left, the overview shows the warning Low credits for: …, the hint Buy more credits to keep creating events for your clients. and the button Buy Now.
If a tier is empty it can no longer be selected in the create form. If you try anyway, the app reports Failed to create event key. Check your credit balance. — and for bulk creation Bulk creation failed. Check your credit balance.
Buying credits
Section titled “Buying credits”Under Credits, the Purchase Credits section asks you to Select Tier first and then a quantity. The rule: Buy in bulk — the more credits you purchase, the lower the per-credit price. Bulk packs are marked Starter, Popular or Best Value and show the saving in percent.
Billing runs through the payment provider Paddle: Credits are charged via Paddle. Higher quantities offer better per-credit pricing. On the total price it says: “Total price is the per-credit price × quantity. Prices exclude VAT and are billed via Paddle in your local currency.”
Invoices and business details
Section titled “Invoices and business details”These are two menu entries, not one: business details live under Settings, the invoices under Billing.
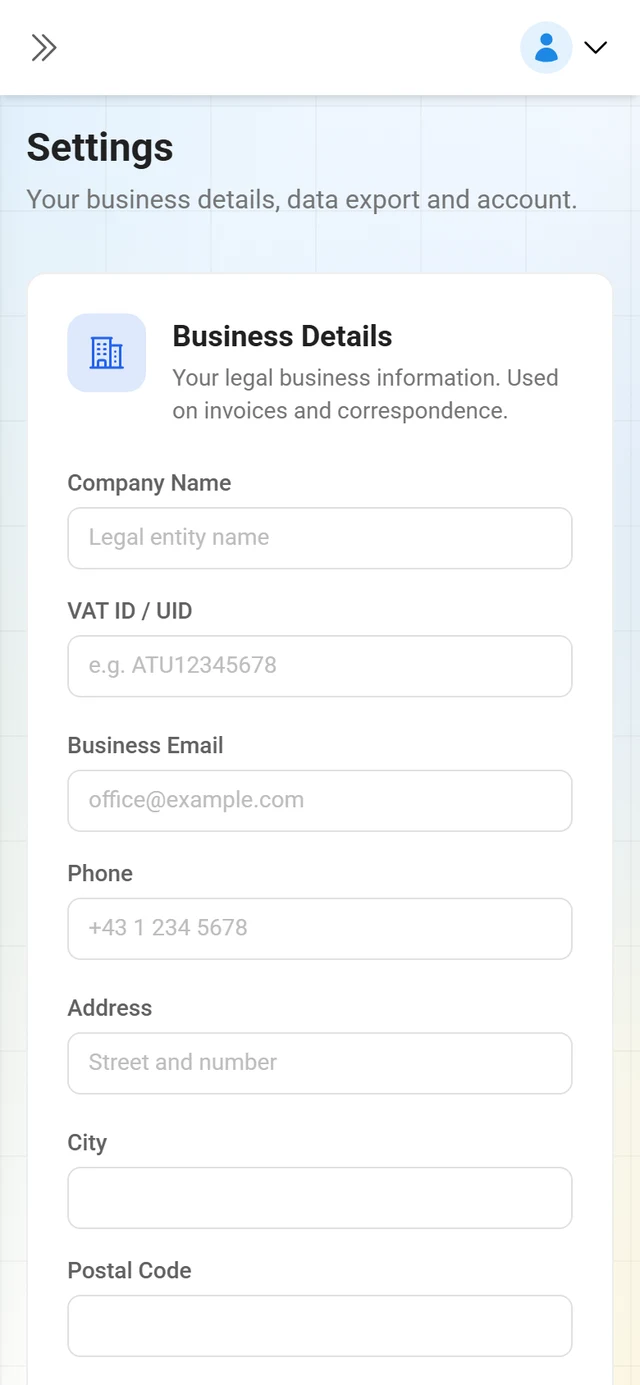
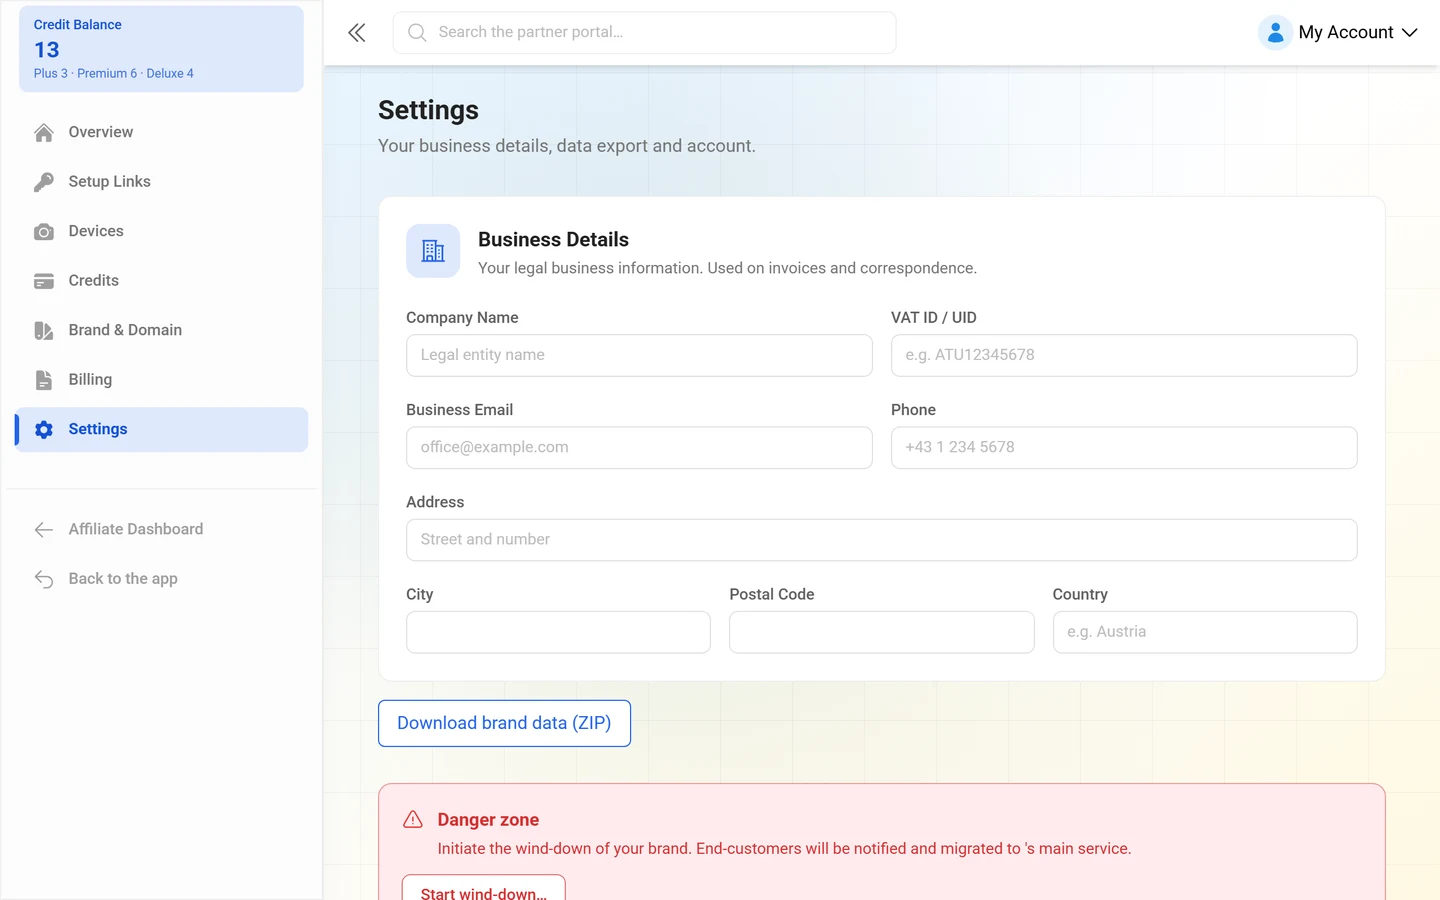
Under Settings you maintain your Business Details — Company Name, VAT ID / UID, Business Email, Phone, Address, City, Postal Code and Country. They are used on invoices and in correspondence; Save Changes applies them. While something is still open, Unsaved changes sits above the button.
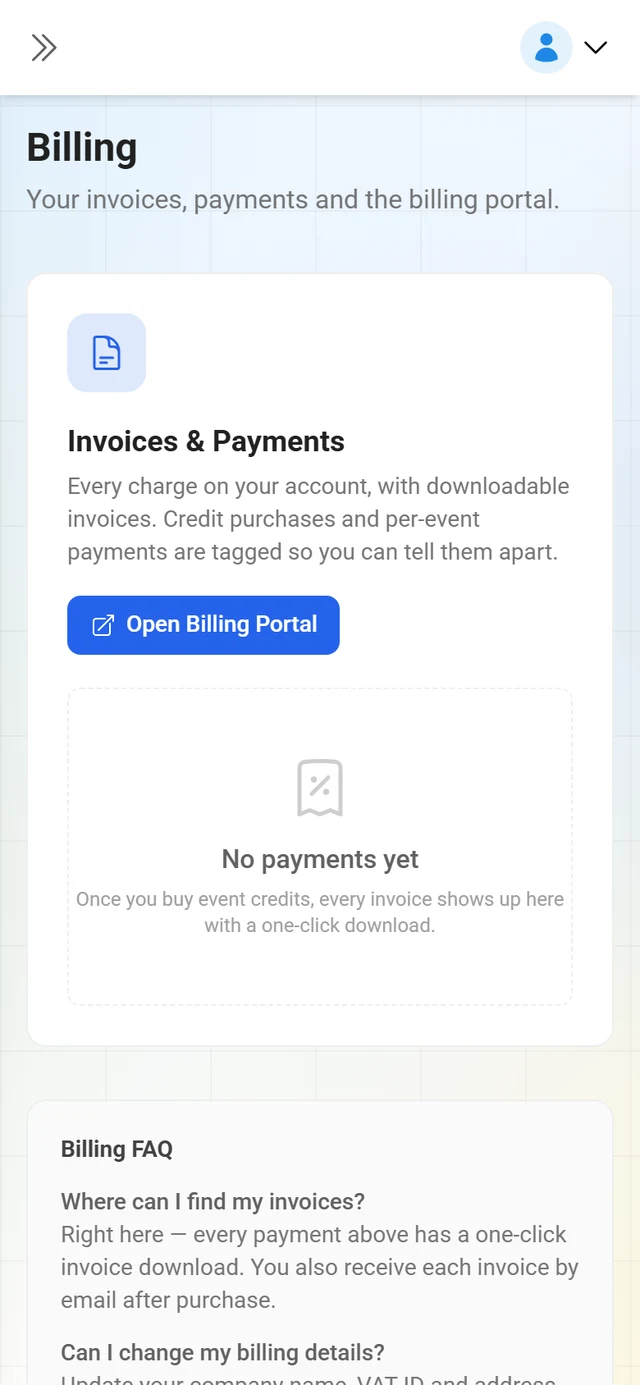
Under Billing (subtitle: “Your invoices, payments and the billing portal.”) you find Invoices & Payments with every charge on your account and a one-click invoice download via the Invoice button. Credit purchases and event payments are labeled (Credits, Brand upgrade, Event, Upgrade, Downgrade, Extension, Yearly plan, Add-on), and the status is Completed, Refunded, Pending or Failed. Details expands payment ID, transaction ID, paid date, amount, quantity and price per credit; with nothing paid yet it reads No payments yet.
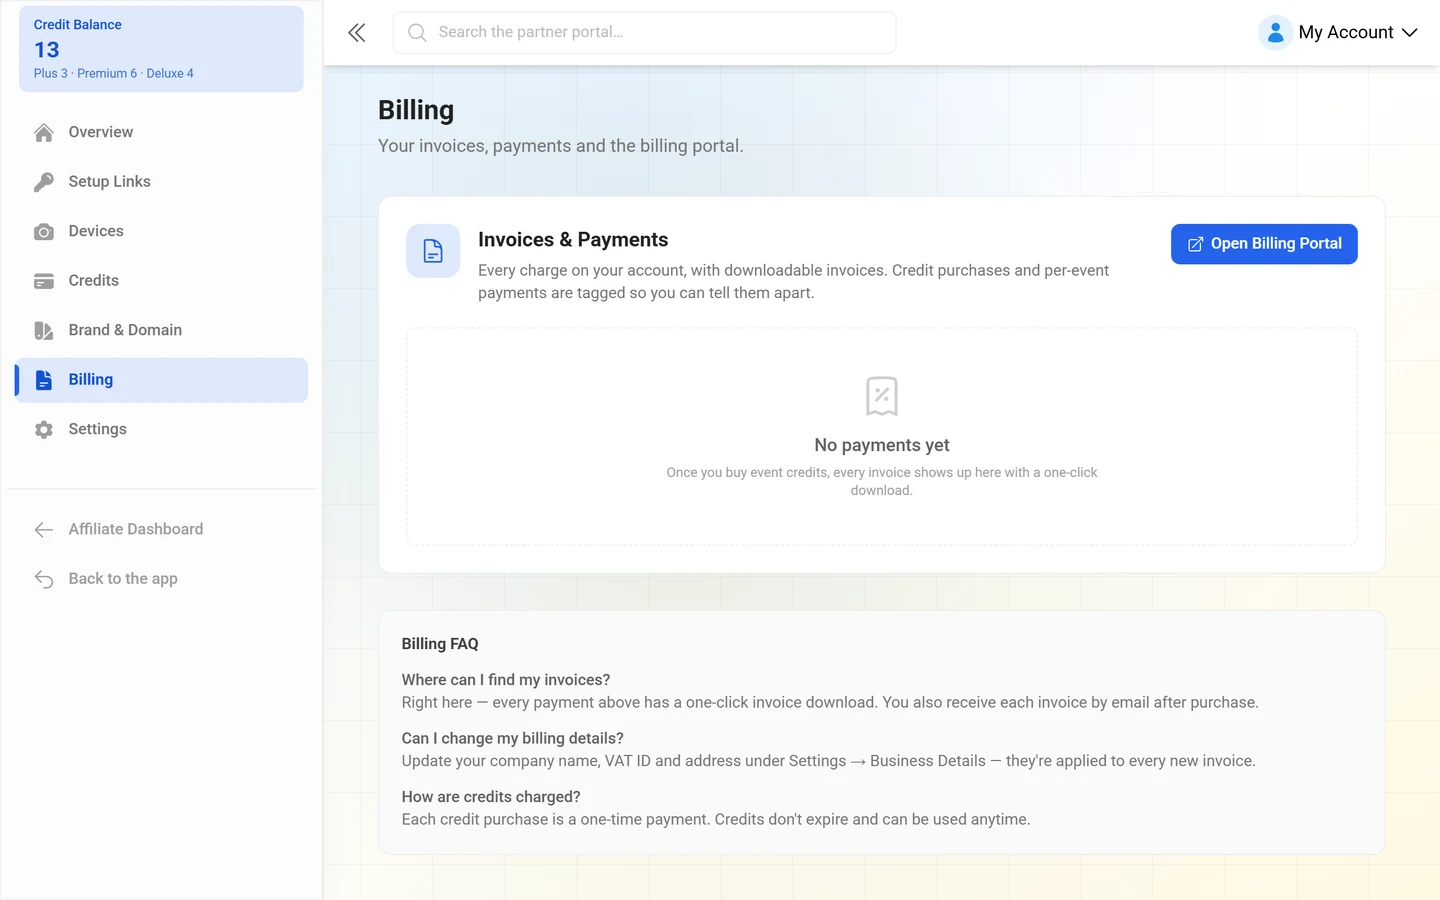
Below that, a Billing FAQ answers the three most common questions (“Where can I find my invoices?”, “Can I change my billing details?”, “How are credits charged?”). Open Billing Portal takes you to the portal of the payment provider Paddle.
Going deeper
Section titled “Going deeper”- Setting up brand & domain — brand identity, free subdomain, custom domain, email domain, client permissions, default design and legal documents.
- Managing your device fleet — configure photo booths once and bind them to a client event per gig.
Troubleshooting
Section titled “Troubleshooting”- I cannot create a setup link. Either the chosen tier has no balance, or no brand has been created yet.
- Bulk creation will not start. The quantity has to be between 1 and 50, and you need that many credits of the tier.
- The setup link points at photogala.net. As long as no custom domain or subdomain is active, the link uses the platform address. How to change that is described in Setting up brand & domain.
- The invitation does not come from my address. Without an email domain set up it goes out from the Photogala address; your brand name and logo stay inside the content.
- The reminder will not send. The cooldown is still running (Reminder available again in …) or the recipient unsubscribed.
- A client has their event but I cannot see it. Only events tied to your brand through a setup link, a subdomain claim or a confirmed link appear here.
- The Domain, Client Permissions and Default Design tabs are blocked. They need a brand identity. The Create your brand first banner takes you there.
Related pages
Section titled “Related pages”- Getting started as an affiliate — referring instead of selling
- Discount codes & payouts — the affiliate side of the partner account
- Setting up brand & domain — everything about your brand
- Managing your device fleet — binding photo booths to client events
- Custom domain & white-label — the host’s view of a single event