Tools at the event
Many events offer more than the photo gallery: you can check when things happen, what is for dinner, where your seat is — or request a song. Photogala calls these extra pages tools. Which ones exist is entirely up to the host; you only see the ones they switched on.
Where to find the tools
Section titled “Where to find the tools”The “Event info & tools” rail
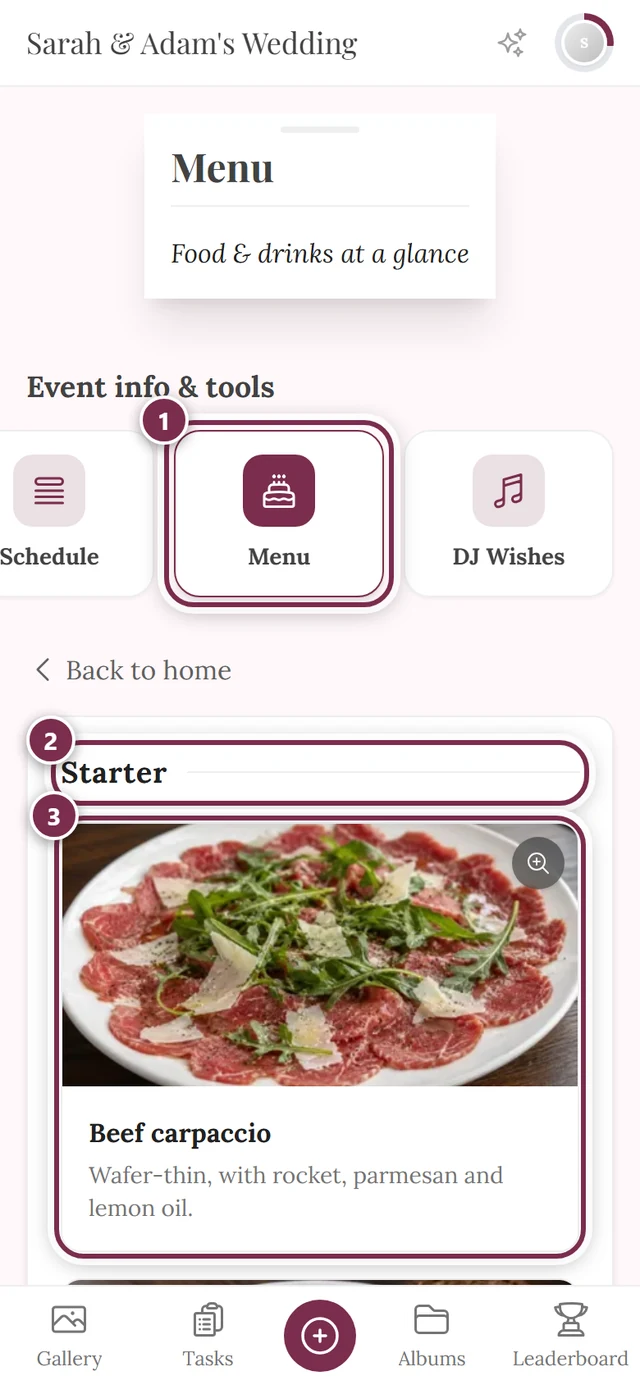
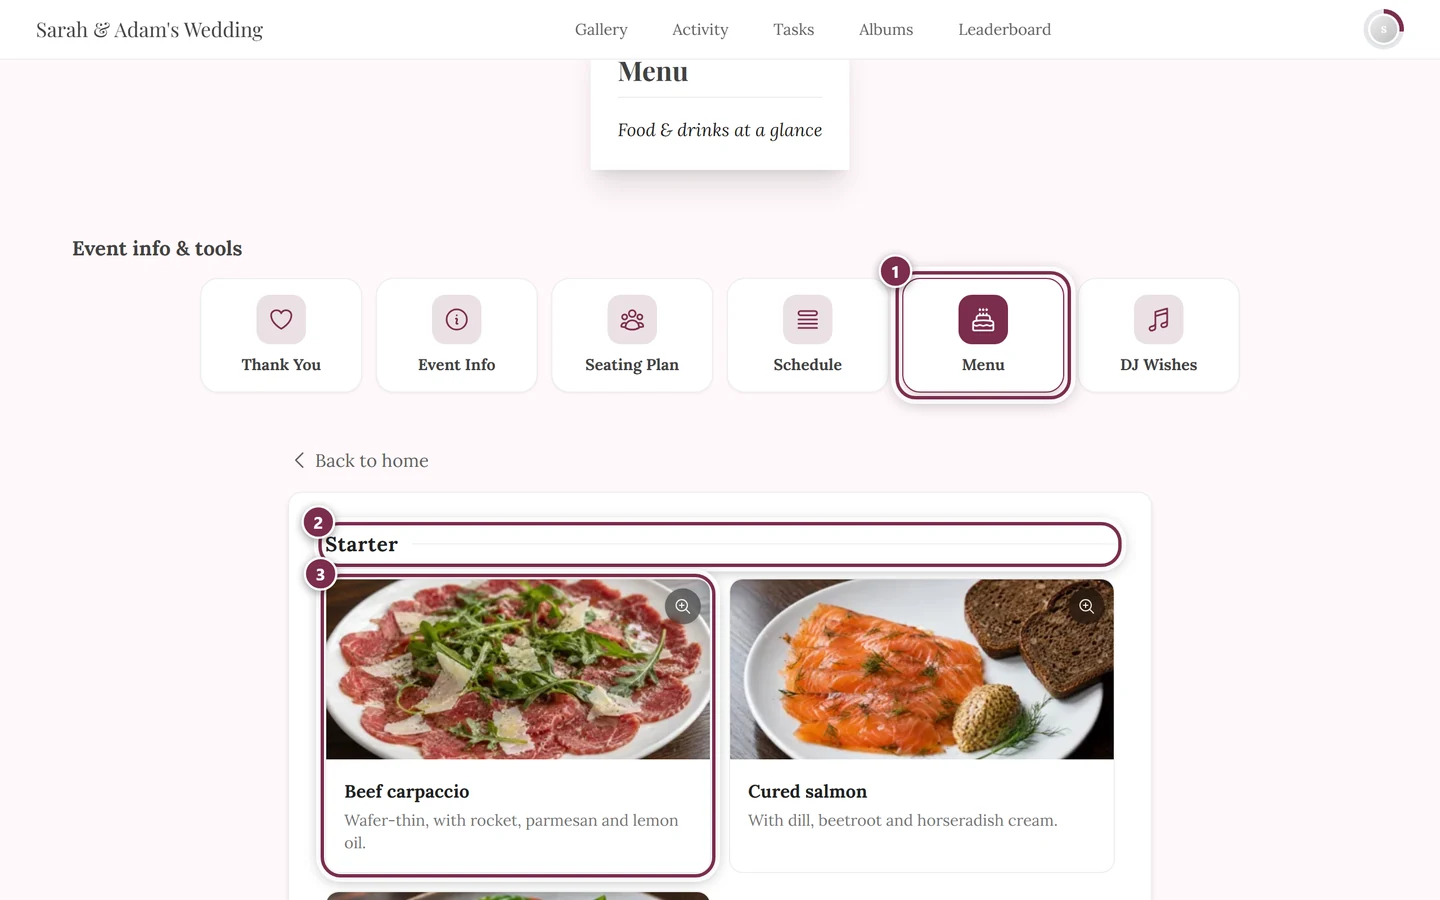
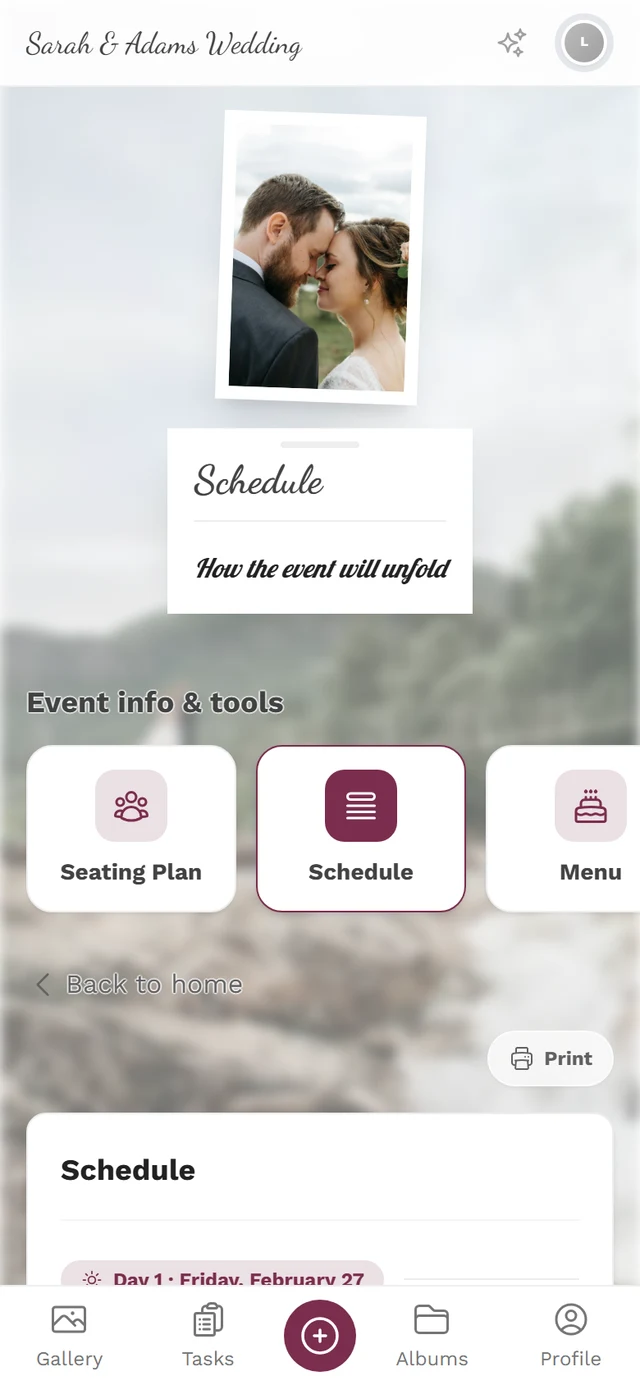
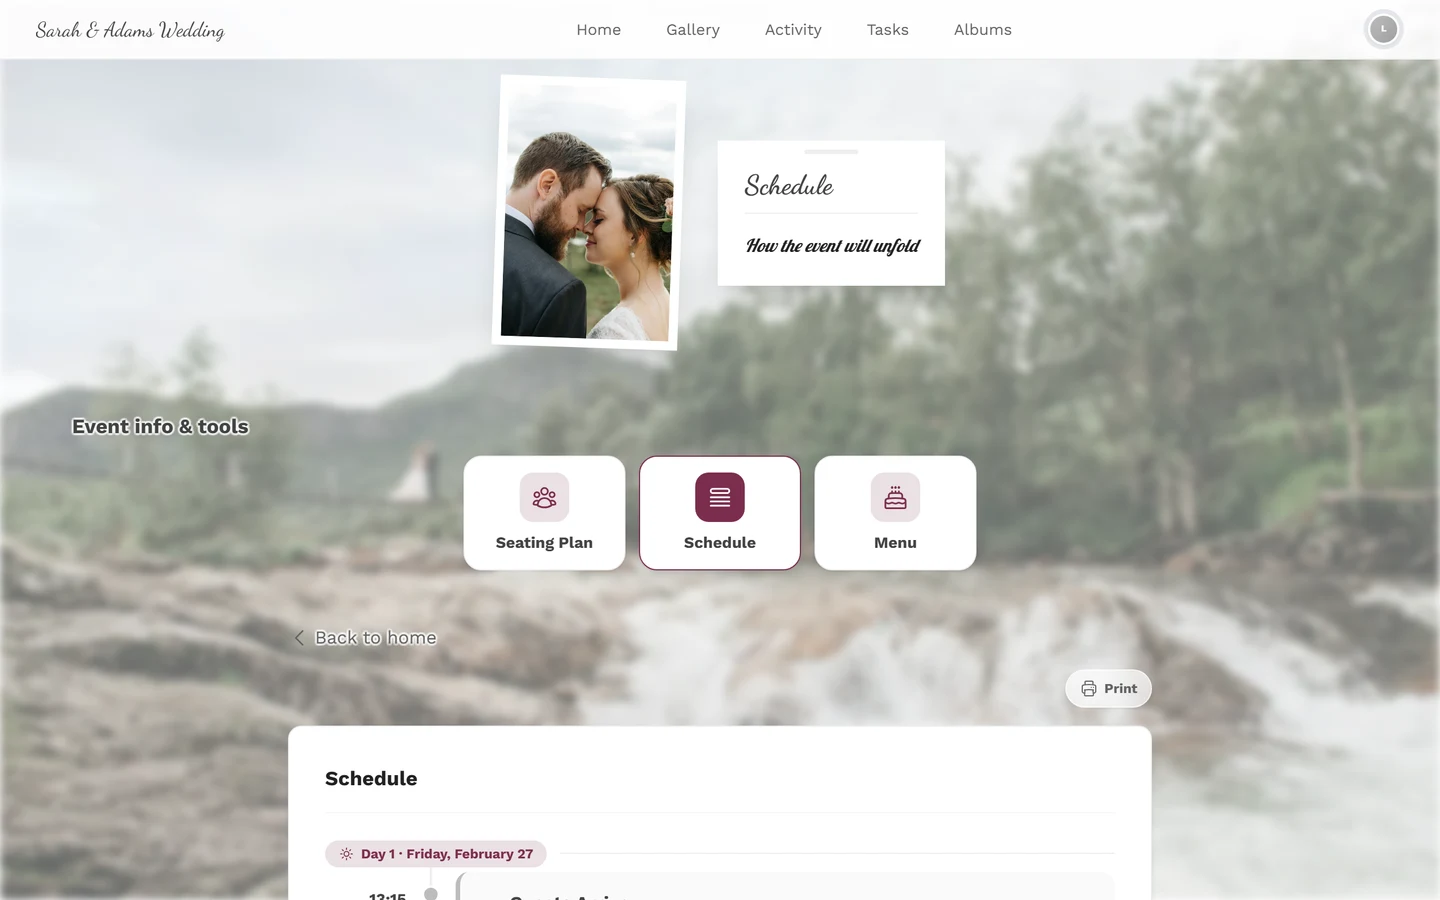
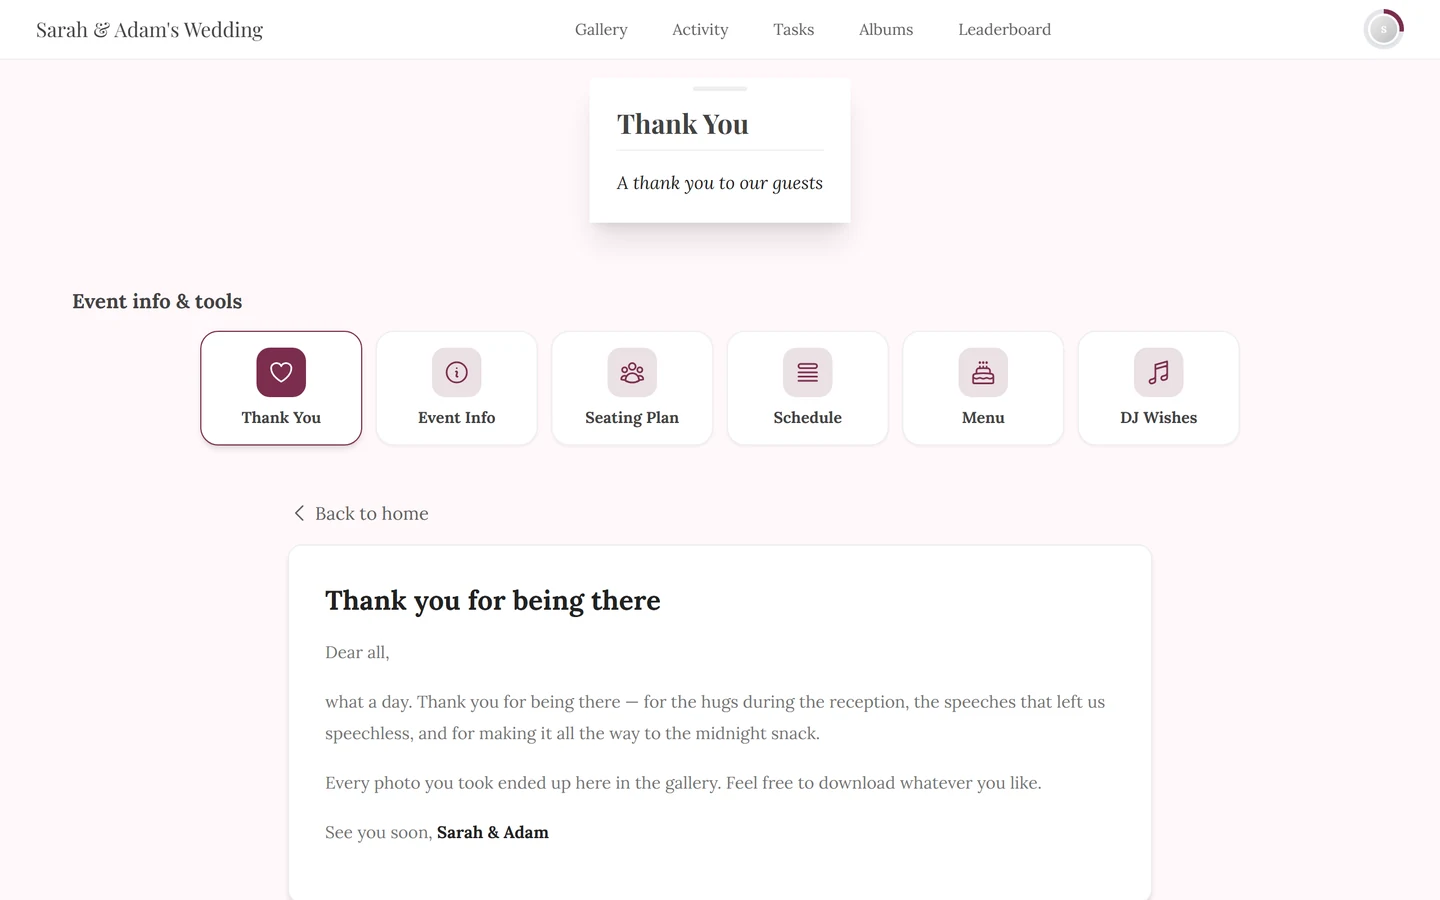
Section titled “The “Event info & tools” rail”The event home page has a section with that heading: a row of tiles, each with an icon and a name. Tapping one opens the tool’s full page. If the tiles do not all fit on screen, you can swipe the row sideways. If no tool has an entry, the rail is not shown at all.
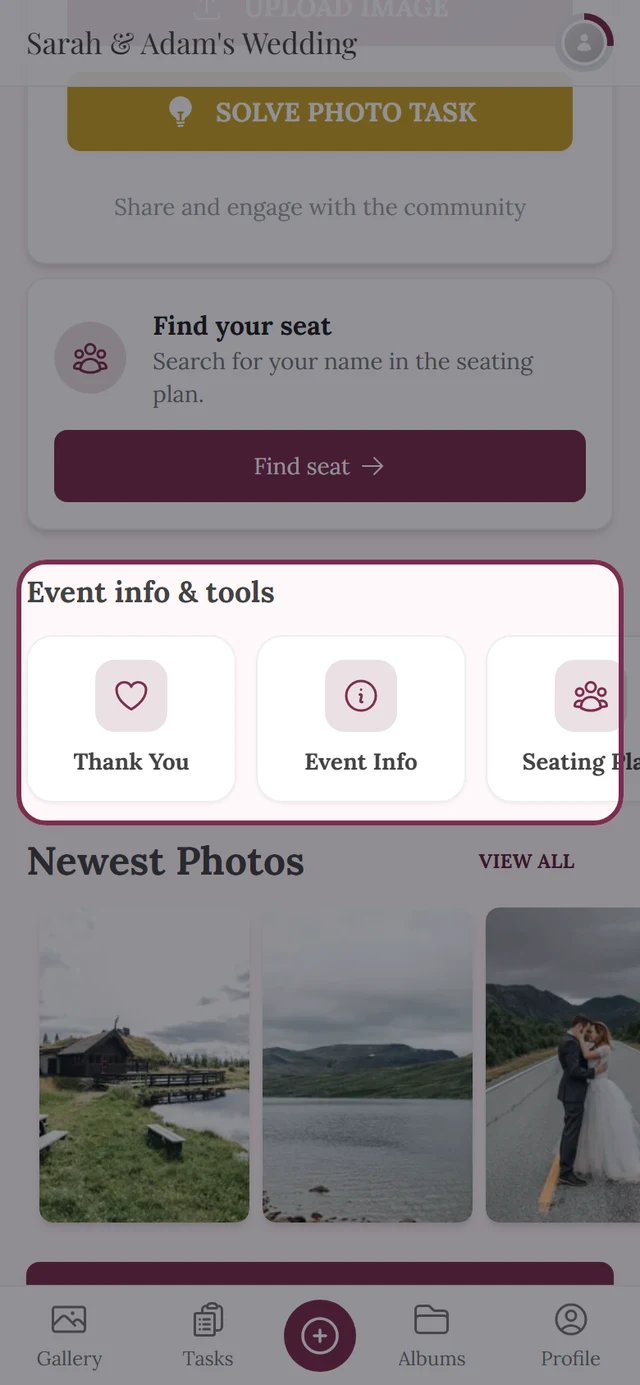
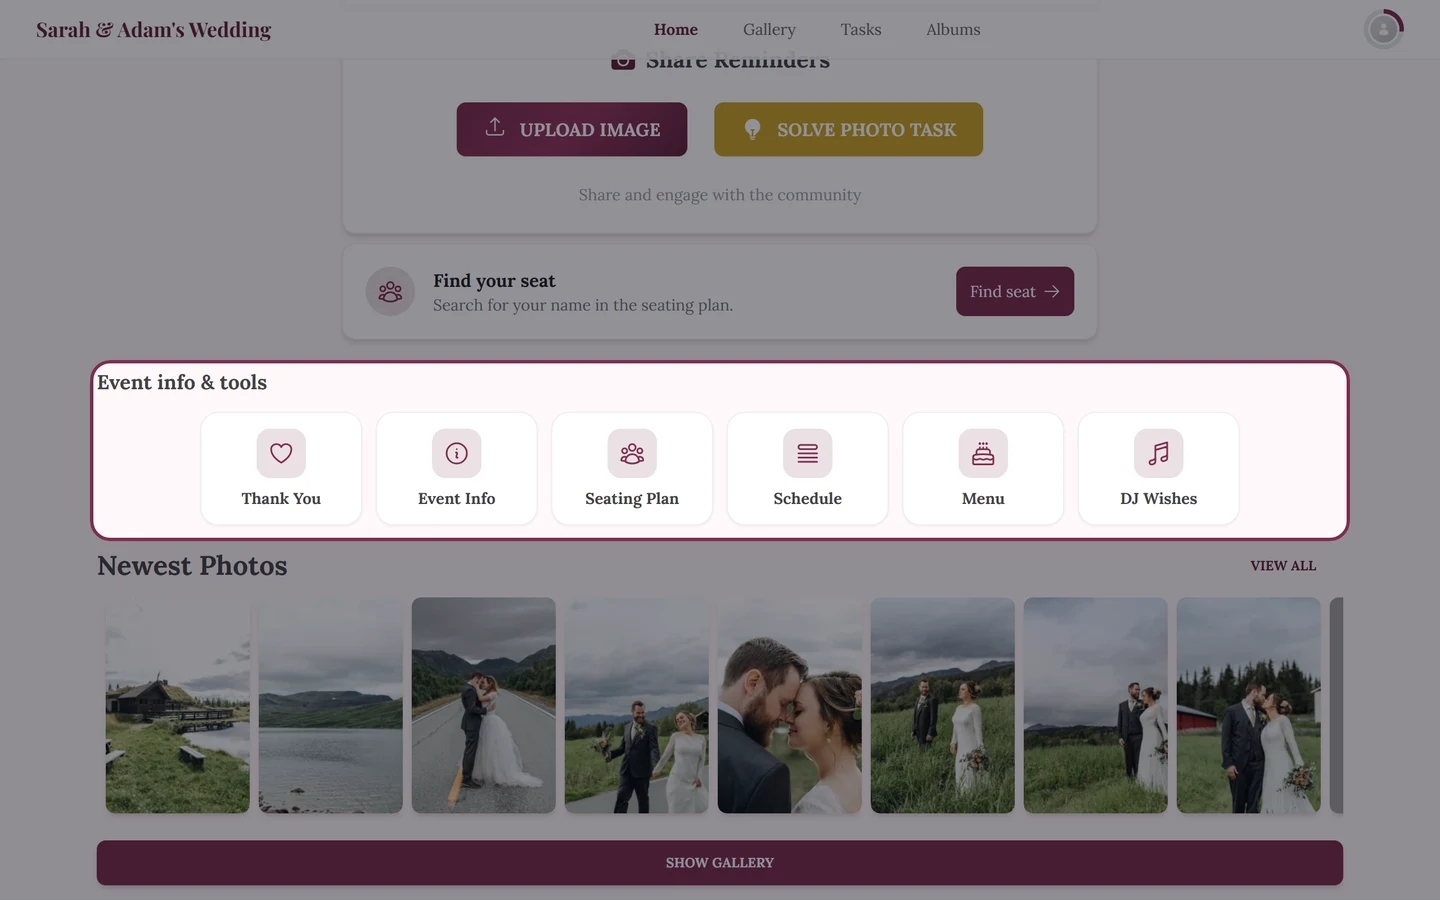
The rail can also hold tiles of the host’s own: extra info pages of the event and links they entered themselves, to the venue’s map or to a hotel, for instance. Such links normally open in a new tab, so you don’t lose the gallery.
How a tool page is put together
Section titled “How a tool page is put together”Every tool page has the same frame — whether you landed in the menu, in the schedule or on one of the host’s own pages.
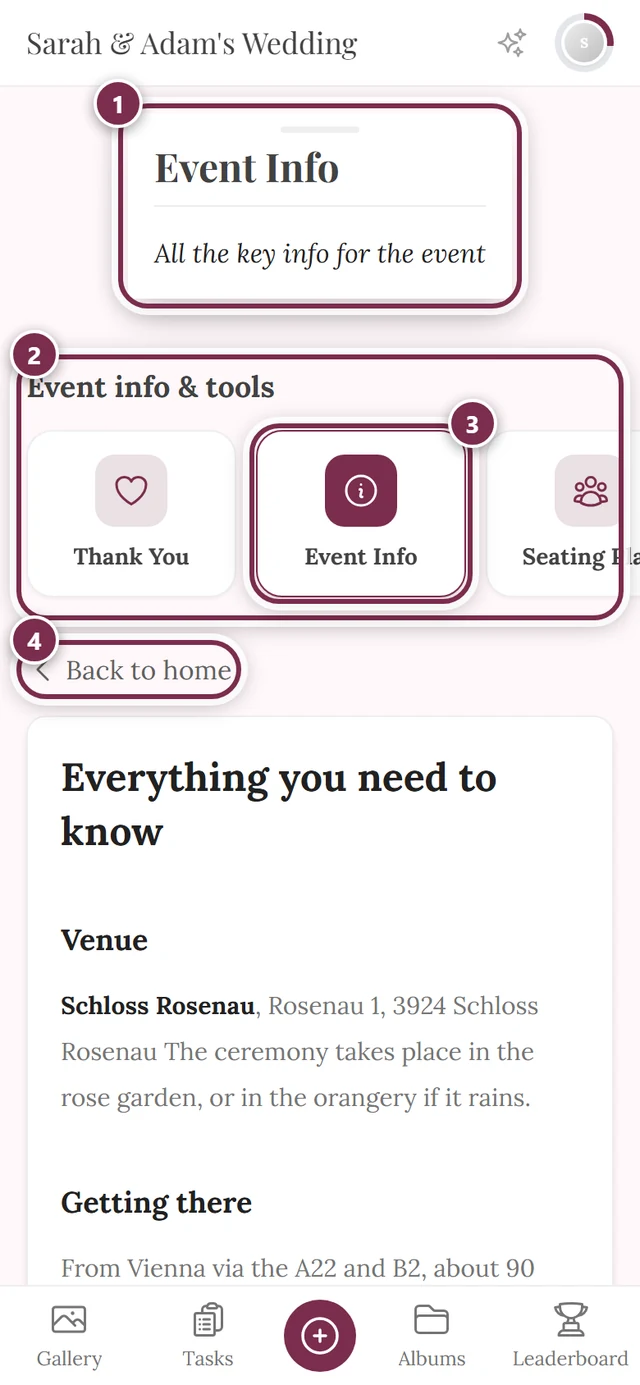
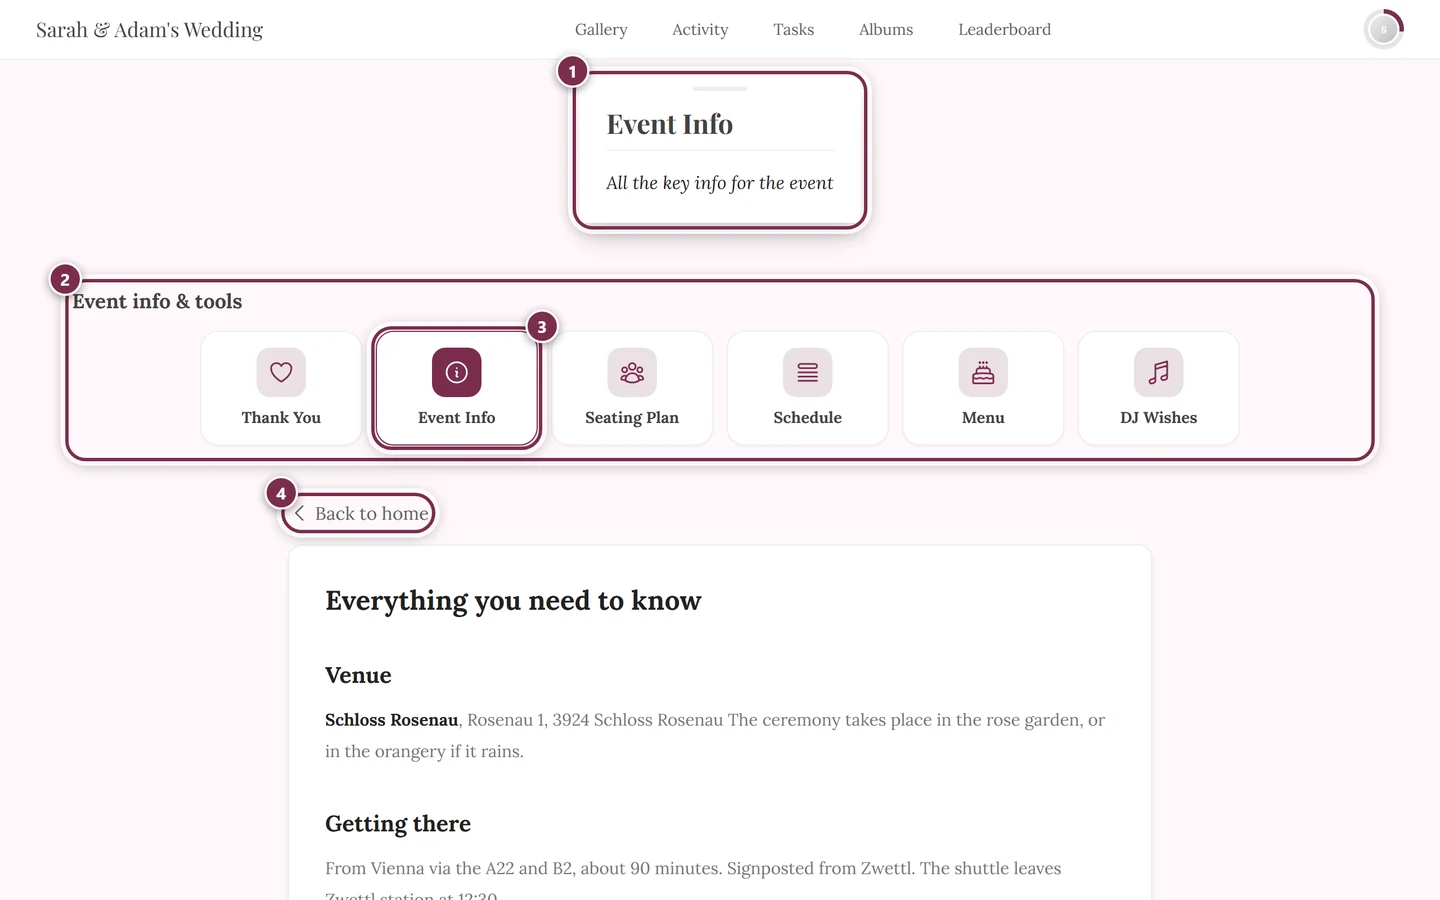
The rail shows all of the event’s tools, not just the other ones — the current page is highlighted among them. Two tools deliberately do not show this frame: RSVP and the digital invitation. They stand on their own, with no gallery navigation and no links to other tools — whoever arrives through an invitation or reply QR code is meant to see exactly that one page.
The widgets on the home page
Section titled “The widgets on the home page”Some tools put their most important content right on the home page — just scroll down there. The host decides per tool whether such a widget appears; if nothing has been filled in, it is not shown in the first place.
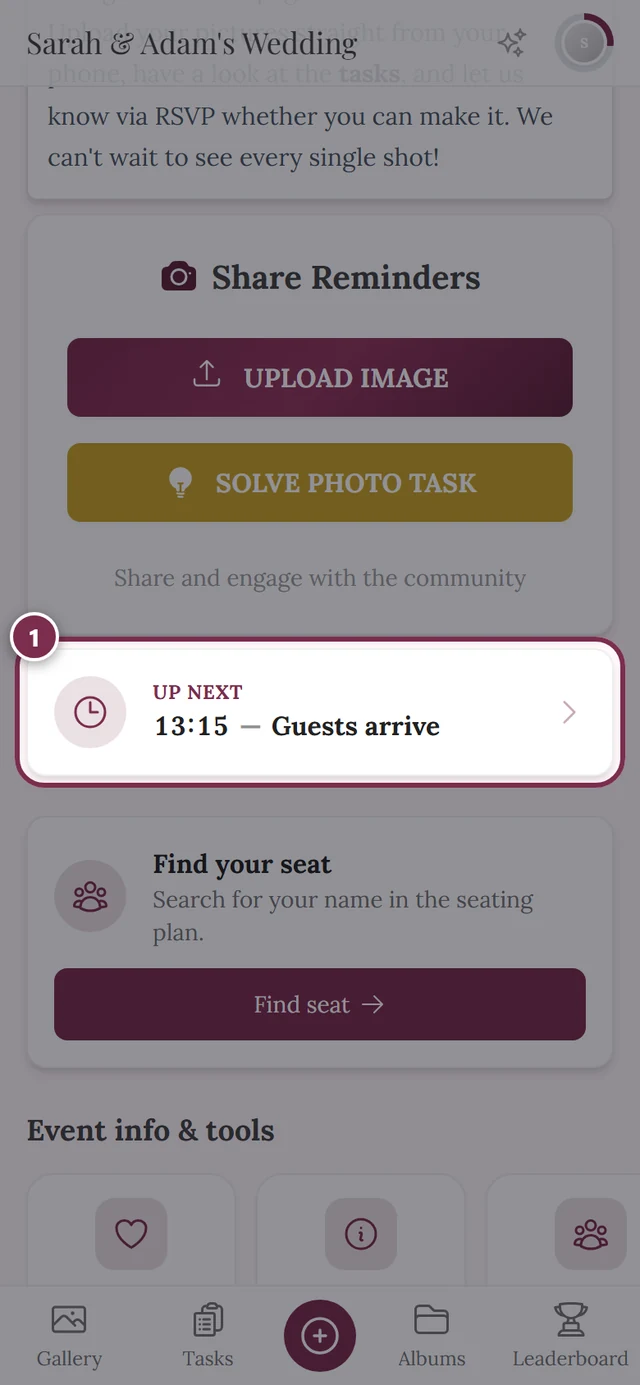
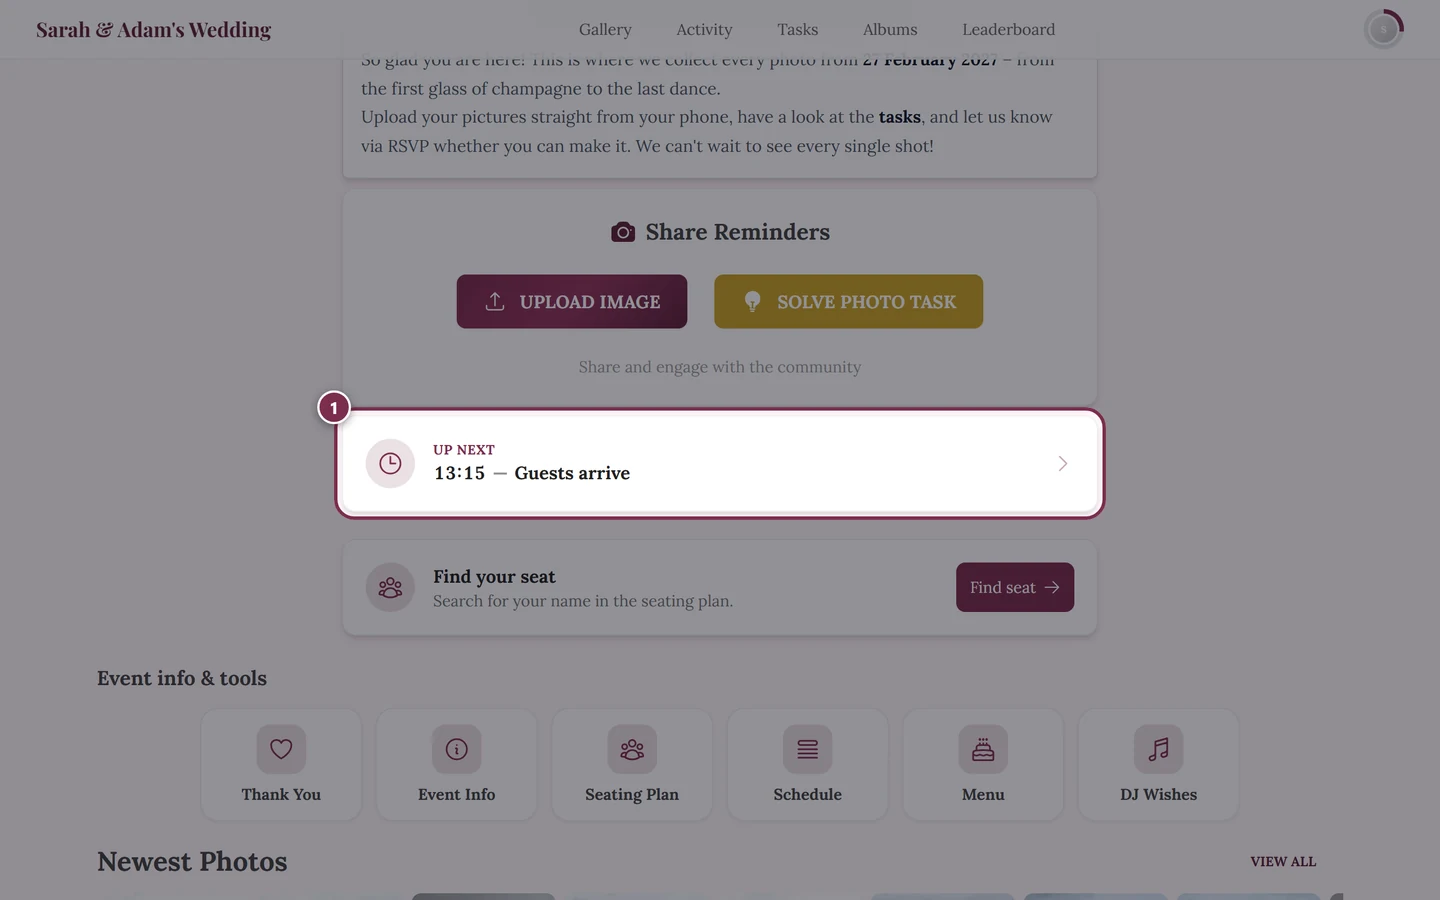
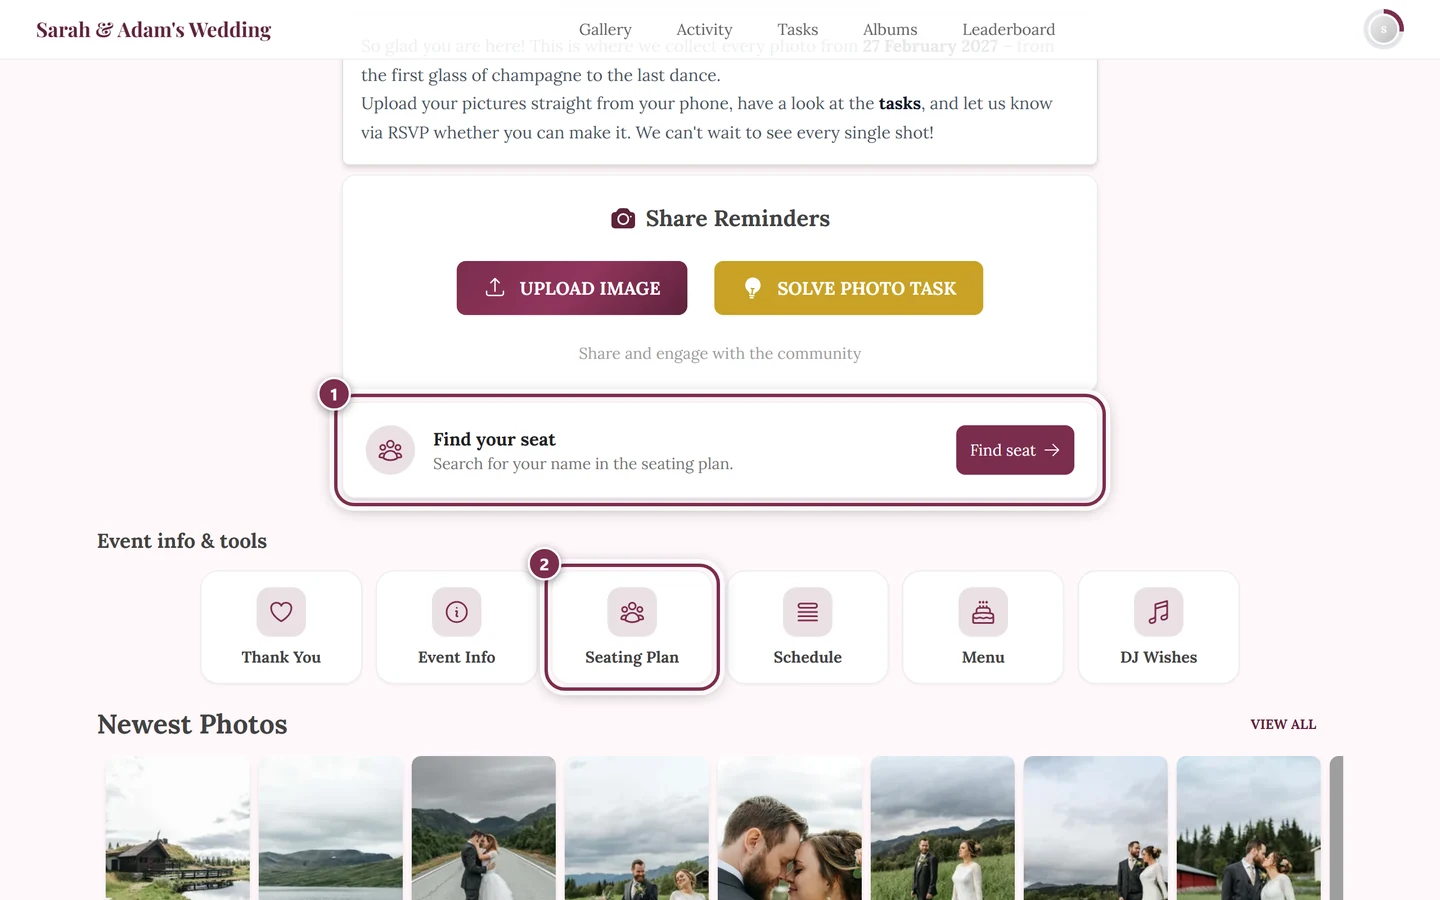
A widget exists for the thank-you note, the event info, the schedule, the seating plan, the menu, the song requests and — if the host adds it — the digital invitation. RSVP and custom pages have none; you only reach those through the rail, the navigation or a link.
The gallery navigation
Section titled “The gallery navigation”Custom pages your host created — “Directions” or “FAQ”, for example — can additionally be linked in the gallery navigation. You then reach them from anywhere, not just from the home page. No other tool ever appears in the navigation – that stays reserved for the gallery itself: home, gallery, activity, tasks, albums and leaderboard, depending on what the host switched on.
A link or QR code
Section titled “A link or QR code”Two tools are normally not in the rail: the digital invitation and RSVP. They are meant to be sent out, and you reach them through the link or QR code you received. RSVP always stays direct-link only; the digital invitation can be added to the rail deliberately by the host — then you find it there as well.
The tools from a guest’s point of view
Section titled “The tools from a guest’s point of view”Digital invitation
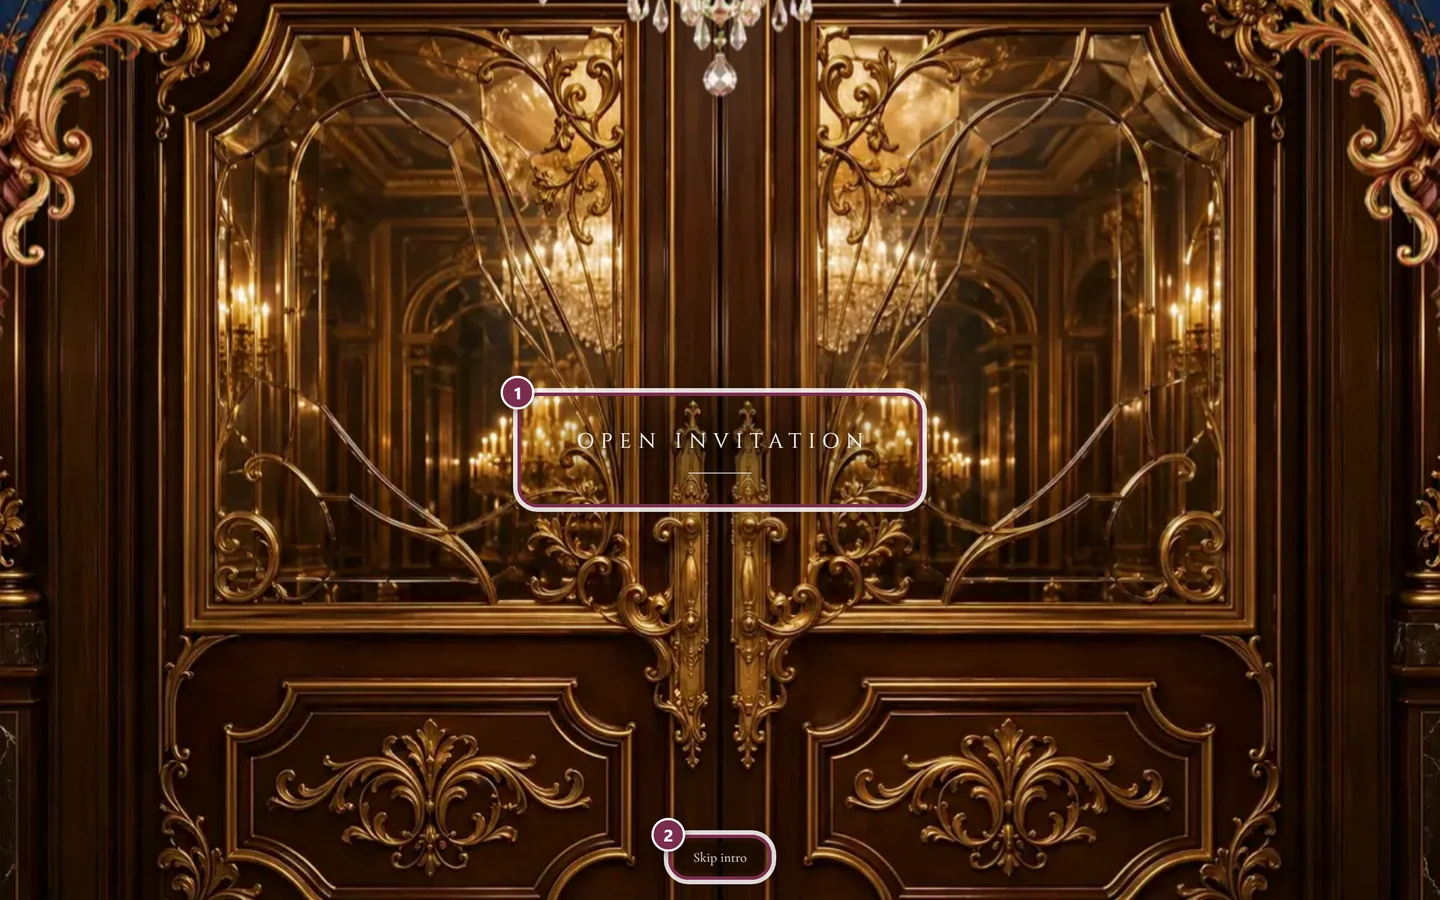
Section titled “Digital invitation”A designed invitation page with countdown, venue, schedule, dress code and replies — your host sends it as a link or QR code. It is the entry page to the event and therefore normally does not appear in the tool rail, though the host can deliberately put it there. From the invitation you can reply, request a song or look at the seating plan without leaving the page.
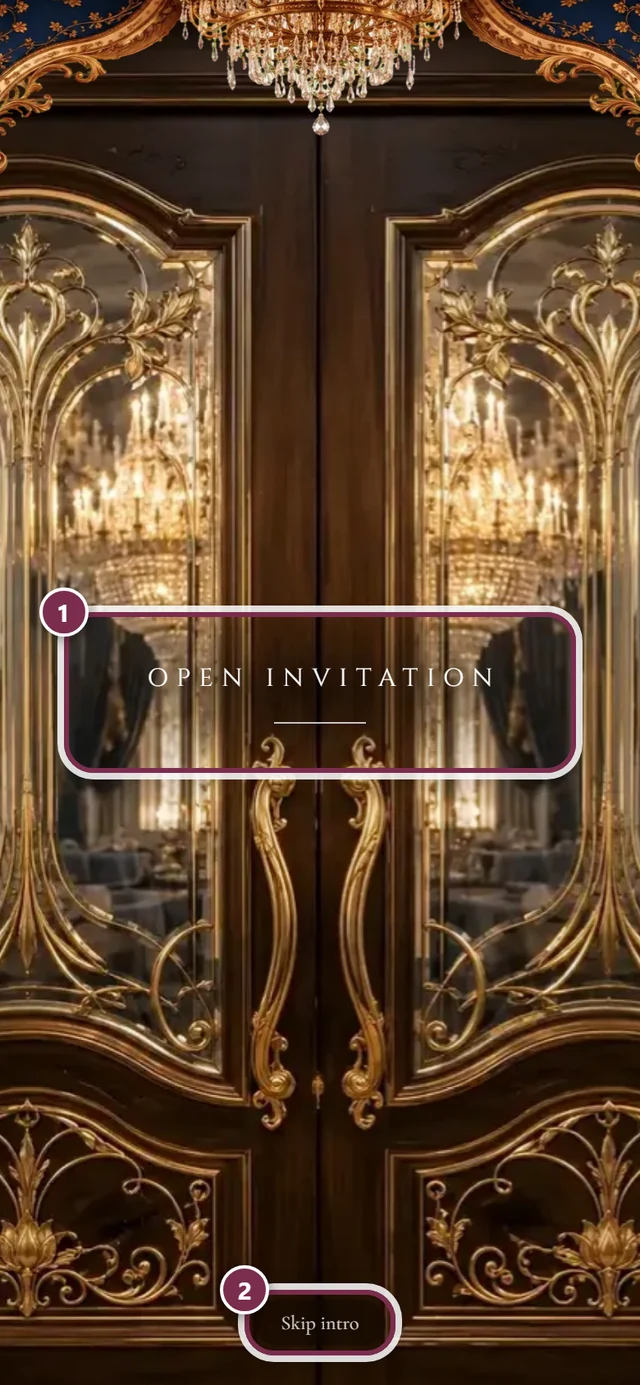
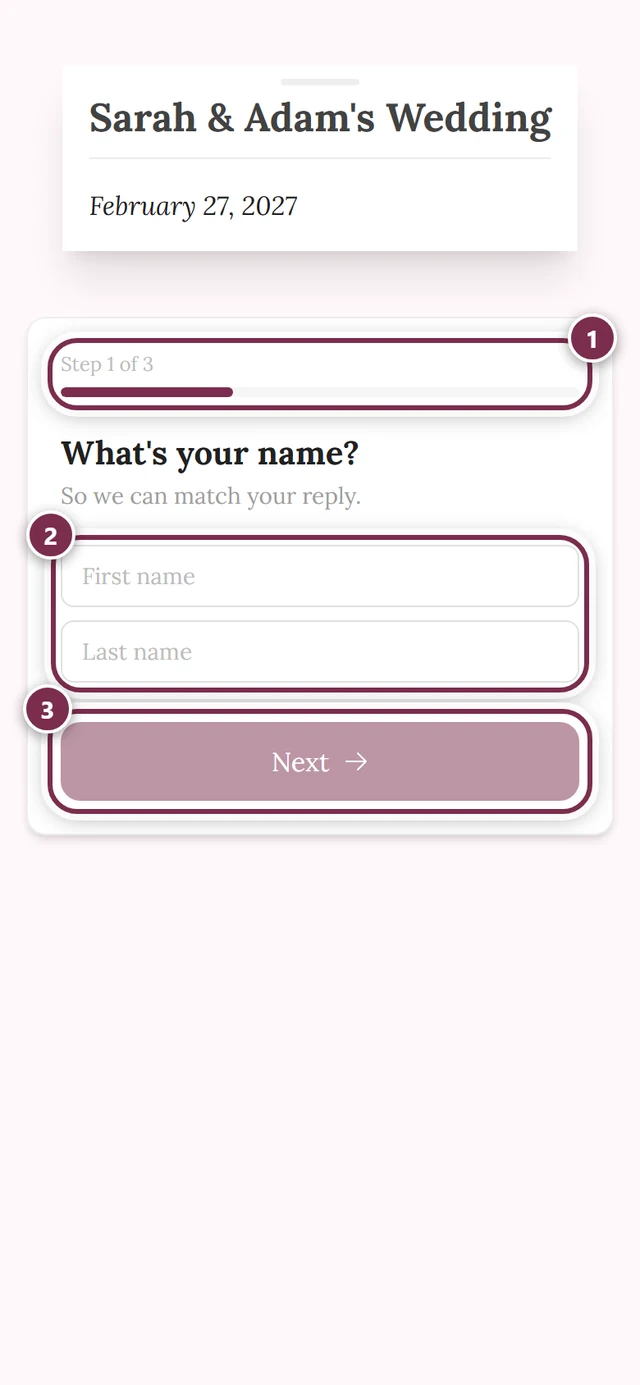
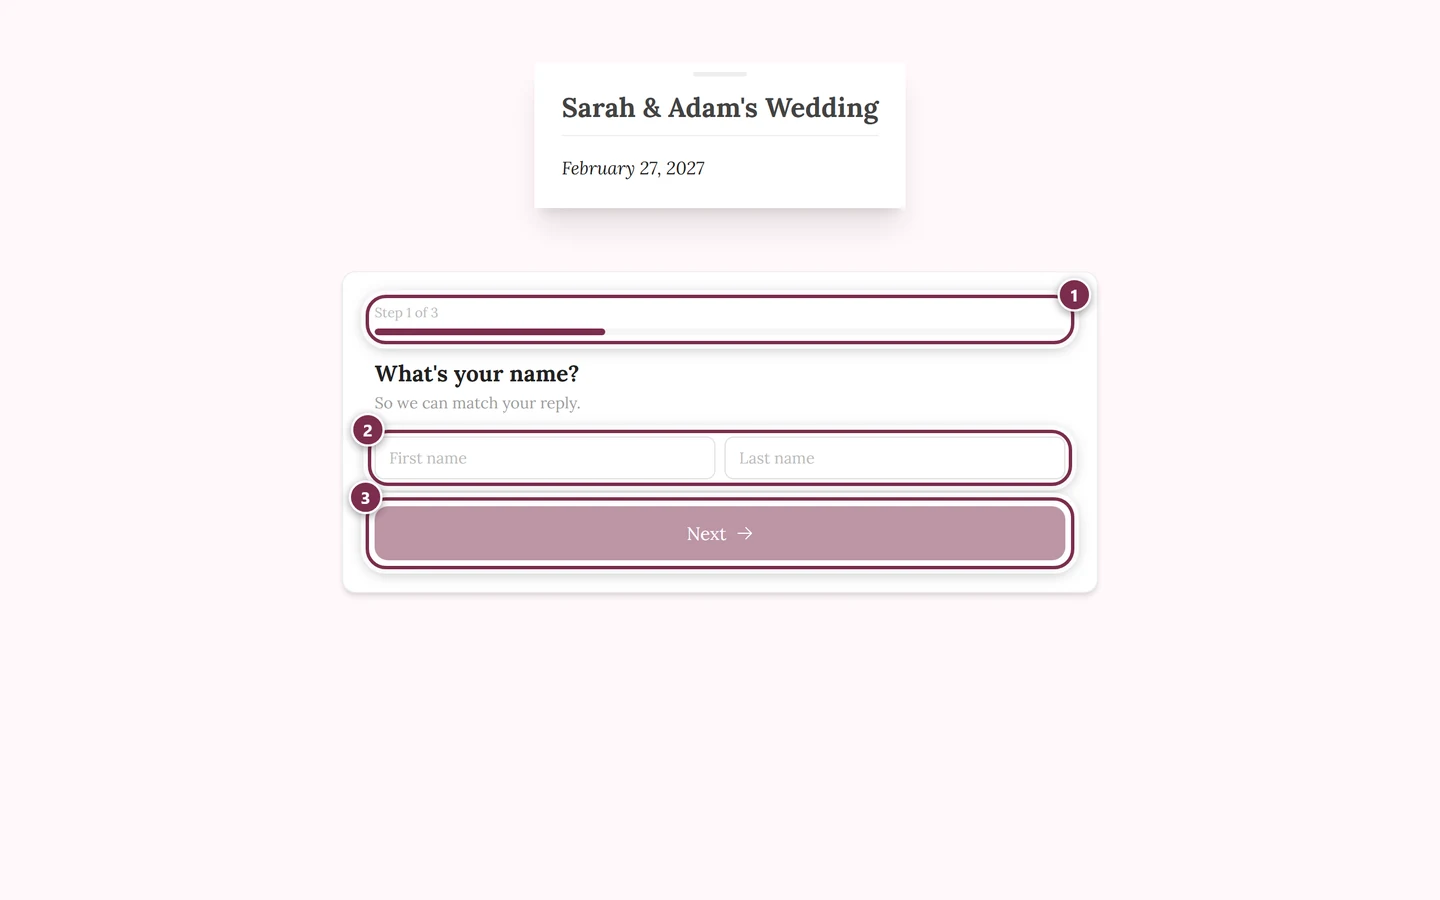
This is where you accept or decline, add your companion, pick your meal and note dietary requirements. This tool also comes to you as a link or QR code; it deliberately does not appear on the home page. If you arrive via an RSVP QR code, you see only the form — without the gallery navigation around it.
Seating plan
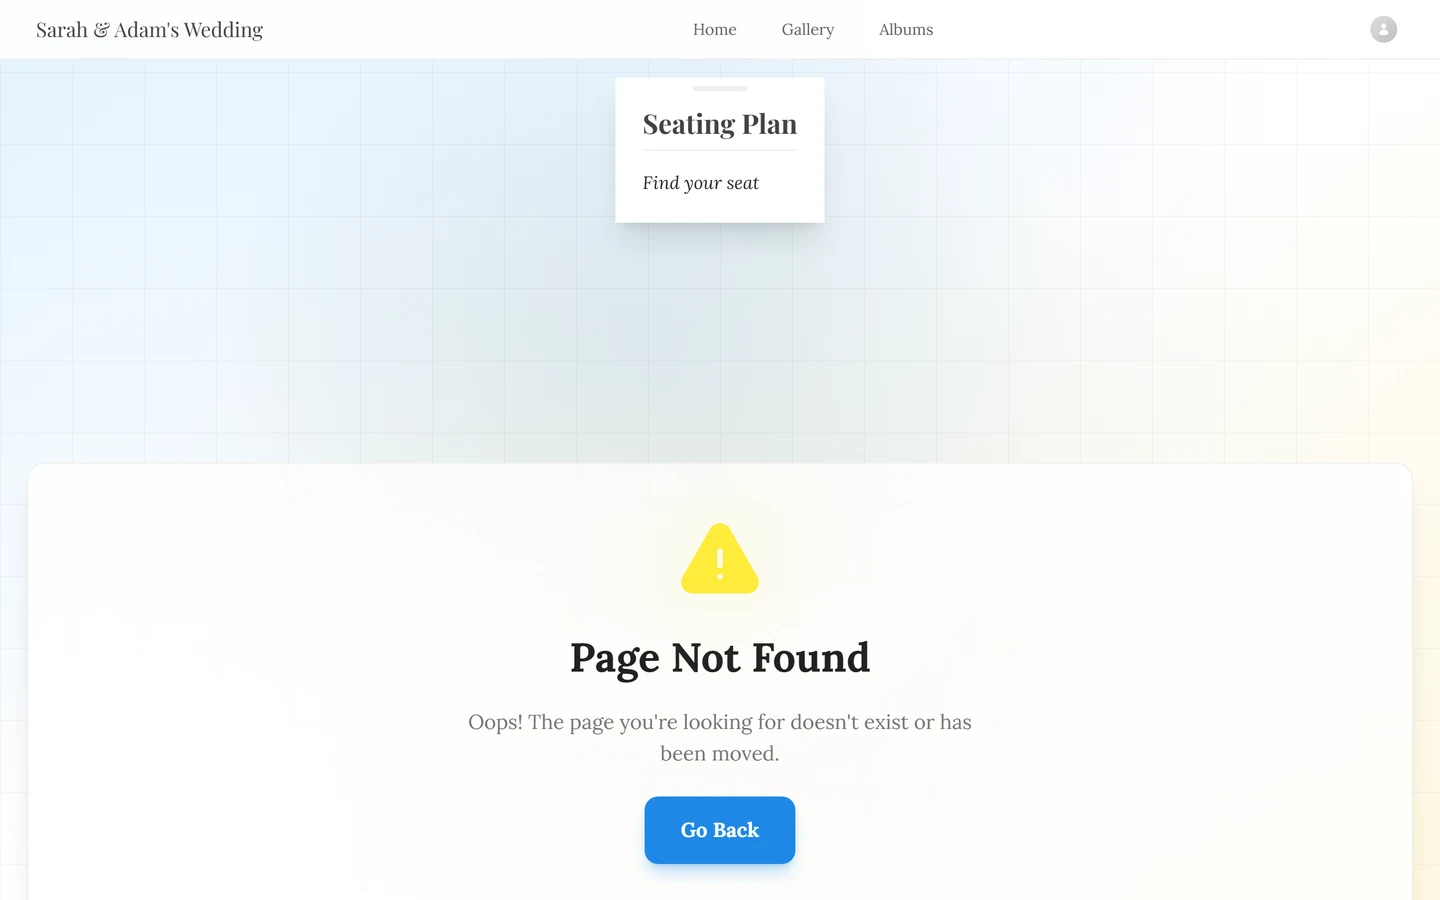
Section titled “Seating plan”Shows you where you sit. You type your name and get your table and seat; the plan jumps to the spot. You can also search for places in the room — bar, WC, dance floor. The plan is drawn as an illustrated scene and can be enlarged in fullscreen.
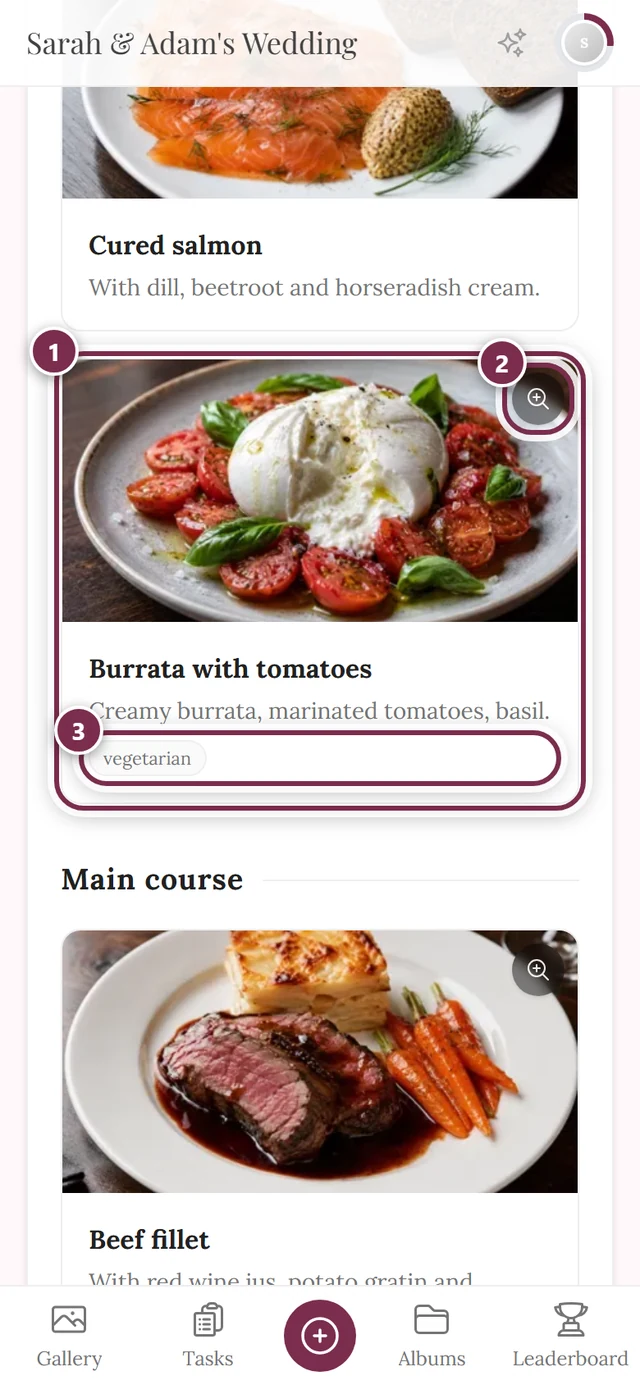
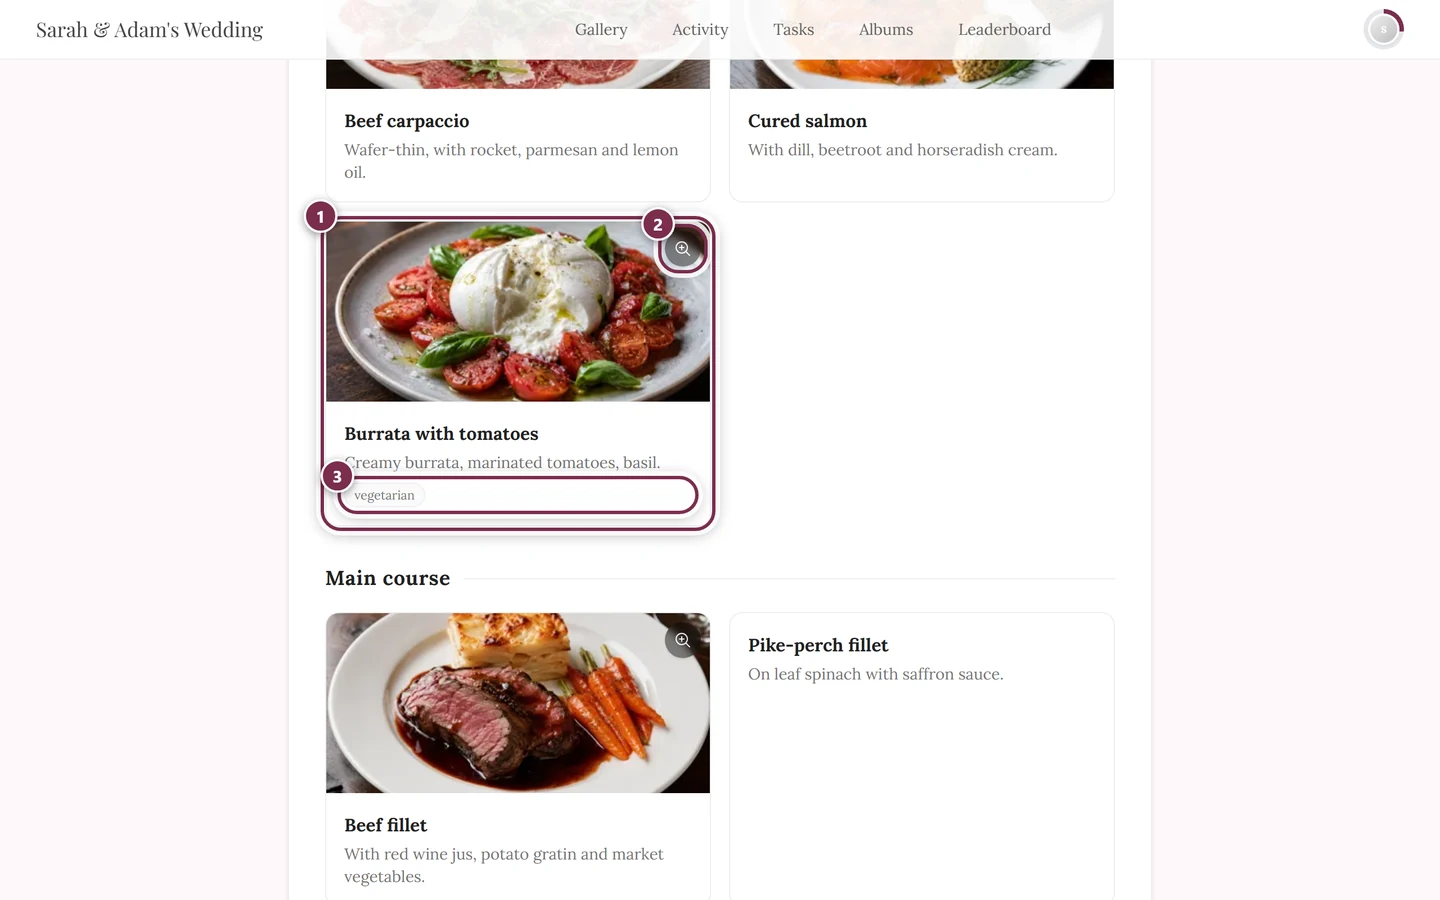
Shows food and drinks at a glance: the courses with their dishes, depending on the setting with a photo, a description and notes such as vegan or gluten-free. If you arrived via a personal link, you only see your own dish per course — with the note You are seeing your personal menu. and the button Show all dishes.
Schedule
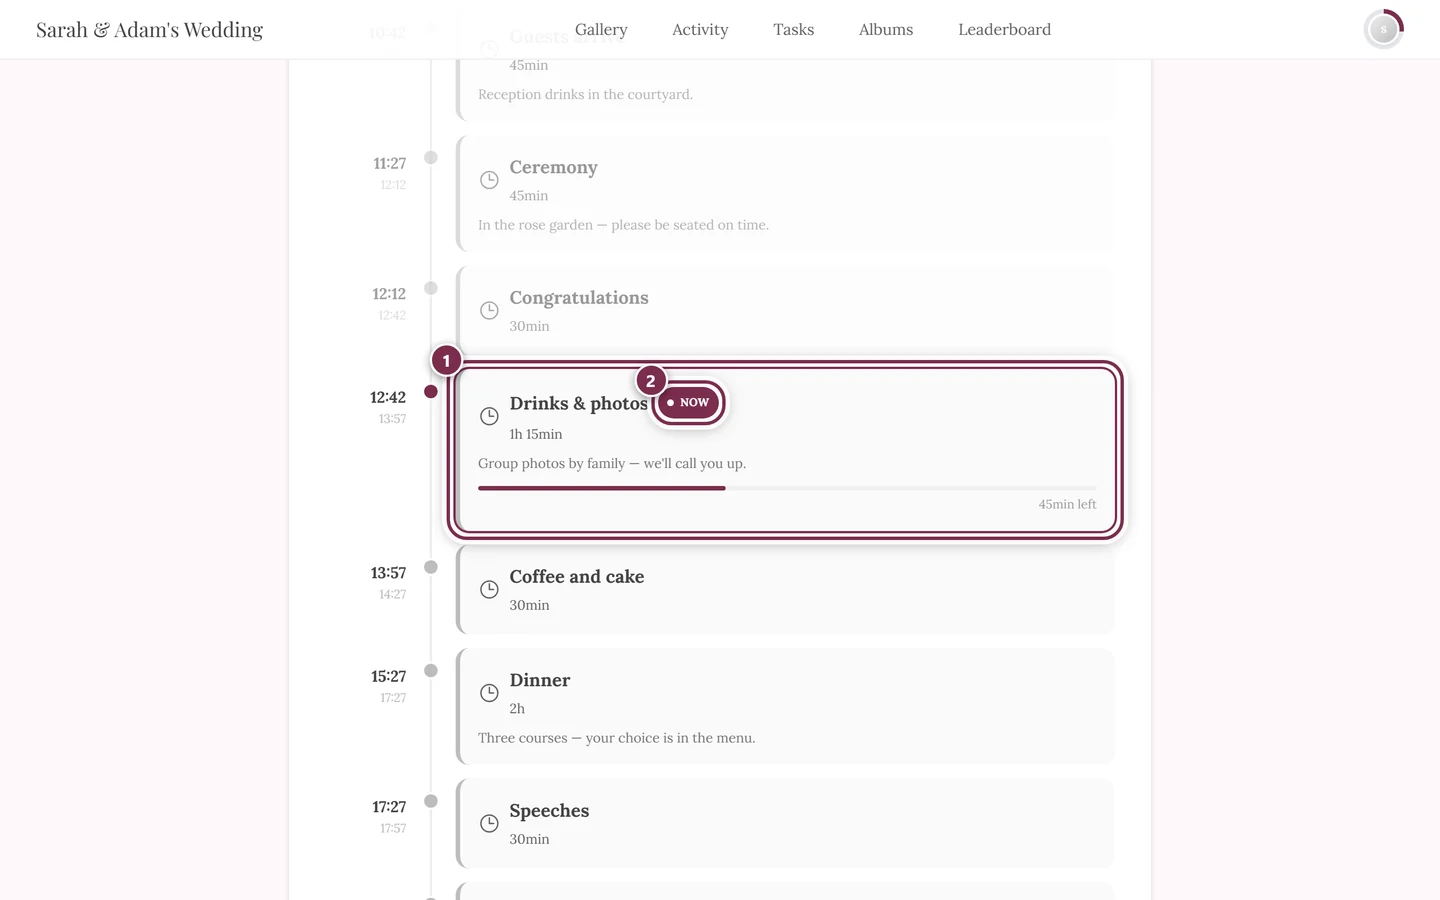
Section titled “Schedule”How the event unfolds: reception, ceremony, dinner, first dance, speeches. The home page additionally shows the Up next widget. If your host created several schedules, you can switch between them; pre-selected is the one whose time window is currently running. The schedule is the only tool with a Print button — handy if you would rather have the running order on paper.
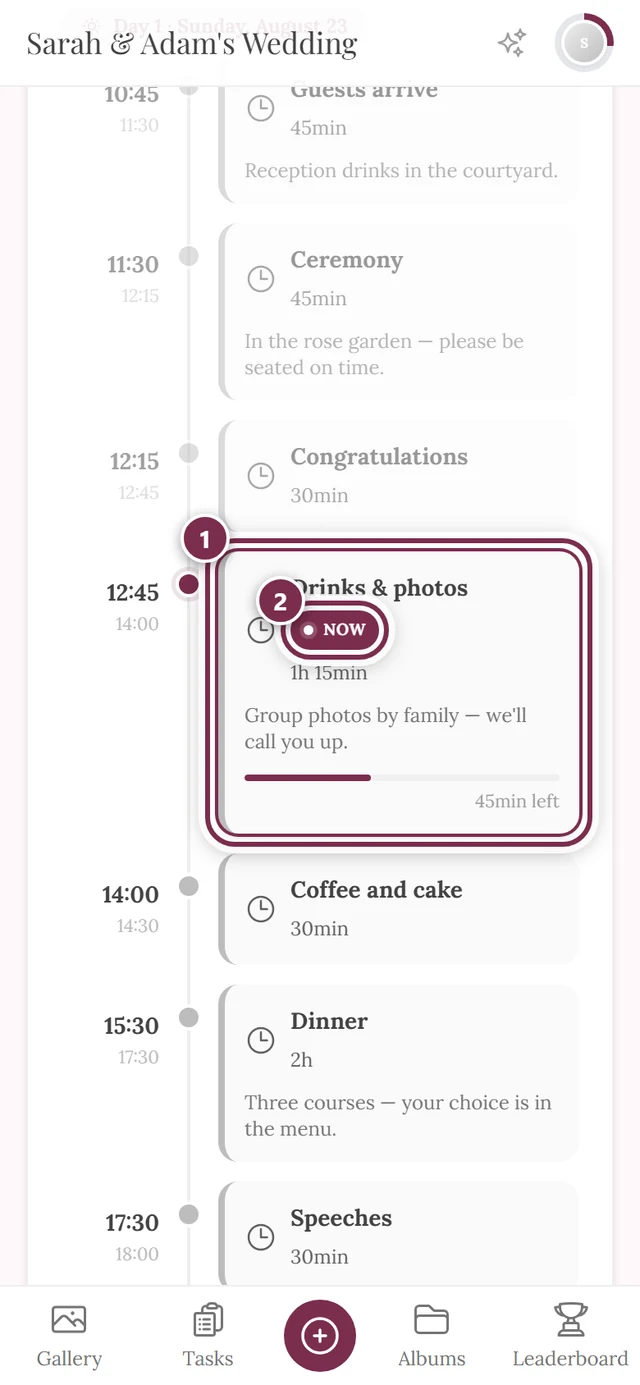
While the event is running, the current item stands out from the rest:
Song requests
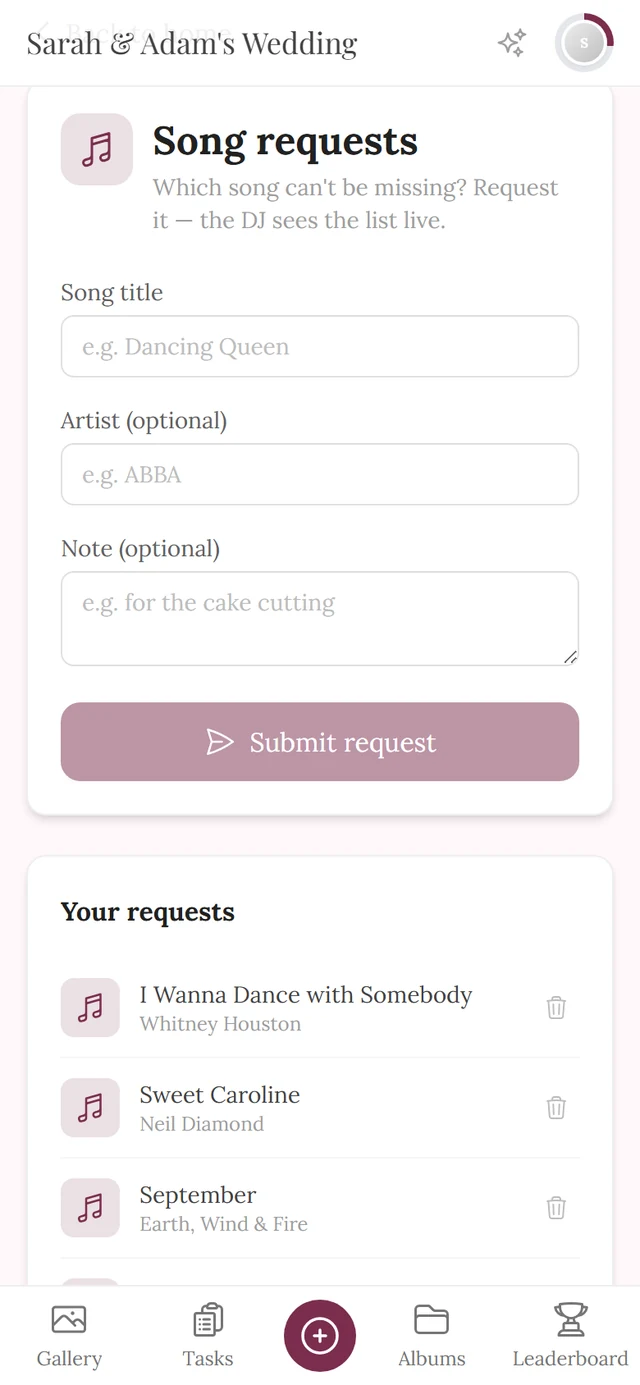
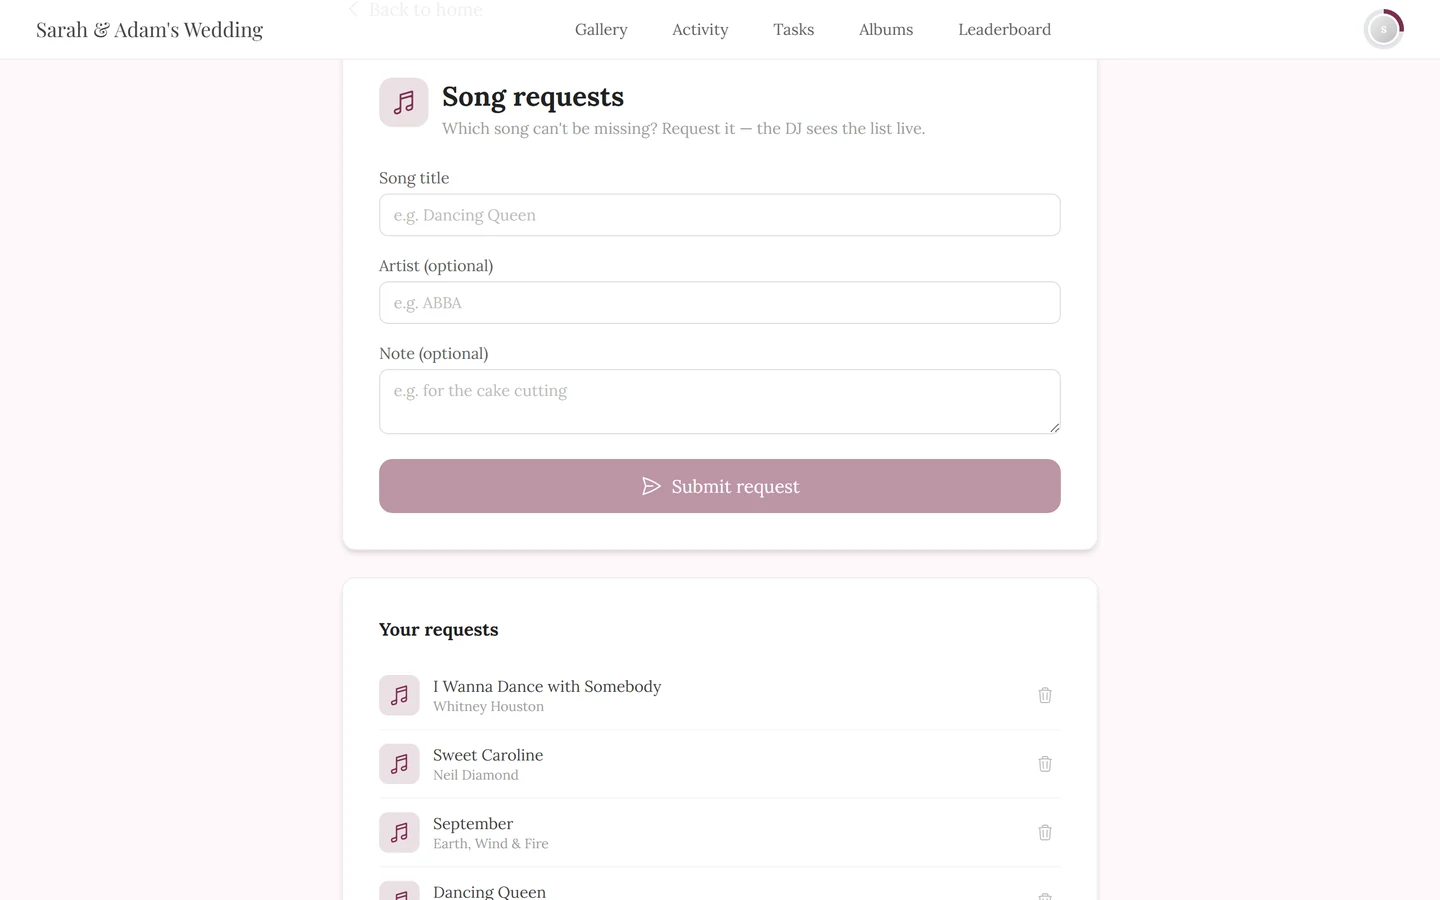
Section titled “Song requests”This is where you ask for your song — title, artist and a note. The entry in the tool rail is called DJ Wishes, the page itself is headed Song requests. You can withdraw your own requests later.
Event info
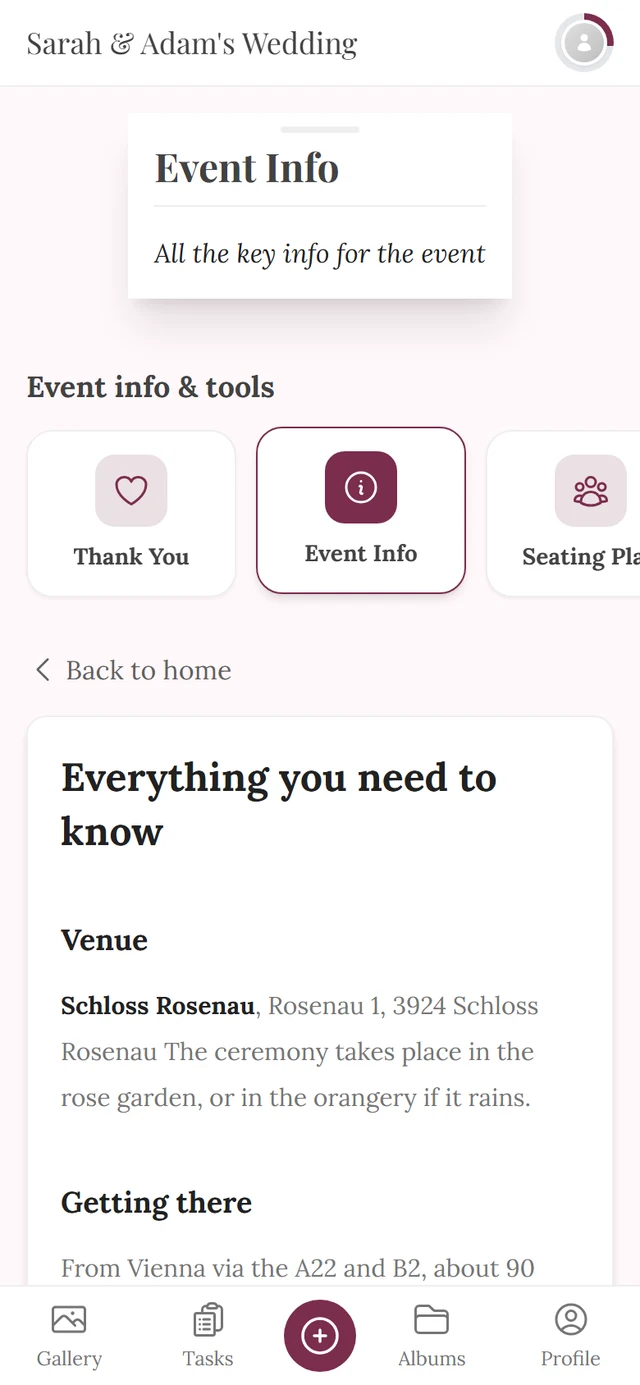
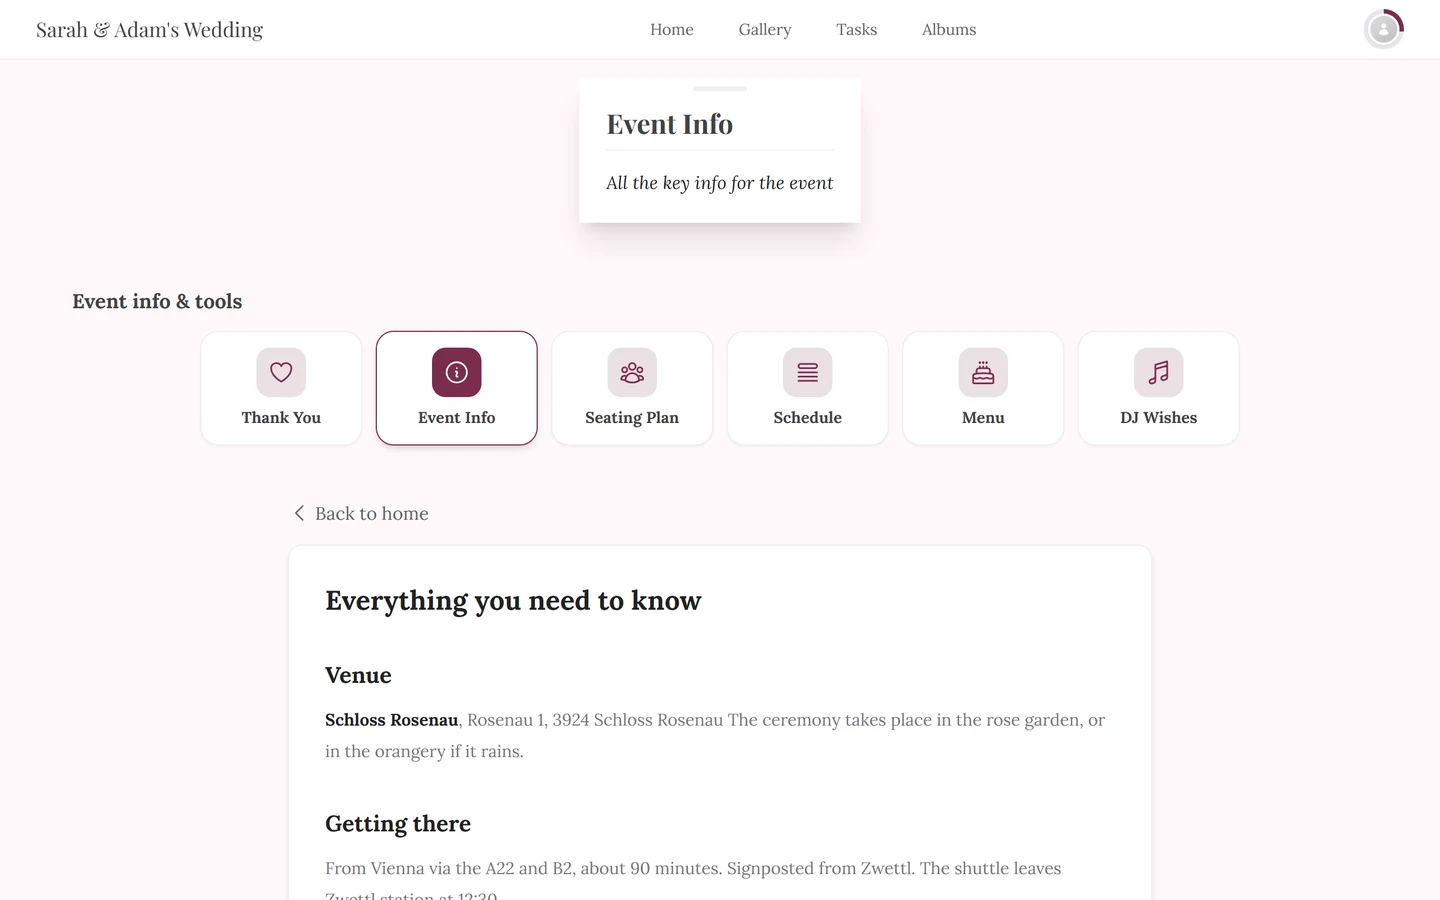
Section titled “Event info”Everything you need to know beforehand: directions, parking, dress code, who to ask. The host writes the text and picks an image. If something is filled in, the content usually appears as a widget on the home page already.
Custom pages
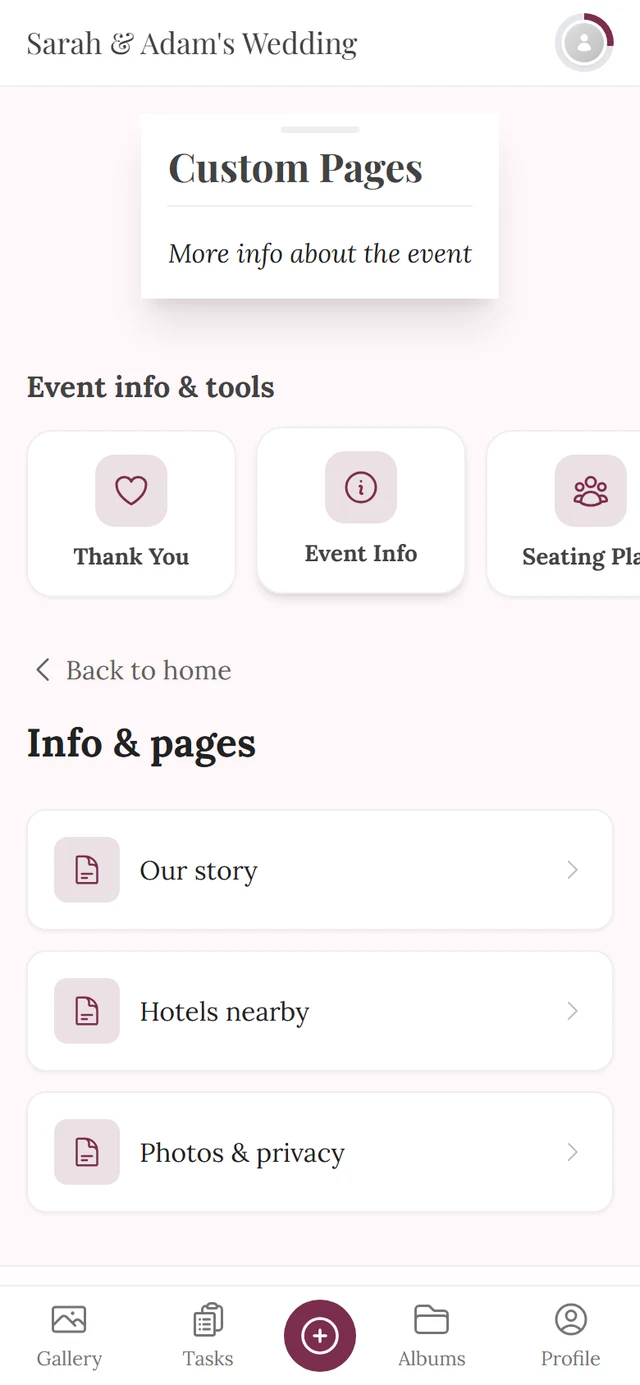
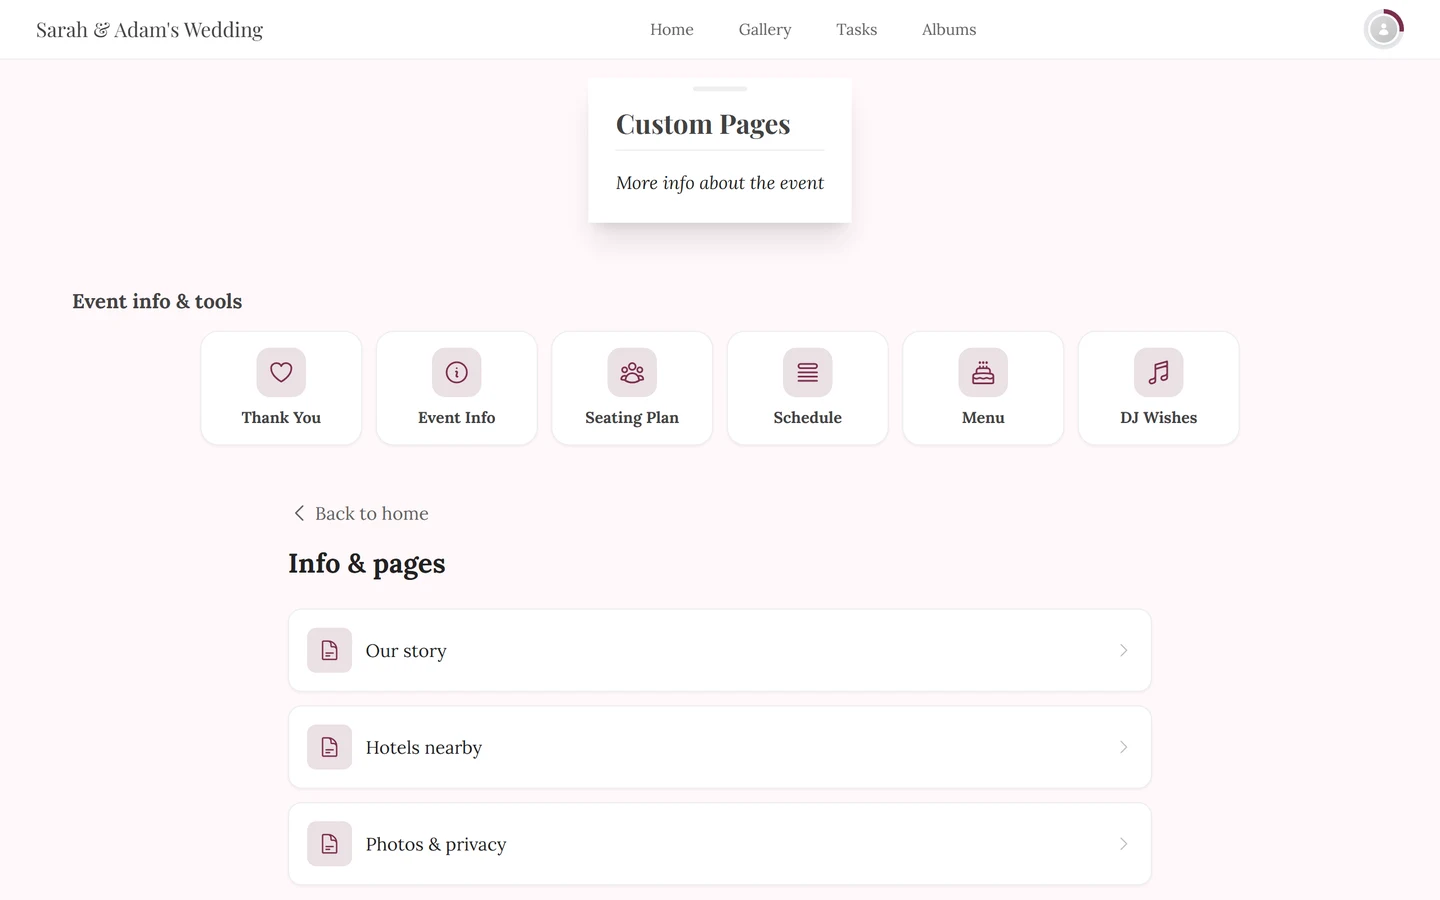
Section titled “Custom pages”Additional info pages the host creates freely — “Our story”, “Hotels nearby” or “Photos & privacy”, for example. Each page can have its own icon and can appear individually in the tool rail or in the navigation; the rest you find through the overview.
Thank you
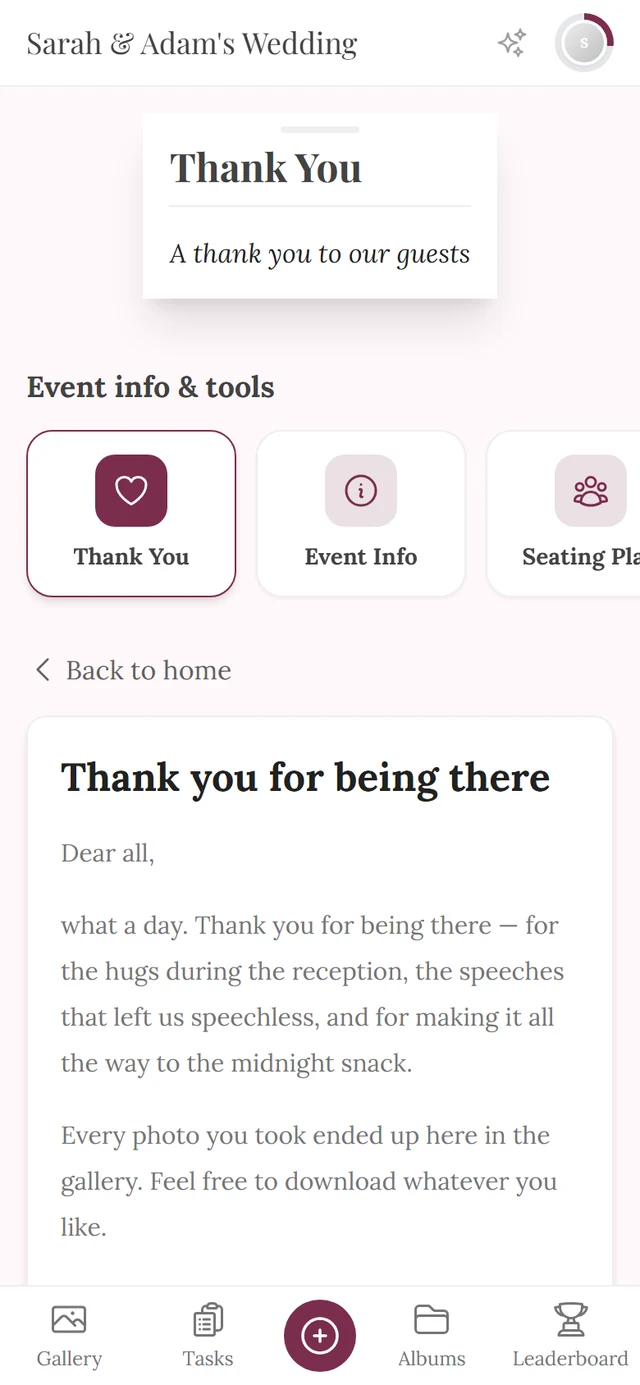
Section titled “Thank you”A thank-you note after the event, with text and image. This page is typically unlocked only some time after the event date — before that you do not see it.
Guest list
Section titled “Guest list”Invisible to you. The guest list is purely a planning tool for the host: names, contact details, replies, meal choices and seats in one table. There is no guest page and no widget for it, and the server hands the list out to the host only. No guest can see who else is invited.
Budget
Section titled “Budget”Invisible to you as well. The budget is the host’s cost planning — items, quotes and payments. It has neither a guest page nor a widget either, and guest requests are rejected on the server. So of the eleven tools, nine can be visible to you and two never are.
Why a tool is missing for you
Section titled “Why a tool is missing for you”On top of that, the host decides per tool whether it gets an entry in the tool rail at all. So a tool can exist and still only be reachable through its own QR code.
When the event knows who you are
Section titled “When the event knows who you are”Some links are personal — for example the QR code on your place card or a personalized invitation link. Open the event through one of them and it knows which guest-list entry belongs to you. That changes three things:
- In the menu you only see the dish noted for you per course. Show all dishes takes you back to the full card.
- In the seating plan your own seat is highlighted automatically, with no need to search.
- In RSVP you are recognized straight away and your previous answer is pre-filled.
If you scan another card later, the most recently scanned code counts. Read more under Why do I only see my own menu?
Do I need an account?
Section titled “Do I need an account?”No. You move through the tools just like the rest of the gallery. For tools you write into — that is RSVP and song requests — Photogala silently creates a guest session in the background so your entry can be matched to you. You do not have to sign up.
Troubleshooting
Section titled “Troubleshooting”The Event info and tools rail is missing entirely. Then no tool with a list entry is active at this event. That is perfectly normal for events that only use the photo gallery.
I can see the rail, but not on every page. The rail exists on the home page and on the tool pages. It is not in the gallery, in albums or on your profile — from there you get back through the event’s name at the top left, which always leads to the home page.
A tool I saw yesterday is gone today. Most likely a time window: the host can limit every tool to a period. Once it ends, the tool disappears from the list.
A tool opens, but the page is empty. The host enabled it but has not filled it in yet. Have another look later.
I land on an error page instead of the tool. The link points at a tool that is not released for you — because it has been switched off in the meantime, for instance. Open the event from the home page and check the tool rail.
The texts are in the wrong language. The content comes from the host and only exists in the languages they maintained. You can change your display language under Changing the language.
Related pages
Section titled “Related pages”- For hosts: Tooling – Overview — how these tools are set up.
- For hosts: Guest menu — order and visibility of the tiles in this rail.