Setting up the photo wall
The photo wall shows your guests’ new photos live on a big screen – on a TV or projector. This page teaches you how to configure the wall in the admin portal field by field: branding, display speed and mode, which photos appear and which interactions are shown.
How to reach the photo wall settings
Section titled “How to reach the photo wall settings”-
Open the profile menu in the top right of the gallery and choose the admin portal under Management. Details: Access your event / management.
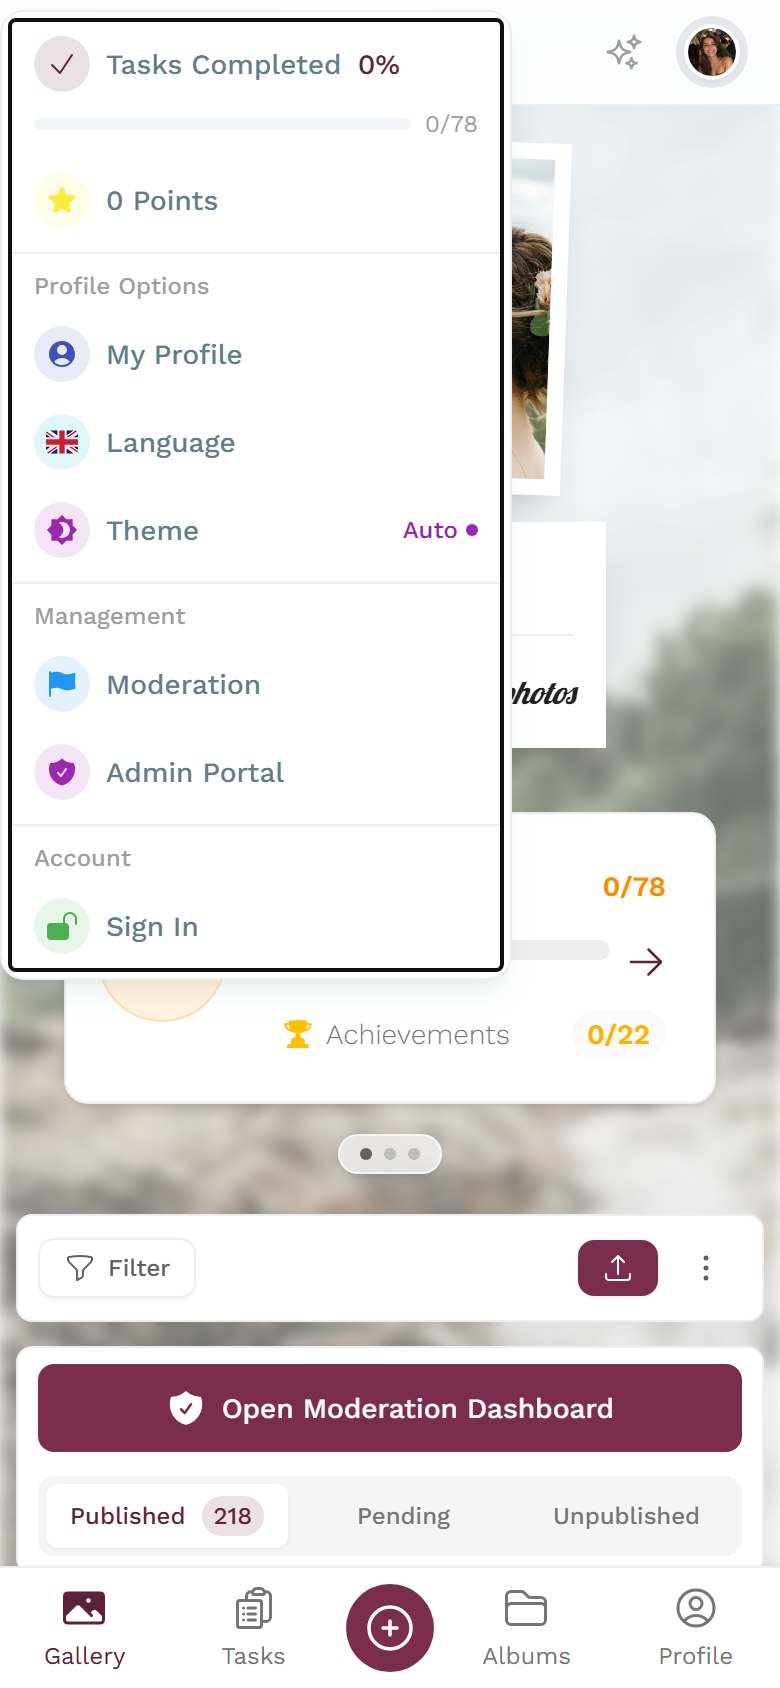
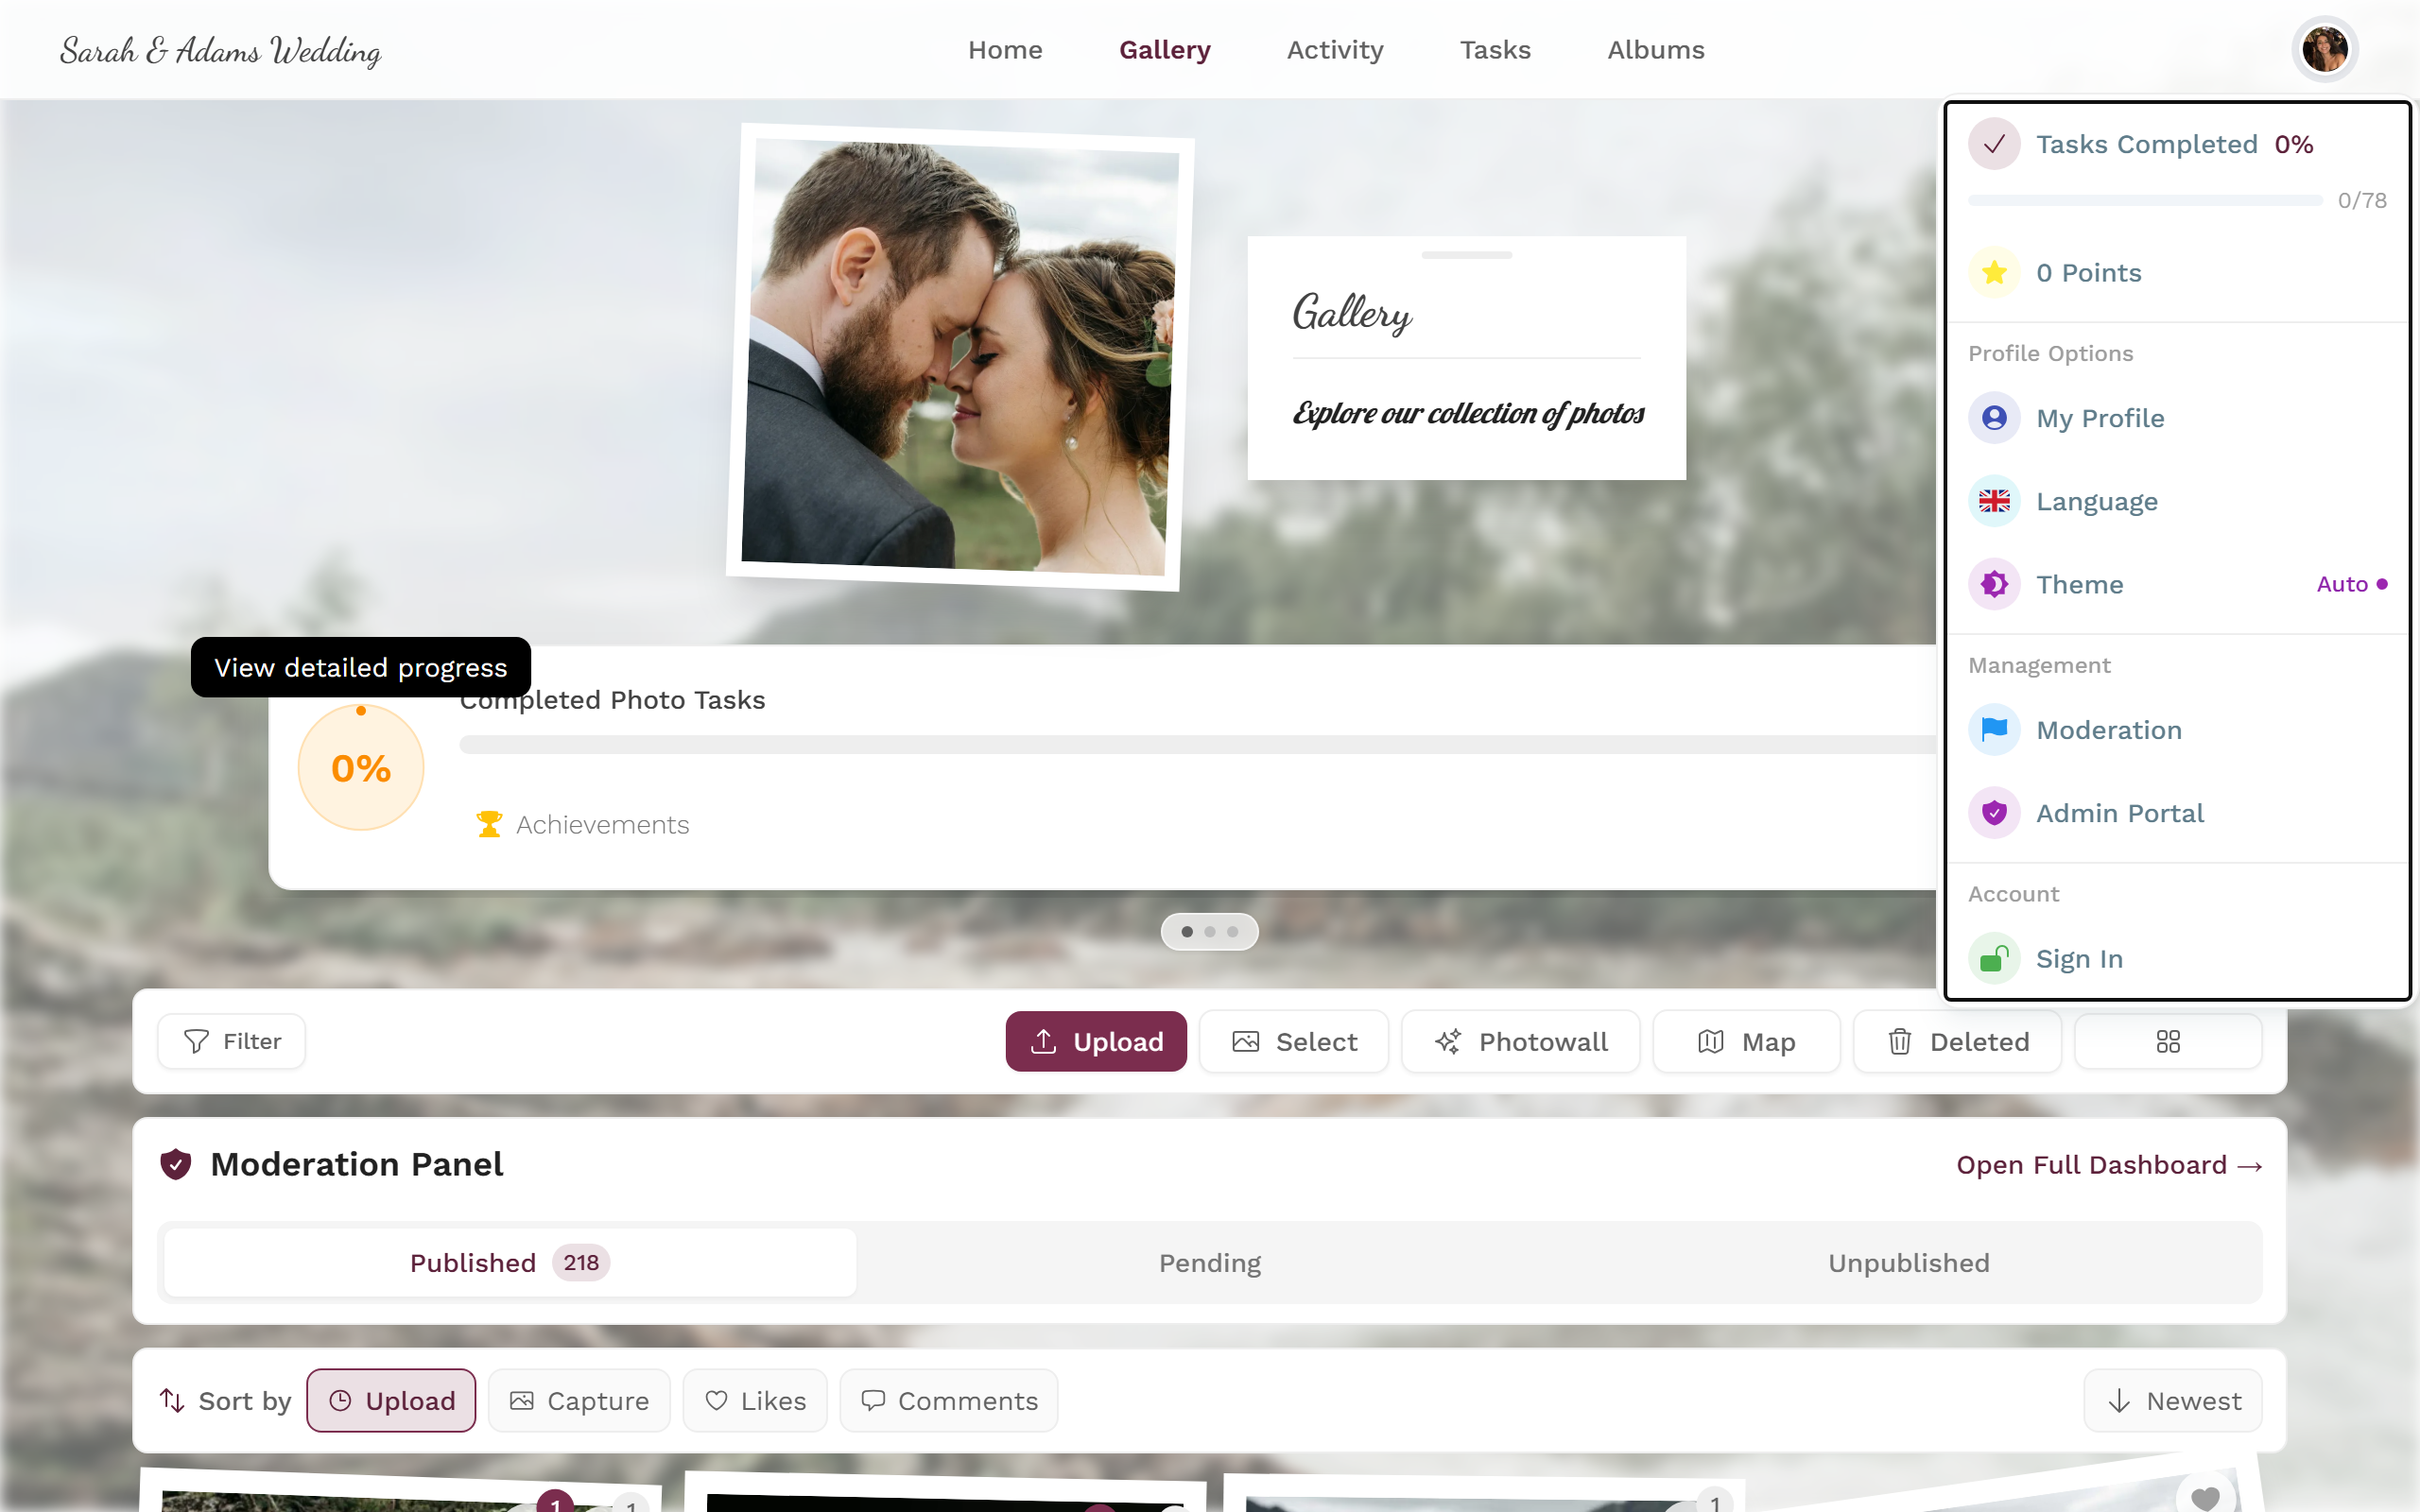
Reach the admin portal through the profile menu in the top right. -
Open “Settings” in the left sidebar.
-
Click “Photo Wall Settings” in the tab bar at the top (the photo icon). The address changes to
/admin/settings?tab=photo-wall.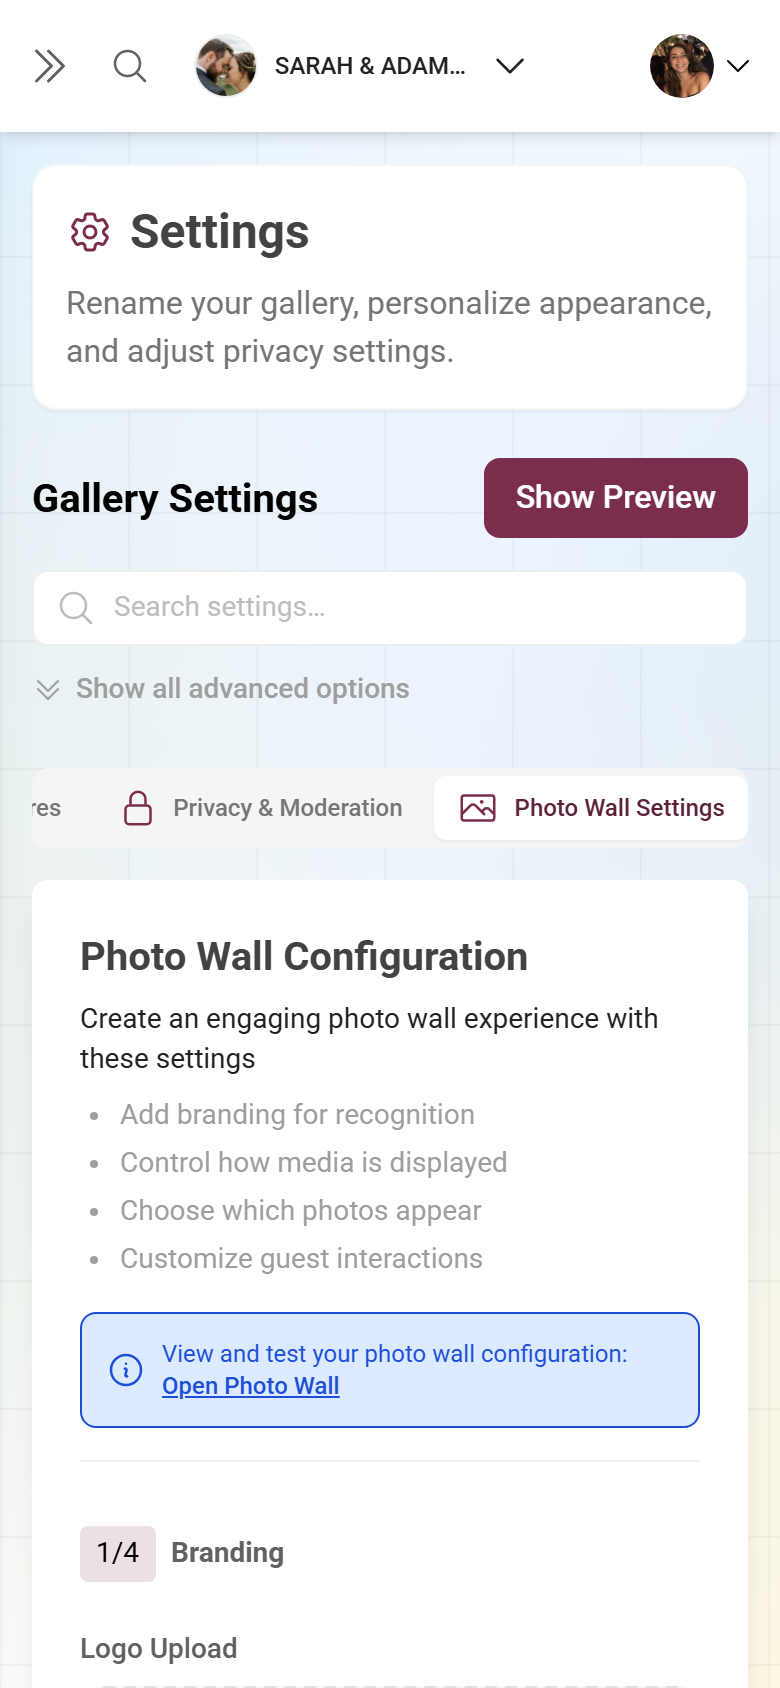
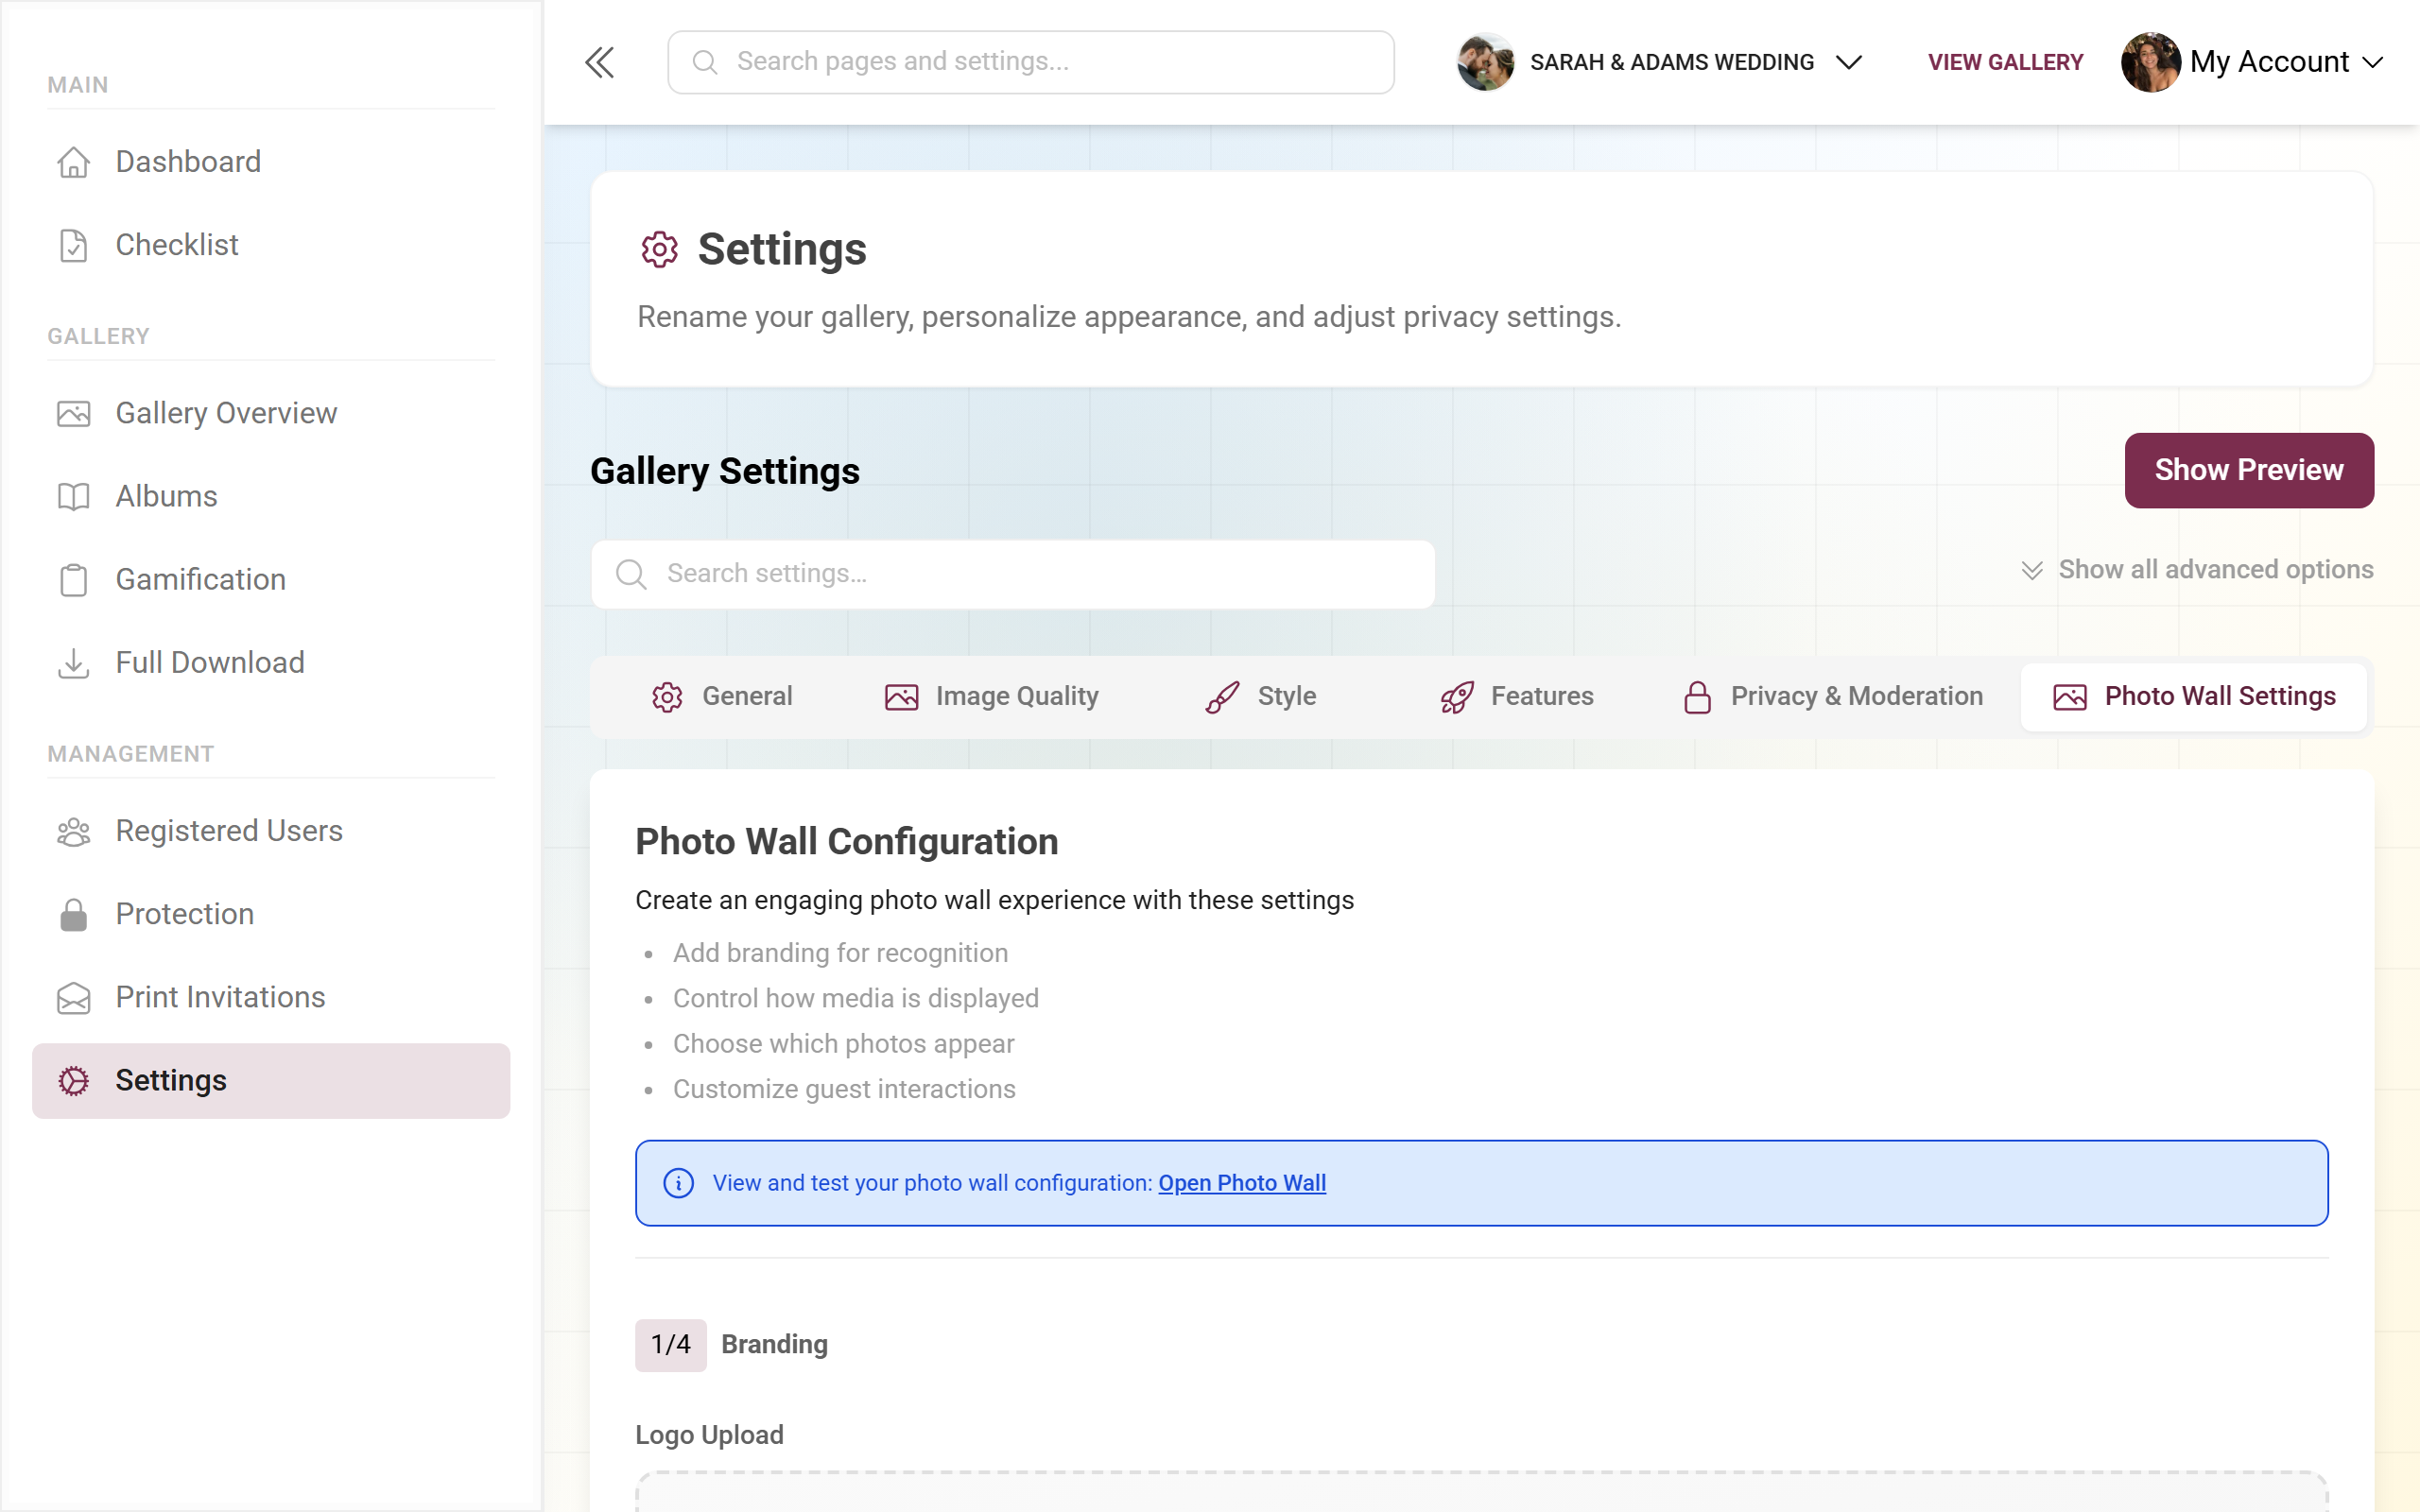
The “Photo Wall Settings” tab holds every building block of the live wall.
Section 1 – Branding (logo)
Section titled “Section 1 – Branding (logo)”The first section, “Branding”, places a logo on the wall.
-
In the “Logo Upload” field, drag an image file into the drop area or click it to pick a file.
-
The logo appears on the wall in the top left corner (top centre on narrow screens).
Section 2 – Display settings
Section titled “Section 2 – Display settings”The “Display Settings” section controls speed, mode and look.
Speed (always visible)
Section titled “Speed (always visible)”-
“Video Duration (seconds)” – how long each video plays in seconds (minimum 1, default 7). If a video is shorter than the value, the wall moves on immediately when the video ends.
-
“Repeat Videos” – short videos loop until the configured duration is reached.
-
“Image Duration (seconds)” – how long each photo is shown in seconds (minimum 1, default 5).
Mode & look
Section titled “Mode & look”-
“Display mode” – choose between “Slideshow — one photo at a time” (default) and “Collage — grid of photos” (many photos at once in a grid).
-
“Ken Burns effect” – a slow pan and zoom across the photos for a cinematic feel.
-
“Photo fit” – how a photo fills its frame:
- “Default” – standard behaviour (slideshow shows the whole photo).
- “Fill frame (crop)” – fills the frame, cropping the photo (focal-point aware).
- “Whole photo (dark bars)” – the entire photo with dark bars at the edges.
- “Whole photo (blurred fill)” – the entire photo, with the border filled by a soft blurred version of the photo.
Advanced options: accent colour
Section titled “Advanced options: accent colour”The collapsed “Advanced options” block of this section holds “Accent colour”. This colour tints celebration banners and badges on the wall. The hex value is shown on the right, and the colour can be reset. Without a custom value, the wall inherits the event’s accent or primary colour (see Customize the look); as a final fallback it uses the brand blue #2563eb.
Section 3 – Content curation
Section titled “Section 3 – Content curation”The “Content Curation” section decides which photos run on the wall.
Album filter
Section titled “Album filter”“Show only selected albums” limits the wall to chosen albums. It’s a multi-select with the “All albums” placeholder – leave everything unchecked and photos from all albums appear. If no albums exist yet, it says “No albums created yet.”. You create albums under Manage albums.
Highlights
Section titled “Highlights”“Only show popular photos” hides photos until they’ve collected enough likes – great for a live “best of”. When the toggle is on, the “Required likes” field appears (minimum 1): a photo runs on the wall once it has at least that many likes.
Advanced options: recency
Section titled “Advanced options: recency”Inside the collapsed “Advanced options” block of this section:
-
“Recent photos only (minutes)” – show only photos from the last N minutes.
0means all photos. -
“Show older photos if none are recent” – appears once the minutes value is above 0 (on by default). Prevents an empty wall when nothing was uploaded recently.
-
“Jump to new photos” – shows freshly uploaded photos immediately as they arrive.
Section 4 – Interaction settings
Section titled “Section 4 – Interaction settings”The “Interaction Settings” section controls which overlays the wall shows.
Always visible
Section titled “Always visible”-
“Show Captions” – shows captions and descriptions with the photos.
-
“Show QR Code” – displays the access QR code on the wall (top right, with a scan prompt). It’s hidden on narrow screens.
Advanced options: tasks, live celebrations & per-photo info
Section titled “Advanced options: tasks, live celebrations & per-photo info”Inside the collapsed “Advanced options” block of this section:
-
“Show Tasks” – shows active photo tasks as a caption. “Show Task Image” adds an example picture for the task. You maintain tasks under Manage photo tasks.
-
The “Live Celebrations” subgroup (three toggles, off by default):
- “Like celebrations” – a heart burst when a photo gets liked.
- “Achievement unlocks” – a banner when a guest unlocks an achievement. See Achievements.
- “Milestones” – celebrates upload milestones (100 photos, …). These are only celebrated when crossed live.
-
The “Per-Photo Info” subgroup (two toggles):
- “Show uploader name” – shows who took each photo.
- “Show like count” – shows the number of likes on each photo.
Opening the wall & fullscreen
Section titled “Opening the wall & fullscreen”-
There’s an info box at the top of the tab with the “Open Photo Wall” link. It opens the wall at
/photowallfor testing.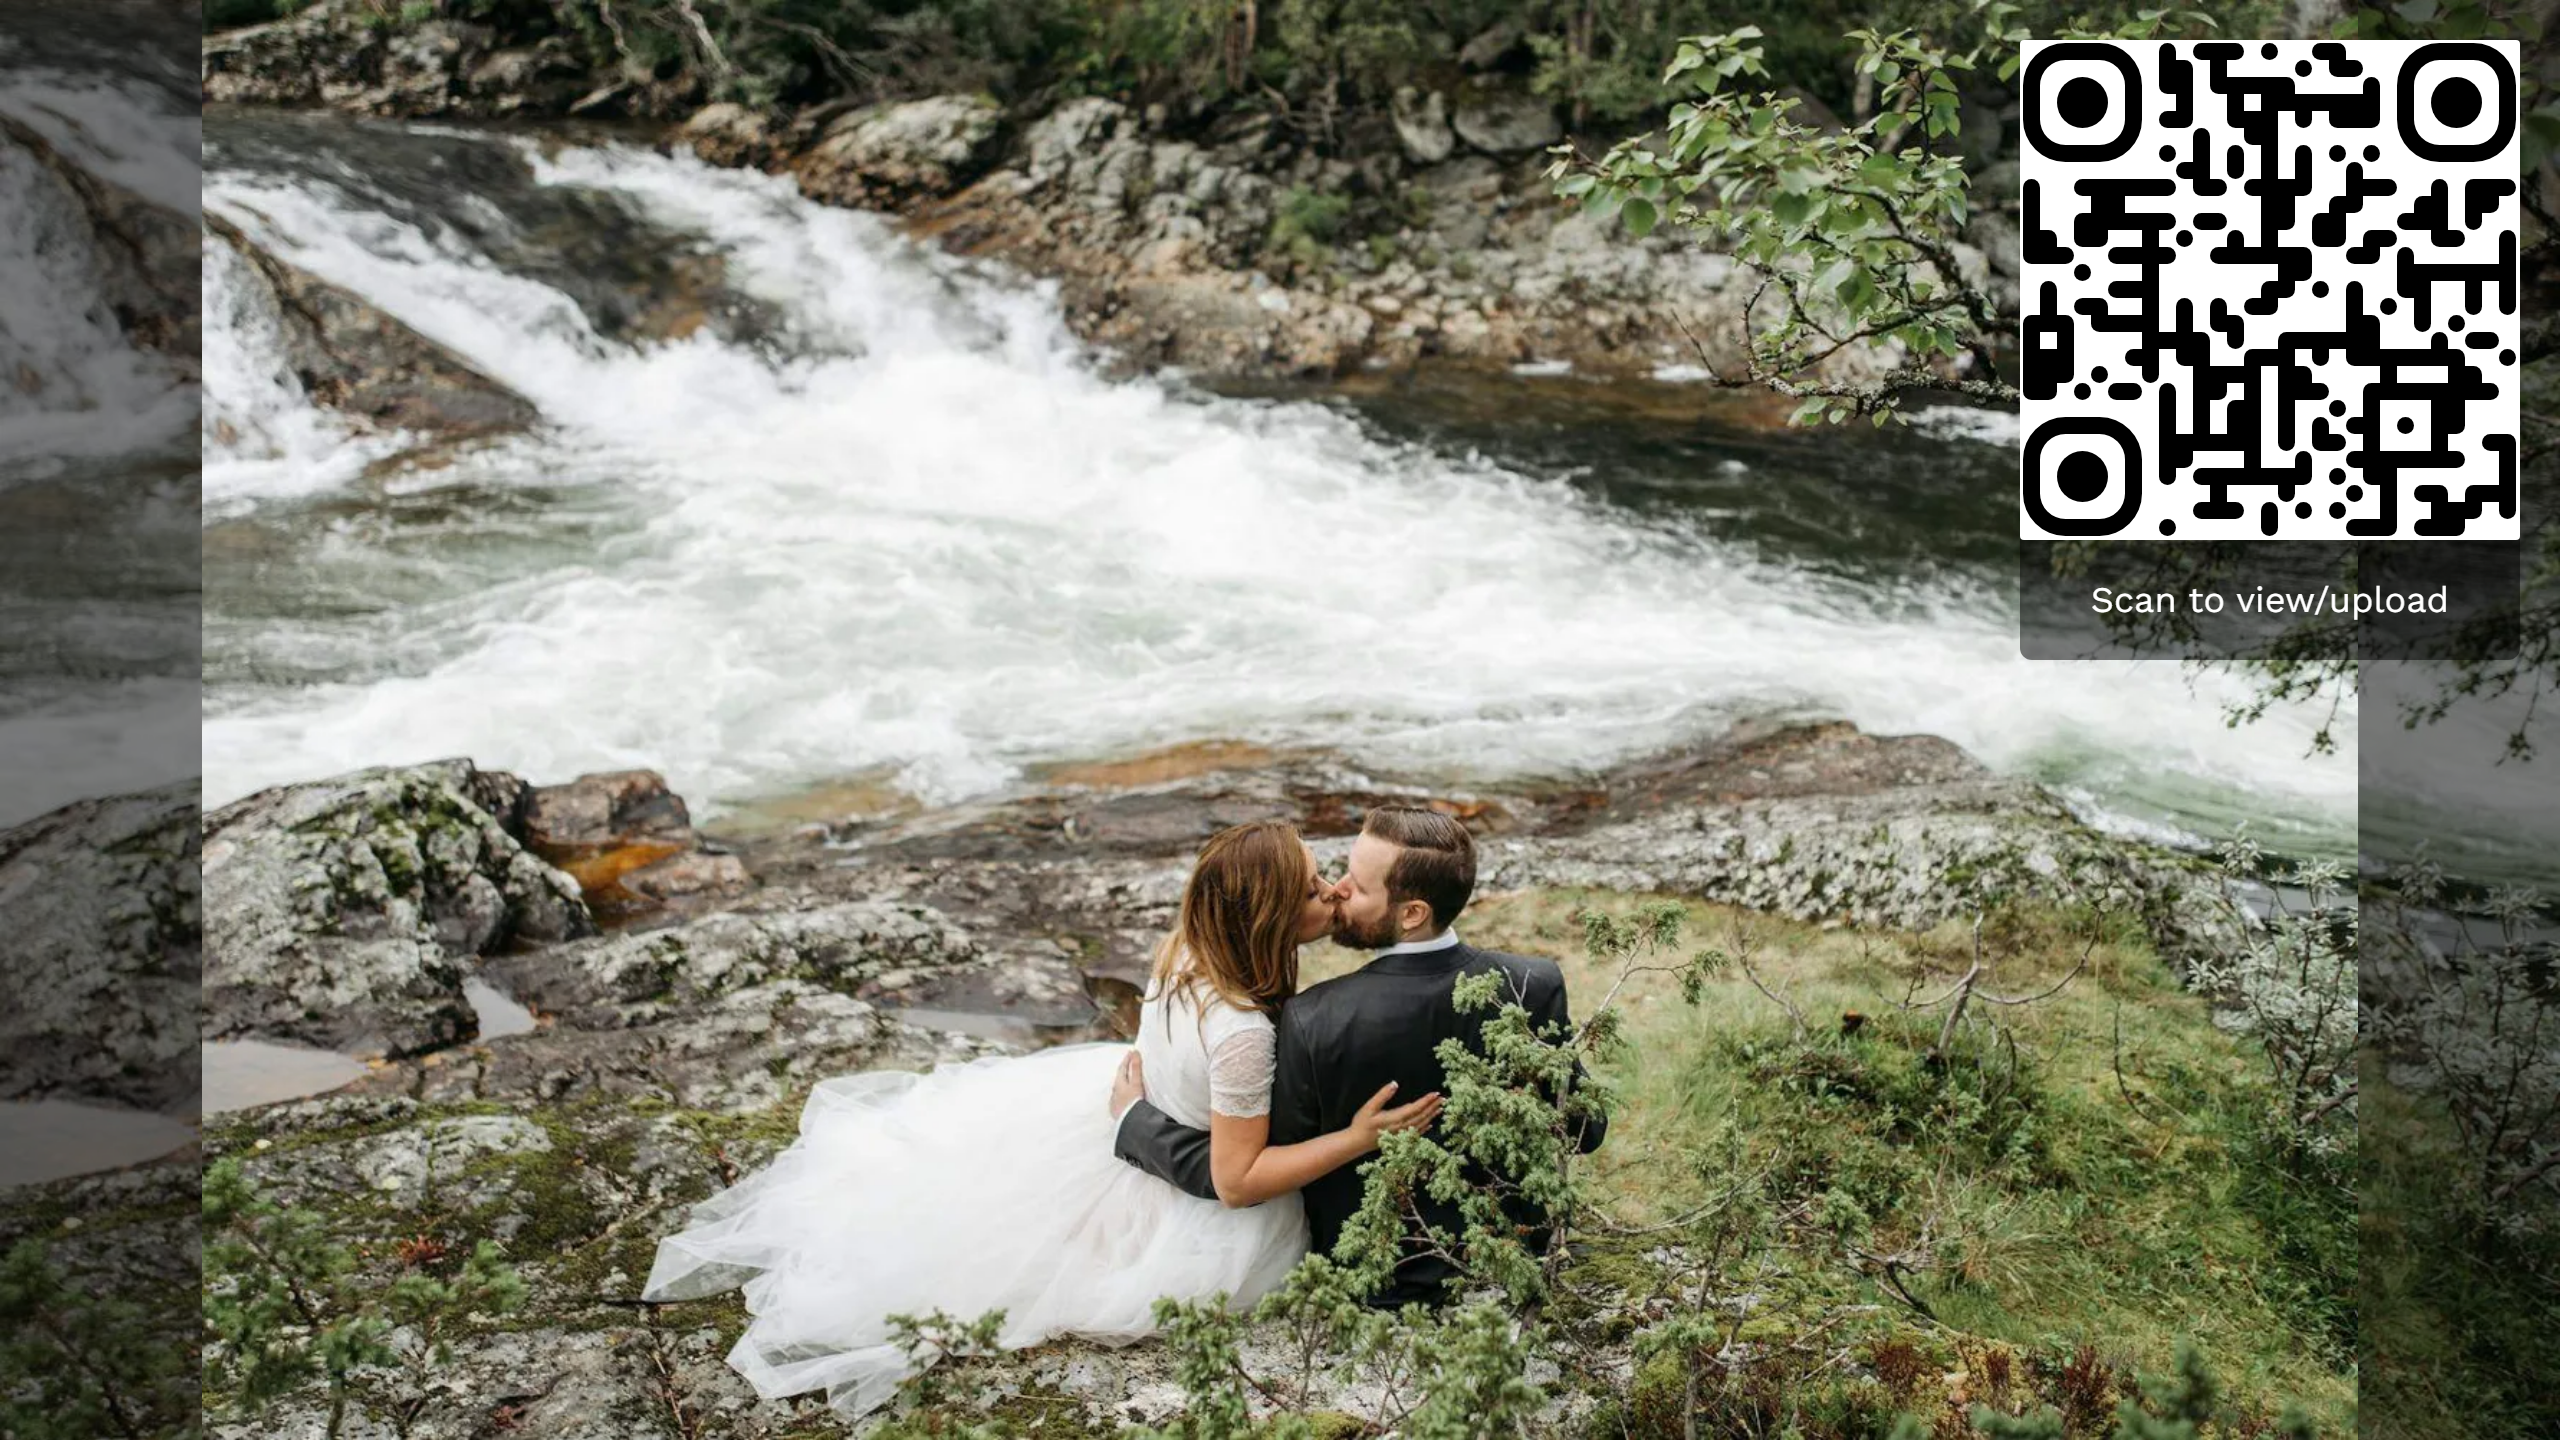
The finished wall on your TV or projector. -
For real operation, start fullscreen with the “Go Fullscreen” button at the top centre.
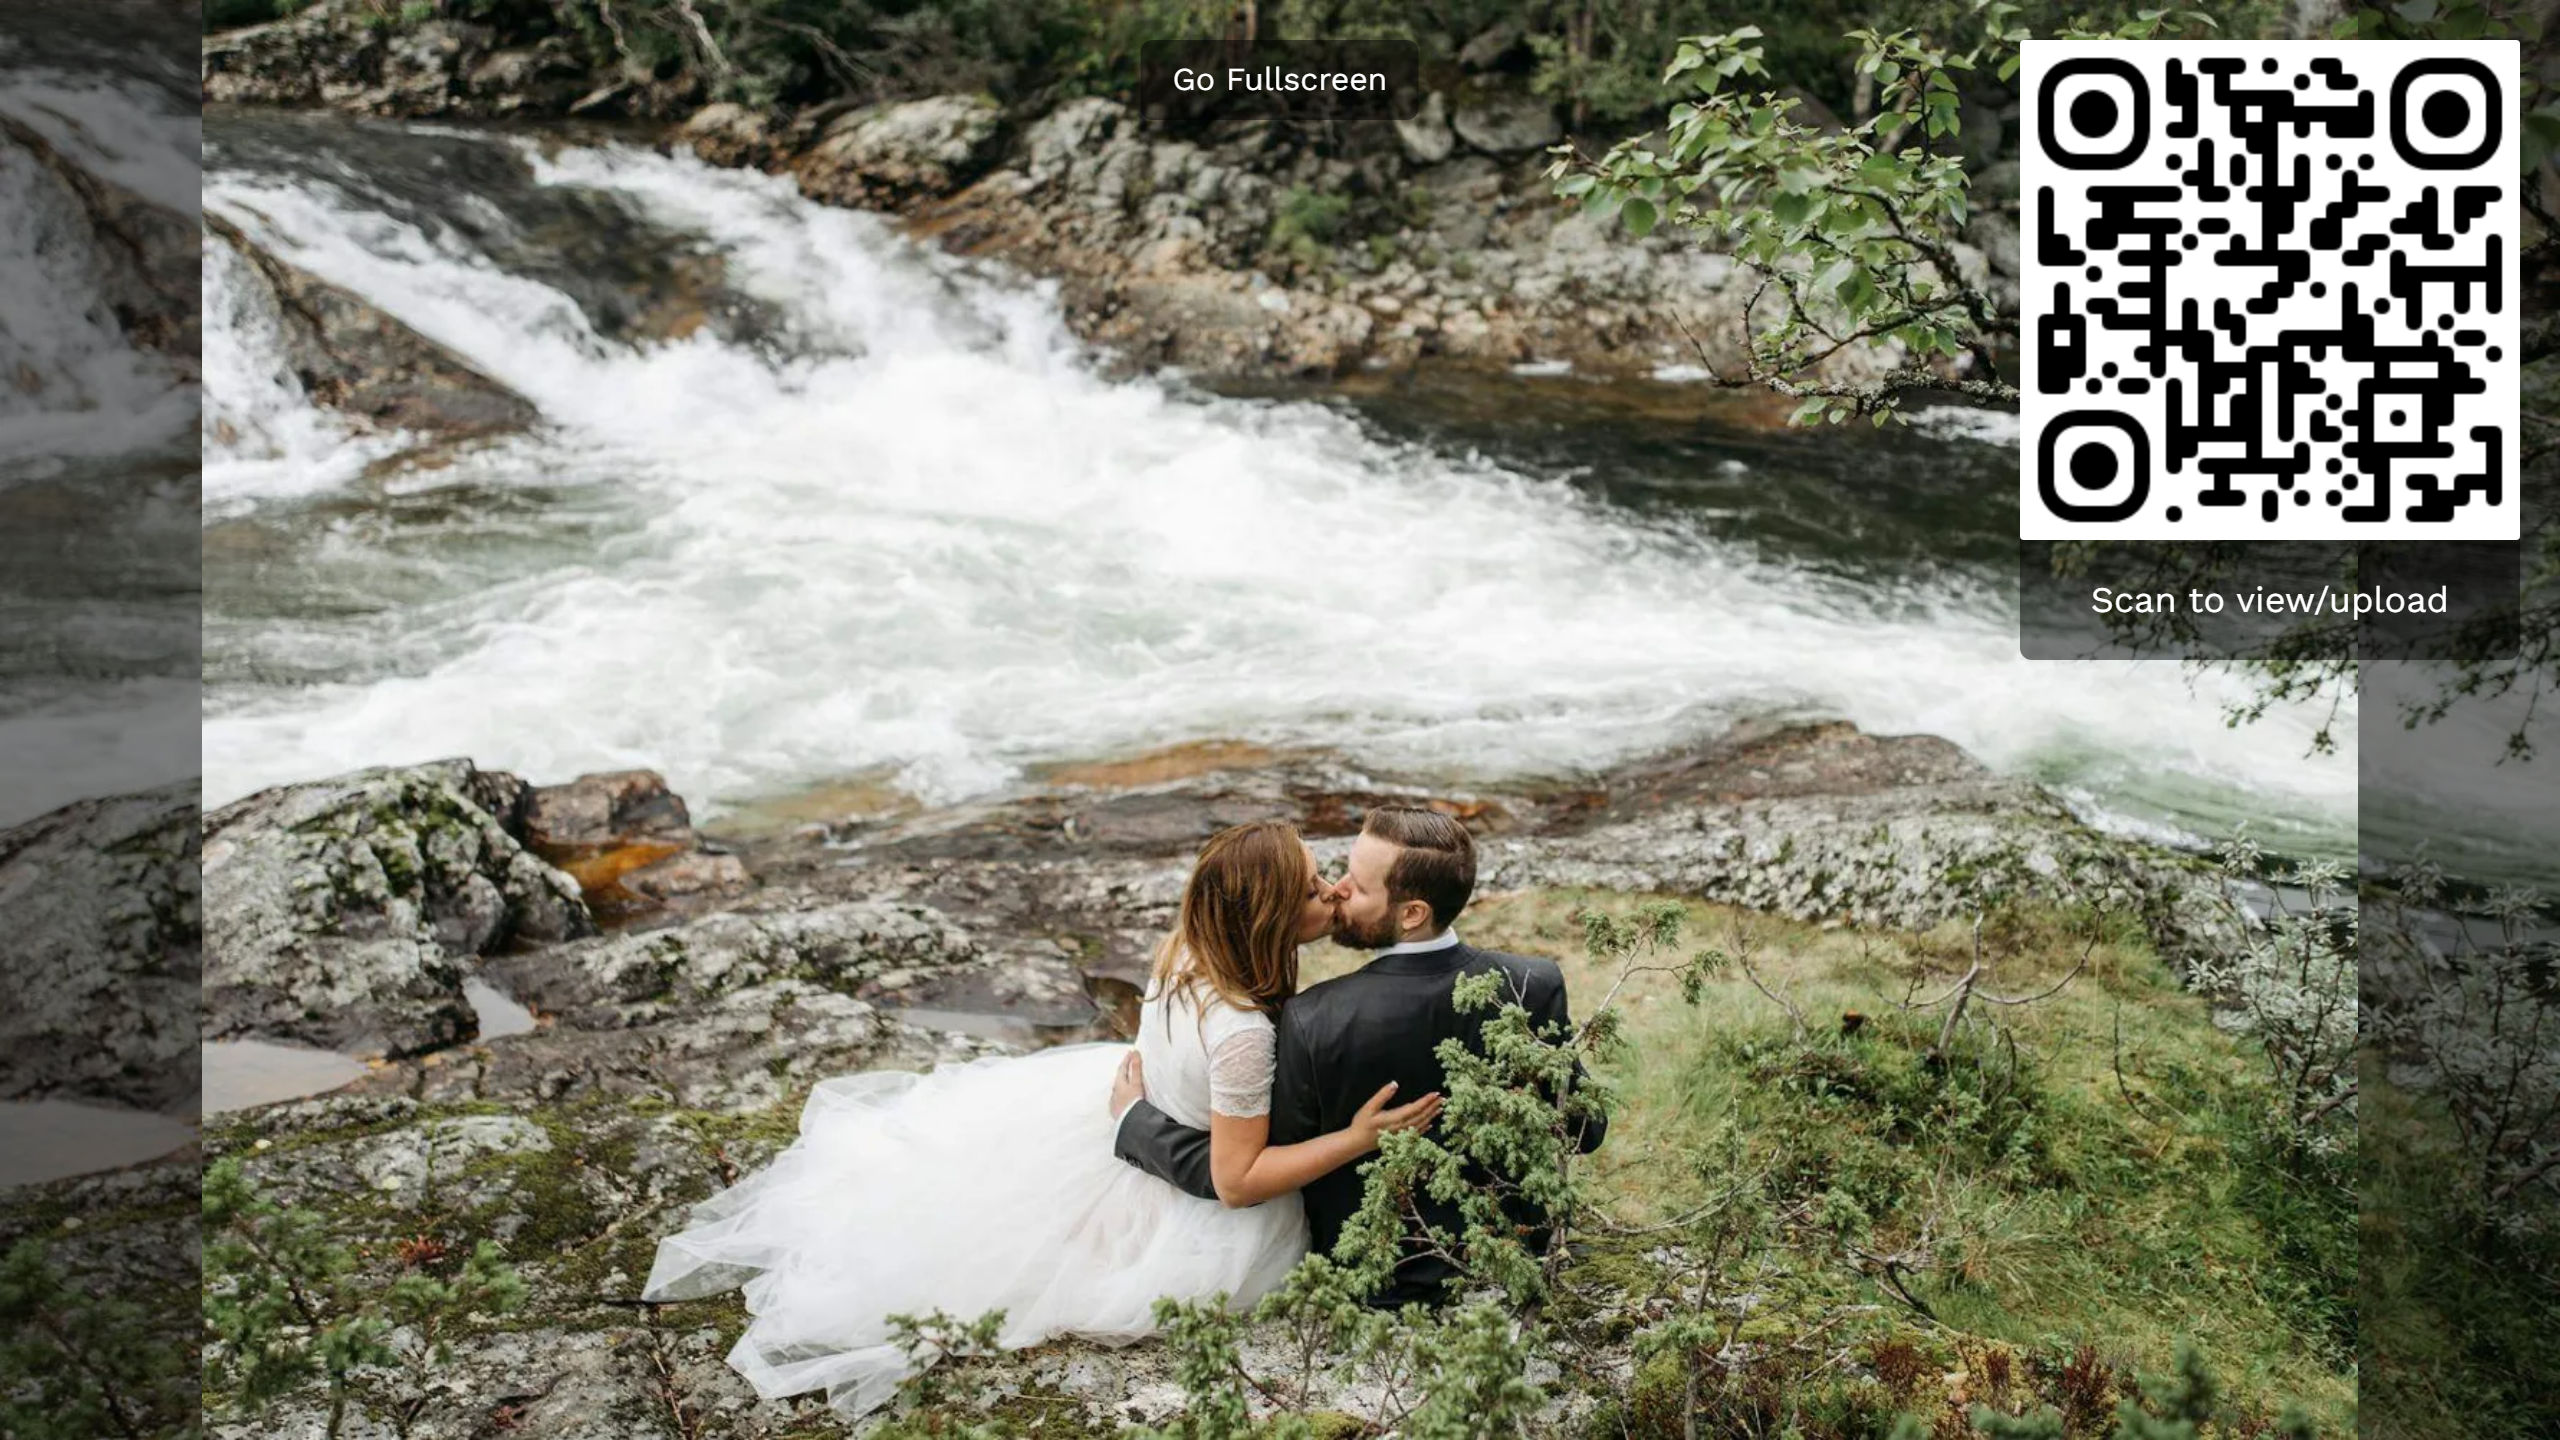
“Go Fullscreen” runs the wall edge to edge.
All the ways to open the wall, the fullscreen mode and what happens live are in the guest guide Live photo wall. Related: Fullscreen and slideshow.
Troubleshooting
Section titled “Troubleshooting”- No photo wall tab / locked preview: your plan doesn’t include the photo wall – an upgrade is required.
- Logo uploaded but not on the wall: the separate logo feature is missing.
- Album filter greyed out or “No albums created yet”: no albums feature, or no albums created yet.
- Wall stays empty: “Recent only” set too tight with the fallback off; or “Only show popular photos” with too high a like threshold; or the album filter points at an empty album.
- Changes gone: most likely not saved – watch for the red dot on the tab and click “Save Changes”.
- QR code missing on a narrow screen: that’s intentional – it only appears at desktop width.
- Milestone not celebrated: it’s only shown when crossed live, never backfilled.