Accept or decline (RSVP)
RSVP lets you reply to your host online — whether you are coming, who you are bringing and what you would like to eat. It takes less than a minute and saves you the phone call.
Two ways into the form
Section titled “Two ways into the form”The reply form deliberately does not appear on the event home page, nor in the tool bar. You only reach it through what your host sent you — and there are two kinds of that.
The personal link. Your host can create an individual link for every guest (they export the list for themselves). Open one of those and you are recognized straight away: your name sits in a small card at the top, and if you have already replied, your previous answer is fully pre-filled — acceptance, plus-ones, menu choice, contact details, message. You only change what has actually changed.
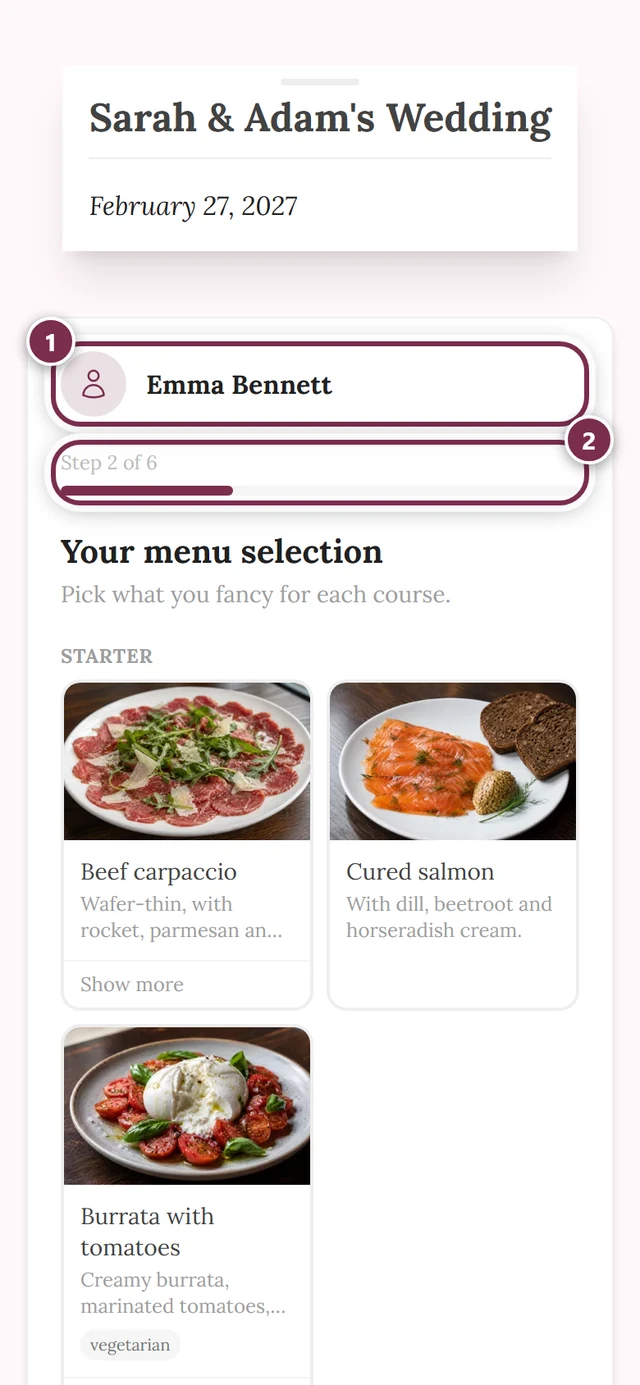
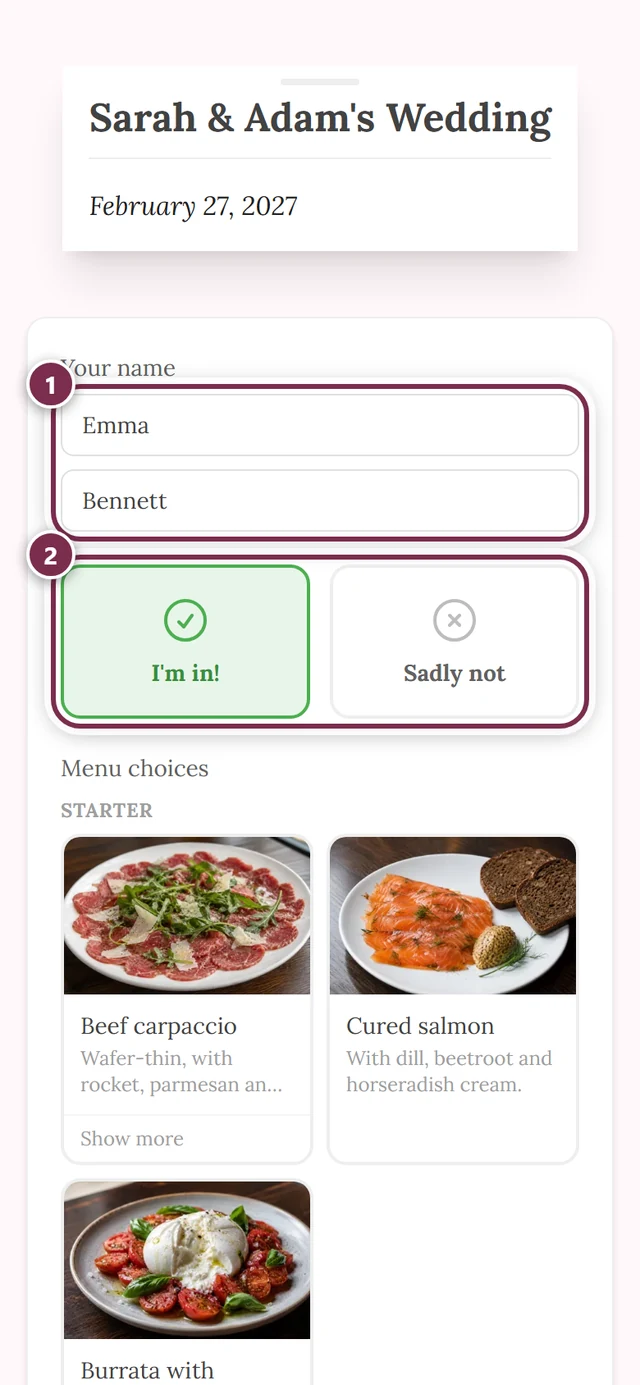
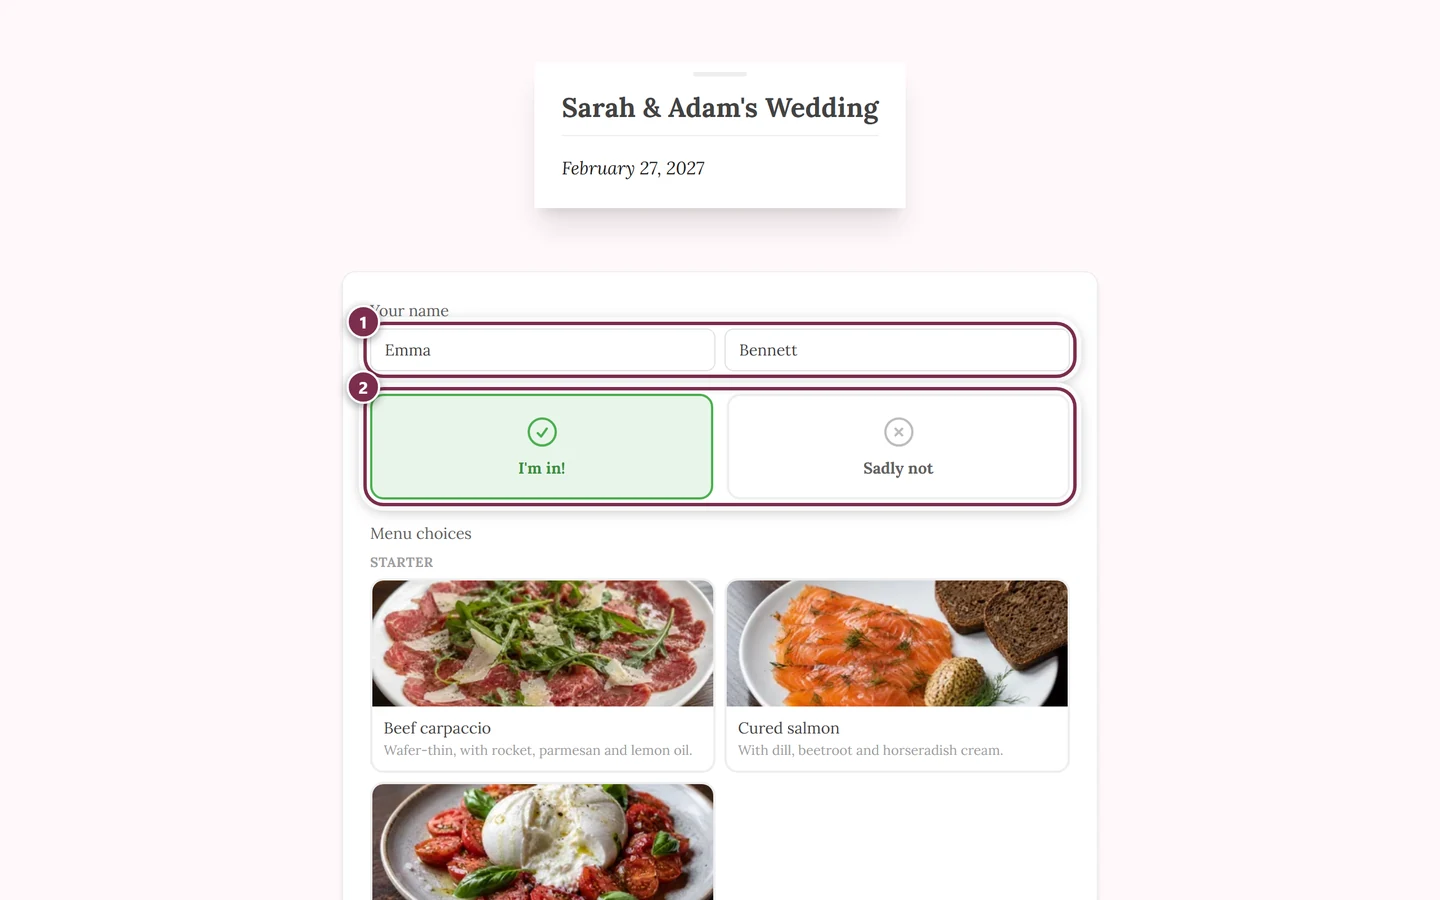
The general QR code. Every guest gets the same code, printed on the invitation card for example. Here you first type your first name and last name; the server matches you against the guest list.
Why you have to type your name
Section titled “Why you have to type your name”There is no guest list to pick from — and that is deliberate. A name picker would tell anyone who scans the QR code who else is invited. So the guest list never leaves the server: you type your name, and the matching happens on the server side.
The same applies to the seating wishes further down: there are no name suggestions there, and you get no feedback on whether the name could be matched. Otherwise the field would be a way to query the guest list.
More on this under Why do I have to type my name?
Replying step by step
Section titled “Replying step by step”By default a guided reply wizard walks you through the form: one question per screen, with Next and Back in between, and a progress bar with the line Step 1 of 3 above it.
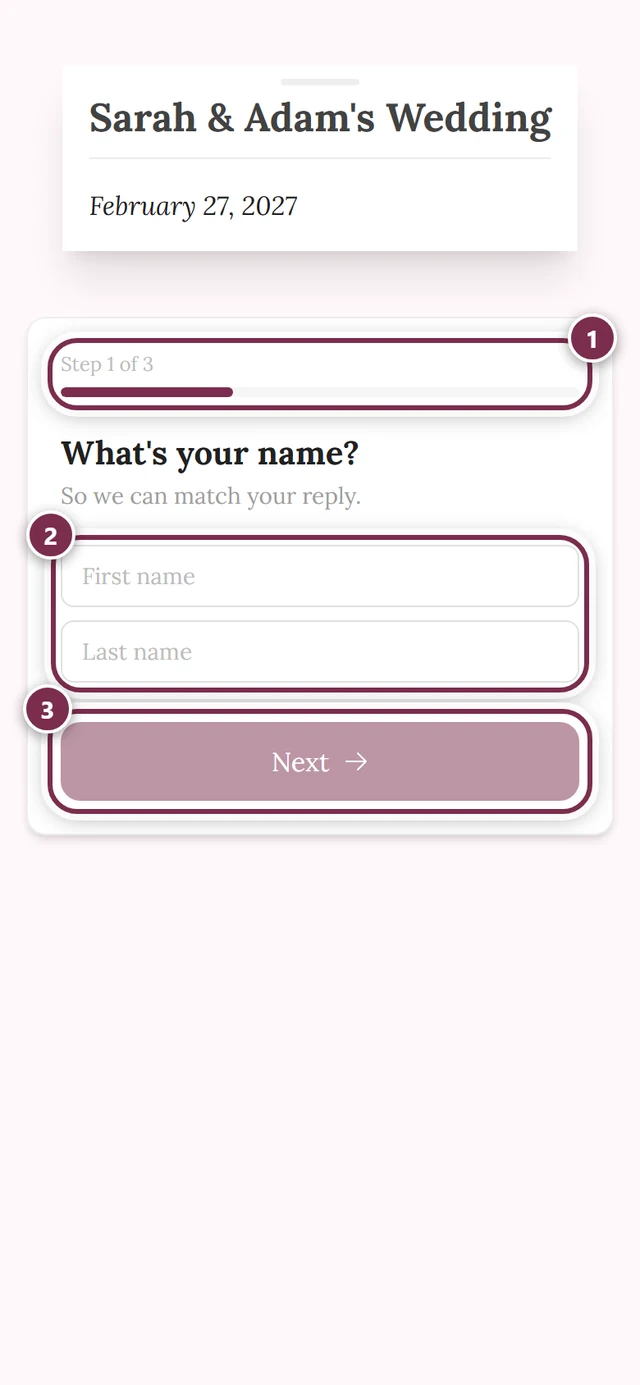
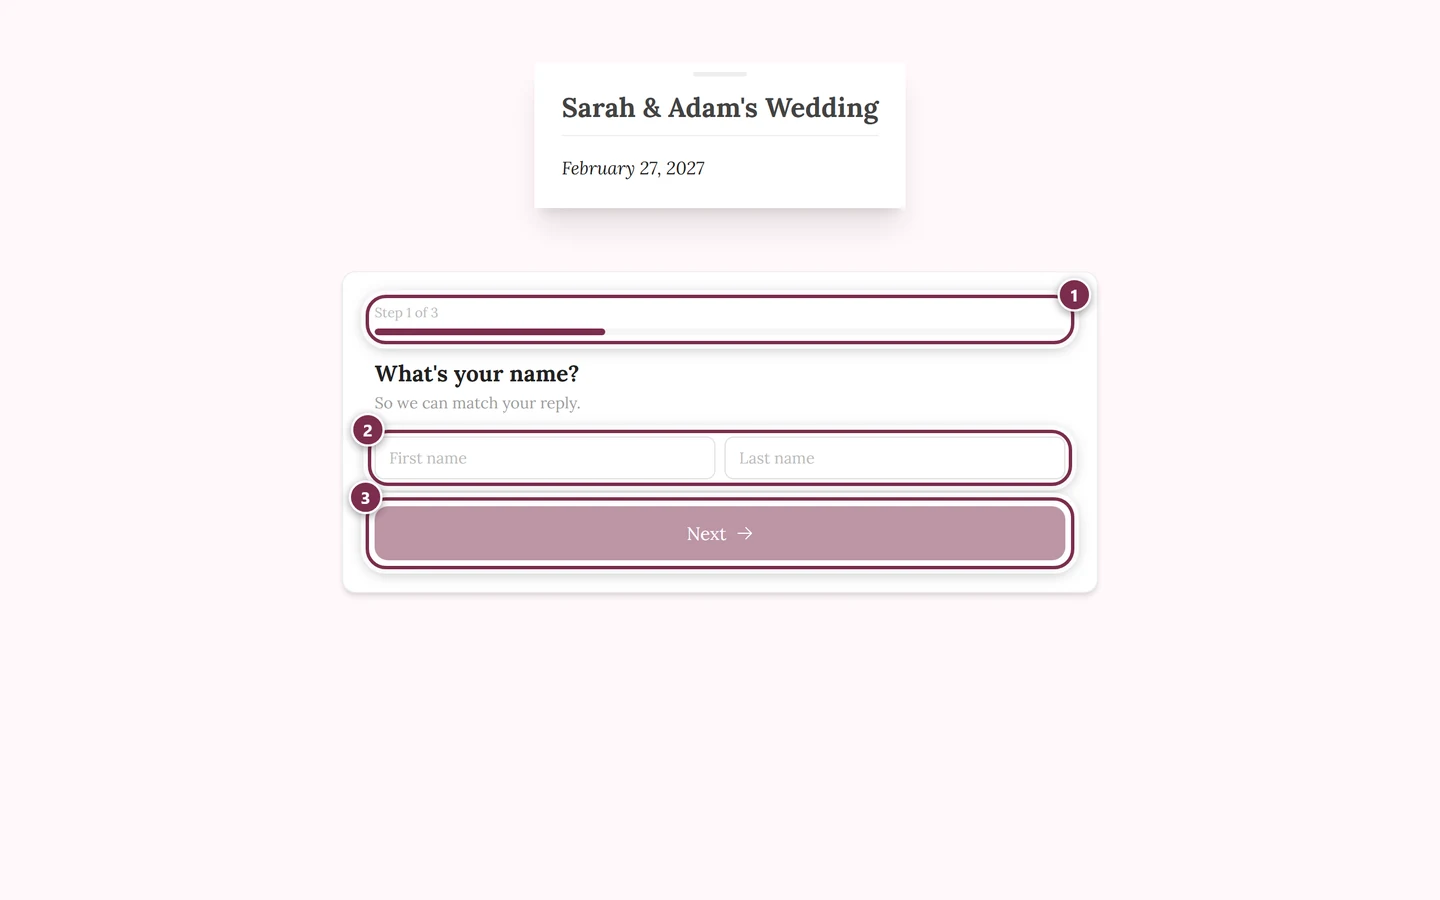
These steps can appear — in this order:
-
What’s your name? — first and last name. Skipped if you arrived through a personal link.
-
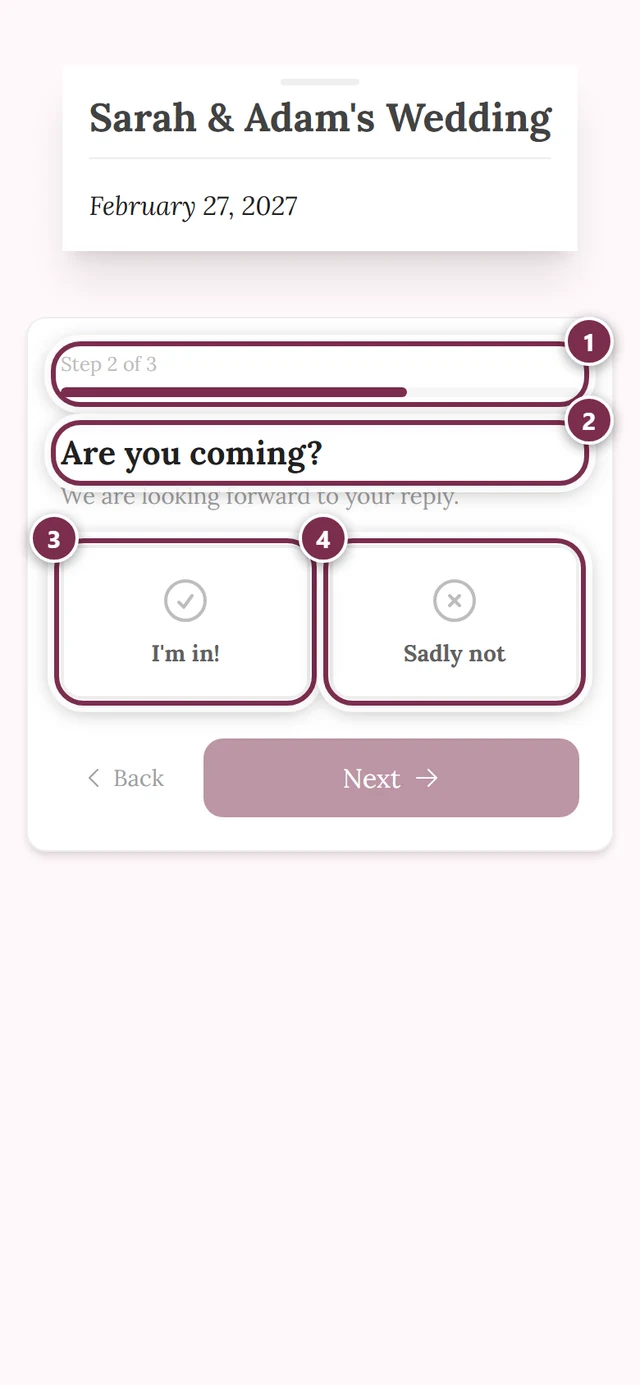
Will you join us? — two large cards: I’m in! or Sadly not. One tap is enough, the wizard moves on by itself.
-
Your menu selection — pick what you fancy for each course.
-
A few more questions — your host’s own questions.
-
How can we reach you? — email address and/or phone number.
-
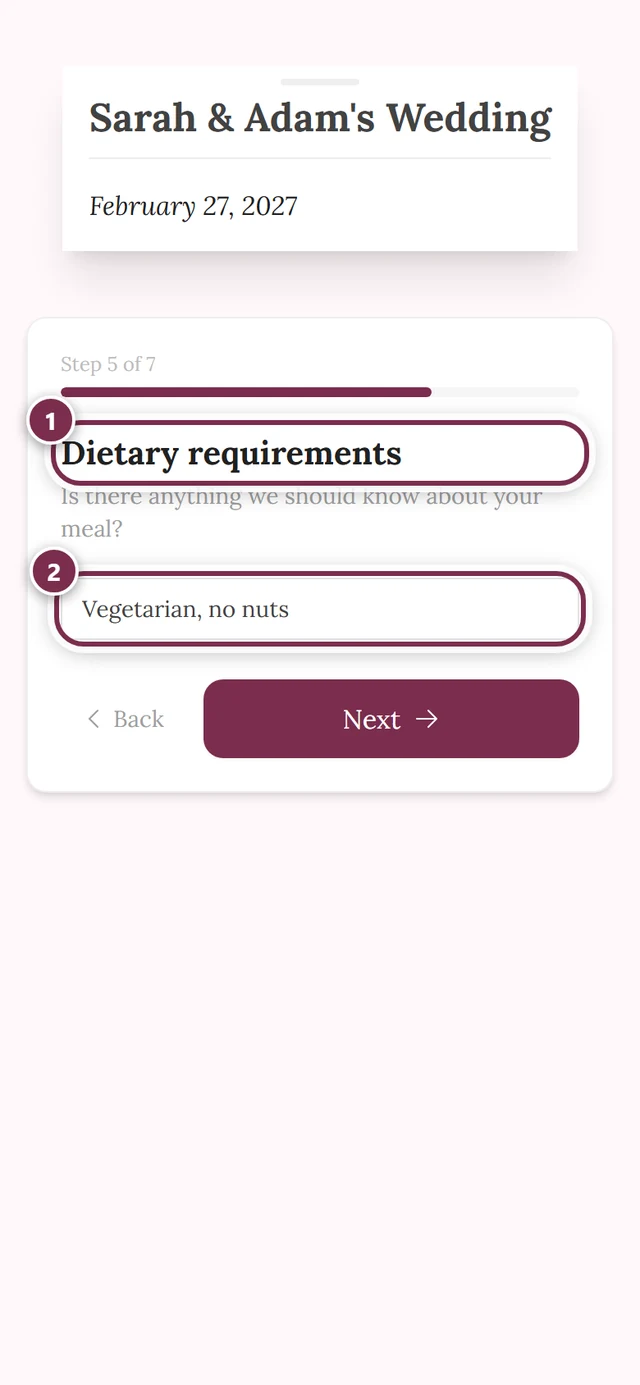
Dietary requirements — anything to know about your meal.
-
Are you bringing anyone? — add your plus-ones.
-
Who would you like to sit next to? — up to three names.
-
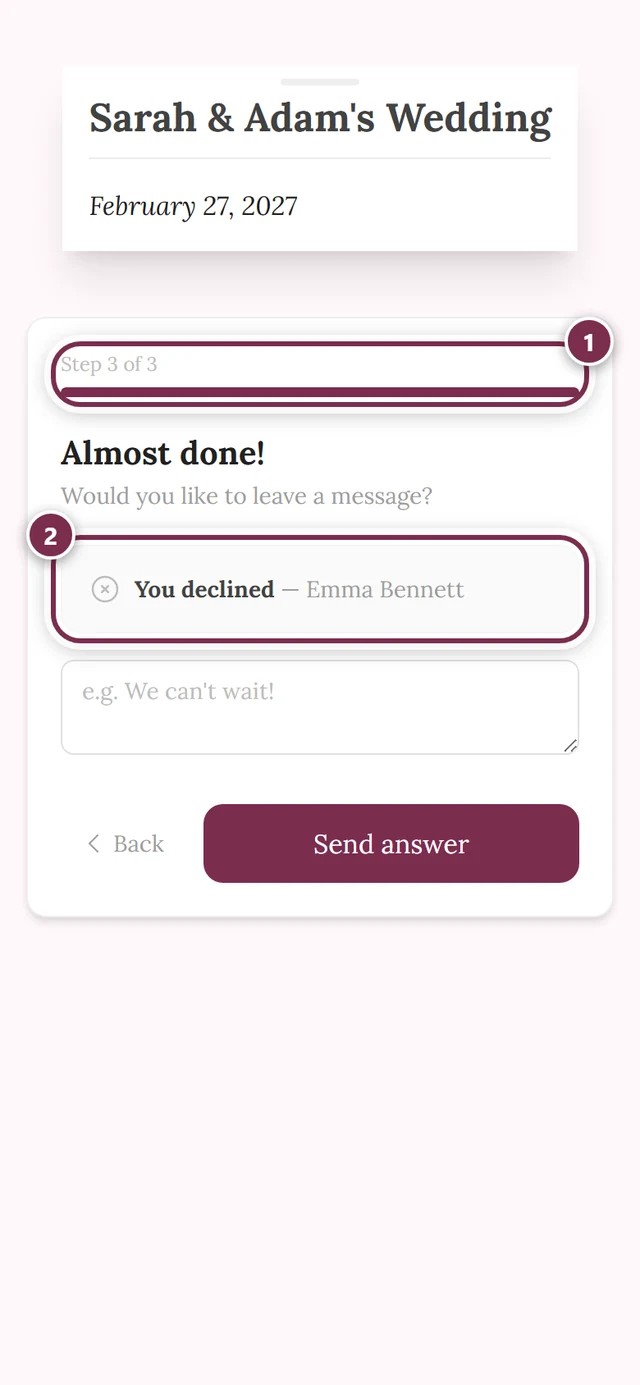
Almost done! — a summary of your reply plus an optional message. This is where Send answer sits.
Only the steps your host actually asks for show up. If you decline, the wizard jumps straight from the second step to the last one — everything else is moot.
Everything on one page
Section titled “Everything on one page”Your host can also switch the wizard off. Then you get the same fields stacked on a single page — no step indicator, with Send answer at the very bottom. Nothing changes in substance; the wizard is simply nicer on a phone.
Choosing from the menu
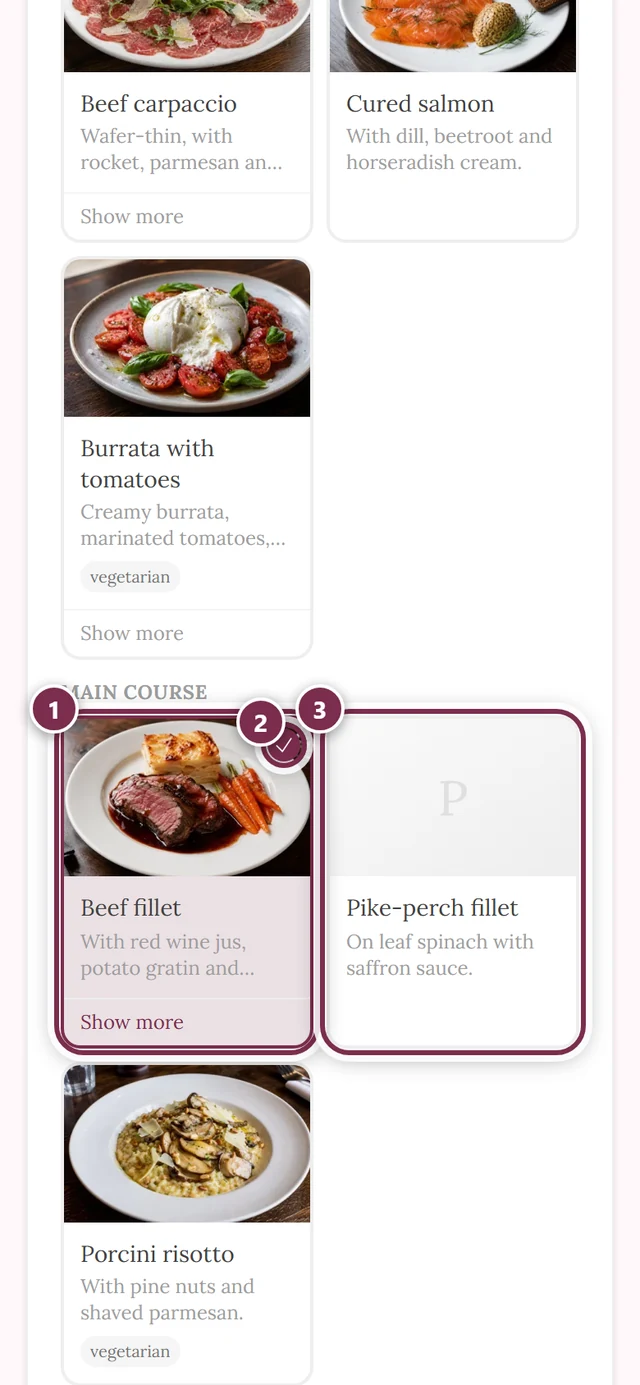
Section titled “Choosing from the menu”If menu selection is switched on, you see the courses of the event and the dishes below them as cards — with a photo, a short description and labels such as vegetarian or gluten-free.
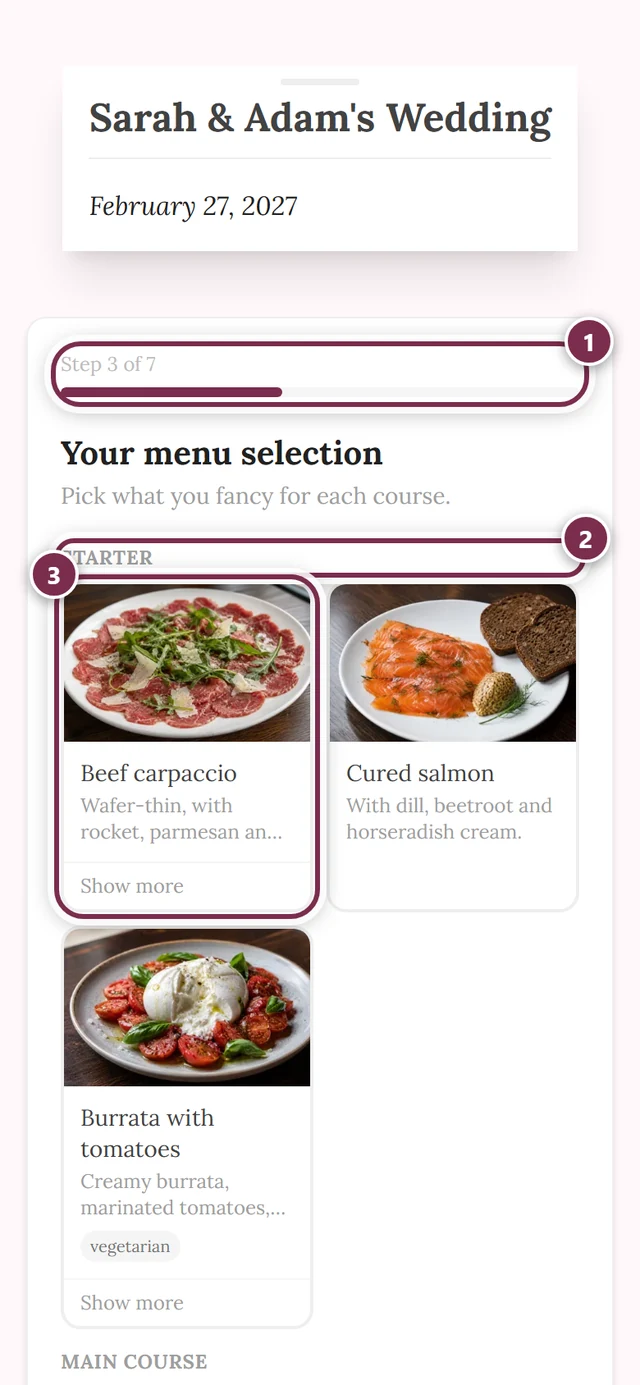
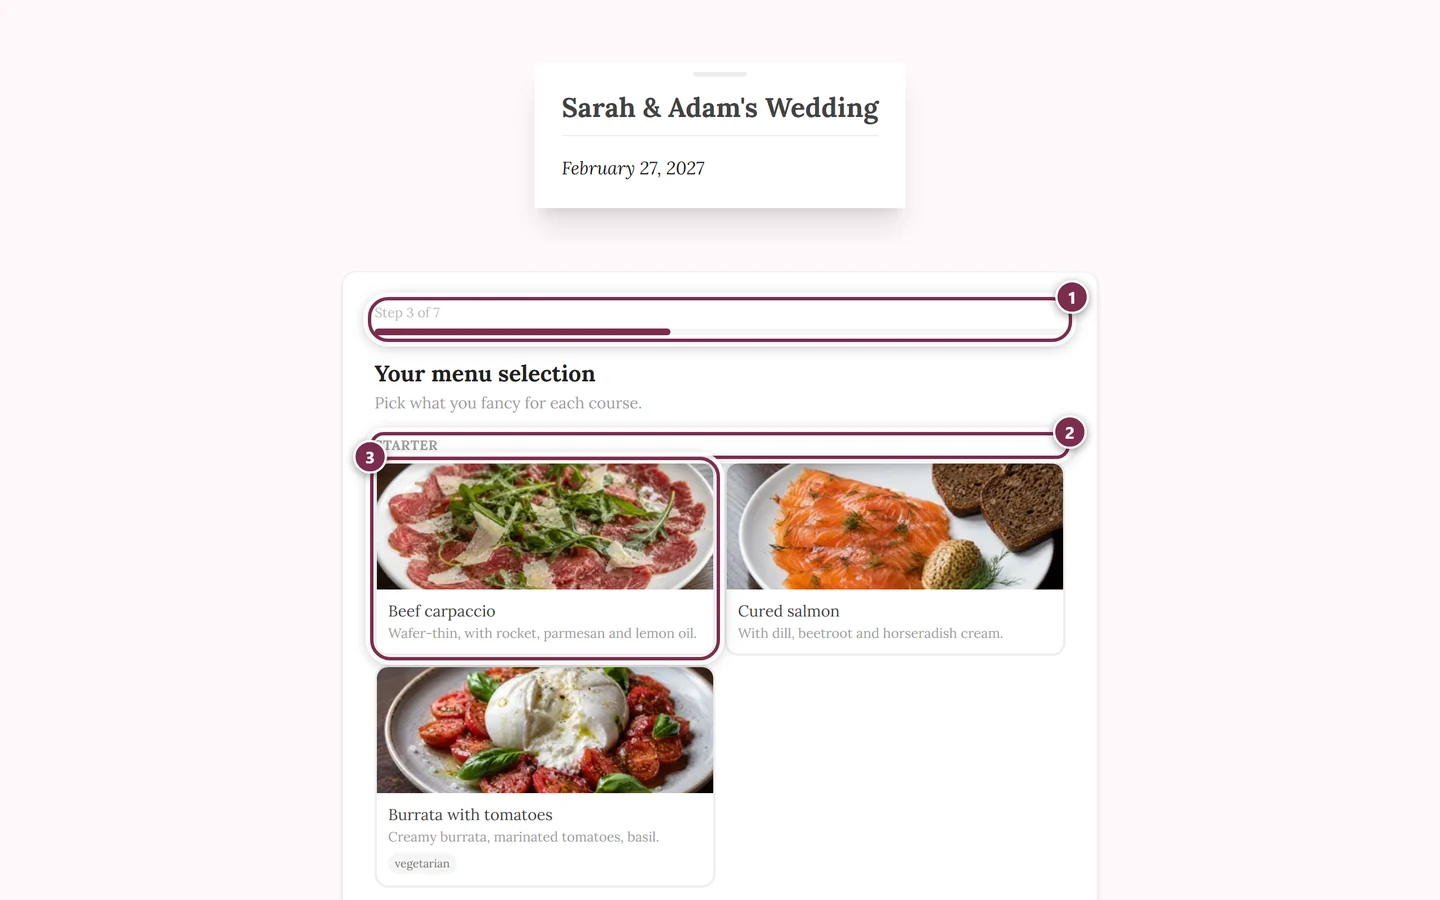
- Tapping a card selects the dish; a check mark appears in the corner.
- Tapping again clears the selection. So you do not have to choose something in every course.
- Dishes without a photo look exactly the same, just without the image — that makes no difference to the selection.
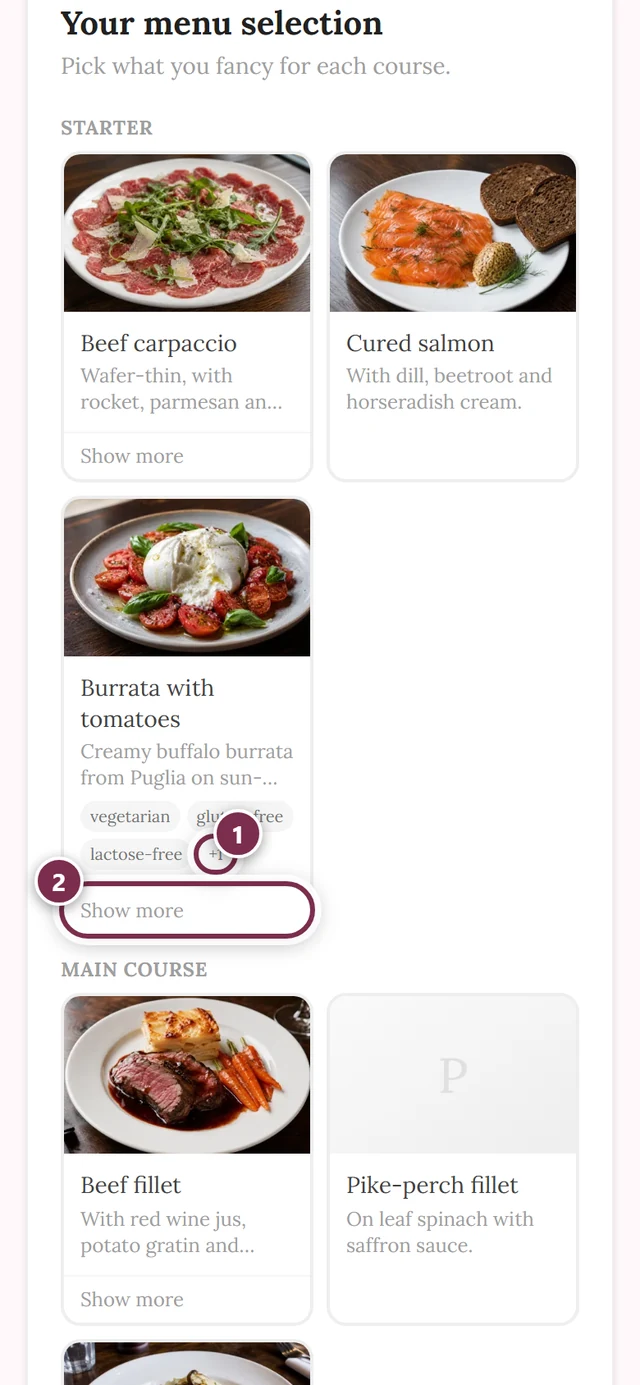
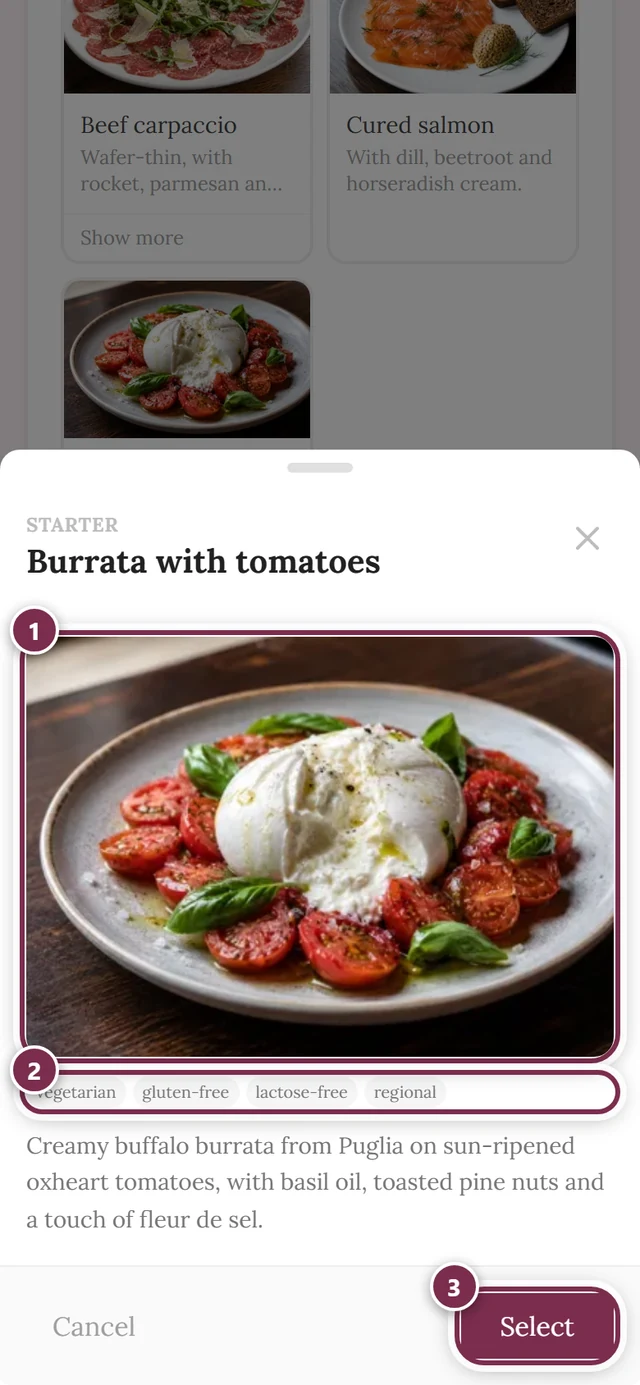
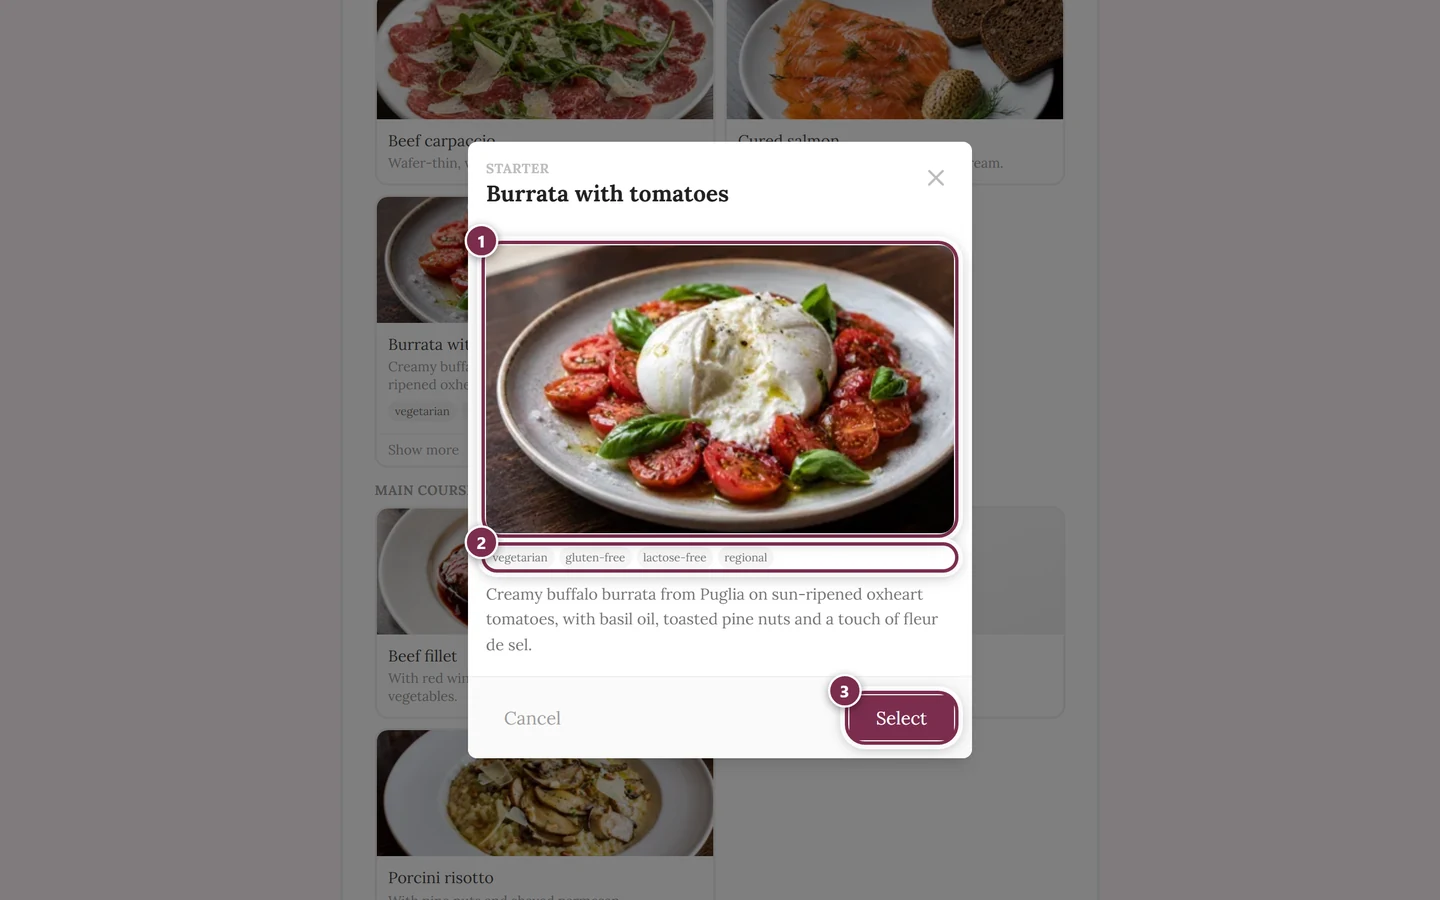
If not everything fits on the card, the large view helps:
Your host’s own questions
Section titled “Your host’s own questions”Your host can ask any question they like — about the shuttle, the hotel or your favorite drink. There are three kinds:
- Single choice — a dropdown. The top entry reads No choice until you pick something.
- Multiple choice — checkboxes, as many as you like.
- Free text — an input field with the placeholder Your answer.
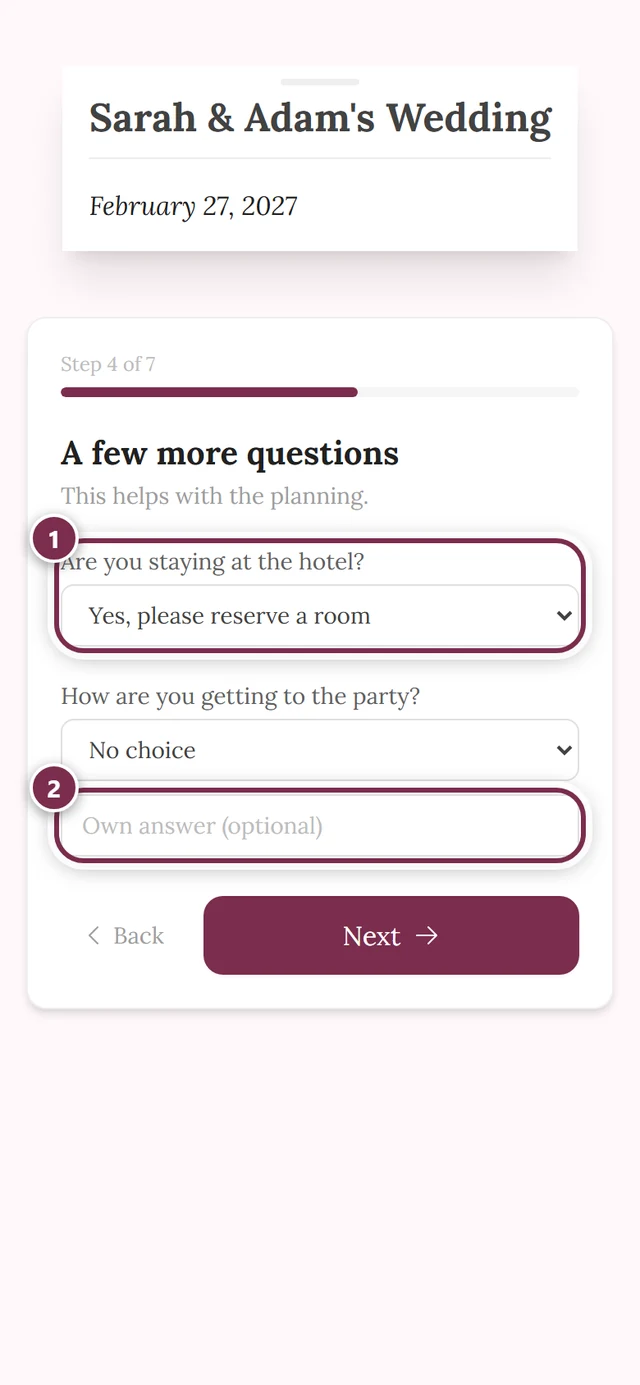
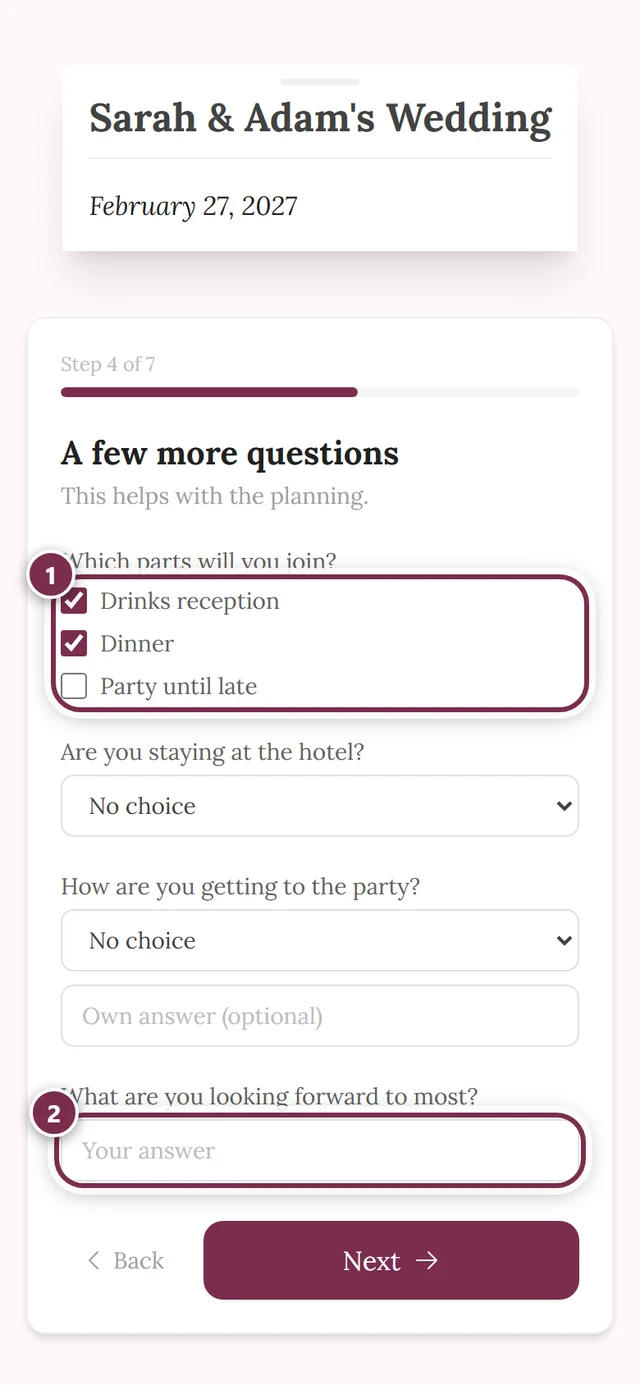
Required questions are marked with a red asterisk after the question.
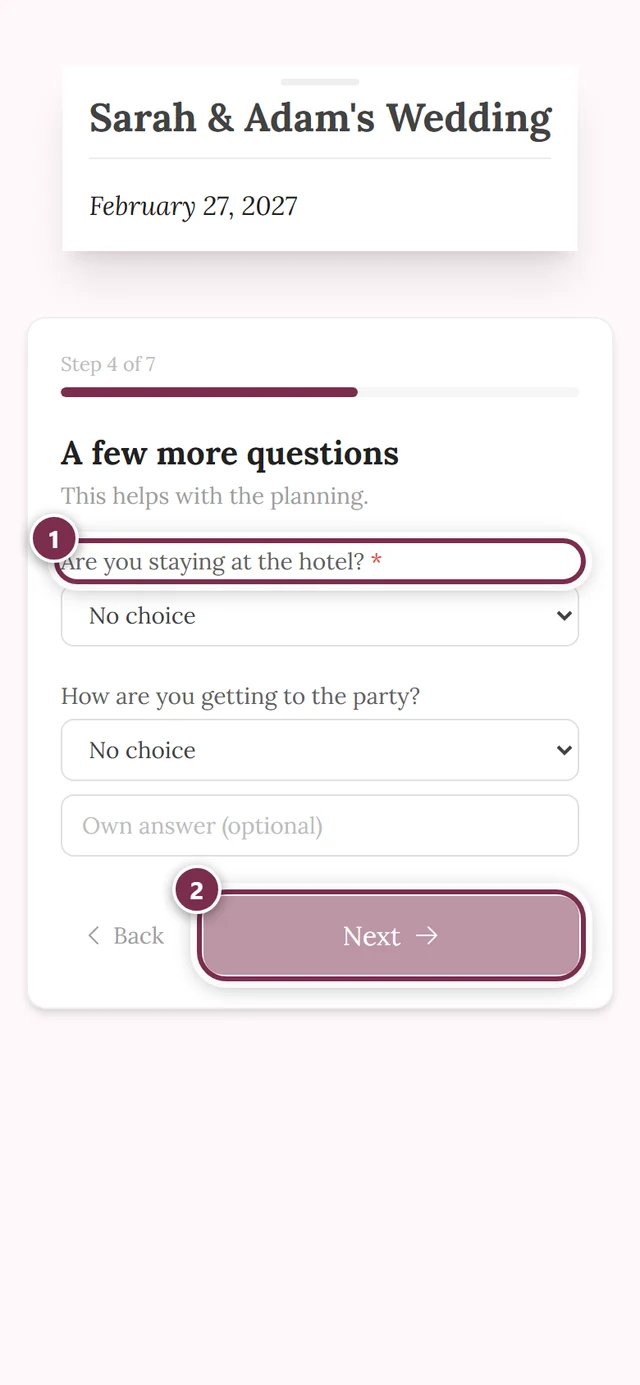
The spelled-out notice Please answer the questions marked with * first. only appears in the last step, above the Send answer button — inside the wizard you first notice an open required question through the faded Next. In the classic view the notice sits directly above the send button. The same goes for email or phone if your host made them required.
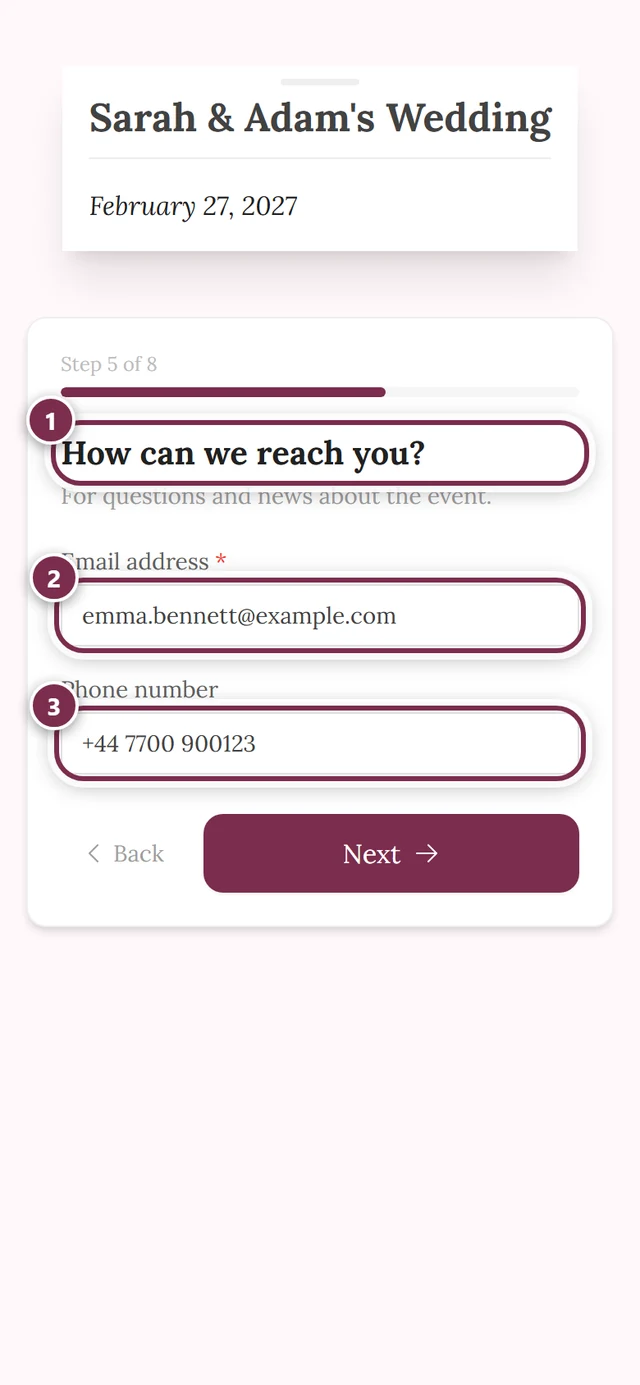
Leaving contact details
Section titled “Leaving contact details”If your host asks for them, this is where you say how to reach you. Both fields can be optional or required independently of each other — a required field carries a red asterisk after its label.
Stating dietary requirements
Section titled “Stating dietary requirements”If your host asks for them, this is where you note what matters about your meal. The answer goes straight to whoever is planning the catering.
Bringing a plus-one
Section titled “Bringing a plus-one”If your host allows plus-ones, tap Add plus-one. How many you may add is up to your host — with a personal link they can even set it per invitation. Once your allowance is used up, the button disappears.
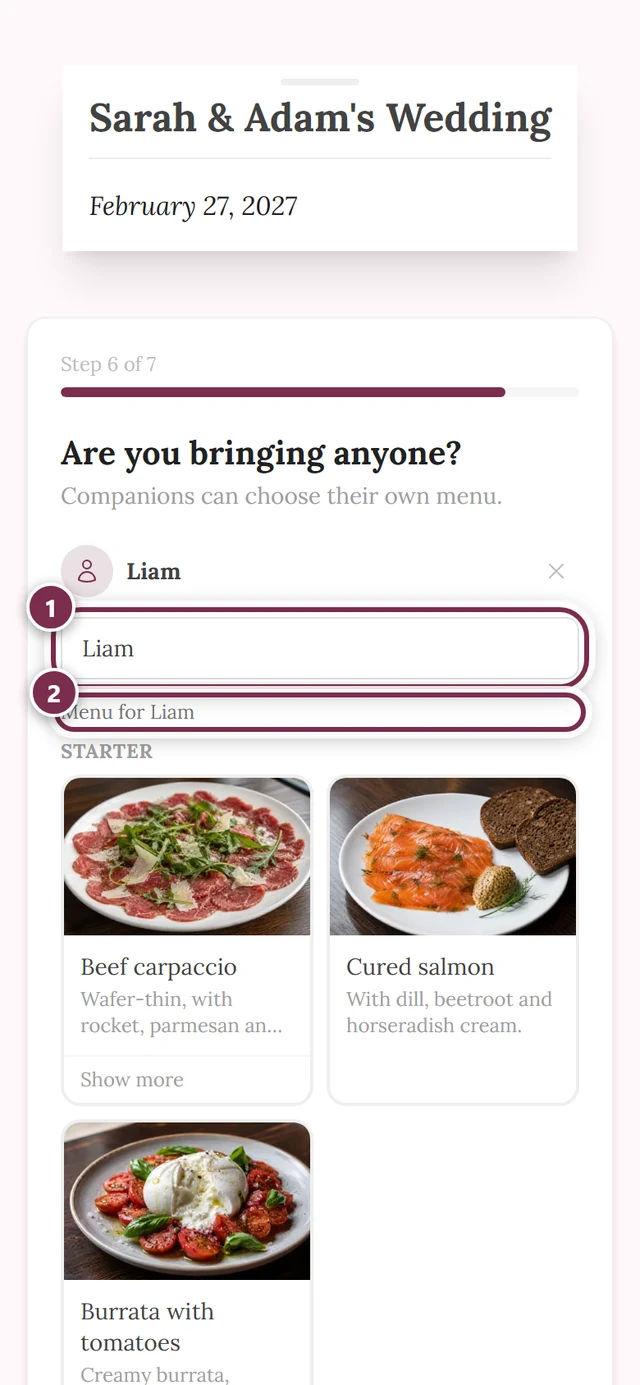
Every plus-one gets their own block with:
- Name of your plus-one — as soon as you type it, it becomes the block’s heading; until then it reads Plus-one 1.
- their own menu selection (heading Menu for …) — so you do not all have to take the same thing.
- their own Dietary requirements (optional) field.
The cross in the top right of the block (Remove plus-one) takes them out again.
Stating seating wishes
Section titled “Stating seating wishes”If your host asks for them, you can name up to three people you would like to sit next to. Enter a first name and optionally a last name and tap Add person — the name then appears as a small chip you can remove again via its cross. A first name on its own is enough if it is unique on the guest list.
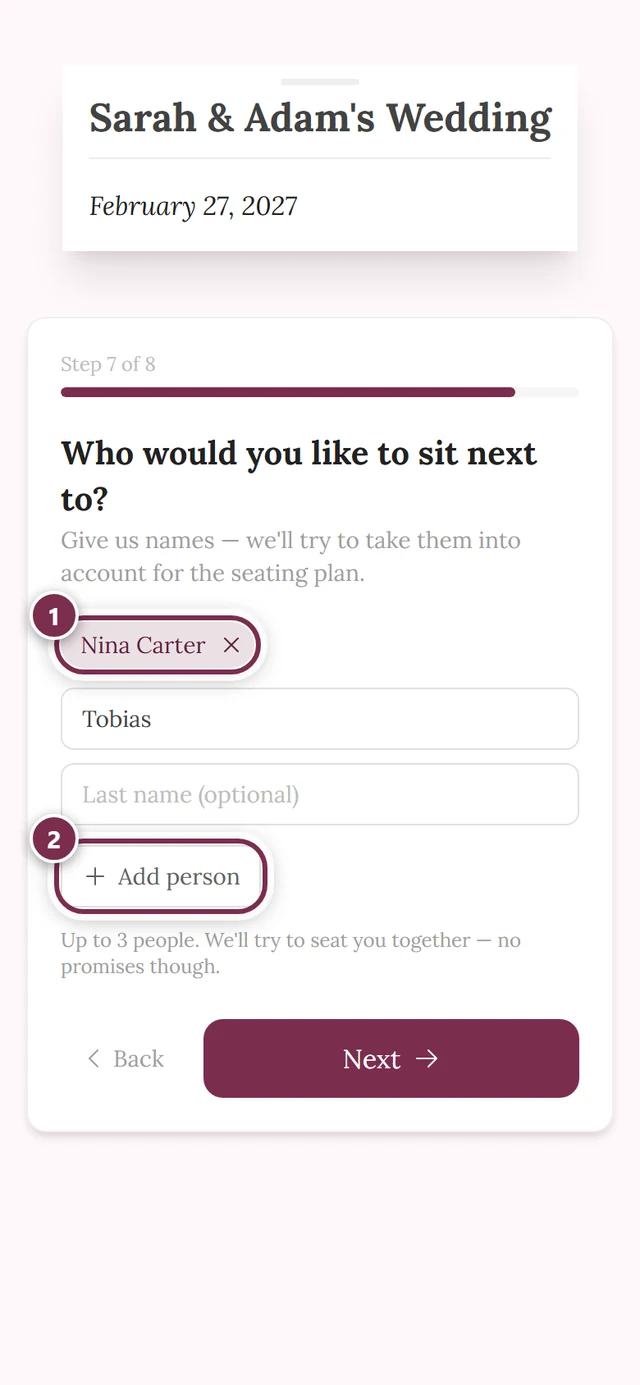
You do not need to name your plus-ones here — they sit with you anyway. That is also why this step comes after the plus-ones in the wizard.
Sending and changing your answer
Section titled “Sending and changing your answer”The last step is called Almost done!. It sums up what is about to be sent and leaves room for a message to your hosts.
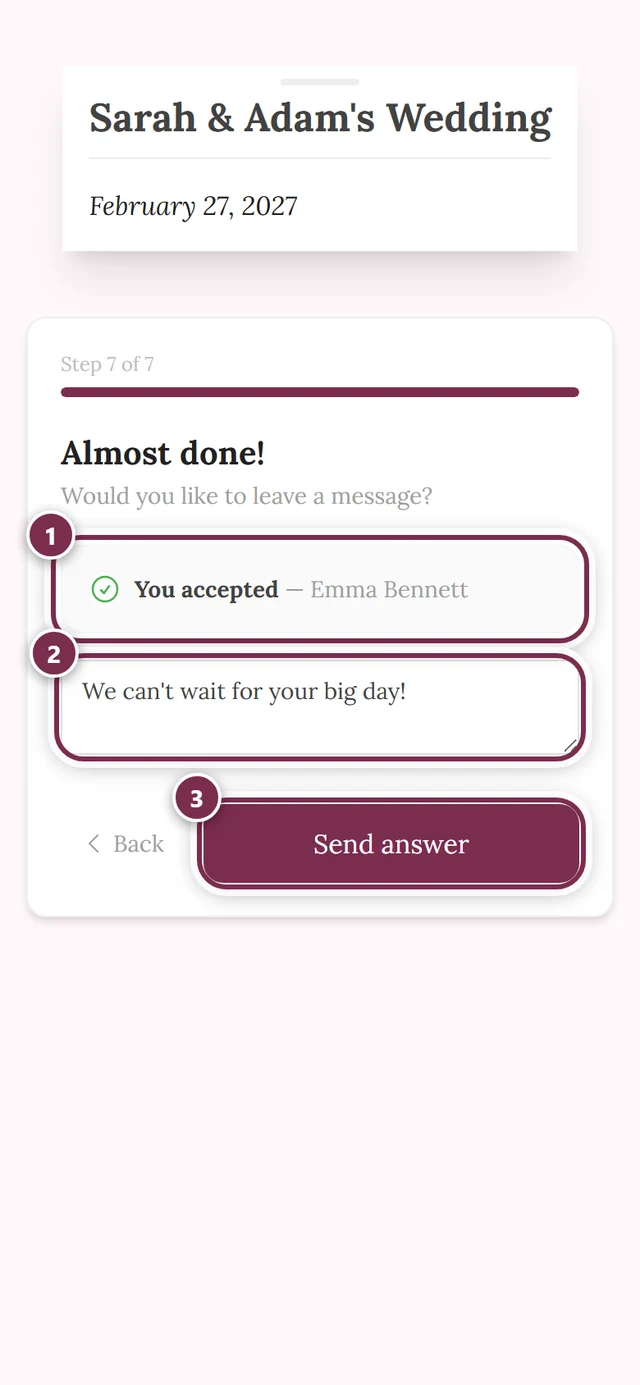
A decline takes the short route: after the second question you are already in the last step.
Once sent, you get a confirmation: You’re in! or Answer saved, with your name, your plus-ones and — if you gave any — the line Seating wish noted.
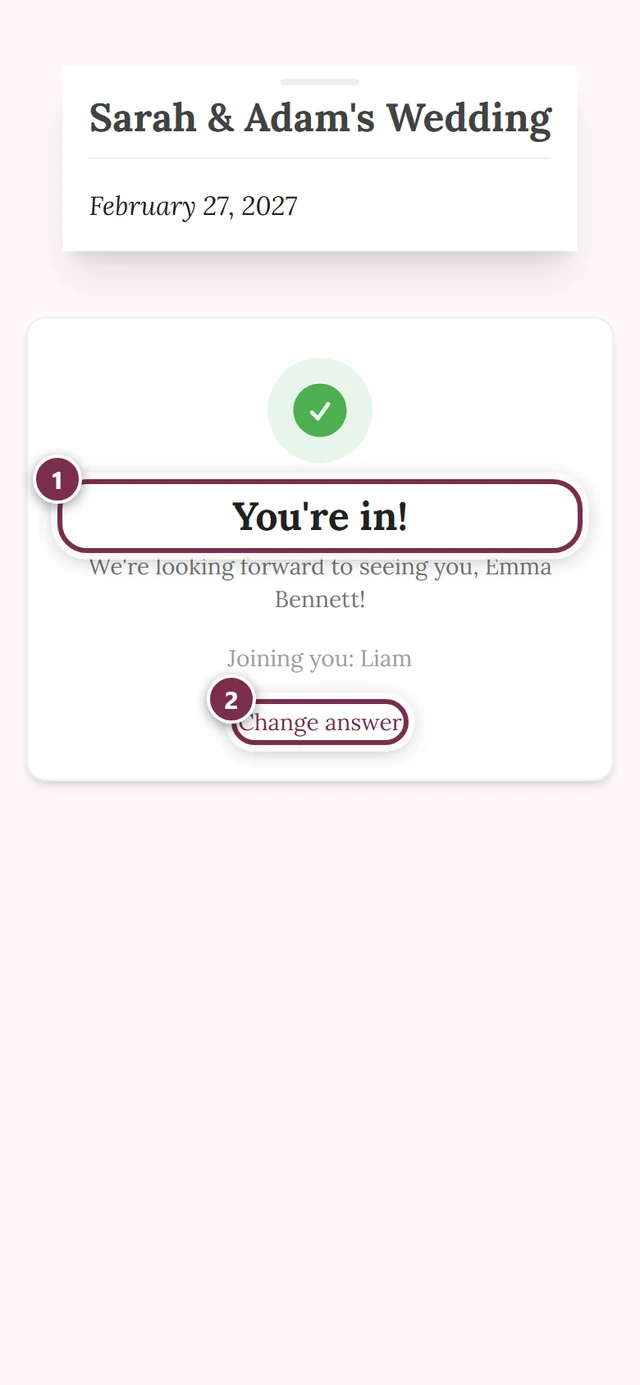
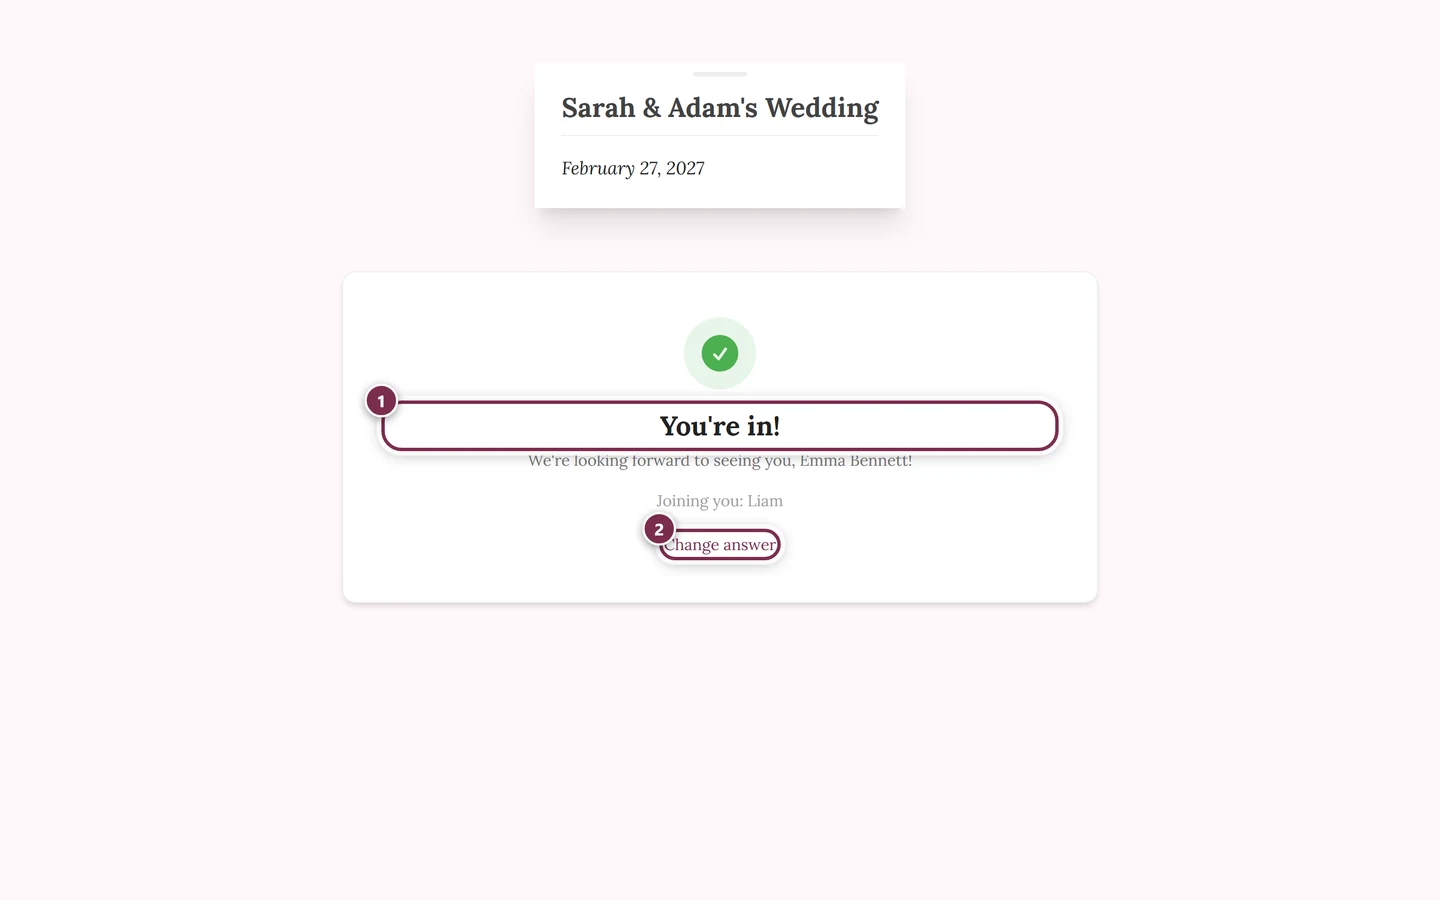
Want to correct something? Tap Change answer under the confirmation. Later on you can open the same link again: with a personal link your last answer is pre-filled, and the new answer replaces the old one. With the general QR code you type your name exactly as you did the first time, so the answer is matched to the same entry.
Reply deadline
Section titled “Reply deadline”RSVP can have a time window — your host decides from when until when replies are accepted. That visibility window is the reply deadline: once it has passed, the form is no longer reachable and the link leads nowhere. Contact your host directly in that case.
Troubleshooting
Section titled “Troubleshooting”Sending shows an error saying I am not on the list. Your host has switched off self sign-up — then only names already on the guest list can reply. Check the spelling or ask for a personal link.
My name is recognized, but my old answer is missing. Pre-filling only works with a personal link. With the general QR code the form always starts empty. What happens when you send again depends on whether your host allows self sign-up: if it is off, your new answer replaces the old one. If it is on, a second entry is created that your host merges with the first one later — that way no stranger can overwrite an existing reply. If you want to be sure your change gets through, tell your host or use your personal link.
I see no menu selection even though there is a menu. The menu question inside RSVP is a separate switch. Your host can show the menu without asking you to choose from it.
The Next button stays faded. Something is still missing in the current step: your name, the accept-or-decline card, a required question or a required contact field. Answer it and the button becomes active again.
The Send answer button stays grayed out. Then something from an earlier step is missing. The notice above the button tells you what — go back with Back and fill it in.
The link does not work any more. Either the reply deadline has passed or your host switched the tool off. A personal link can also stop working if the guest-list entry was deleted.
Do I need an account? No. Photogala quietly creates a guest session in the background so your answer can be saved. You do not have to sign up.
Related pages
Section titled “Related pages”- For hosts: Set up RSVP — how the invitation is created and sent.