Seating Plan – Tables & room
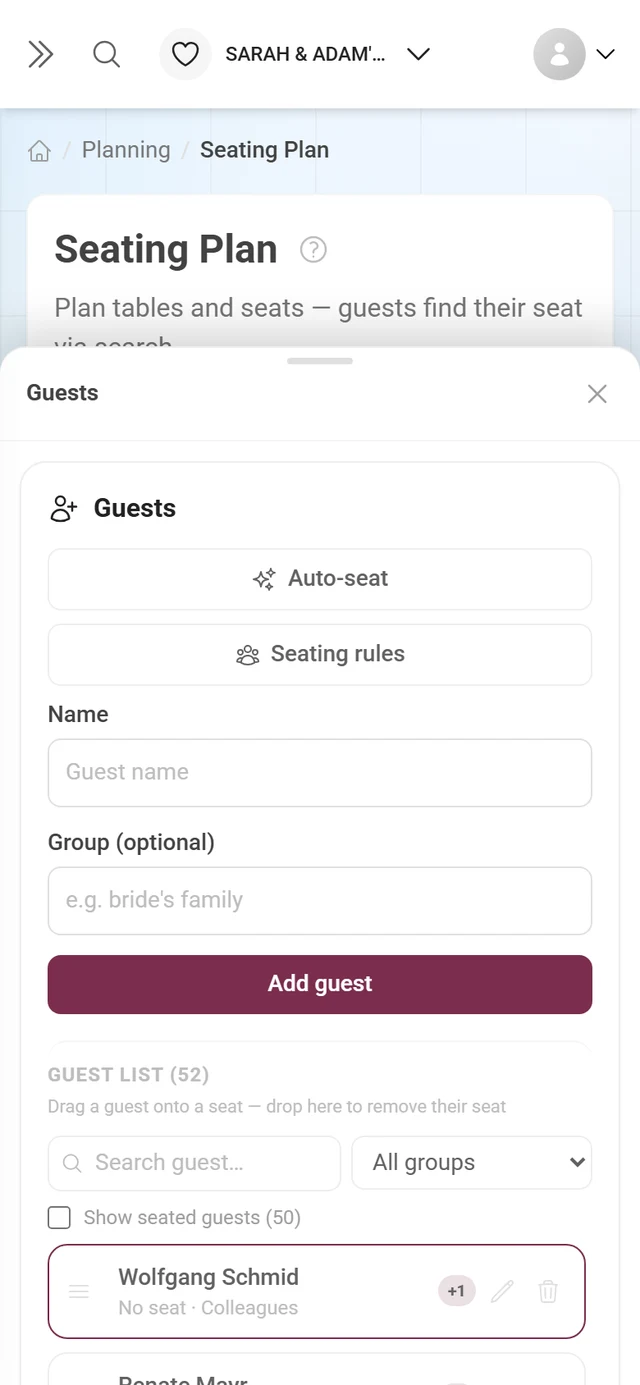
The seating plan lets you recreate your venue: tables, stage, bar, dance floor – and you distribute your guests across them. This page covers the room. Seating the guests and getting the plan onto paper have pages of their own.
Guest list first, then seats
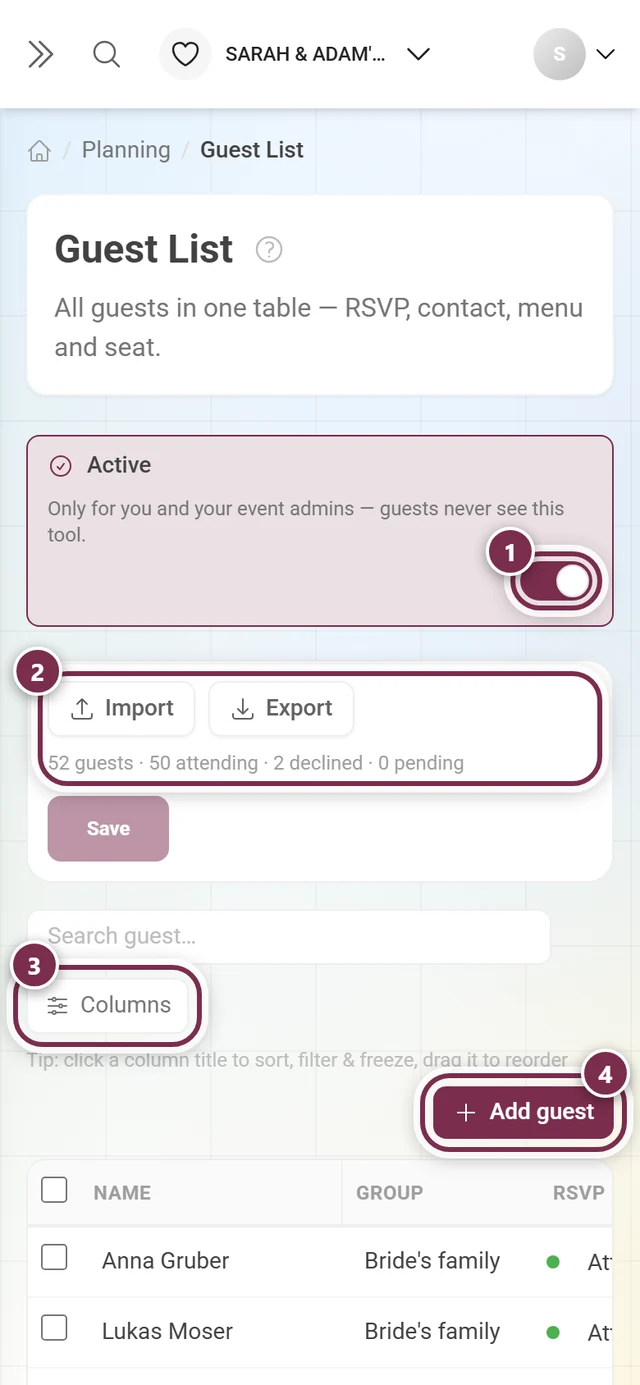
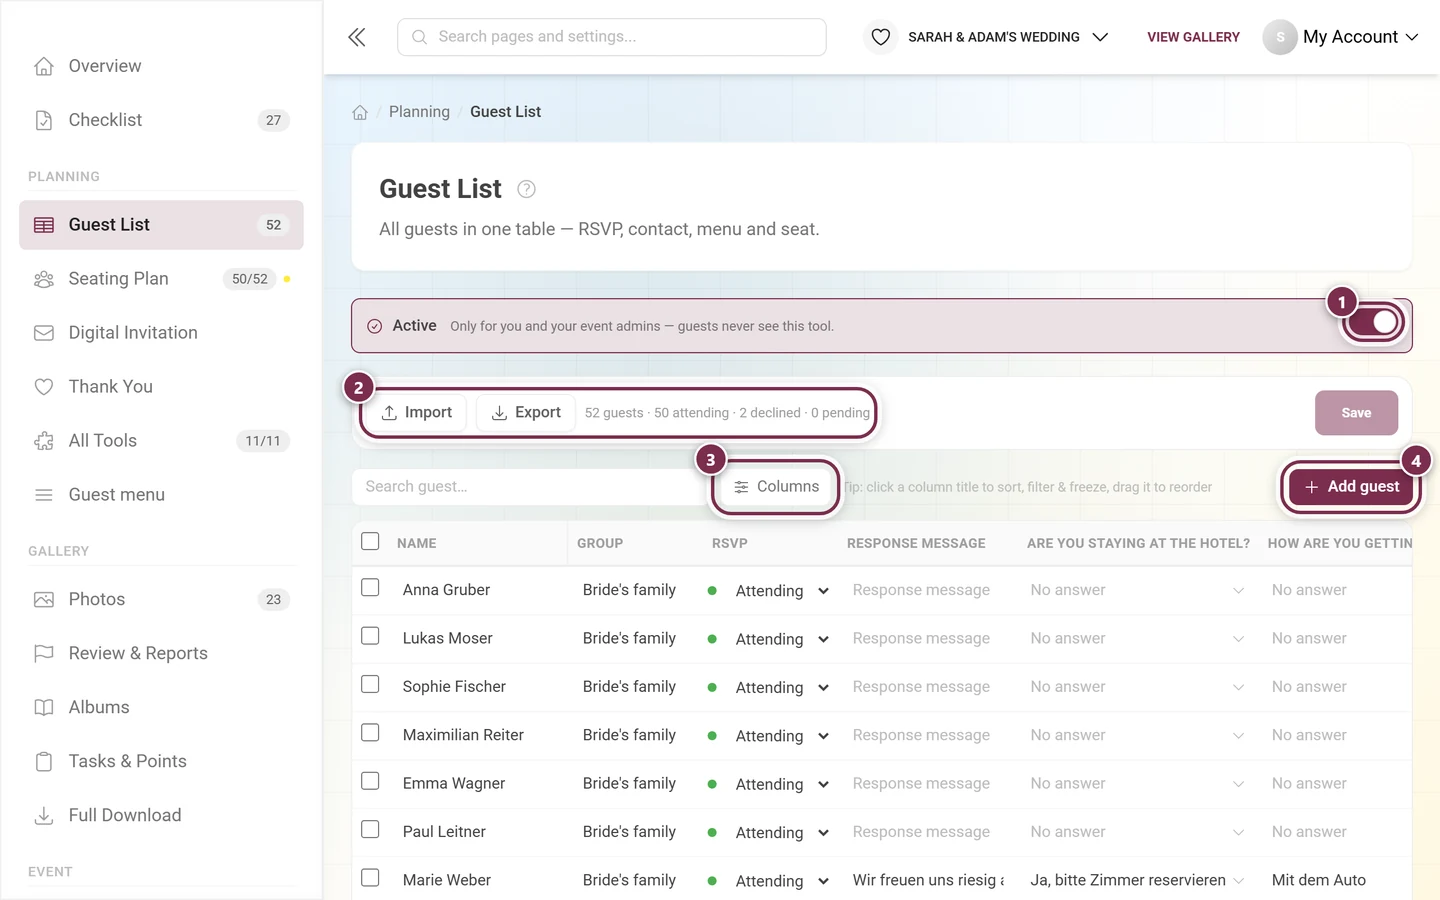
Section titled “Guest list first, then seats”The seating plan works with the people from your guest list – it has no guest database of its own. So build that first; the Open guest list button takes you over at any time, and Open seating plan brings you back.
The editor
Section titled “The editor”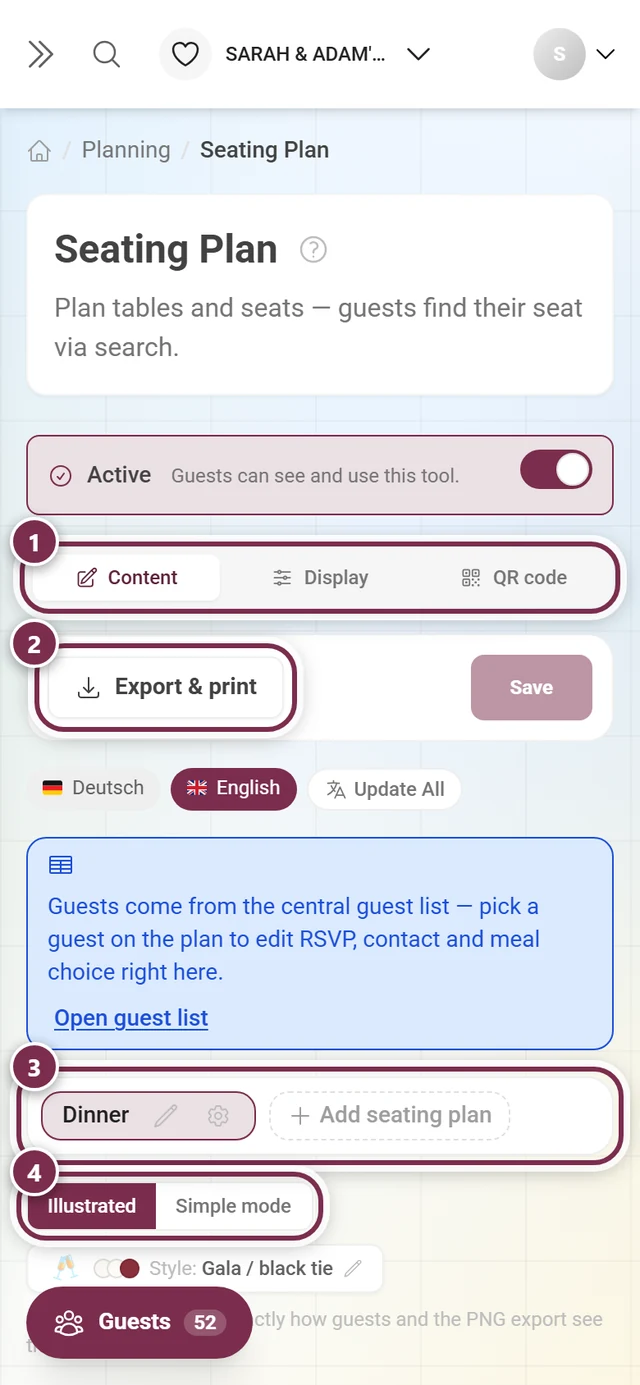
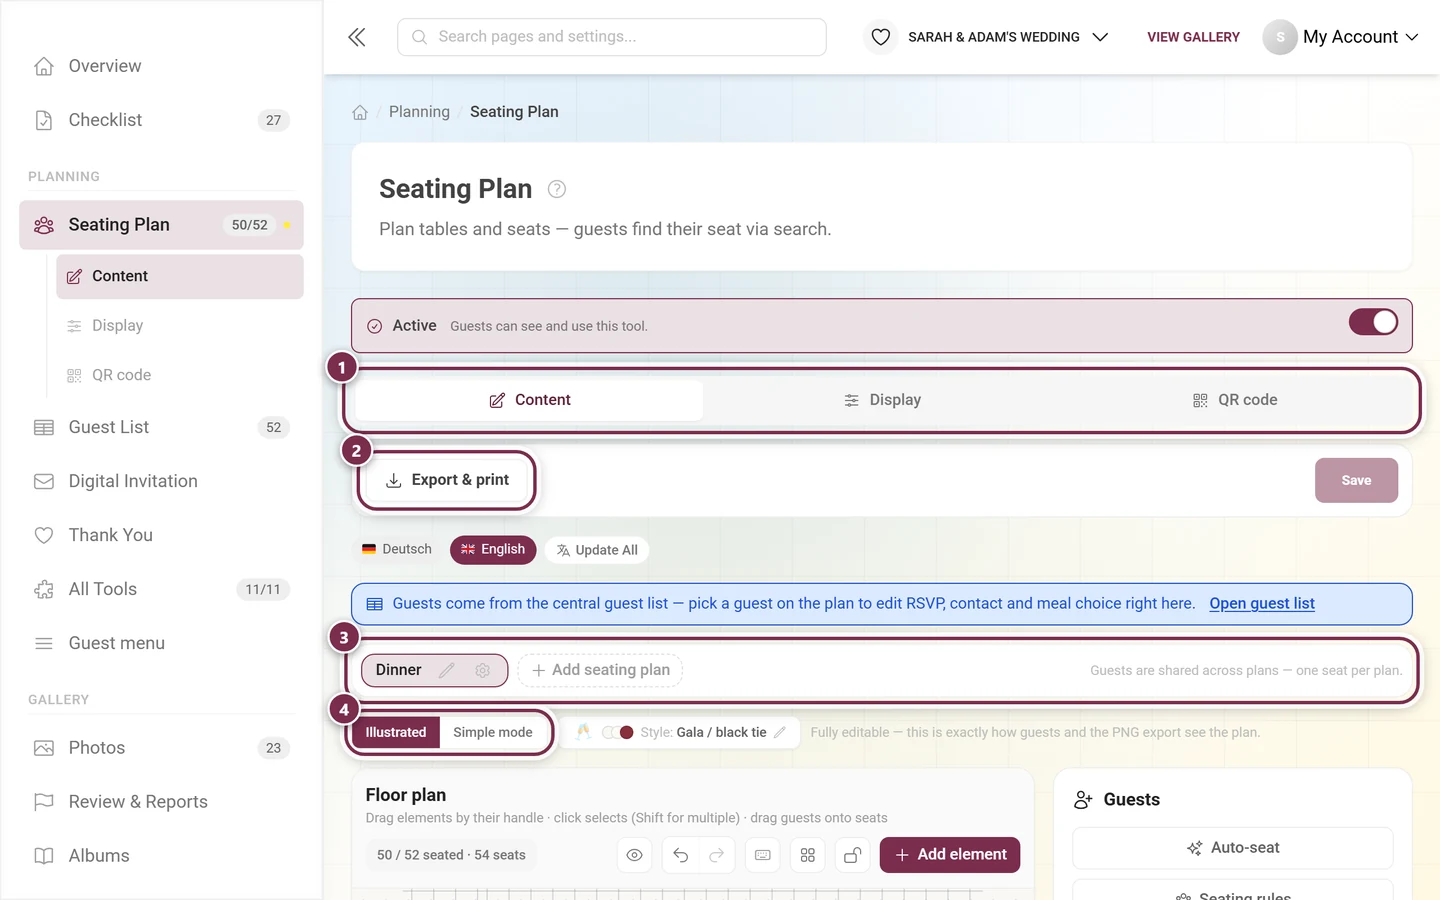
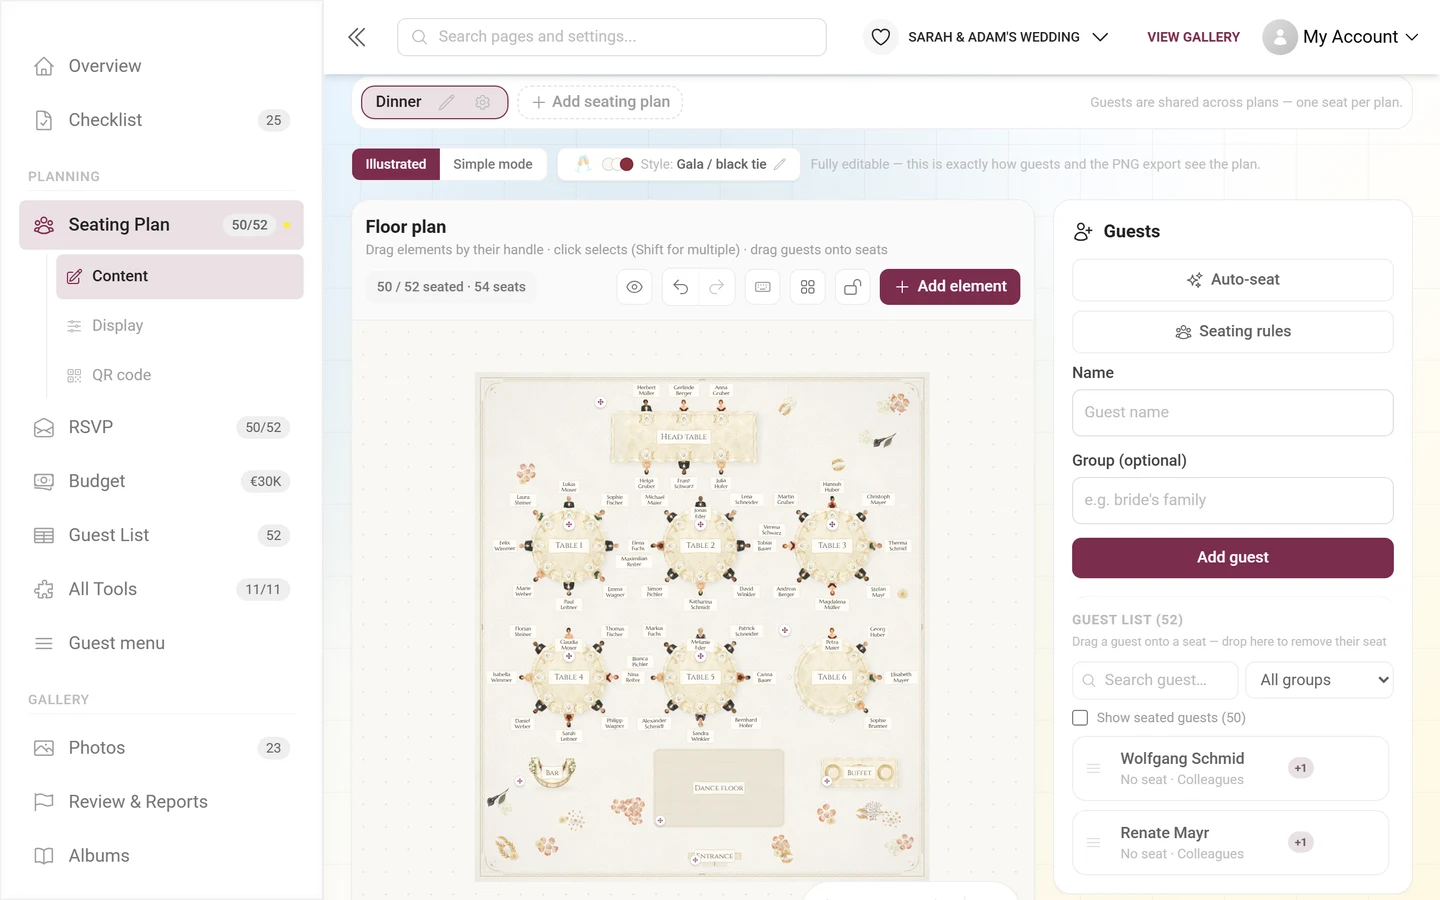
You’ll find it under Tools → Seating Plan in the Content tab. The layout is always the same:
- The canvas in the middle is your room. Drag elements by their handle; a click selects them.
- The side panel on the right shows the settings of the selected element – with nothing selected it shows your guest list.
- The status line above the plan reports how many guests are seated and how many seats exist in total.
- The toolbar at the top right carries preview, undo, keyboard shortcuts, the style brush, multi-select, the layout lock and Add element.
Multiple plans
Section titled “Multiple plans”You can create up to 10 seating plans – one for dinner and one for the party afterwards, for example. In the plan bar you create them with Add seating plan, rename them with Rename seating plan or remove them with Delete seating plan.
Visibility & time slot
Section titled “Visibility & time slot”Every plan has its own guest-facing settings under Visibility & time slot:
- Visible to guests – switched off, the plan carries the badge Hidden from guests and only admins see it. Handy for drafts.
- Time slot (optional) – with From and Until you set the period in which guests see this plan first. They can still switch at any time, and the plan is never hidden by this. The times apply to the event day in local time; a slot across midnight – 22:00 to 02:00, say – works fine.
- Take from a schedule item – if you’ve filled in the schedule tool, this picker copies a schedule item’s start and duration in as the time slot. Editing a time by hand afterwards detaches the link again.
Apply closes the dialog.
Creating tables
Section titled “Creating tables”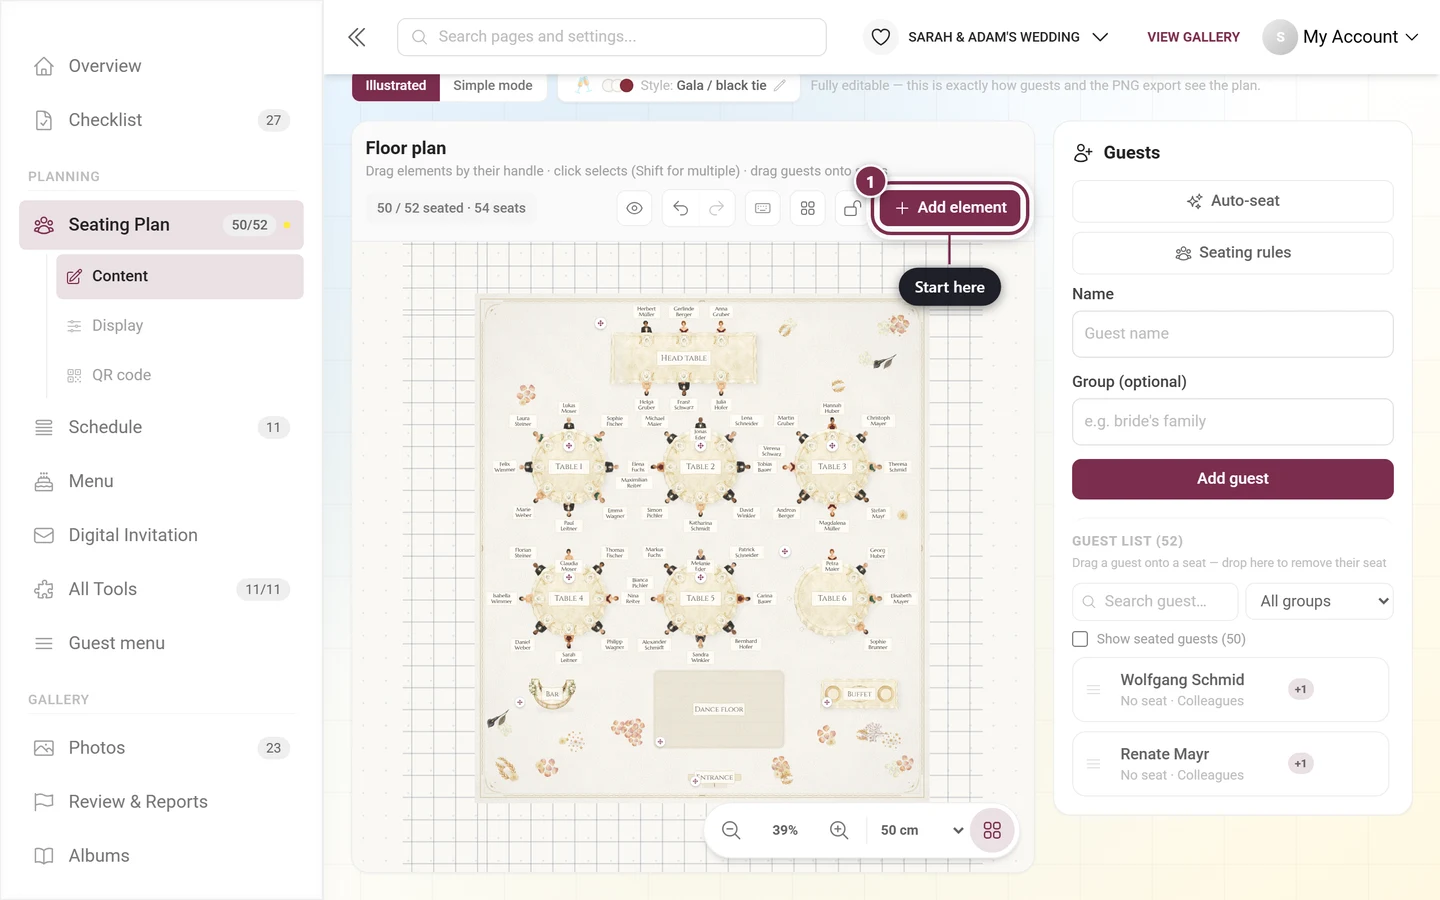
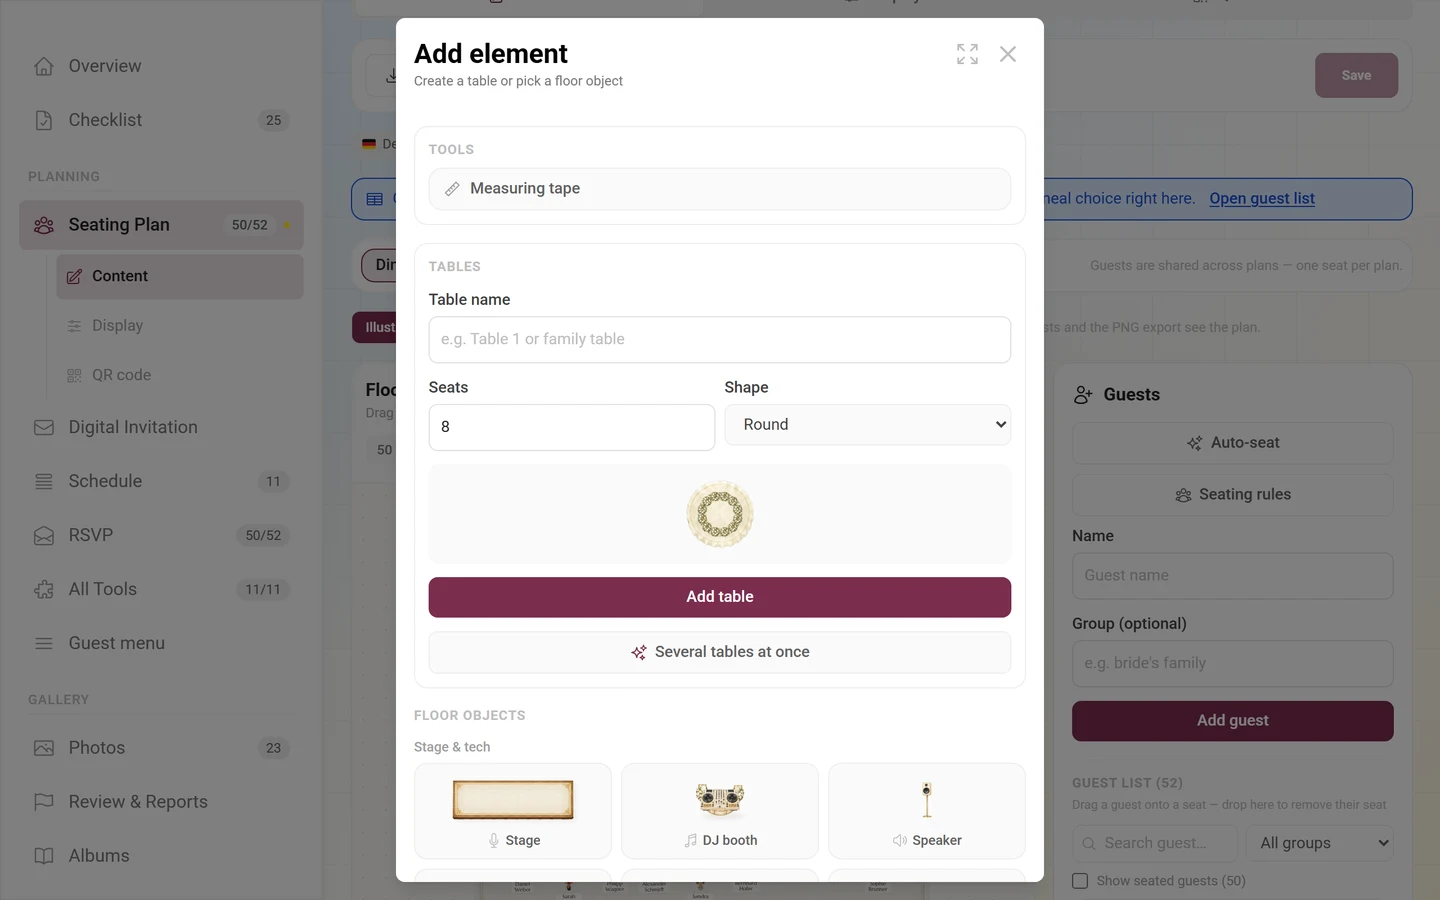
Add element → Table creates a table. Clicking it opens Edit table in the panel:
- Table name – anything you like, such as “Table 1” or “Family table”.
- Seats – how many people sit there. The More seats and Fewer seats buttons step the number.
- Shape – Round, Rectangular, Square, Oval or Half-round.
- Color – the table color in simple mode.
Sizes in centimetres
Section titled “Sizes in centimetres”All sizes are real centimetres, so the plan matches the venue. Which fields appear depends on the shape: Width (cm) and Height (cm) for rectangular and oval tables, Diameter (cm) for round ones, Side length (cm) for square ones.
Automatic size resets the measurements – the table then follows the number of seats automatically again. Seat spacing controls how closely the settings sit together.
Which sides carry seats
Section titled “Which sides carry seats”Under Seats on these sides you switch individual edges off – for a table against a wall, for instance. Rectangular and square tables offer their top, right, bottom and left edge; round and oval tables read the same entries as quarter arcs. A half-round table offers its arc and its flat side, and has only the arc enabled by default.
Quick start: several tables at once
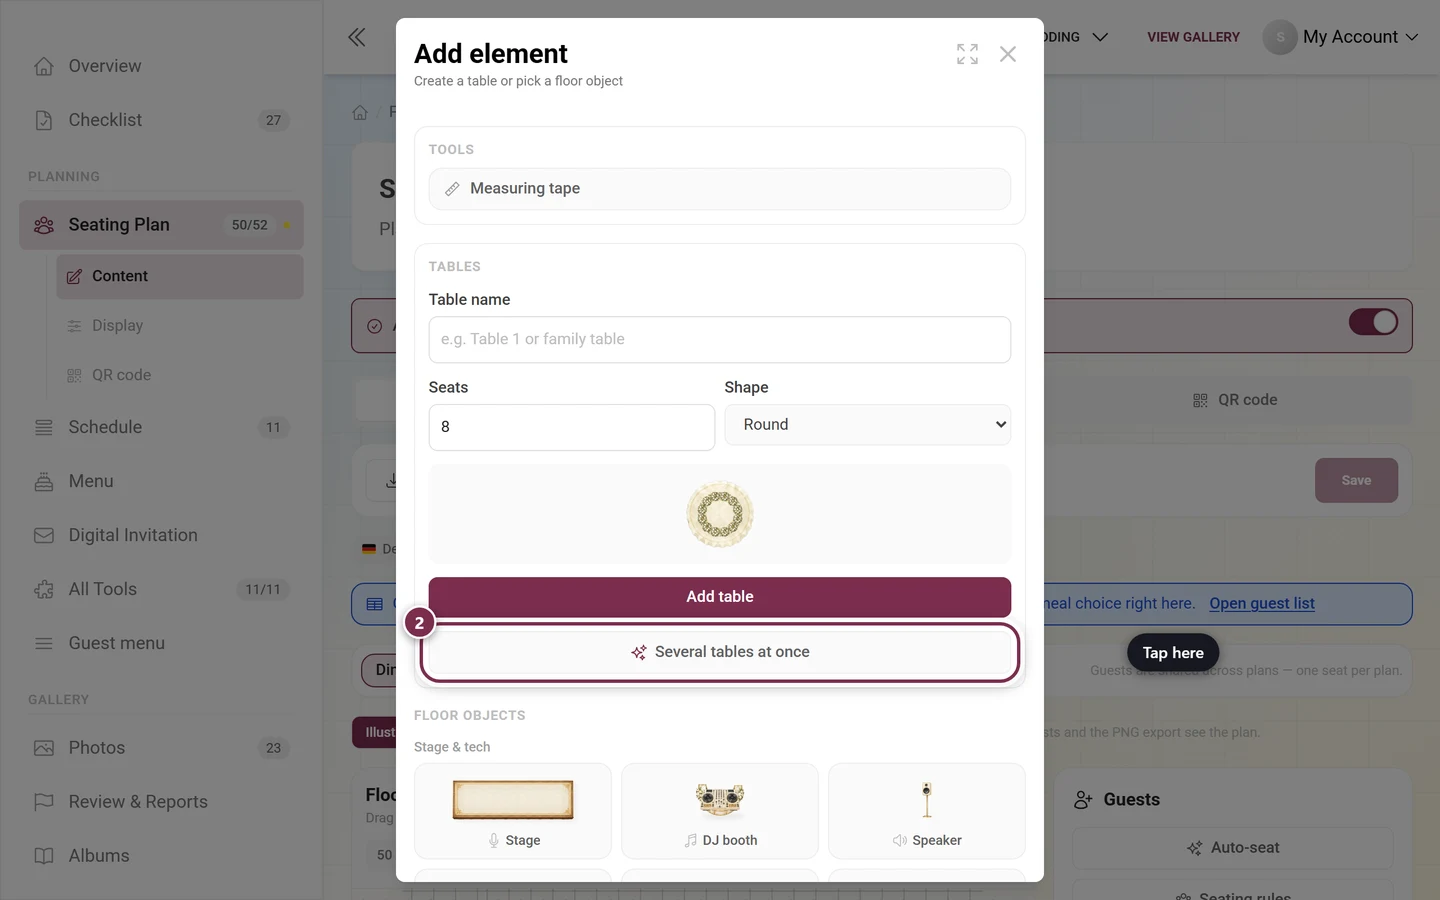
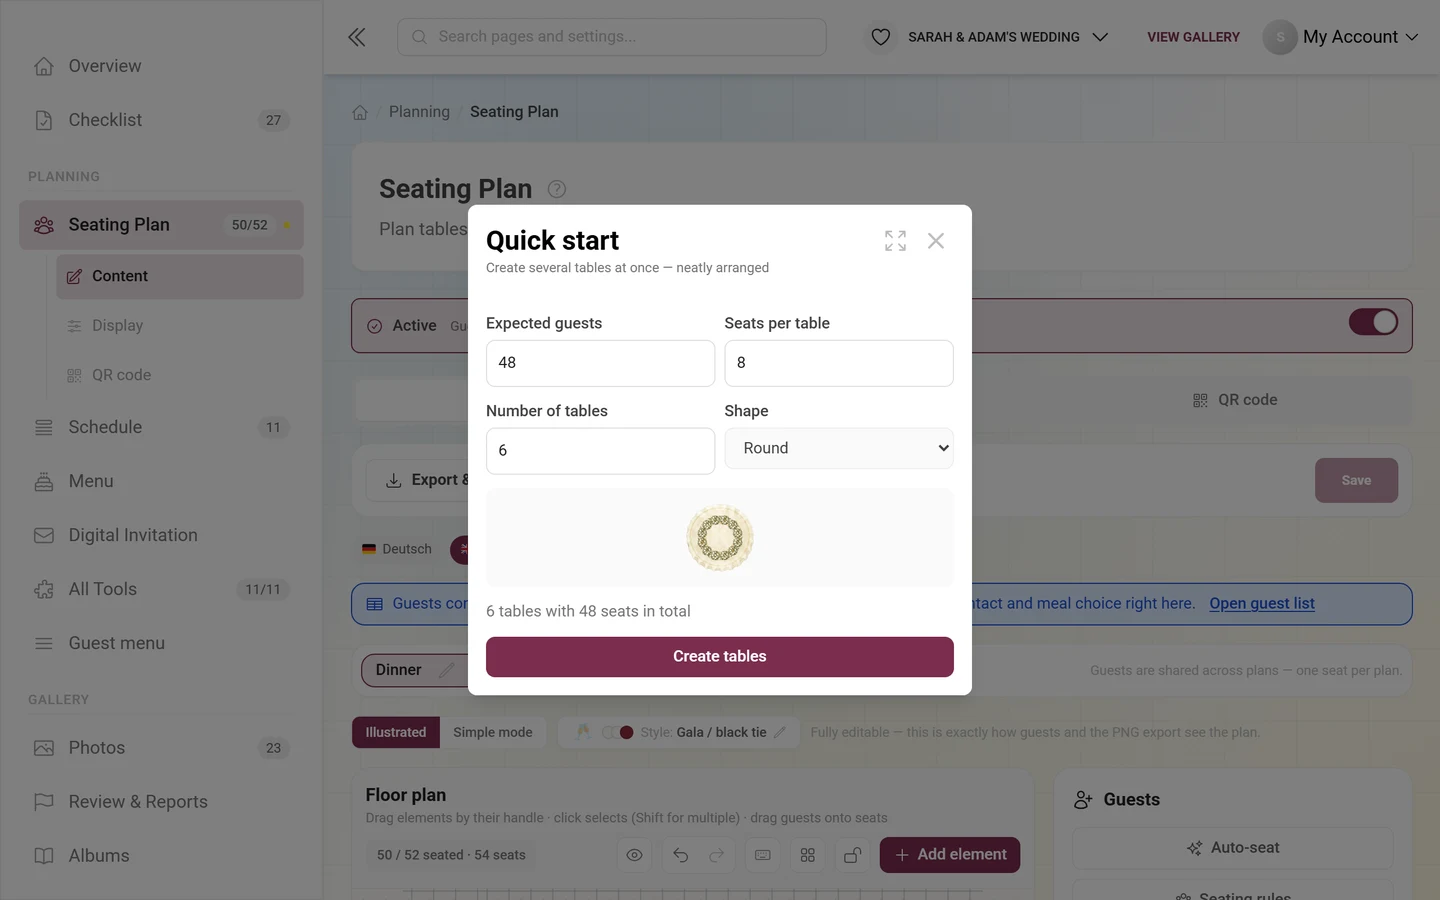
Section titled “Quick start: several tables at once”To get going there is Quick start: create tables (inside the Add element dialog the entry is called Several tables at once). You enter Expected guests and Seats per table, Photogala works out the Number of tables and shows you the total; Shape decides whether the tables come out round or rectangular. Create tables drops them onto the canvas neatly arranged – from there you nudge them into place.
You only see the Quick start: create tables button on the canvas itself while the plan is still empty. Once a single table is there, the way in is Add element.
Floor objects
Section titled “Floor objects”Everything that isn’t a table comes from the Floor objects in Add element. They are grouped into four categories:
- Stage & tech – stage, DJ booth, speaker, light, piano, fireworks, screen.
- Food & drinks – bar, buffet, cake table, gift table, candy bar.
- Room & fixtures – text field, dance floor, entrance, WC, cloakroom, photo booth, guest book, wall, column, lounge, kids corner.
- Decoration & outdoor – tree, plant, arch, centerpiece, flowers, place setting, plate, vase, bottles, lantern and Custom for anything that fits no drawer.
A selected object is edited in the panel under Edit object: Label is the text shown, Show object label turns it on or off, Color sets the tone in simple mode.
Text fields
Section titled “Text fields”The Text field object is free text on the plan – for notes like “Smoking area” or a headline. Under Edit text you set:
- Text – the content.
- Font – Default, Serif, Display, Script or Mono.
- Font size plus Bold, Italic and Underlined.
- Alignment – Left, Center or Right.
- Text color, Background (None or Chip) and Border. Custom lets you pick any color value.
Editing elements
Section titled “Editing elements”Tables and objects can be edited in several ways – pick whichever suits you.
- Move – drag by the handle.
- Resize – drag the corner grip.
- Rotate – drag the rotation grip. The Angle is also a number in the panel; hold Shift while dragging and the rotation snaps to 15-degree steps.
- Flip – Flip horizontally and Flip vertically in the context menu, for floor objects.
- Duplicate – Duplicate drops a copy alongside.
- Group – select several elements and choose Group: they are then selected and moved together. Ungroup releases them again.
- Layer – Bring to front, Bring forward, Send backward, Send to back control what sits on top of what.
- Lock – a locked element carries Locked and can no longer be moved by accident.
- Transfer style – the brush in the toolbar copies the selected element’s style; you then tap further elements to apply it. Esc ends the brush.
Several elements at once
Section titled “Several elements at once”Shift + click or Ctrl + click adds elements to the selection; the toolbar also has a toggle after which a plain tap already adds to the selection – the more comfortable route on a phone. The panel then shows how many elements are selected and offers the shared actions.
Context menu
Section titled “Context menu”On the desktop you open it with a right-click, on a phone by pressing and holding. Depending on the target it contains duplicate, flip, layers and delete; on empty canvas it offers Insert table here and Insert element, so the new element lands exactly at that spot.
Alignment helpers
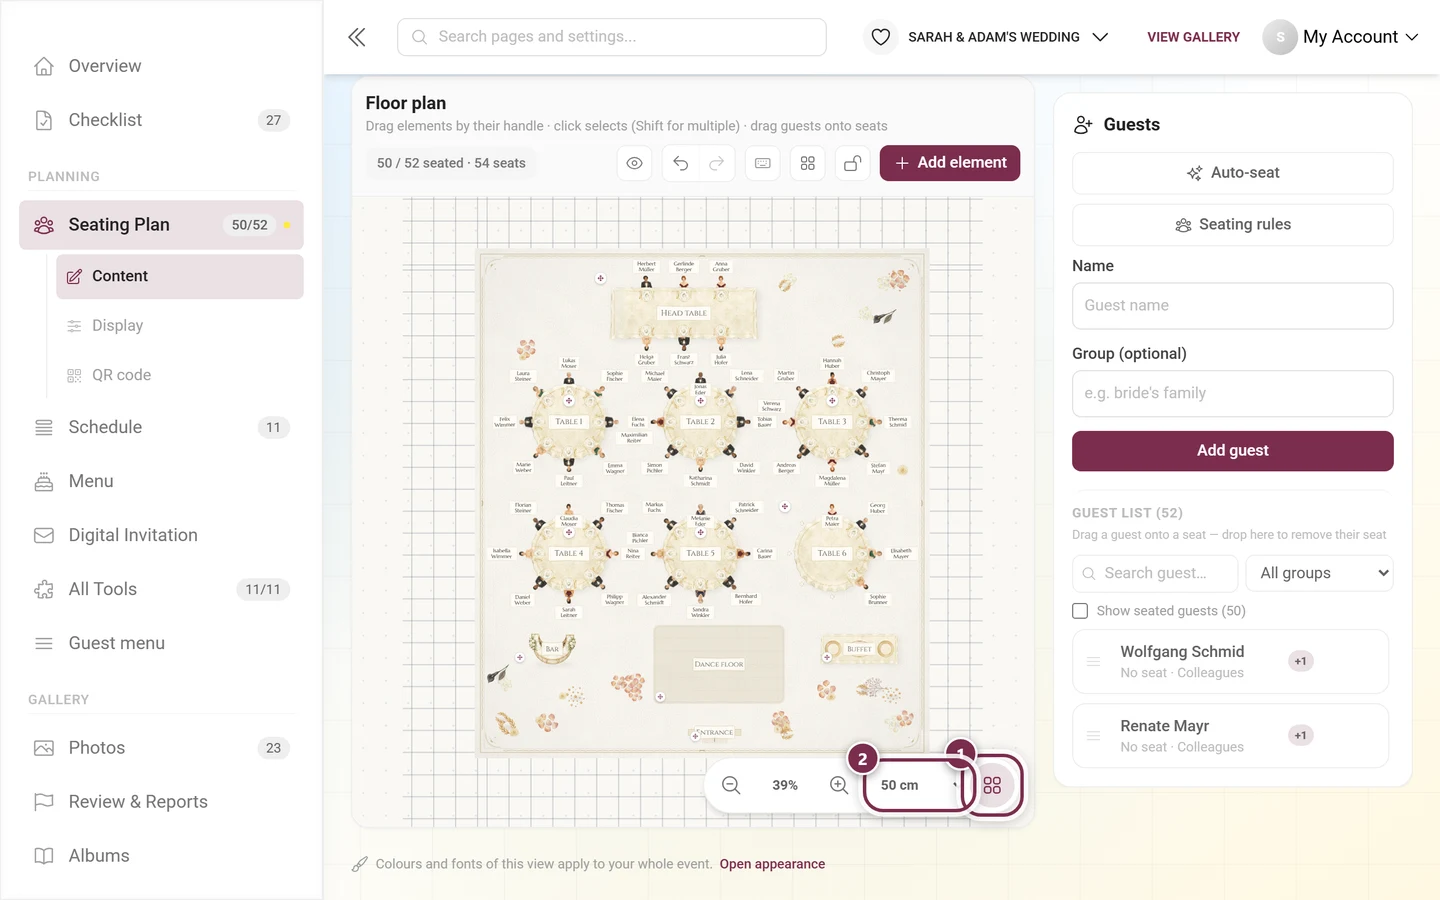
Section titled “Alignment helpers”The grid button at the bottom right of the plan toggles the Grid – as does the G key. You pick the Grid spacing next to it: 10 cm, 25 cm, 50 cm or 100 cm; 50 cm is preset. Your browser remembers the choice. The spacing field only appears once the grid is switched on – with the grid off there is just the button.
Hold Alt while dragging and Photogala ignores the grid and places freely.
Measuring tape
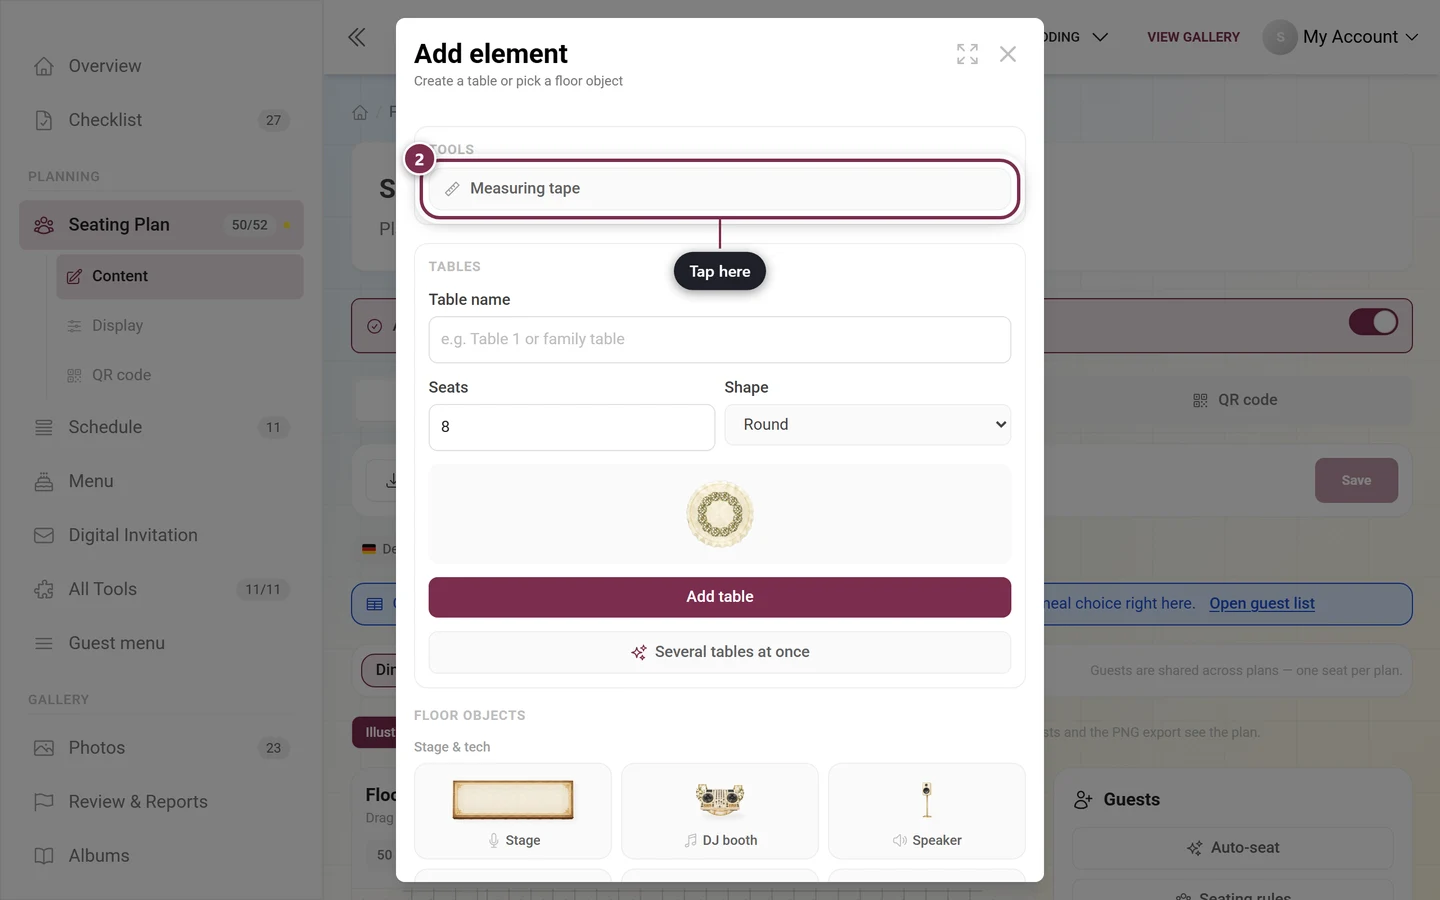
Section titled “Measuring tape”You reach the Measuring tape through Add element – inside the dialog it sits right at the top under the heading Tools. It measures distances: you drag a line across the plan and get the length in centimetres. Enter length lets you type a value by hand, and the measurement line and its points can be moved afterwards. Stop measuring or Esc switches back.
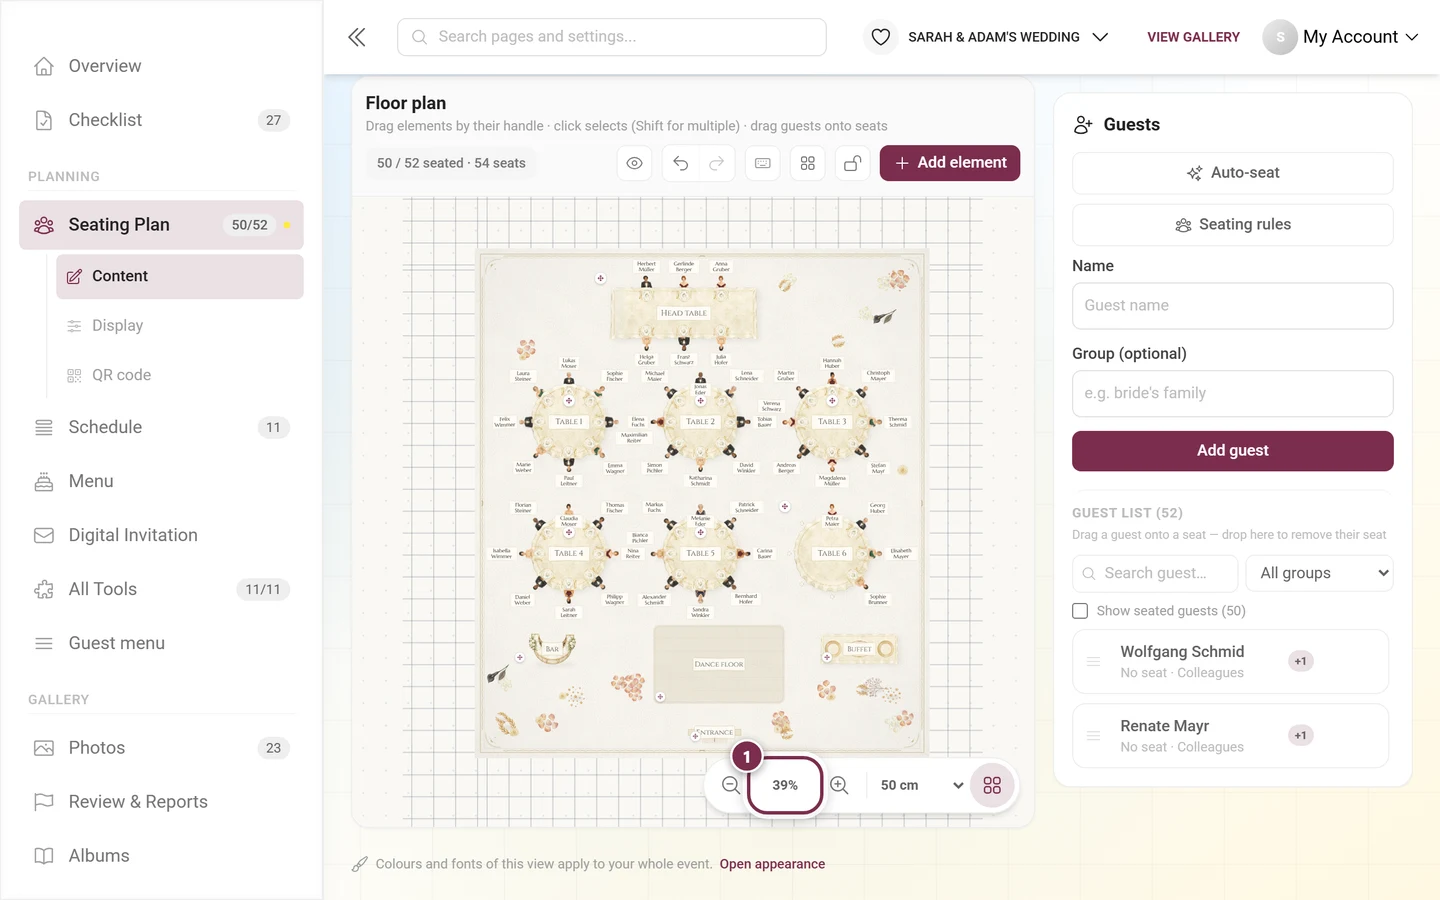
Zoom in, Zoom out and the percentage sit at the bottom right. Clicking the value is Reset zoom. On a phone you pinch with two fingers.
Lock layout
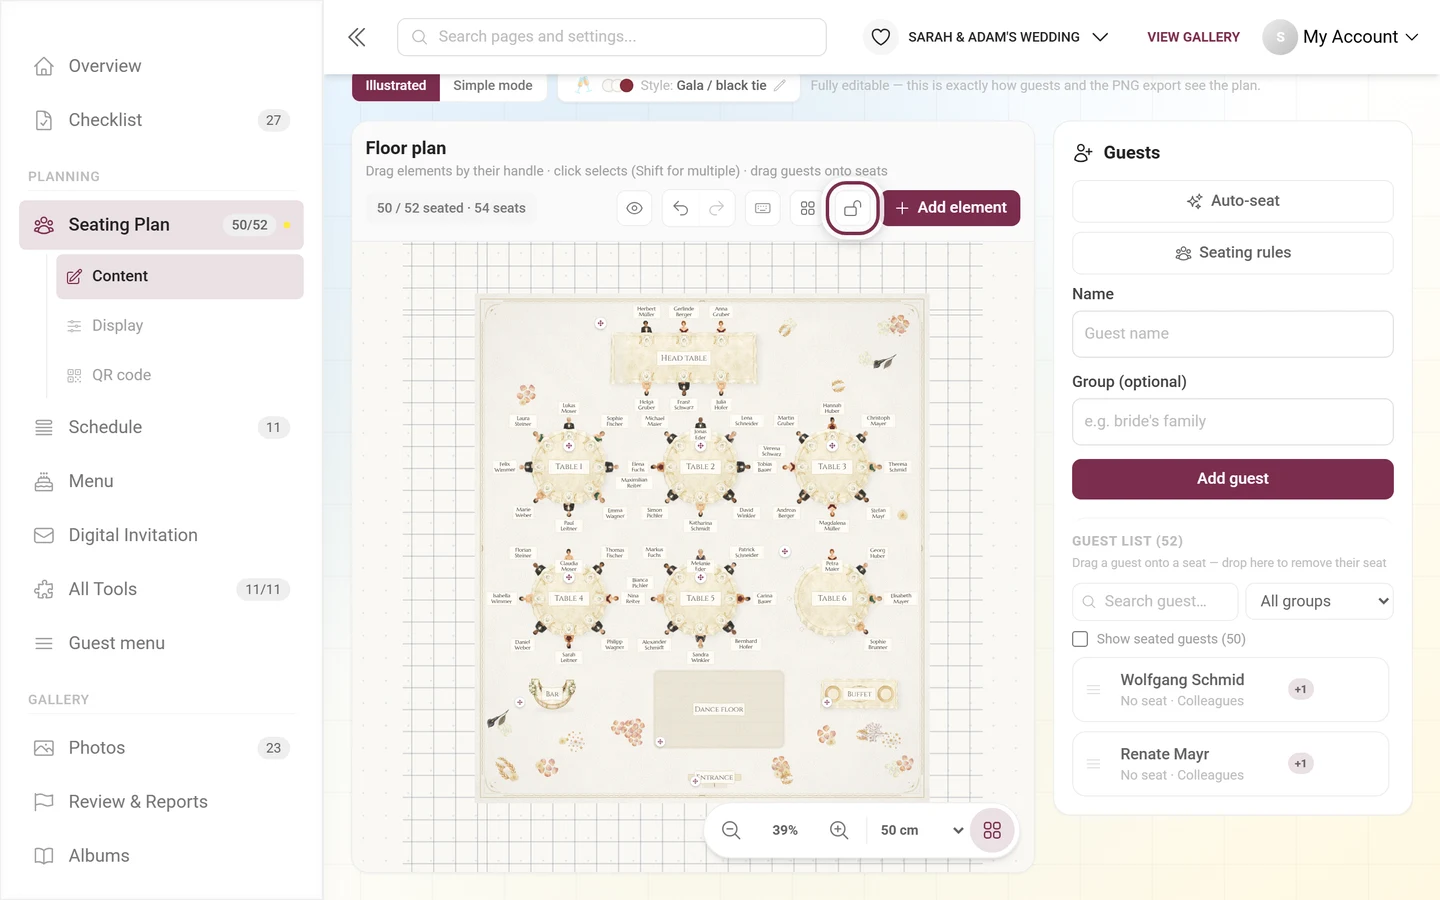
Section titled “Lock layout”Lock layout freezes every position. That helps once the room is settled and you’re only distributing guests – an accidental drag then moves no table. Unlock layout releases it again.
Undo and keyboard shortcuts
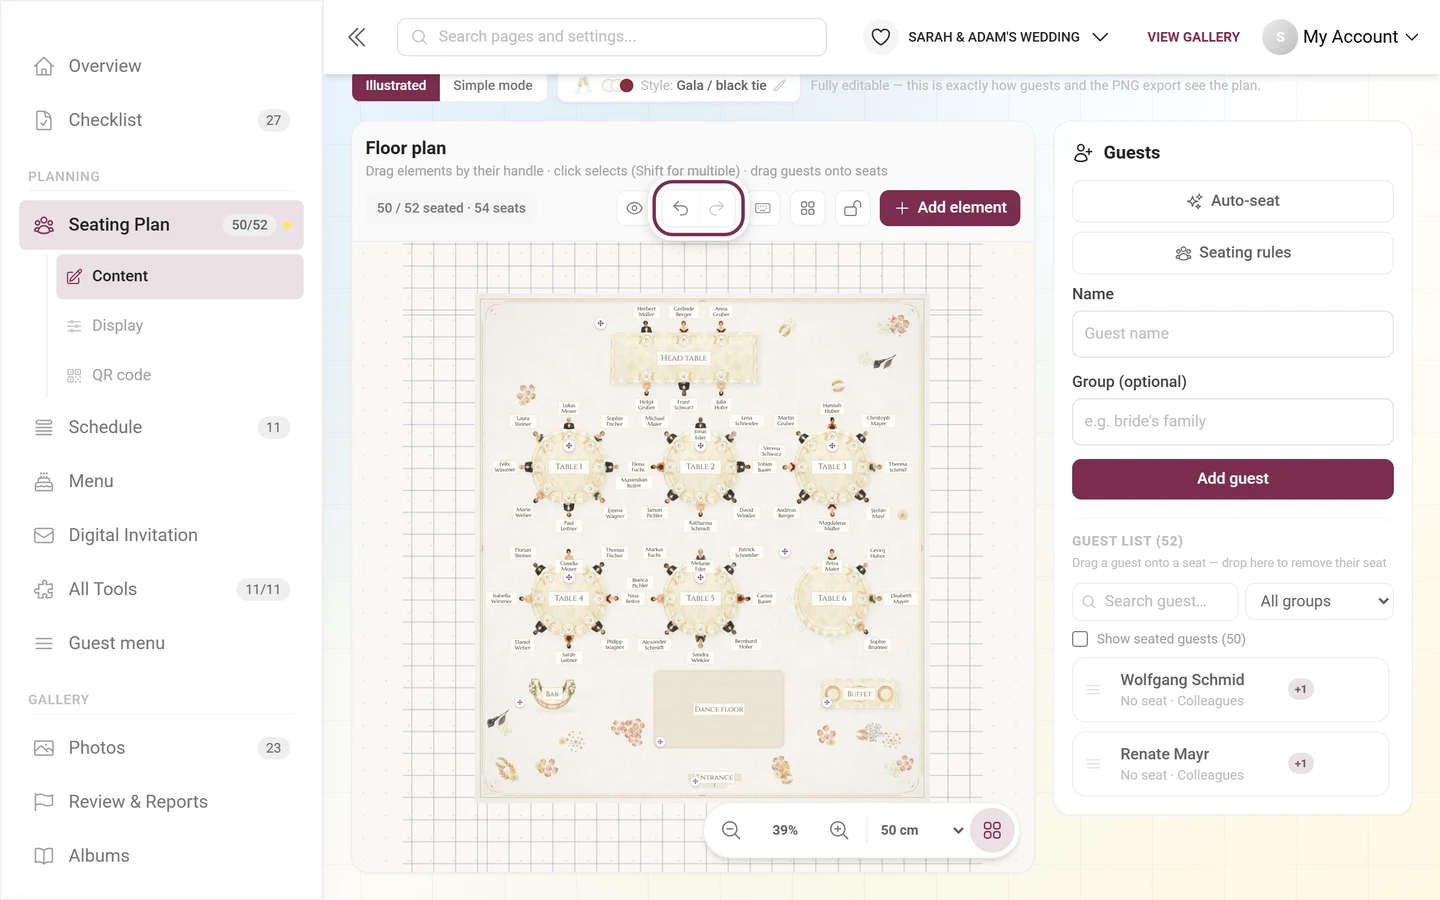
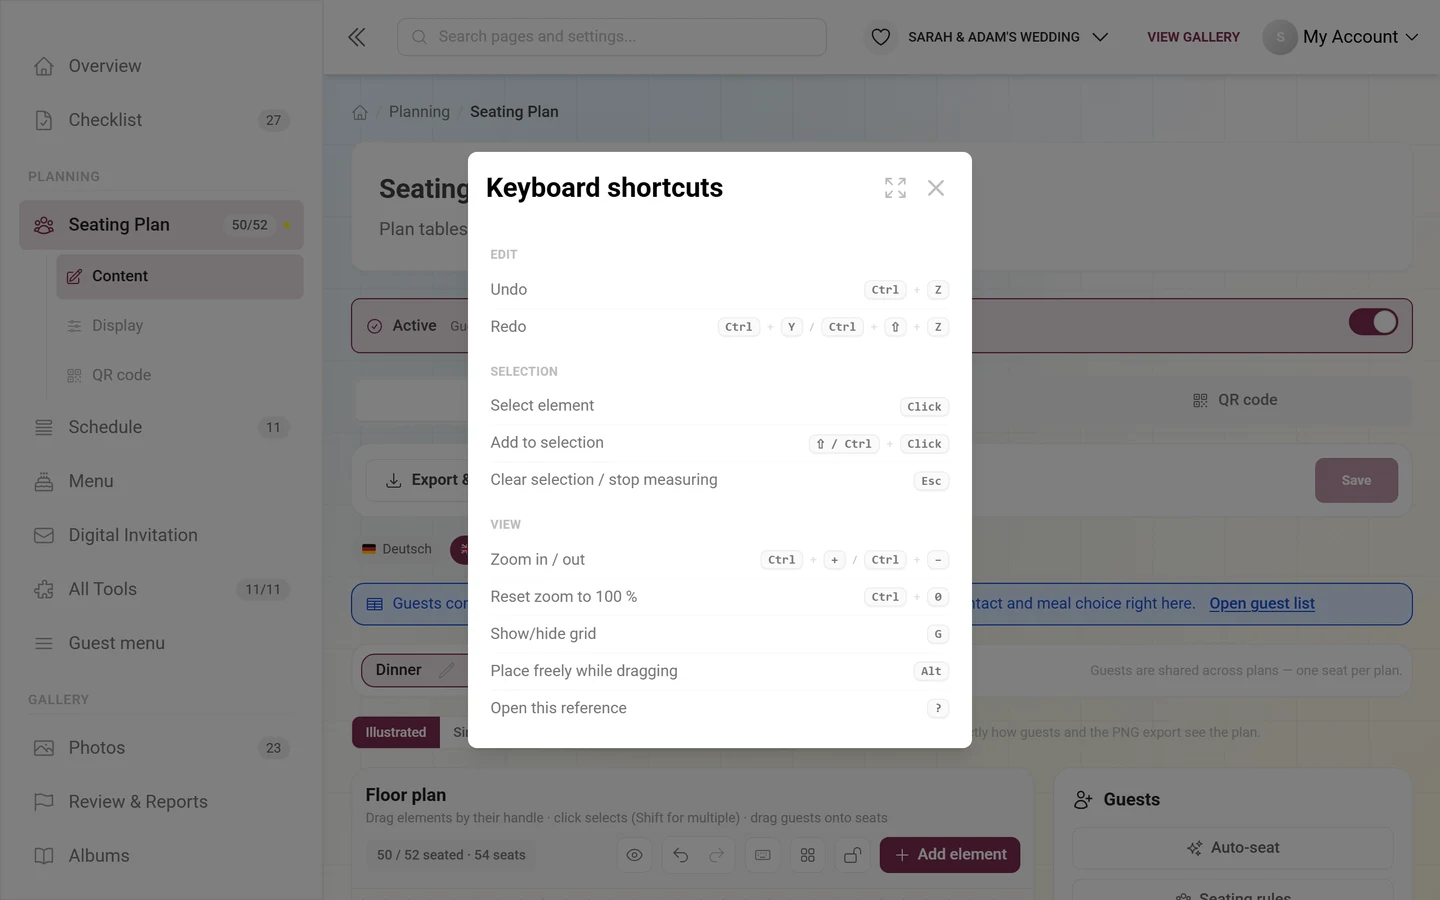
Section titled “Undo and keyboard shortcuts”Undo and Redo sit as a pair of arrows in the toolbar. The keyboard button next to them opens Keyboard shortcuts:
Edit
- Ctrl + Z – Undo
- Ctrl + Y or Ctrl + Shift + Z – Redo
Selection
- Click – Select element
- Shift + click or Ctrl + click – Add to selection
- Esc – Clear selection / stop measuring
View
- Ctrl + + and Ctrl + − – Zoom in / out
- Ctrl + 0 – Reset zoom to 100 %
- G – Show/hide grid
- Alt – Place freely while dragging
- ? – Open this reference
On a Mac it is ⌘ instead of Ctrl throughout.
On a phone
Section titled “On a phone”On a phone the side panel isn’t a column beside the plan but a bottom sheet: it slides up as soon as you select an element. You can pull it up by the handle at the top when a panel is longer than its resting height – and pull it down again to dismiss it. That way the plan stays visible while you change settings.
The hint above the plan is shorter on a phone and describes the touch gestures: drag by the handle, tap to select, hold for the menu, pinch with two fingers to zoom.
Troubleshooting
Section titled “Troubleshooting”I can’t move an element. Check three things: is Lock layout active? Is the measuring tape running? Are you in the Guest view preview? In all three cases dragging is blocked on purpose. Individually locked elements are marked Locked.
My table jumps while dragging. The grid is active. Turn it off with G, pick a finer Grid spacing, or hold Alt while dragging.
My changes are gone after a reload. Content is not saved automatically. Use the Save button before you leave the page.
Saving shows a conflict message. Somebody else saved in the meantime. Your input is kept – review it and save again.
I can’t add another plan, table or object. There are upper limits: 10 seating plans, 100 tables and 300 floor objects per event. A message names the limit you reached.
Related pages
Section titled “Related pages”- Seating plan: Seating guests · Illustrated view, export & print
- For guests: Find your seat – what your guests see.
- For hosts: Guest List · Schedule · RSVP · Tooling – Overview