Tooling – Overview
An event is more than photos. Under Planning in the sidebar you unlock extra building blocks for your guests: collect RSVPs, show the schedule, let people find their seat, present the menu or take song requests. Every tool switches on and off individually – use only what fits your event.
Where to find the tools
Section titled “Where to find the tools”Sidebar → the “Planning” group. Up to four of your active tools sit there as entries of their own – most recently opened first, then by importance (invitation, guest list, seating plan, RSVP, menu, budget, …). Each entry carries its tool’s key figure as a badge – 38/42 on the seating plan, the amount on the budget – plus a yellow dot while something in it is still open. When you are inside a tool, its tabs expand underneath.
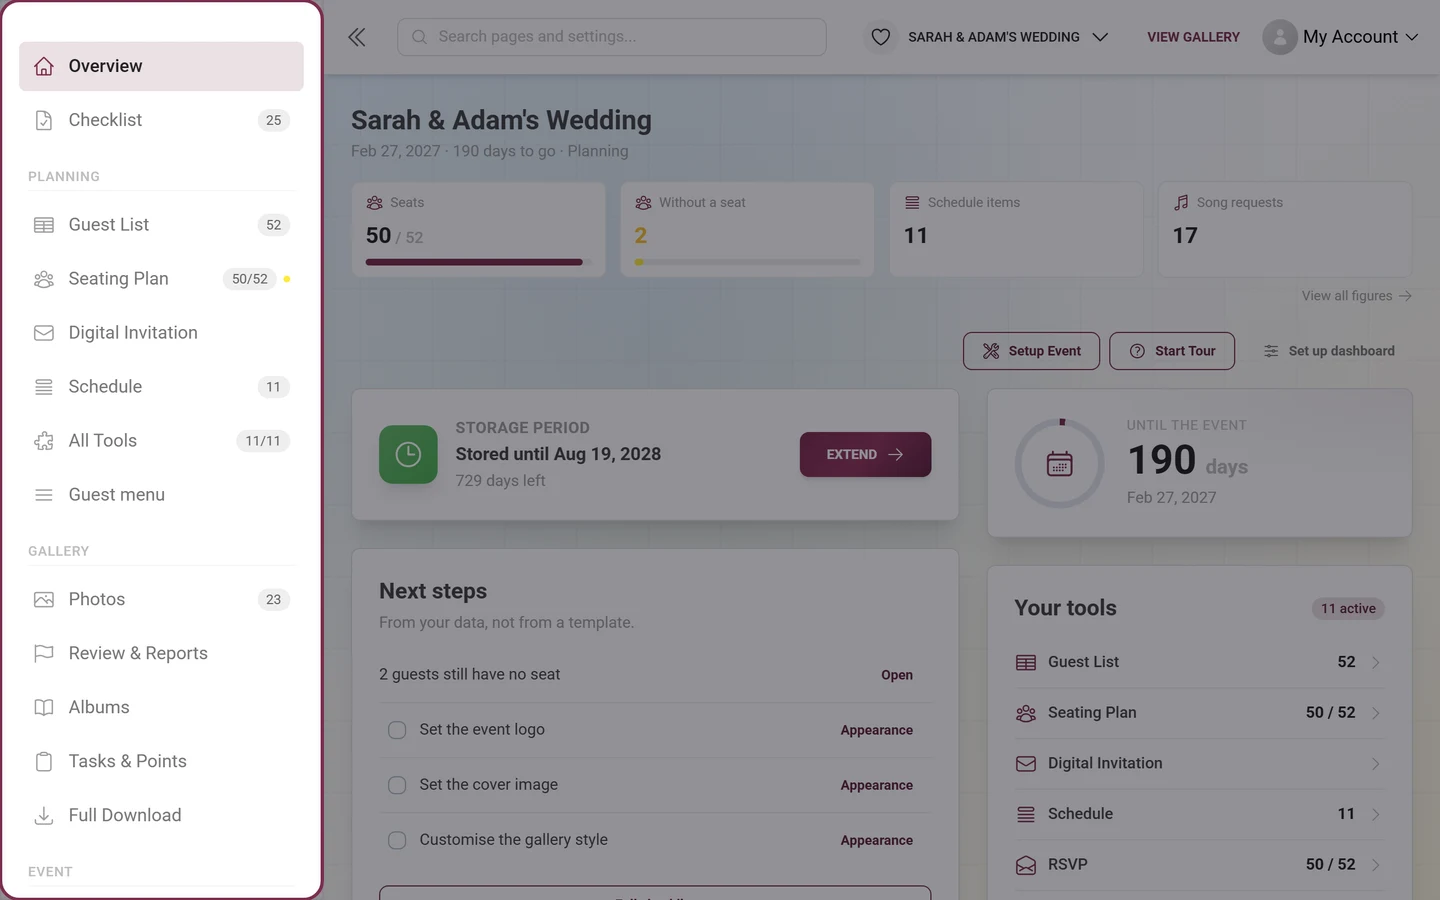
The “All Tools” entry underneath opens the tile overview. Its badge counts enabled/total – with three tools switched on that reads 3/12. If a tool is exceptionally not in your plan, a padlock with a count sits next to it. The overview’s page heading is still Tooling; the breadcrumb above every tool editor reads Planning and takes you back there.
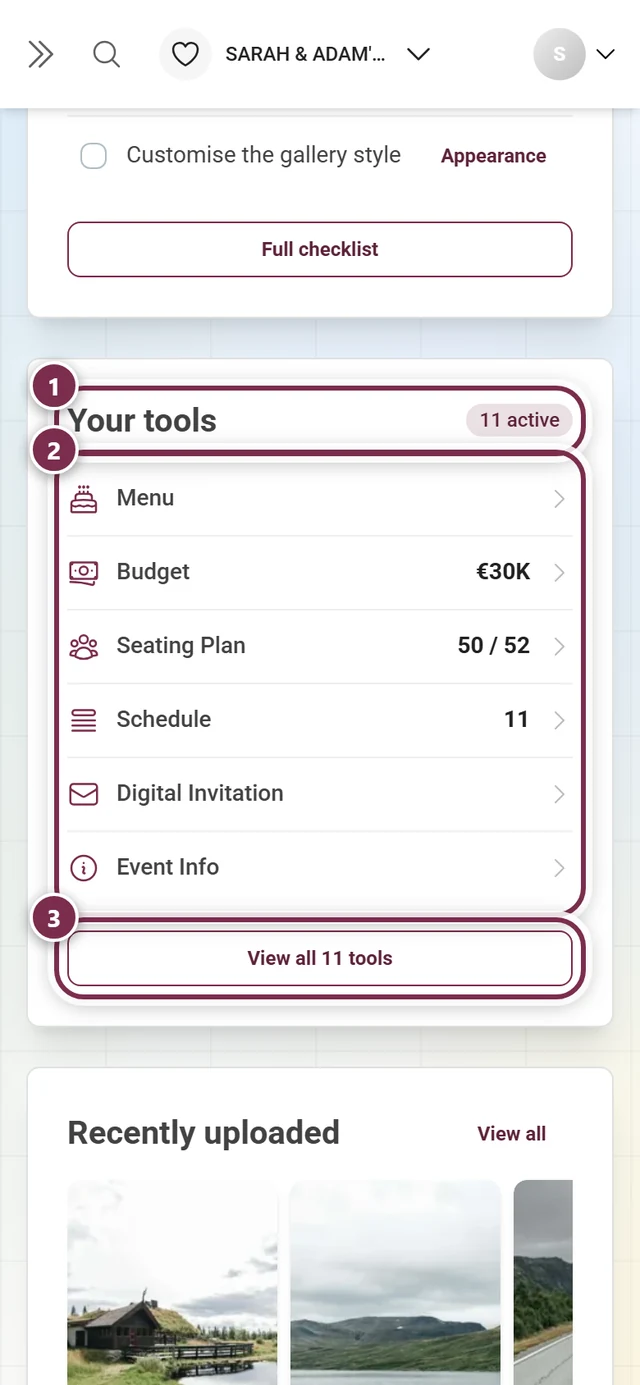
Dashboard → the “Your tools” card. It is dynamic: your active tools with their current figure come first, suggestions below, six rows at most. Tools that are off are marked off. The button at the foot reads View all 12 tools.
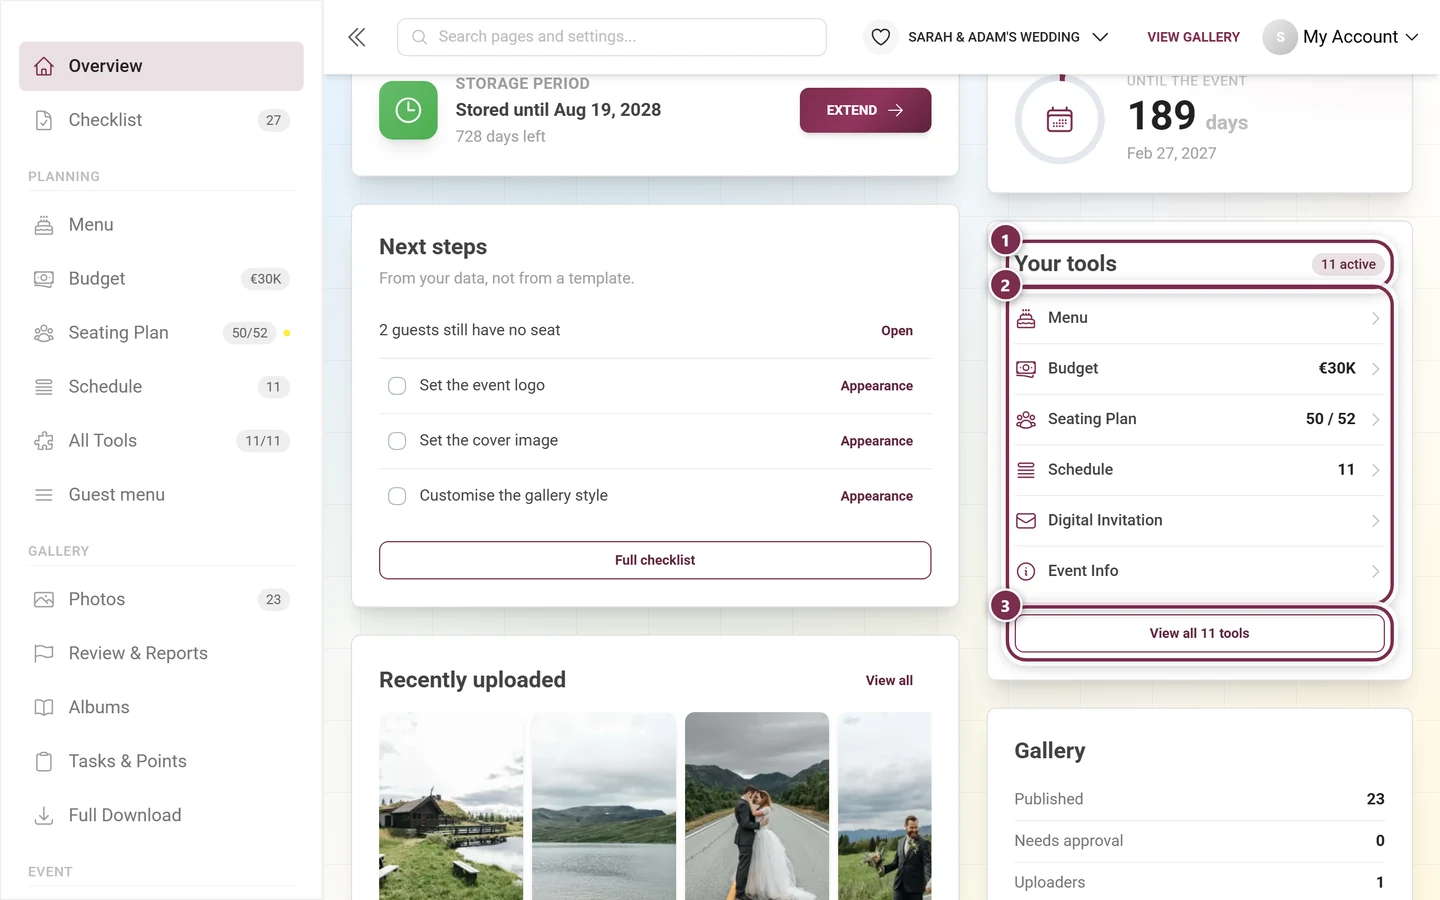
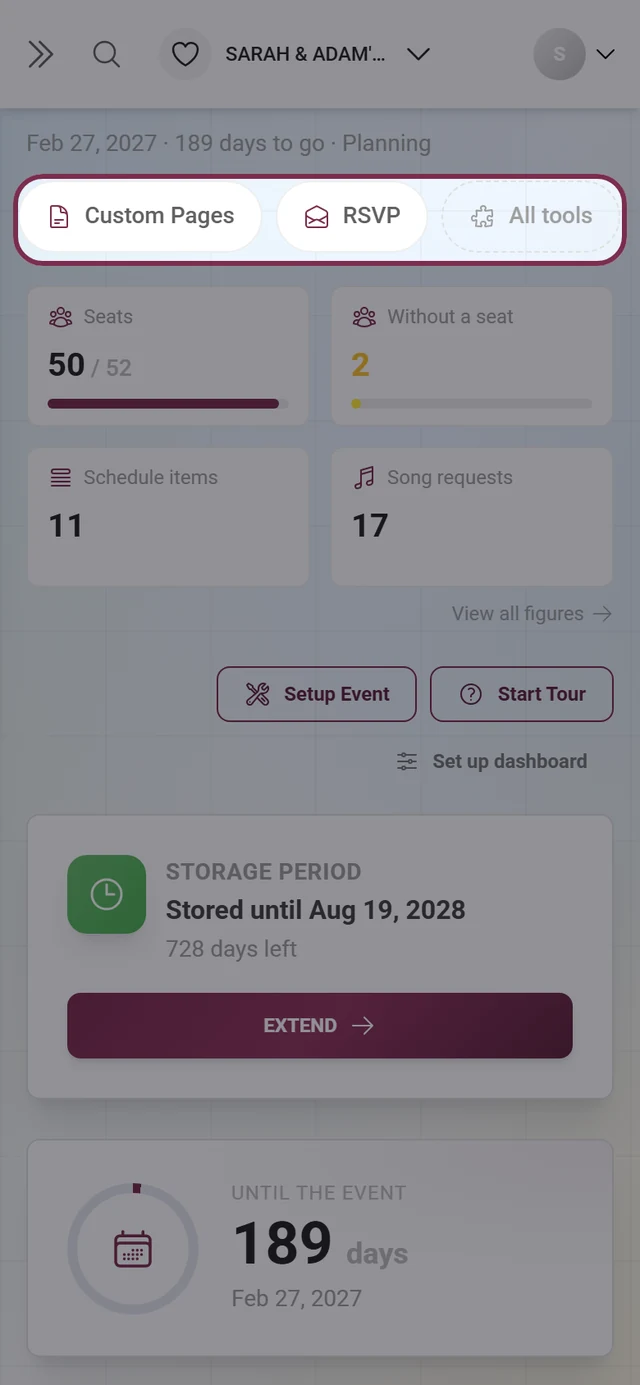
On a phone: the pill rail. Below 640 px the sidebar is collapsed. As a stand-in, a horizontal rail of all active tools plus an All tools pill sits at the top of the dashboard – the same order as the sidebar. With no tool active it does not appear at all.
Directly. A tool’s address is /admin/tools/:toolId, and the tabs hang off ?tab=content, ?tab=display, ?tab=visibility or ?tab=qr.
The twelve tools
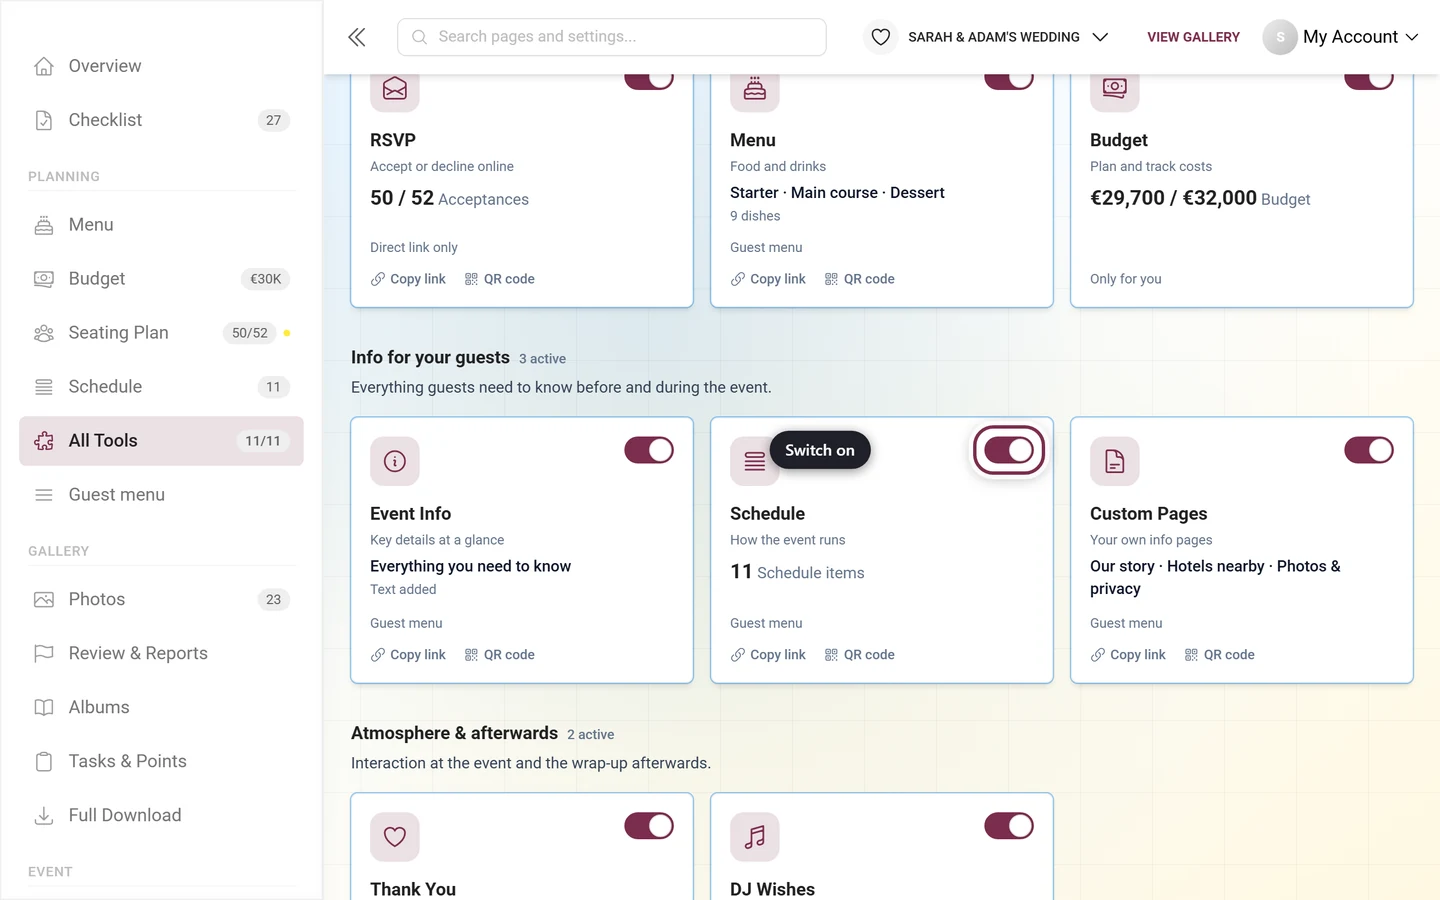
Section titled “The twelve tools”Tiles are grouped by purpose into three categories. Each heading carries a counter showing how many tools in that category are currently active – for example 3 active.
Planning & organization
Section titled “Planning & organization”Collect RSVPs, manage guests, plan seats and the menu. Six tools:
- Digital Invitation – a designed invitation page with countdown, venue, schedule and RSVPs, shareable by link or QR code.
- Guest List – all guests in one table: RSVP, contact, menu and seat.
- Seating Plan – plan tables and seats, guests find their seat via search. Split across three pages: tables & room, seating guests and illustrated view, export & print.
- RSVP – guests confirm or decline right online, the answers land in the guest list.
- Menu – show your guests food and drinks, including dietary notes.
- Budget – plan what your event costs, with quantities coming straight from the guest list, seating plan and schedule.
Info for your guests
Section titled “Info for your guests”Everything guests need to know before and during the event. Three tools:
- Event Info – important information for your guests, right on the home page.
- Schedule – your event’s schedule, visible to all guests.
- Custom Pages – create your own info pages with text and images.
Atmosphere & afterwards
Section titled “Atmosphere & afterwards”Interaction at the event and the wrap-up afterwards. Three tools:
- Thank You – thank your guests after the event with text and a photo.
- DJ Wishes – guests request songs, you and your DJ see the list live.
- Quiz – like a game show: questions on the photo wall, your guests answer on their phones, live or anytime.
The tile
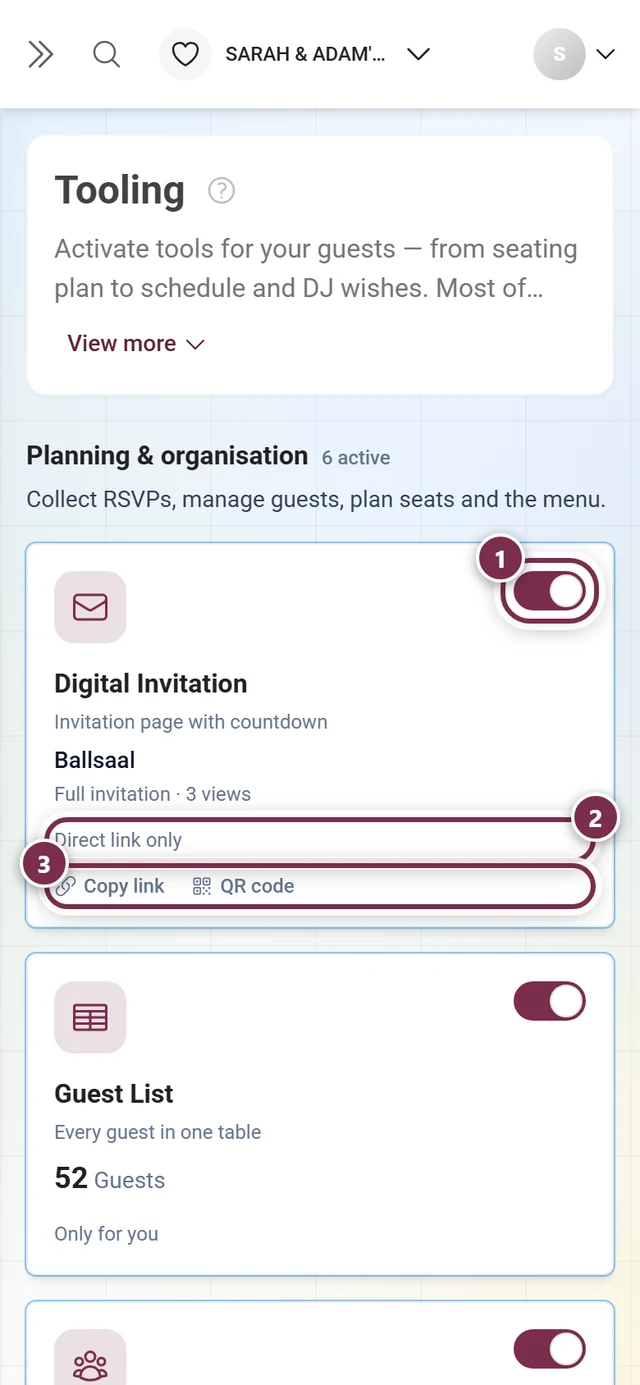
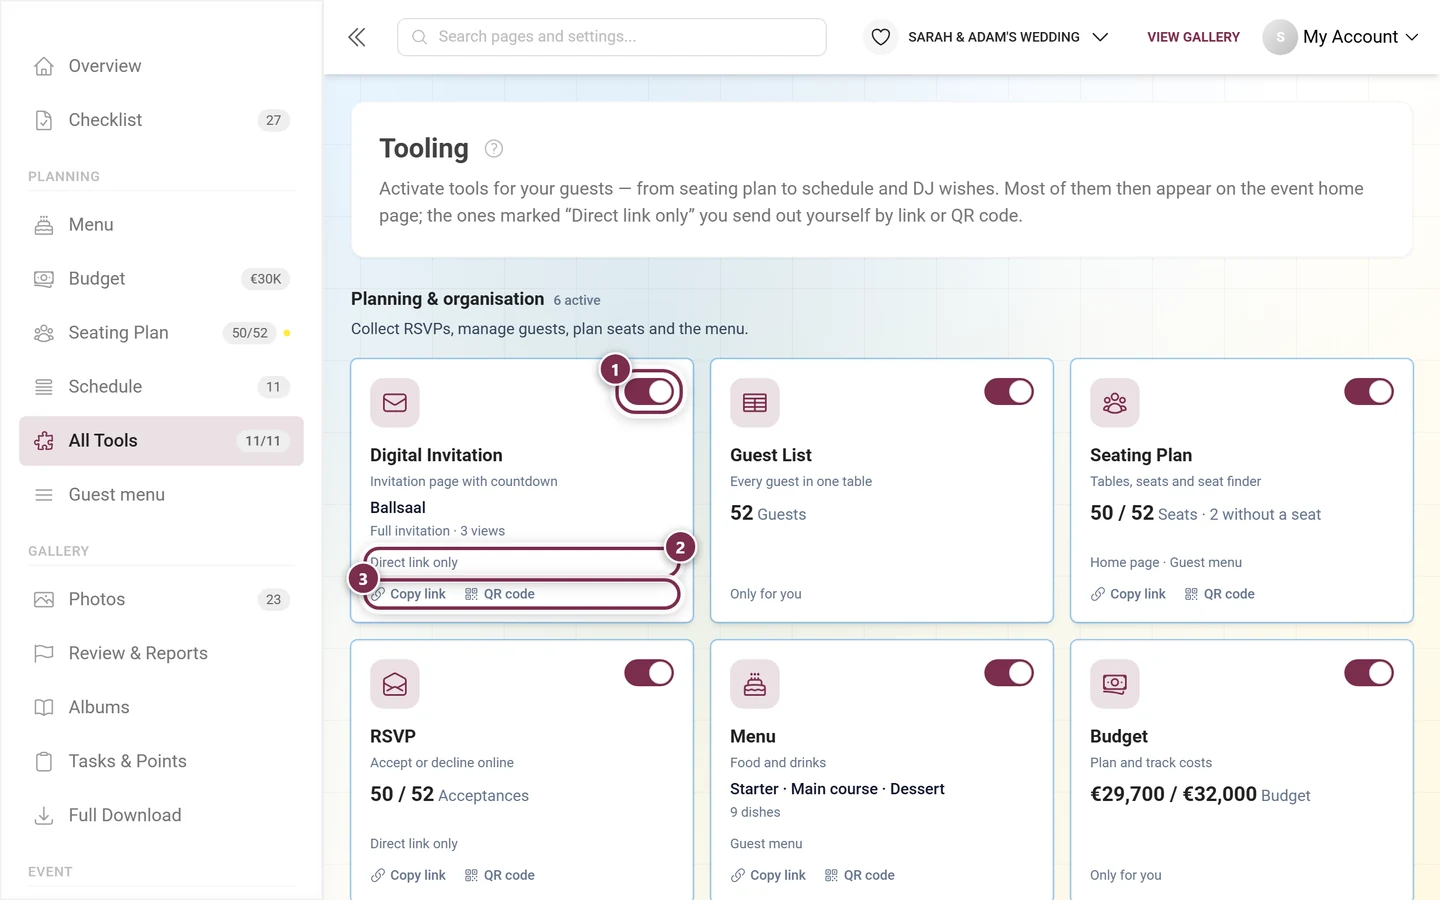
Section titled “The tile”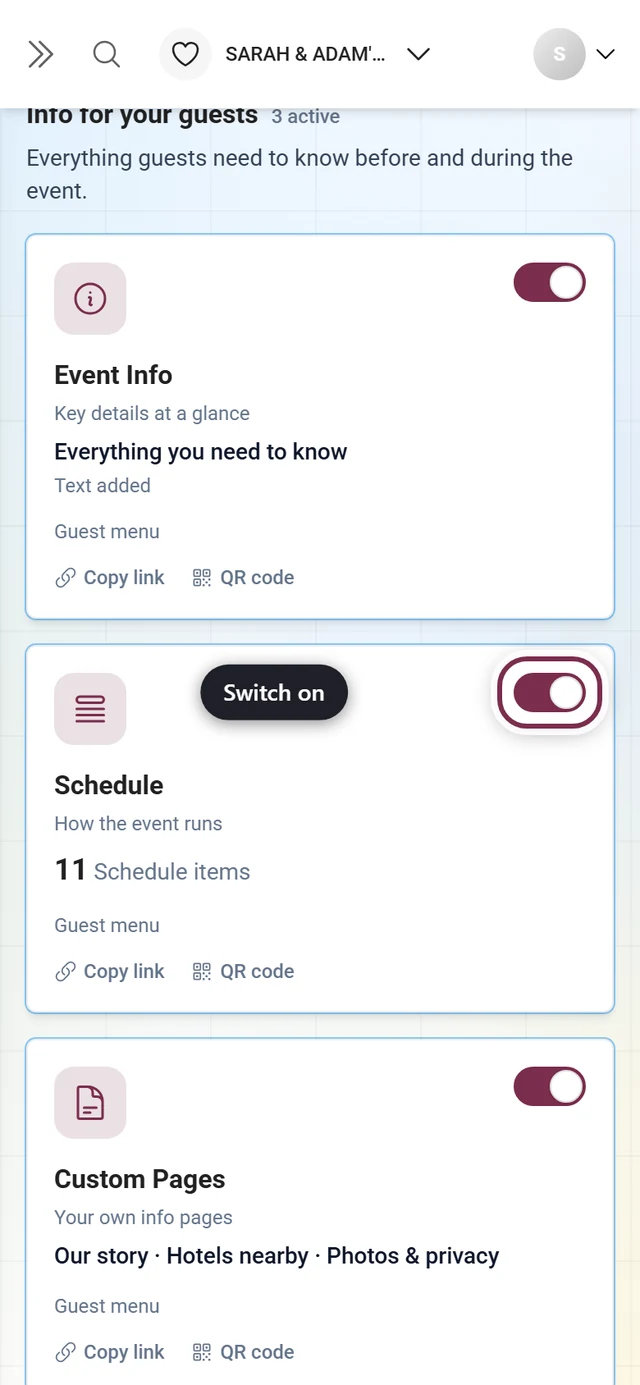
-
The switch in the top right enables the tool. The change saves immediately and the tile gets a colored border. There is deliberately no separate Active/Inactive status line any more – the switch and the border already say it.
-
Clicking the tile opens that tool’s editor.
What the tile shows depends on whether the tool is running:
- Switched on – a short description under the name, then the tool’s key figure or, while nothing is in it yet, an empty-state line. On the content tools your own labels come along too: the titles of your custom pages, the courses of your menu, the design of your invitation.
- Switched off – the tool’s full description, and below it Works with …, naming the tools that exchange data with it.
At the foot of the tile, one dot-separated line says where guests meet the tool: Direct link only, Home page, Guest menu, Only for you and Until <date>. These are no longer chips, just plain text. The only one that keeps a frame of its own is Visible from <date> – the one case where an active tool still shows nothing.
If a tool is active and has a guest page, the text links Copy link and QR code sit underneath.
What costs something – and what does not
Section titled “What costs something – and what does not”Three things hang on your plan:
- The guest allowance. Your plan covers a certain number of guests – 20 on the free plan, then stepped up to unlimited. Adding and planning stays unlimited: enter guests, place tables, auto-seat, design the invitation, write and rehearse a quiz. Only delivery closes above the line – the seat lookup for your guests, the exports, the personal RSVP links and, in the Quiz, the spots per quiz round. From 80 % on, a quiet line with the numbers appears in the tool (“12 of 20 guests included in your plan.”); above it, a box: “25 guests — your plan covers 20.”, followed by what still works and only then by what does not.
- Publishing the full digital invitation. Save the date stays free on every plan; designing and previewing the full version is possible at any time.
- Exporting the guest list as a file. Maintaining, sorting and filtering it stays free.
Existing events keep their unlimited allowance and both delivery rights – the wall applies to events created from here on. What exactly your plan covers is under Plan & term.
The editor: the same frame for every tool
Section titled “The editor: the same frame for every tool”All tools share one frame: the master switch on top, the tabs below.
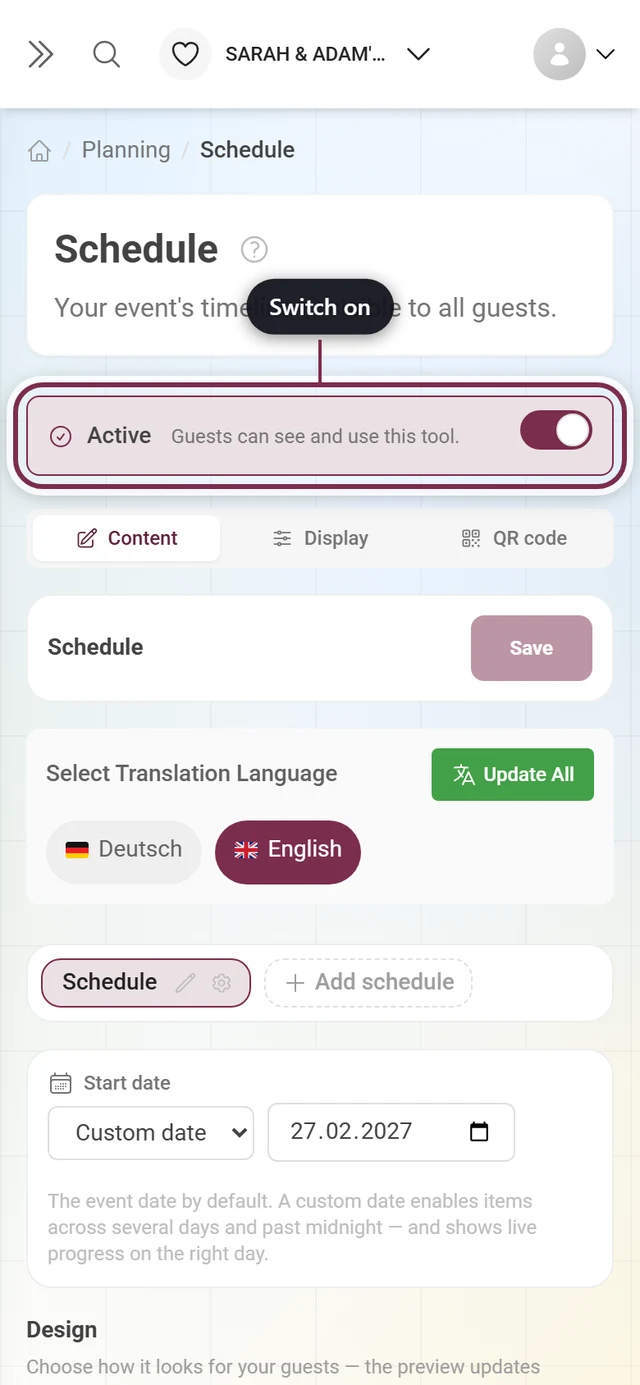
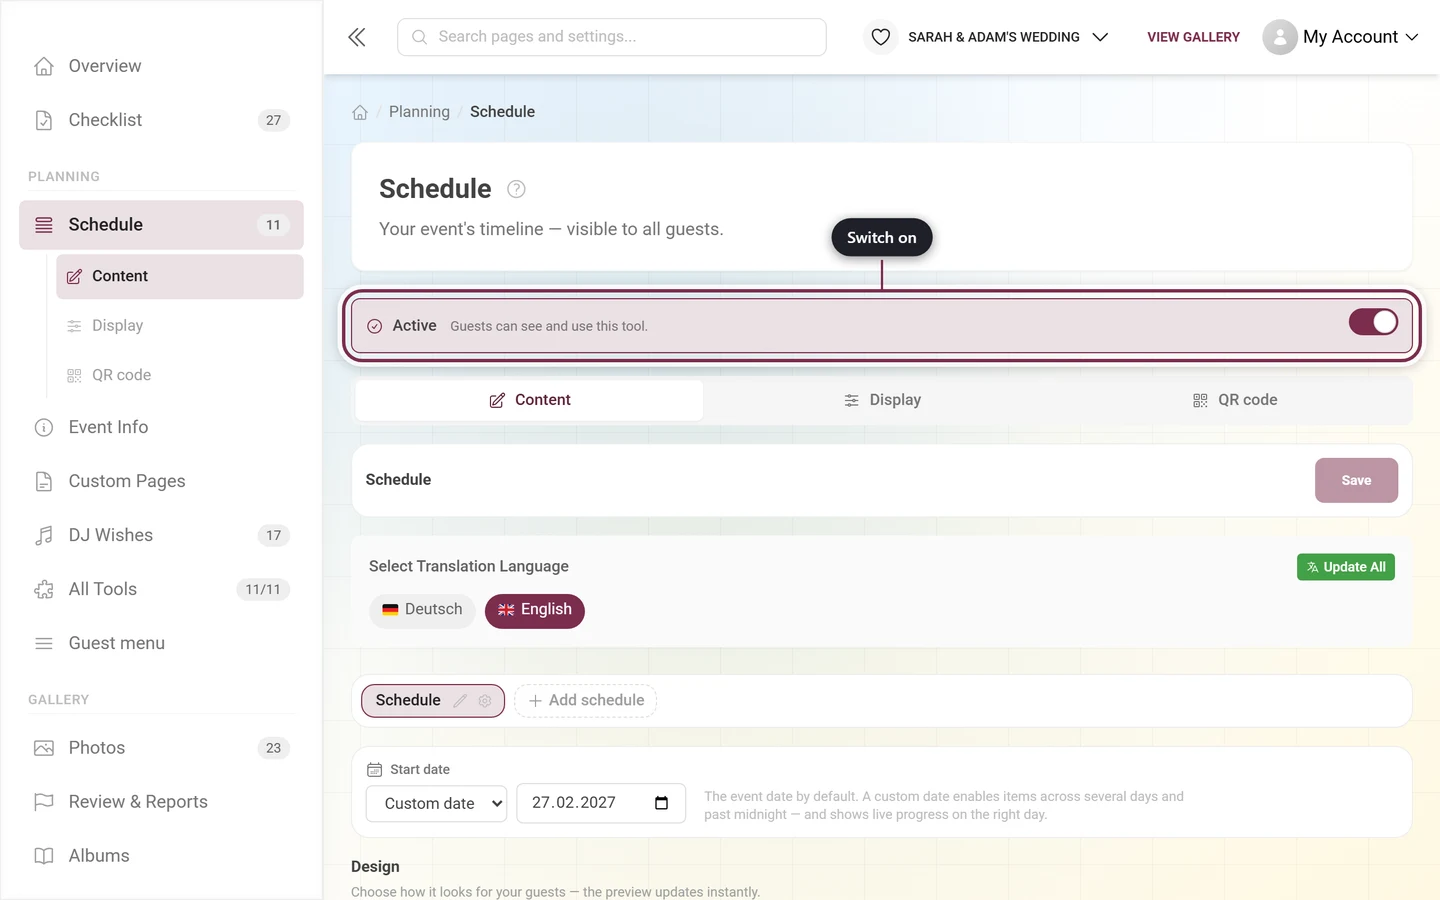
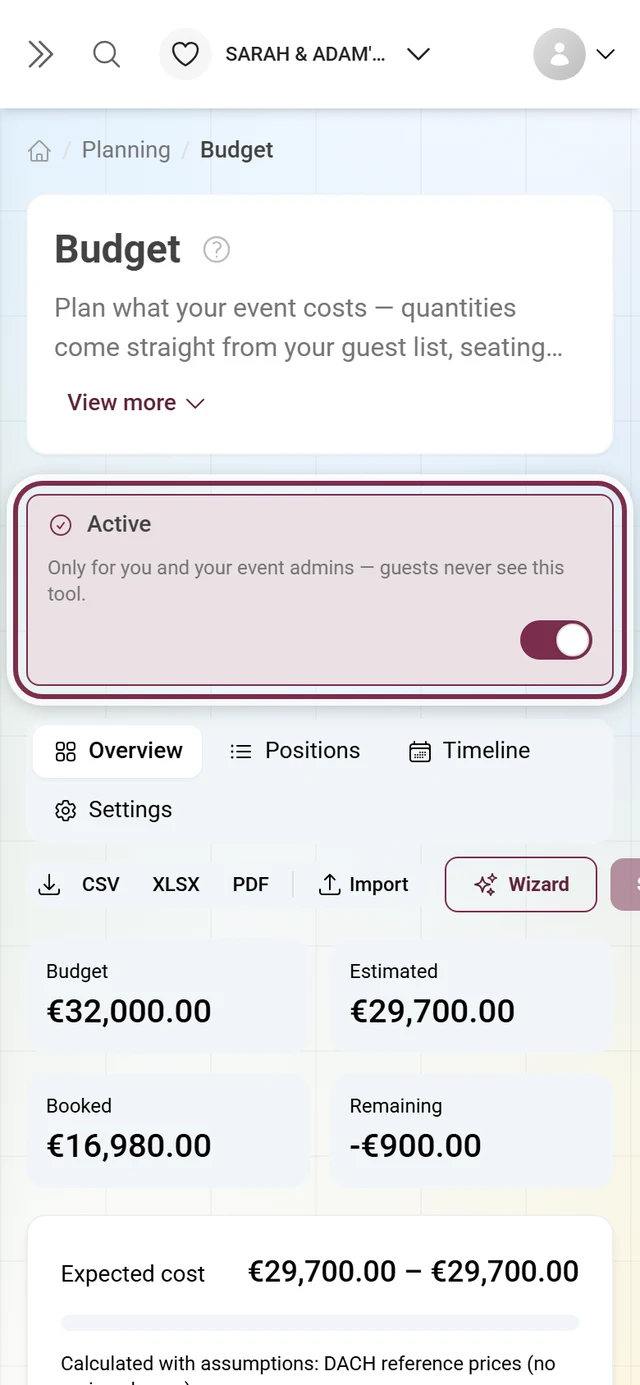
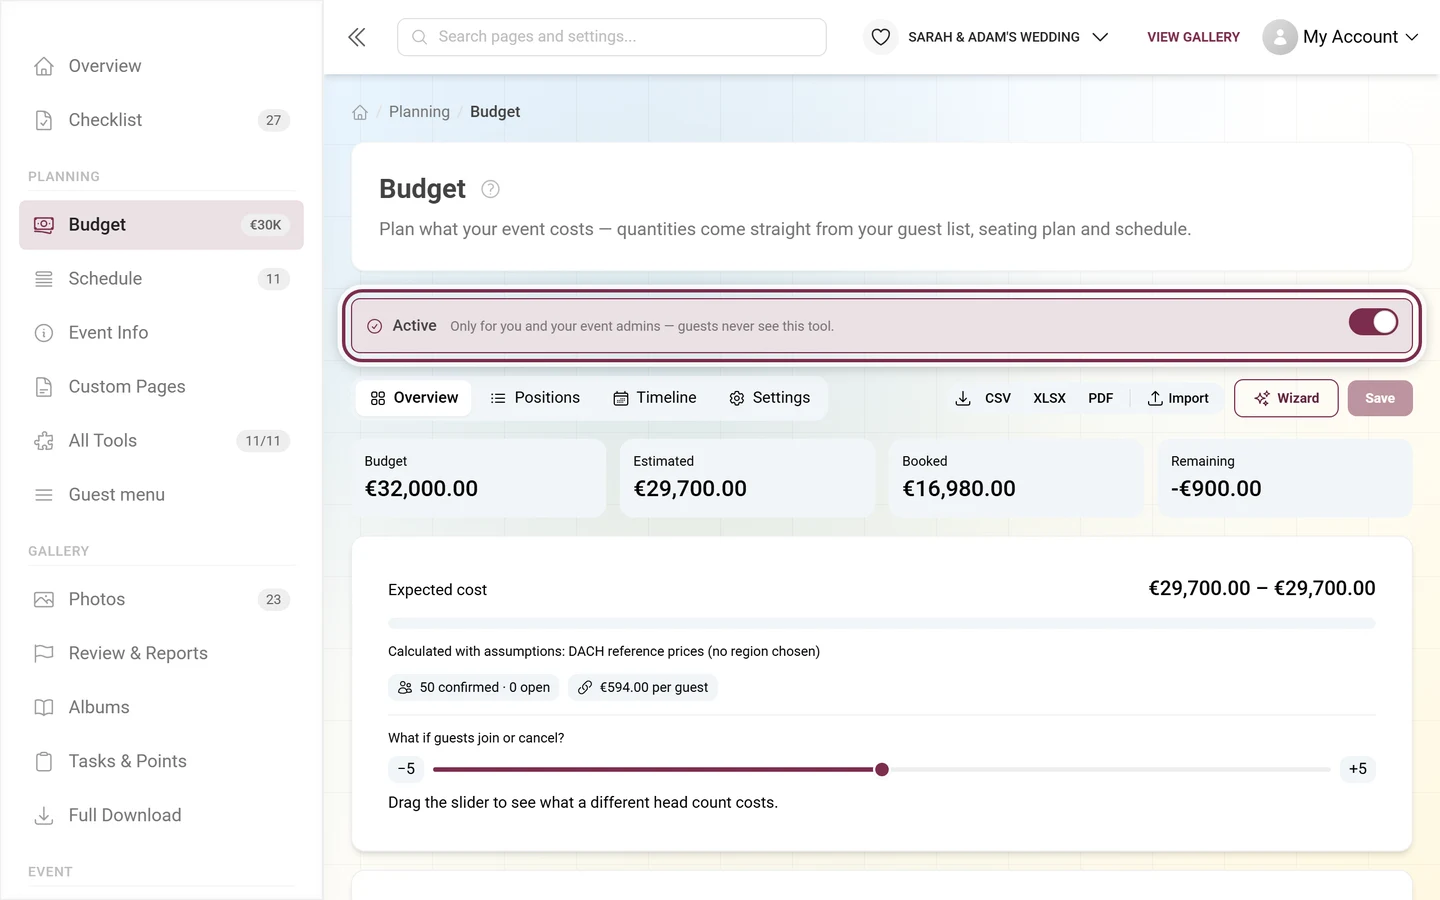
The head looks different depending on the state:
- Tool off – a large Enable tool card. Switching it on is the only thing worth doing on this page just then, so it gets the whole space.
- Tool on – only a slim strip with a check mark, the word Active, the switch on the right and one of three explanatory lines:
- “Guests can see and use this tool.”
- “Not on the event home page — send the link or QR code yourself.” (invitation and RSVP)
- “Only for you and your event admins — guests never see this tool.” (guest list and budget)
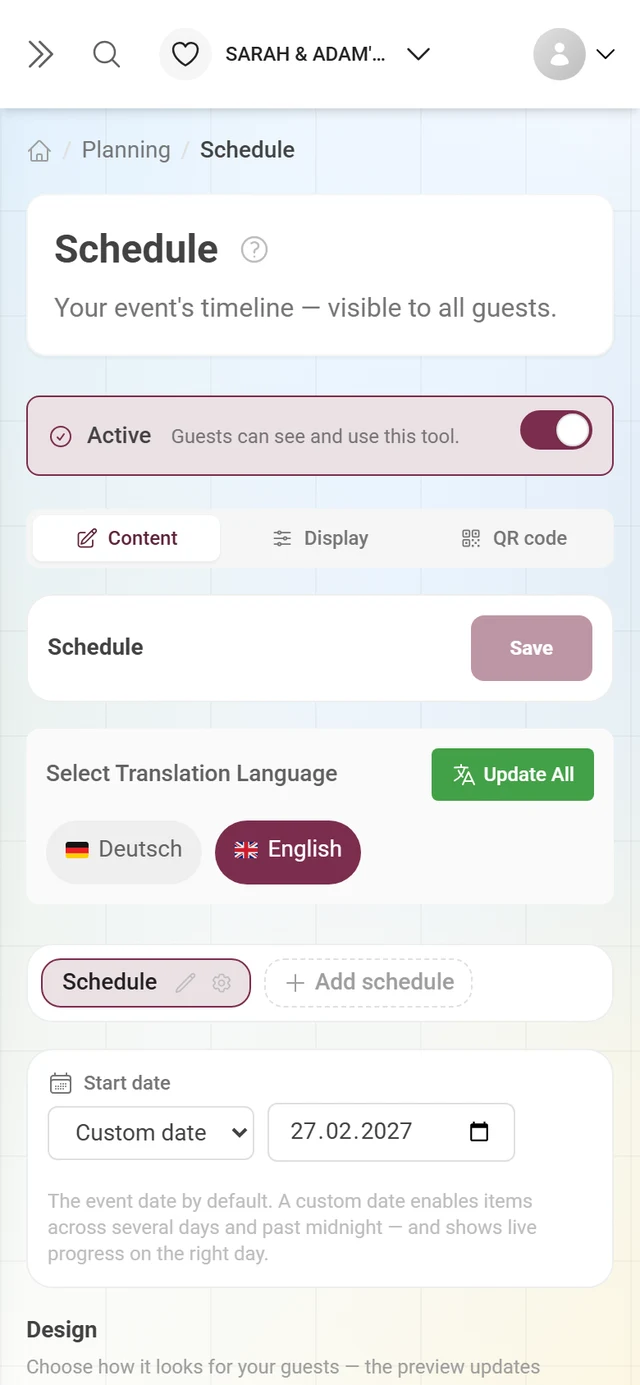
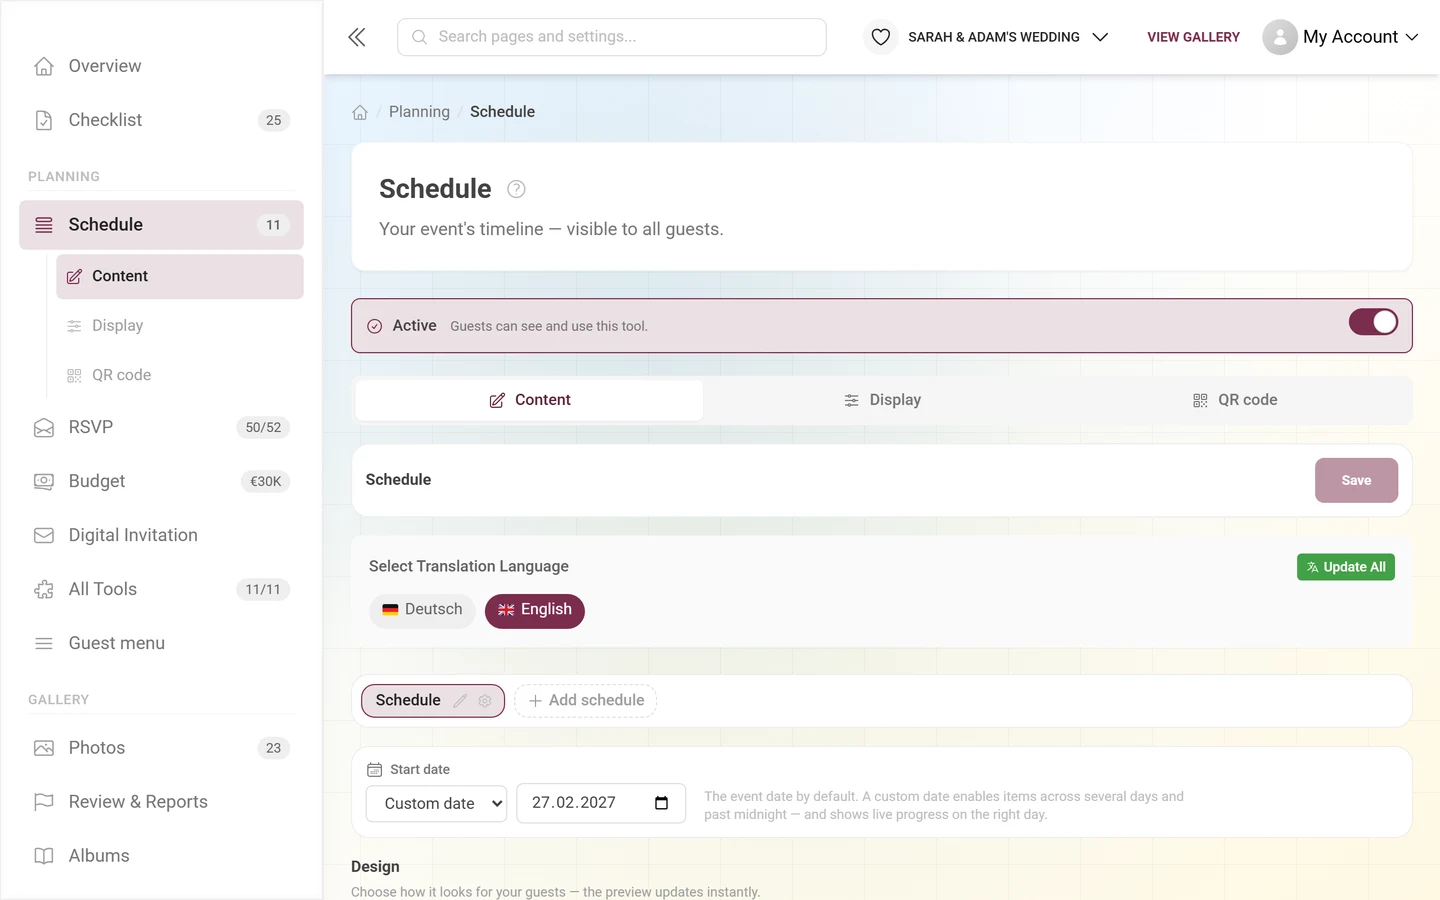
Below the tabs, every tool with a guest page carries a cross-link: “Colors and fonts of this view apply to your whole event.” with the link Open appearance – it jumps into the gallery settings, because colors and fonts are set there once for everything.
Not every tool has all four tabs – they only appear where they make sense for that tool:
| Tool | Content | Display | Visibility | QR code |
|---|---|---|---|---|
| Guest List, Budget | yes | – | – | – |
| Digital Invitation | yes | yes | – | yes |
| RSVP | yes | – | yes | yes |
| Thank You, Event Info | yes | yes | yes | yes |
| Schedule, Seating Plan, Menu, DJ Wishes, Quiz | yes | yes | – | yes |
| Custom Pages | yes | yes | – | yes |
Guest List and Budget have no tab bar at all: they have neither a guest page nor a widget, so only the content remains. Both are pure admin tools. RSVP has no widget and is not in the guest menu by default – that is why the Display tab is missing there; it is reached through the link or QR code you send out. The Digital Invitation is handed out the same way but does have a Display tab: it holds the three opt-ins that additionally put it into the guest menu, onto the home page as a widget, or onto the event link – all three off out of the box. See Digital invitation.
Content
Section titled “Content”This is where the tool’s actual editor lives – the items of your schedule, the courses of your menu, the tables of your seating plan, the table of your guest list.
Display
Section titled “Display”Controls where the tool shows up for your guests.
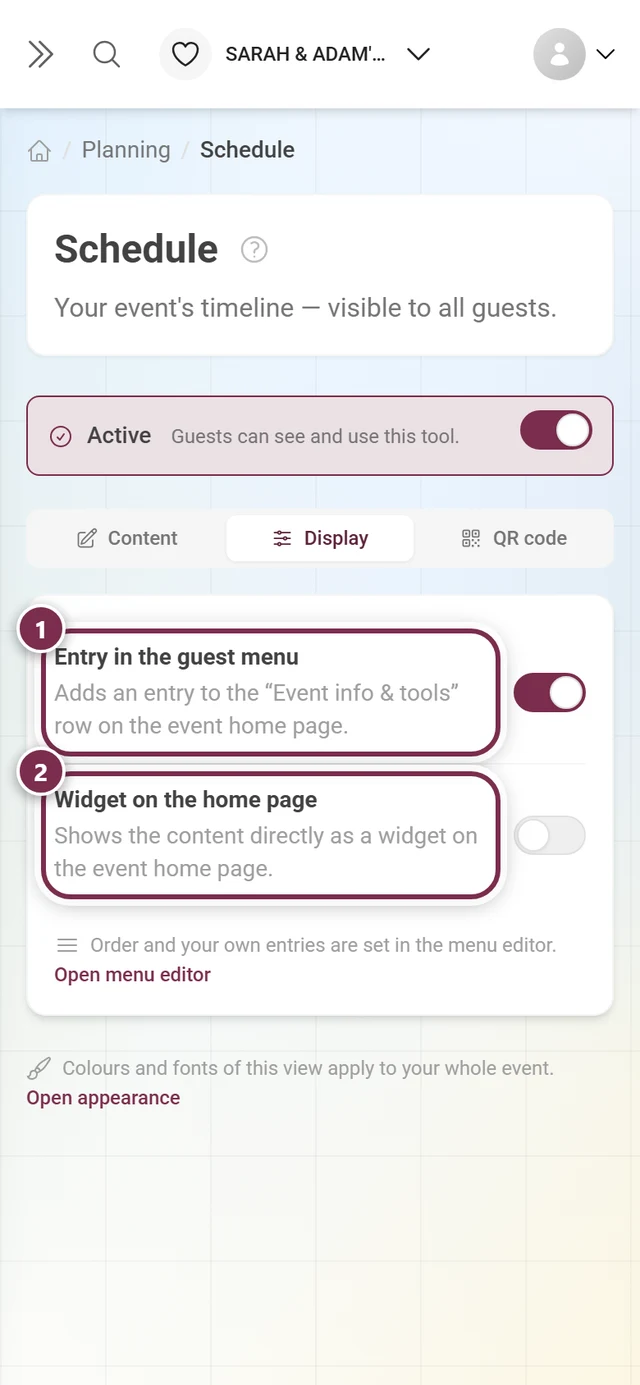
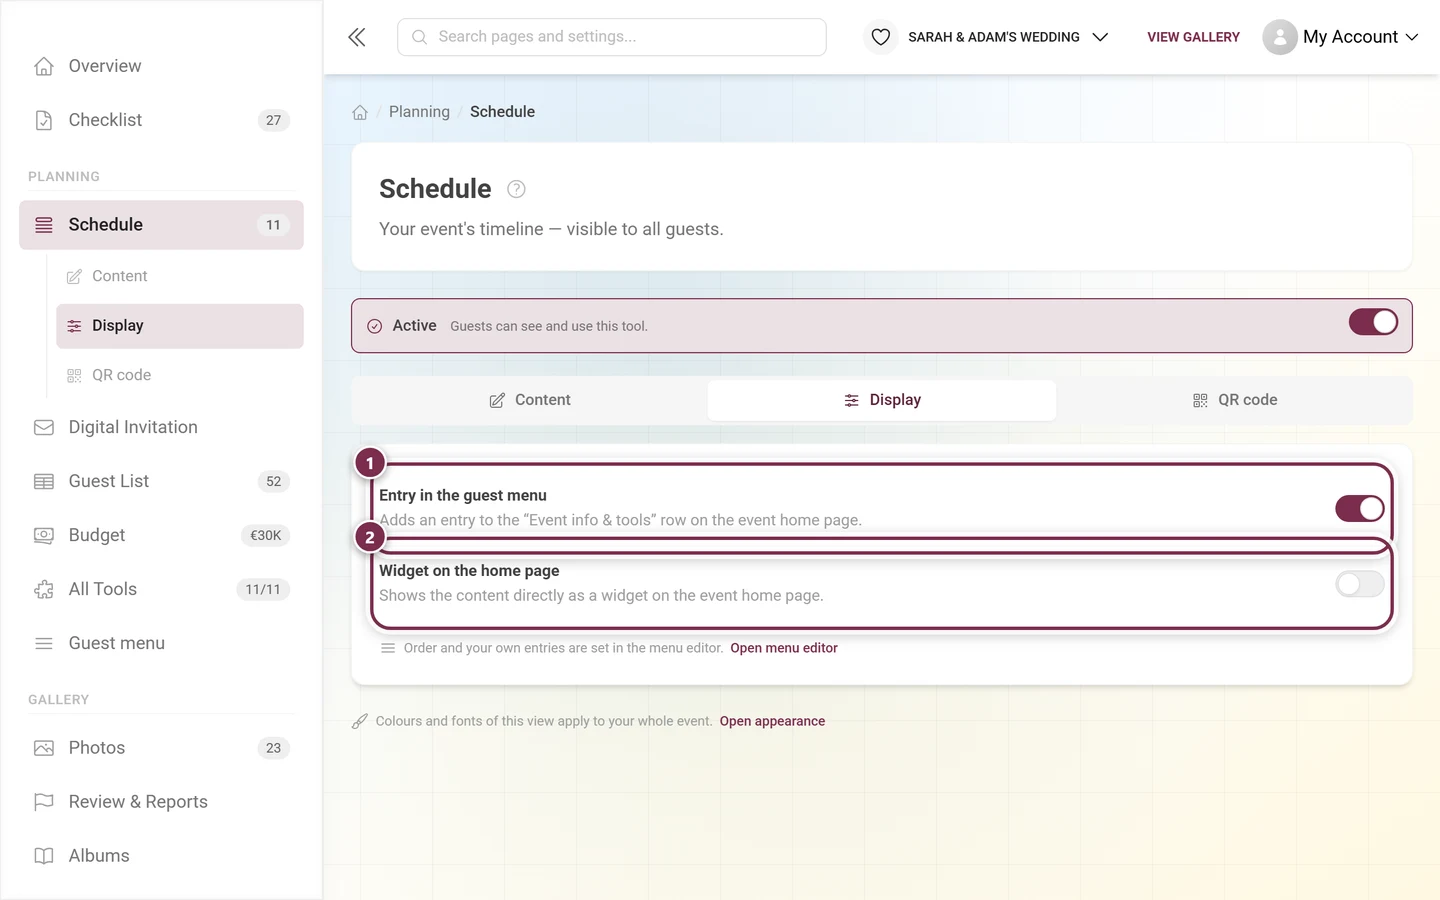
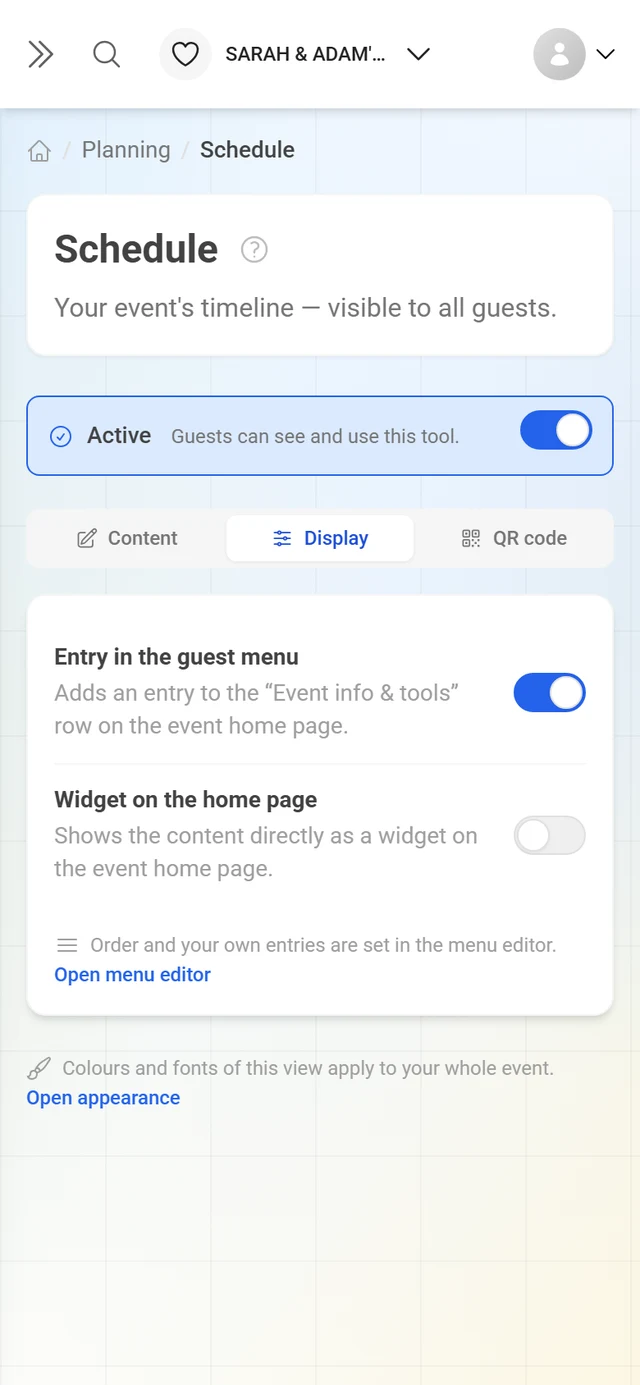
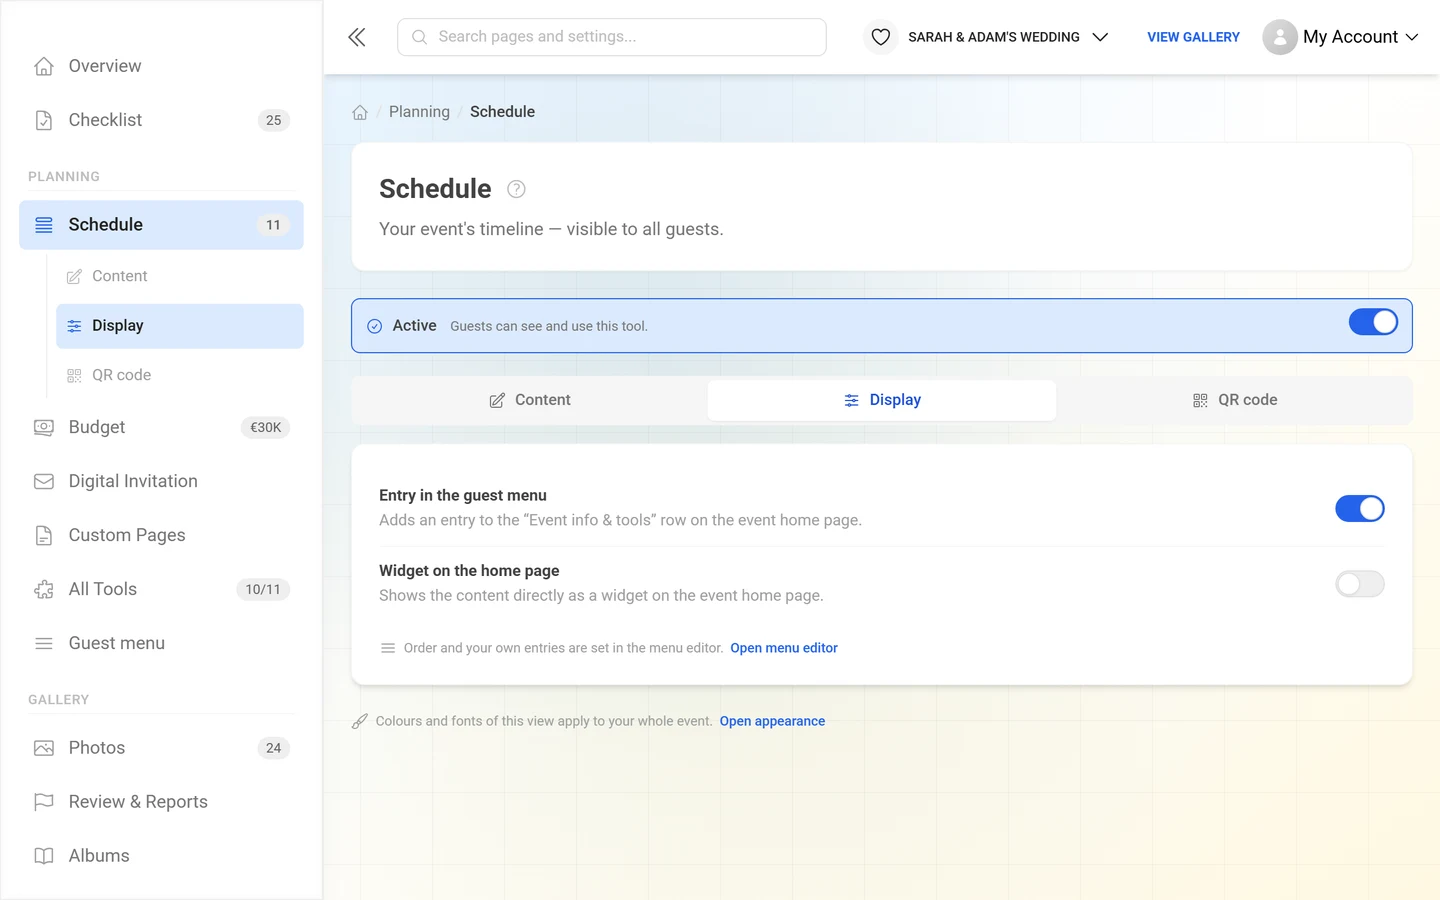
- Widget on the home page – shows the content directly as a widget on the event home page.
- Entry in the guest menu – puts a card into the Event info & tools rail on the event home page.
The widget style only appears once Widget on the home page is switched on – otherwise these would be previews of something that never shows. There are exactly five styles, each with a live preview: it shows your real saved content; you only see sample text while nothing is saved yet.
- Classic – card with icon and button, the default.
- Elegant – centered with a fine line, festive and subtle.
- Minimal – slim row without a card, saves space.
- Bold – card in your event color, maximum attention.
- Soft – rounded, calm card in a soft event color.
A widget only appears once it has something to show: empty widgets are not rendered at all, so your home page never displays a blank card.
Visibility
Section titled “Visibility”Only for time-controlled tools (Thank You, Event Info, RSVP). You set Visible from and Visible until separately.
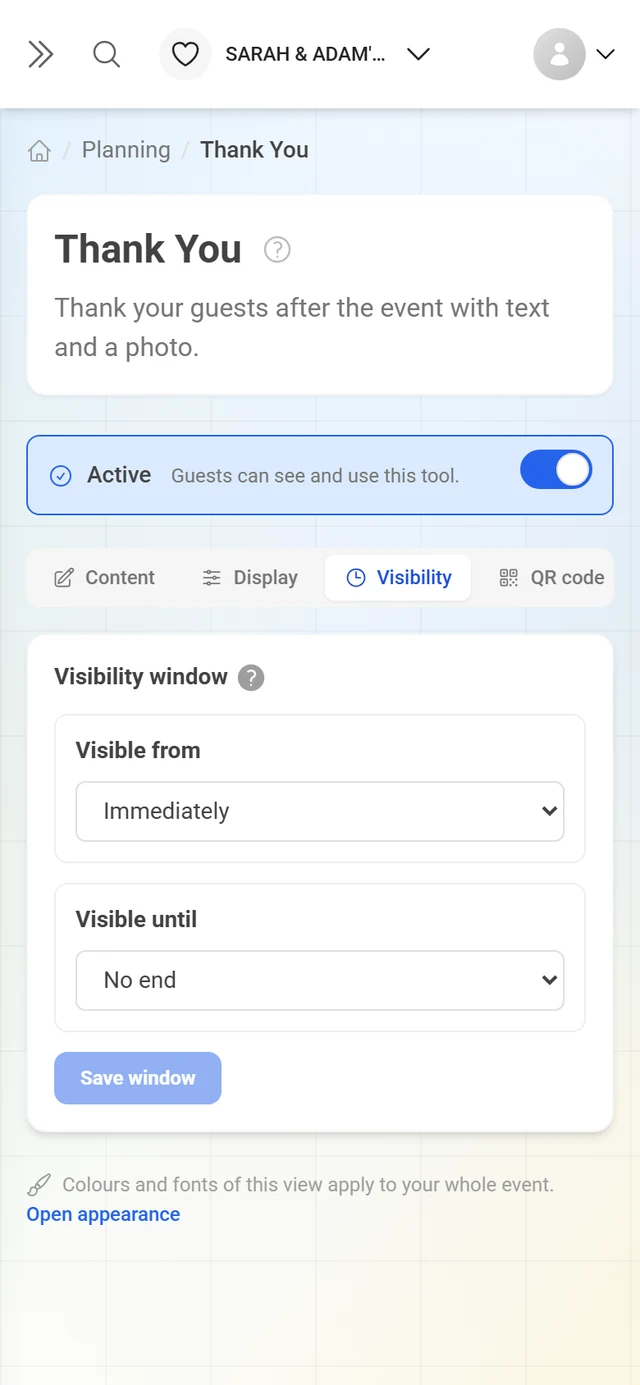
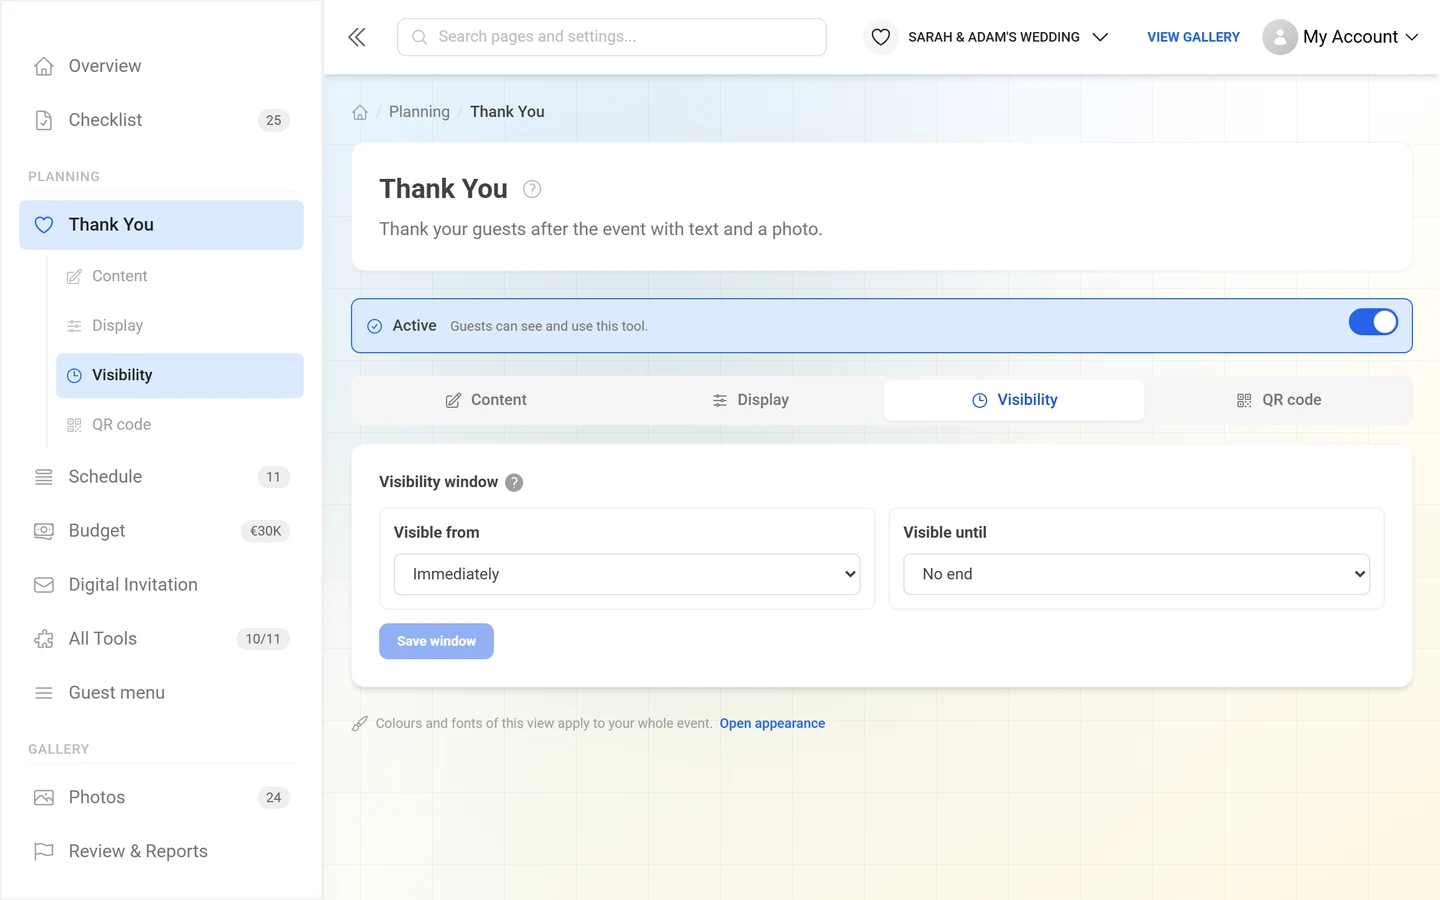
Both ends offer the same modes:
- Immediately (for the start) or No end (for the end) – no limit.
- Event date – tied to the event day, with a time and ± days (0 = on the event day). Without your own time: “from” 00:00, “until” 23:59.
- Fixed date – a concrete date and time.
Then hit Save window. The upside of Event date: if you move the event date later, the window moves with it.
QR code
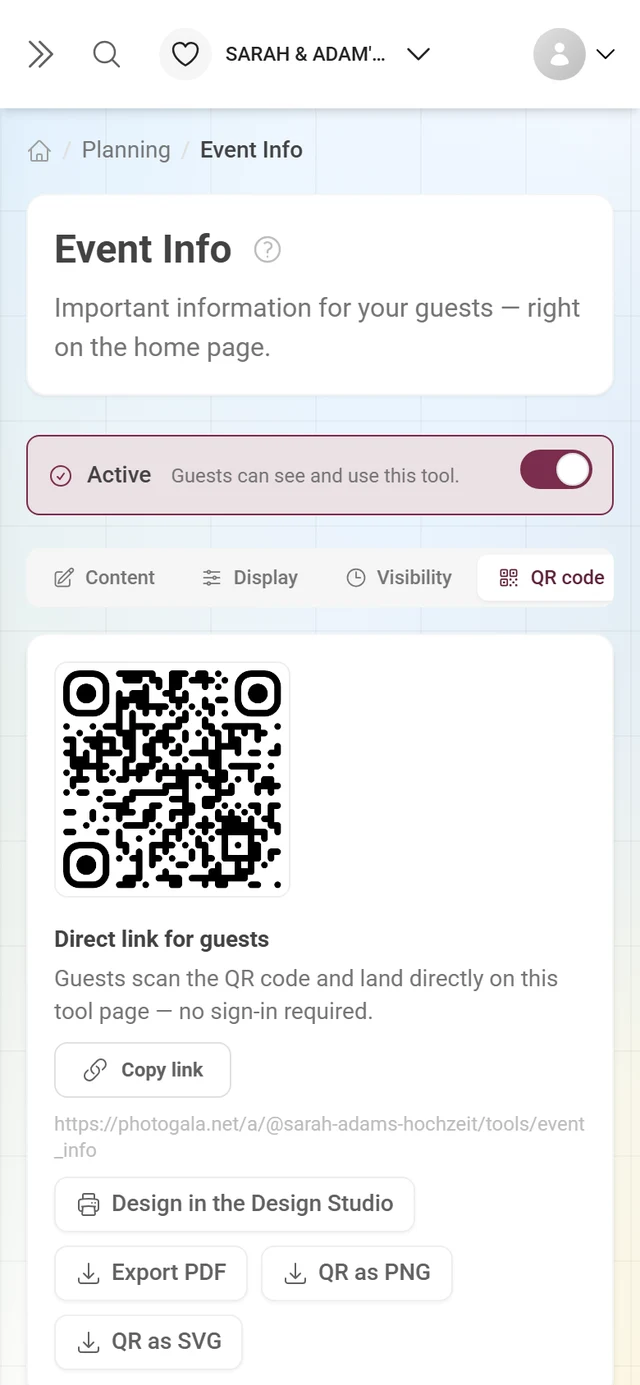
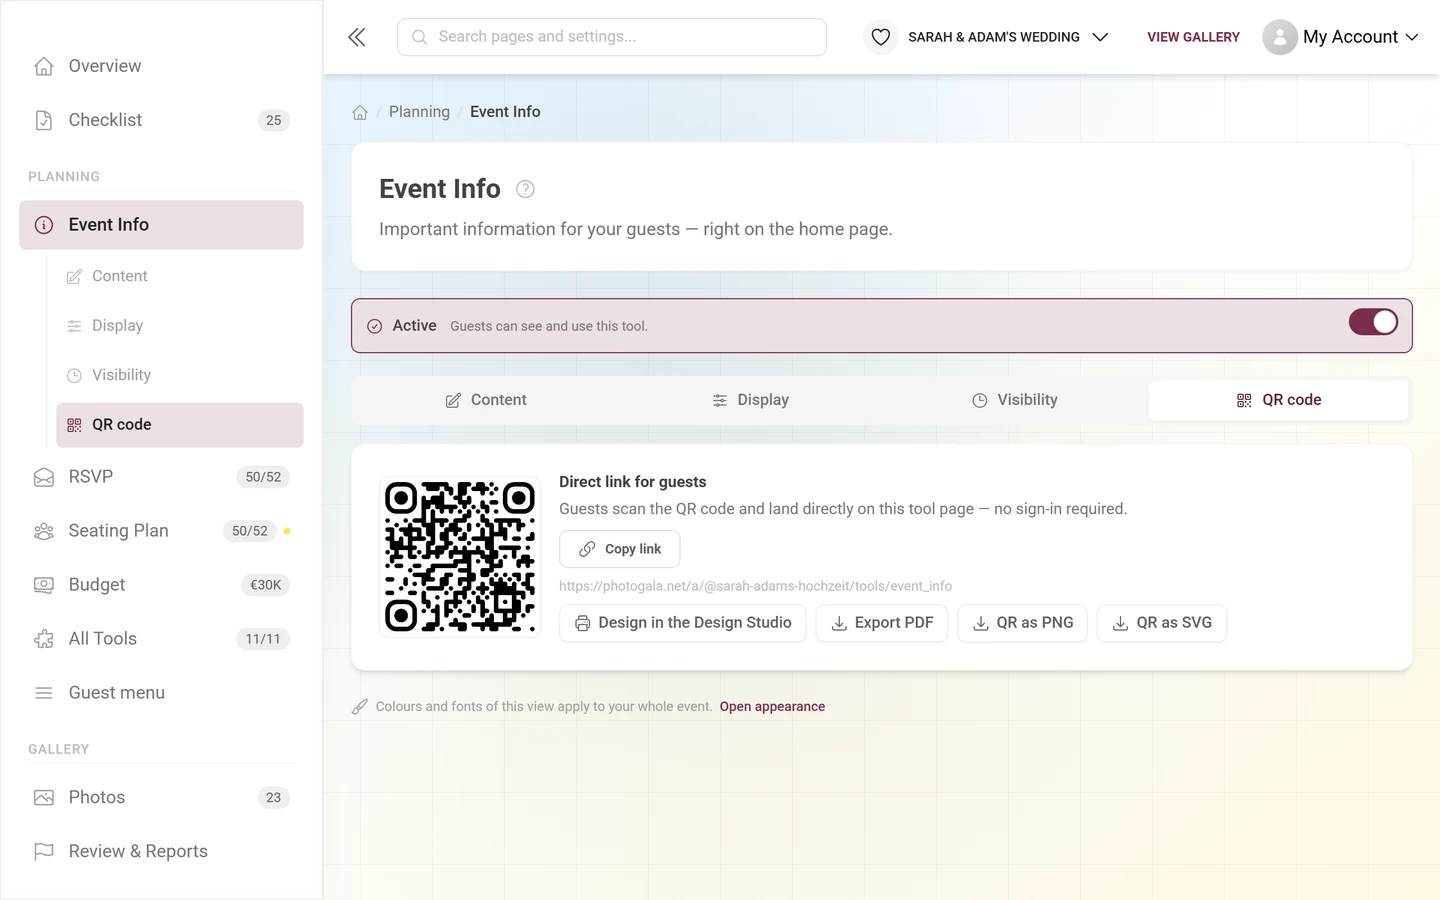
Section titled “QR code”Every tool with a guest page has a direct link for guests: guests scan the QR code and land directly on the tool page, with no sign-in.
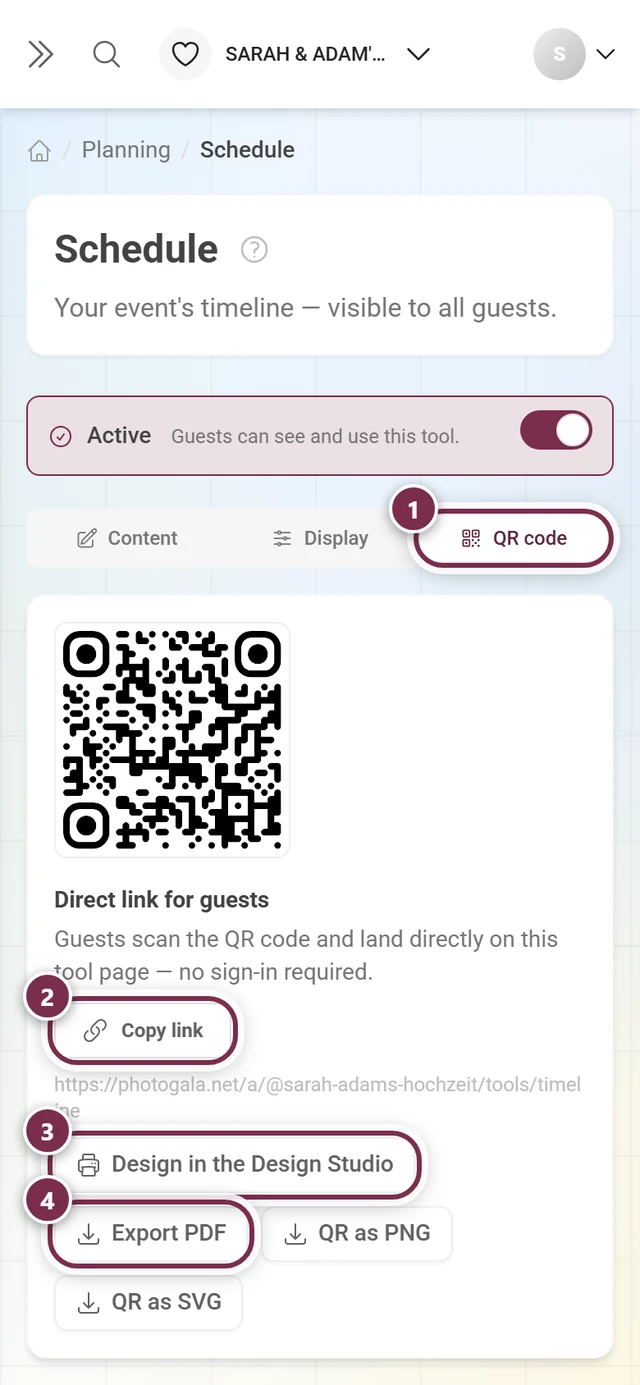
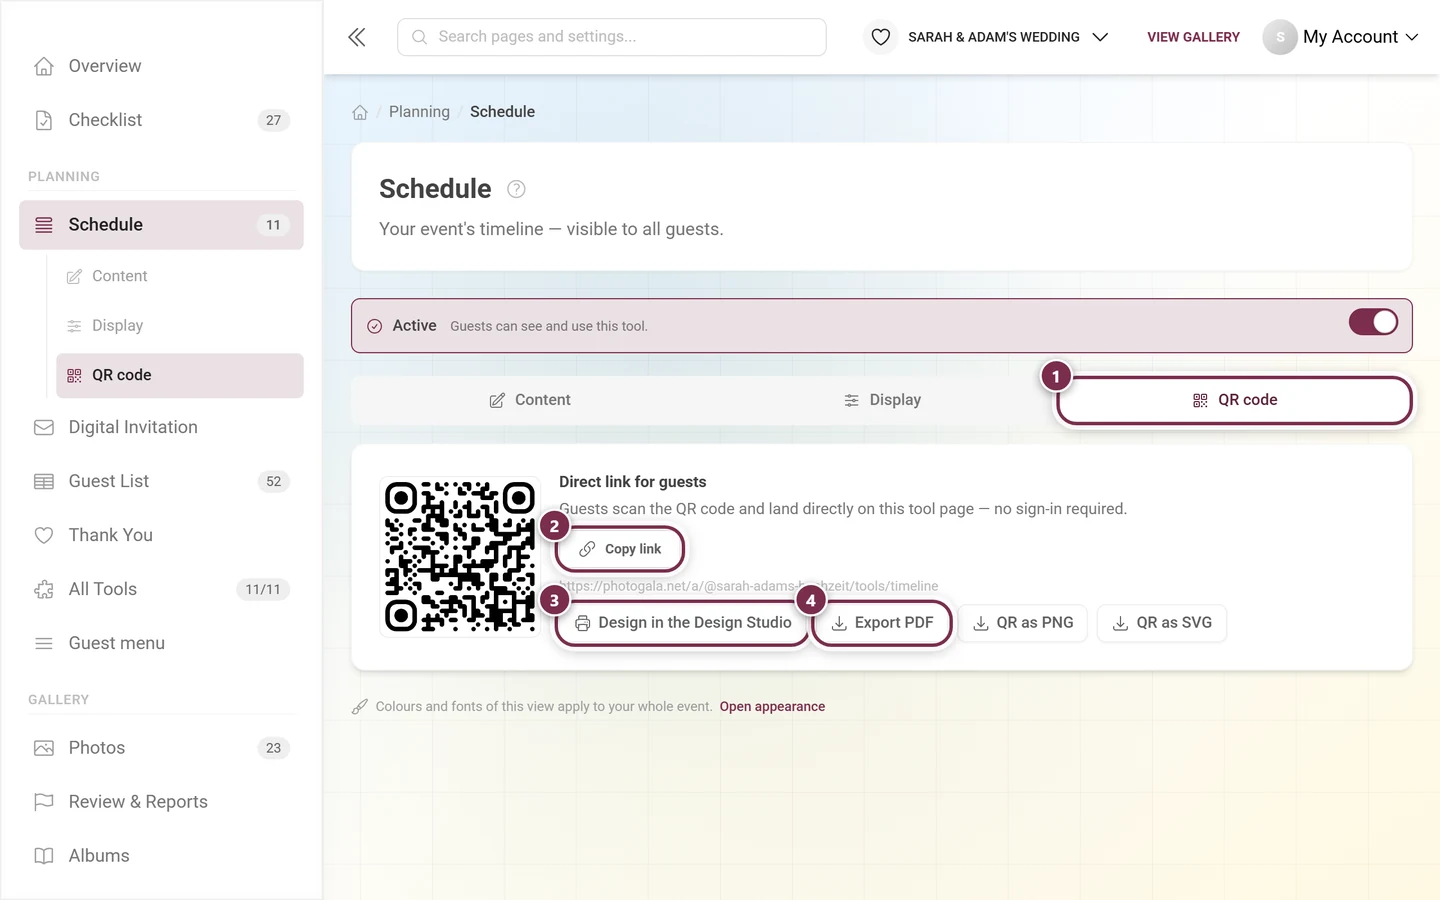
- Copy link – puts the address on your clipboard.
- Export PDF – downloads a ready-made scan-me poster carrying your event name.
- Design in the Design Studio – opens that same poster in the Design Studio, where you can rebuild it freely.
Link preview and share text
Section titled “Link preview and share text”At the top of the tab, above the link, sits the Link preview and share text block – for every tool and for custom pages too. It applies to links and QR codes of this tool; by default the gallery setting is used.
- Preview image – Use gallery setting (default), Logo (default), Custom image (recommended: 1200 × 630 px; you also set what applies When the custom image is missing), Photogala (for branded galleries Partner logo) or No image. With No image, each messenger decides how the link is shown.
- Share title and Share text – optional, per language. Empty fields use the gallery texts; your own texts apply to this tool only.
As soon as you have changed something, Save link preview appears, which applies the setting. How the gallery setting works is explained under Customizing the look. Free galleries always show Photogala; there the block only shows this note. Custom images, logo and “No image” are available with a paid plan.
Content in several languages
Section titled “Content in several languages”If your event has more than one language, a language bar appears in the editor. You always edit exactly one language and switch through the bar – labels, questions and column names are stored per language. On single-language events the bar is hidden.
Saving
Section titled “Saving”While something is pending, Unsaved changes sits next to the button. If you leave the page anyway, the Unsaved Changes dialog asks: Save & Continue or Don’t Save.
If someone else saved in the meantime – your partner, or an incoming RSVP answer – you get the message “Someone else saved in the meantime. Your input is kept — review it and save again to apply it.” Your entries are not lost.
What your guests see
Section titled “What your guests see”On the event home page, active tools appear in two places:
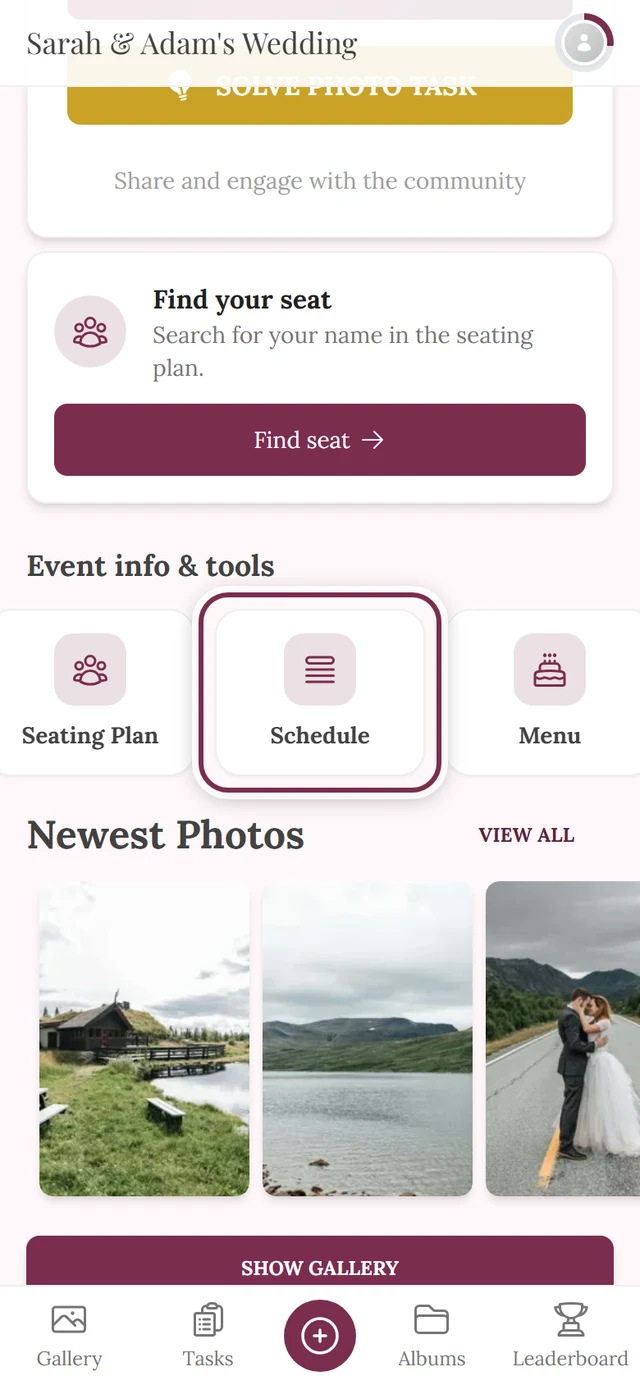
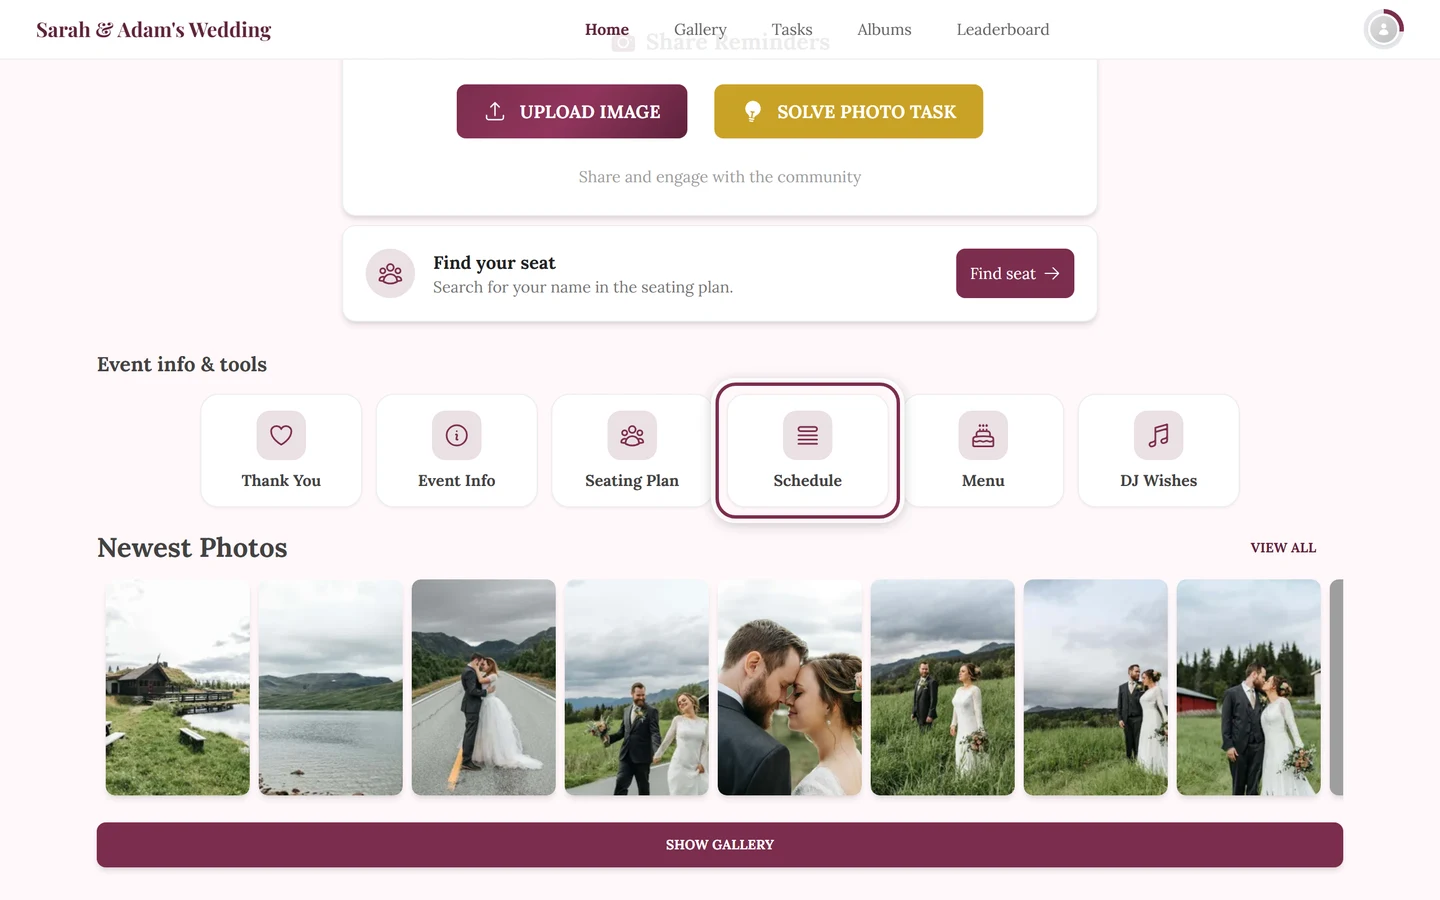
- as widgets – cards with content, in the order and style you picked in the Display tab,
- in the Event info & tools rail – the list of every tool with a guest page and an active entry. RSVP is never in it; the Digital Invitation only if you explicitly add it in the QR code tab. Of the Custom Pages, every published page gets its own tile – there is no collective tile.
What guests find there in detail is covered under Tools at the event.
How the tools work together
Section titled “How the tools work together”The tools are not a loose toolbox – they hand data to each other:
- The Menu supplies the courses your guests choose their dish from in RSVP. Without a menu there is nothing to pick.
- RSVP answers automatically fill the Guest List – including companions, contact data and the answers to your custom questions.
- The Guest List feeds the Seating Plan: only people on it can be seated. Table and seat can be edited in both tools.
- The seating wishes collected by RSVP show up in the seating plan and can be adopted there as seating rules.
- The Schedule supplies time windows: a seating plan can take a programme item’s start and duration as its own window, and the Digital Invitation shows the schedule straight from the Schedule tool.
- The design of the Digital Invitation is linked to the illustration style of the Seating Plan: every seating style has a matching invitation design, so the two look like one set.
- The Seating Plan supplies the tables for the table ranking in the Quiz live show: guests who scanned their place card play for their table automatically, everyone else picks one when they join.
Troubleshooting
Section titled “Troubleshooting”- I can’t see a tool in the grid at all. Your event runs under a partner brand and the partner does not offer that tool – then it is hidden rather than shown locked.
- The tile won’t switch on. There is an Upgrade chip with a padlock where the switch should be. That is the exception these days – all twelve tools belong to every plan. If it does happen, clicking it takes you to the plan overview.
- An export or the seat lookup is locked. Not the tool but your plan’s guest allowance has been reached. The note inside the tool tells you how many guests your plan covers – you can keep planning without a limit regardless.
- The tool is active but guests see nothing. Check three things: is the widget or tool-list switch on in the Display tab? Does today fall inside the visibility window? And is anything actually saved in the Content tab – empty widgets are not rendered.
- The QR tab only shows a note. The QR code is generated once the tool is enabled: “Enable the tool to get the QR code for guests.”
- My changes are gone. Content does not save by itself. Look for the Save button at the bottom of the editor, or Save window in the Visibility tab.
In this section
Section titled “In this section”Related pages
Section titled “Related pages”- For guests: Tools at the event – what your guests see of these tools.
- For hosts: Design Studio – design QR posters and cards for your tools.
- For hosts: General settings – where you set the event date the visibility window hangs on.
- For hosts: Appearance – the colors and fonts that apply to the tool pages too.
- For hosts: Plan & term – the guest allowance and the two paid delivery rights.